Learn how to sew a half square triangle - the most versatile block in quilting! This step-by-step tutorial will help you master the HST.
Today I am super excited to teach you guys about a simple, yet vital block for the beginner quilter. The half square triangle (aka HST) is one of the most utilized blocks in modern quilting. It is a great way to showcase gorgeous fabrics and can be used as a foundation piece for other more intricate quilt designs.

In this post, we’re going to go over one of three different ways to create these fun little units - how to sew HST blocks 2 at a time. The other methods are: how to sew a HST unit 4 at a time and how to sew a HST block 8 at a time.
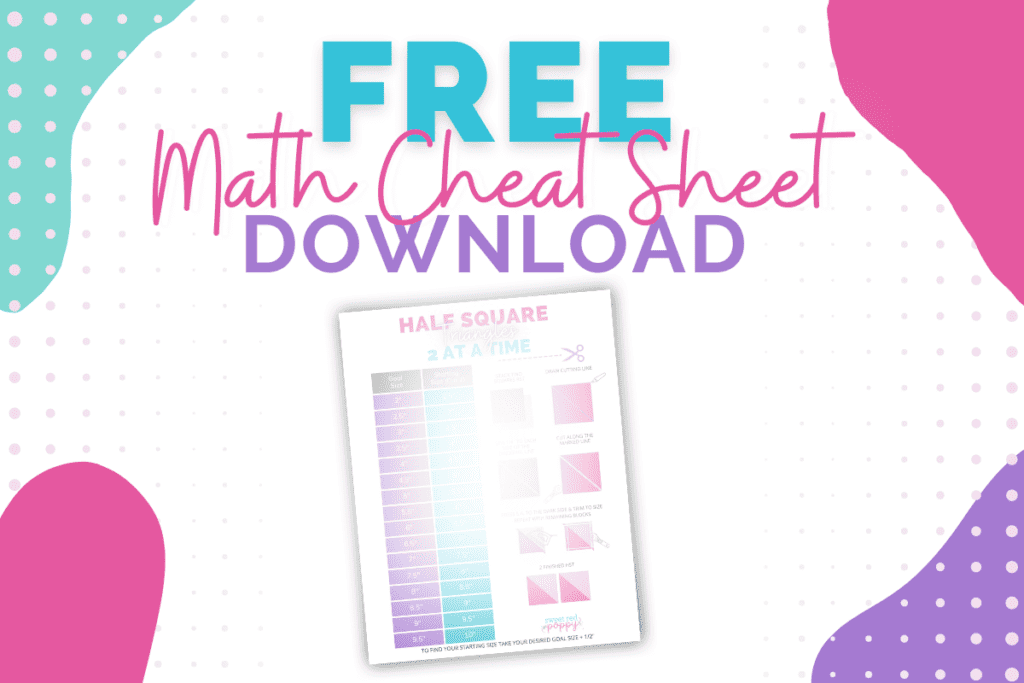
This is a great beginner introduction to quilt blocks and I would love to invite you to join me as we go through the steps to create 2 HST blocks at the same time! Plus, I've included my math cheat sheet to make it super easy to create any size of half square triangle you need!
Table of Contents
What Supplies Will I Need to Create a HST?
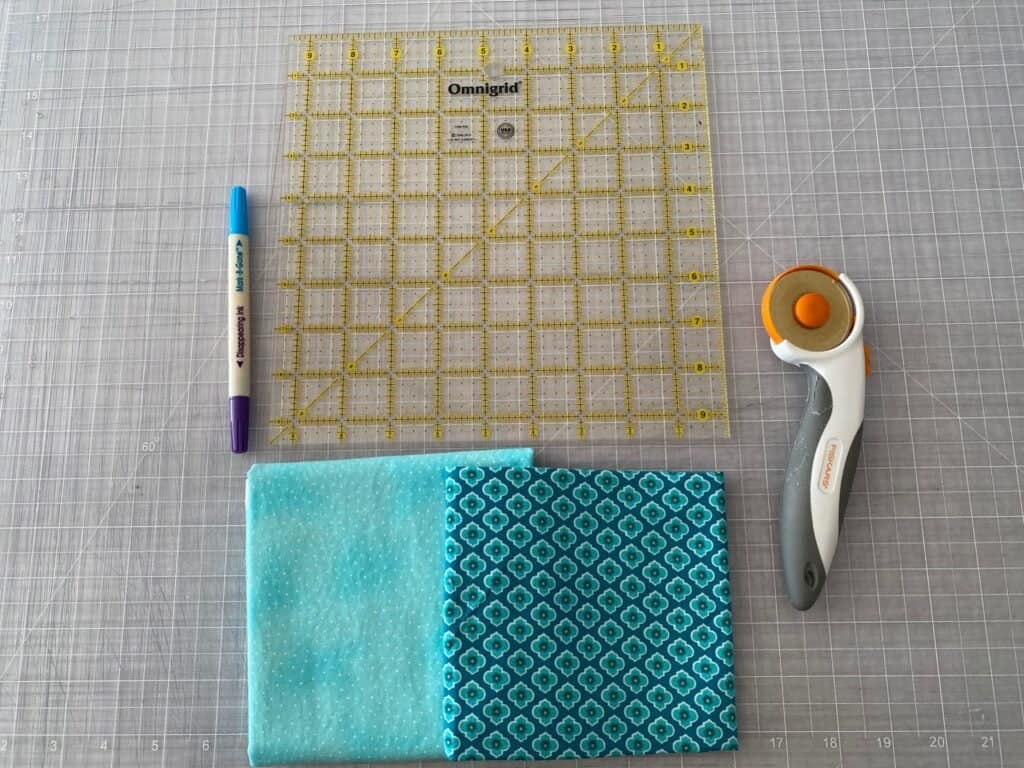
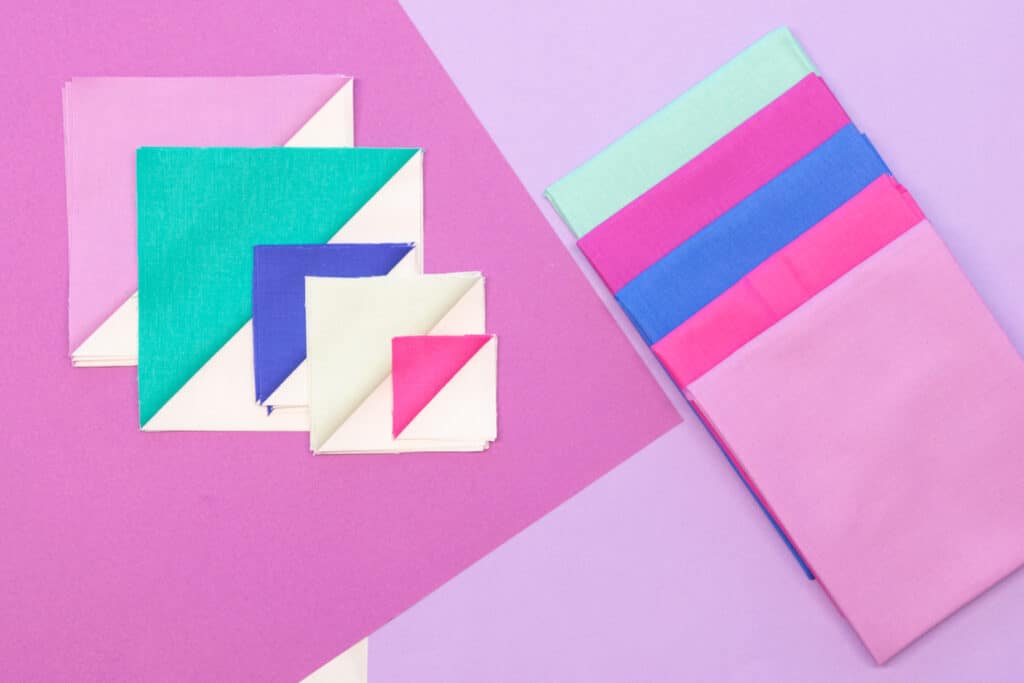
Before we jump into the tutorial, let’s go over the short list of supplies that will make your life a bit easier when making these fun little blocks.
- Fabric- Quilting cotton will work best for these blocks.
- Thread- Cotton thread is a popular choice for quilt making.
- Sewing Machine
- Cutting mat and rotary cutter
- Marking Pen-Preferably one that has washable ink.
- Ruler
Terms You Should Know for this Tutorial
It can definitely be a little overwhelming to be faced with a bunch of new terms that you’re not quite sure what they mean. Use this list as a little cheat sheet for this tutorial if you come across a term you are unfamiliar with.
- ¼” Seam Allowance- Seam allowance is how much fabric you leave to the right of the seam. In quilting it is almost always a ¼” unless specified in the tutorial or pattern.
- Cut size- The size of the squares or rectangles to cut from your fabric that will be used to construct your units and blocks
- Goal size- The size of the completed block before we sew it into the quilt.
- Finished Size- The finished block size once it has been sewn into the quilt. This will be the goal size minus seam allowance (¼” on either side, for a total of ½”)
- Bias- The bias runs at a 45° angle from the selvage across a cut of fabric. Bias has a lot more stretch than the cross or straight grains.
- Right side of the fabric- The side of the fabric that has vibrant colors or the “front” of the fabric. The "pretty" side.
- Wrong side of the fabric- The side of the fabric that is duller or the “back” of the fabric.
- Square up- This is a term used to describe making sure your blocks are square. It is done after sewing and pressing each unit. This is very important to keep your quilt symmetrical.
DOWNLOAD THE FREE MATH CHEAT SHEET HERE
Half Square Triangles- “2 at a Time” Method
Half square triangles are called “half square triangles” because they are literally a square where each half is made up of a triangle in a different color. In this tutorial, I am going to show you how to make half-square triangles from scratch and give you some tips and tricks along the way.

Step 1: The Math
I know, I know, math is gross, but unfortunately, it is a necessary evil in the world of quilting. Lucky for you, I’ve figured out the equation for you and tested it so you don’t have to! This is the simplest method of HST construction.
HST “2 at a Time” Equation: Cut size = Goal size + ½”.
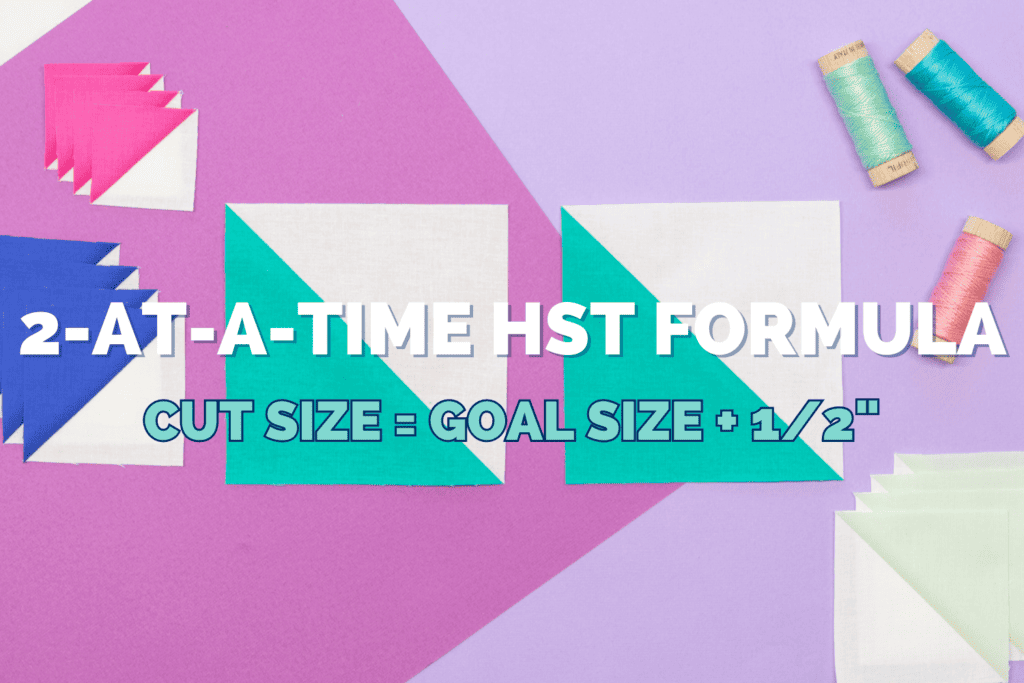
For example, my goal size will be 5” HST blocks. When I eventually use these in a quilt and take the seam allowances out, the finished size will be 4 ½” squares.
Using the equation, we can figure out what size of squares to cut.
- Goal size= 5” + ½”= 5 ½” squares
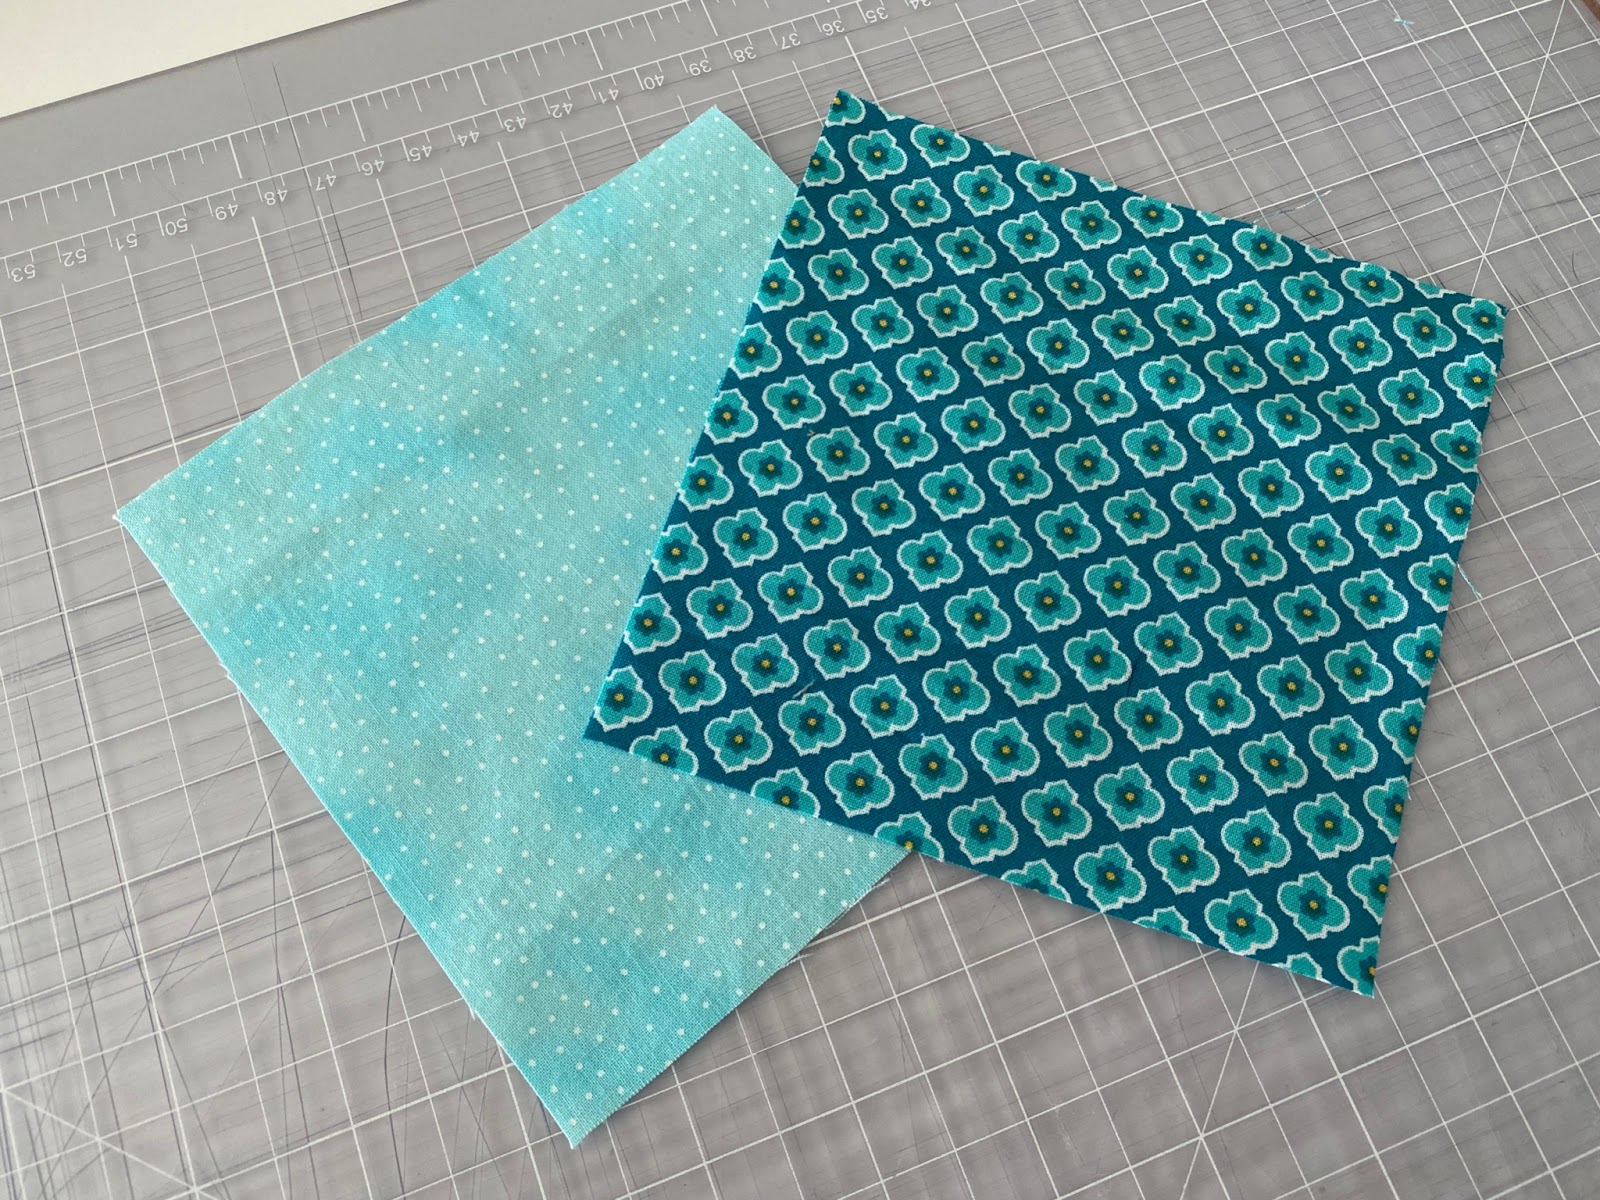
To create 2 HST blocks we will need 2 coordinating fabrics to cut one 5 ½” square from each.
Now, if you want to make things easier on yourself and skip the math - make sure to download my free math cheat sheet above. I've done all the math for you in the cheat sheet!
Step 2: Cut the fabric
Now that we know what size of squares to cut for our HST blocks, let’s cut our fabric.
When you are cutting your fabric for these blocks you will need to make sure you are being precise with your measurements and cuts. That's where a rotary cutter and a good quilting ruler come in very handy.
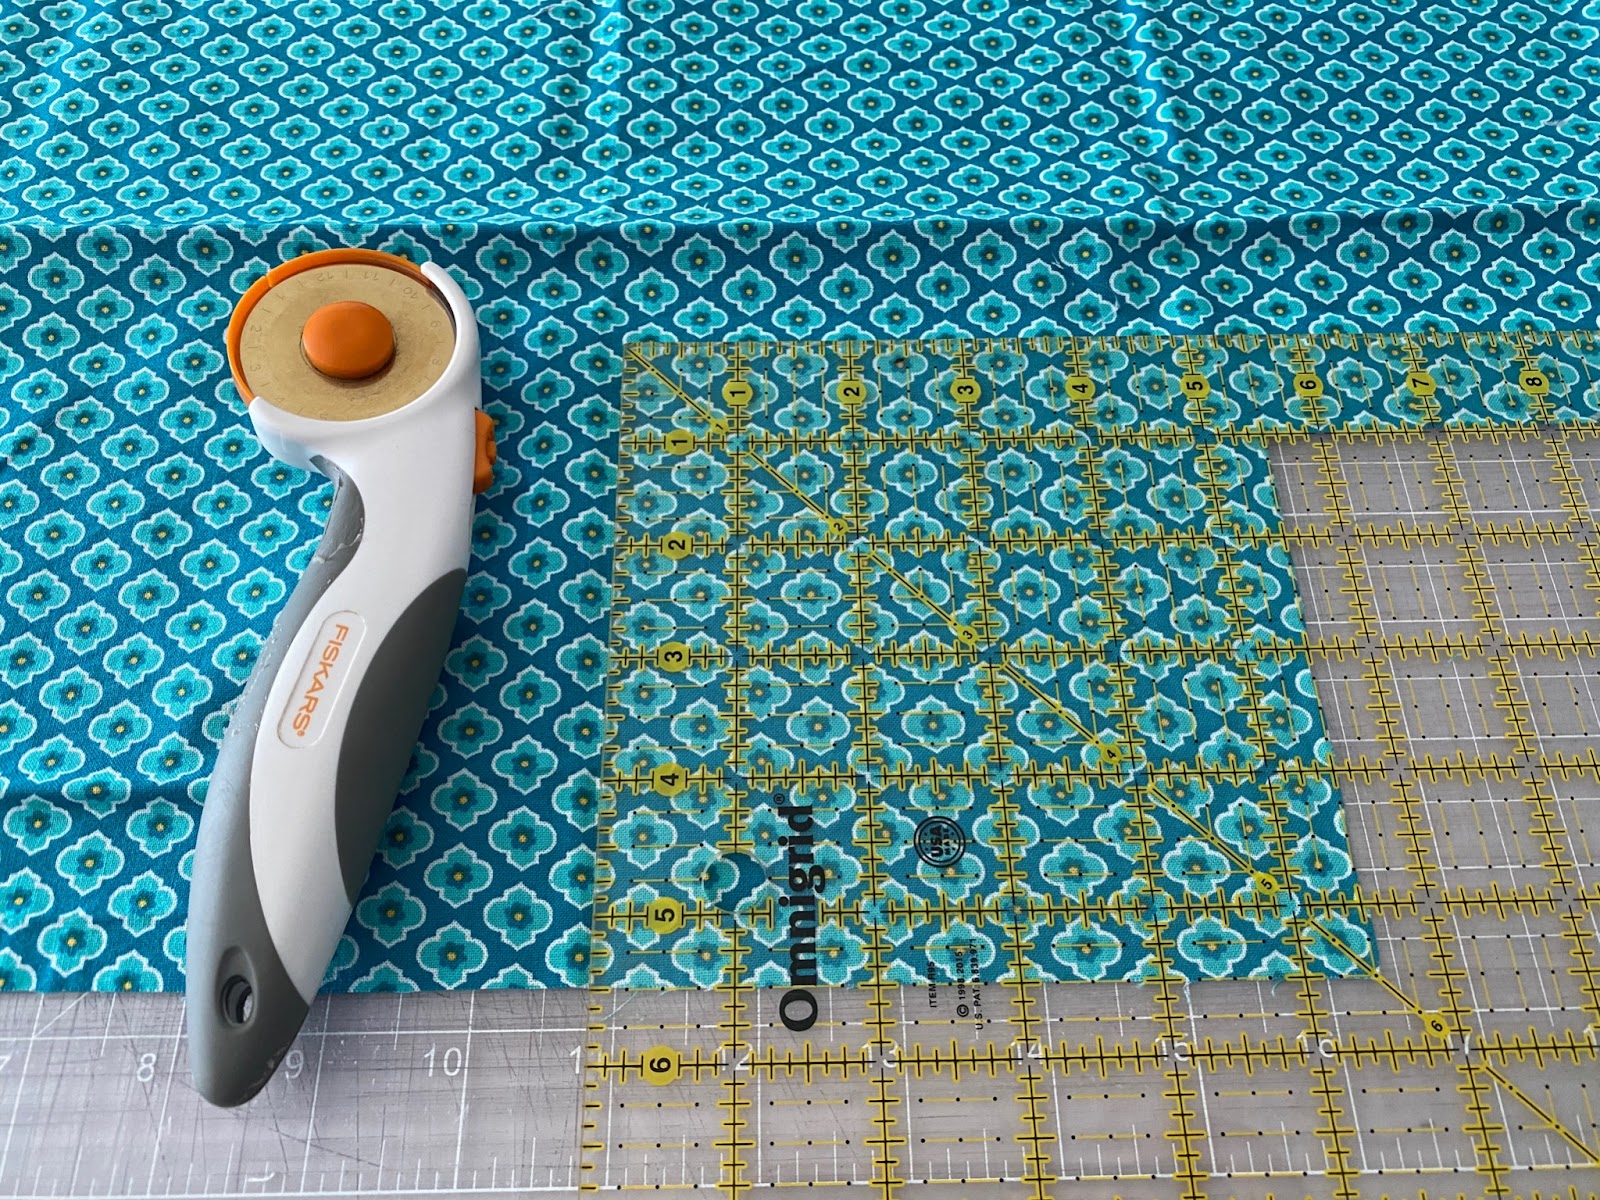
Choose 2 coordinating fabrics and cut a 5 ½” square from each fabric.
Step 3: Mark the fabric.
Since we want to get 2 HST from these squares, we need to divide them in half.
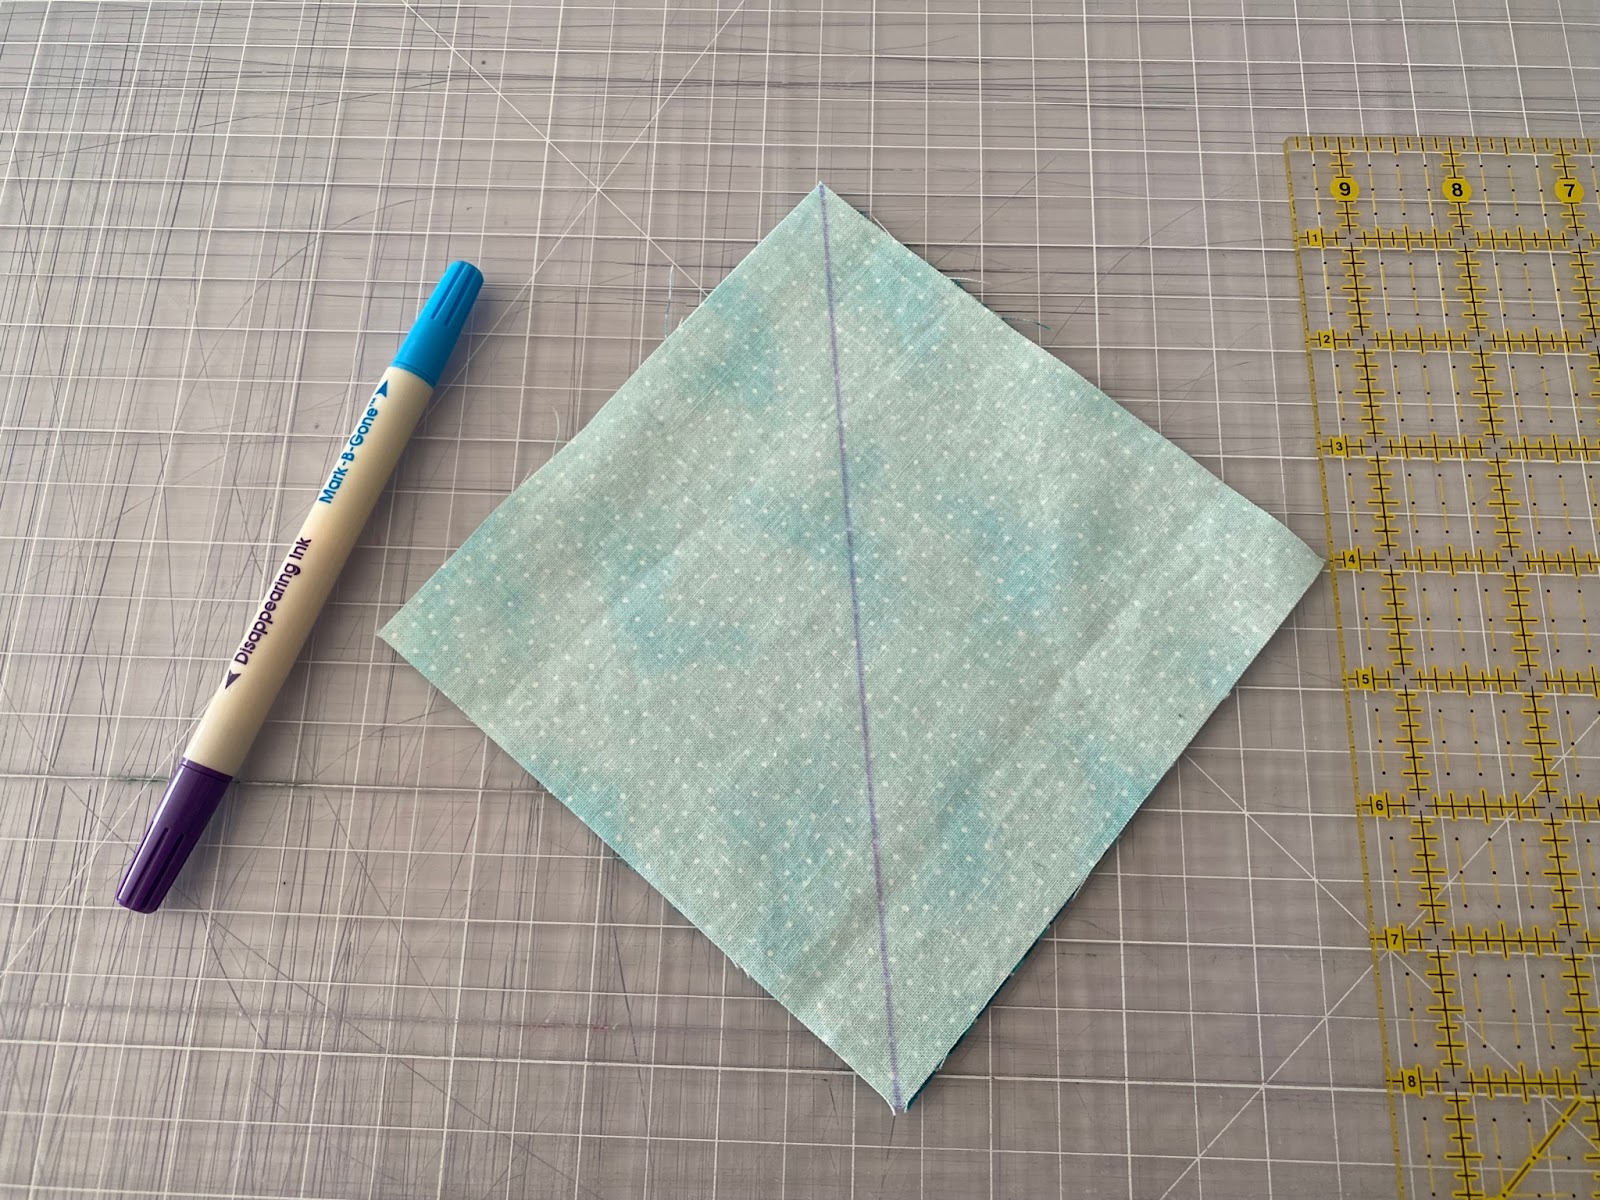
To do this, place your squares with right sides together. On the top square in the stack, take your marking pen and draw a diagonal line from one corner to the opposite corner. In the image below it is the purple line. This is your middle guideline.
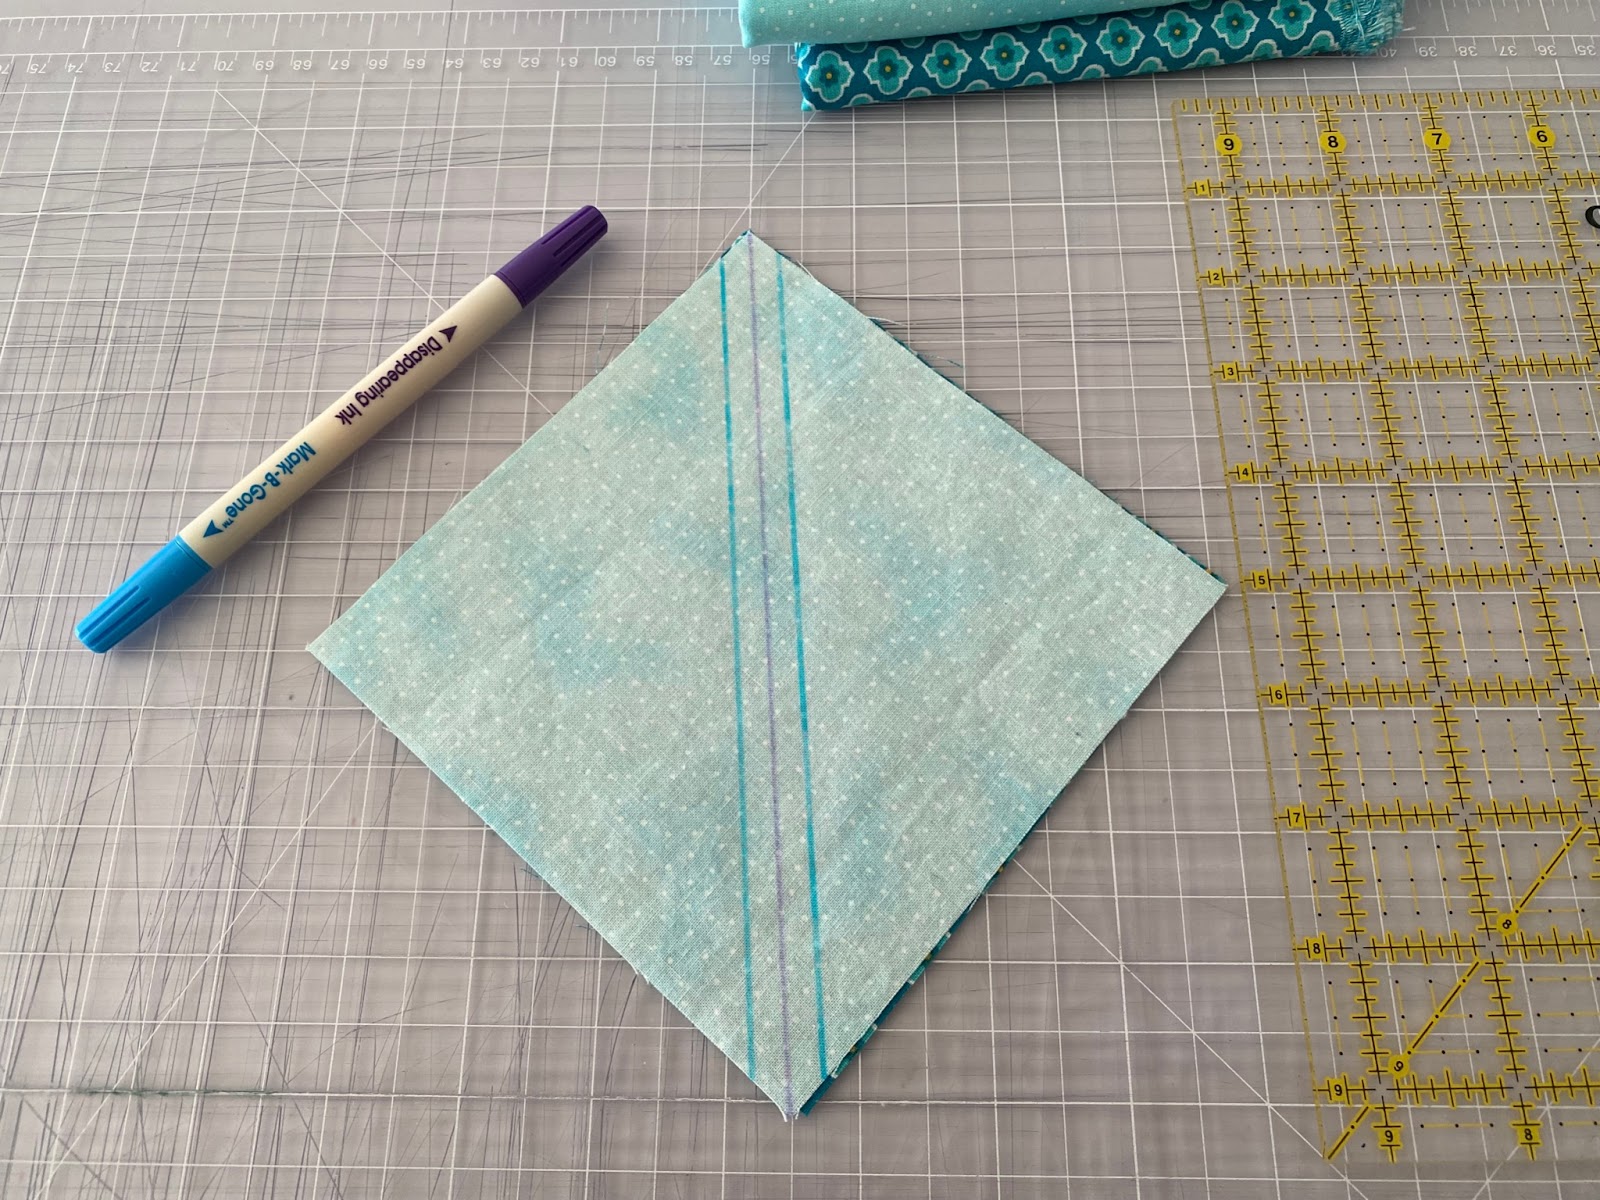
Next, draw two more lines - one ¼” away from either side of your middle guideline. In the image below these are the blue lines. These will be the stitch lines.
Step 4: Sew both lines
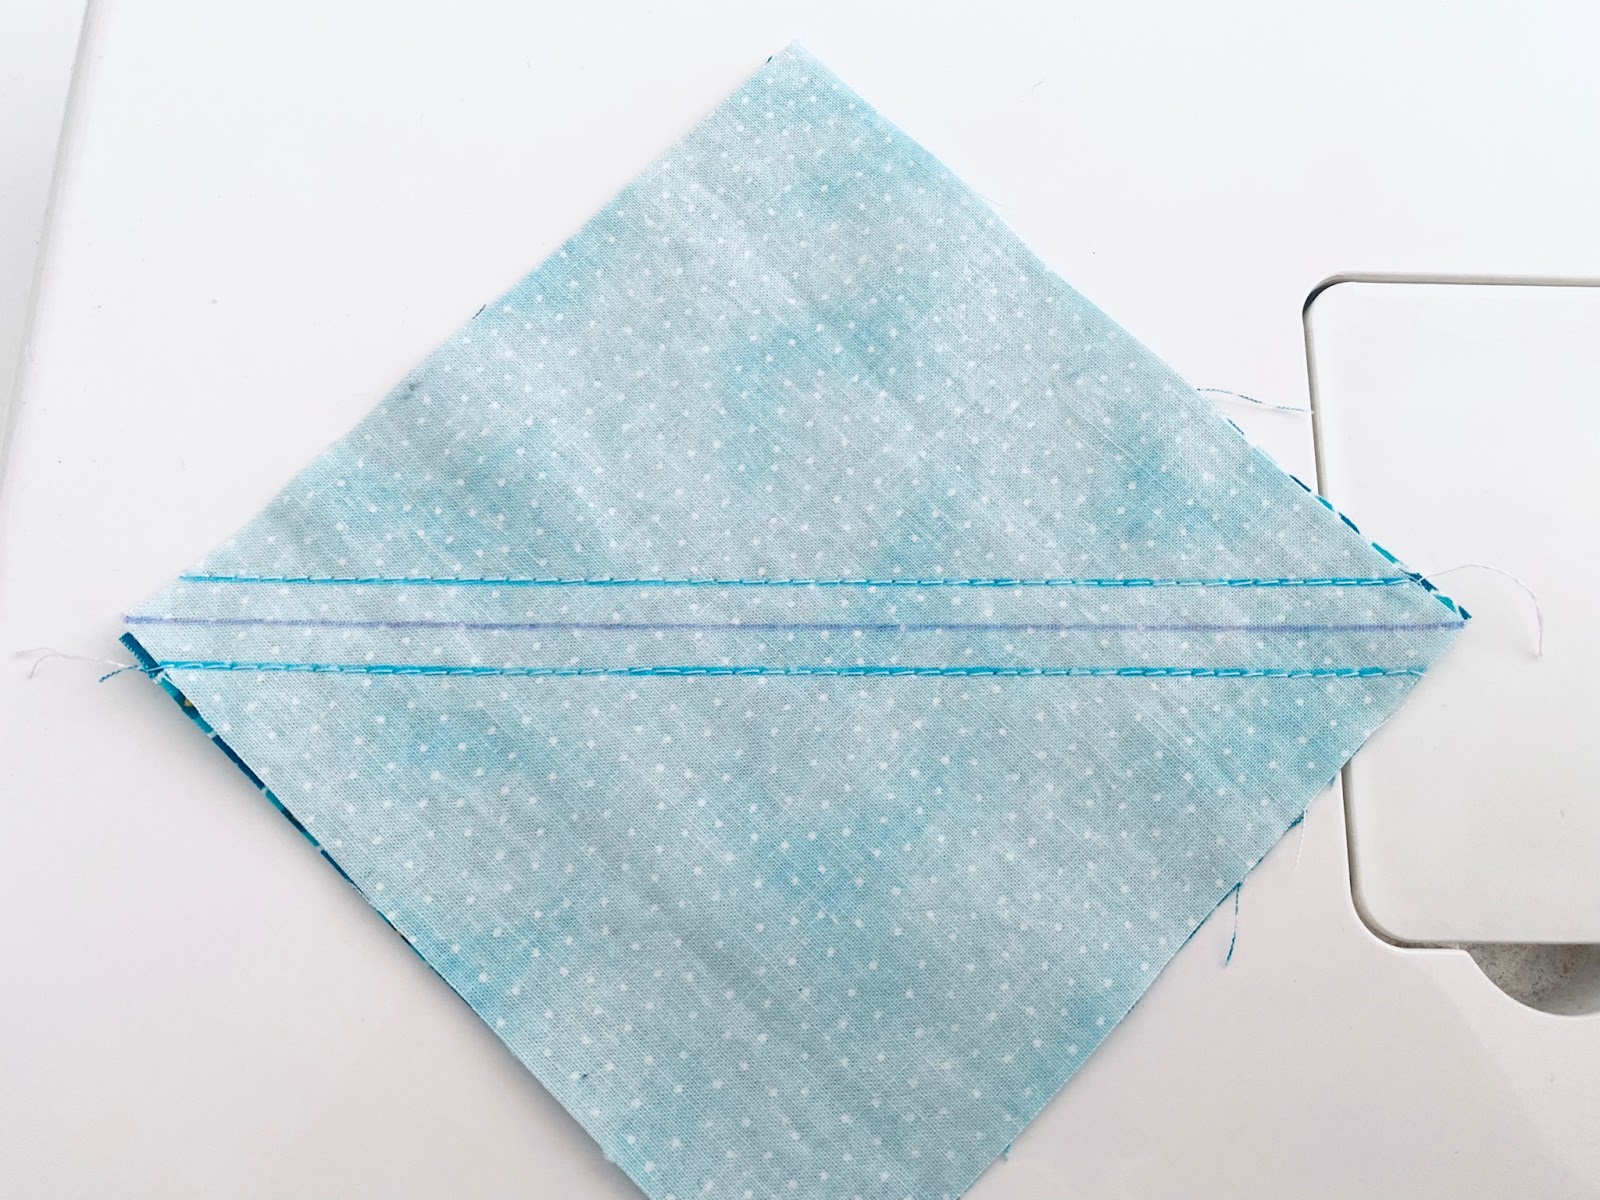
Take your squares to your sewing machine and sew down each stitching line (the blue lines in the photo below).
Make sure you stay precisely on the lines to ensure you have equal HST blocks.

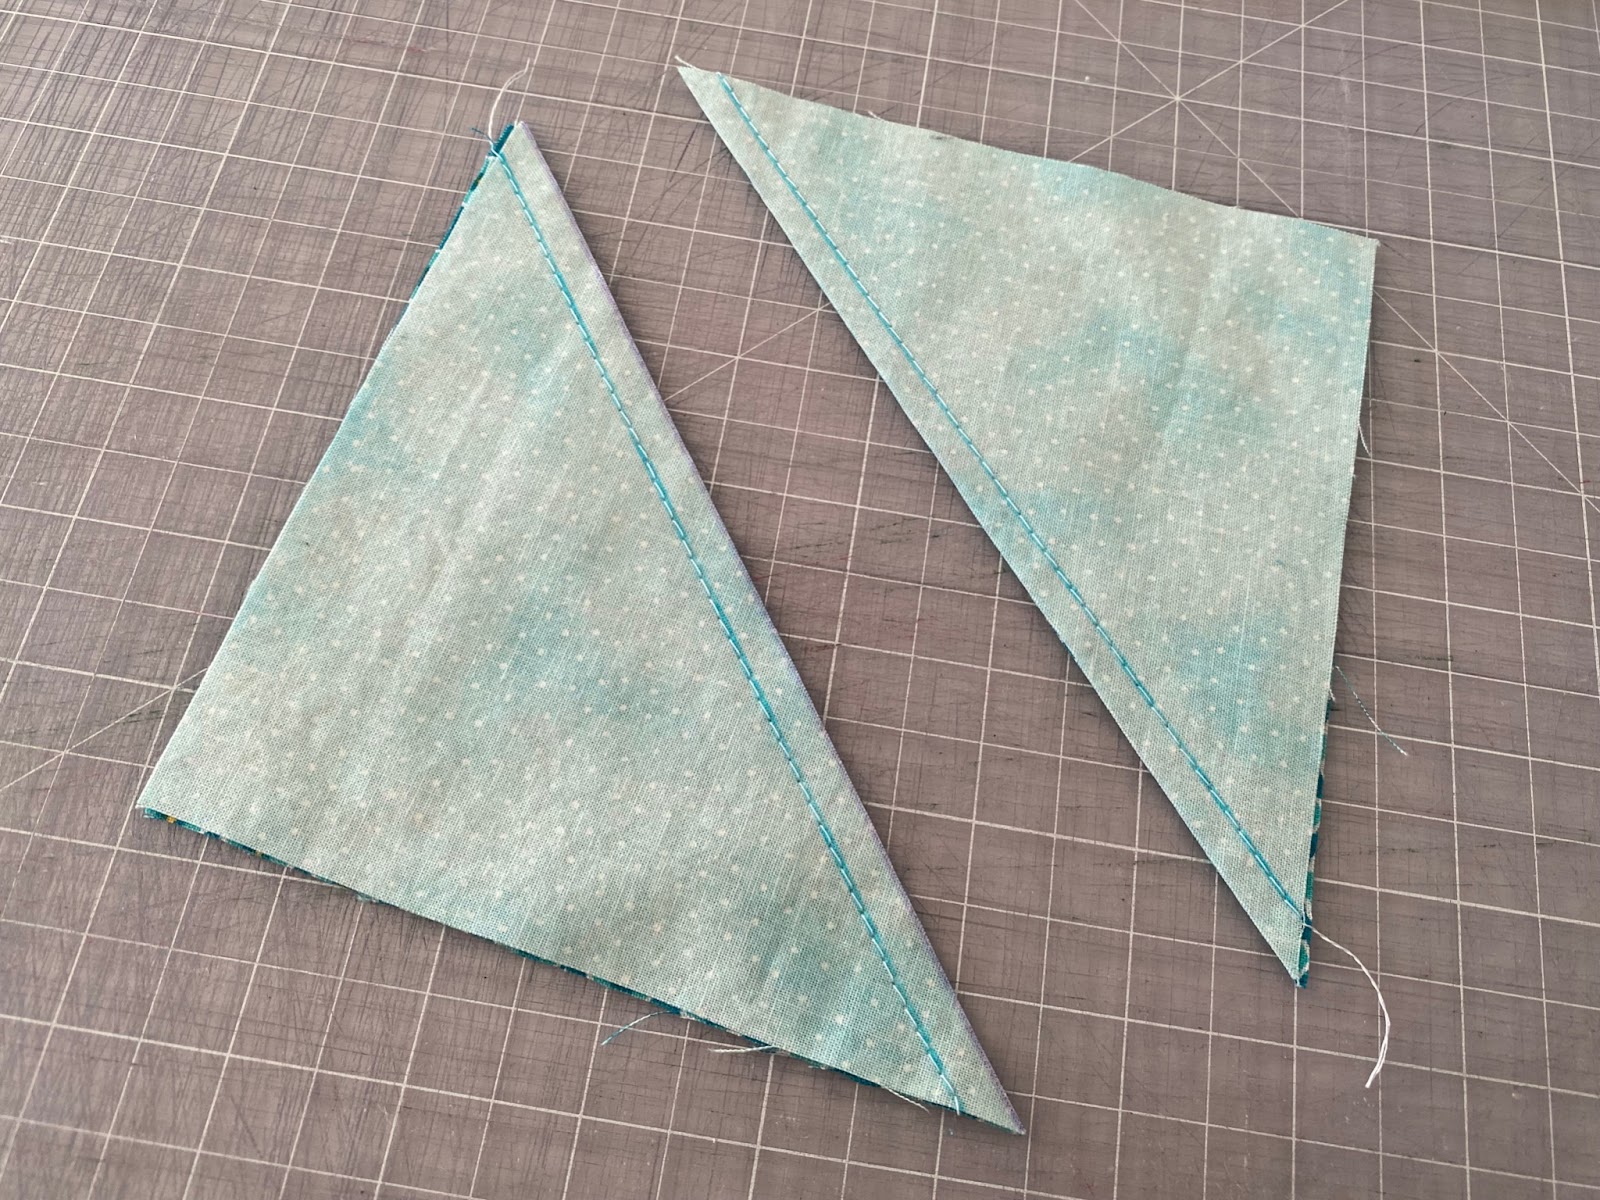
Step 5: Cut Along the Guideline
Next, take your stitched square to your cutting mat and, following the middle guide line, cut the square in half. Use a ruler to help you cut a perfectly straight line.
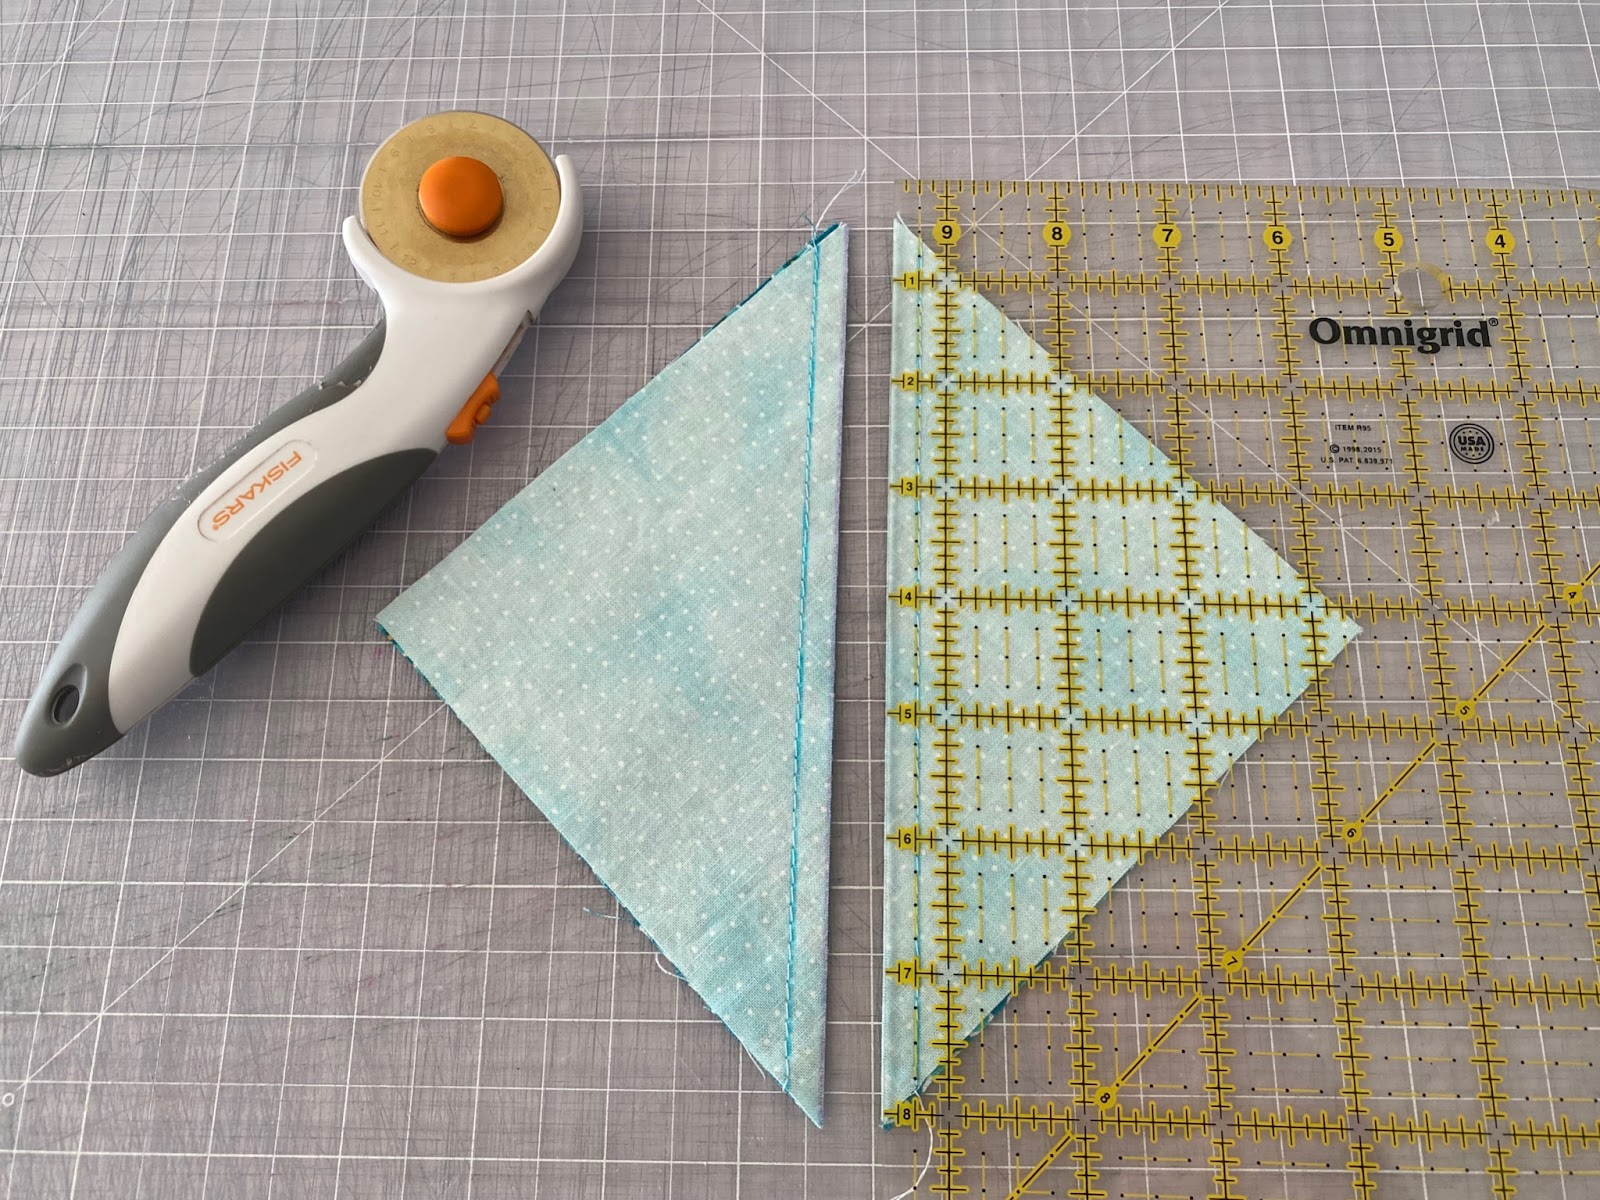
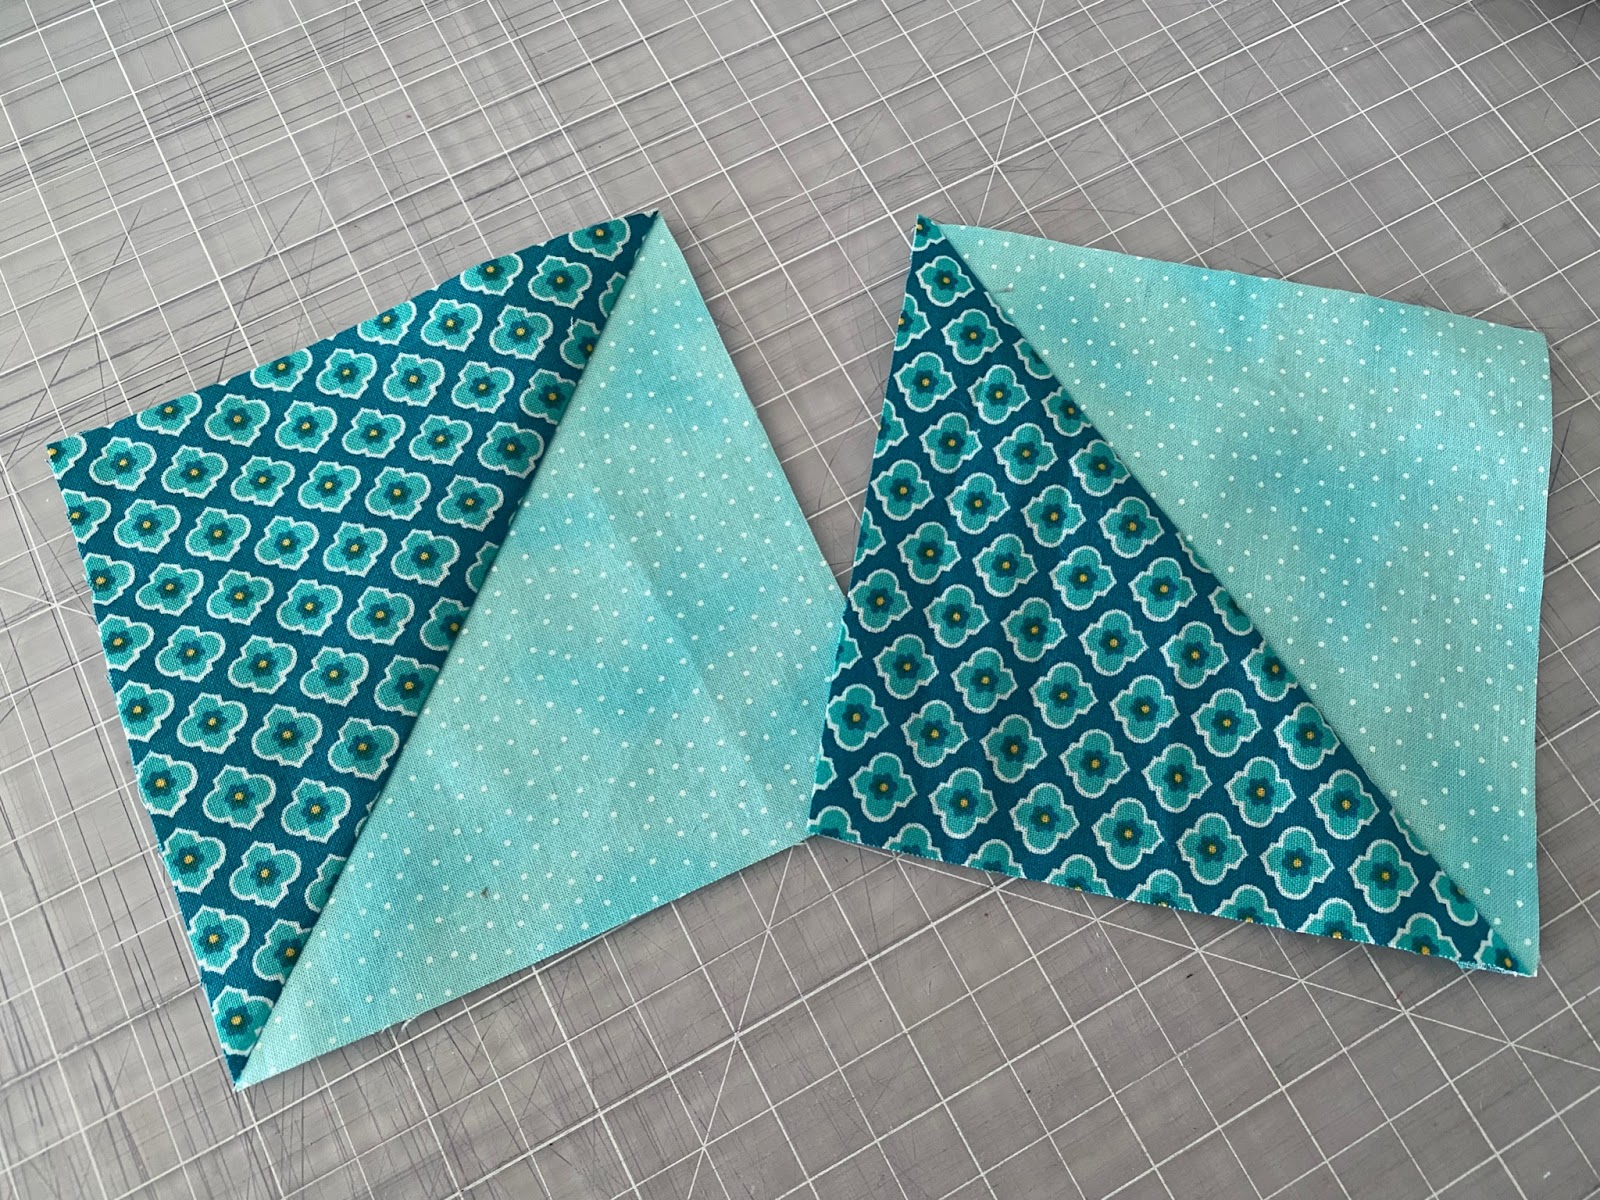
You now have 2 HST units! Congratulations!
Step 6: Press the Blocks
This step is important. I highly recommend not skipping the pressing!
Press your blocks to get them nice and flat and ready for our last step. With the wrong side of the fabric touching the ironing board, press your block open with the seam allowance going towards the darker fabric.
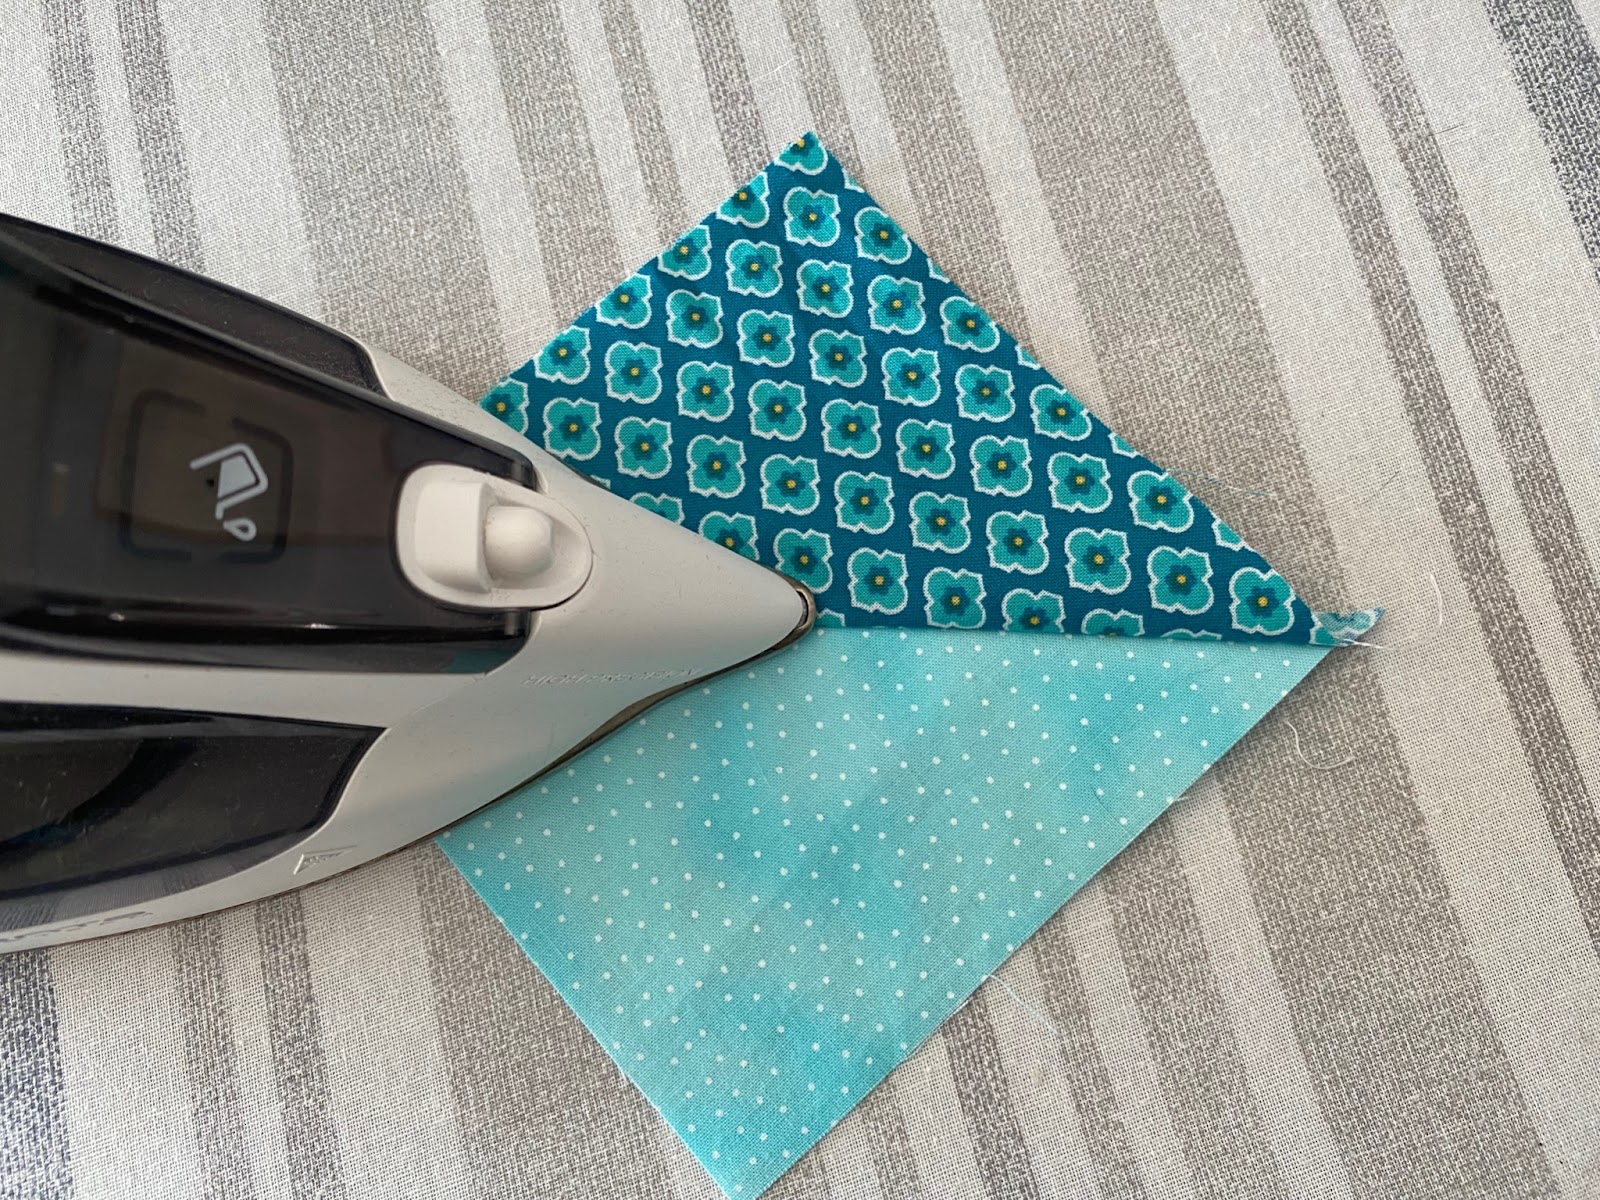
Keeping the seam pressed towards the dark fabric will ensure that you won’t be able to see the seam through the lighter fabric.
Step 7: Trim if Necessary
In a perfect world, our HSTs would always measure exactly what we need them to be every time, but if you work with fabric for any amount of time you will learn it has a mind of its own sometimes.
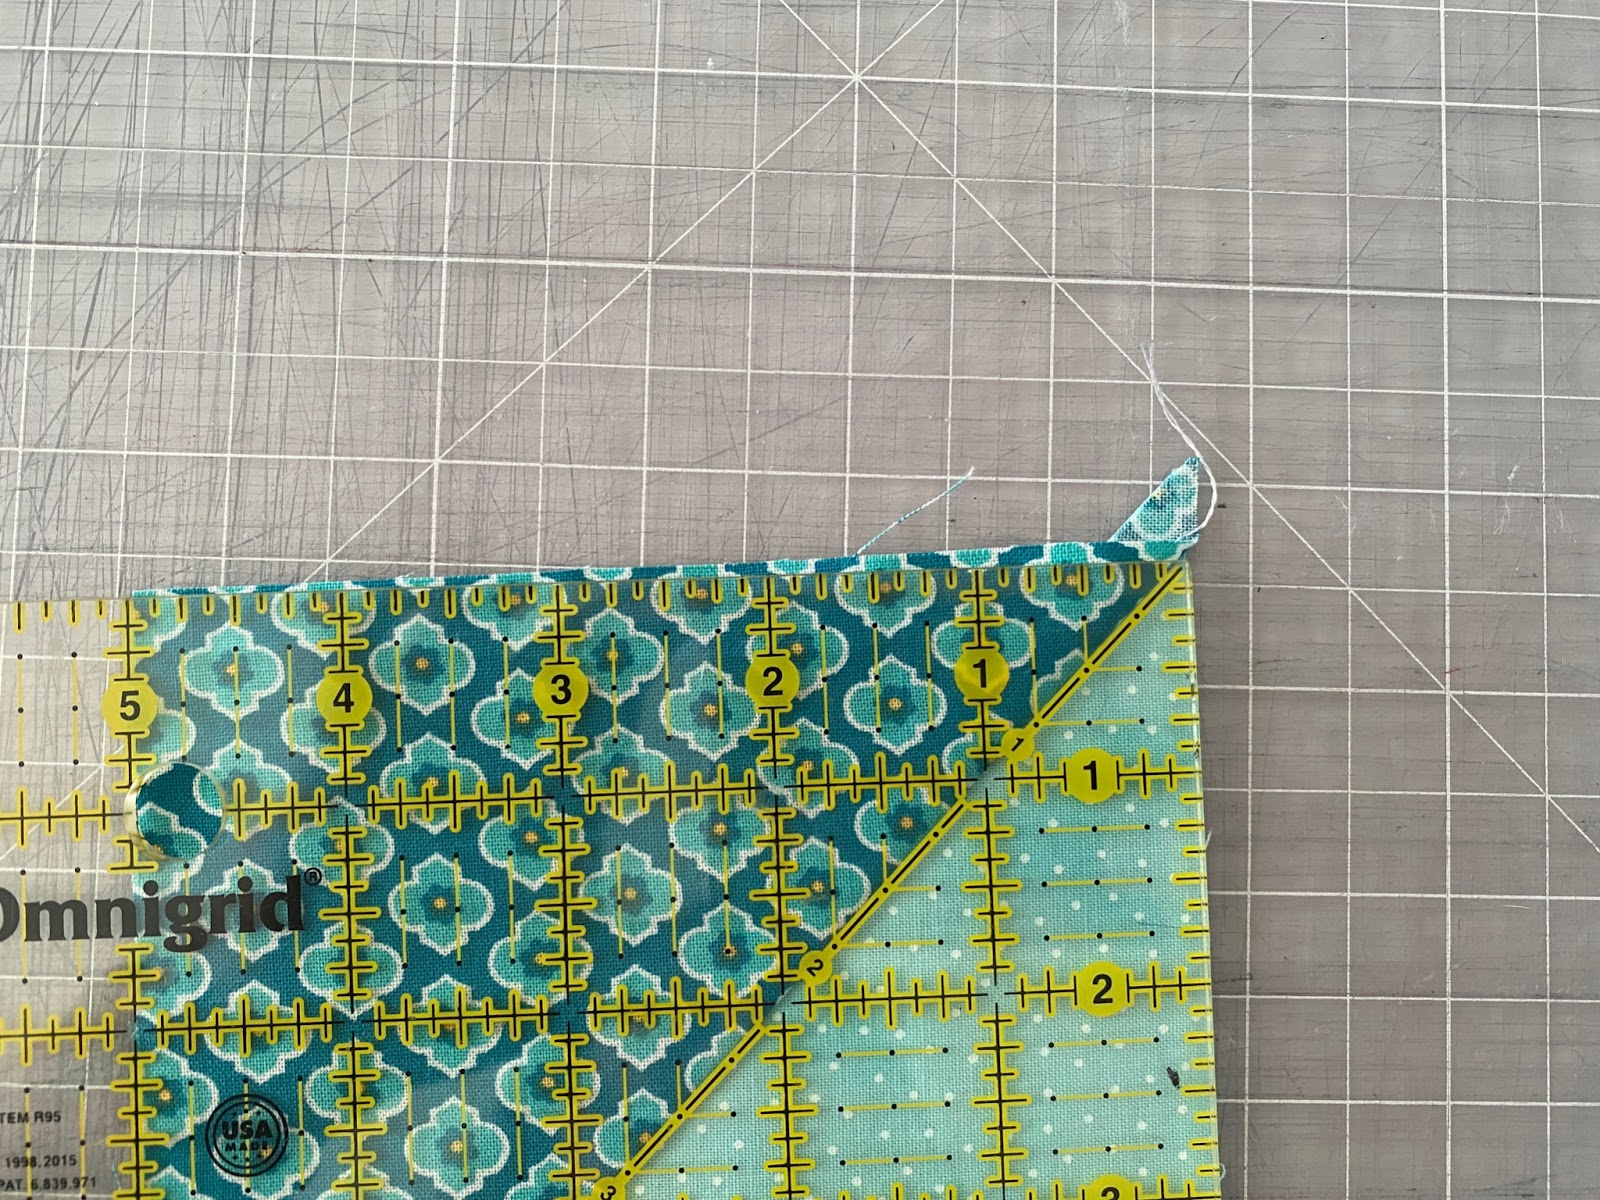
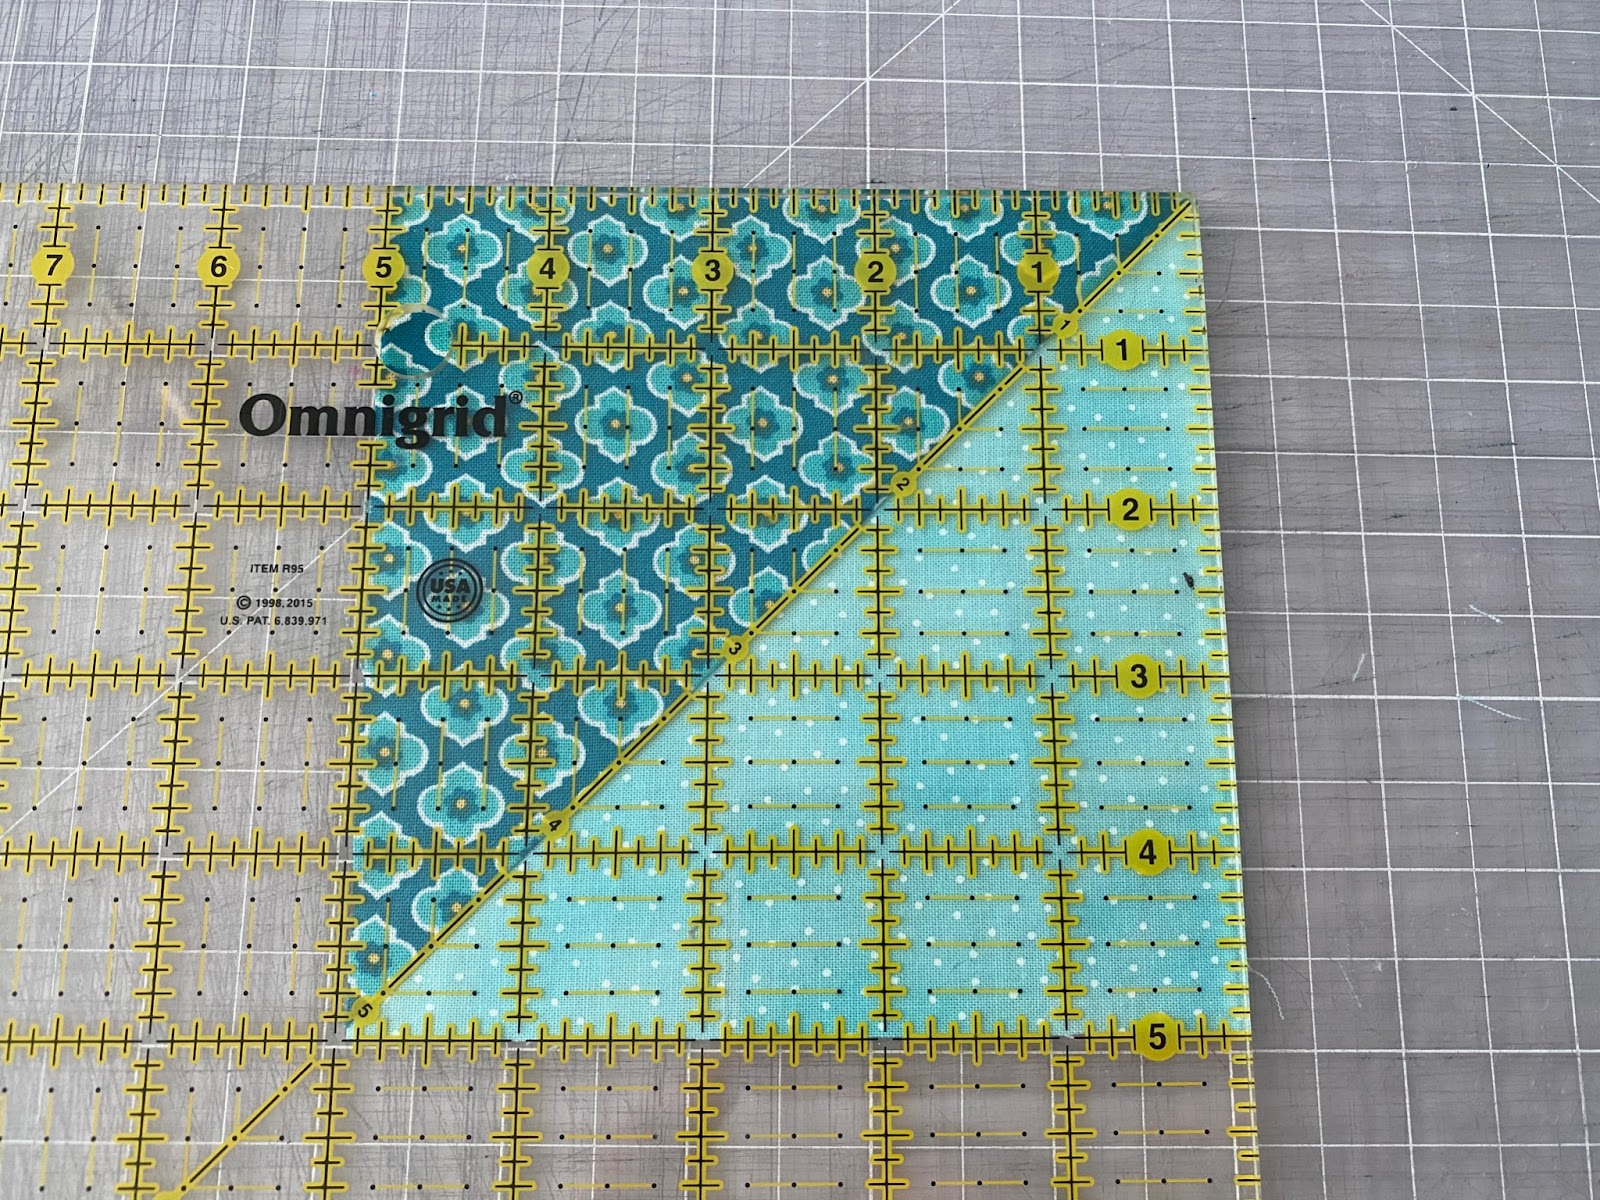
After you have pressed your blocks flat, take them back to your cutting mat and check to see if they measure 5”.
If they don’t, use your trusty ruler to trim off any excess fabric. Use the 45° line on the ruler and line that up with the diagonal seam on the HST while you cut. This will help you square up your quilt block perfectly while you trim it down to size.
And that’s it, you’re done! Aren’t these blocks adorable?
I hope this tutorial took some of the confusion and overwhelm out of the construction of HST blocks. These really are a staple block that every quilter will use - whether you are a beginner or a seasoned pro.
Quilting is another exciting area in the crafting world and I encourage you to try it and see where it can take you. Have fun with it!
Do you want to remember this post? Pin it on Pinterest!
This is great. I recently retired and have always wanted to learn to quilt .
Love the idea of doing more than one half-square-triangle at a time. However, as a math teacher, I was a bit dismayed by your statement about math being gross. Really should not be necessary to make negative comments (however funny you think they may be)about a different subject when you are promoting your craft. Remember there are all kinds of people in your audience.