Learn the Easiest Way to Insert a Lapped Zipper in This Beginner Friendly Step-By-Step Sewing Tutorial
Sewing a lapped zipper is a great way to add a professional touch to your handmade garments and other projects.
This zipper insertion technique is one of the least commonly used by home sewers, but it's really a method worth learning! In this tutorial, I'll show you how to sew this beautiful type of zipper.
Table of Contents
What is a Lapped Zipper?
A lapped zipper is sewn so that a narrow flap of fabric covers the zipper teeth from one side. This hides the zipper teeth from view and gives your project a very refined and professional feel.
Why Use a Lapped Zipper?
If you want your project to have a high-end look or an extra-special detail, a lapped zipper is a great choice. Because lapped zippers are hidden and the only thing visible from the outside is some beautiful topstitching, they will give your sewing projects a classy, sophisticated look.
What Projects Can You Use a Lapped Zipper For?
You can use a lapped zipper in any project that calls for a zipper. Even if the pattern recommends a centered or invisible zipper, you can sew a lapped zipper instead if you prefer. Lapped zippers are especially great for dresses, skirts, quarter-zip pullovers, and jackets.
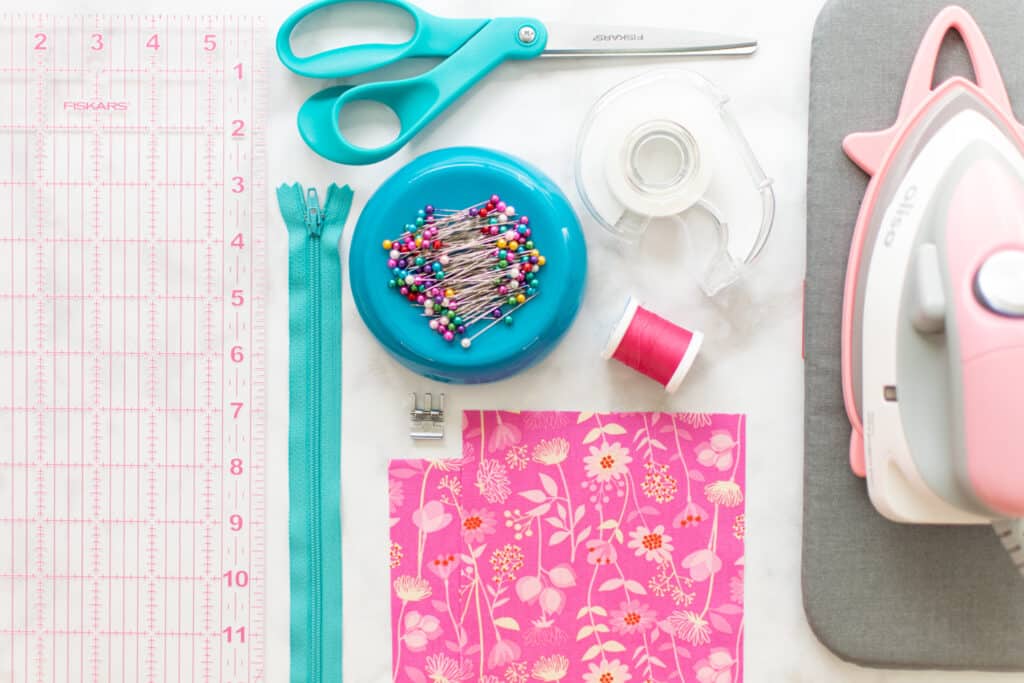
Supplies for Sewing a Lapped Zipper
Here are the supplies you'll need to sew a beautiful lapped zipper.
- Project that needs a zipper
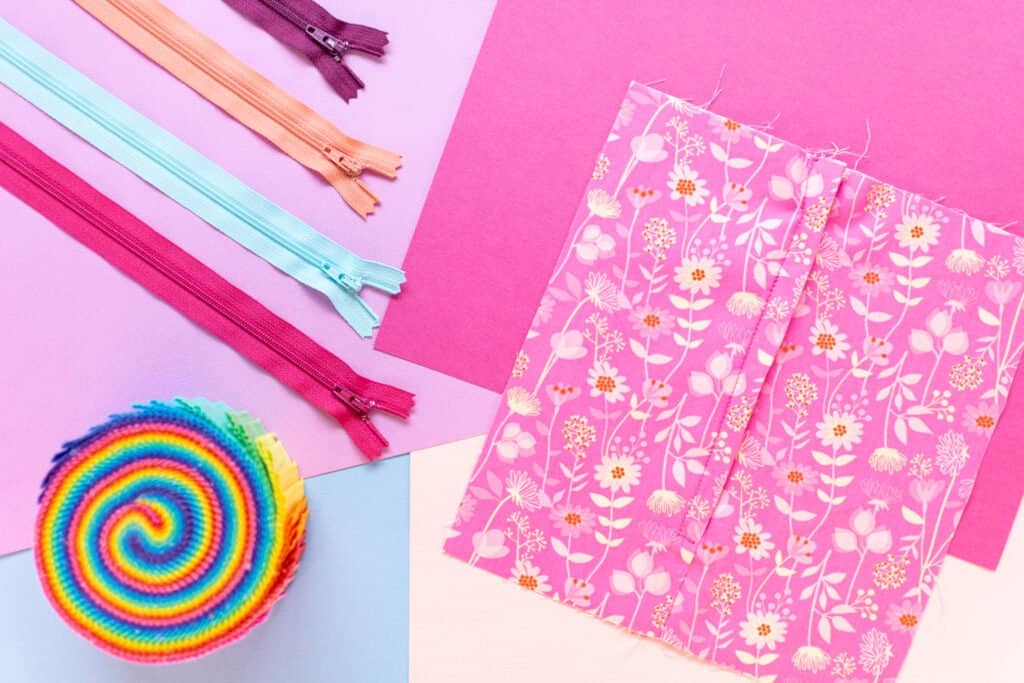
- Zipper in the right length
- Zipper Foot (make sure it's compatible with your machine)
- Scotch Tape
- Scissors or Thread Snips
- Fabric Chalk or Marker
- Clear Quilting Ruler
- Pins
- Thread
- Sewing Machine Needle
- Sewing Machine
- Iron
- Ironing Mat
Step 1: Prepare Your Project for the Lapped Zipper
The first step is to prepare the seam of your project for the lapped zipper.
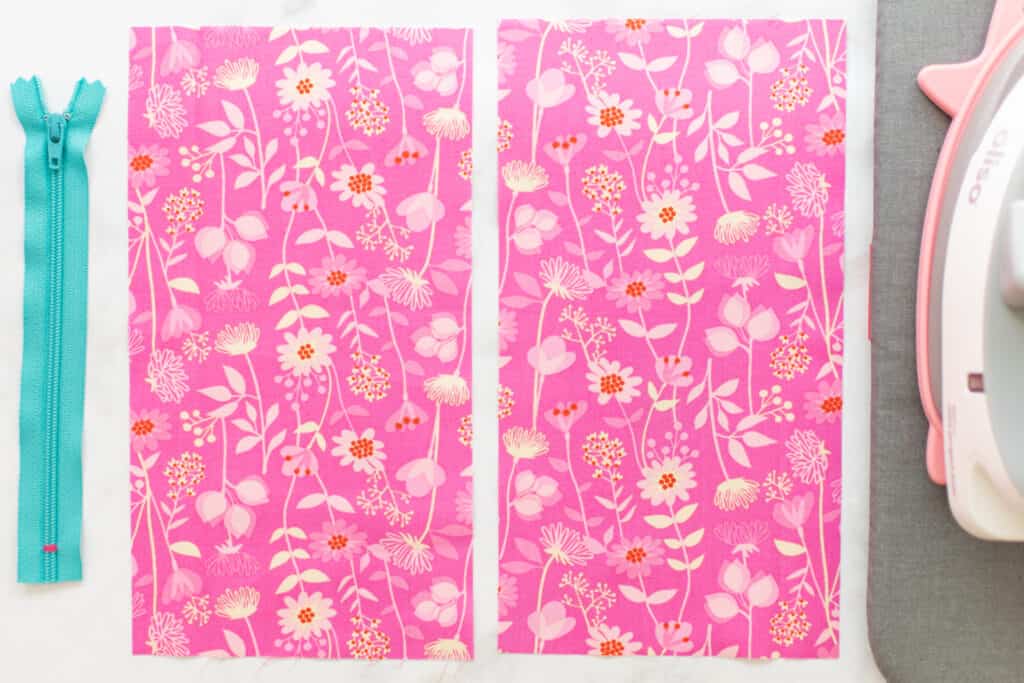
Start by finishing the edges of the fabric that the zipper will be sewn into. I like to use my serger for this, but you can use your favorite finishing technique - such as a zigzag stitch or pinking shears!
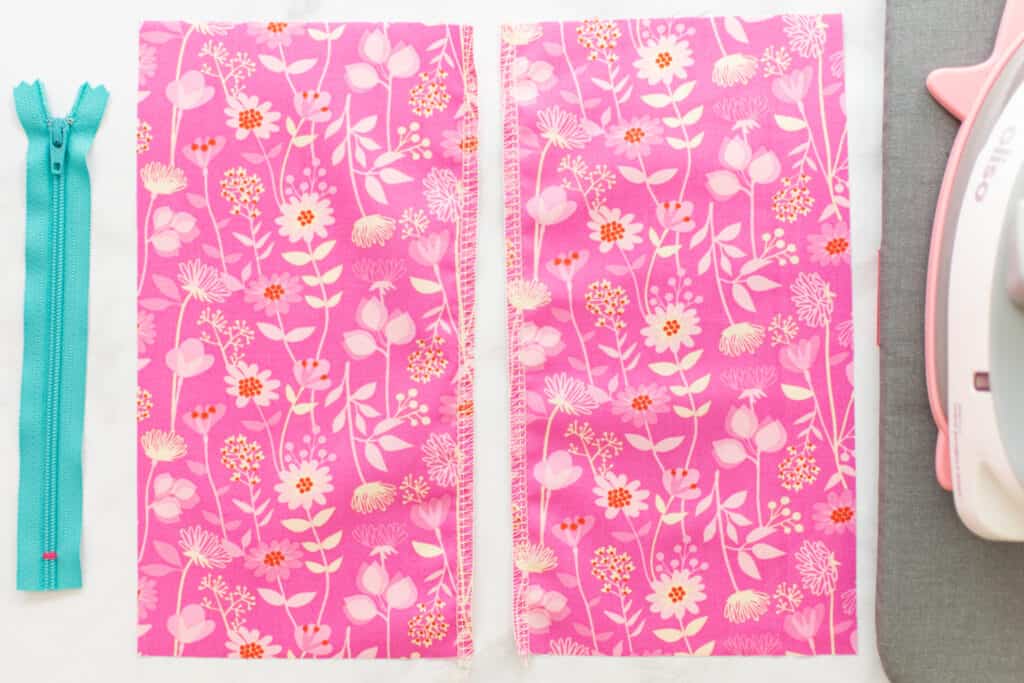
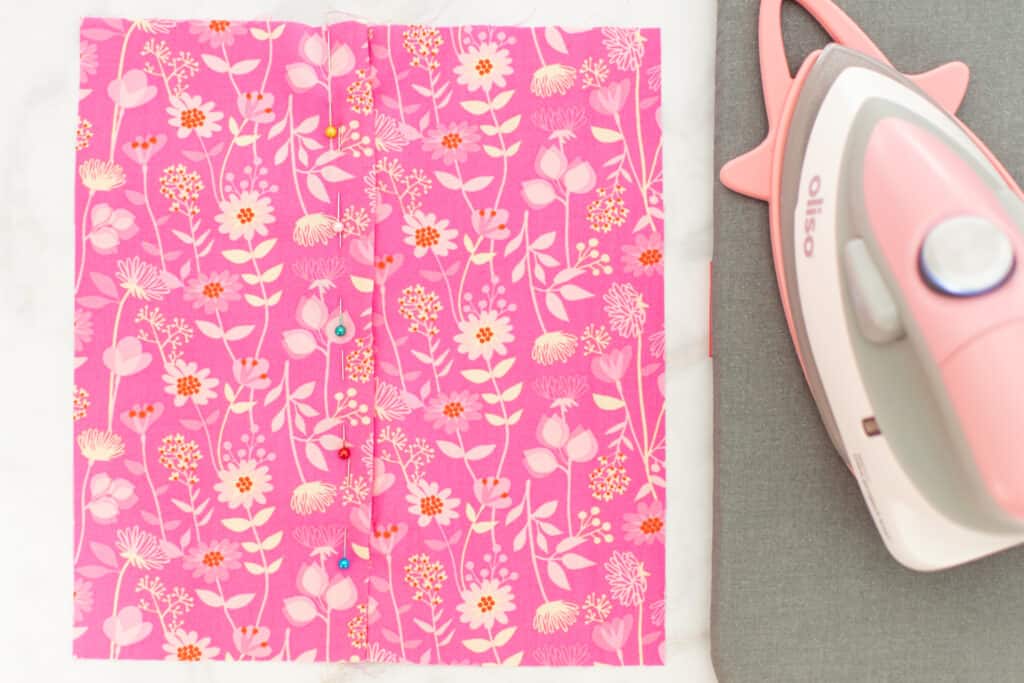
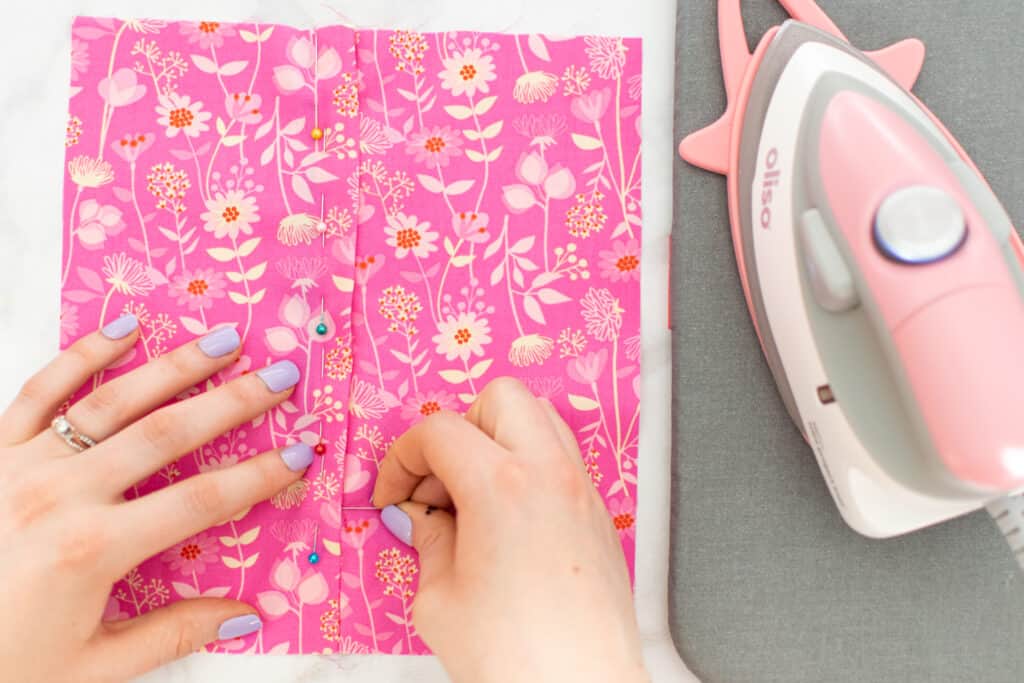
Next, pin the seam of your project with right sides together.
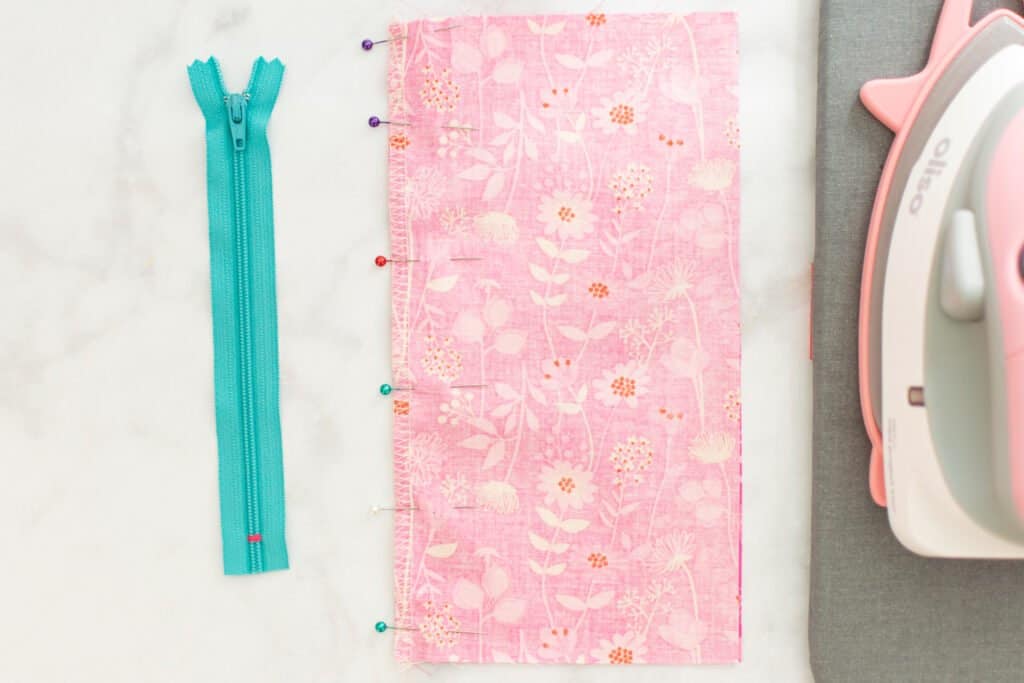
Then, line up the zipper next to the edge of the fabric, aligning the top stop a little more than a seam allowance distance from the top edge of the fabric.
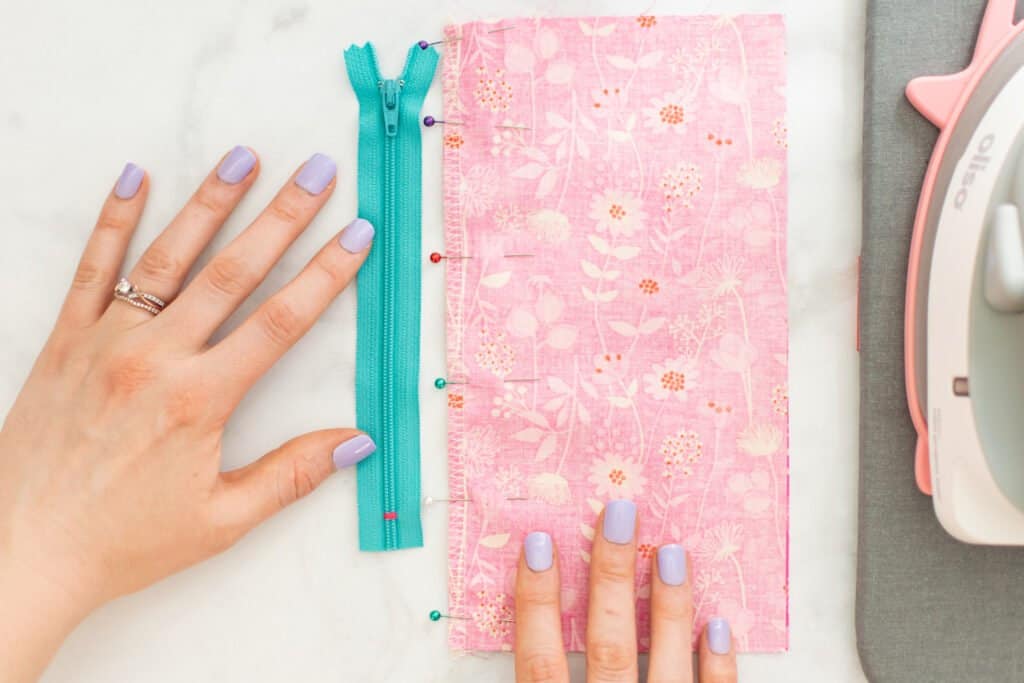
Mark where the bottom stop of the zipper falls along the edge of the fabric.
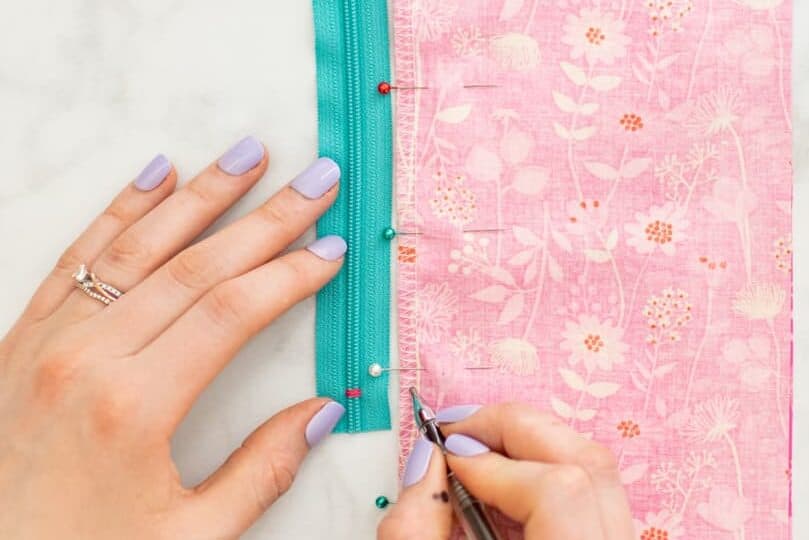
Sew the seam from this marking down to the bottom. Don't forget to backstitch at the beginning and end!

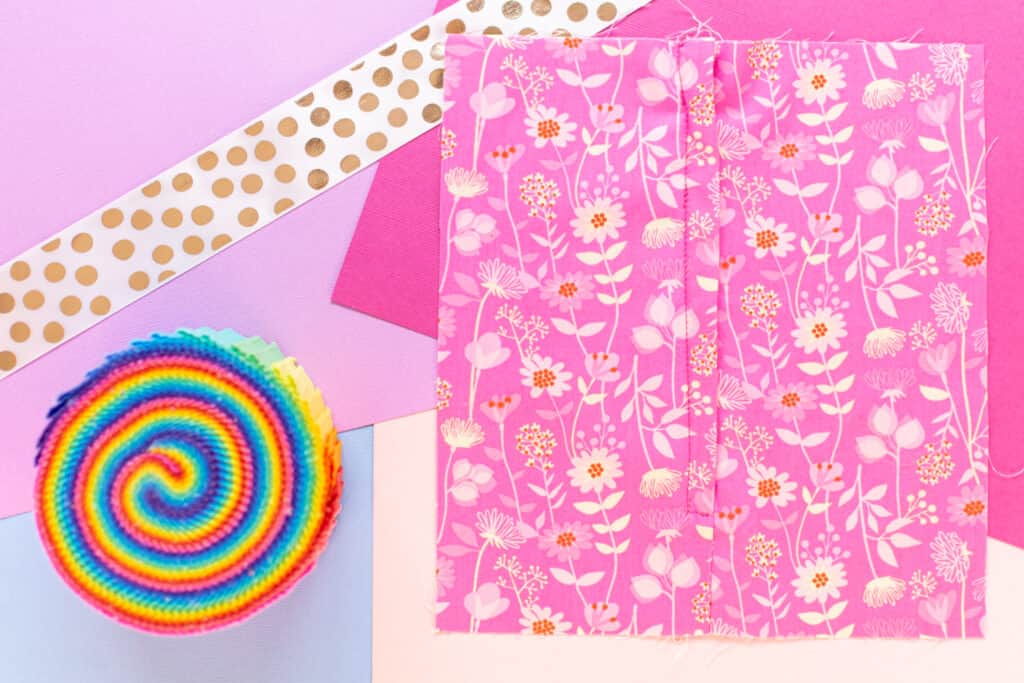
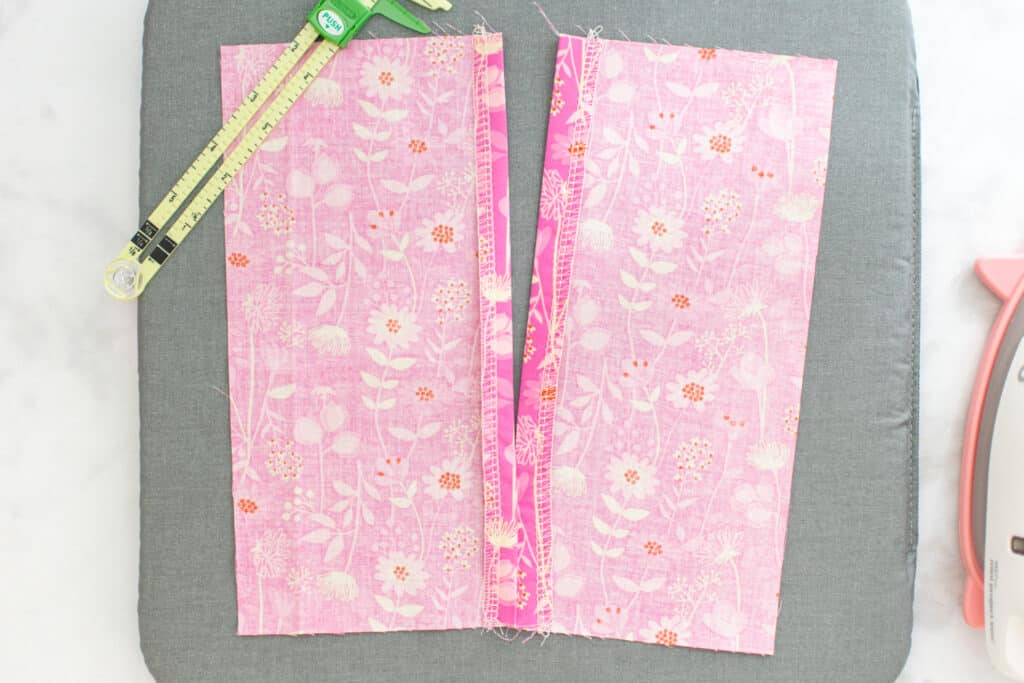
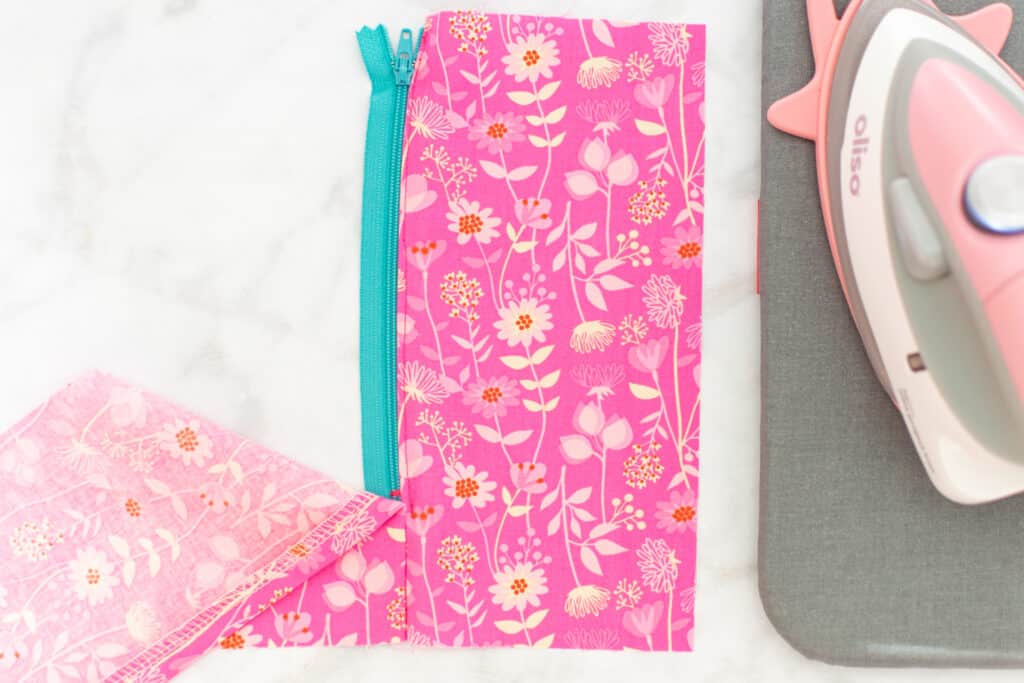
Next, place your project wrong side up on your ironing board. Press the right seam allowance away from the seam, continuing to press under the amount of your seam allowance up through the opening for the zipper.
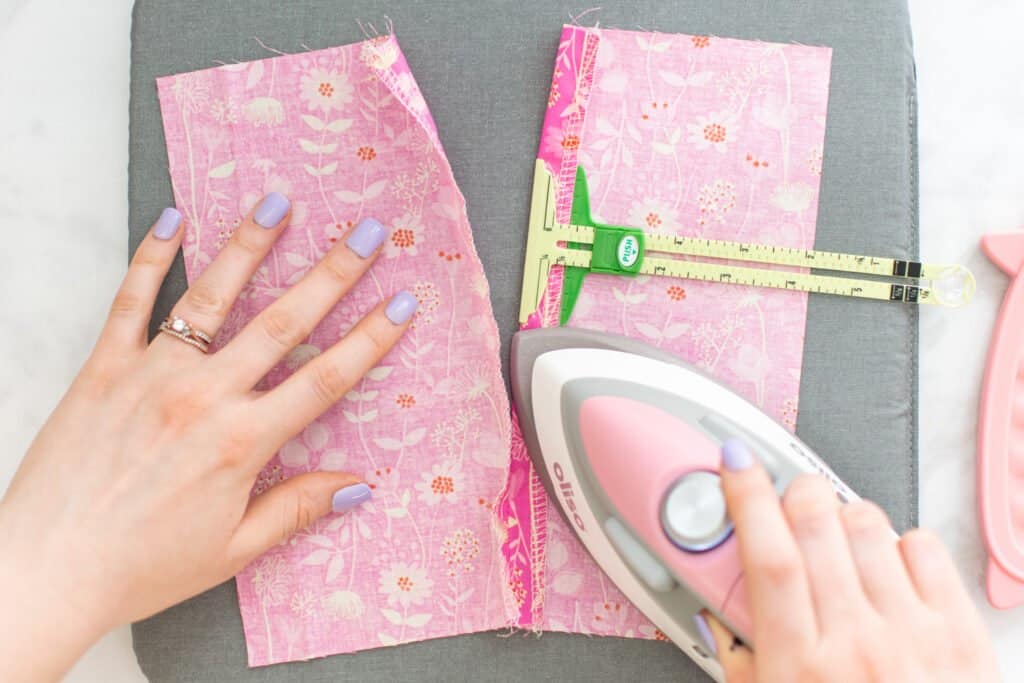
Press the left seam allowance away from the seam all the way up through the zipper opening, but press 1/8 inch less than the seam allowance. So, if your seam allowance is 5/8 inch, you'll want to press the second side over by 1/2 inch.
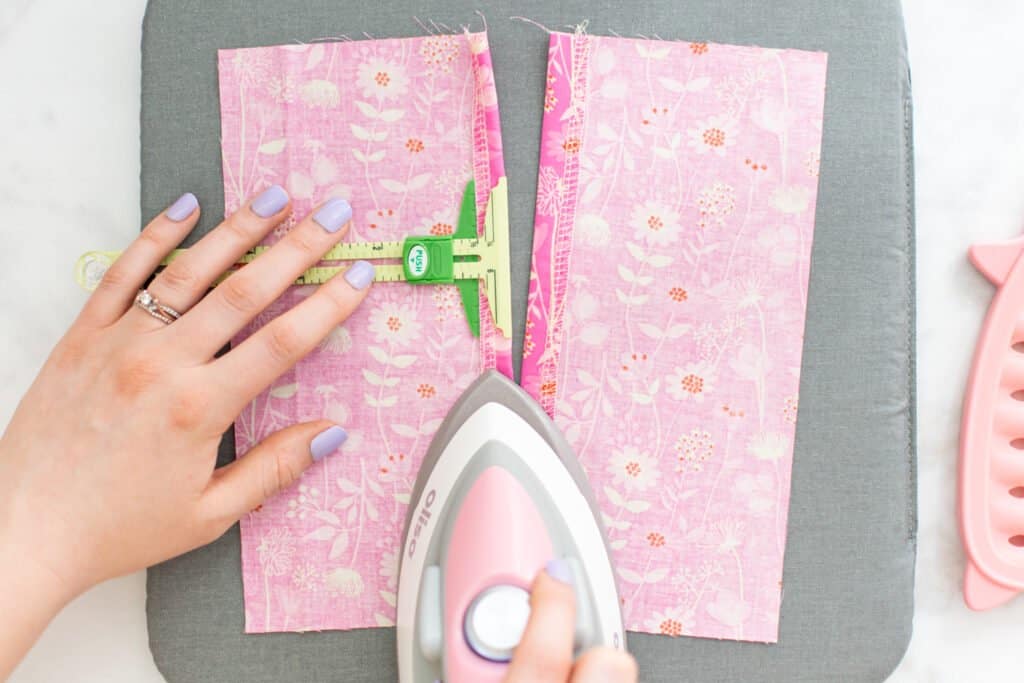
This pressing difference is what will allow you to have an overlap that covers the zipper teeth.
Step 2: Pin and Sew the First Side of the Zipper
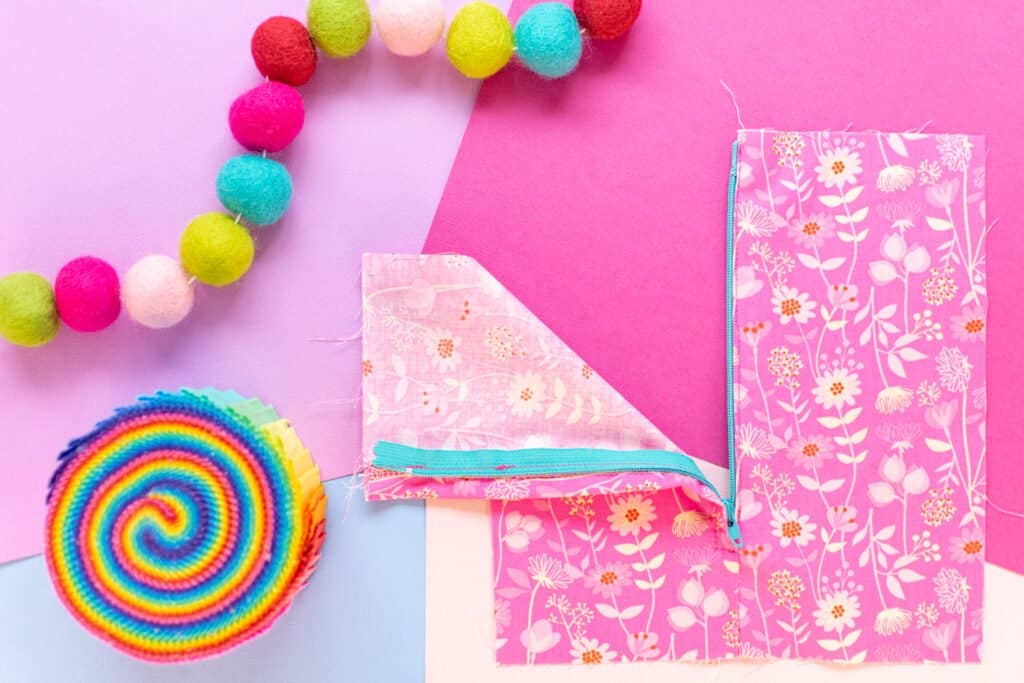
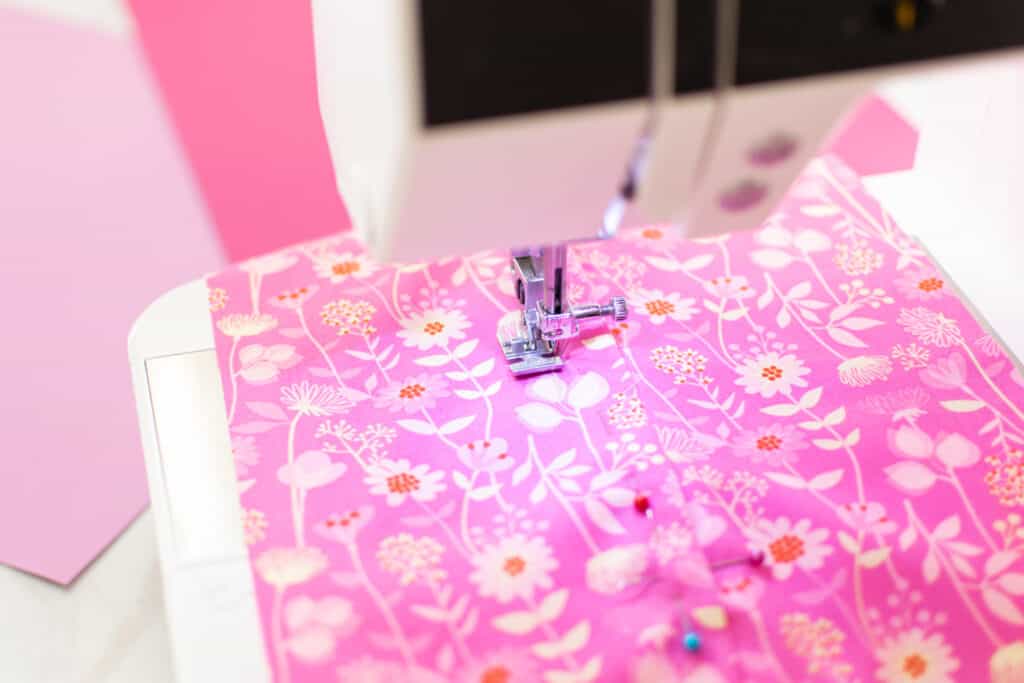
It's time to start sewing your zipper! Flip your project so that it is right sides up on your table.

Secure the right side of the zipper tape to the narrower folded edge of the seam, lining up the zipper teeth right along the seam. The bottom stop should line up right where the stitching begins.
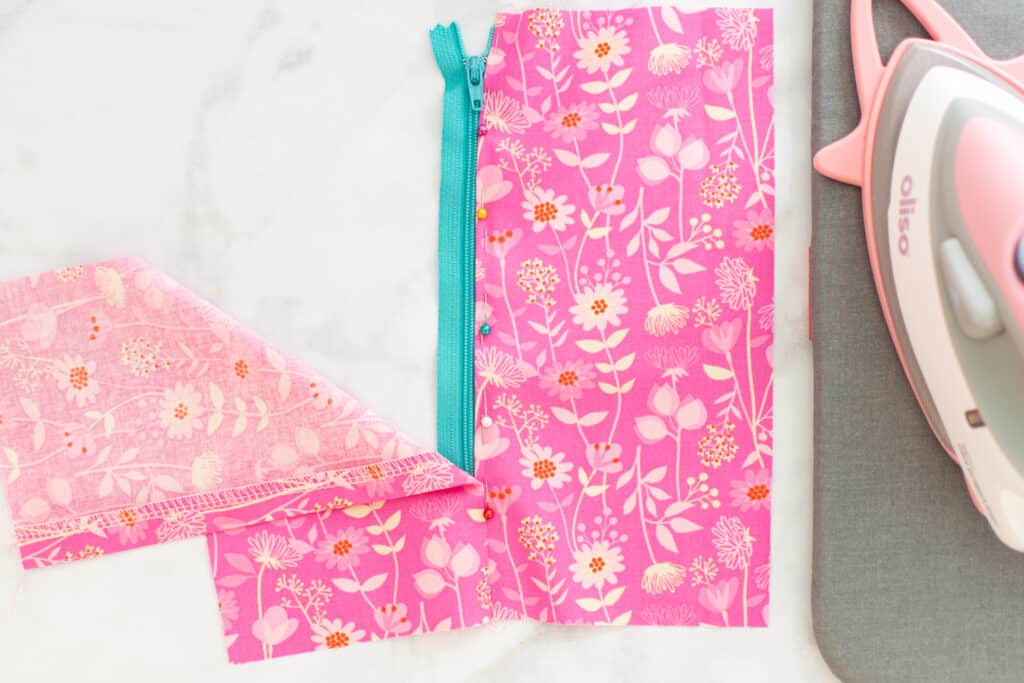
Washaway tape is great for holding the zipper in place, but you can also pin it if you prefer.
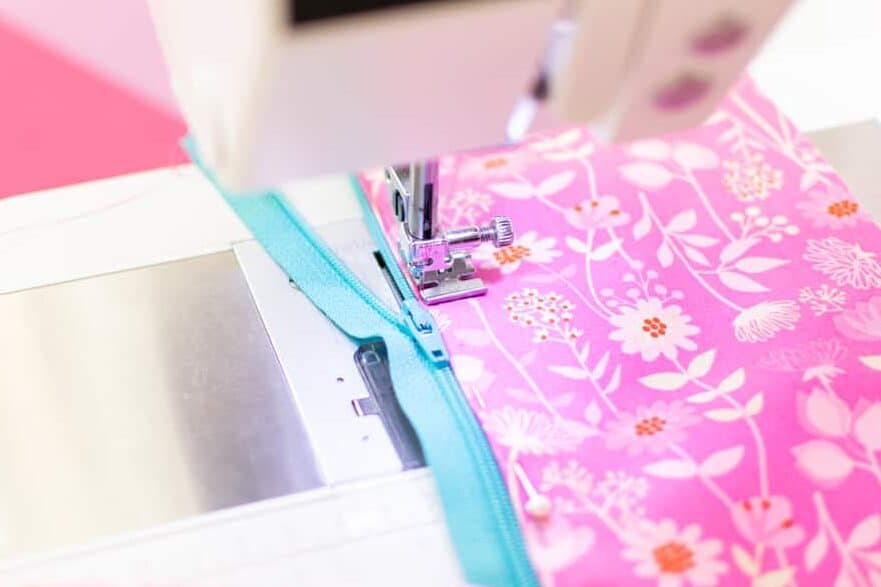
Put your zipper foot on your machine so that the needle is to the left of the foot. Move the needle all the way to the left edge of the zipper foot.
Begin sewing along the zipper teeth at the top of the zipper, starting with the zipper halfway open. Make sure to backstitch at the beginning.
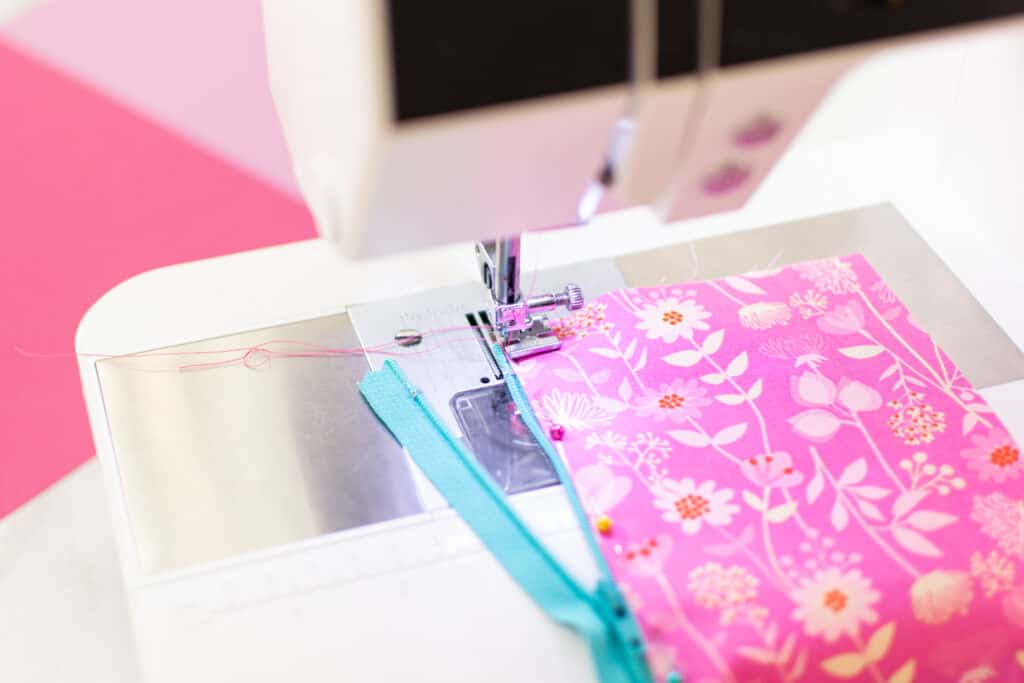
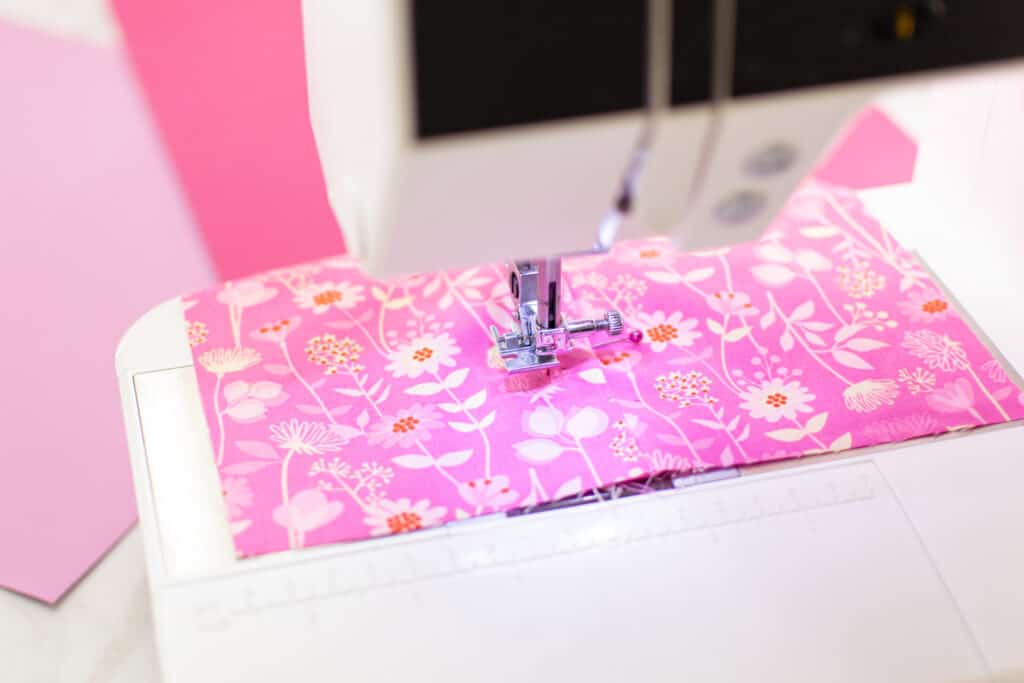
Continue to sew next to the teeth until you get near the zipper slider.
Stop sewing just before the slider, then lower the needle and raise your presser foot.
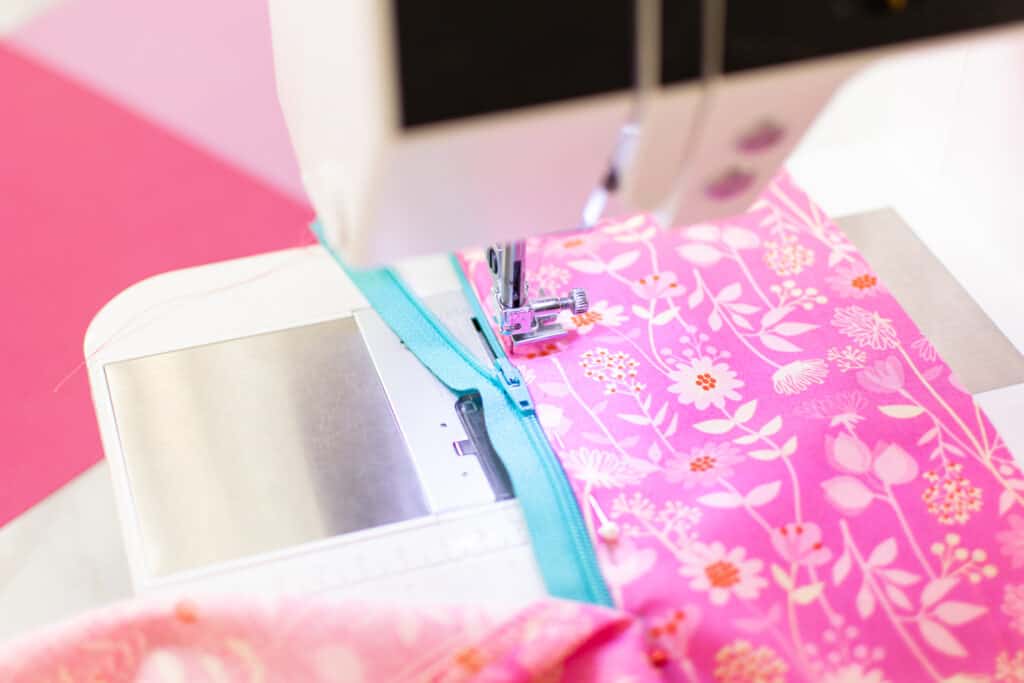
Carefully move the slider up past the presser foot, closing the zipper. This will get the slider out of the way and help you keep your stitching straight.
Lower the presser foot and continue sewing to about 1/4 inch beyond the bottom stop of the zipper.
Backstitch and trim away the thread tails.
Step 3: Pin and Sew the Second Side of the Zipper
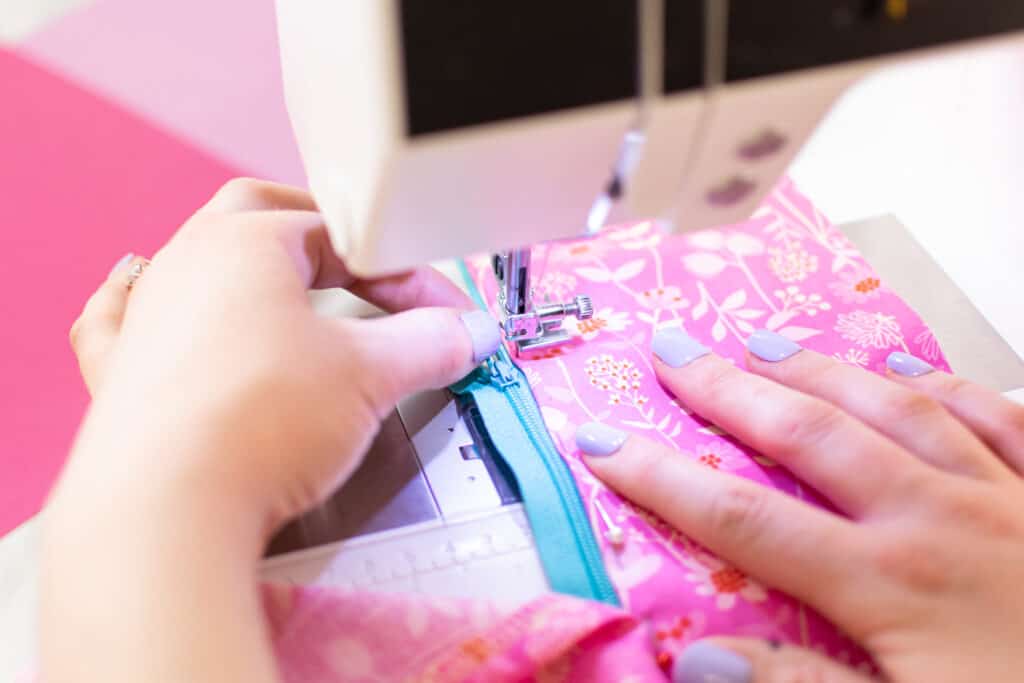
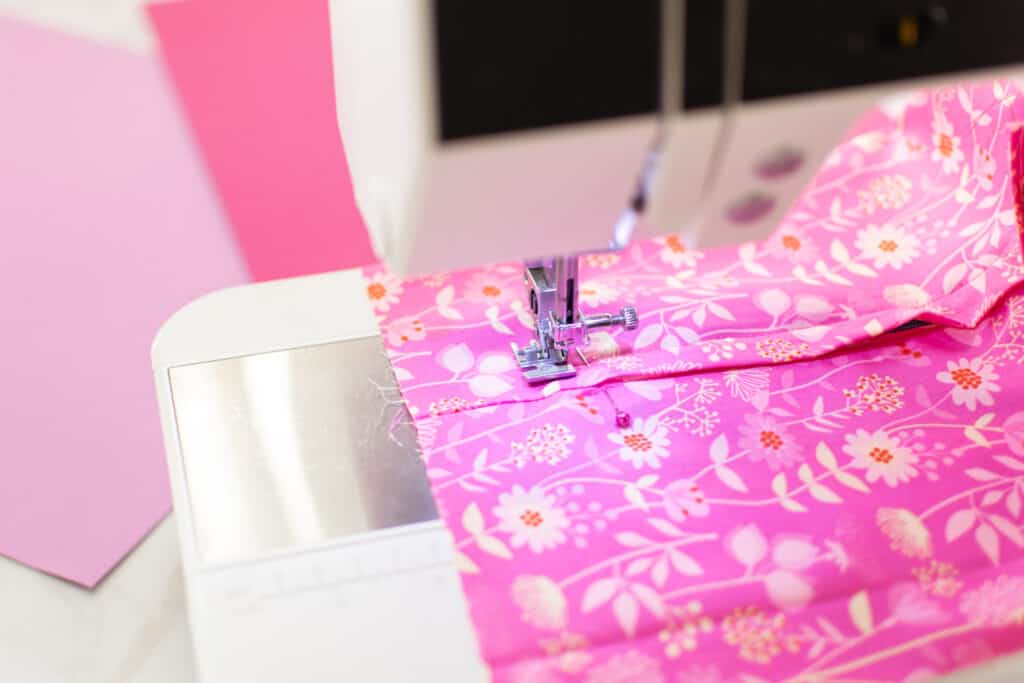
Next, with the zipper closed, pull the wider side of the seam over the zipper so that it is laying flat and the zipper is hidden underneath.

Pin or use washaway tape to secure the left side of the zipper tape to the fabric above it.
Feel for the bottom zipper stop and mark its location on the fabric with a pin or fabric chalk.
Switch your zipper foot so that the needle is on the right. Using a zipper foot for this topstitching will ensure that the foot is out of the way of the zipper pull, so the zipper can stay closed while you sew.
Next, topstitch about 1/4 inch to the left of the zipper teeth to secure that side of the zipper tape to the fabric.
When you reach just below your pin marking the bottom zipper stop, stop stitching, lower the needle, and raise the presser foot.
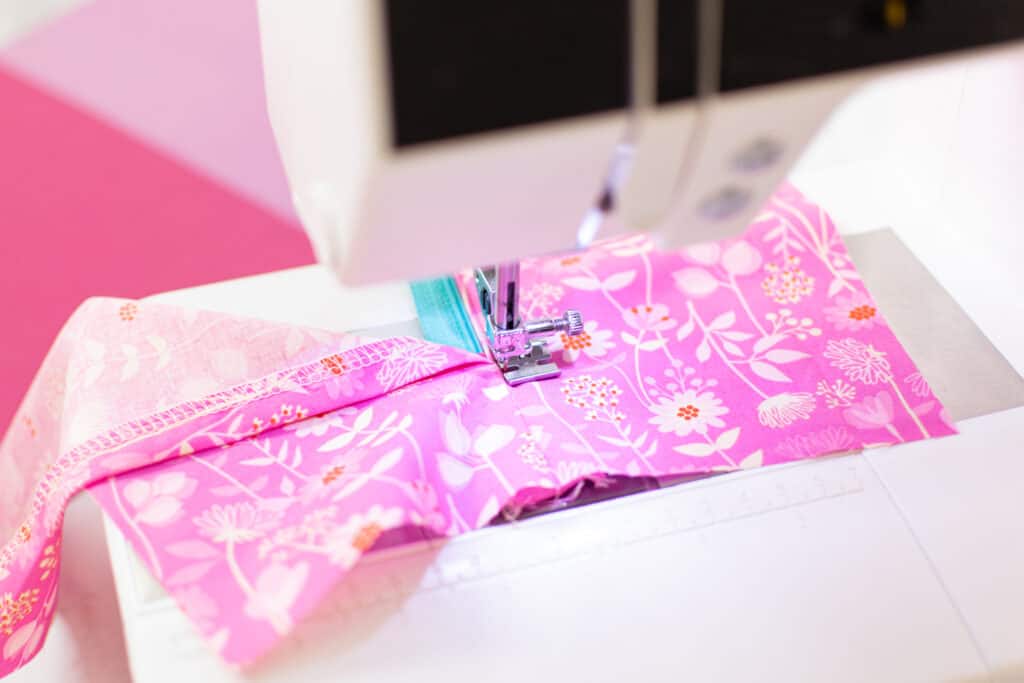
Rotate your project 90 degrees so that the zipper is to the right of your presser foot.
Sew across the tape at the bottom of the zipper. When you reach the seam, stop, backstitch, and trim your thread tails.
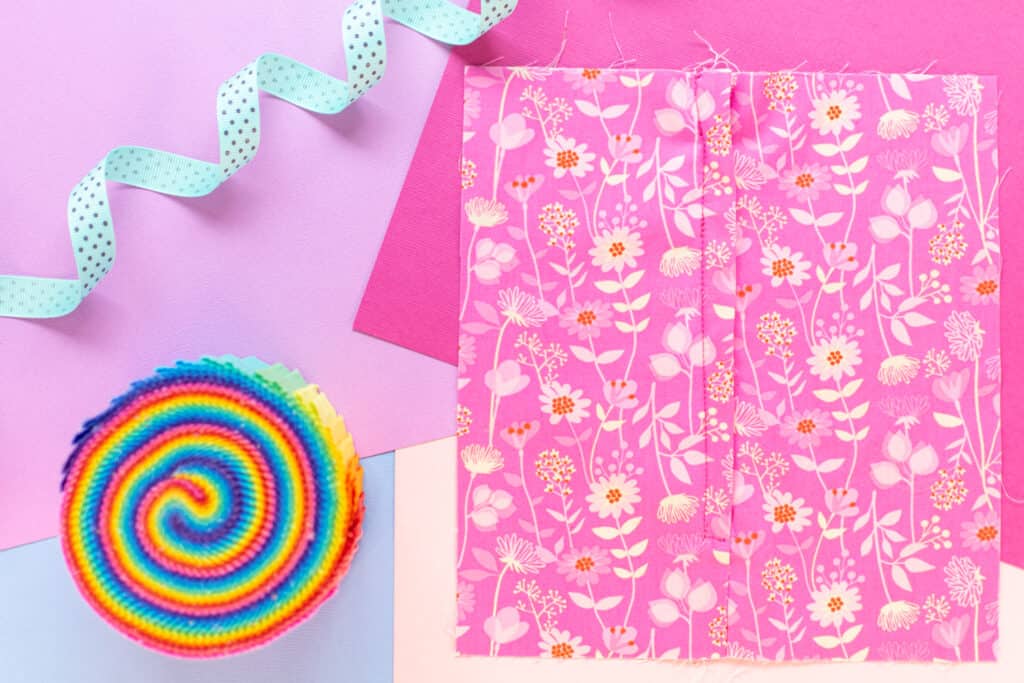
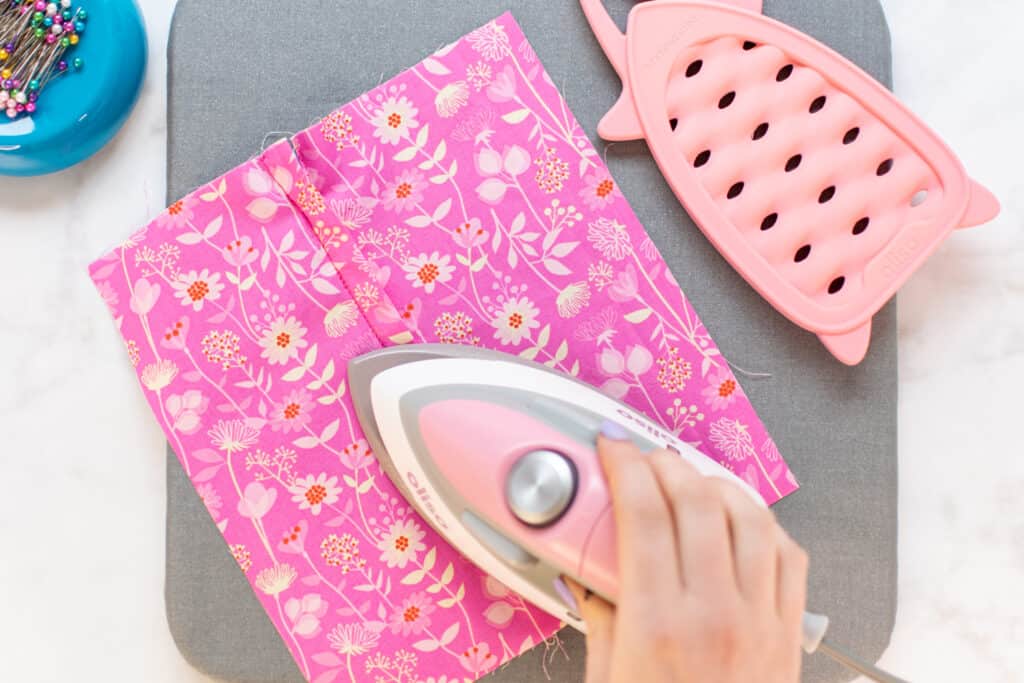
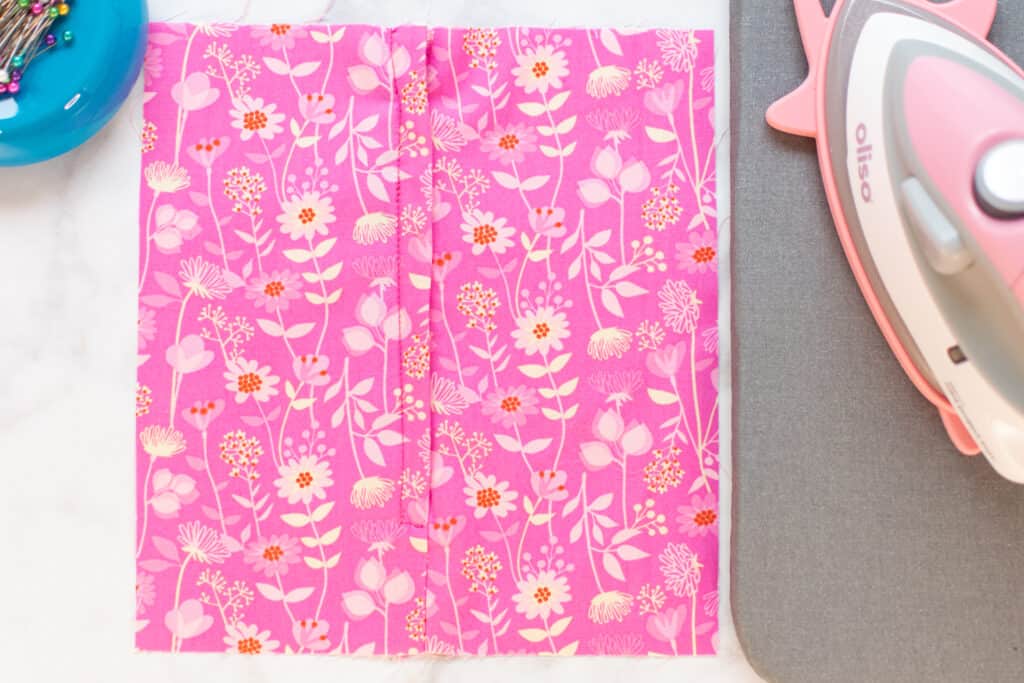
Step 4: Press the Zipper
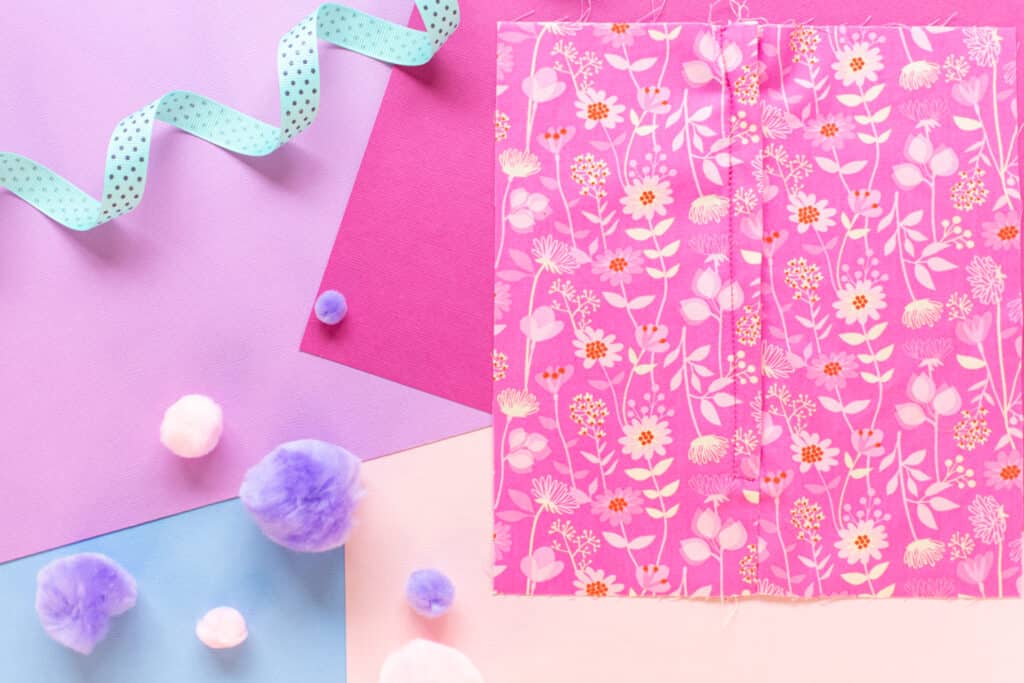
Finally, as with anything you sew - it's important to give that zipper a good pressing with lots of steam when you're done. You want your new lapped zipper to look as flat and professional as possible!
Are you excited to give sewing a lapped zipper a try? Let me know in the comments below!
If you try out this awesome zipper sewing technique, share a photo on Instagram with the hashtag #sweetredpoppy - I would love to see how it went!

Don't forget to join my Facebook group where you can show us what you're making, ask questions, and learn from others!
Don’t want to forget about this Lapped Zipper tutorial? Save this post for later! Click here to save this project on Pinterest.
Thanks for this series Kim, zippers can be intimidating and frustrating