Have you tried out UV resin yet? If you’re still a little nervous to try it out, don’t worry. In this step-by-step tutorial, I’ll walk you through everything you need to know to use UV resin and create custom resin shaker charms.
What Is UV Resin?
UV resin is a type of resin that completely cures within minutes underneath a UV lamp (or the sun on a bright day). Unlike epoxy resin, you don’t have to mix UV resin. These are just two reasons I love withing with UV resin.
For more information on epoxy resin, check out my blog post HERE.
UV Resin Protective Clothing
Resin is a chemical, so it’s important to take a couple of precautions before using it. When using UV resin, I recommend covering your work area with a silicon mat. In addition to that, you should wear a pair of gloves to protect your skin from coming in contact with the liquid resin.
Since resin has a strong smell, be sure to work with it in a well-ventilated area.
If your skin is sensitive, like mine, I’d recommend wearing gloves, long sleeves, and pants to prevent any accidental contact. In addition to that, I wear a respirator. If you can’t find a respirator, a mask will work just fine!
How to Use Hildie & Jo UV Resin
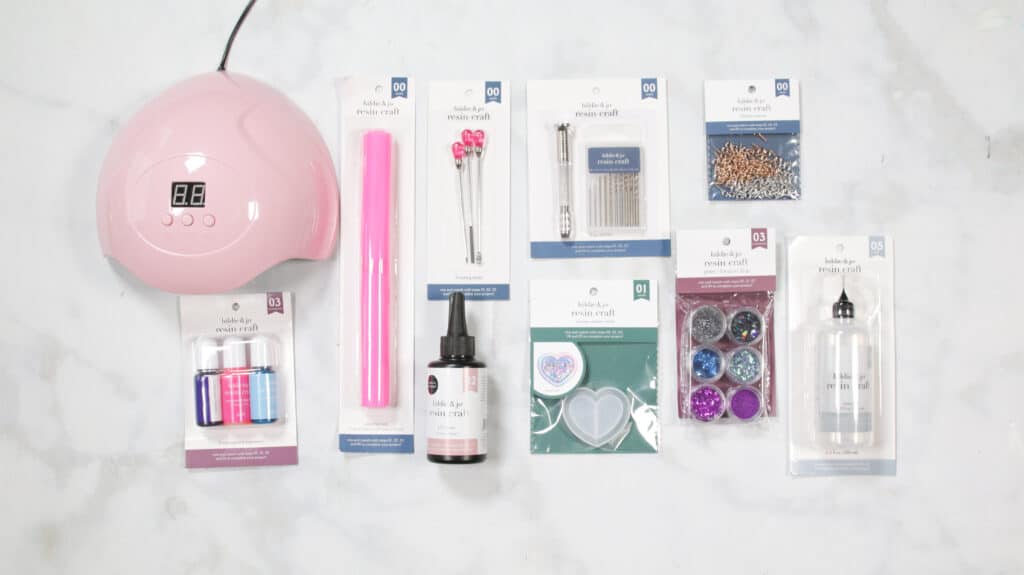
Hildie & Jo Resin crafts have four easy steps: select mold, pour resin, customize, cure. Each item is labeled with a number to let you know exactly what it does.
00 Tools such as resin tape, silicone mat mixing sticks, etc.
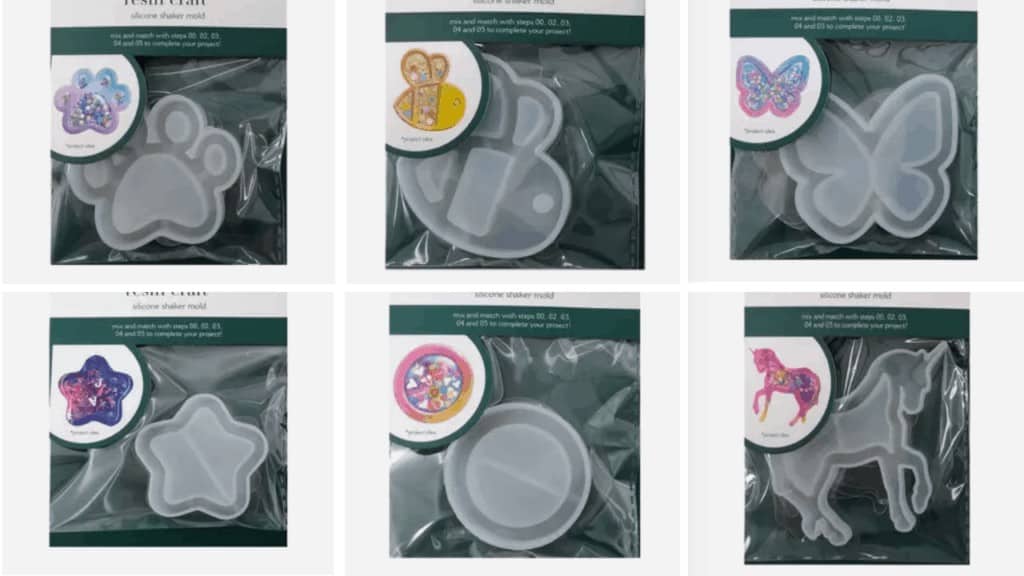
01 Silcone molds and metal bezels
02 UV Hard Resin 50ml, 100ml, & 200ml
03 Embelishments, glitter, beads, & dyes
04 Light & curing
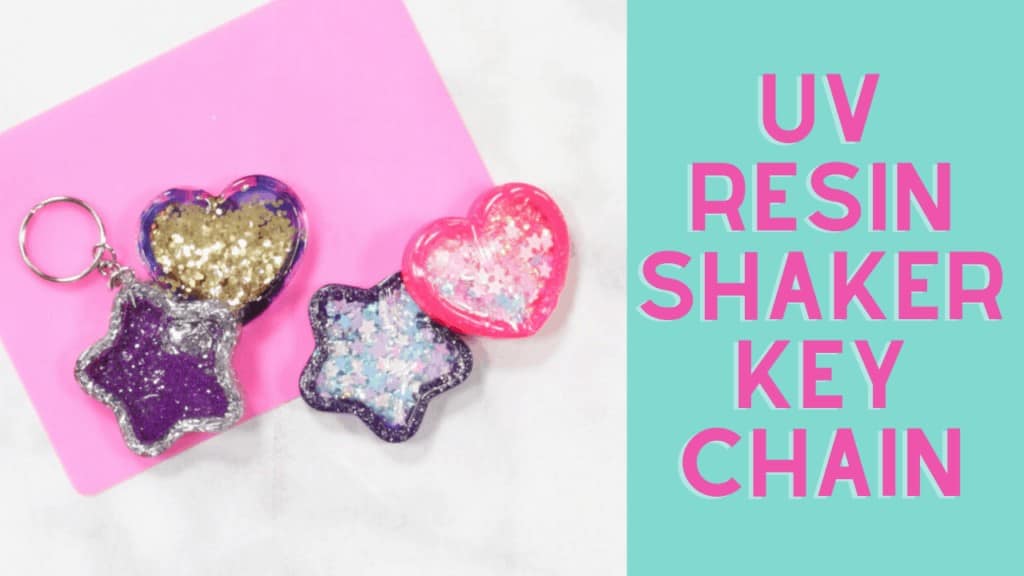
How to Make a Custom Resin Shaker
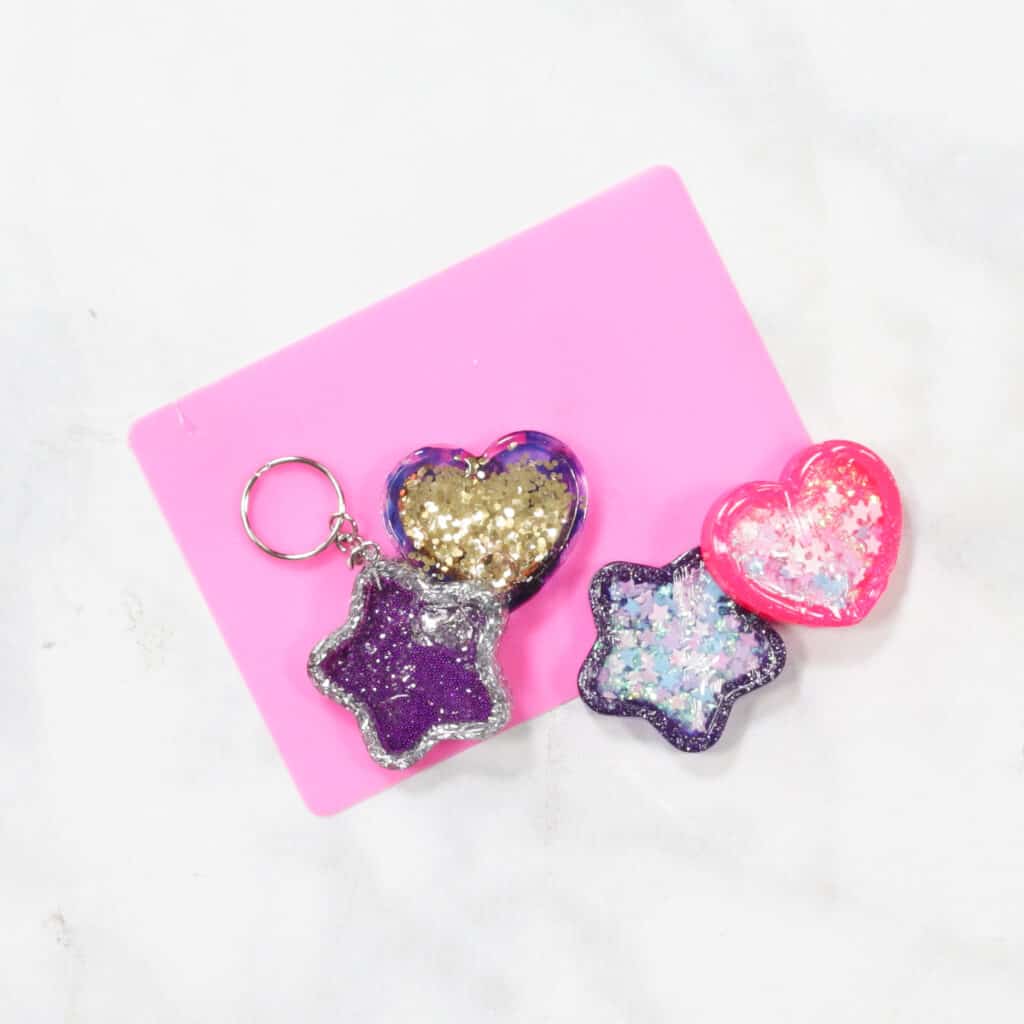
Resin shakers are created using specialty molds that enable you to fill the center with glitter, charms, and shaker oil to create an adorable shaker.
You can use shakers as keychains or stand-alone items.
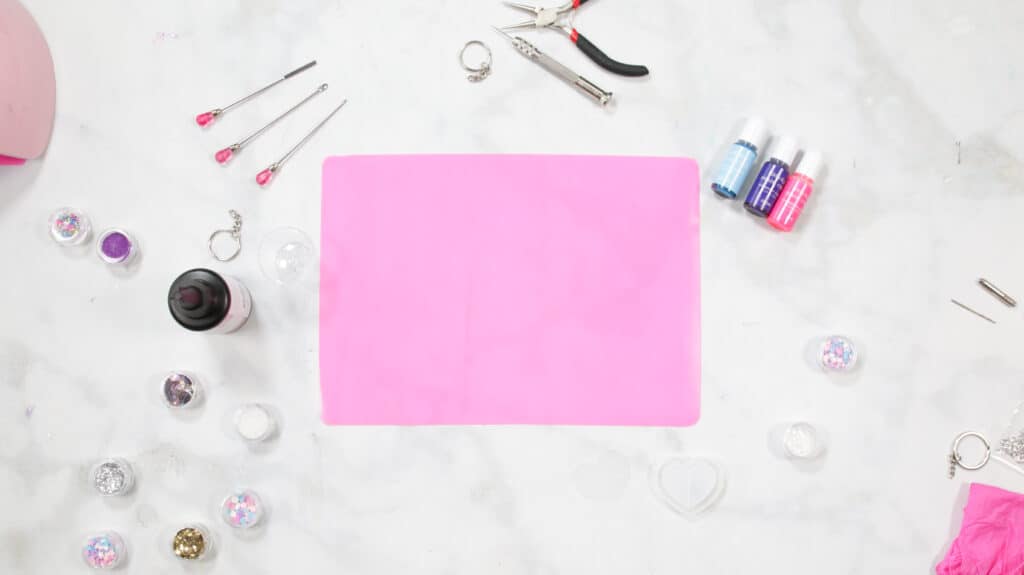
For this project, you will need:
- Gloves
- A Well Ventilated Room
- Hildie & Jo UV Hard Resin 100ml, Similar
- Hildie & Jo Resin Colorant, Similar
- Hildie & Jo Resin Silicone Shaker Mold, Similar
- Hildie & Jo Resin Glitter or Charms, Similar
- Hildie & Jo Resin Silicone Mixing Cups & Sticks, Similar
- Hildie & Jo Resin Silicone Mat, Similar
- Hildie & Jo Resin Essential Tool Kit, Similar
- Hildie & Jo Resin Medium Light 36W, Similar
- Hildie & Jo Resin Drill Kit, Similar
- Hildie & Jo Resin Eye Screws, Similar
- Hilde & Jo Resin Craft 100ml Shaker Oil Bottle, Similar
- Keychain
- Pliers
Step 1 - Prepare Your Workspace
Begin by preparing your workspace. I like using a silicone mat to protect my table from UV resin spills. In addition to prepping your workspace, be sure you are wearing gloves and other protective gear.
Step 2 - Pour UV Resin Into Your Mold
UV resin can be poured directly into your molds - no prep is needed.
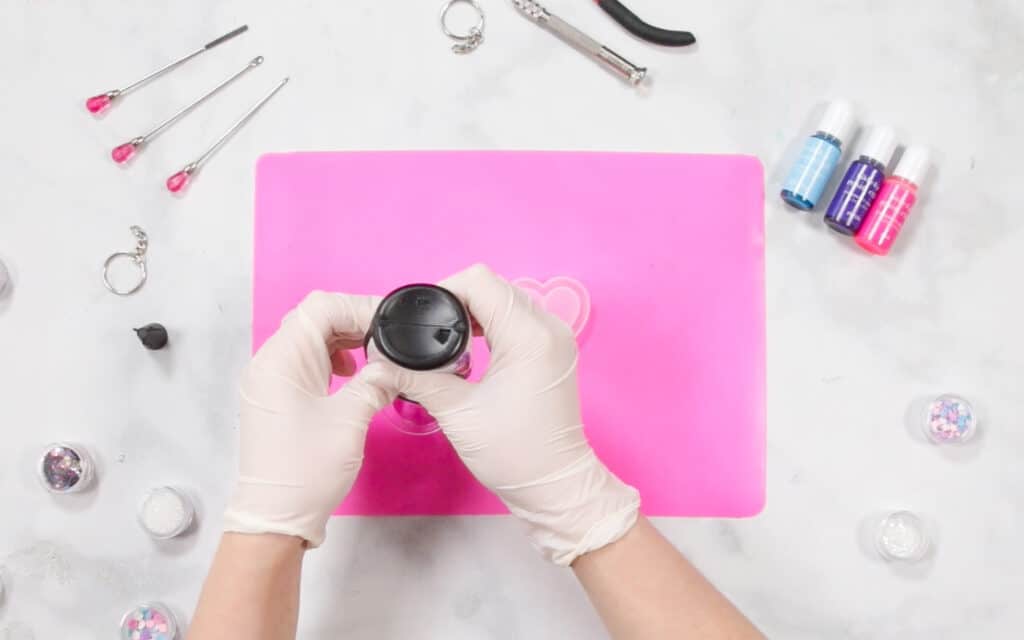
If you are adding color or mix-ins to your resin, you can do this in 2 different ways. If you are wanting a solid color and even mix-ins, mix the color/mix-in and UV resin in a pouring cup before pouring it into your mold.
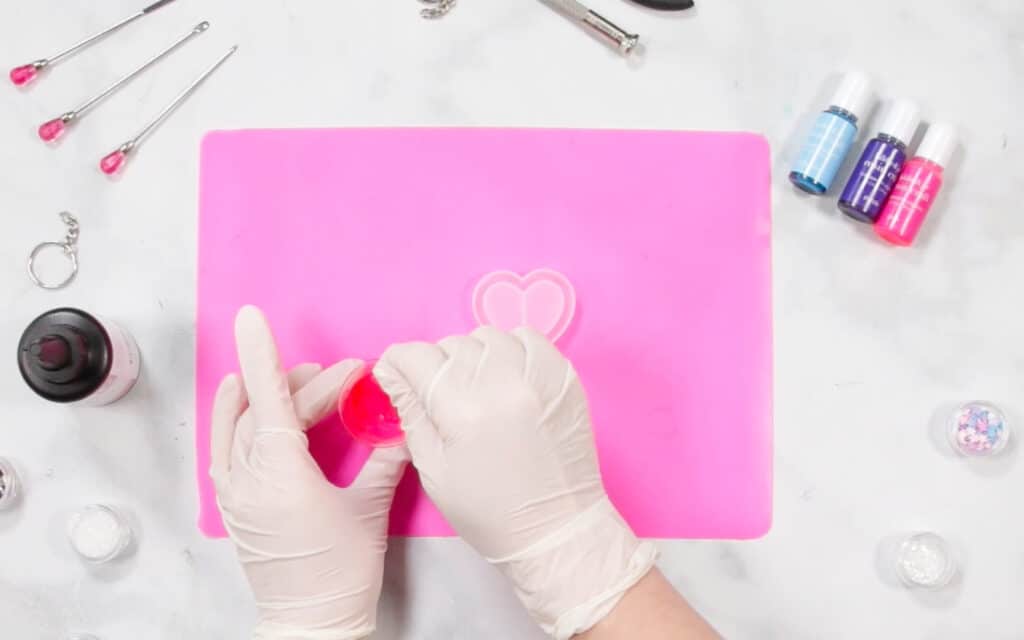
If you are wanting a tie-dye effect, add resin to your mold and directly add color and mix-ins on top. Use a stir stick to swirl the color and mix-ins around.

Step 3 - Cure
Using a UV lamp, cure your resin for 1-7 minutes, depending on the thickness. You can check if your resin is cured using a toothpick. If the surface is not completely hard, continue curing it.
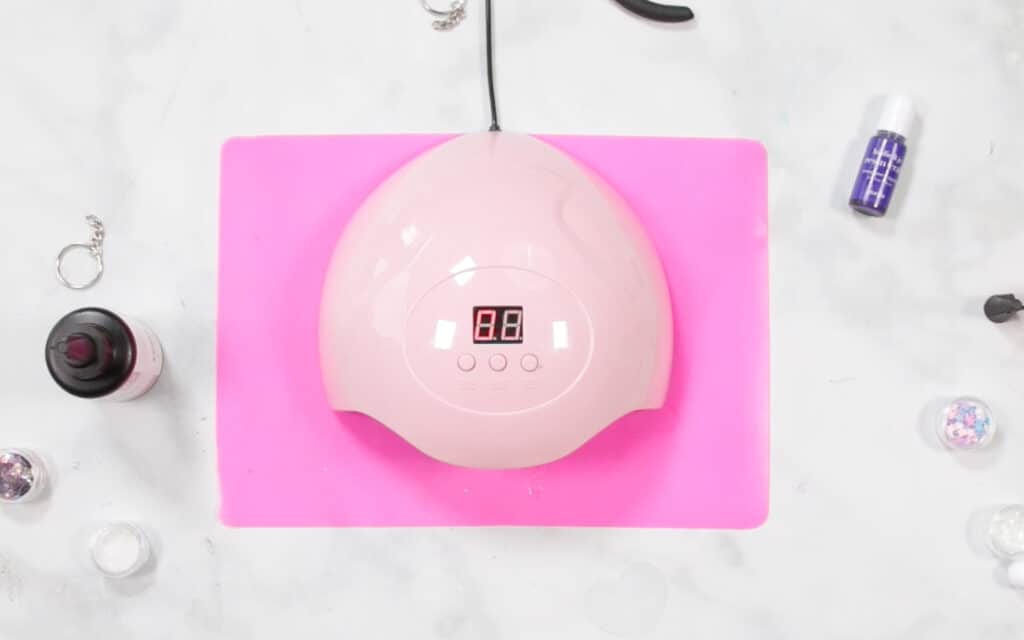
If you want smooth edges, use a file or sandpaper.
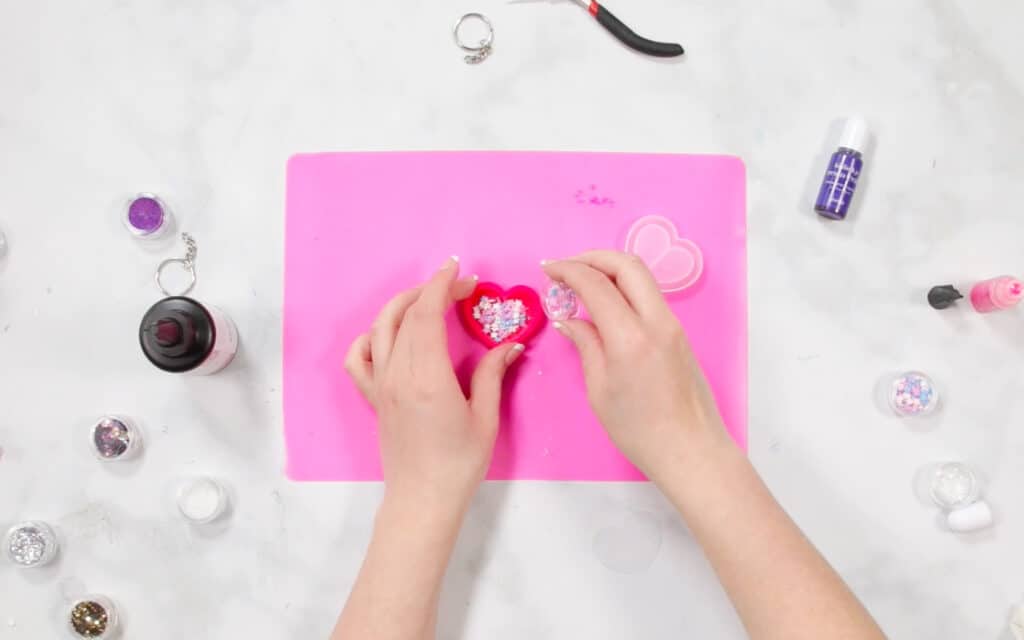
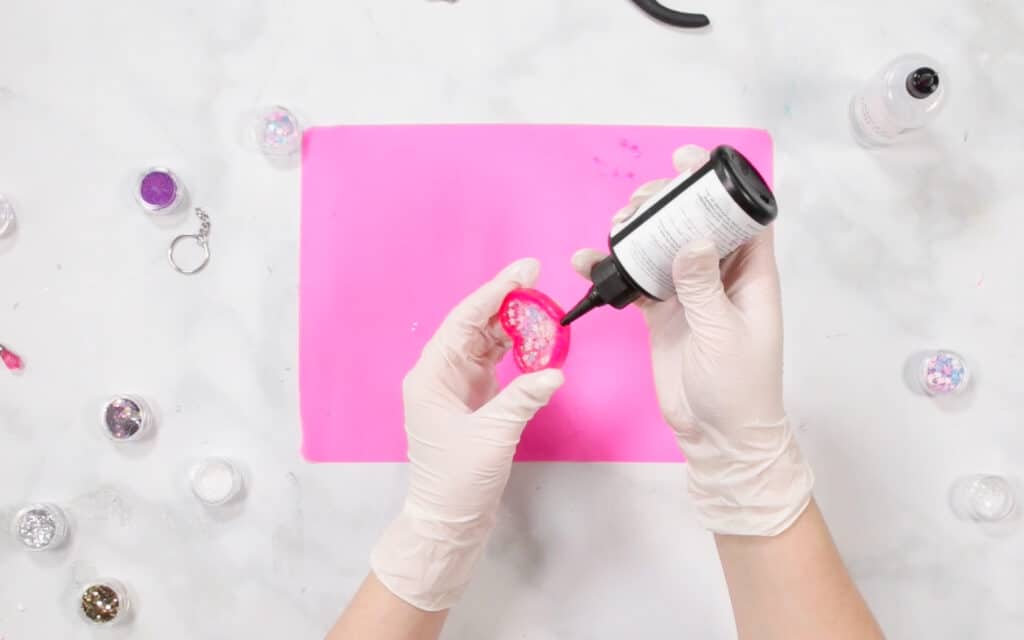
Step 4 - Add Charms/Glitter
Next, add charms/glitter to the center of your shaker. Have fun and add whatever you’d like to the center!
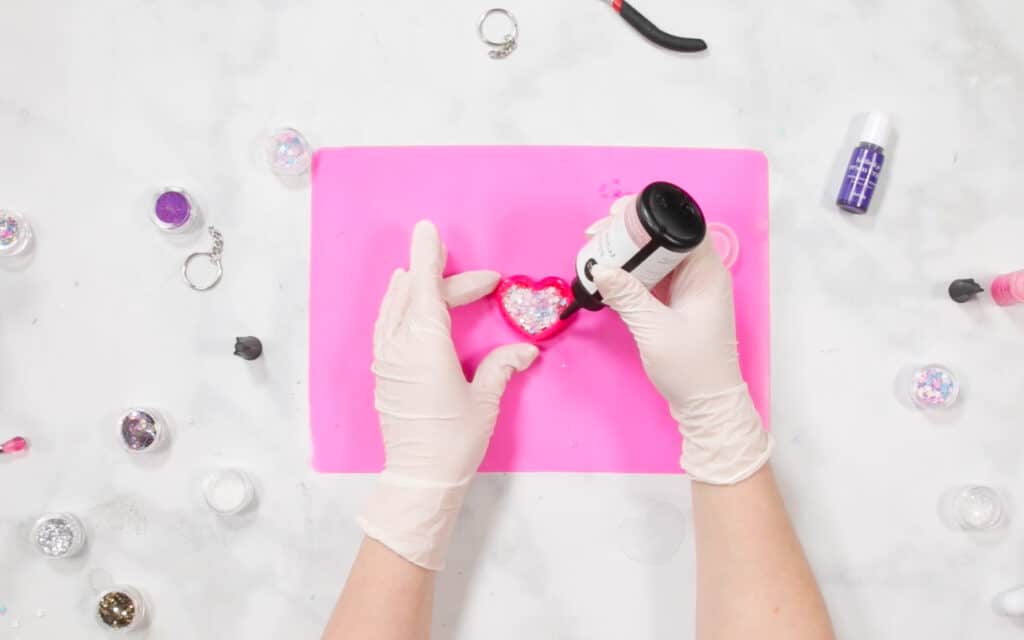
Once you have your inserts added, place a thin layer of resin around the top edge of your shaker to secure the clear film. Be careful not to add resin to the shaker oil fill hole.
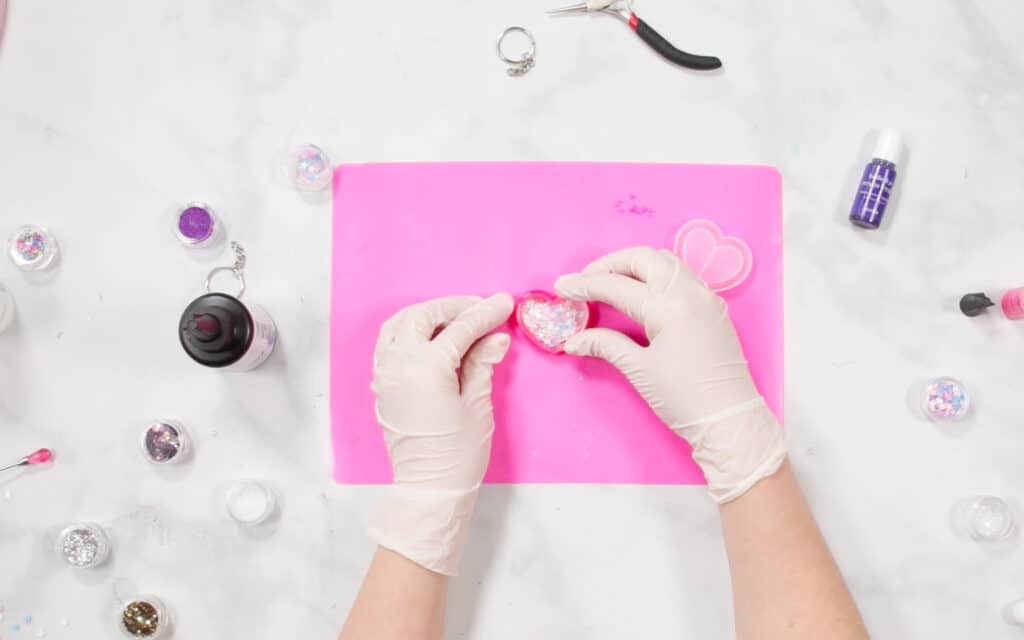
Cure for 1 minute or less. If you cure the clear film for too long, it will shink and bend.
Step 5 - Add Shaker Oil
Using the fill hole, add shaker oil to the inside of your shaker.
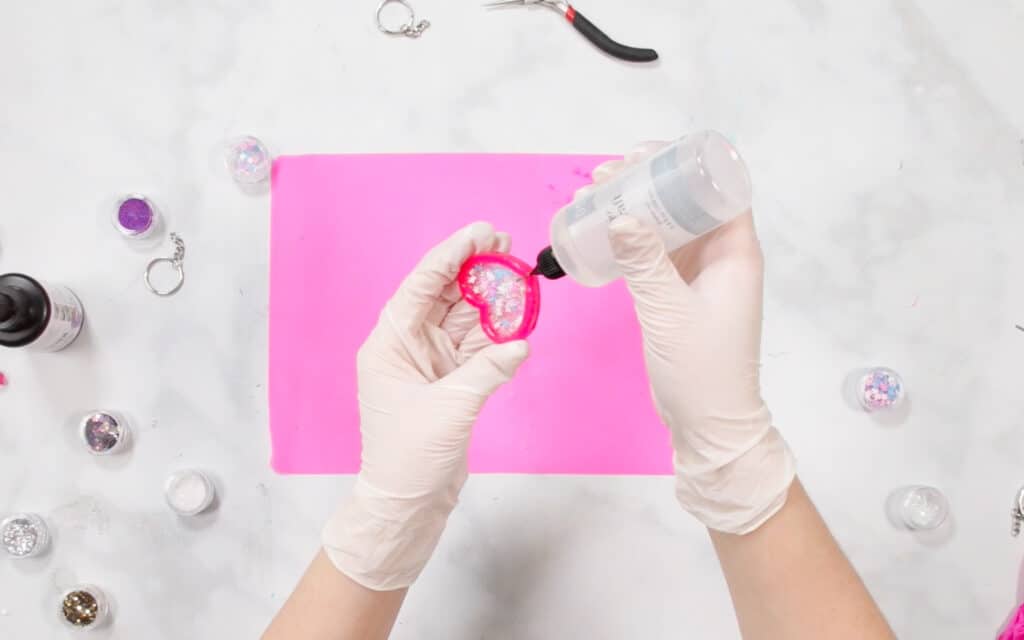
Seal the hold with resin and cure again for a minute.
Step 6 (Optional) - Add Keychain
Using a resin drill, drill a screw hole for your eye screw. Screw-in the eye screw and attach your keychain using a pair of jewelry pliers.
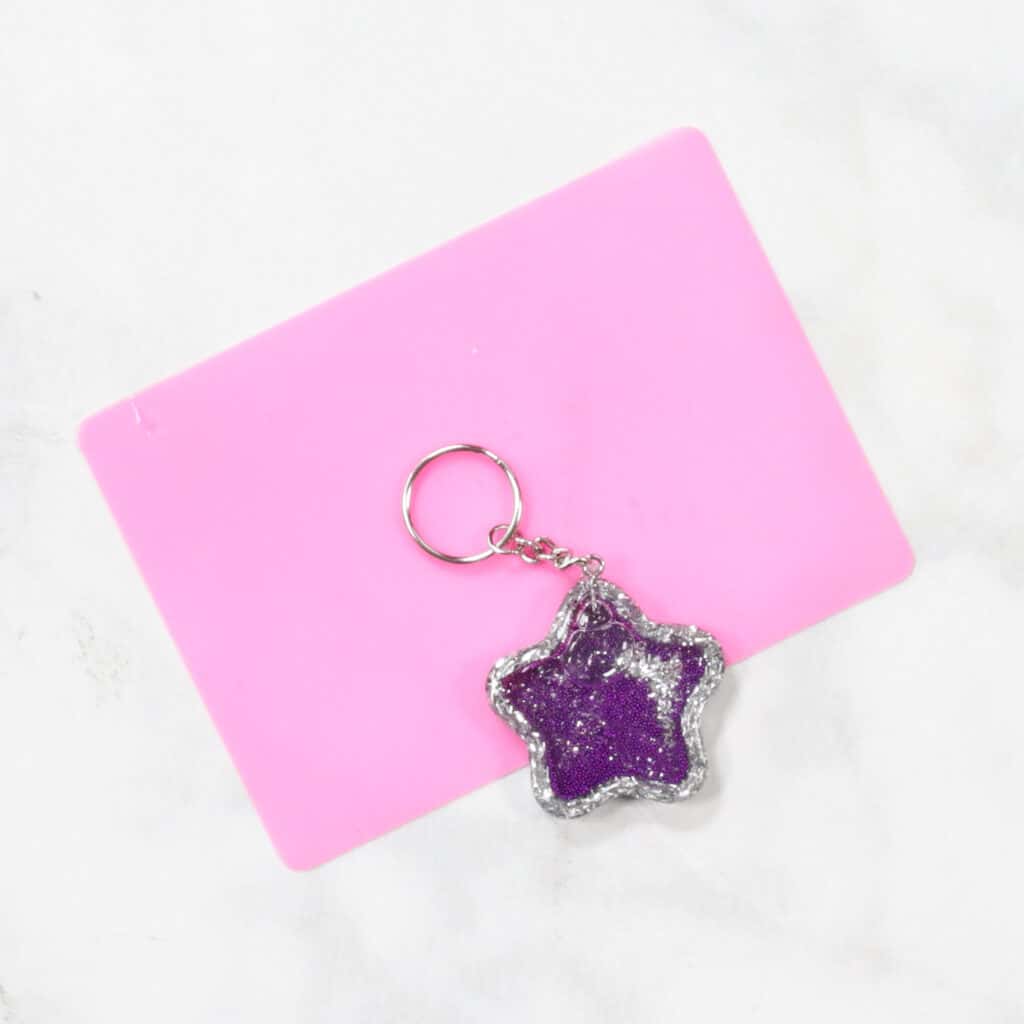
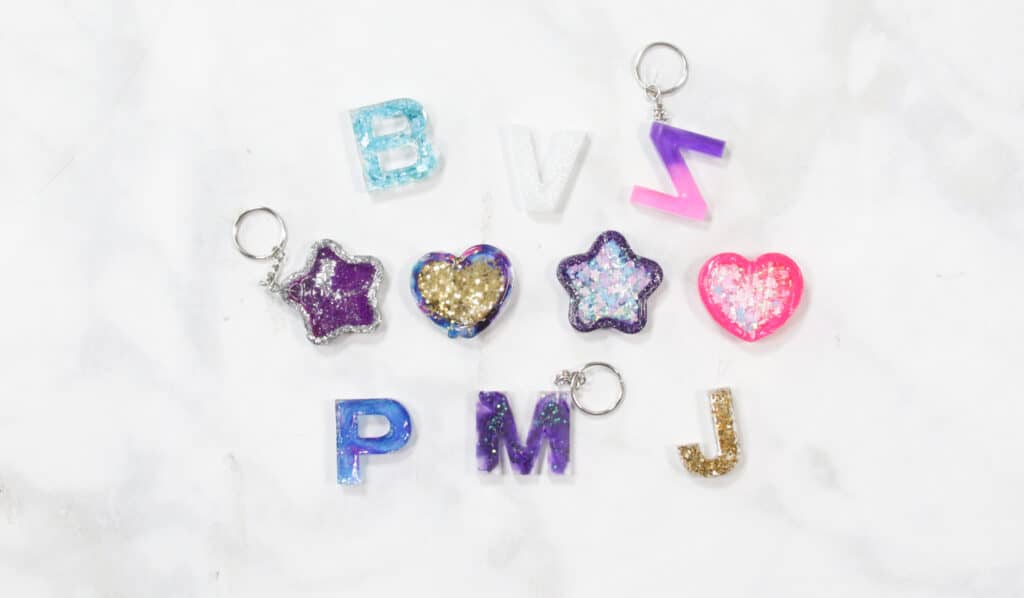
Now you have this adorable shaker! I absolutely love how they turned out.
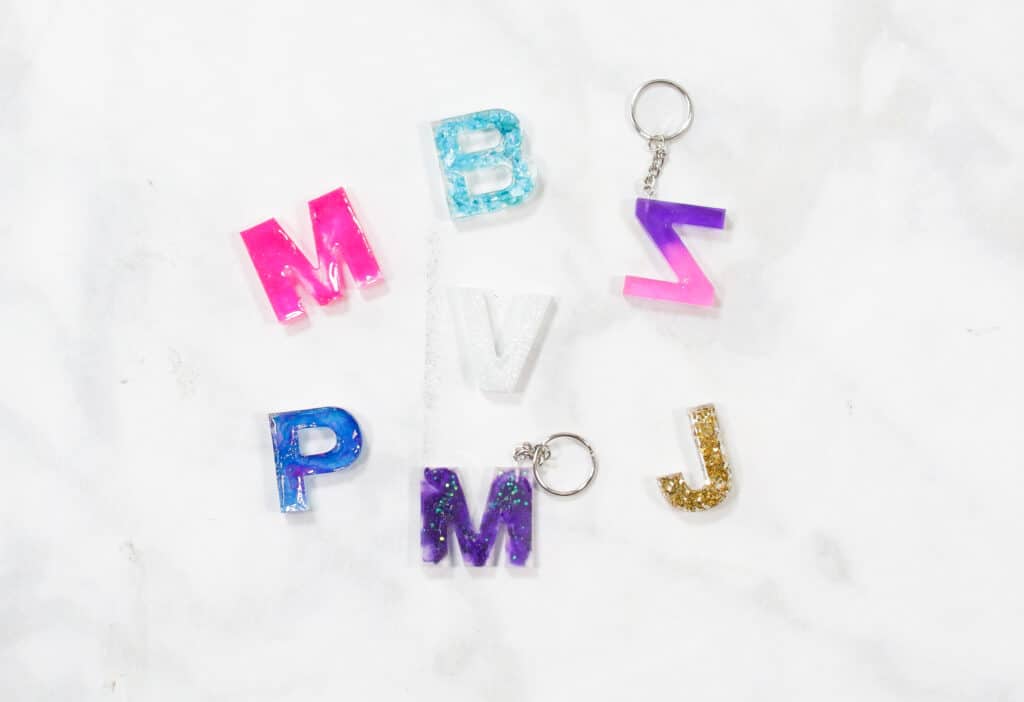
Looking for more UV Resin projects? Check out my UV Resin Letter Keychain tutorial HERE!
Share your finished UV resin shaker keychains with us in the Sweet Red Poppy Crafting & Sewing Group!
Have you made anything with UV resin before? Let me know in a comment below!
I was just wondering why there are no buttons to save to Pinterest? You are on Pinterest but I can never save projects myself. And when I went to your site there was nothing about the Resin projects. Do you have a secret way of saving to Pinterest that I don't know about?
You should be able to right click on one of the pictures and it should say save click it. Im not sure if she has Pinterest though. But I didn't see the resin post either on her page . Sorry I could not be more helpful.
What film? You don’t have it listed in materials