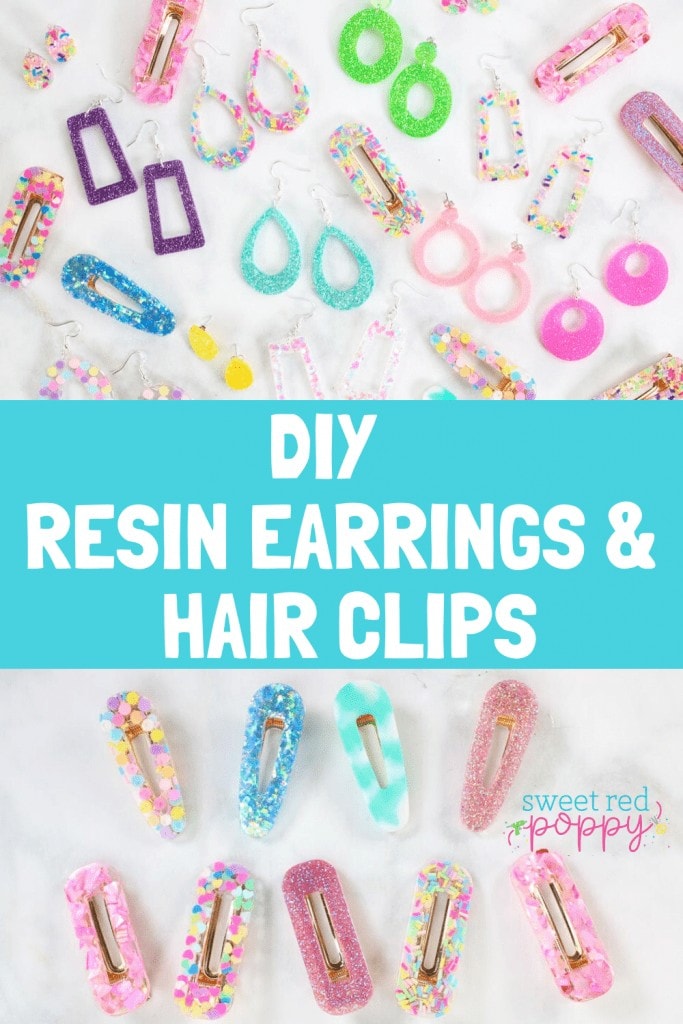
Learn How to Use Epoxy Resin Like a Pro in This DIY Tutorial for Beginners. Create Barrette Hairclips and Earrings With This Step-By-Step Photo and Video Tutorial.
Resin is currently ALL the rage! I couldn't help but jump on this fun trend after seeing it popping up everywhere.
Resin can look overwhelming to work with, but don't worry, I'll share all of my tips and tricks to get you started and creating like a pro!
What is Epoxy Resin?
Let's start off by chatting about the basics. Epoxy resin is specific type of resin meant for creating shallow items or coating items.
Epoxy Resin can be cured by adding a hardener to it, this creates a chemical reaction causing the resin to harden over the course of several hours. The resin will heat up as it hardens and changes from a liquid to it's final state, a solid.

Epoxy Resin Working Time
Most Epoxy Resins have around a 30 minute working time. This is the time in which you can work with the resin after mixing it together before it begins to harden. You might also hear this referred to as a gel time or even pot time. Because of this short time period, I recommend mixing small batches of epoxy resin.
Epoxy Resin Curing Time
Curing time will vary by brand so make sure to check the resin you are using for the exact recommended curing time. This is the amount of time the resin takes to harden completely. Typically, resin has a 24 hour curing time.
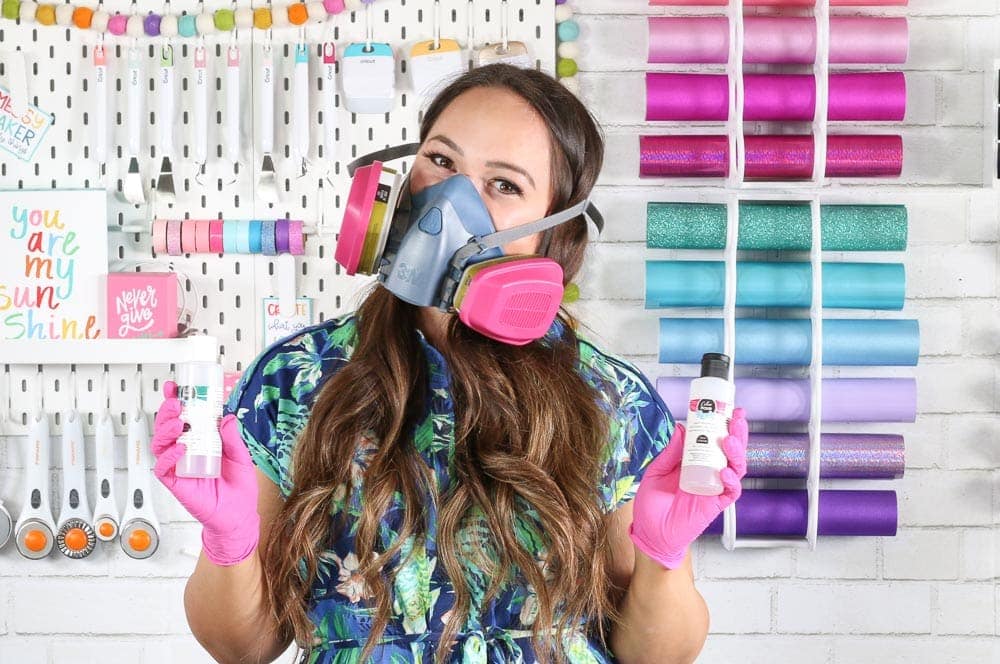
Epoxy Resin Protective Clothing
When using any type of resin, I recommend wearing protective clothing. Resin is extremely sticky and is hard to remove from clothing and skin. You'll definitely want to at the very least, wear gloves when working with resin!
Those who are more sensitive to chemicals should also consider wearing a respirator (use vapor cartridges) or a mask to lessen the effects of coming in contact with resin.
Personally, I wear a respirator, gloves, and long sleeves and pants to prevent my skin from coming into contact with resin. I also work in a well-ventilated room with good airflow. It's possible to have an allergic reaction to epoxy. If at any point you experience itching or swelling, discontinue using epoxy resin.
I use the 3M 7500 Series Mask with the 3M 60926 Pink Vapor Filter Cartridges.
Preventing Bubbles in Epoxy Resin
A common issue when working with resin is bubbles. I have a few different tips and tricks to help you lessen the amount of bubbles in your resin.
First off, start by warming up the bottles of resin before mixing. I do this by placing them with their lids tightly closed in a warm bath of water in a large measuring glass. When I remove them, I wipe off the bottles to make sure that no water gets mixed into my resin.
Next, I make sure to pour the thickest liquid into the mixing cup last.
Once you begin mixing, move your mixing tool in a figure eight motion, going slowly and taking care not to incorporate air bubbles with fast movements. I like to also keep my mixing stick close to the bottom of the cup. Bobbing up and down can incorporate more air into the mixture.
Finally I use a blow torch or a heat gun over top of the resin once it's been poured into the mold to pop any air bubbles. I like to wait a few minutes before doing this to allow the bubbles to rise to the surface.
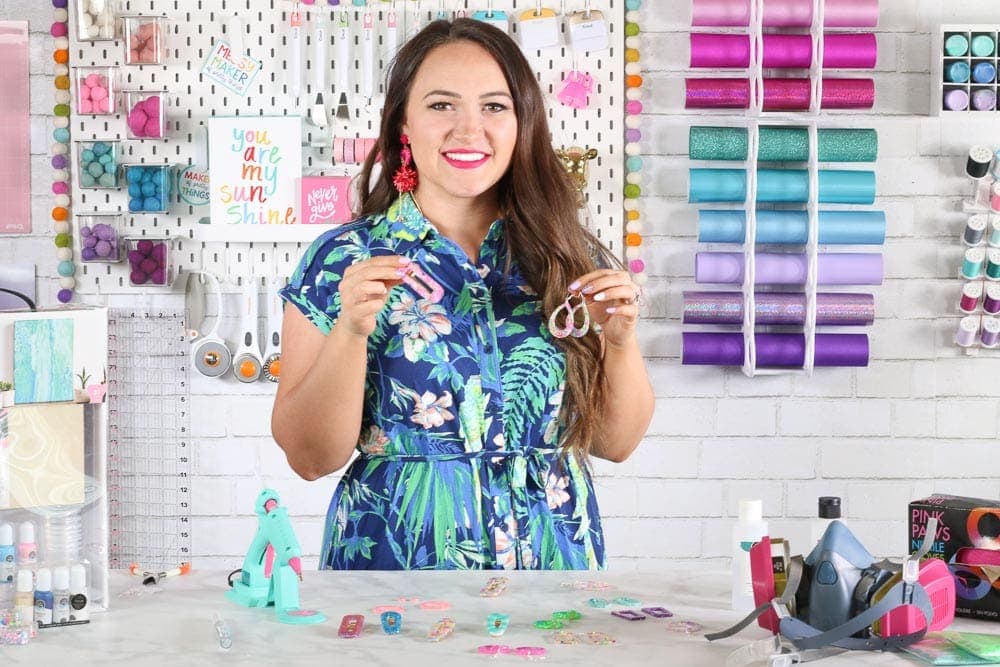
Table of Contents
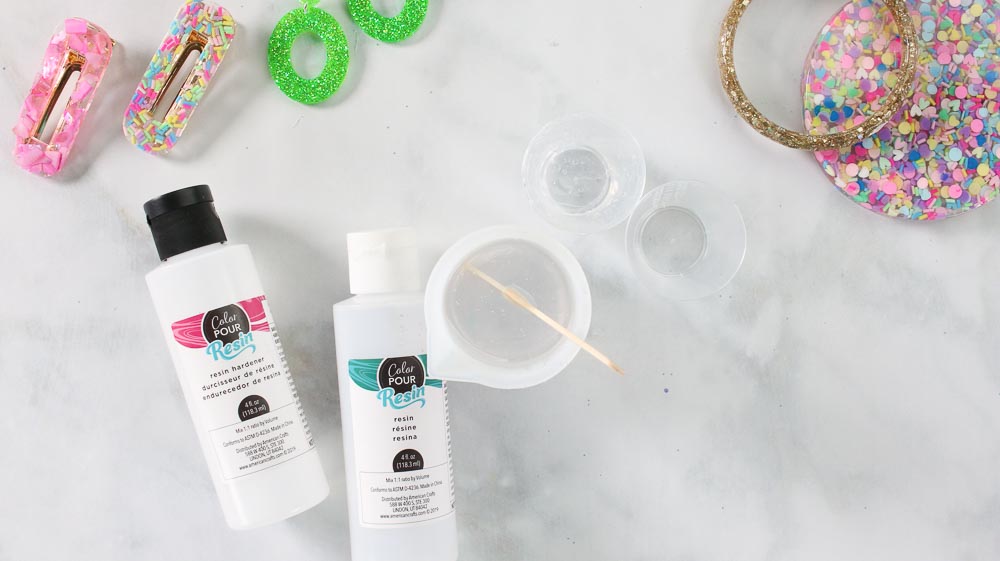
Basic Epoxy Resin Crafting Supplies
- Resin & Hardener
- Pouring Cup
- Mix-ins
- Glitter
- Supply Kit (Gloves, Cups, Stir Sticks, Drop Cloth, & Tweezers)
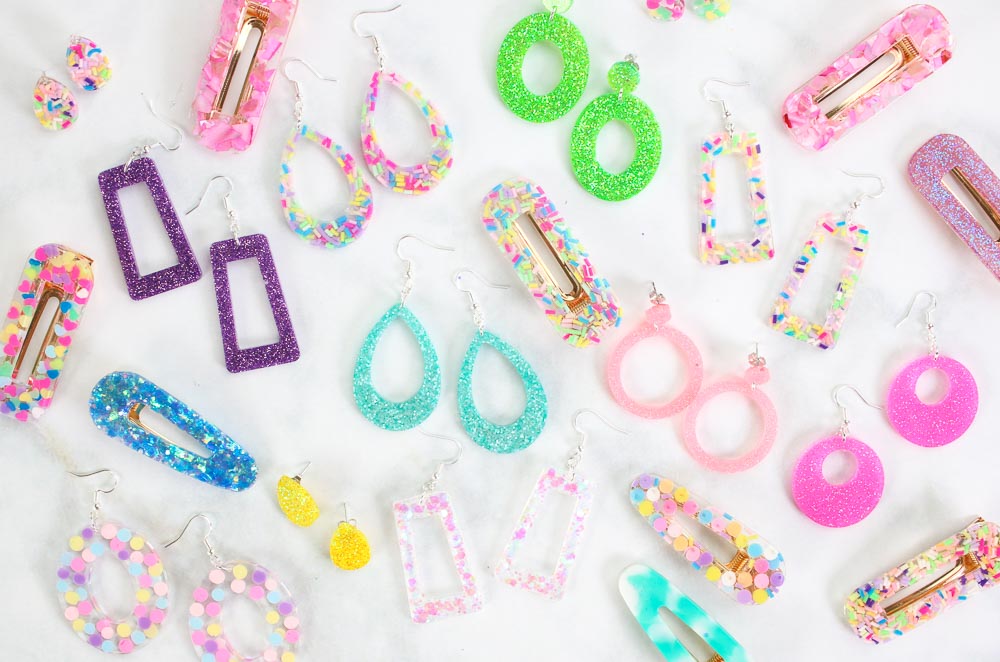
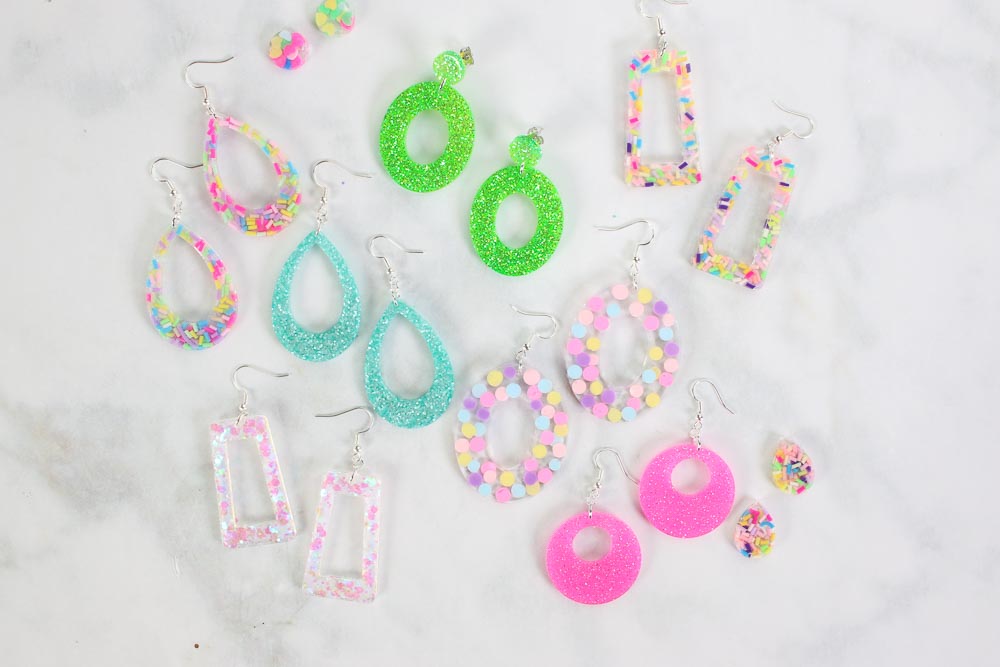
Earrings
Barrette Clips
How to Make Epoxy Resin Barrette Hair Clips or Earrings
Begin by warming your resin in hot water. This helps to raise the temperature of the resin allowing it to mix more easily and also decrease the amount of bubbles that form during the mixing process. I usually let me resin warm for about 10-20 minutes while I prep my table with a plastic covering, organize my supplies, and get my molds ready.
Remove the resin and resin hardener from the hot water bath and dry the bottles completely. you don't want to accidentally incorporate any water into the resin as you are pouring it.
Mix The Epoxy Resin
Measure out equal parts of the resin and the hardener into two separate cups. It's important to have an equal amount of each to ensure that the resin hardens completely.
In a third cup, pour the resin hardener followed by the resin and mix for 3-5 minutes.

You'll notice that when you begin mixing you'll see two distinct different liquids. Move your mixing stick in a figure 8 motion slowly, taking care to scrape the sides and bottom of the cup. Don't rush this process! Mix slowly to avoid creating bubbles during this process.
Once the process of mixing is complete, the mixture will be crystal clear.
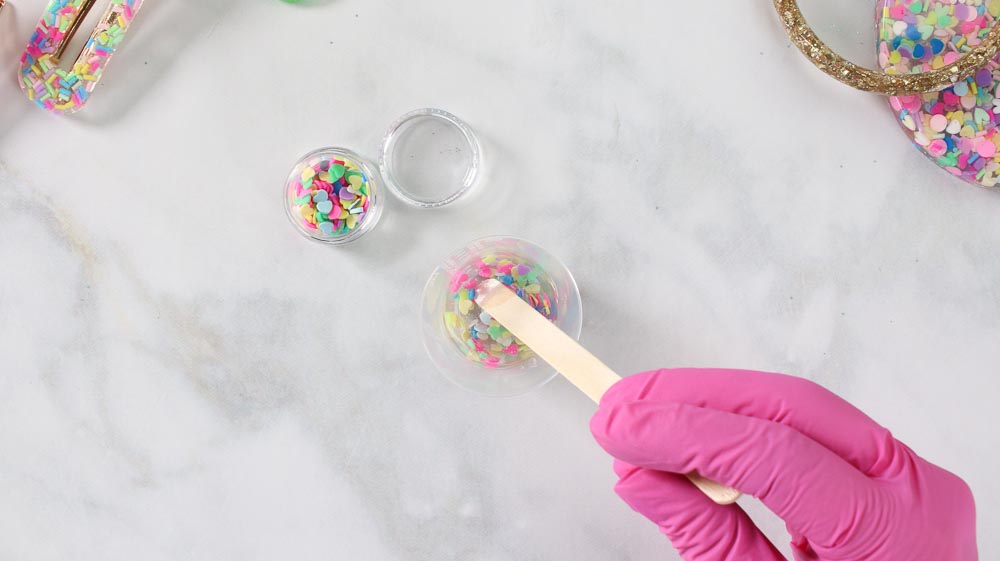
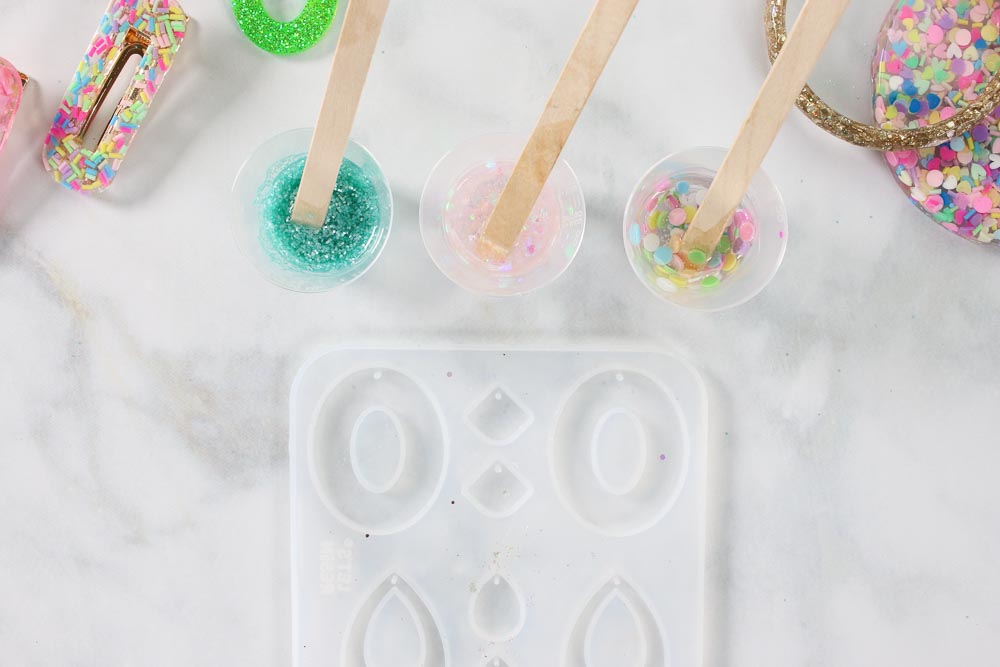
Add Mix-Ins, Glitter, or Dye.
If you'd like to add in mix-ins, glitter or dye, now is the time to do so! Pour a small amount of resin into a mixing cup and combine it with the mix-in. Remember to stir slowly for the very best results.
Make sure that the mold is free of any debris, lint, dust or water.
Pour the Epoxy Resin
Now, it's time to pour the resin into the mold. Use the mixing stick to guide the resin into the mold.
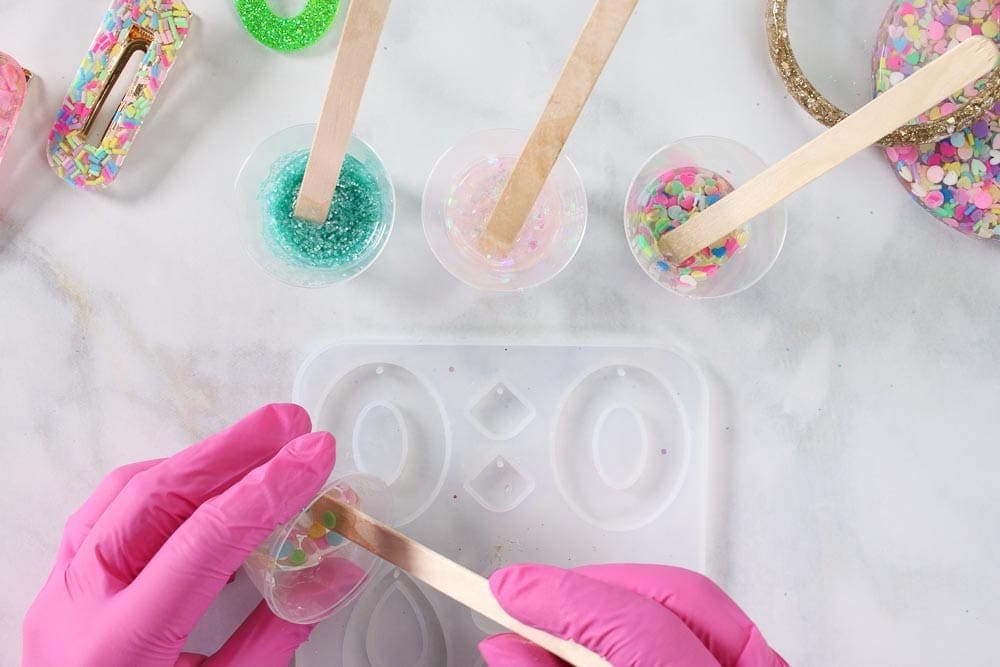
Gently scrape away any excess resin and try not to overfill the mold. If any bubbles appear, they can be popped with a swish of a blow torch or a heat gun.
Allow your Epoxy Resin to Harden
Allow the resin to completely harden for 24 hours in a well-ventilated space.
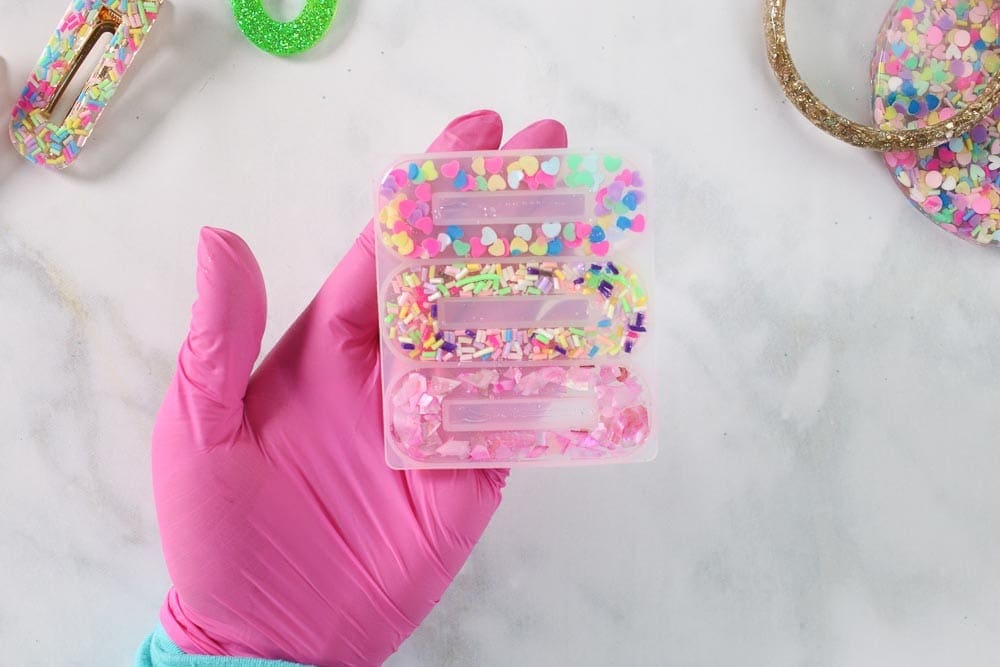
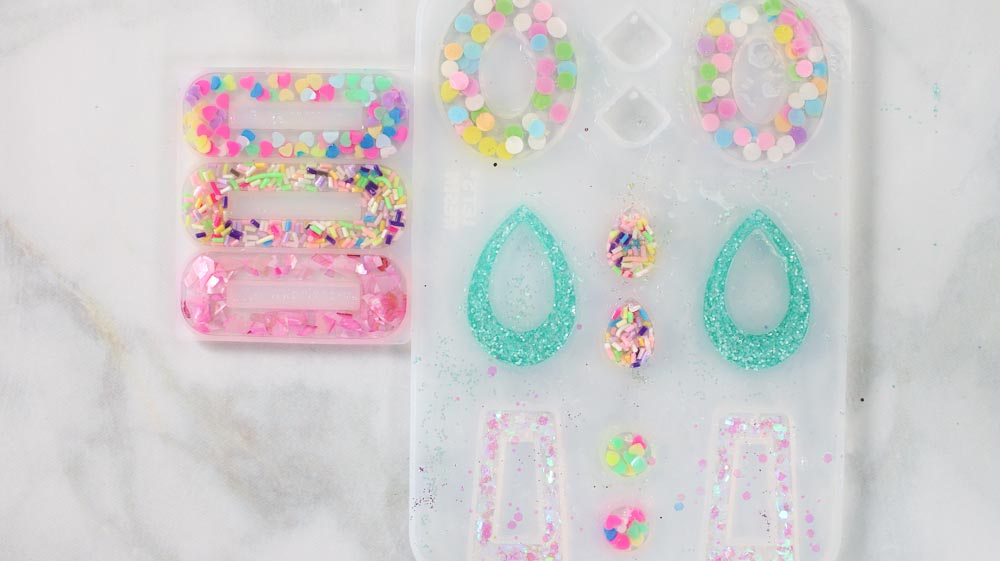
Once the resin has hardened completely, carefully remove it from the mold. You can remove any excess piece of resin with an exacto knife.
How to Make Resin Barrette Hair Clips
With a hot glue gun, trace around the top of the hair clip. Place it on the bottom (the side that faced upwards in the mold) of the resin hair clip and make sure to center it.
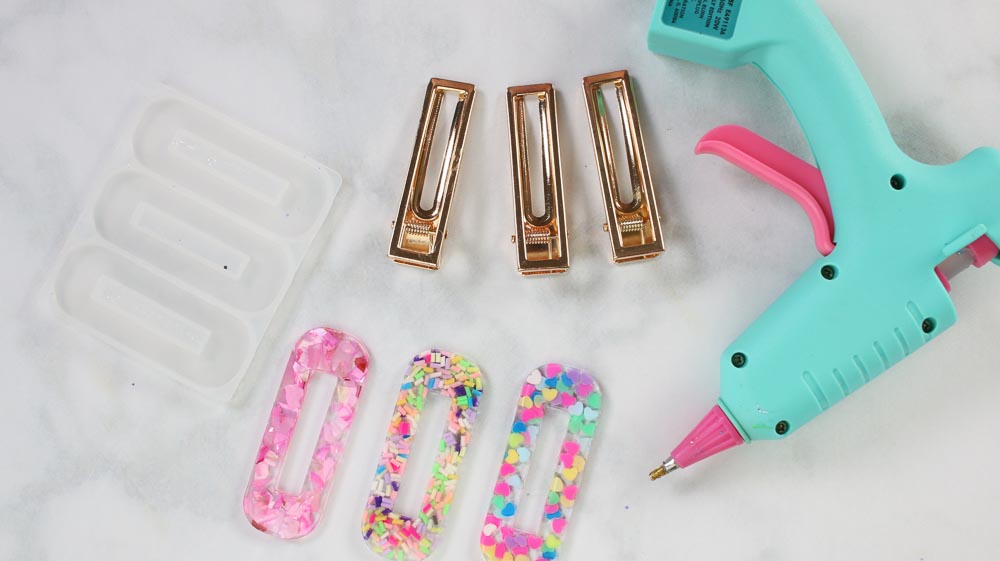
Allow the hot glue to cool completely before using it.
How to Make Epoxy Resin Earrings
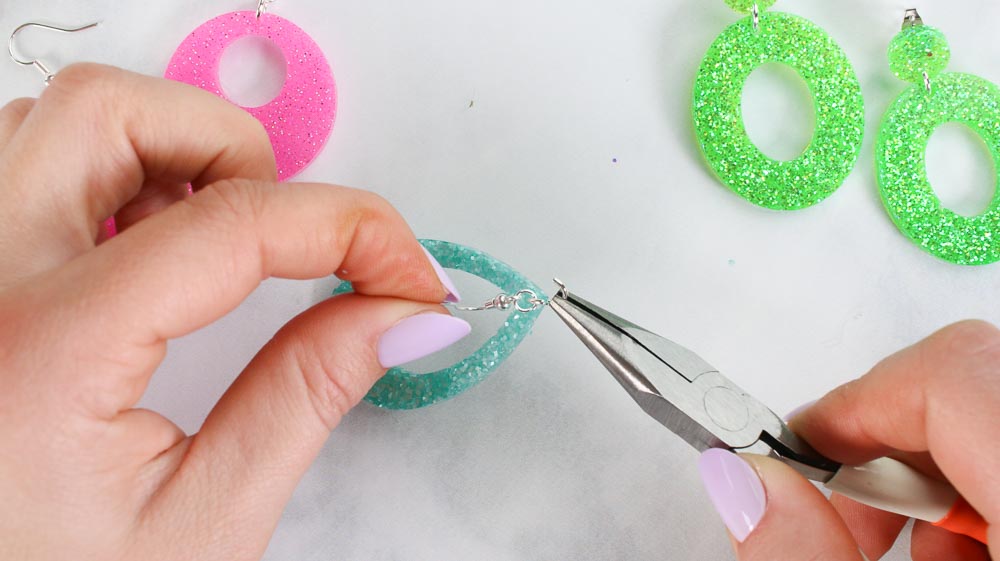
Open a jump ring with a pair of needle-nose pliers. Gently feed it through the earring hole at the top of the earring. Add an additional jump ring and close the main jump ring.
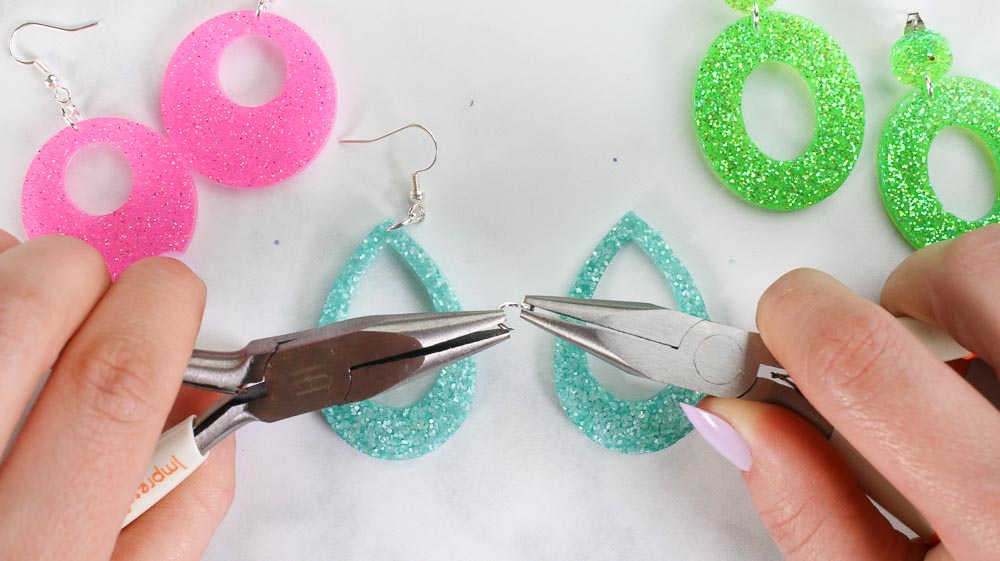
Open the top jump ring and add an earring hook. Make sure that it is facing the right way. Close the jump ring and repeat on the opposite earring.
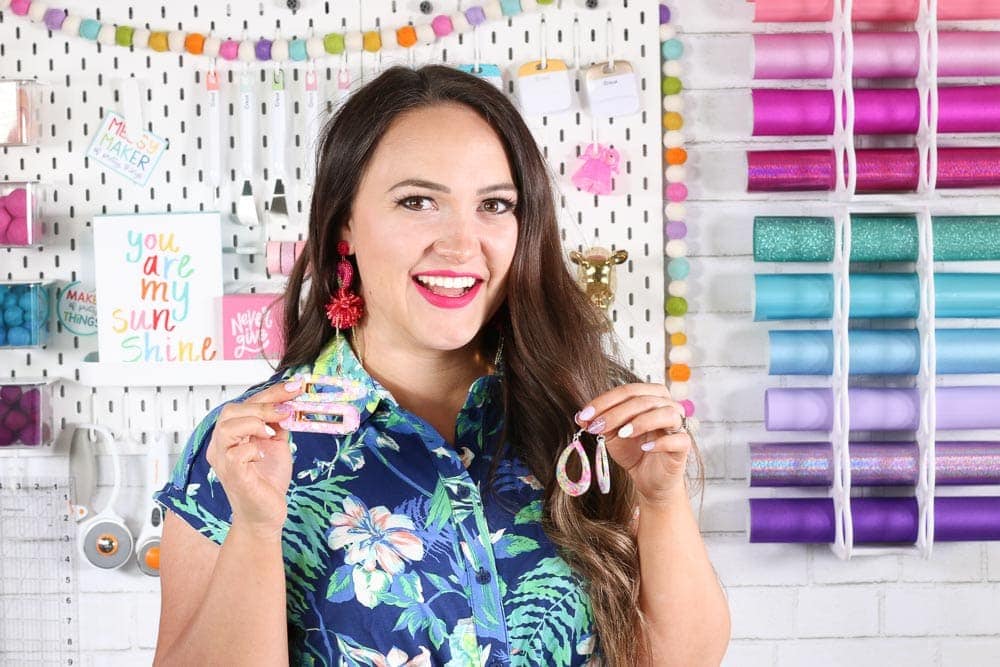
Enjoy your brand-new handmade accessories! If you have any questions, make sure to post them in the comments below!
Don’t forget to join my Facebook group where you can show us what you’re making, ask questions, and learn from others!
Follow me on Instagram for daily crafting inspiration and a look behind the scenes.
Don’t want to forget about this free template? Save this fun project for later! Click here to save this project on Pinterest.
Love these! I have been wanting to try resin, thanks for the video and inspiration! Where did you get the barrette mold and clip? The link goes to the colorpour website, but I don't see them on there. Thanks! Alyssa
Great tutorial! I especially appreciate how specific you were with the instructions! I agree with the previous poster- where did you get the barrette molds?
I think your resin barrettes and earrings are beautiful. I tried resin, but I bought the kind you cure with a lamp. I had air bubbles and it was difficult to mix because I did not use a mixing cup. I feel that I have a better understanding of what to do now. I may give it another try. Thank You so much for creating this DIY.
Hi thank you for all your beautiful creation inspiration and detailed instructions! I have had some epoxy and now feel empowered to give it a go! I was thinking to incorporate dried flowers, leaves, printed magazine clippings, photos, homemade confetti, and perhaps even bug carcasses! Do you have any tips? Also as I don’t have a torch might a hairdryer work for the bubble release technique? Thanks!! Lea
Hi I'm no expert - I came here to learn myself. I have seen on a few other blogs that people have used a hair dryer to remove the bubbles. I haven't tried either method yet - I'm studying before diving in. I hope this helps!
Hi Lea,
the flowers/ carcasses would have to be very dry to put in the resin and with the other items a good test is to dip them in water and if they perish/get ruined don't put them in. I have heard that using contact (like for schoolbooks) to laminate paper works but have never tried. Happy Crafting!
Why does the resin pull away from the edges on ceramic tile? Always wear gloves.
When do you make the holes for the jump ring in the earrings? Is it part of the mold?
I wondered the same thing! I scrolled back up and zoomed in - it appears that there are tiny holes in the earring molds, but it is hard to be sure.
I'm a complete beginner, haven't made anything yet but just want to know can I add paper picture in the mould? Will it damage the picture?
Hey, I’m also an epoxy resin newbie, but I have worked a bit with UV resin. If you’re worried about the paper holding up, you can coat it with a thin layer of plain ol’ craft glue and once it’s dried it should be good to go!
Are there any other moulds instead of silicon that can be used with resin?
Hi Kimberly. I'd like to say this is the easiest tutorial that I've found thus far in my "epoxy beginner studies". Thank you so much for the detailed explanation!
Question about the earrings: how do you get the holes in them?
I was gifted a custom pair of sparkly resin earrings and love how they look and how lightweight they are.
Thank you for your helpful information
Thanks for sharing, valuable information in it
THANK YOU FOR INCLUDING PPE IN YOUR PRESENTATION!!! There are so many home crafters who are wanting to handle epoxy "just for fun" who do not comprehend how dangerous the material is. I love seeing all of the creations that include epoxy so long as people are safe about it. It's kind of like fireworks. They're really cool to DIY until someone gets permanently injured. Sometimes it's best to leave it to the pros until you know what you're doing.
so much fun! ;D
This is such a fantastic beginner’s guide to using epoxy resin! I love how you’ve broken down the process into easy-to-follow steps, making it approachable for anyone new to resin art. One thing I’ve found crucial for success is using high-quality materials, as they make a huge difference in the final results. For anyone looking for reliable and beginner-friendly epoxy resin products, I highly recommend checking out WaterSign Asia. They offer a great range of materials that are perfect for starting your resin journey. Thanks for sharing such a helpful and inspiring guide! https://www.watersignasia.com/