Learning How To Fix A Hole In Pants Can Ensure Your Favorite Pants And Jeans Will Last For Years Of Use!
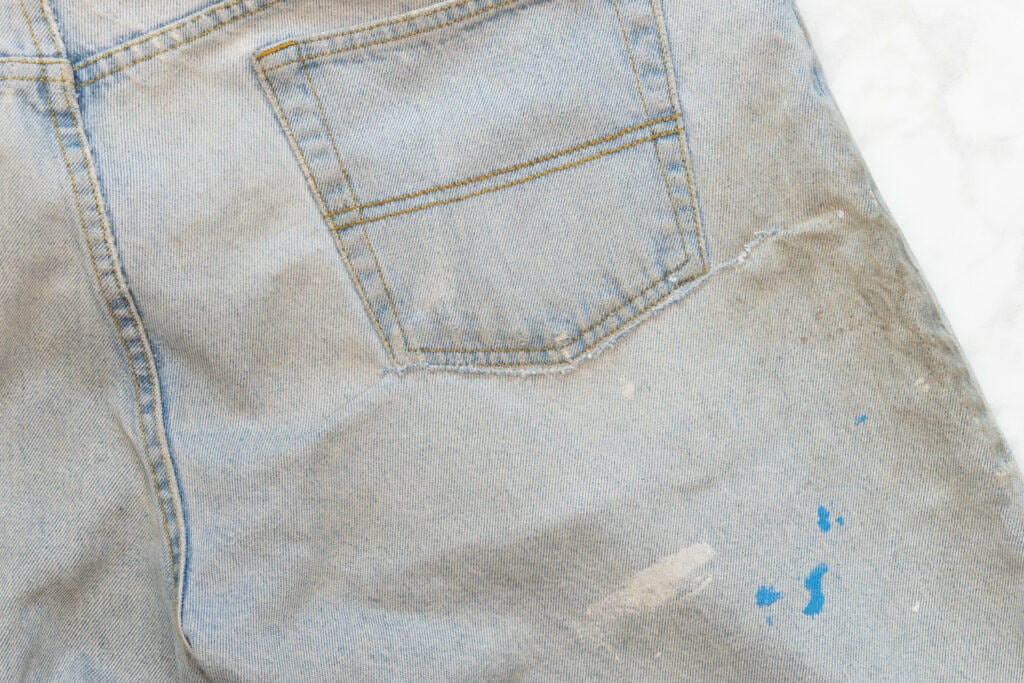
There's nothing more disappointing than going to put on your favorite pair of jeans, just to find an unsightly rip! Learning how to fix a hole in pants or jeans can help you to extend the life of your wardrobe - and avoid having to throw out your favorite jeans just because of one unfortunate rip!
Today, I'll show you 3 of my favorite methods to fix a hole in pants - by hand, with a patch, or with embroidery.
Table of Contents
Why Mend Ripped Pants?
It's usually well worth the time spent to fix a hole or rip in a pair of pants. It extends the life of the garment, often adding years of use that you wouldn't otherwise get. This means you'll have to buy new pants less often - saving you money and reducing waste from throwing out old garments!

Plus, it's almost always your favorite, wear-them-multiple-times-a-week jeans that seem to get holes! Being able to mend them means you won't ever have to be without your favorite pair of jeans!
Looking for more blog posts on jeans? Find out how to hem jeans THREE different ways here!

How to Fix a Hole in Pants with Hand Sewing
If the hole you need to mend is a clean rip, without much fraying, hand sewing it closed is often the easiest and quickest solution. However, if the hole has a lot of fraying, one of the other methods will probably be a better option for you.
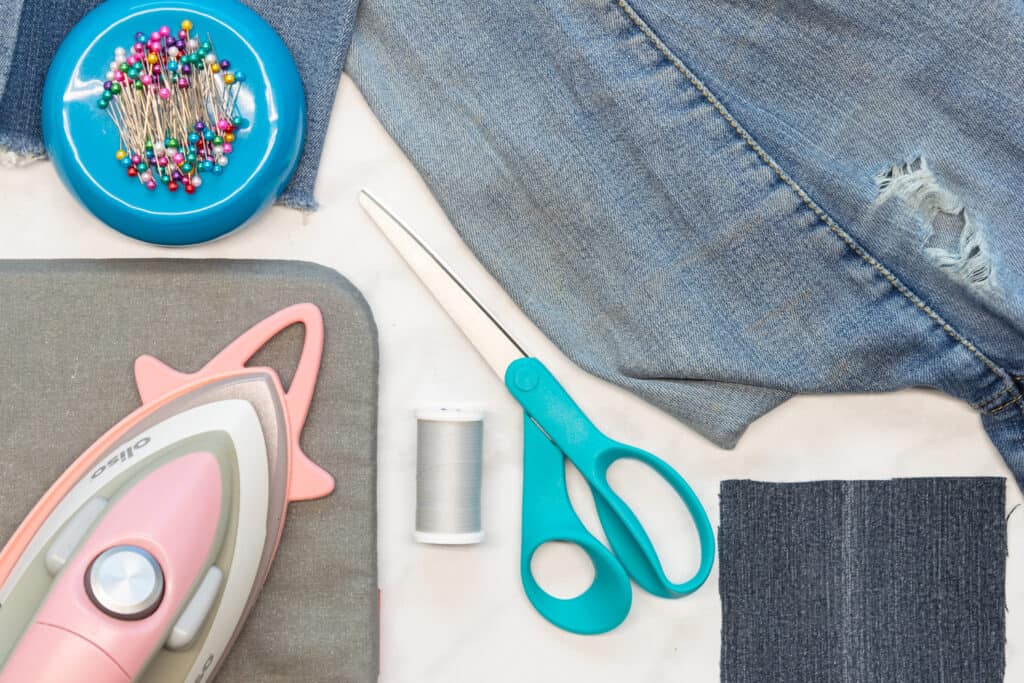
Supplies to Hand Sew a Rip in Pants
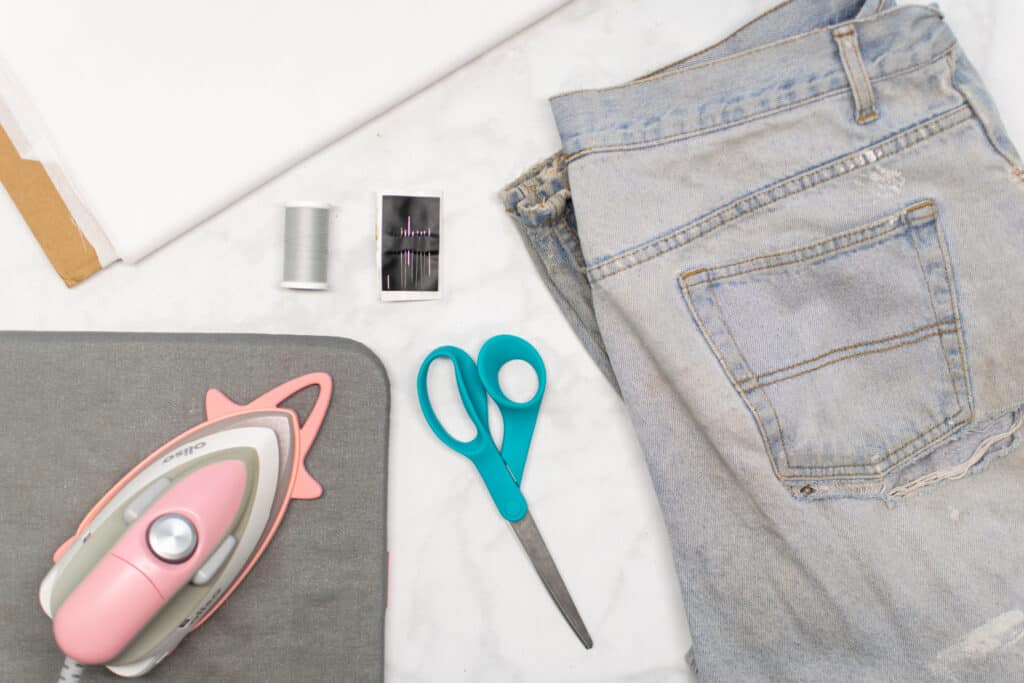
Here are the supplies you'll need to mend a rip by hand sewing
- Pants to Mend
- Hand Sewing Needle
- Thread Matching the Pants
- Scissors or Thread Snips
- Fusible Interfacing (Optional)
- Iron & Ironing Board
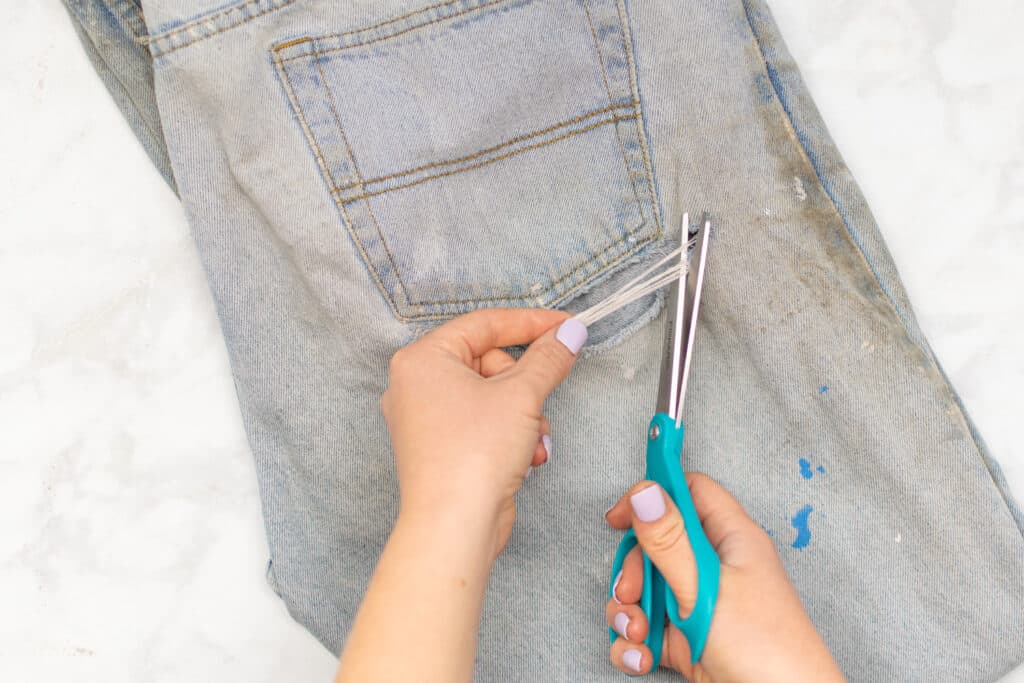
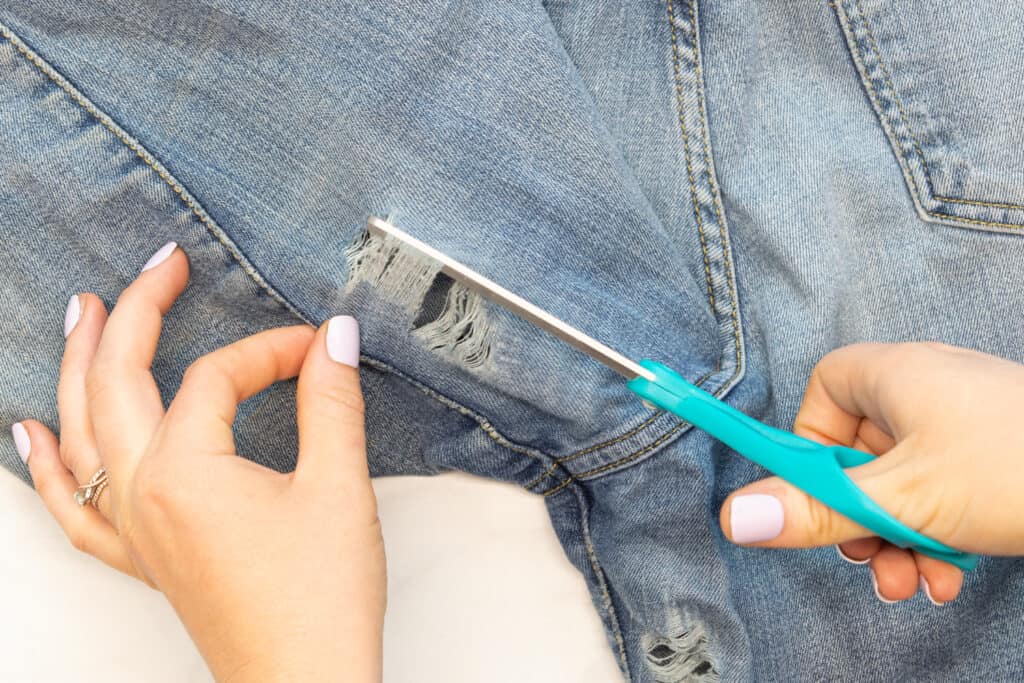
Step 1: Clean Up the Rip
Start by cleaning up the rip. To do this, trim away any frayed threads around the rip with a pair of sharp scissors or thread snips.
Step 2: Prepare a Hand Sewing Needle and Thread
Next, cut a length of thread 15 to 20 inches long. Thread it through the eye of a hand sewing needle.

Pull the thread through the needle until the two thread ends match up. Knot the thread ends together with a double or triple knot.
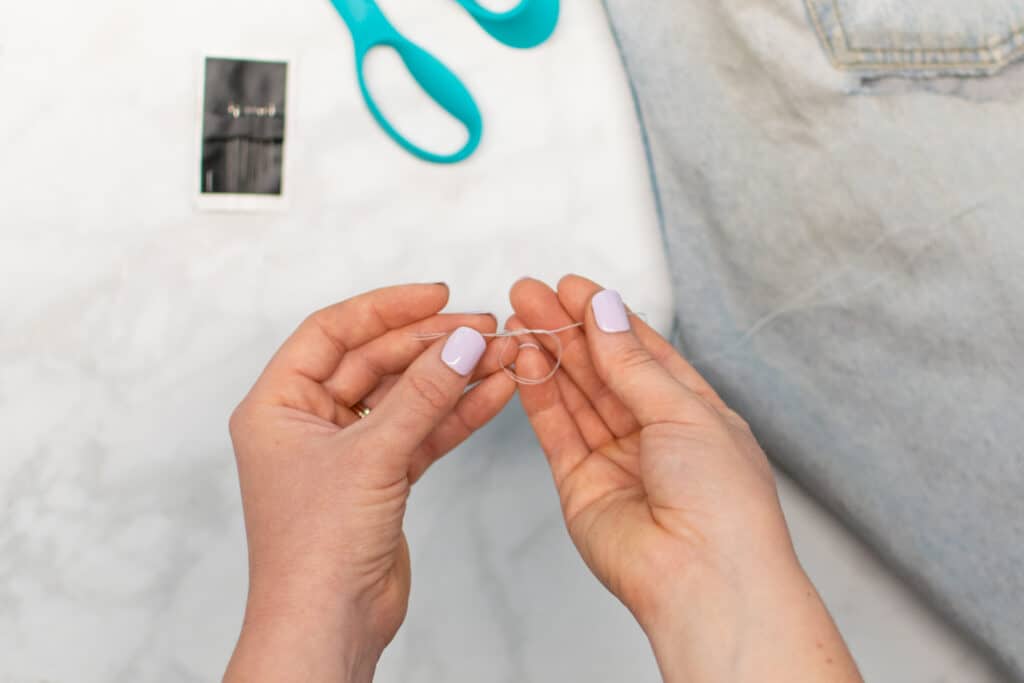
Your needle is threaded with a double length of thread - you're ready to start sewing!
Step 3: Stitch the Rip Closed
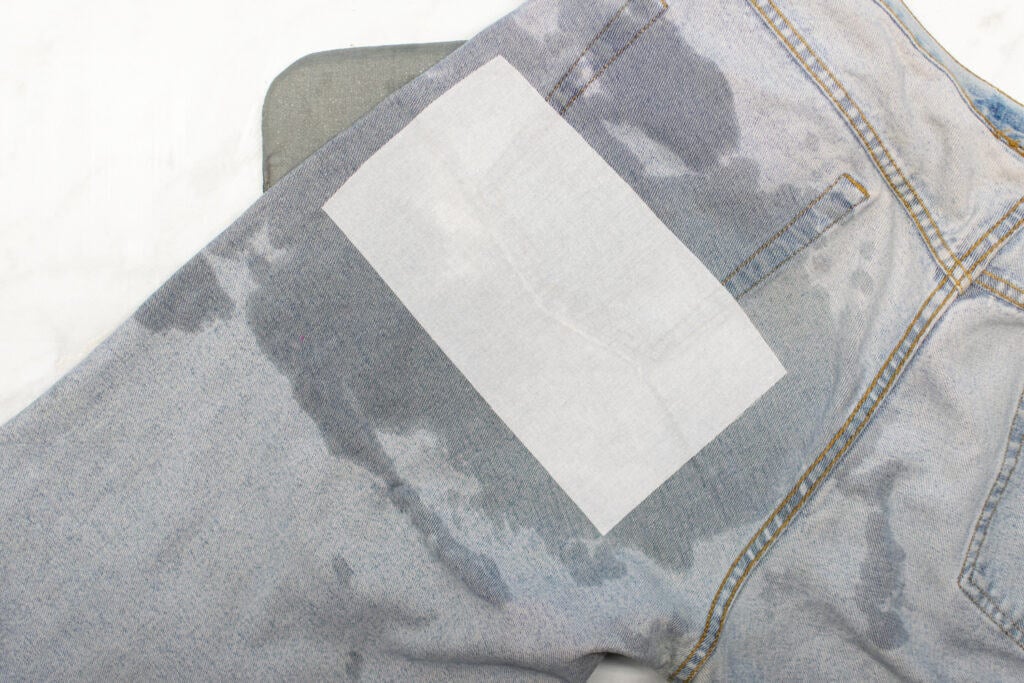
First, before stitching the rip closed, I would highly recommend stabilizing the area with fusible interfacing. This will give the mended area more strength and help it to last for many more years.
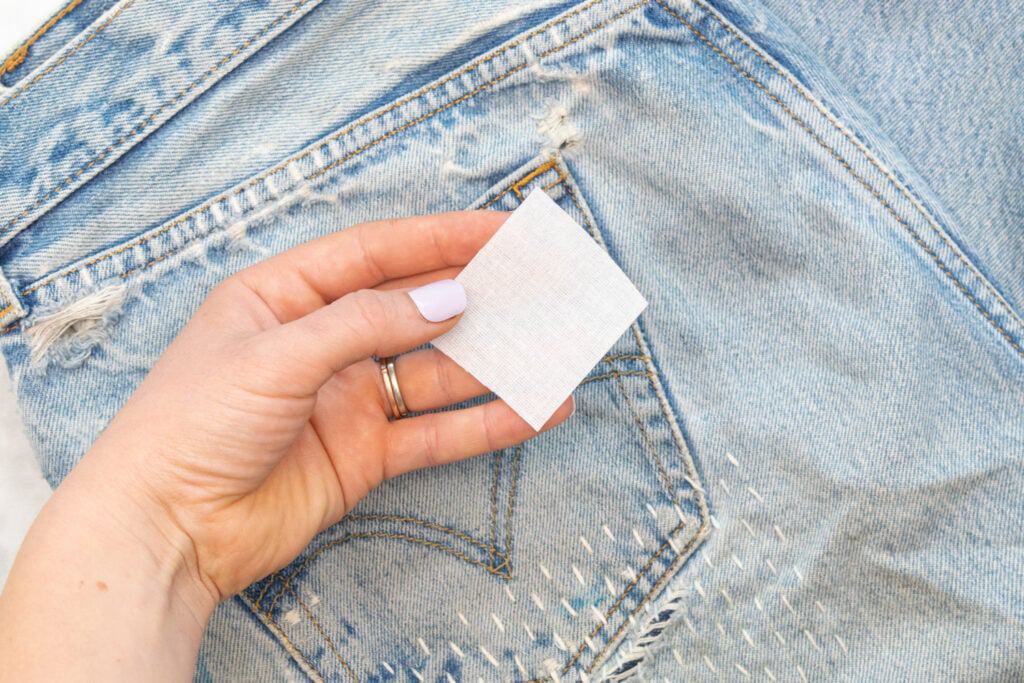
To apply fusible interfacing, cut a square or rectangle of interfacing that is large enough to cover the entire rip, plus about 1 inch on each size.
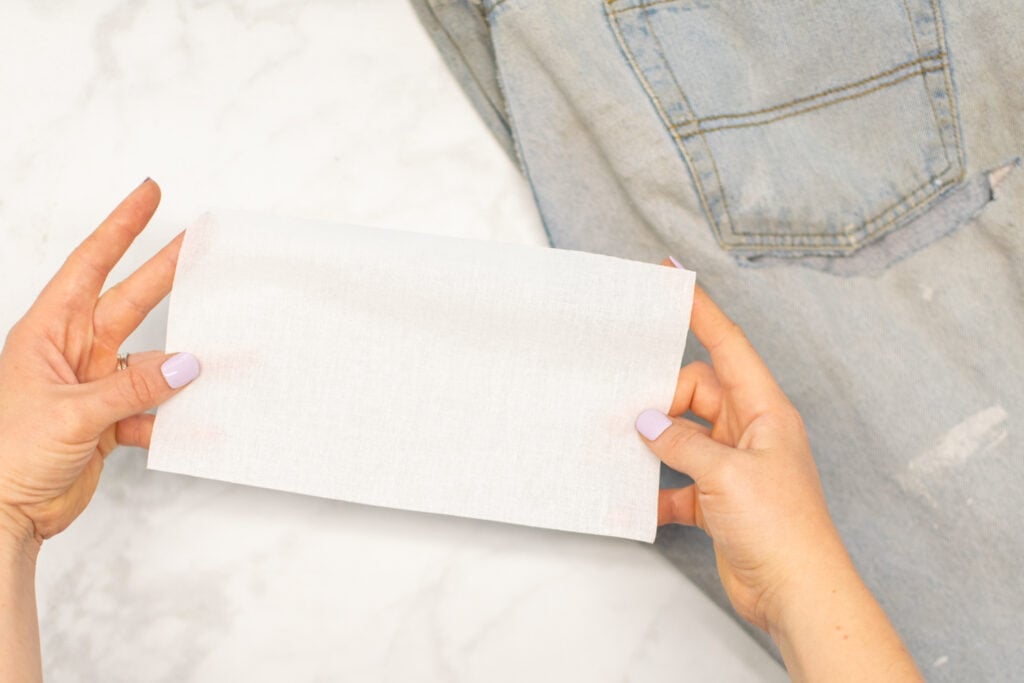
Next, turn the pants inside out and place them on your ironing board. Smooth out the area around the rip. Line up the edges of the rip carefully.
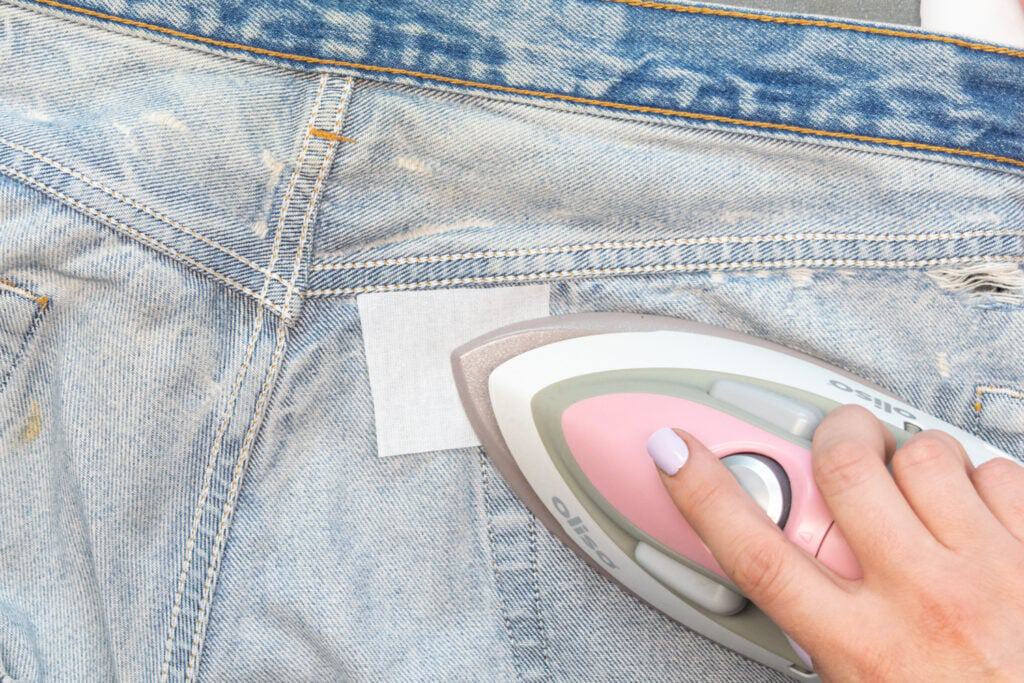
Then, place the cut square of fusible interfacing over the rip with the bumpy side down against the fabric.
Place a damp rag over the interfacing, then press a hot iron onto the rag. Hold the iron in place for 10-15 seconds. It will create quite a bit of steam as the interfacing adheres to the fabric.
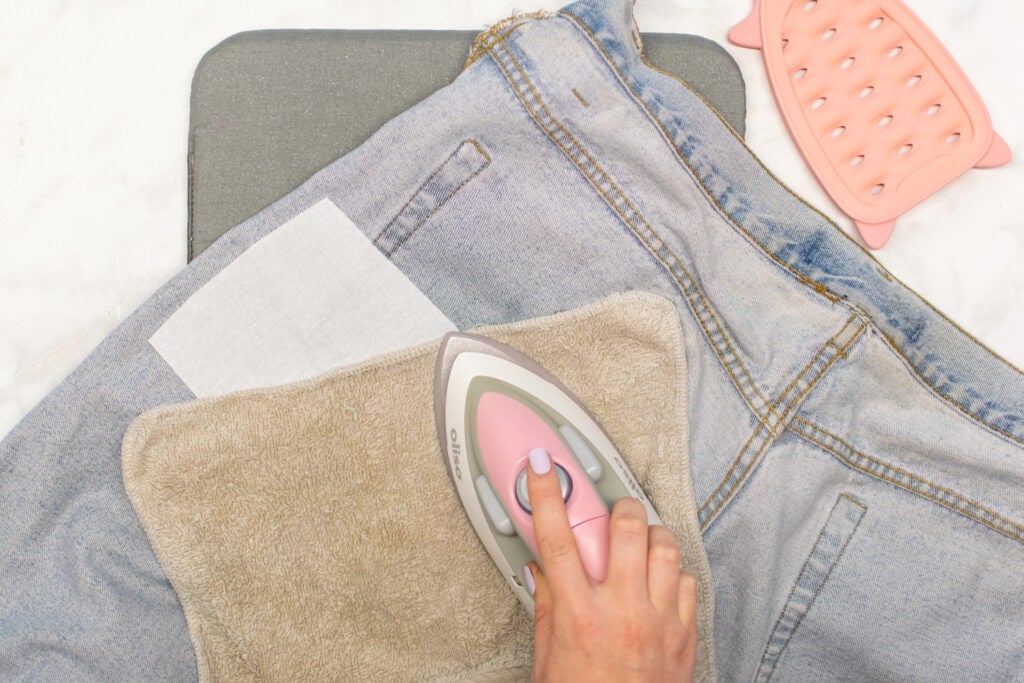
Remove the rag from the interfacing. Allow the pants to sit on your ironing board until the interfacing has dried.
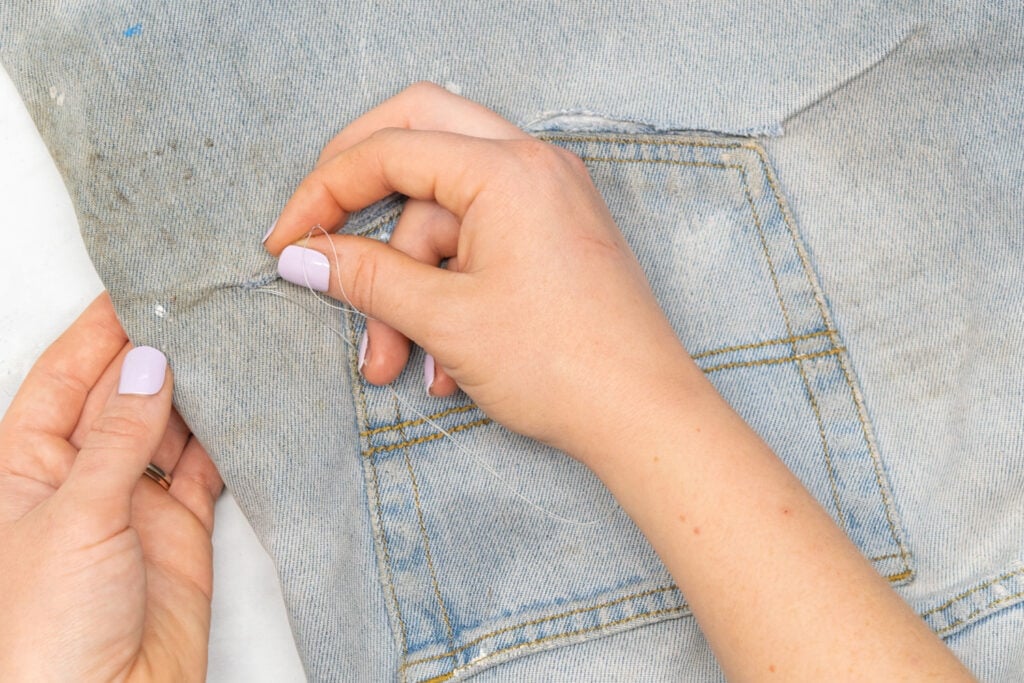
Next, grab your threaded needle. Push it up through the fabric of the pants at the left end of the rip. Pull the needle through until the knot is against the back of the fabric.
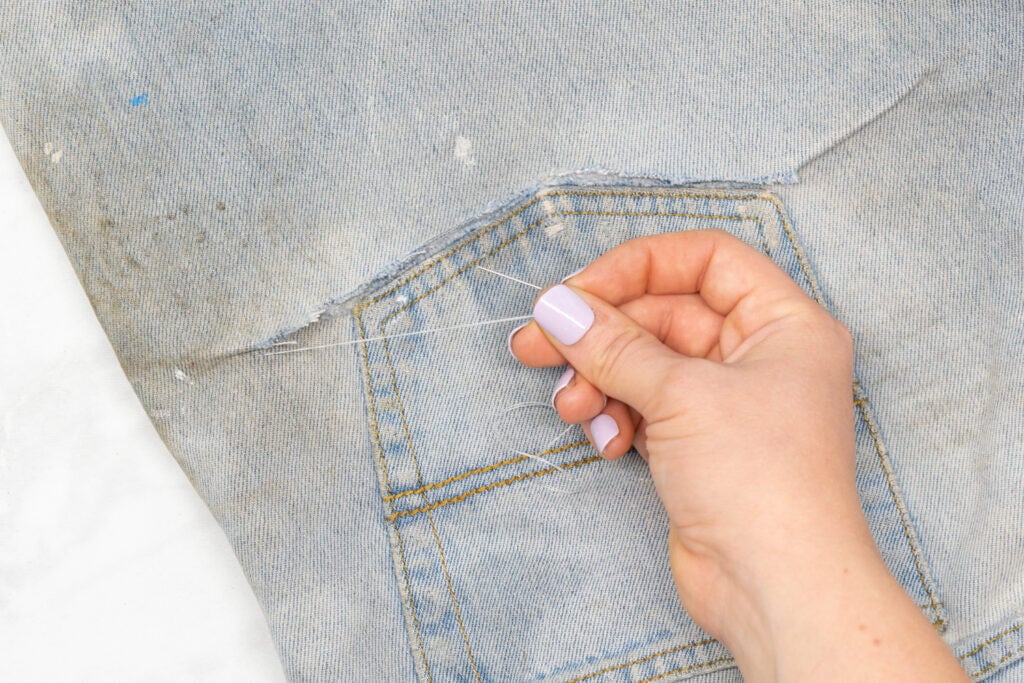
Push the needle back down into the fabric on the side of the rip opposite where you started. Pull the needle through until the thread is taut.
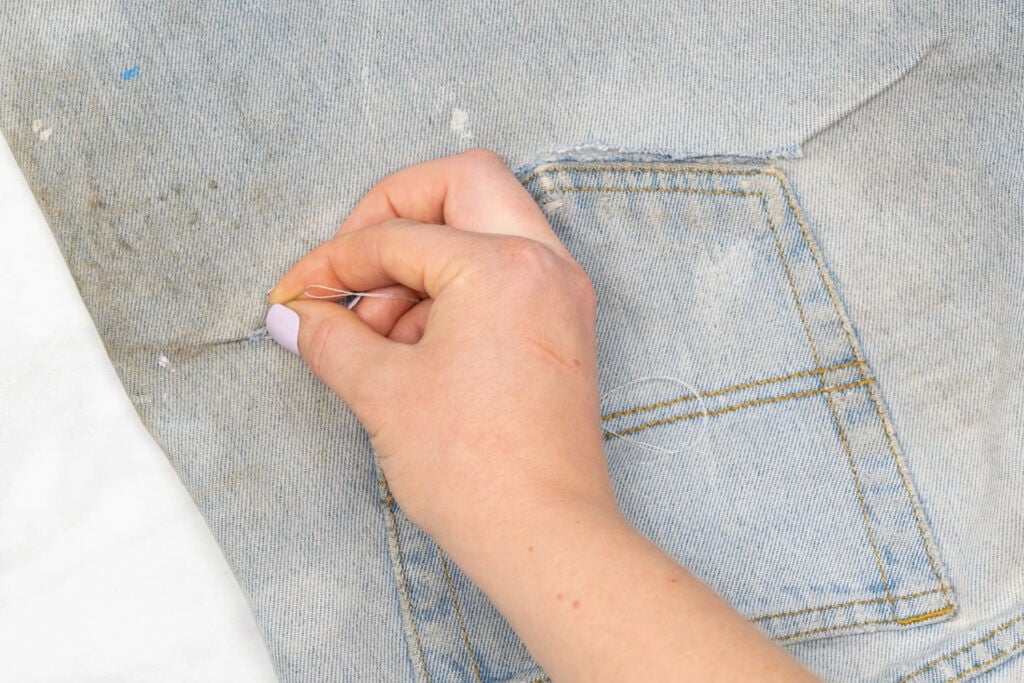
Then, push the needle back up through the fabric on the side of the rip you started on, but a few millimeters further to the right. Pull the thread taut.
Push the needle down into the fabric opposite where the thread is coming out to form a second stitch.
Repeat this process to stitch across the rip all the way down the length of the rip.
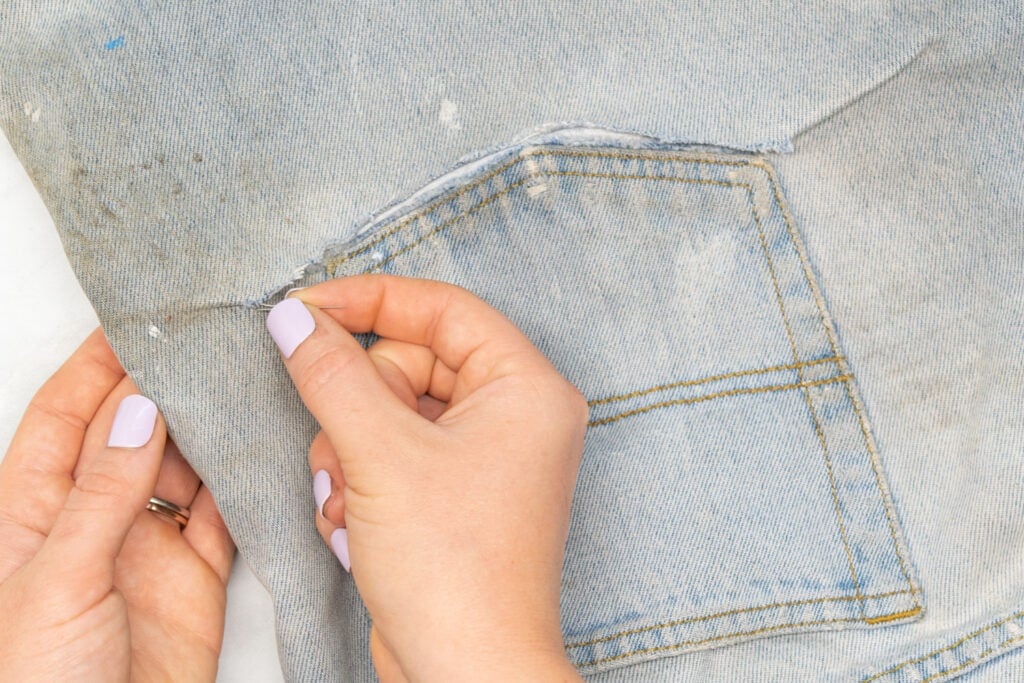
Once you reach the end of the rip, make sure the needle and thread are pulled to the inside of the pants.
Trim the thread close to the needle to free the two thread tails. Knot the thread tails together with a double or triple knot.
The rip has been mended!
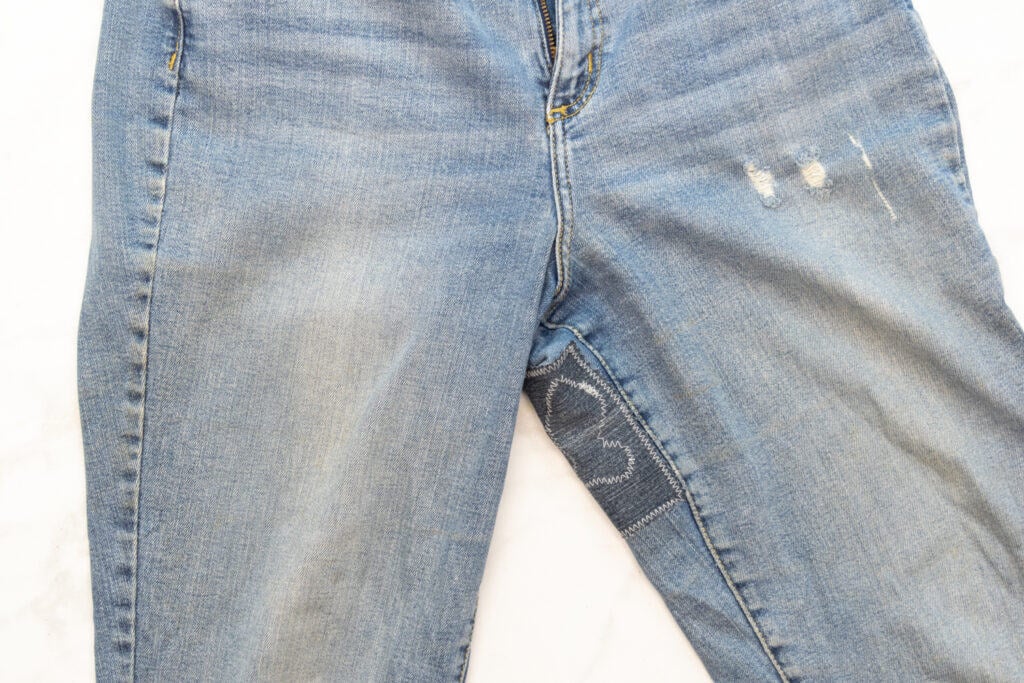
How to Patch a Hole in Pants
The next method to mend a hole in pants or jeans is to patch the hole. This method is best for a larger, more frayed hole or rip.
Supplies to Patch a Hole in Pants
Here are the supplies you'll need to patch a hole in pants with a patch.
- Pants to Mend
- A Square of Fabric to Use as a Patch
- Scissors or Thread Snips
- Sewing Pins
- Iron & Ironing Board
- Sewing Machine
- Thread Matching the Pants
Step 1: Clean Up the Hole
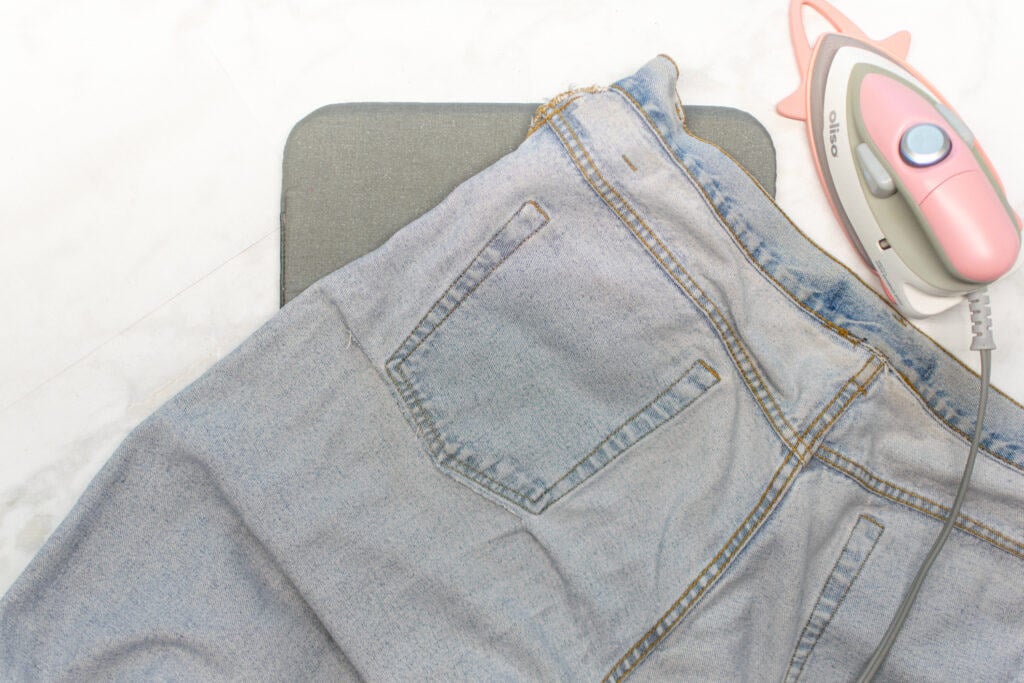
Start by cleaning up the rip or hole. Trim away any threads or frayed areas around the hole. You want to create a neat, clean slate to apply your patch to.
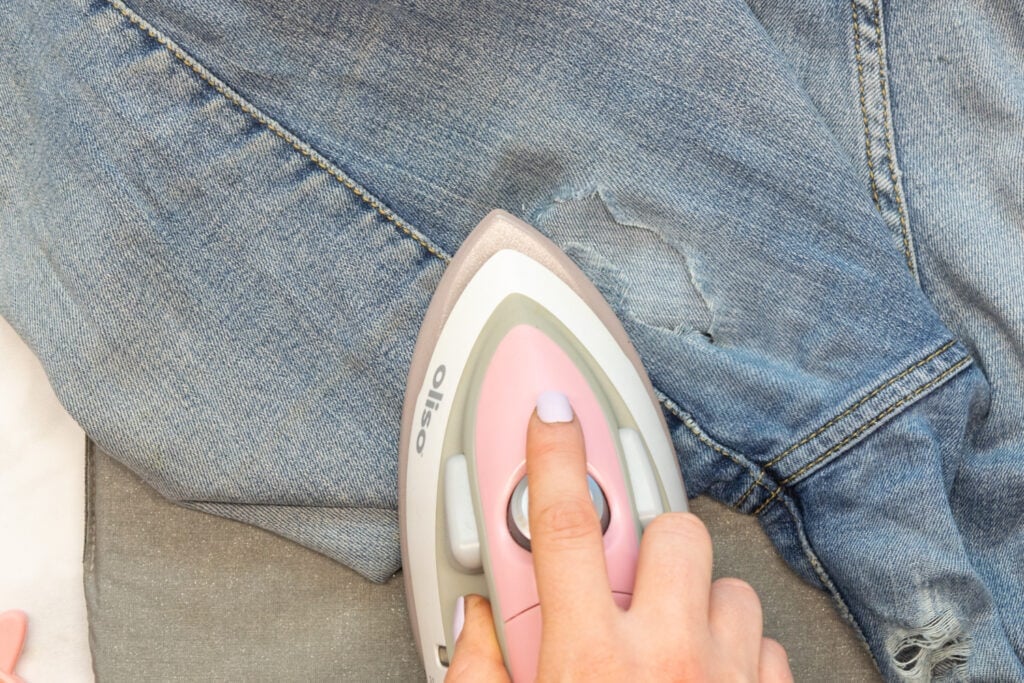
Next, press the hole or rip with a hot iron. This ensures that all the fabric around the rip is laying nice and flat - no wrinkles or curled up edges here!
Step 2: Cut and Adhere the Patch
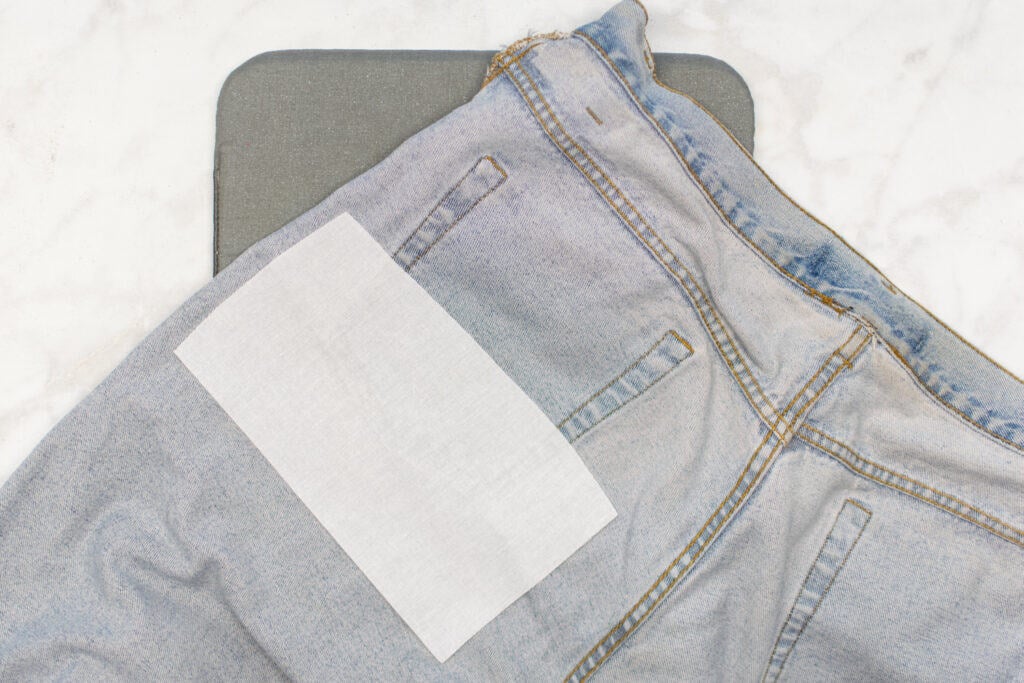
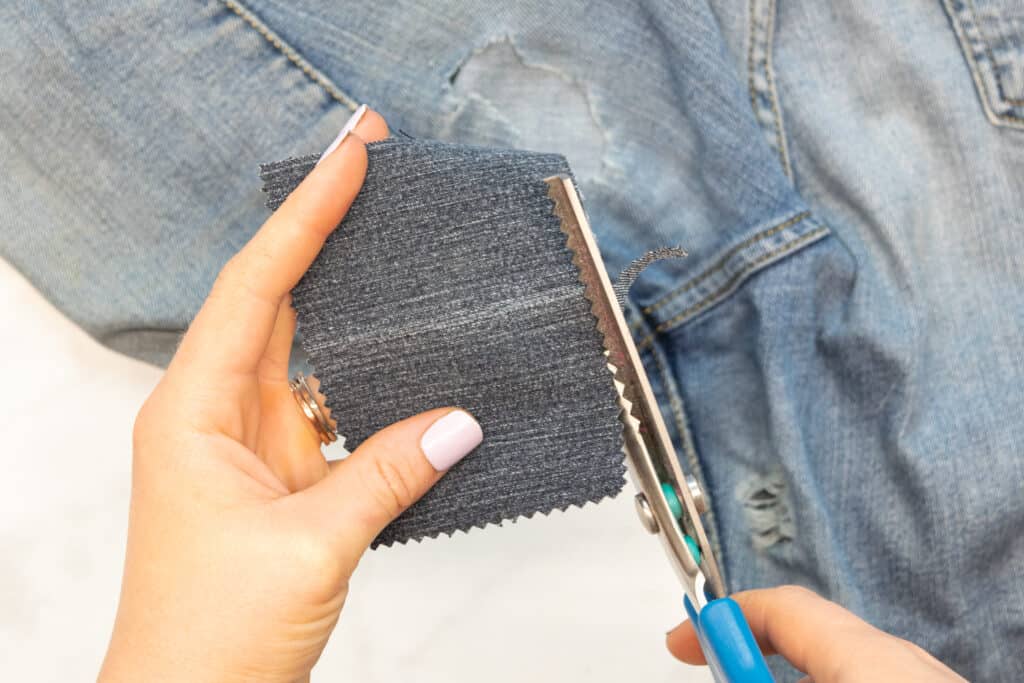
Next, cut a patch large enough to cover the entire rip, plus about an inch on every side.
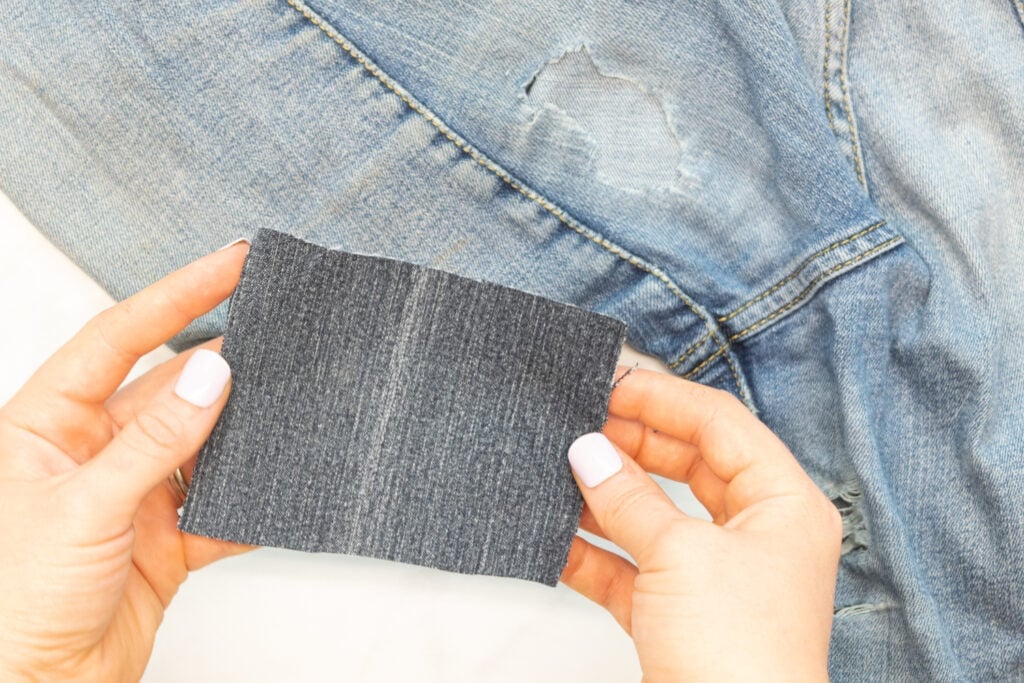
I like to use denim when patching jeans - and I choose a color similar to the color of my jeans. If you're patching another type of pants, simply choose a fabric similar to the fabric of your pants.
If you prefer, you can even choose a contrasting or eye-catching fabric for your patch. Some people even like to use sequin fabric to patch their jeans! They're your jeans - so it's completely up to you!
Next, finish the edges of the patch with pinking shears, a zigzag stitch, or a serger. This will help prevent your patch from fraying over time.
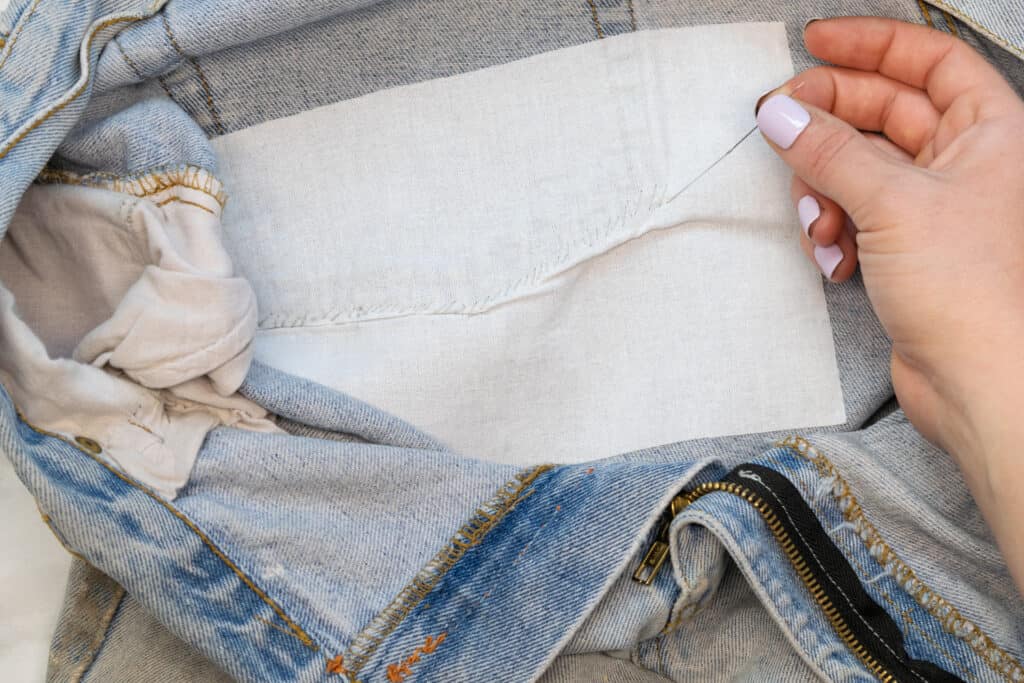
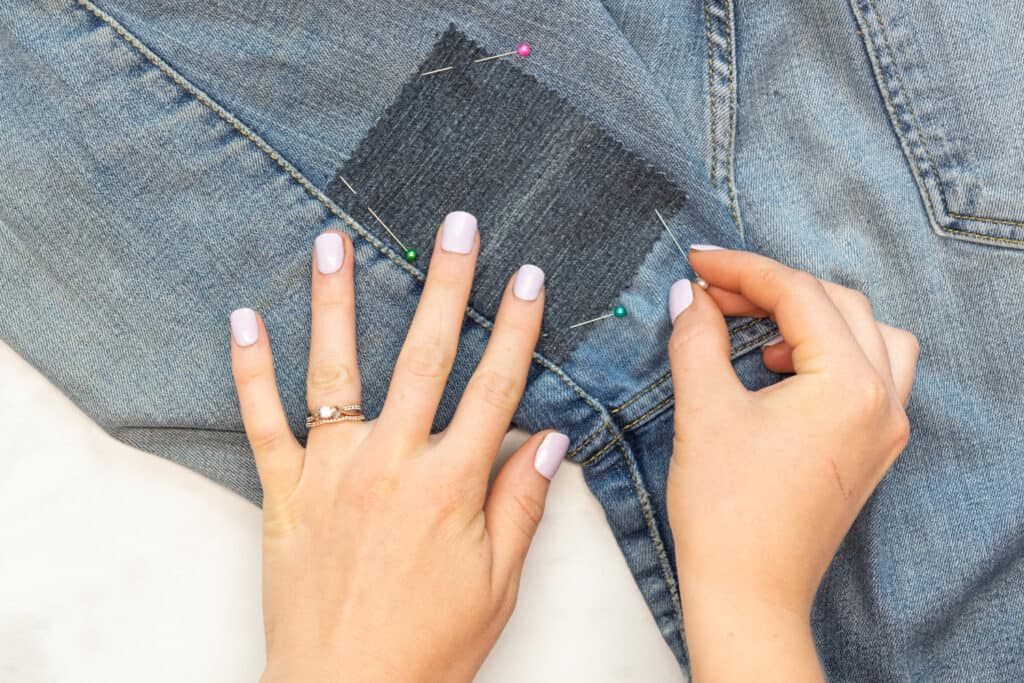
Center the patch over or under the hole, then pin it in place. It's up to you if you'd rather place the patch on the inside of your pants or on the outside.
Personally, I often prefer to place the patch on the inside, underneath the hole so it's less visible from the outside.
Step 3: Stitch the Patch in Place
Once the patch is pinned in place, it's time to stitch everything down!
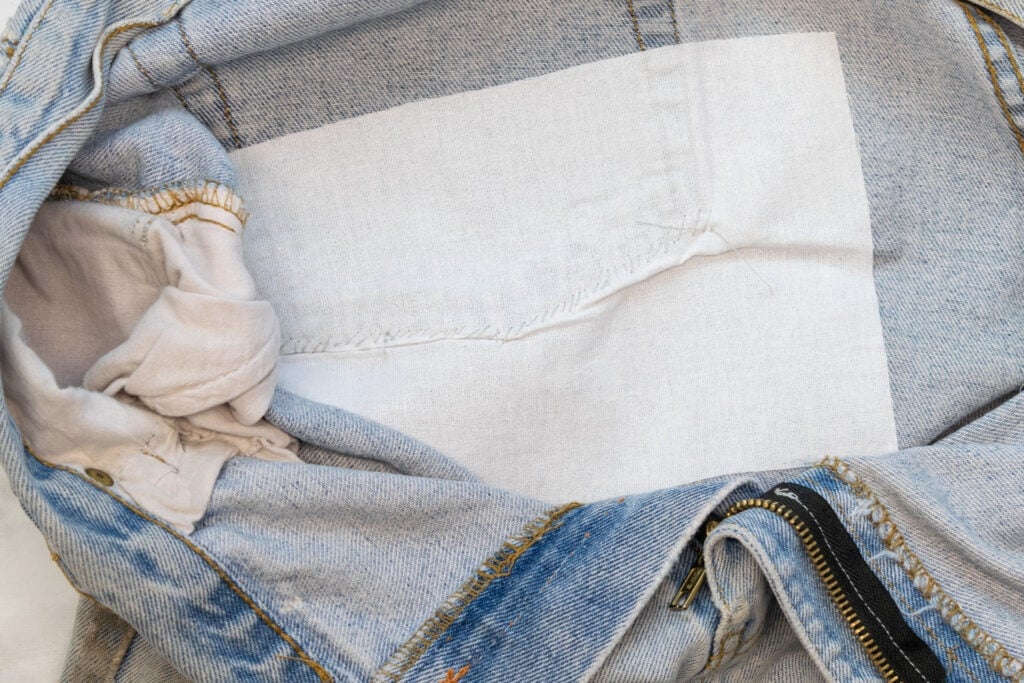
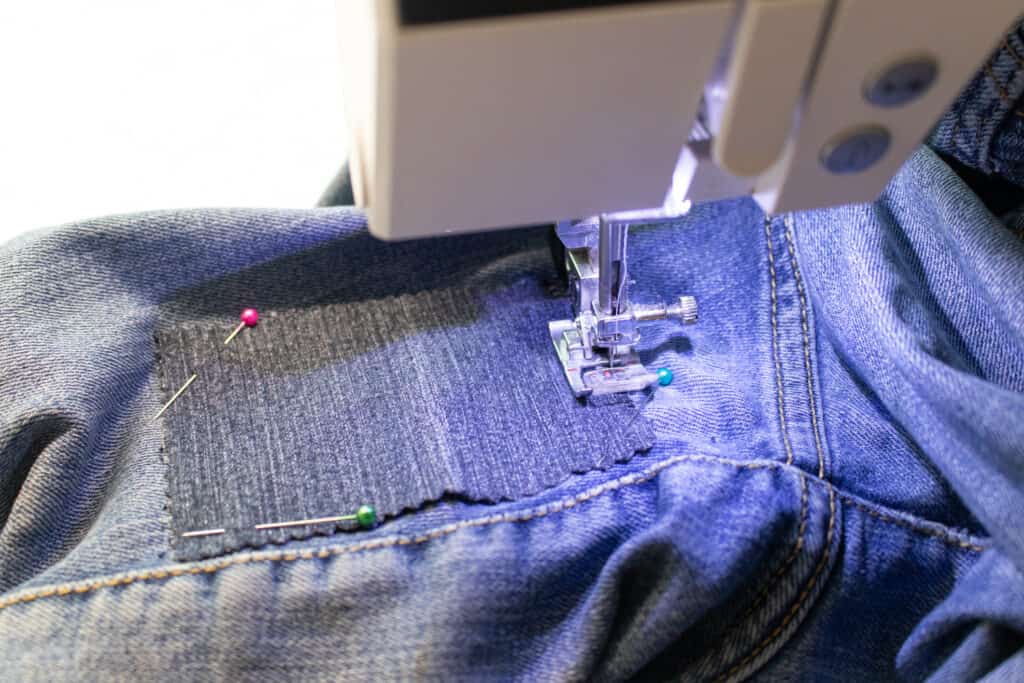
First, set your sewing machine to a zigzag stitch. Sew all the way around the edges of the patch, stitching right along the edges of the fabric. Make sure to backstitch at the beginning and end of your stitching.
Next, stitch directly over the center of the rip with a zigzag stitch. This will hold the edges of the rip to the patch. If you are mending a hole, where the edges don't meet, stitch over all the edges of the hole.
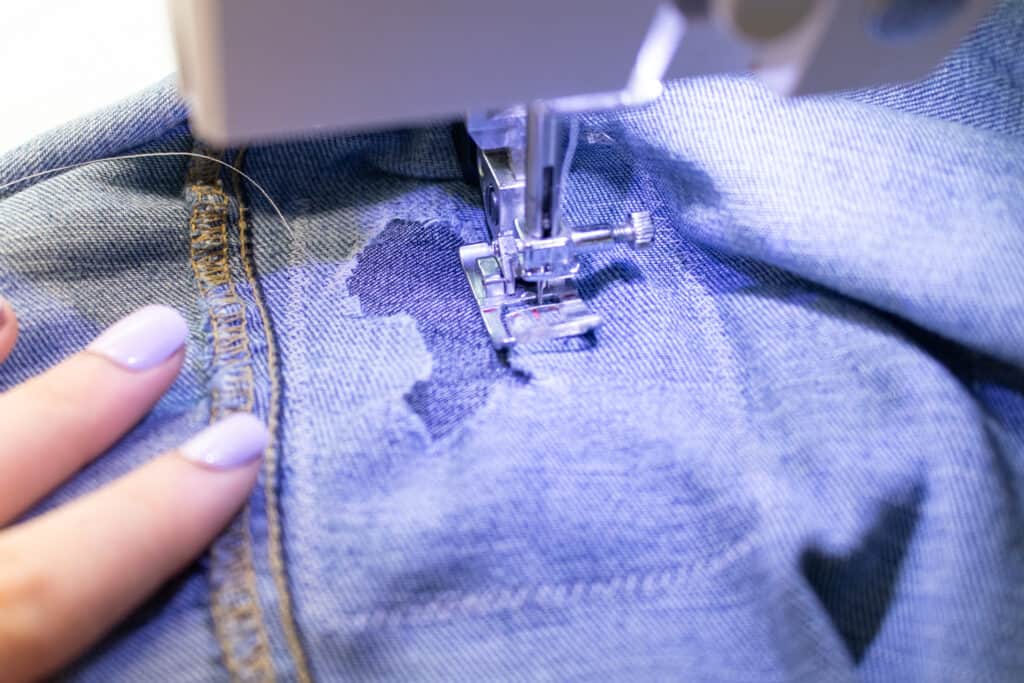
Once you have finished, trim all the thread tails. Give the mended rip a final press with your iron. You're finished!
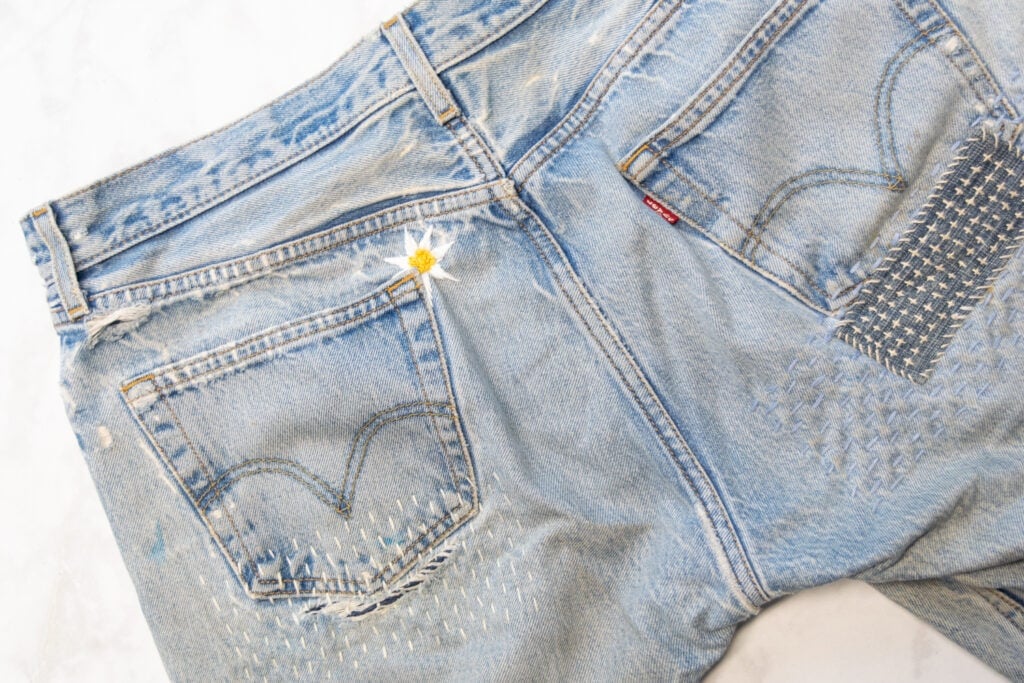
How to Fix a Hole in Pants with Embroidery
One of my favorite ways to mend a hole in pants is with embroidery. It's so fun and gives your pants a unique, personalized feel. This method works well for both clean rips and larger holes.
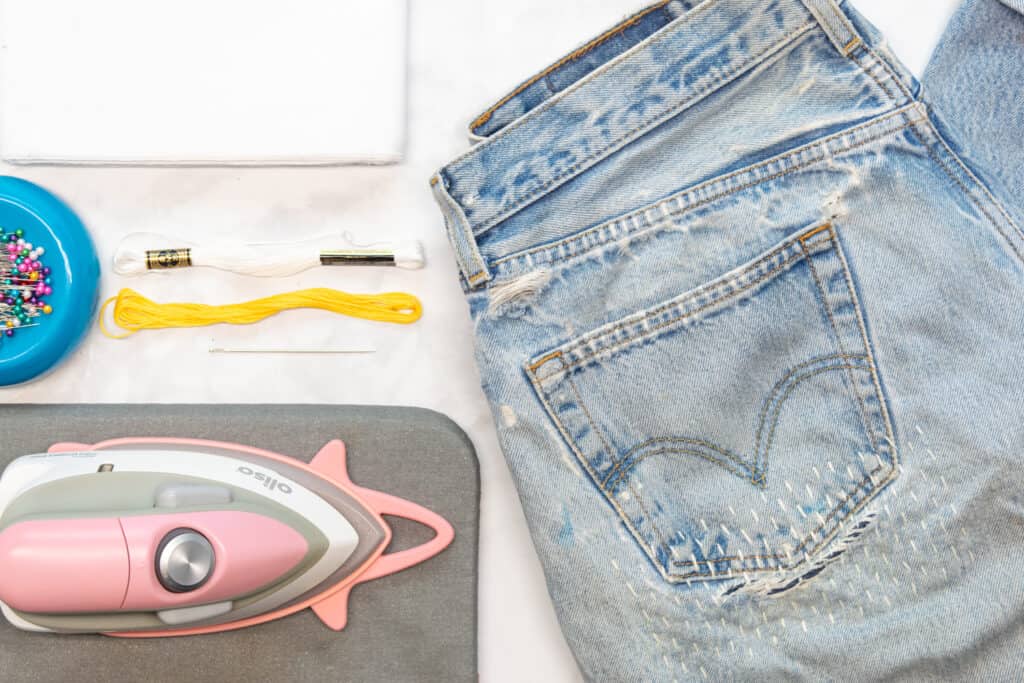
Supplies to Fix a Hole in Pants with Embroidery
Here are the supplies you'll need to fix a hole in pants or jeans with embroidery.
- Pants to Mend
- Fusible Interfacing
- Scissors or Thread Snips
- Iron & Ironing Board
- Extra Fabric (if mending a larger hole)
- Sewing Pins
- Embroidery Floss
- Hand Embroidery Needle
Step 1: Choose an Embroidery Design
First, decide on an embroidery design. You can choose something simple enough to free-hand, or print an embroidery template to guide your design.
The most important thing is to choose a design large enough to cover the hole, plus some overhang beyond the edges of the hole.
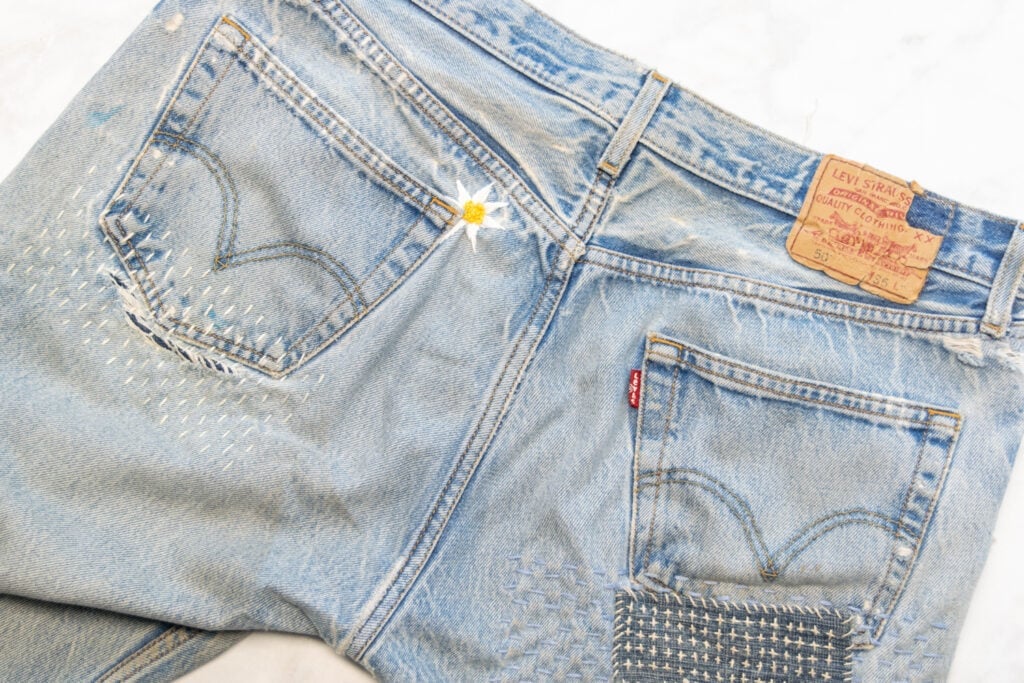
Some of my favorite easy embroidery designs for mending jeans are daisies, sunflowers, bumblebees, hearts, and stars.
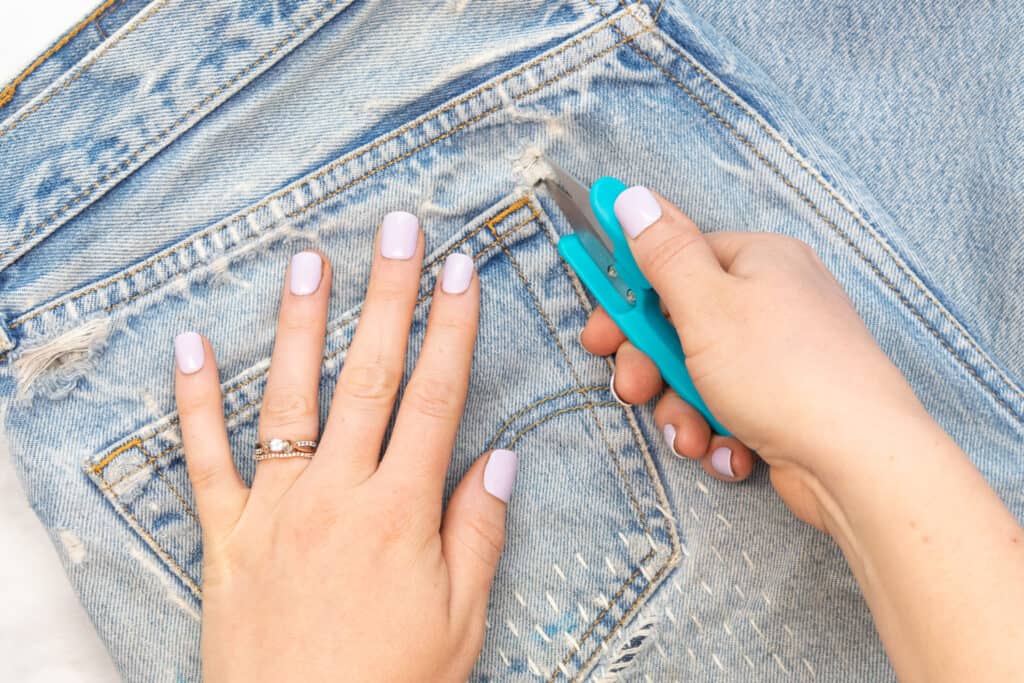
Step 2: Clean Up the Hole
Next, clean up the edges of the hole with a pair of sharp scissors or thread snips. This creates a nice, clean surface to apply your embroidery to.
Then, cut a piece of fusible interfacing large enough to cover the hole or rip plus about an inch on every side.
Fuse the interfacing to the back of the hole, on the inside of the pants. This creates a more stable surface for the embroidery and makes it easier to complete and more durable long-term.
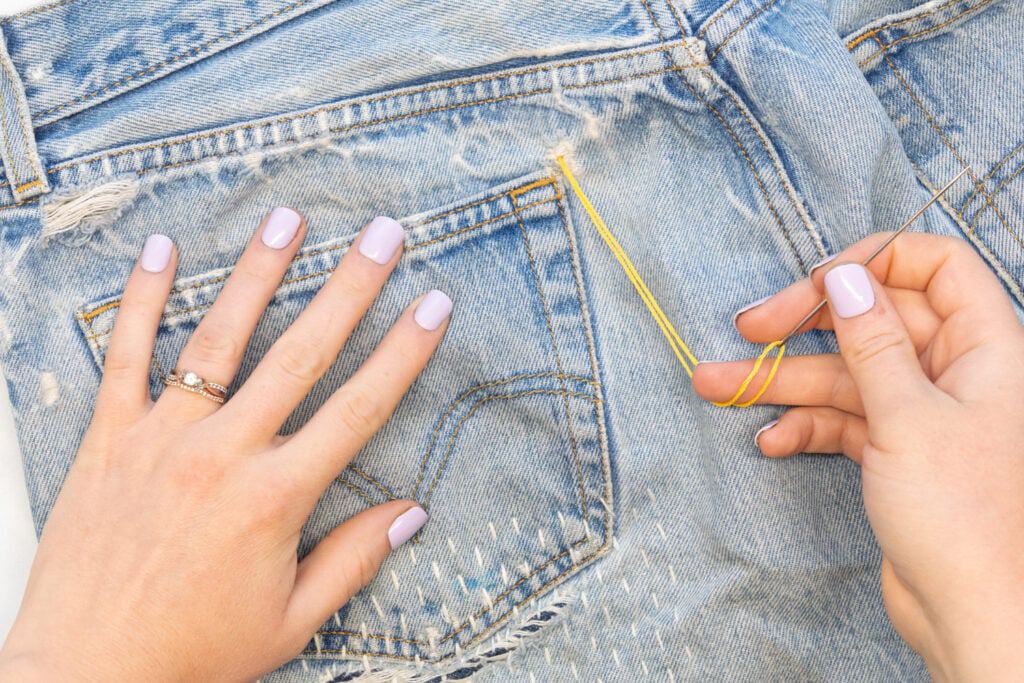
Step 3: Sew the Embroidery Design
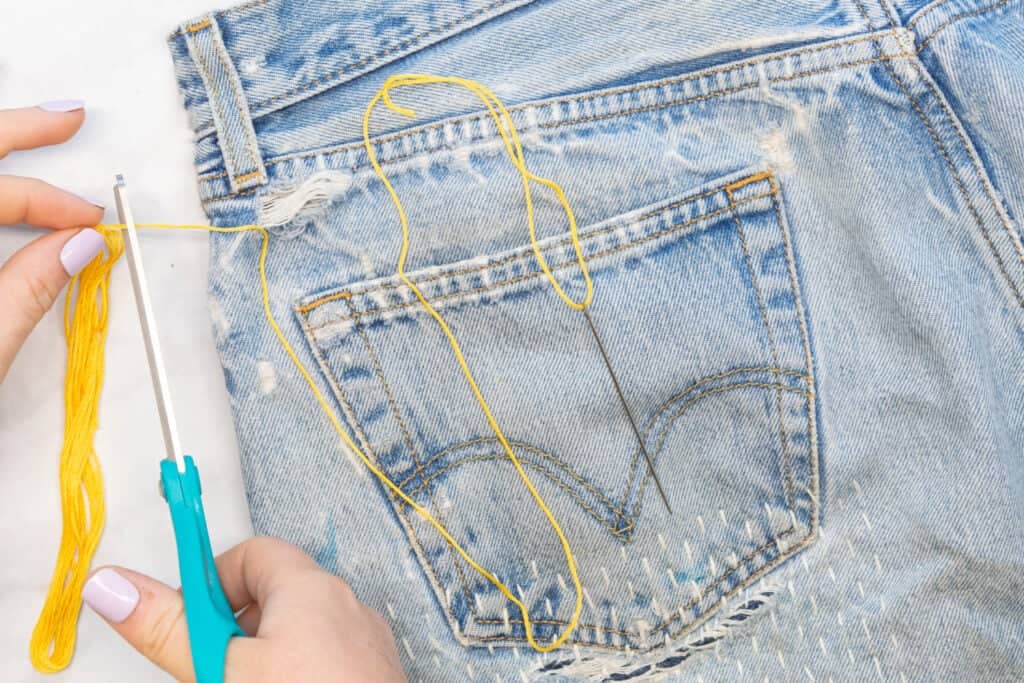
Next, thread your hand embroidery needle with a length of embroidery floss. I like to cut my embroidery floss about 15 inches long. I find that if I start with a piece any longer than that, it tends to get tangled during the embroidery process.
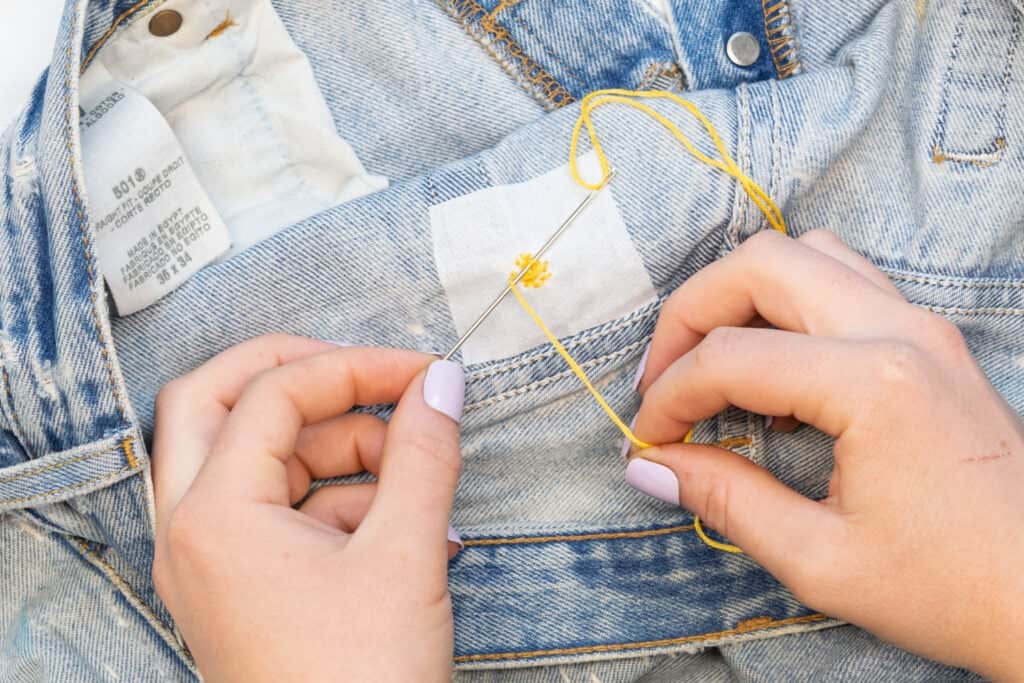
Knot the end of the thread with a double or triple knot. Push the needle up through the fabric from back to front.
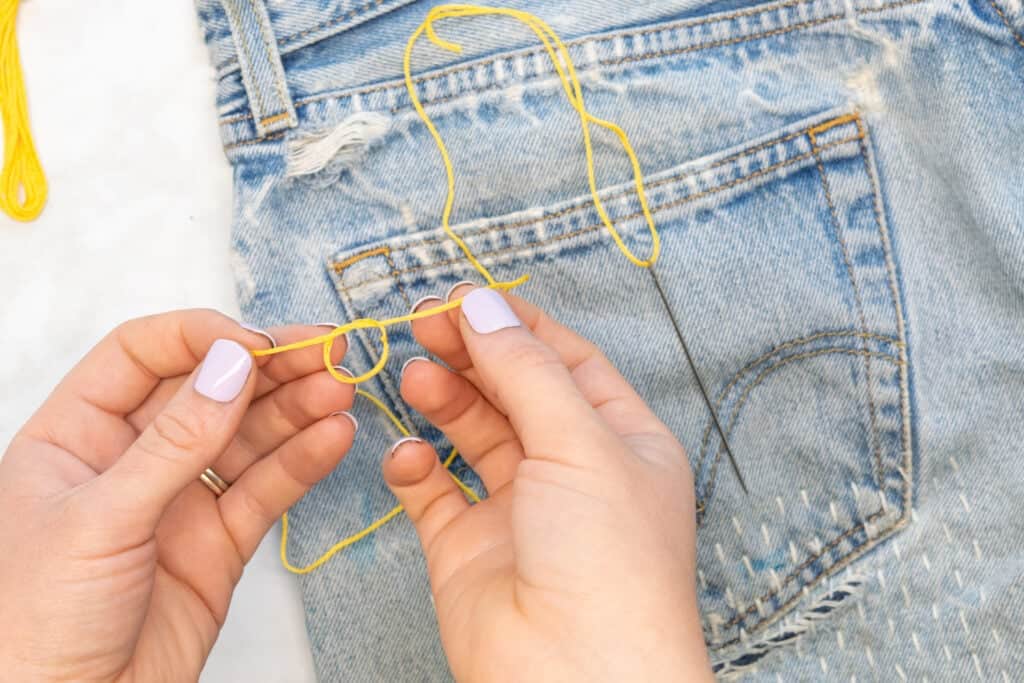
Pull the embroidery thread through until the knot is taut against the back of the fabric.
Stitch your embroidery design. If you get close to the end of your first thread, knot the end into the previous stitches and trim the thread tails. Then, restart with another length of embroidery floss.
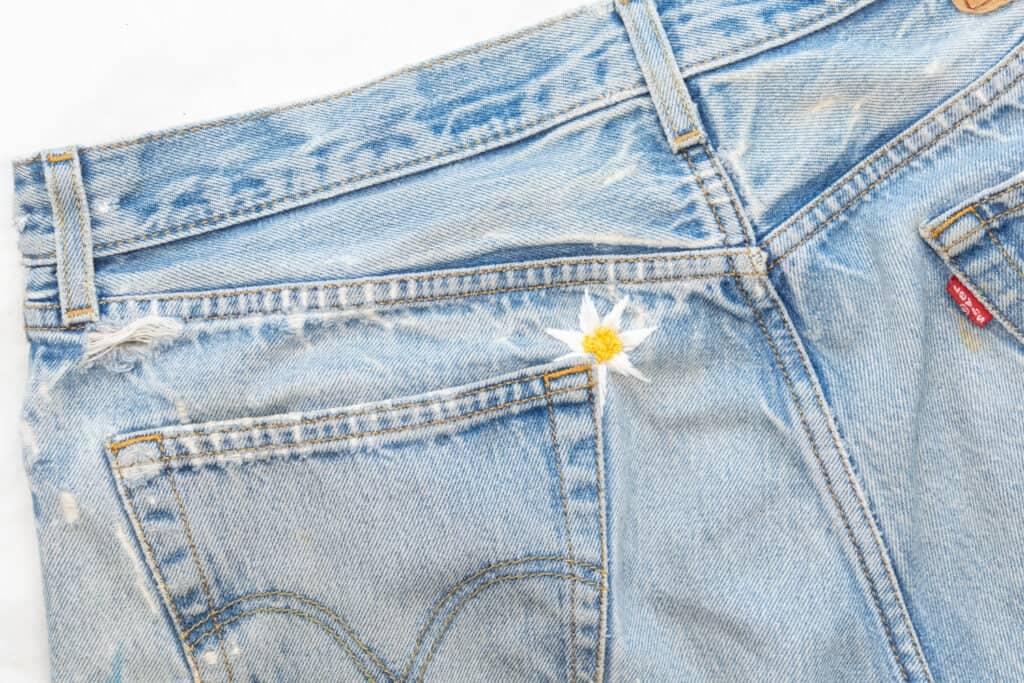
Once your entire embroidery design is finished, trim up all the thread tails on the inside of your pants.

Your pants are mended and ready to be worn!
I hope you're feeling inspired to give your ripped jeans or pants a new life using one of these 3 methods! Which method is your favorite way to mend pants?
Want to remember this post? Save it to your favorite Pinterest board here.

Looking for more blog posts on jeans? Find out how to hem jeans THREE different ways here!
Good guide!
One of the problems I have, is that there is no way to zigzag a patch on all sides on a jean leg, it simply cannot be done ”lengthwise”. This is especially true on kids jeans (which are the ones needing patching most of the time. I guess the only solution would be to rip open the leg side seam, and then close it. But how does one do that with an acceptable result?