Learn How to Assemble a Charcuterie Board Filled With Cheese, Meats, Crackers, Nuts, Fruits & Vegetables.
There’s a big football game this weekend and I wanted to make something special for my family. I absolutely love cheese boards and knew I had to make one and make it BIG for this fun day. So, I went to Trader Joe’s and stocked up on plenty of good cheese, meats and crackers and made this yummy board that’s really perfect for all occasions. It is so easy and so impressive to your guests, I had to share how I did it!
How to Assemble a Charcuterie Board
What is a Charcuterie Board?
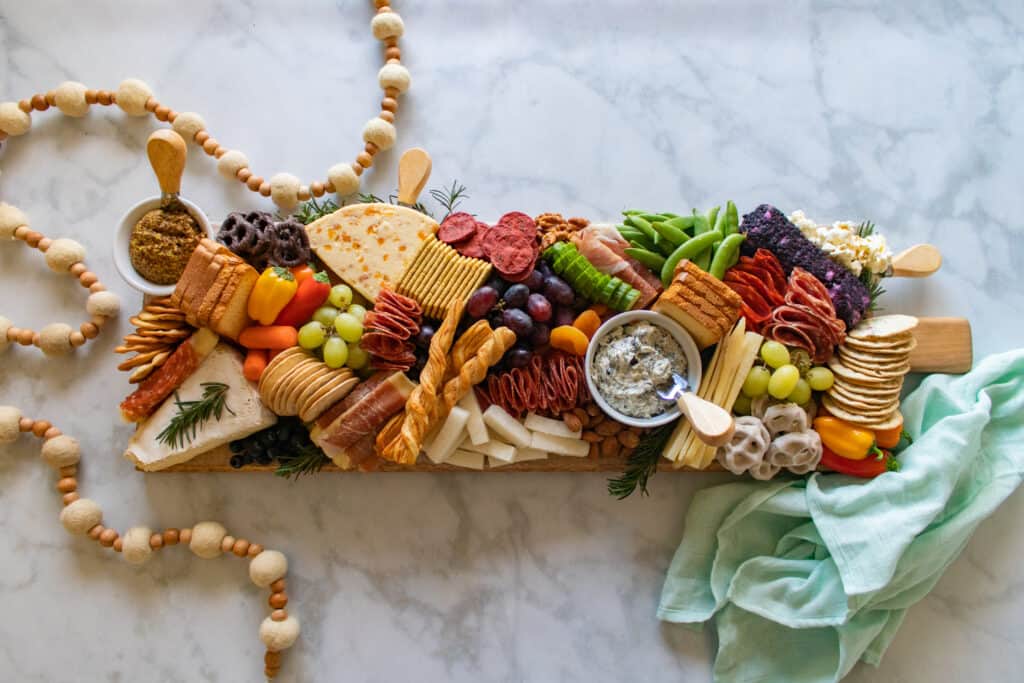
You may have seen these adorable fruits, nuts, cheese, and meat boards and wonder what they’re all about. A charcuterie board is an easy, beautiful finger food appetizer. They may look intimidating to make, but there really is no right or wrong way to do it!
Looking for a dessert Charcuterie Board? Check out our Valentine’s Day Dessert Charcuterie Board HERE.
What Do I Need for a Charcuterie Board?
Here is a list of all the accessories and “extras” I used for my board to elevate my presentation.
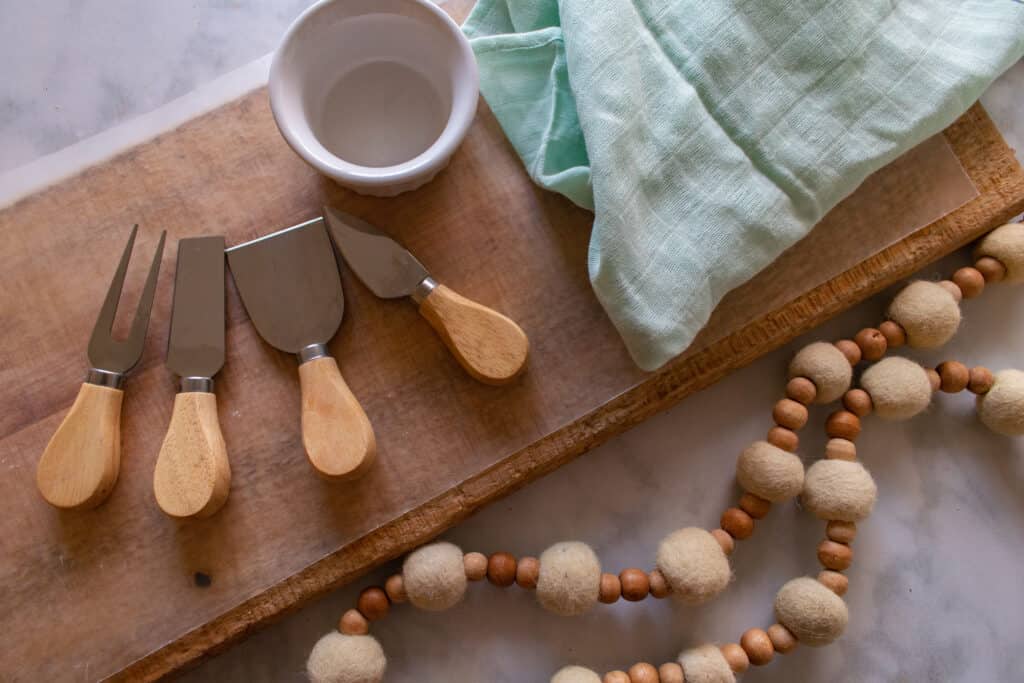
Wood Board - Choose a board that will serve the amount of people you’re feeding. Pay attention to the shape and even the material it is made of. The bigger the board, the more food you will need to buy so keep that in mind.
Parchment Paper - I have a special wood board that has to be very well taken care of so the thought of putting blueberries straight onto it makes me cringe! An easy hack is to cut a piece of parchment paper to fit your board and place everything on top of that. Easy clean up and no stains!
Ramekins - You can get a small set of two that are different sizes for your board. You can be creative with different colors and textures, but I just went with white porcelain ramekins in a small and medium size.
Mini Knives - These are so fun to have and are just a few bucks on Amazon. Definitely worth it for cutting your cheese and serving your dips.
Garland - If you are extra like me and it is all about presentation… get yourself some fun garlands! These are so easy to lay out and make your table that much more impressive.
Linen Napkins - These are not necessary, but they will bring a soft element to your presentation. Plus, they will be close by when someone makes a mess!
Fresh Rosemary - I love greenery and adding fresh sprigs of rosemary throughout the edges of the board adds a fresh touch and smell to the finished product. I highly recommend adding this to any savory board.
How to Assemble a Charcuterie Board
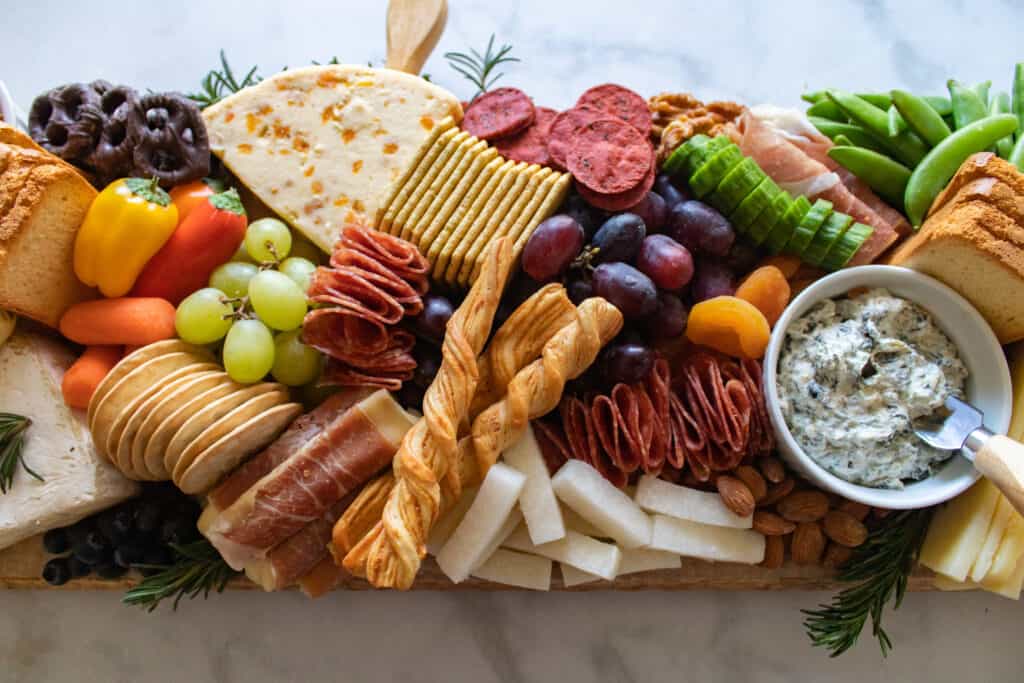
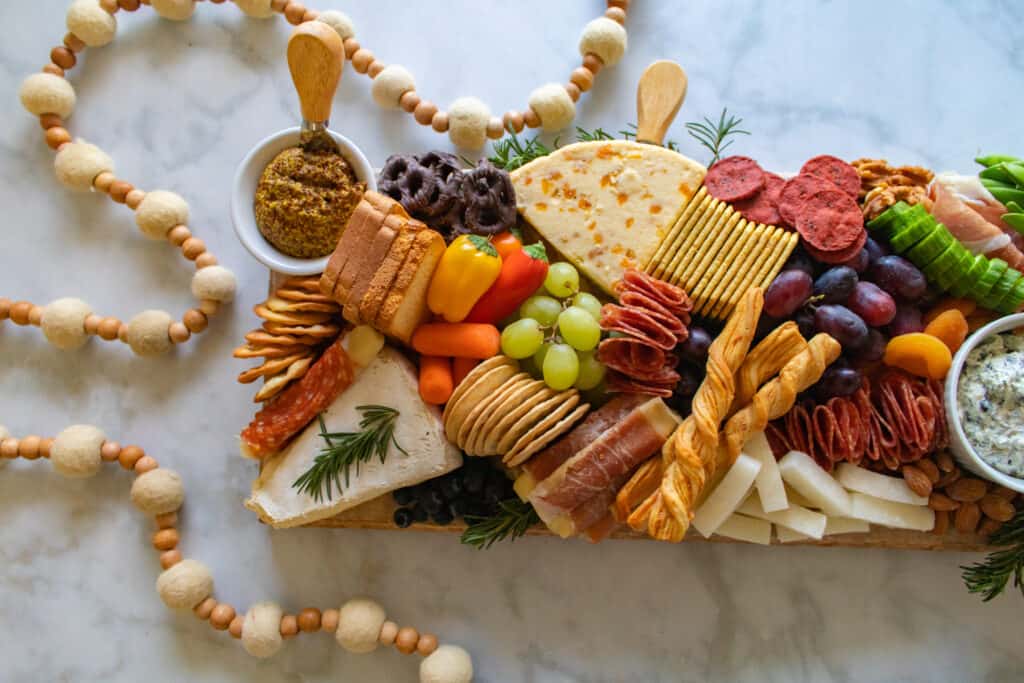
Cheeses – This is the most important part of your board. You want to make sure you pick different shapes and colors when shopping for cheese. I also tend to look for a popular cheese I know most people will like, in this case I choose a fresh, Triple Cream Brie. I then chose a couple cheeses I knew would bring a pop of color and a lot of texture which were: a White Stilton with Apricot, a Blueberry and Vanilla Goat Cheese, and a Swiss Gruyere.
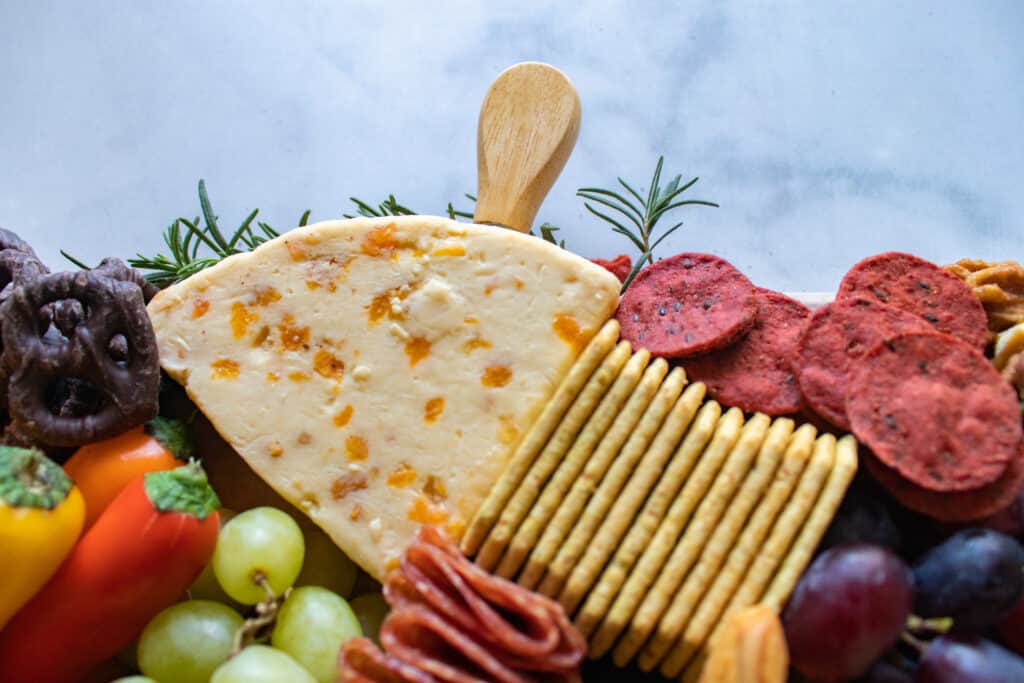
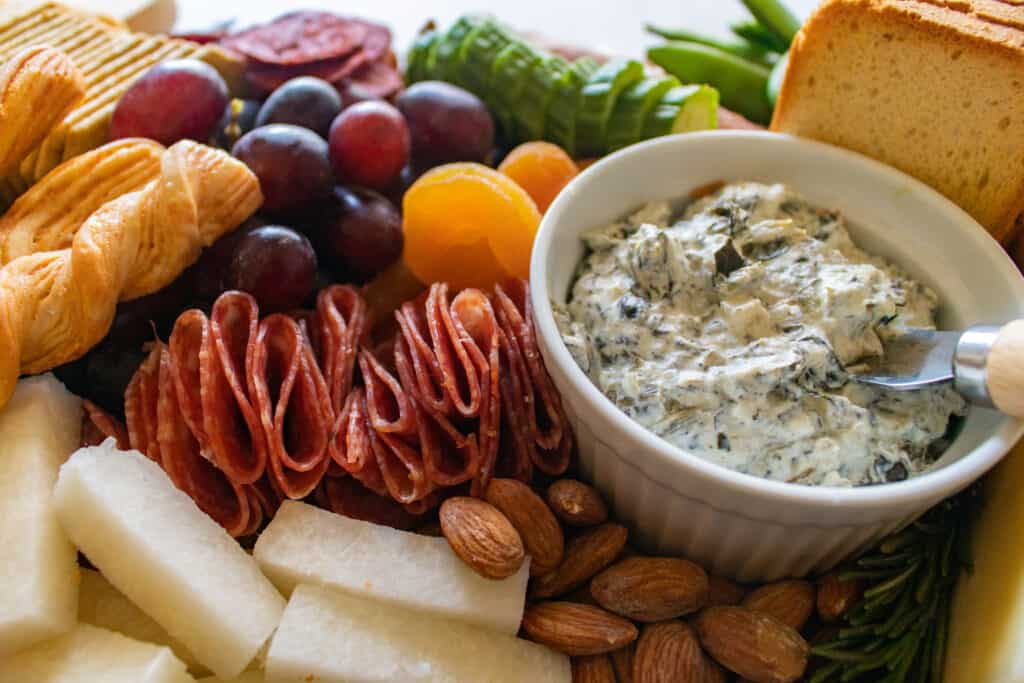
Meats - Do not be nervous when choosing meats because you cannot go wrong with your choices. I always love to get pre-cut salami and pepperoni so I can fold it and add texture to my board. All you do is fold it into fourths and lay them together to make that beautiful row of meat. There are also pre-rolled meat & cheese snacks available to buy and stack on your board which are delicious and very easy!
Crackers - Do not be stingy with the crackers! Get a wide assortment of crackers with different flavors, shapes and colors. I chose some beautiful beet crackers that brought a hint of red to my board as well as cheesestick crackers that make a beautiful presentation. I also added pita crackers, an assortment of round crackers, and my favorite tall Brioche toasts.
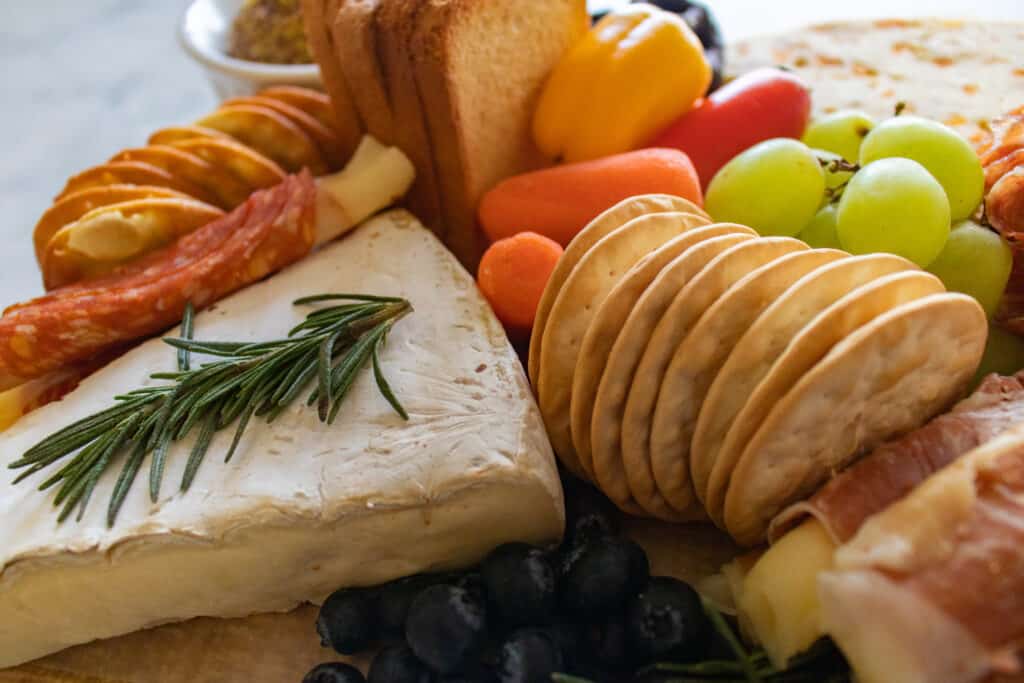
Fruits & Vegetables - These are going to be the pops of colors in your board. Think about what colors you want and pick the fruits and vegetables that match those colors. For vegetables I chose: Sweet Bell Peppers (red, yellow & orange), Baby Carrots, Snap Peas, Mini Cucumbers, and Jicama. For fruits I chose: Red Grapes, Green Grapes, Dried Apricots, and Blueberries.
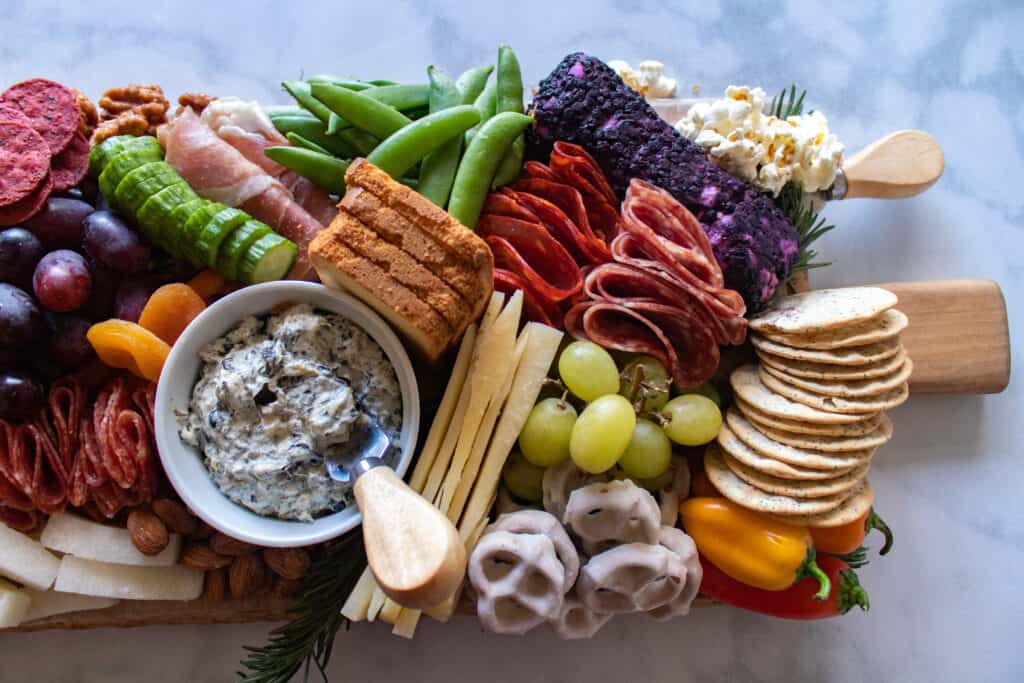
Dips - I added two dips to my board that I knew would bring a different flavor and texture. I chose a Multigrain Dijon Mustard and a Spinach and Artichoke Dip. Both very yummy and beautiful.
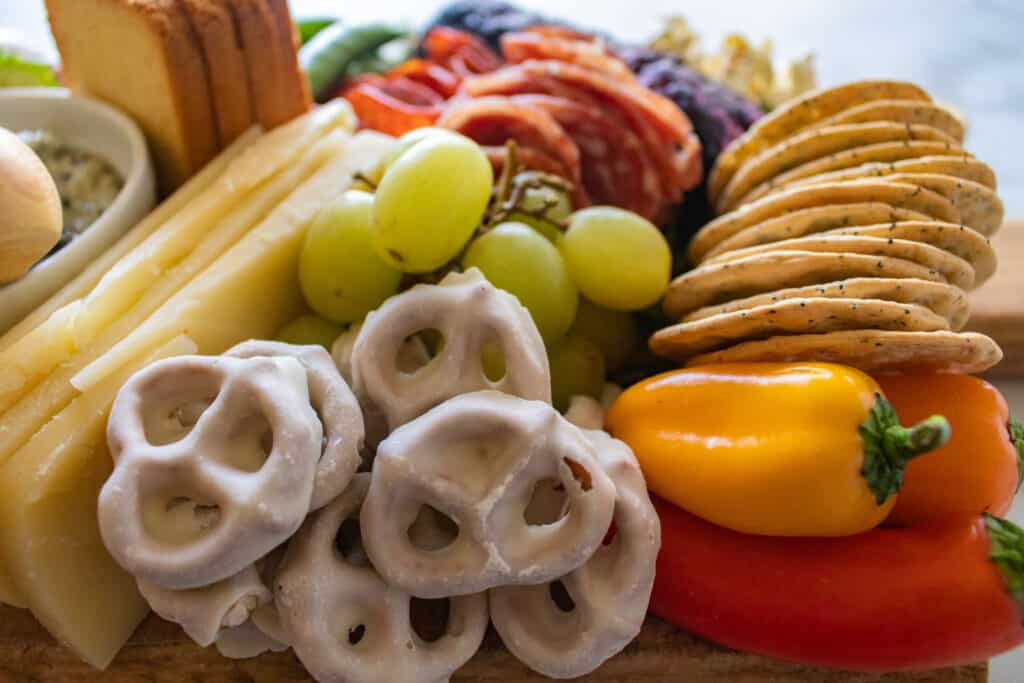
Nuts & Fillers - This is the fun part and will make your board look more full and delicious. I bought: Popcorn, Chocolate Covered Pretzels, Yogurt Covered Pretzels, Roasted Almonds and Candied Walnuts. These are all great finger foods that people can munch on and can easily be refilled.
How to Assemble a Charcuterie Board
Don’t let the difficult name confuse you, charcuterie boards are easy to assemble! Follow my three easy steps for a professional-looking board.
Step 1 – Pick the Perfect Charcuterie Board
Begin by picking the perfect board. When I’m choosing my board, I’m thinking about two things: size and material. If you know you are going to be serving a large party, you’ll need a larger board.
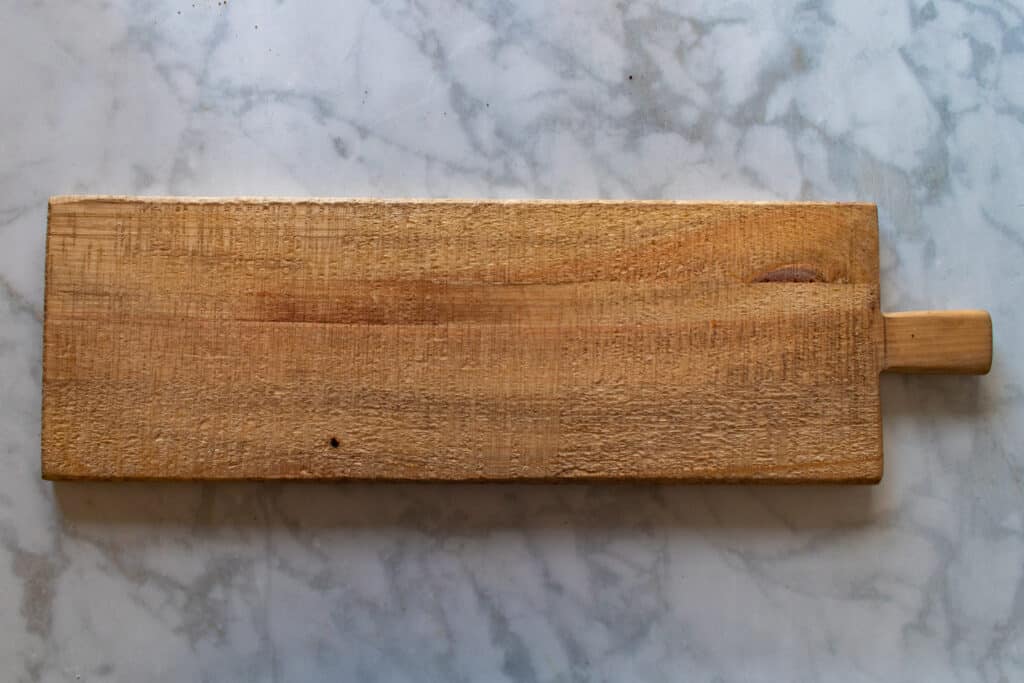
But, if it’s just for you and your partner, feel free to keep it small. For the material, I typically like using a wooden board, but feel free to use anything you’d like.
Step 2 – Assemble Your Board
There’s no wrong way to assemble a charcuterie board; just add in each of your elements until you are satisfied with its look.
But, for me, I tend to assemble my boards in the same order every time. First, I place my cheeses, bowls, and other large items on the board.
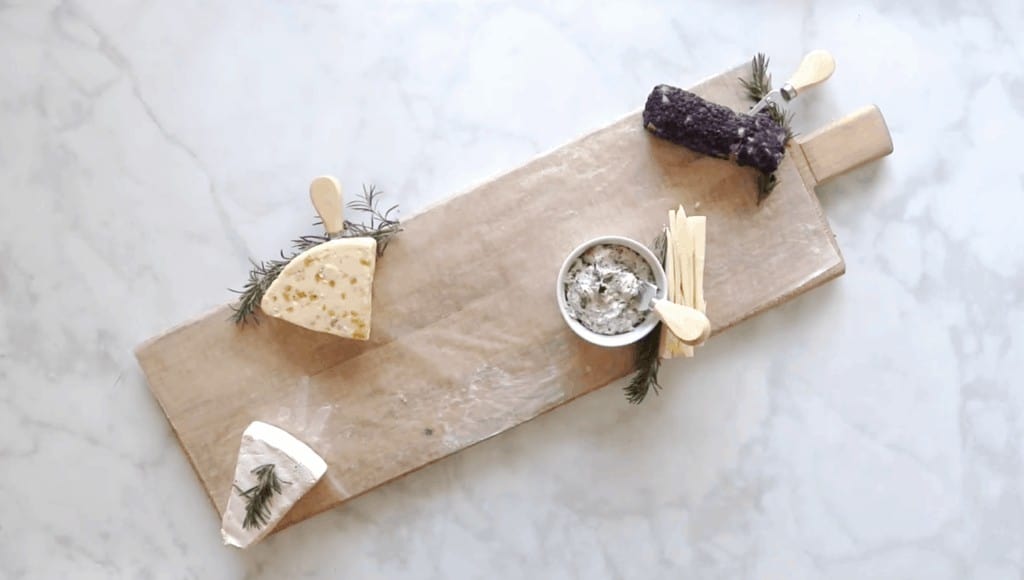
From there, I like adding in the meats and nuts.
Finally, I’ll add in the vegetables, fruits, and fillers. When placing my items, I like to stand back to make sure my board is looking balanced.
Step 3 – Add in Finishing Touches
To finish off your board, add in a few finishing touches. This is when I add in my fresh rosemary, garland and napkins!
If you loved my Charcuterie Board, be sure to check out my Valentine’s Day Dessert Charcuterie Board here.
Have you made a charcuterie board before? Do you have any other questions about how to assemble a charcuterie board? Let me know in the comments below!
I’d love to see your charcuterie boards! Be sure to tag me in your posts so I can see them!

Charcuterie boards are perfect for those with Celiac disease ( gluten free diet) An easy fix is to offer the crackers, etc in separate containers not on the board. Or in the board, include GF crackers ( which are pretty darn good, usually)
I love how you made your board it was beautiful, I would love to make one someday. I do make meat and cheese tray and a veggie tray with ranch veggie dip. One day I would love to make one like you did. Thank you for sharing
Great ideas, and everything looks amazing
You have a lot of fun knowledge to share, but it is obscured by the EXCESSIVE ads on your page. Let’s be real, you already get everything for free, do you really need to be chock full of ads?
Ouch, Andi ... I am sorry you are so unhappy. It is evident that Kimberly puts her heart and soul into these beautiful projects and generously makes them available to everyone. Thank you, Kimberly, for sharing your amazing ideas and hacks.