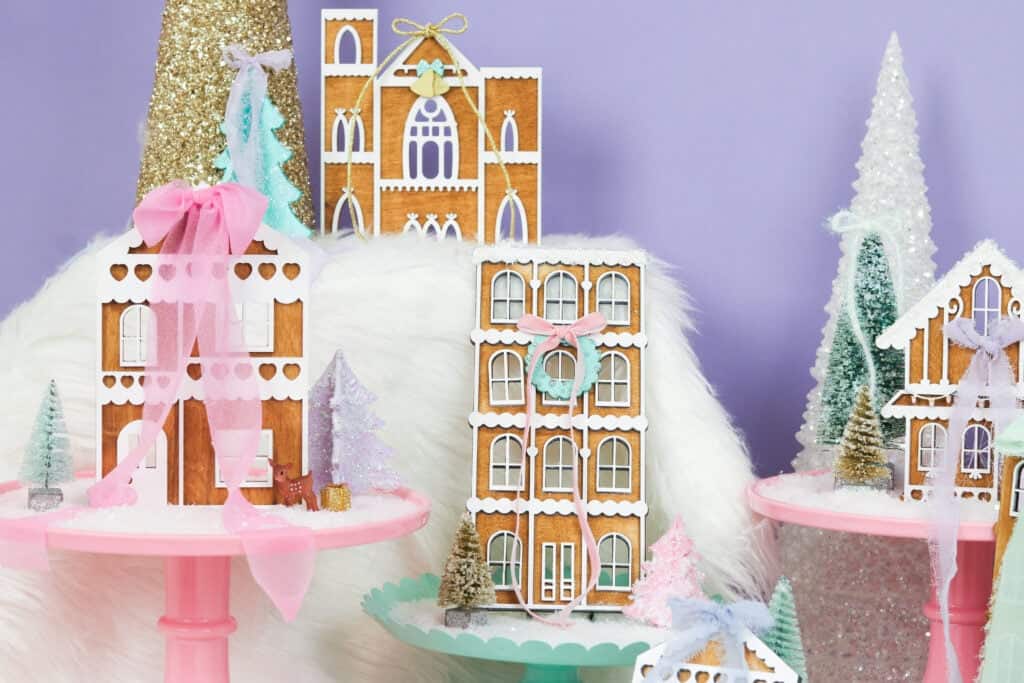
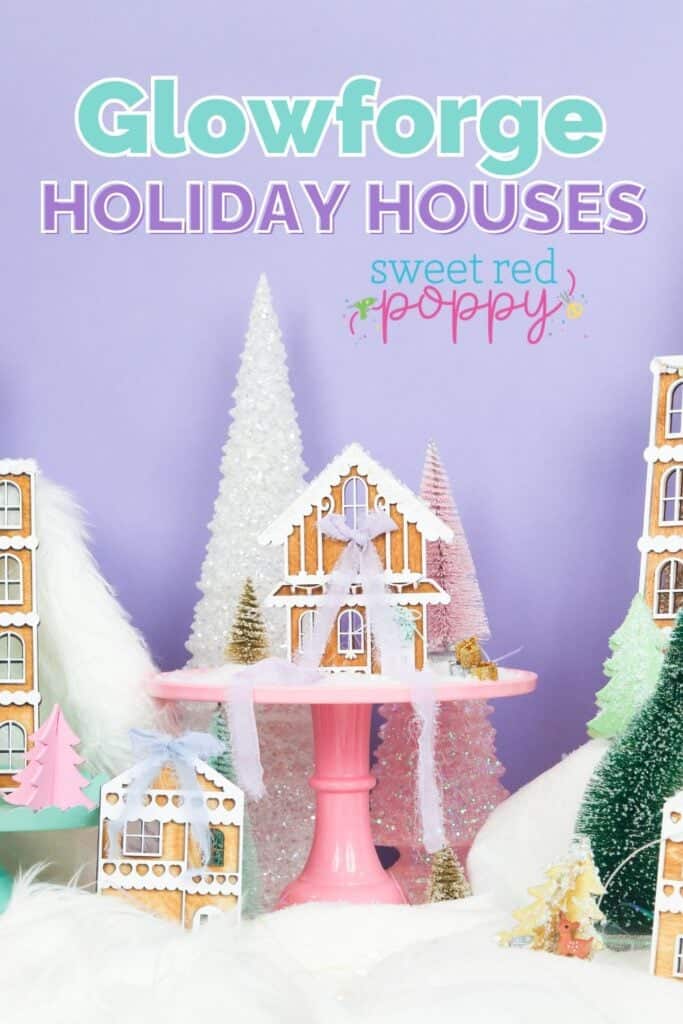
Add some Holiday Magic to your decor by Learning How to make Holiday Houses using the Free Downloadable SVG Cut Files and Glowforge Aura in this Blog Post.
Those who follow me know that I received a Glowforge Aura machine from Glowforge®, and creating some neat, cute, and functional projects with the machine.

Today's craft is this magical holiday house set that I made with my Glowforge Aura!
Learn more about the Glowforge Aura, here!
Table of Contents
Supplies Needed
- Glowforge Aura
- Proofgrade® Material
- Glue
- Spray Paint- I painted my top layer white.
- Wood Stain- Stained the bottom layer with Varathane Less Mess Wood Stain & Applicator
- Snow Extra Fine Flurries
- Mod Podge
These whimsical, gingerbread house-like villages are trending this year, and I wanted to hop on the trend and "sleigh" it.
The project adds some holiday magic to any space, and setting it up was so much fun. I played Christmas jingles and added holiday ribbons and anything Christmas-y I could find to add to this project to make it creatively unique.
What does the Gingerbread Christmas Village Set Include?
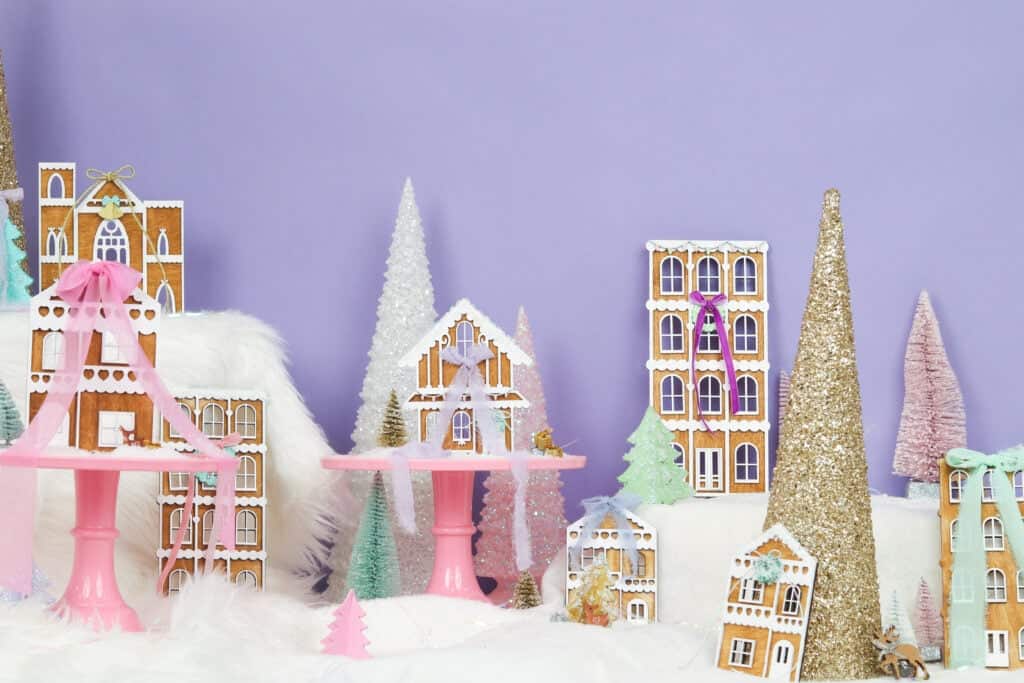
This Holiday House SVG File Set includes four building designs:
- House
- Condo
- Apartment Building
- Church

The set also includes holiday trees. Each tree has two pieces with slots so that they slide into place, making a 3D tree that stand on its own.
Each building has two layers (top and bottom layer). The top layer is the frosting; the bottom layer is the base for the top layer.
The bundle also includes stand pieces to hold up the flat houses (a triangle and square), holiday trees, and holiday decorations (wreaths, bells, and Christmas lights)to add that final touch to the project.

Download the Free Holiday House Set Here!

Some DIYers out there only use the bases of the village designs, cutting them out of acrylic or just leaving them for a simple, flat building design without a top layer. What a cute holiday decor idea!
Feel free to resize these designs once the SVG cut files have been downloaded and uploaded to the Glowforge app.
If you choose to do so, be sure to group all the elements before resizing so you avoid cutting, for example, a resized base with a smaller top layer.
What Materials Should I Use to make the Holiday Houses?

I recommend using a Proofgrade® material from Glowforge that has a 1/4-inch thickness for the holiday trees.
Proofgrade materials Glowforge provides are 100% compatible and formulated for Glowforge machines. To learn more about Proofgrade materials, click here.
You can use any material you prefer for the buildings or decor, including acrylic. Many use acrylic for this trending project because of its transparency, durability, and how it goes with any theme.
For mine, I used Proofgrade Maple Plywood for the top and bottom layers.
Are these SVG Files Compatible with Cricut?
Yes, these SVG files are compatible with Cricut products! You can use any Cricut machine to do this project.
I recommend using the holiday tree files from the 3D Paper Christmas Village I made last year for paper users by clicking here!
If cutting this project with your Cricut machine, another idea would be to decrease the size of the buildings in Cricut Design Space and turn them into gift tags! I recommend not cutting the top layer because of the intricacy of it.
To keep this project standing, I would recommend using a heavy, studier material such as Kraft paper or Kraft board.
Painting the Christmas Village
If you're cutting acrylic- I like to cut the acrylic and then paint the cut pieces with a couple of coats of spray paint.
For my village, I spray painted my wooden top layer white and stained the bottom layer with a Wood Stain to really give it that gingerbread-house look.
As for the rest of the Christmas village details- I painted the wreaths, bells, and lights soft pastel colors (purple, pink, green, and blue) that went with the theme I was going for.

Importing Holiday House Designs to Glowforge App
Upload the files to the Glowforge Web App by clicking Create New Design in the top left corner.
Next, click on the "+" above the canvas and import your artwork.
Move the design(s) to a free space on your screen. Ungroup the layers, click and drag the top layers away from the bottom layers.
Make sure that your settings are set to Cut.
Click Print in the top right corner of the workspace, and wait for the Glowforge button to blink on your machine. Press the glowing button, and let the machine do the cutting for you! Before opening the lid, wait a couple of minutes to let the fumes go down.
Assembling Holiday Houses
- After cutting, assemble it by simply grabbing some glue and gluing the top layer to the bottom layer.
- Then, once dried, grab the stand pieces (triangle and square pieces) and glue the triangle piece on top of the square in the center.
- Once dried, apply glue to the edge of the triangle piece and attach it to the back of one of the building pieces.
- Repeat these last two steps to the remaining building pieces.
- There you have it! Now, glue the Christmas decor to your project. Place the elements wherever you think looks good to you! Have fun and be creative with this project!
Accessorizing Ideas
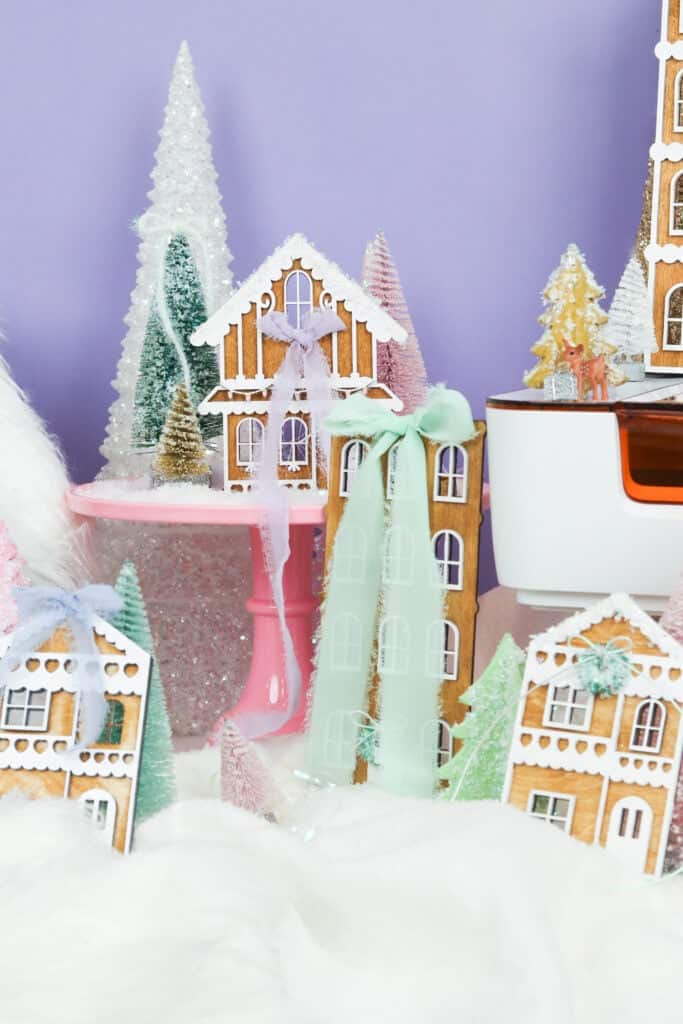
I grabbed a bunch of torn ribbon, tied bows, and hot glued them to the buildings to add a cute, doll-like detail.
Applying sparkly Mod Podge to the trees and roofs and dipping it into extra fine flurries or glitter will add some texture and shine to the project!
Don't forget to paint the wreaths, lights, and accessories all kinds of colors to make everything pop. I ended up bedazzling my wreaths with rhinestones, too. I loved how it tuned out! 😍
I hope you have a lot of fun with this magical festive project!
Want to remember this post? Save it to your favorite board on Pinterest HERE.


Leave a Reply