Sew a Cozy (And Free) Fleece Hat For Your Handmade Winter Wardrobe With My Pattern And Step-By-Step Sewing Tutorial!
Sewing for winter is fun! You get to work with all the beautiful, cozy winter fabrics in all the fun colors! A fleece beanie is the perfect addition to your handmade cool-weather wardrobe. Everyone needs a selection of winter hats in every color, right?

Today, I'm sharing my free fleece hat pattern and step-by-step sewing tutorial. It's a fun project - and makes a wonderful gift for friends and family!

Table of Contents
About the Fleece Hat Pattern

This adorable fleece hat is a simple, straightforward design. It has a tapered, rounded top and a hem band that keeps your ears nice and toasty. This hat is the perfect base for adding fun details like a pompom on top, applique, or embroidery!
My hat pattern is simple to sew and comes together quickly - from cutting to the last stitch, you'll have a finished hat in less than 2 hours! Plus, they're a great scrap-buster and only require a small amount of fabric. That's why I love making these adorable fleece hats as gifts - they're fast to sew and use minimal fabric!

The fleece hat pattern includes 8 sizes, from 0-6 months all the way through adult sizes. The selection of sizes makes it super easy to make a hat for all your friends and family this winter!
Choosing Fabric For Your Fleece Hat
As you can probably guess, fleece is my favorite choice for this hat pattern! Fleece is cozy, soft, and warm, and it has a good amount of stretch - which makes it perfect for a toasty winter hat. Plus, fleece is usually very affordable, so it's a great choice if you plan to make several hats and don't want to spend a lot of money on fabric!

However, you can also use another stretch fabric for your hat if you want a different look. Try something like a sweater knit of french terry for a thick and cozy hat, or go for a thinner knit like a jersey to make a lighter-weight hat.
In addition, this hat is lined. If you want a very thick, super cozy hat, line it with fleece - maybe even the same fleece you used for the outside of the hat! However, for a lighter-weight hat and a smoother interior to the hat, you might prefer to line it with something like a cotton jersey.

Supplies to Make a Fleece Beanie
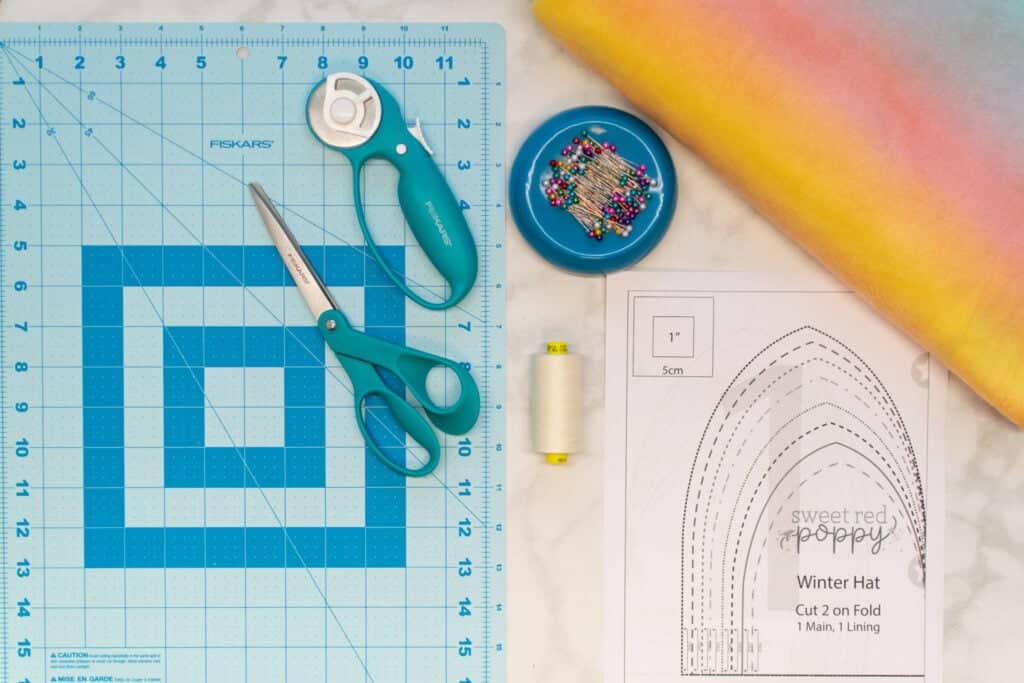
Here are the supplies you'll need to make your cozy winter beanie.
- Free Fleece Hat Sewing Pattern
- 1/2 Yard Fleece or Other Stretch Fabric
- 1/4 Yard Lining Fabric (Fleece or Other Stretch Fabric)
- Scissors
- Rotary Cutter
- Rotary Cutting Mat
- Thread
- Sewing Pins or Clips
- Sewing Machine
- Serger (Optional)
- Sewing Machine Needle
- Tape
- Printer
- Printing Paper
- 4-5" Faux Fur Pom Pom & Button (Optional)
Click Here to Download the FREE Fleece Hat Sewing Pattern

Step One: Download and Assemble the Fleece Hat Pattern
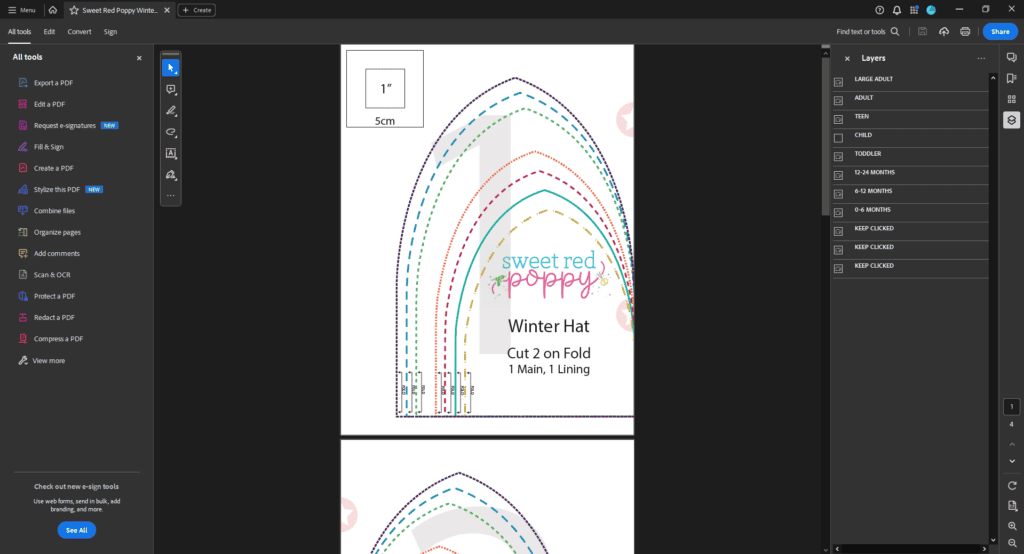
First, download the free pattern to your computer and open it in your PDF reader. I highly recommend using Adobe Acrobat. It's important not to print the pattern directly from your browser because it can cause wonky border lines and incorrect scaling.
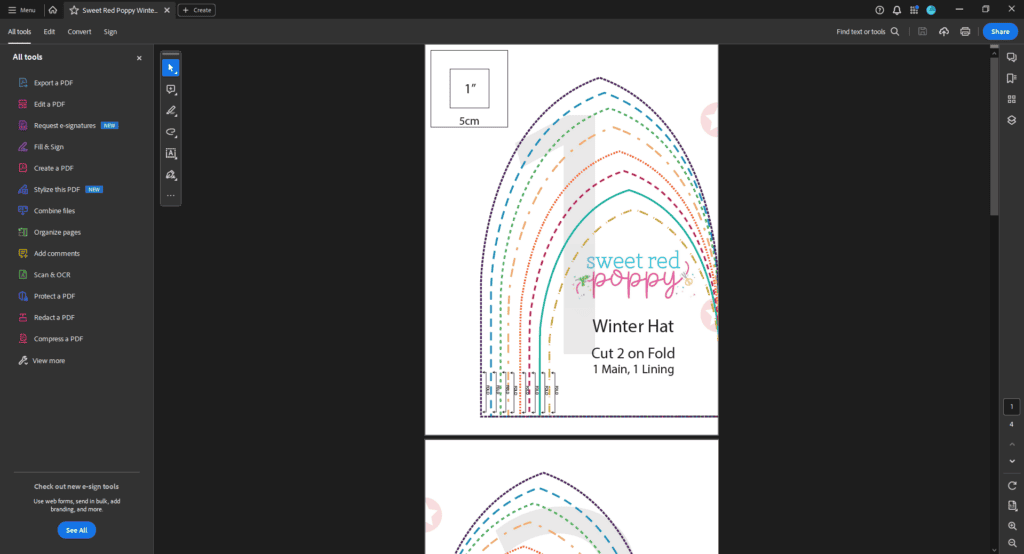
Next, click on the "Print" button to open the print settings dialog box. In the scaling section of this box, select "Actual Size" or "Custom Scaling: 100%".
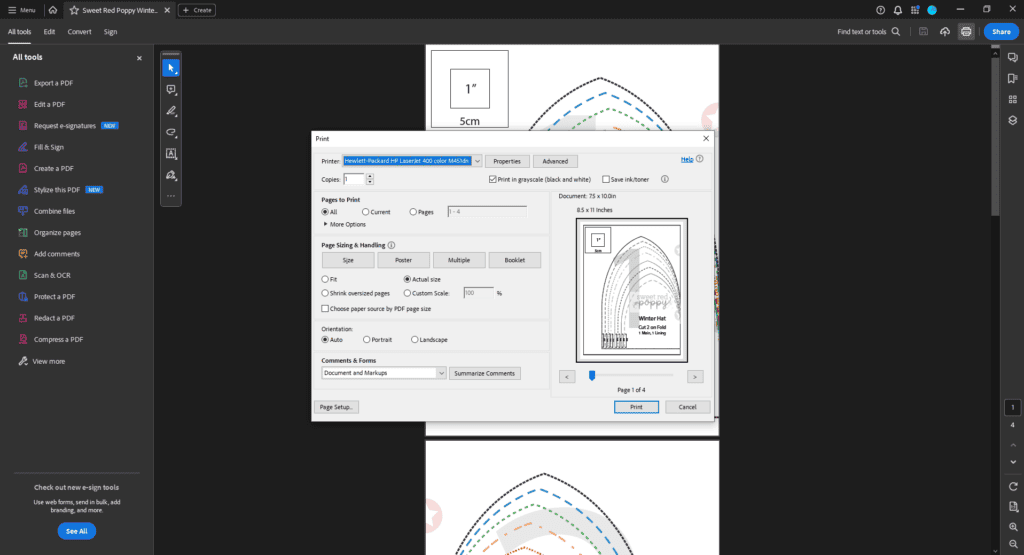
Then, print Page 1 of the pattern. This page contains a 1" x 1" test square. Measure the test square with a seam gauge, ruler, or measuring tape.
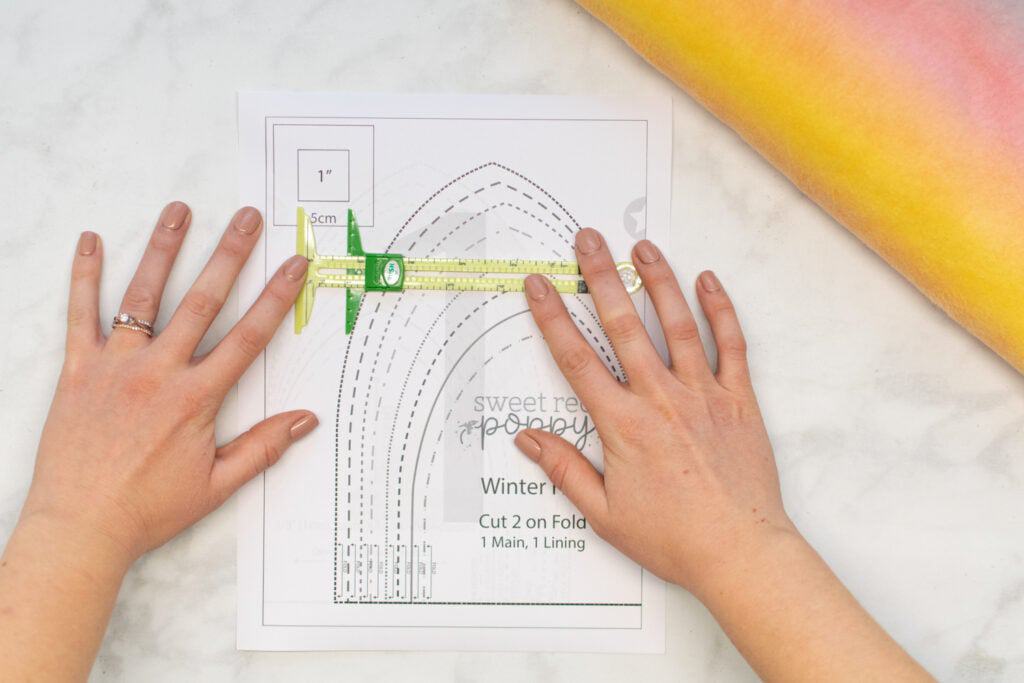
If the test square measures 1" x 1", then your pattern is scaled correctly. Go ahead and print the remaining pages of the pattern. However, if the square does not measure 1" x 1", you will need to recheck your print settings and reprint.
This pattern also includes a layers option that allows you to print only the size (or sizes) you want to sew. To use this feature, select the icon that looks like 2 stacked papers in Adobe Acrobat. Then, deselect the "eye" icon next to each size you do not wish to print.
Once the pattern has been printed, arrange the pages according to the layout chart below. Use the lines of the pattern and the pink stars to align the pages accurately.
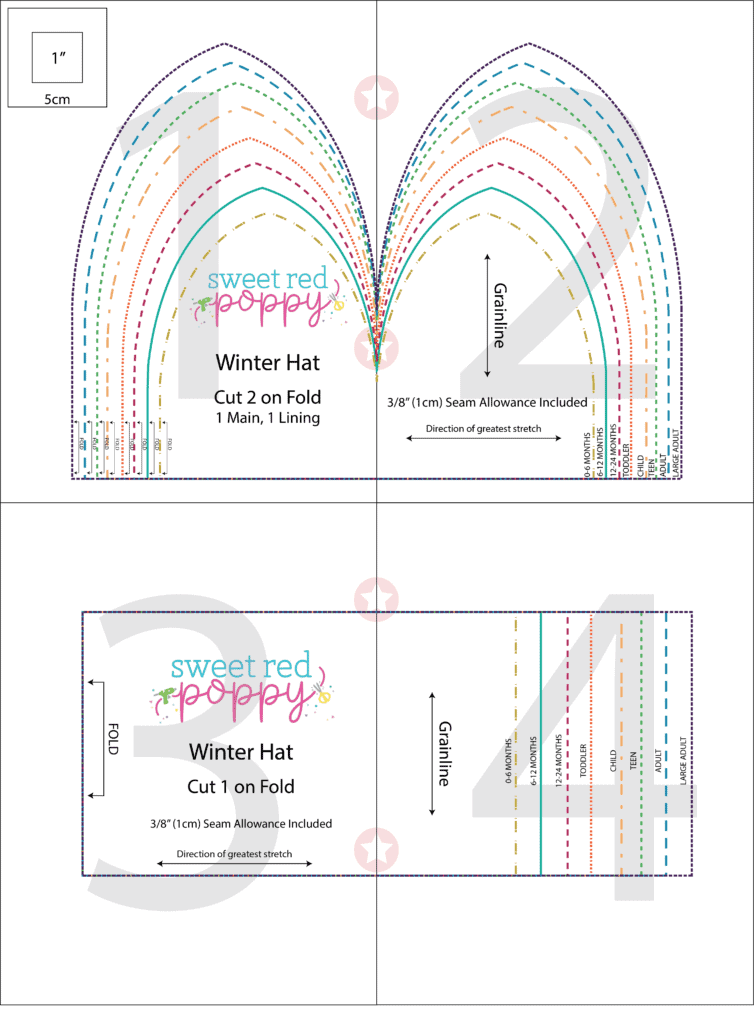
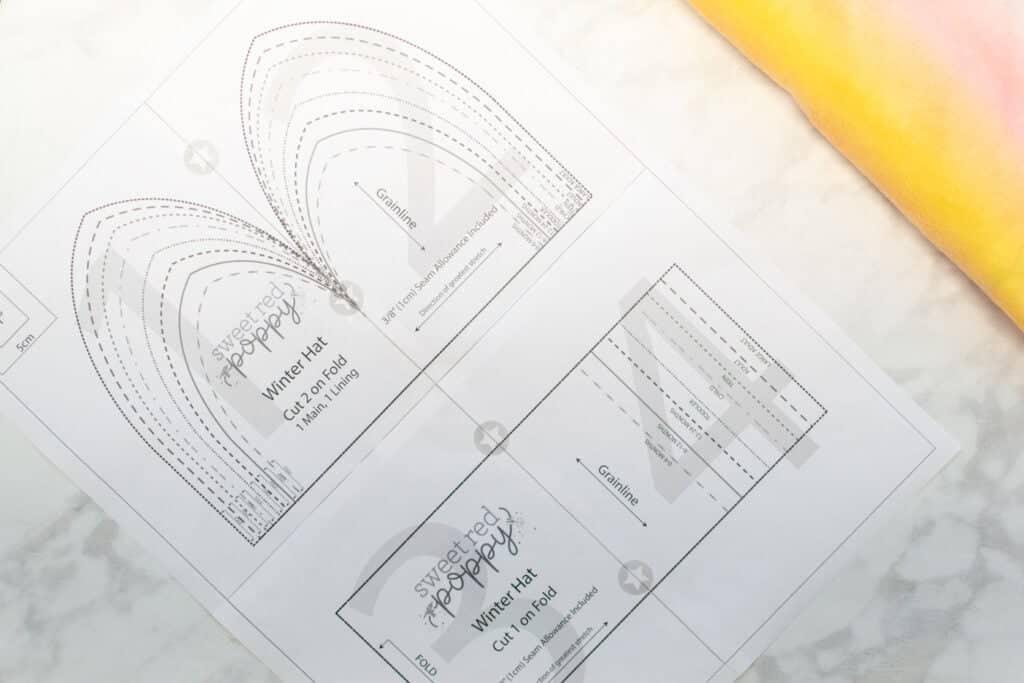
When taping the papers together, you can either trim the margins off the pages first, or simply overlap the edges of the papers. If you choose to overlap the margins, it can help to hold the pages up to a light while aligning the edges.
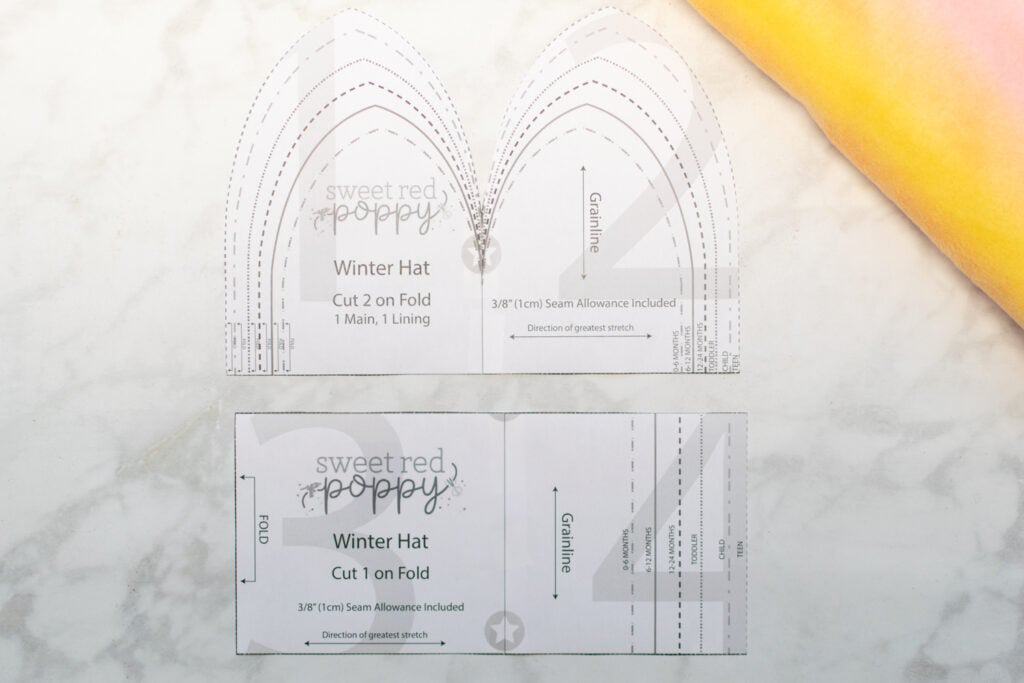
Finally, cut out the two pattern pieces along the lines for the size you want to sew.
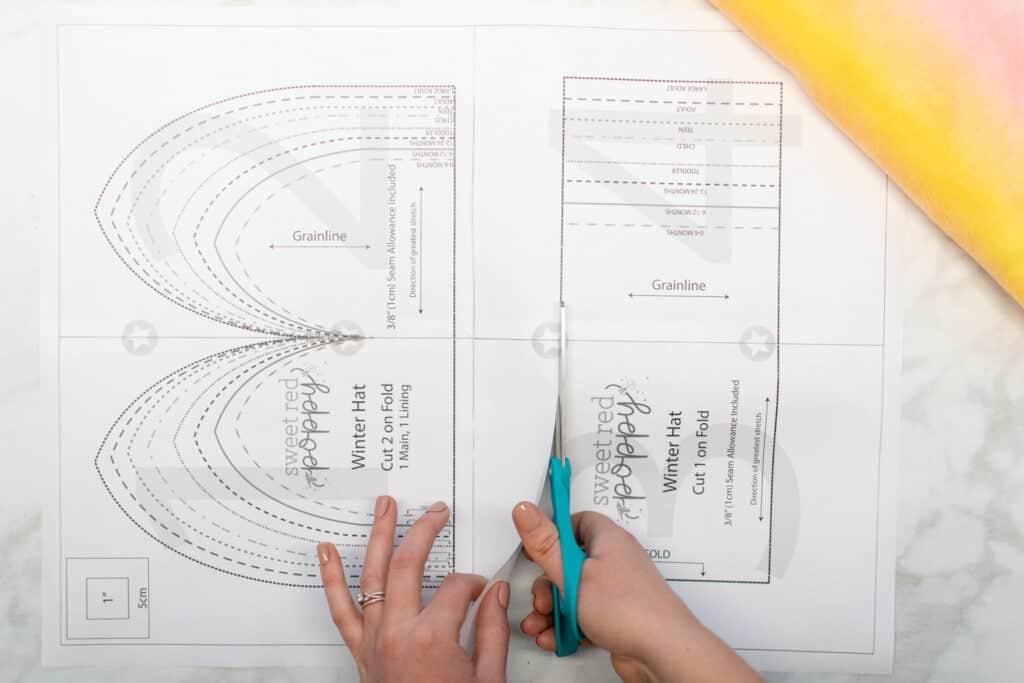
You should have 2 pattern pieces - the Main Body of the hat and the Hem of the hat.
This pattern creates a slightly oversized hat; if you'd like it to fit more on the snug size, be sure to size down!
Step Two: Cut Out the Materials
Once you've got the pattern pieces cut out, it's time to use them to cut your fabric!
Start by laying out your main fabric so that the direction of greatest stretch is running from left to right. Then, bring the left edge of the fabric up and over to match up with the right edge of the fabric.

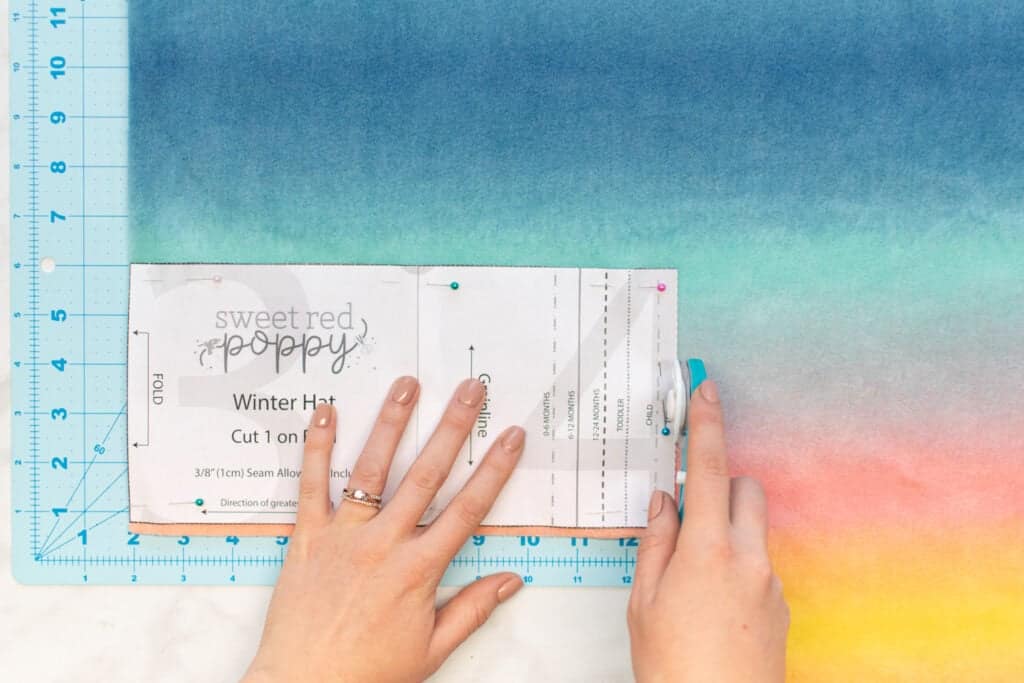
Next, lay the Hem pattern piece on the fabric, lining up the side marked "Fold" with the fold of the fabric. Pin the pattern piece to the fabric, then cut around the bottom, top, and right-hand edges. Make sure not to cut the side along the fold of the fabric!
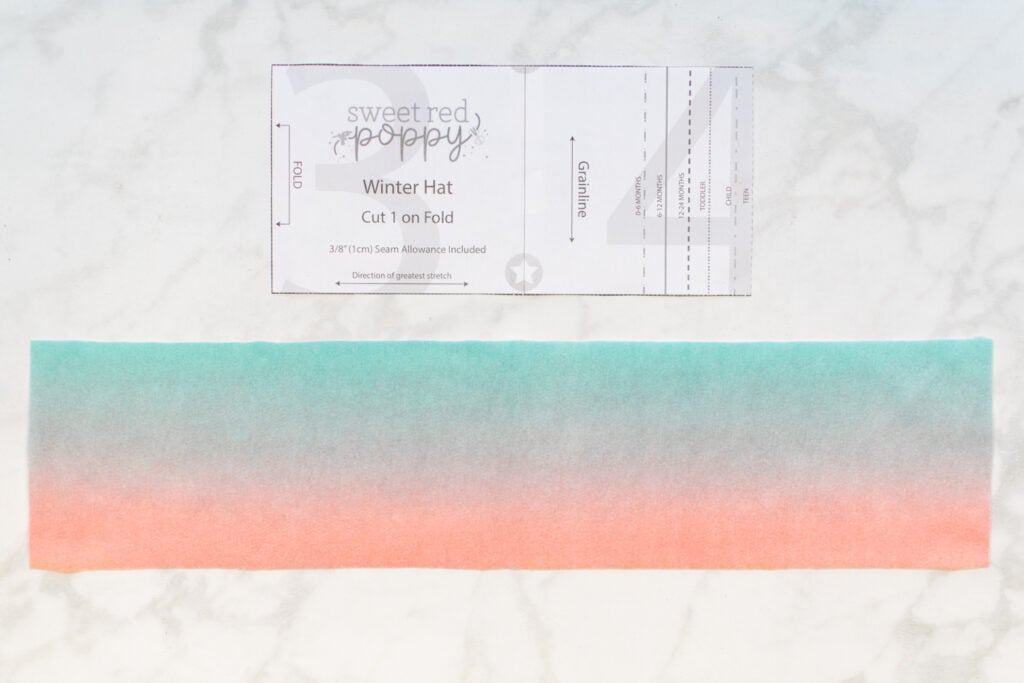
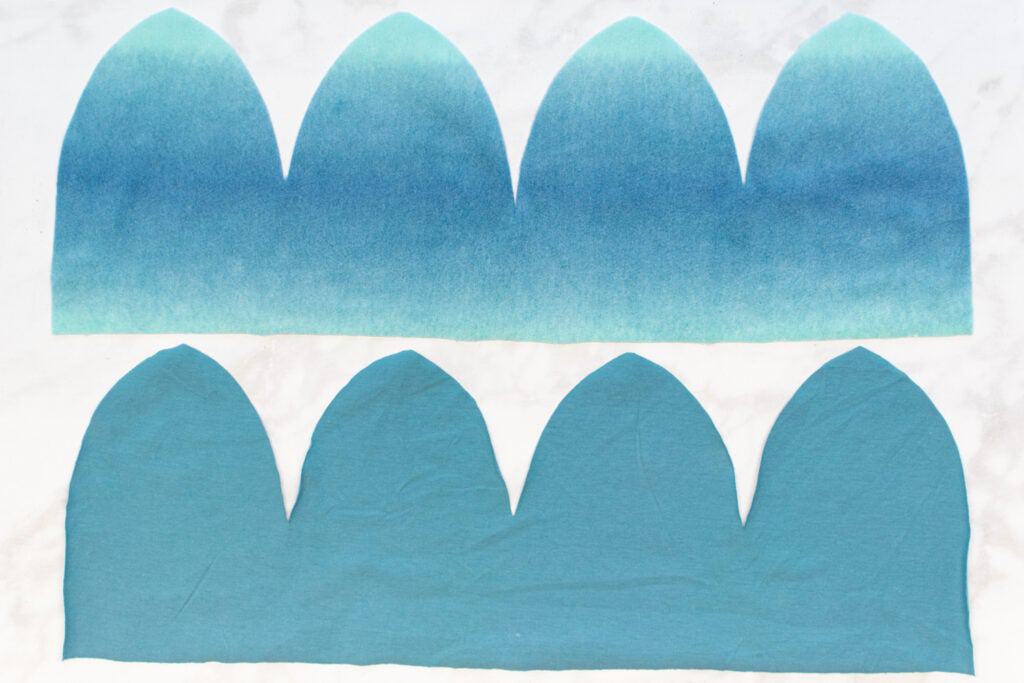
Repeat this process with the Main Body pattern piece, again lining up the edge marked "Fold" with the fold of the fabric. Cut along all the edges of the pattern piece except the lower left-side portion that is against the fold of the fabric.

Then, cut a second Main Body piece from your lining fabric.
Step Three: Sew the Body of the Hat
With all the materials cut, it's time to start stitching up this hat!
First, lay the Main Body piece cut from your outer fabric on your table. Fold it in half with right sides together. Lay it out so that the fold is to the left.
Pin the long curved edge together on the right-hand side. Then, pin the edges together above the fold on the left side.
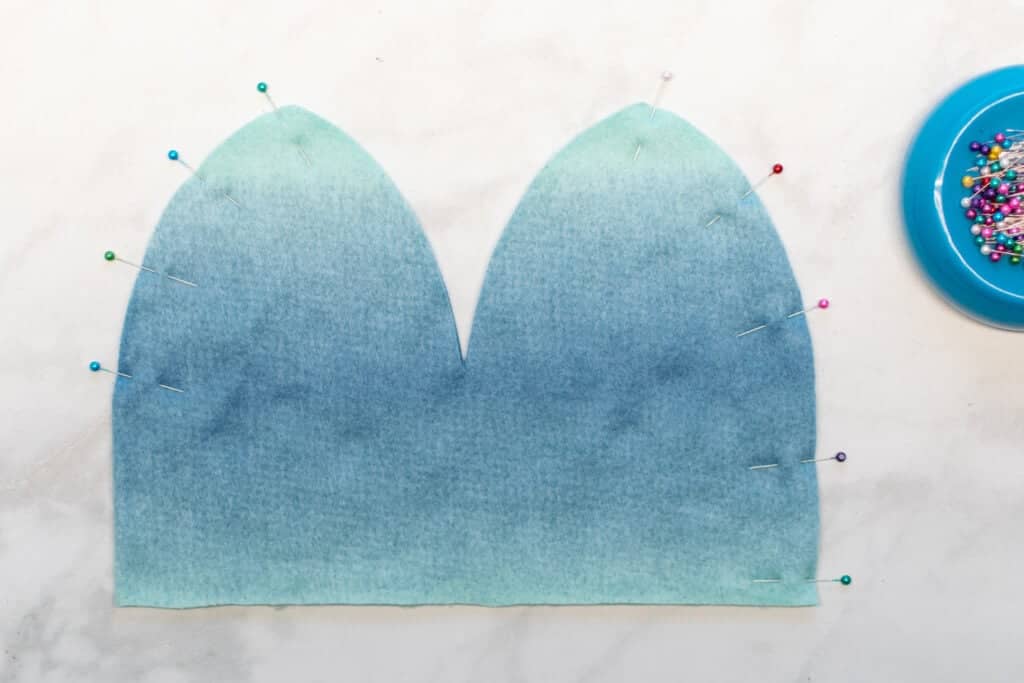
Stitch the long edge with a 3/8" seam allowance. Next, stitch the pinned upper portion of the opposite side with a 3/8" seam allowance, tapering off the fabric when you get to the fold.
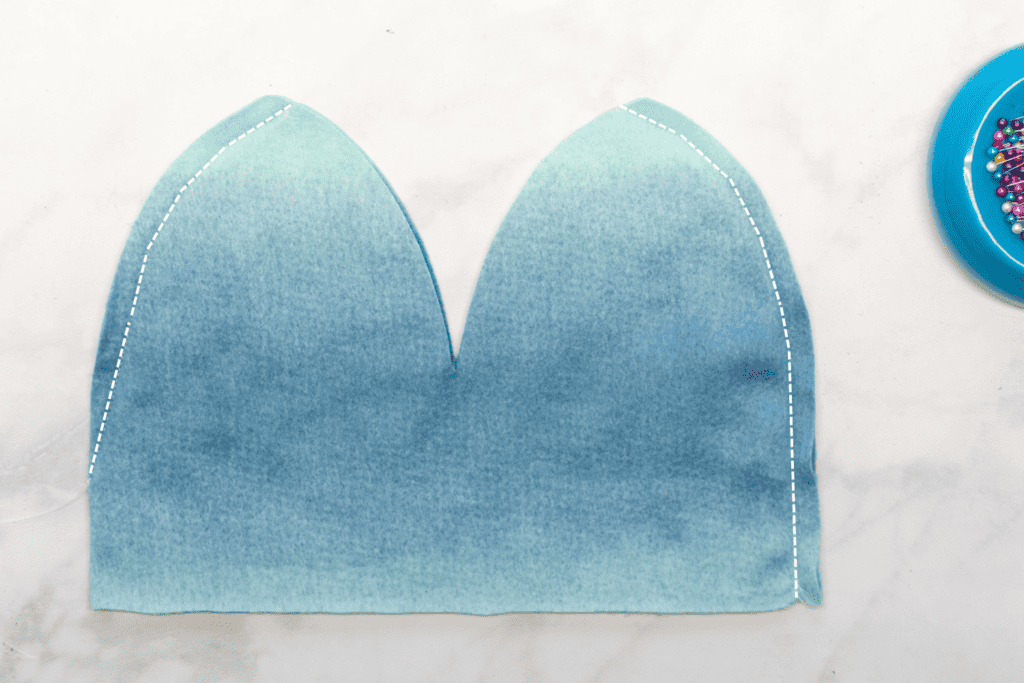
*PRO TIP: Rather than backstitching, leave long thread tails after tapering off the fabric. Then, tie off the thread tails and trim them close to the knot. Sometimes backstitching in this type of situation can result in a puckered area in the fabric - tying off the thread tails is a neater, cleaner finish.
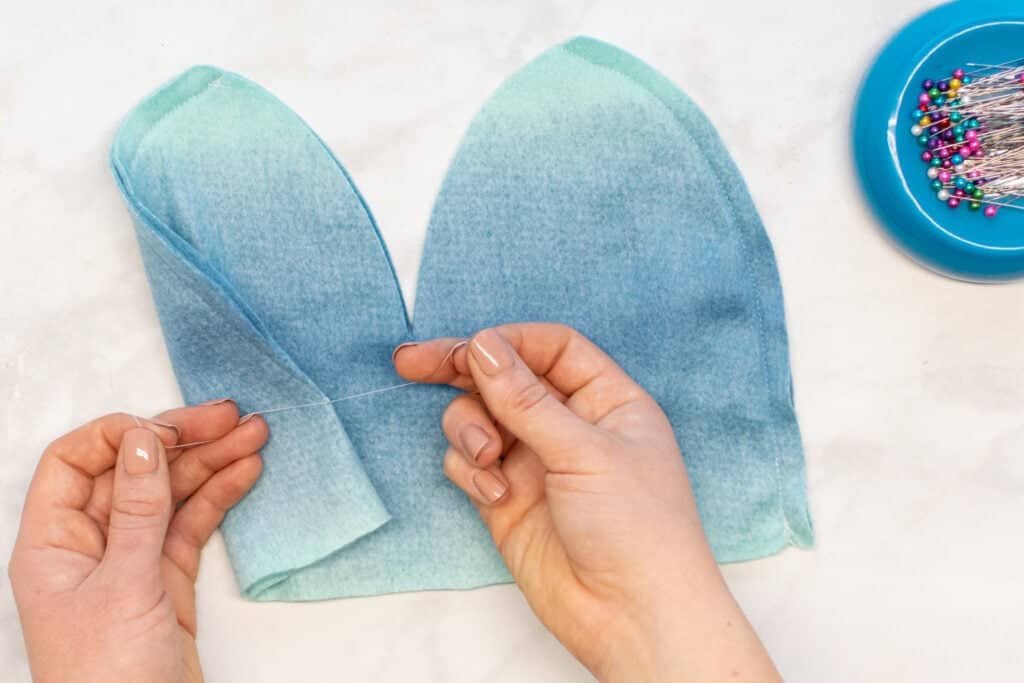
Finger press the seam allowances open on both seams, then match up the two seams and pin them together. Make sure that the right sides of the fabric are together still.
Next, pin the rest of the seam over the top of the hat, stopping where the cut edges of the fabric end on either side of the hat.
*Optional - If you'd like to add a pom pom, you can add it during this step. Place the pom pom inside of the hat and insert the stretchy band into the top center point of the hat so it gets caught in the stitching. The band should extend past the raw edge of the fabric. You can also opt to add the pom pom later on.

Stitch the seam over the top of the hat with a 3/8" seam allowance. Again, leave long thread tails at the beginning and end where you taper your stitching off the fabric.
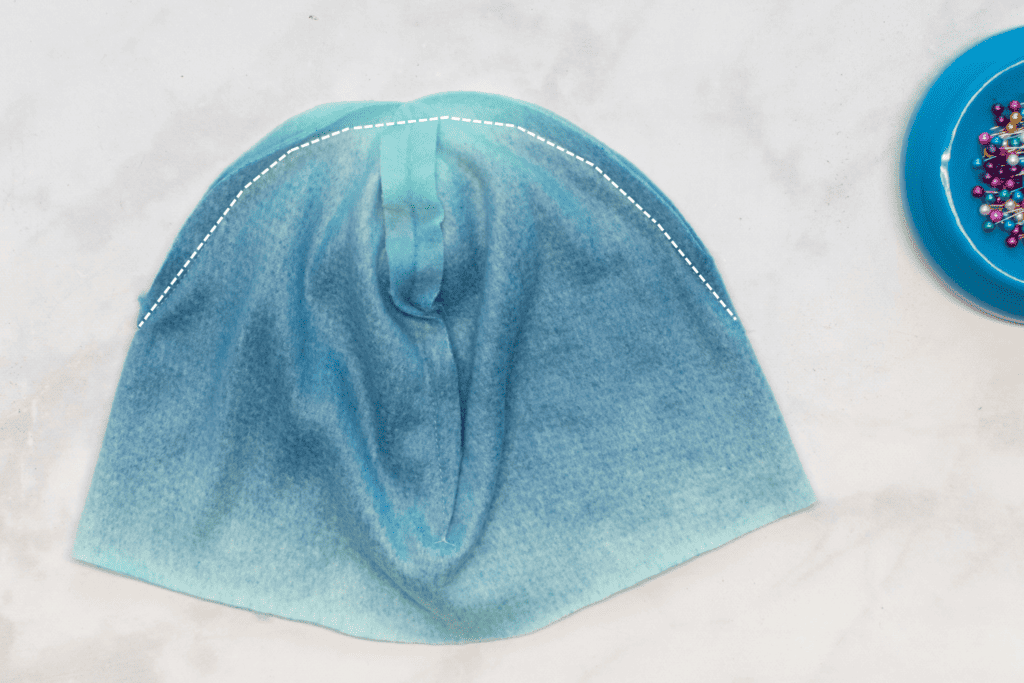
Tie off the thread tails on each end of your seam and trim them close to the knots.
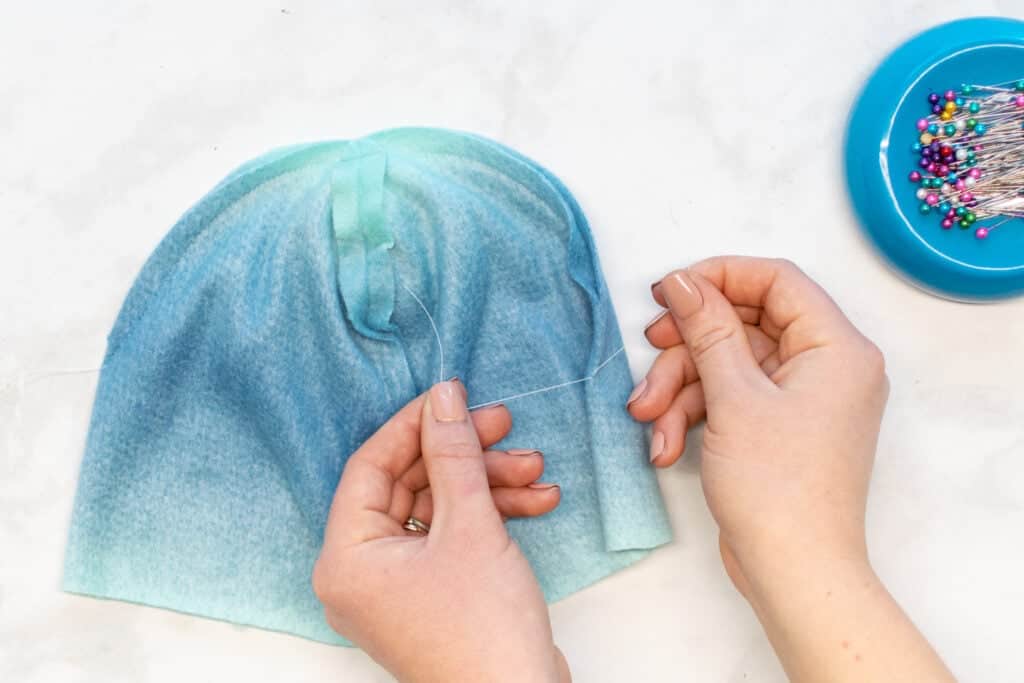
Turn the hat right sides out.
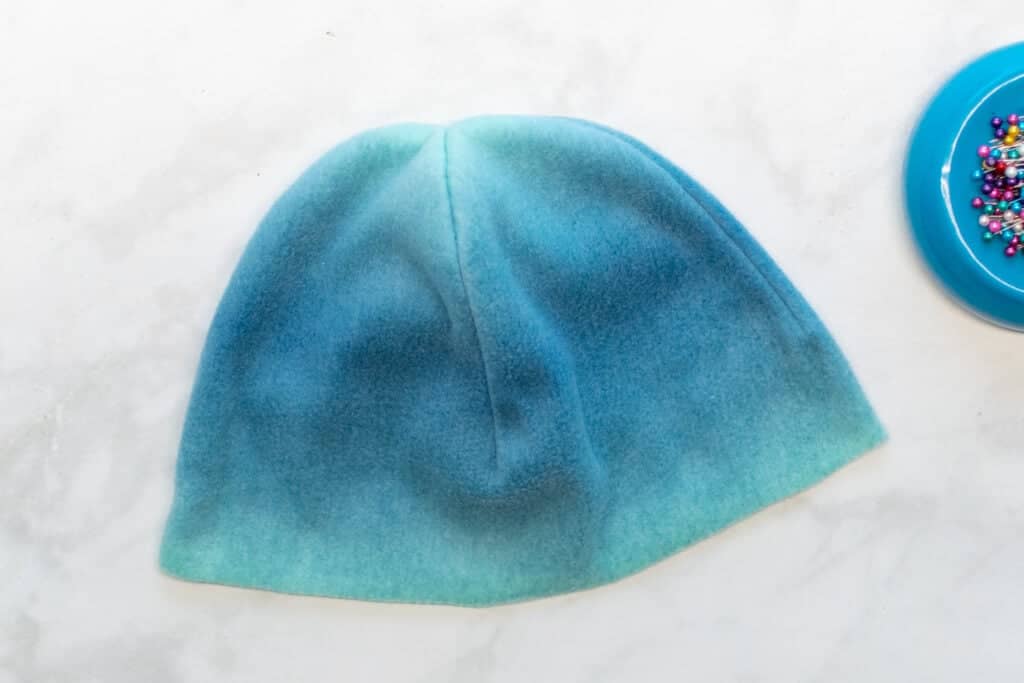
Repeat this process to stitch the lining hat in the same way.
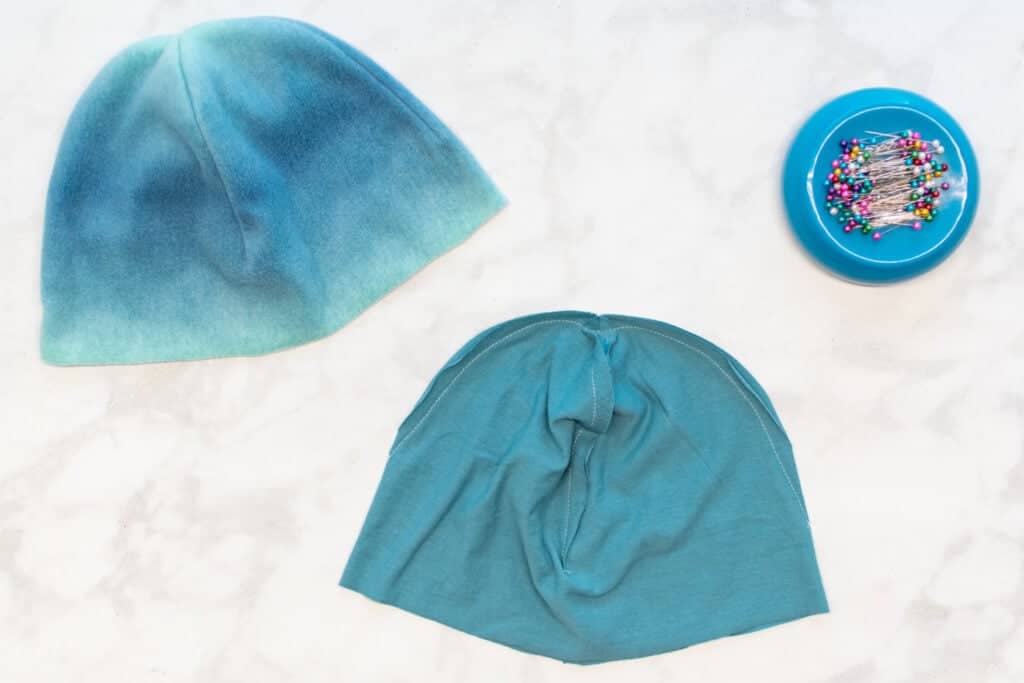
Step Four: Prepare the Hem Band
Next, it's time to prepare the hem band to finish off this adorable hat!
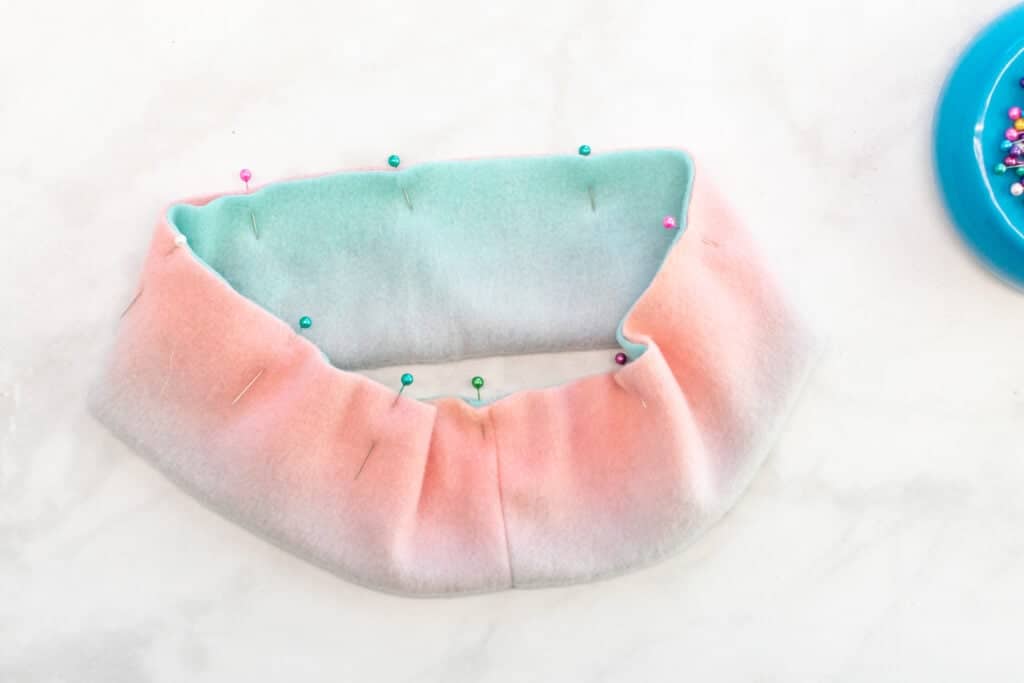
Start by folding the hem band in half with right sides together, lining up the short ends. Pin the short ends together.
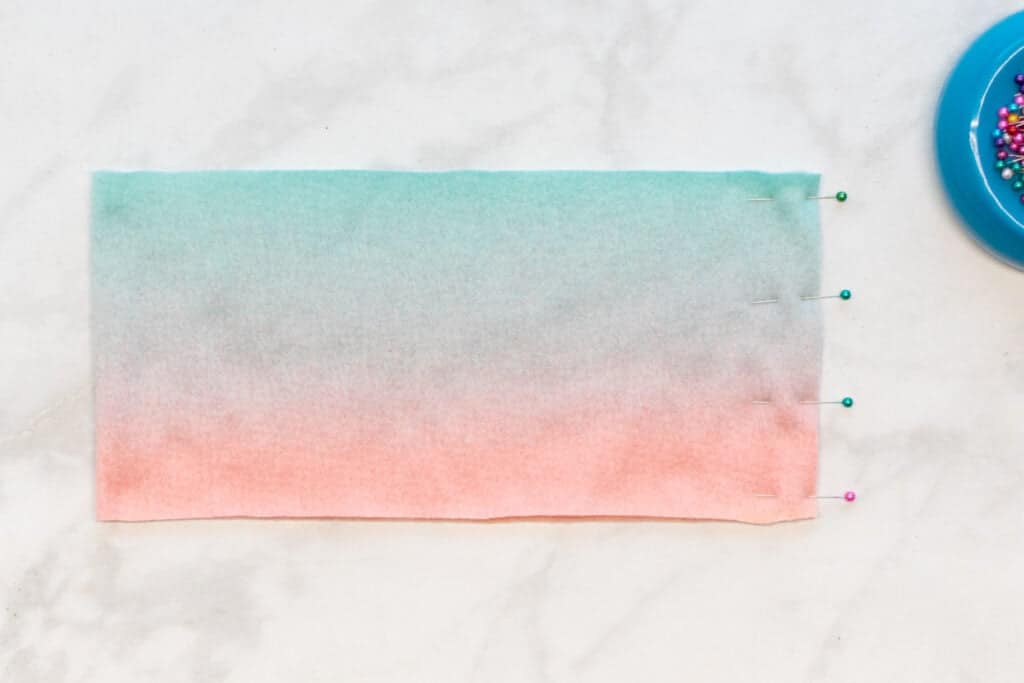
Then, stitch the short ends with a 3/8" seam allowance.
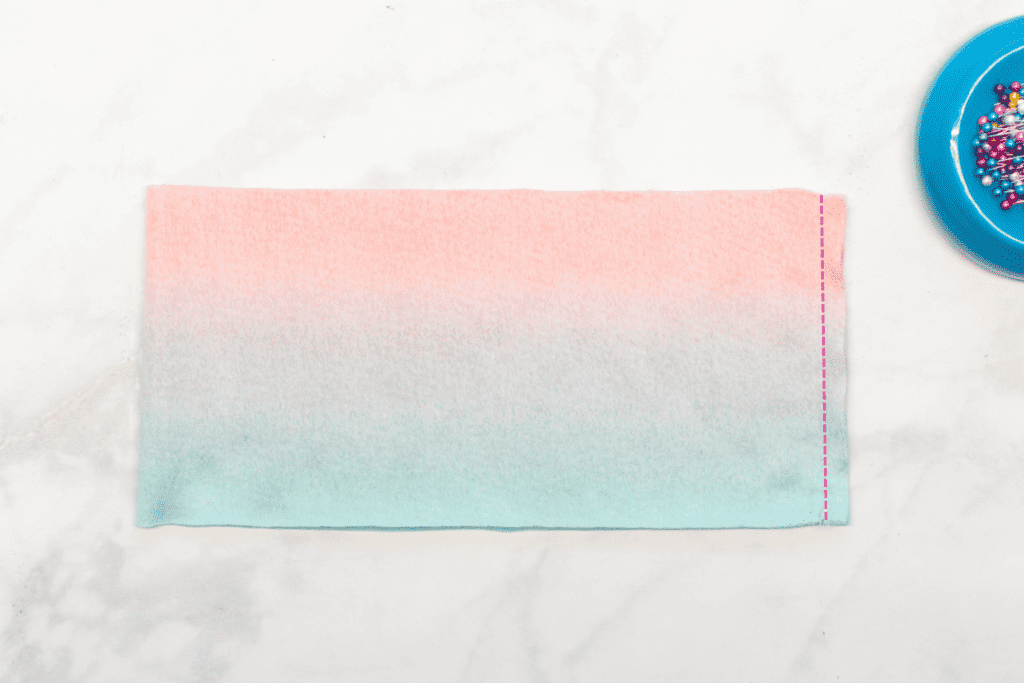
Finger press the seam allowances open.
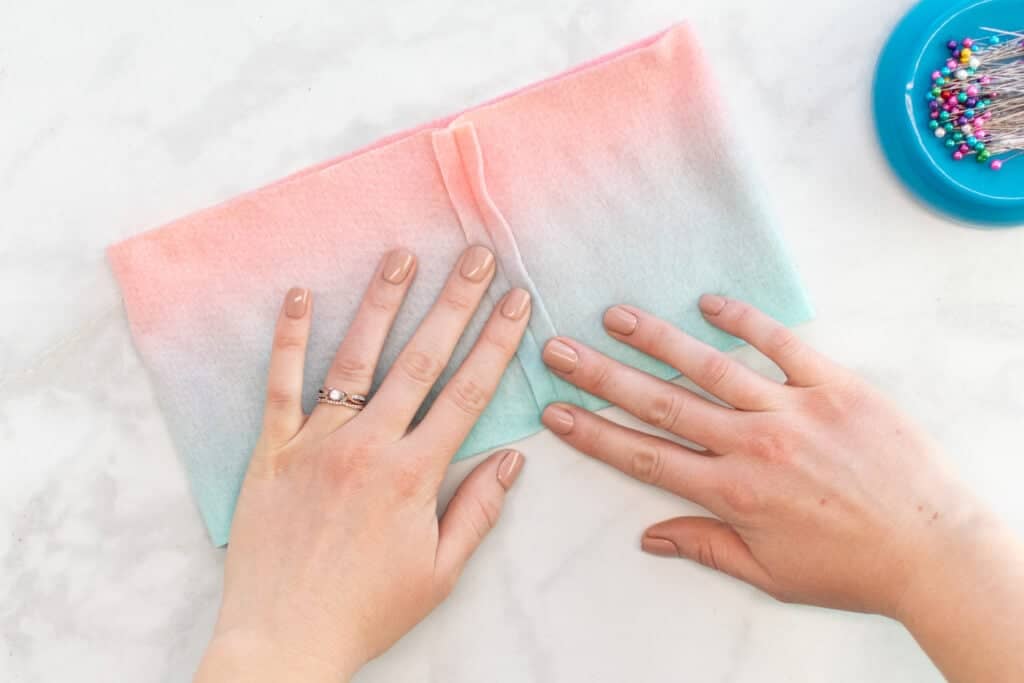
Next, fold the hem band in half with wrong sides together, matching up the raw edges at the top. Pin the raw edges together.
Step Five: Assemble the Hat
Now let's assemble our cute winter hat!
With the lining hat inside out, place it inside the outer body of the hat. The wrong side of the lining hat should be against the wrong side of the outer hat.
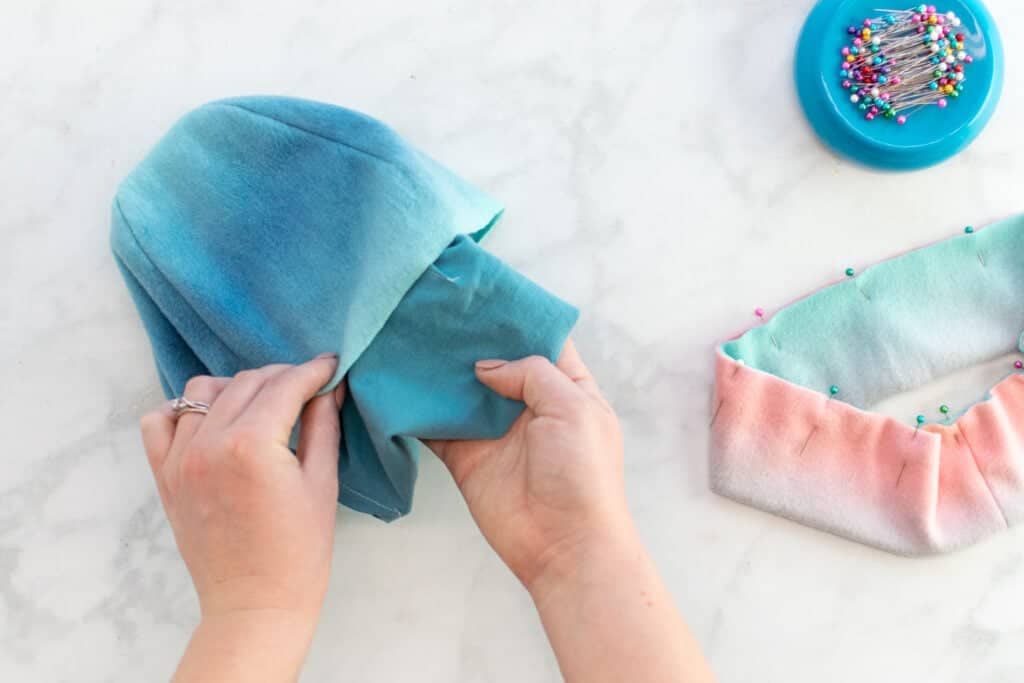
Line up the center back seam of the lining hat with the center back seam of the outer hat and pin them together along the bottom edge. Finish matching up and pinning the raw edges of the two hat layers together all the way around.
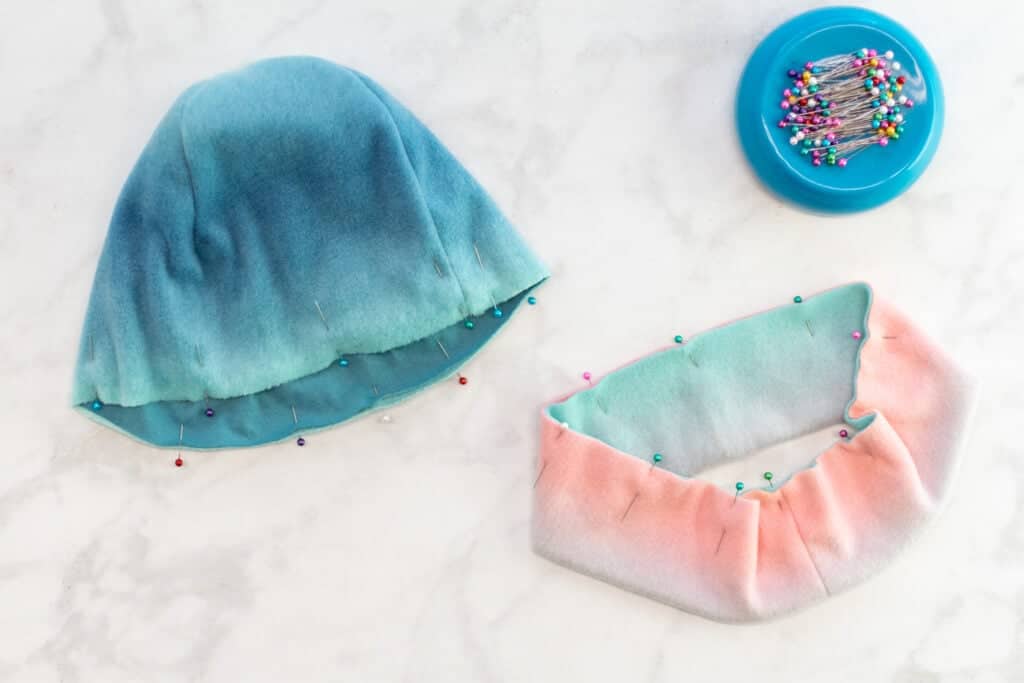
Next, to hold the layers together, stitch along the pinned bottom edge of the hat with a serger or a zigzag stitch. Repeat this process to stitch together the pinned upper edge of the hem band.
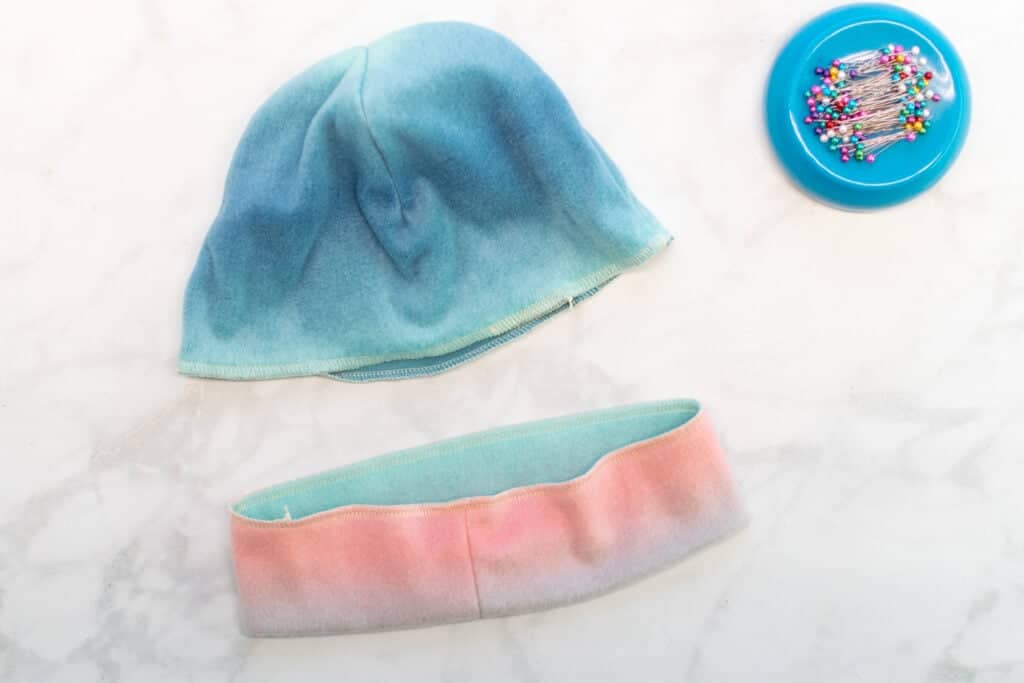
Then, place the hem band over the hat, lining up the raw edges of the hem band with the raw edges at the bottom of the hat. Pin the hem band to the hat.
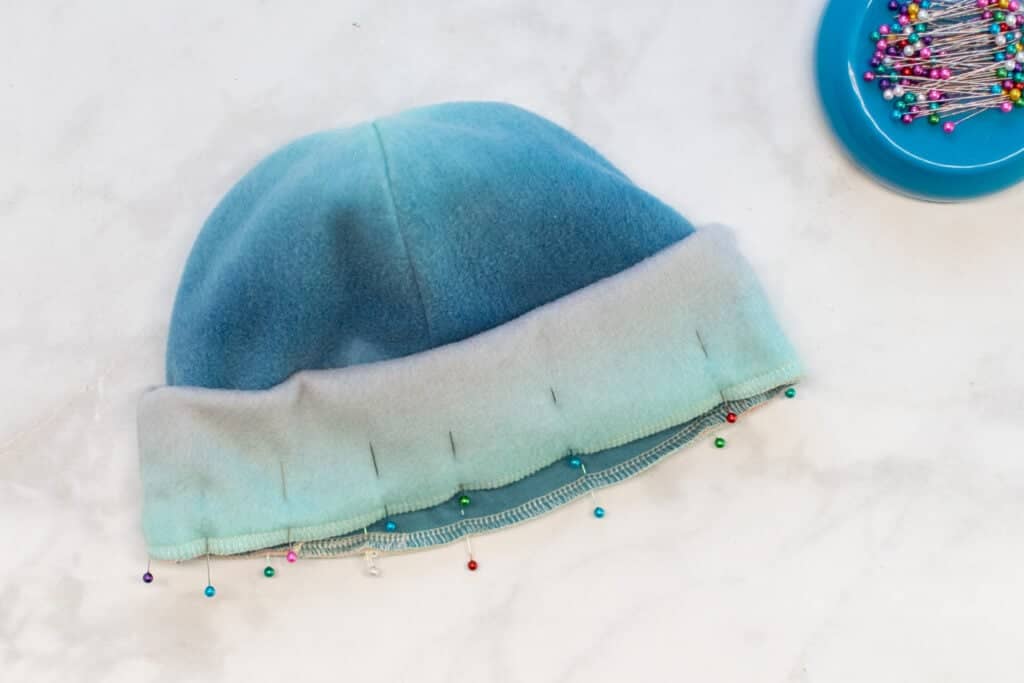
Stitch the hem band to the hat with a zigzag stitch using a 3/8" seam allowance.
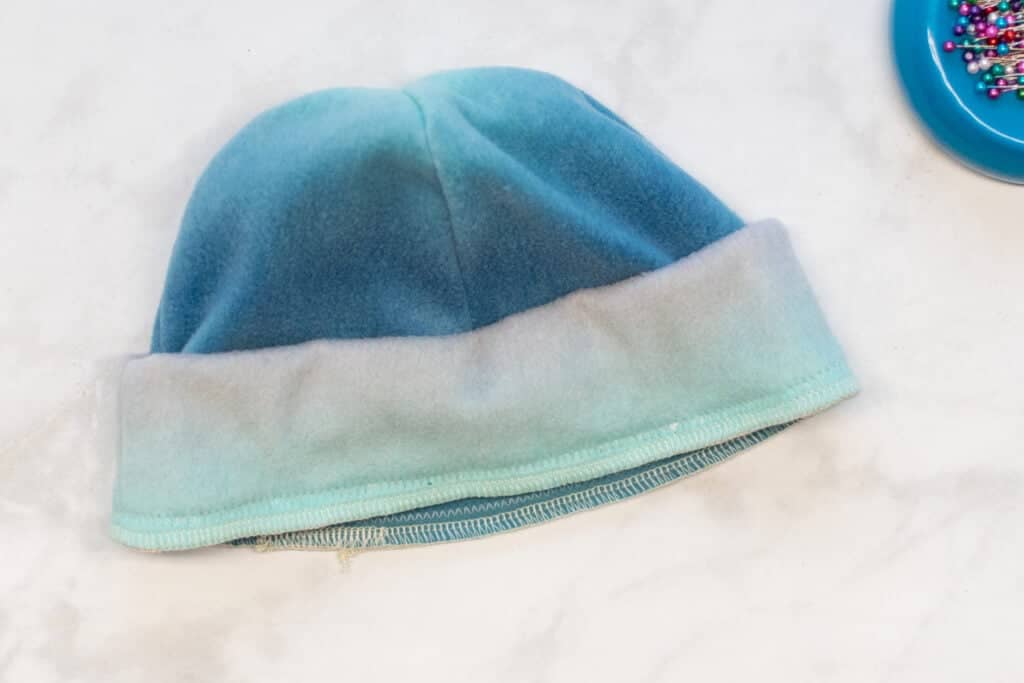
Fold the hem band down away from the hat and finger press the seam flat. If you need to get it flatter, you can press it with a cool iron using a pressing cloth or pound it flat with a mallet.

At this point - your hat is done! However, I sometimes like to add a line of topstitching above the hem band to keep everything crisp and flat.
If you want to add this topstitching to your hat, then simply stitch all the way around the hat with a zigzag stitch. Sew about 1/16" above the seam between the hat and hem band.
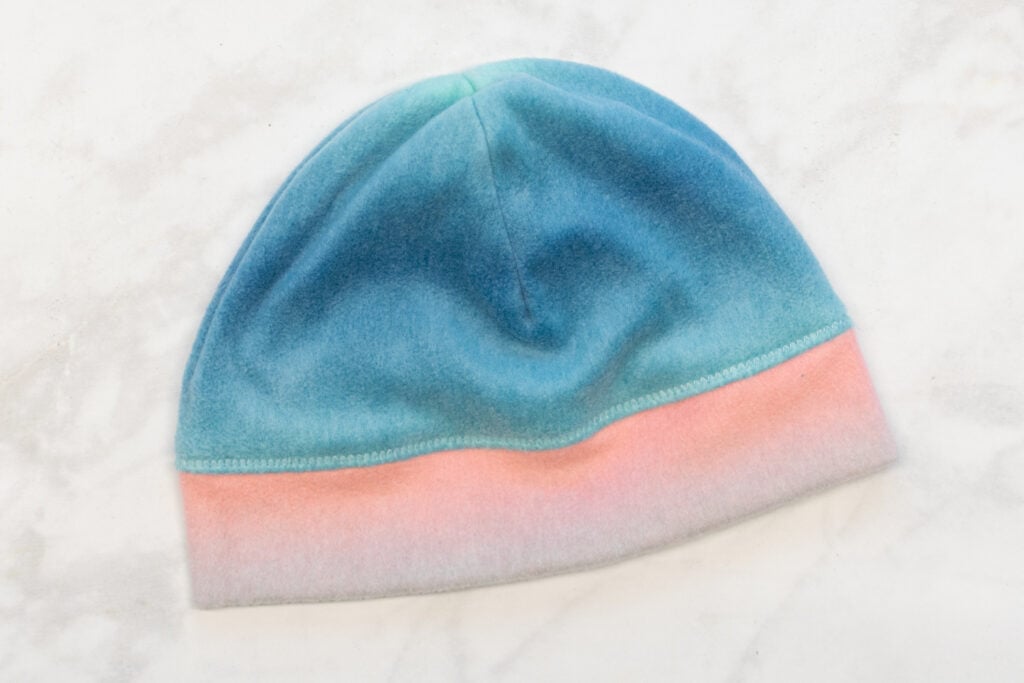
*PRO TIP: For this topstitching, I like to leave long thread tails instead of backstitching at the beginning and end of my stitching line. Then, I'll bring the thread tails to the inside of the hat with a hand-sewing needle and tie them off. I find this looks a lot cleaner with a zigzag stitch than backstitching. In addition, I've found the backstitching doesn't lock in zigzag stitches as securely as it does with straight stitches.

Congrats! Your cozy winter hat is finished!
*If you'd like to add a pom pom, use a needle and thread to secure a button to the top of the hat where the four seams meet each other. Secure the pom pom to the button by wrapping the stretchy band tightly around the button. This makes the pom pom removable so the hat can be washed.

Are you excited to try out this fun winter hat sewing pattern? Looking for even more fleeece sewing patterns? Be sure to check out my Fleece Ear Warmer Headband Pattern here.
Want to remember this pattern? Save it to your favorite board on Pinterest here.


Leave a Reply