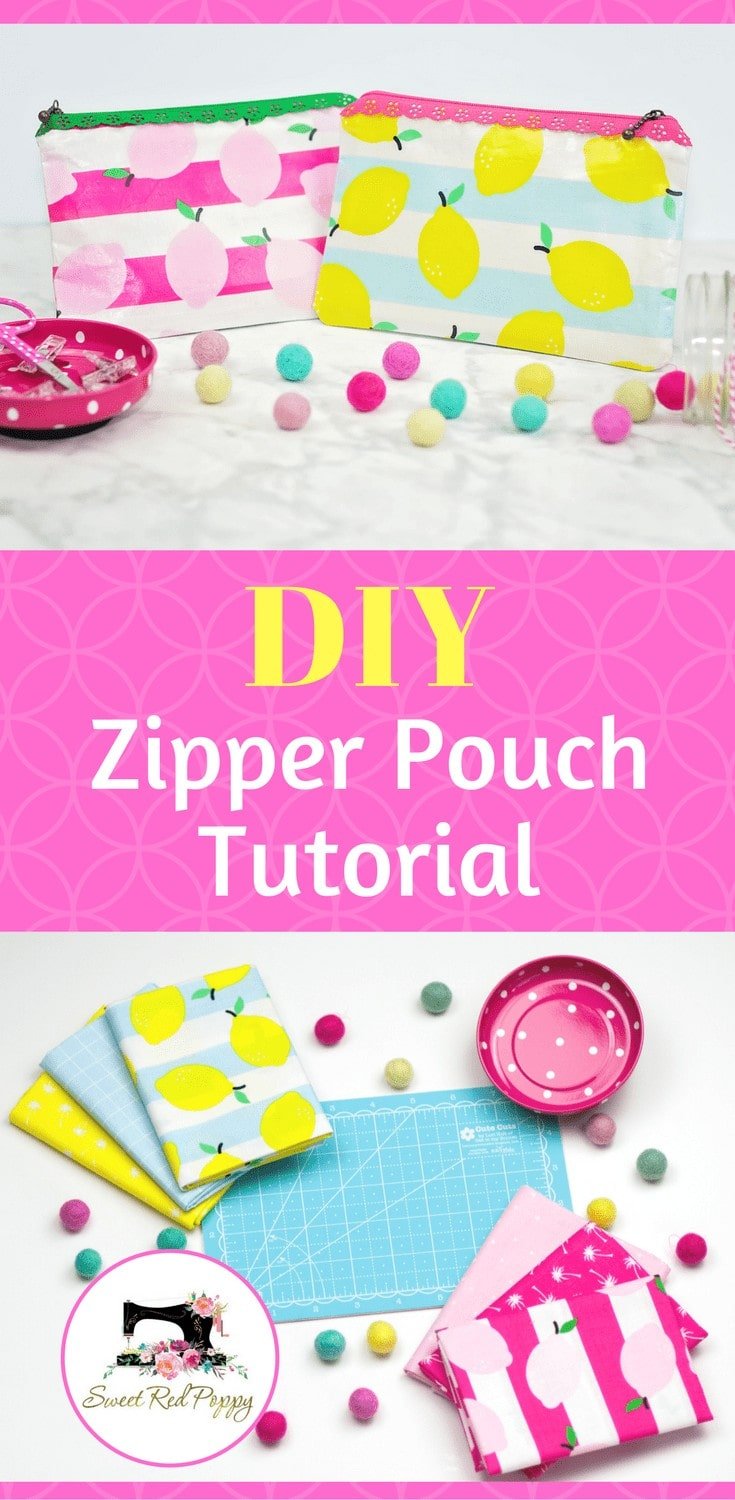
Create this easy Zipper Pouch Tutorial featuring clear Iron-On Vinyl.
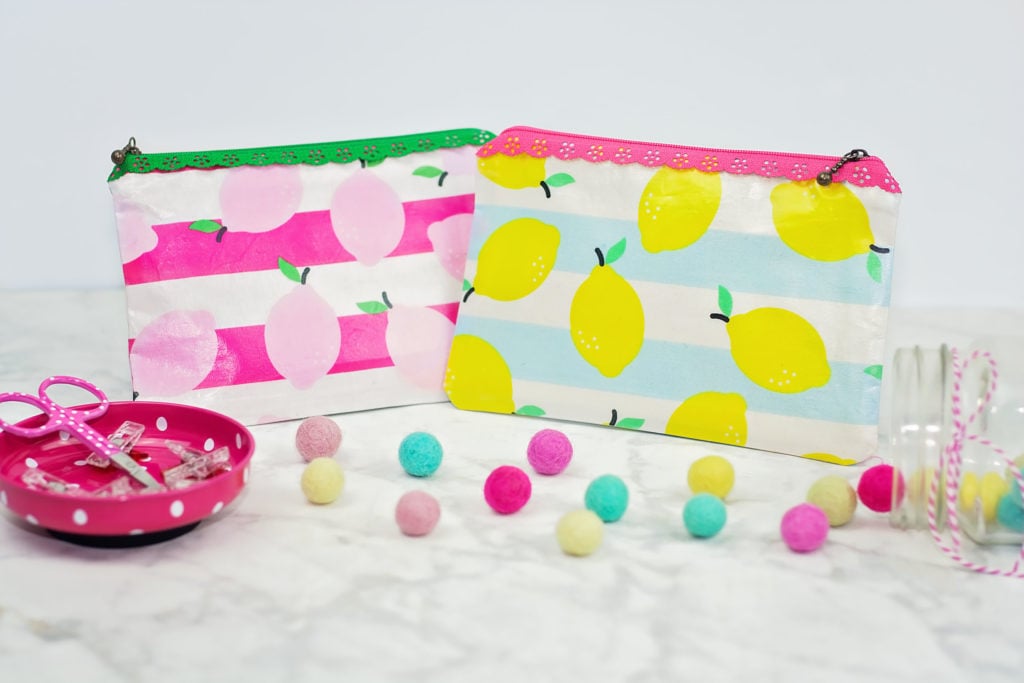
My daughter has been begging for some cute little bags and because she's just a bit hard on her things (I'm pretty sure that's a common problem for most kids) I decided, why not add some clear Iron-On Vinyl to this zipper pouch project to make it a bit more durable?
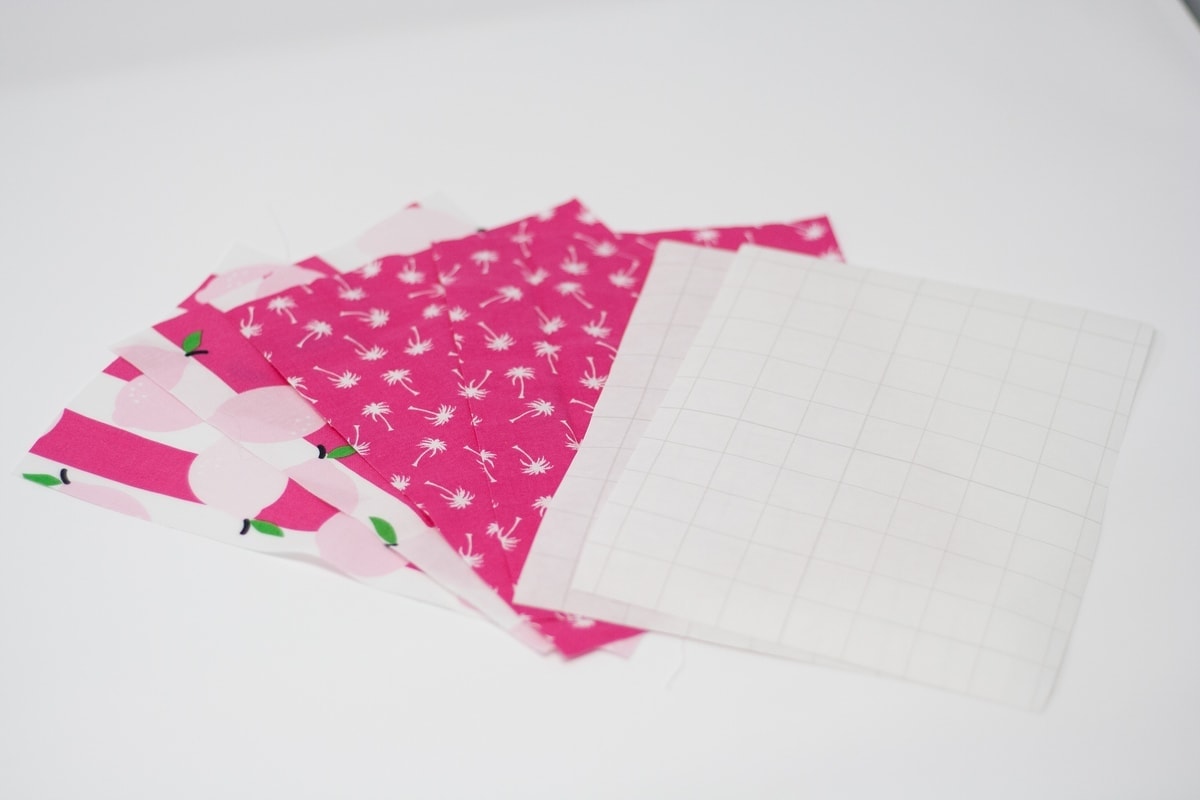
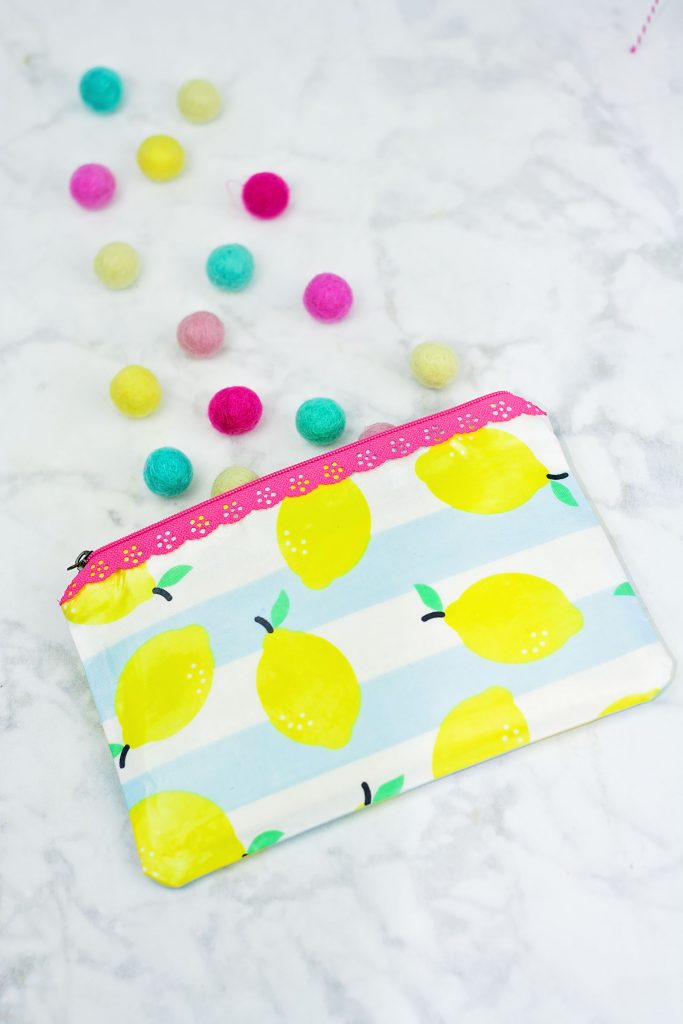
I stopped dead in my tracks at the local fabric shop when I spotted this adorable lemon print fabric from Riley Blake Fabrics! Isn't it just the cutest? Of course, I had to get it in both colorways because I can never say no to a good fruit print!
Want to learn how to make even MORE fabric bags?
Get 11 different bag patterns and gain access to a comprehensive collection of bag patterns and tutorials my All The Bags 150+ page Ebook by clicking here.

Make sure to watch the video tutorial below and subscribe to my brand new YouTube channel!
Cover the fabric with the liner and press the seam towards the lining and turn the fabric right side out. Repeat with the other side.
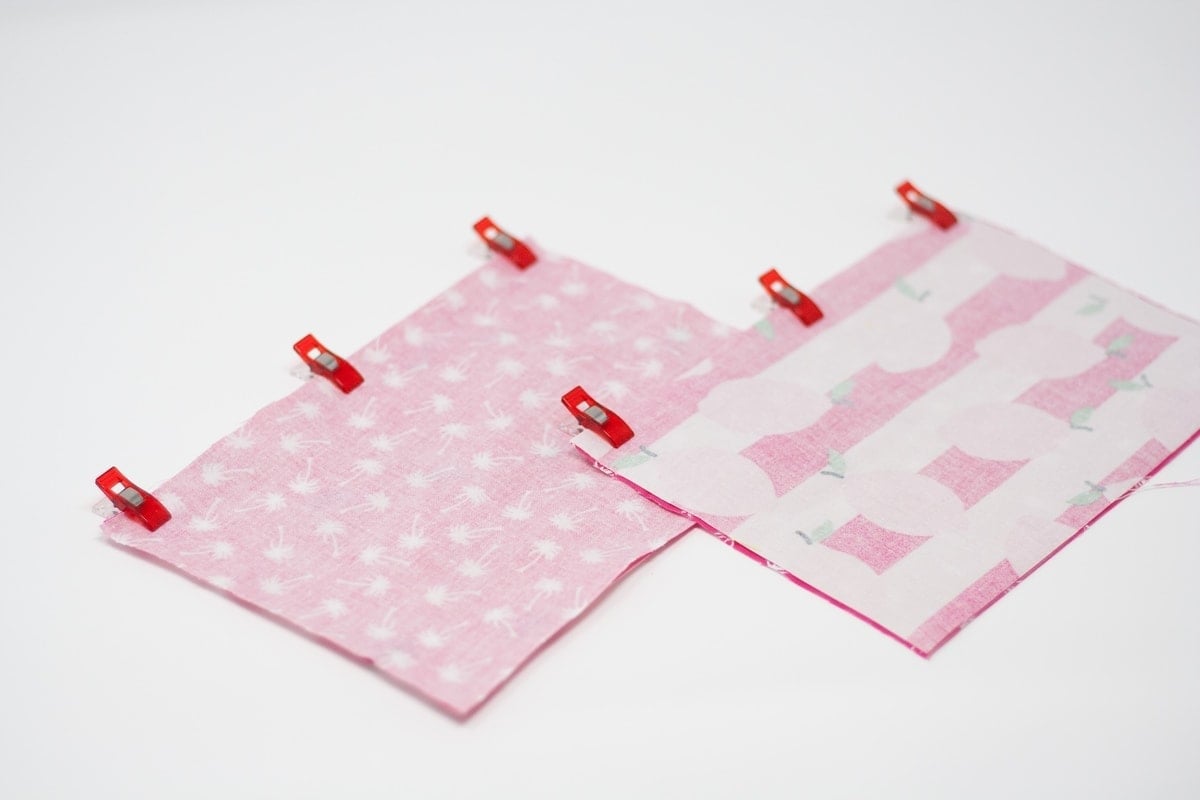
Lay one of the fabrics with the main print facing upwards. Lay the zipper on top of the seam and pin in place.
With the zipper open, sew the left side of the zipper to the left side of the pouch, using a zipper foot. If this step is tricky for you, be sure to use plenty of pins and go slowly.
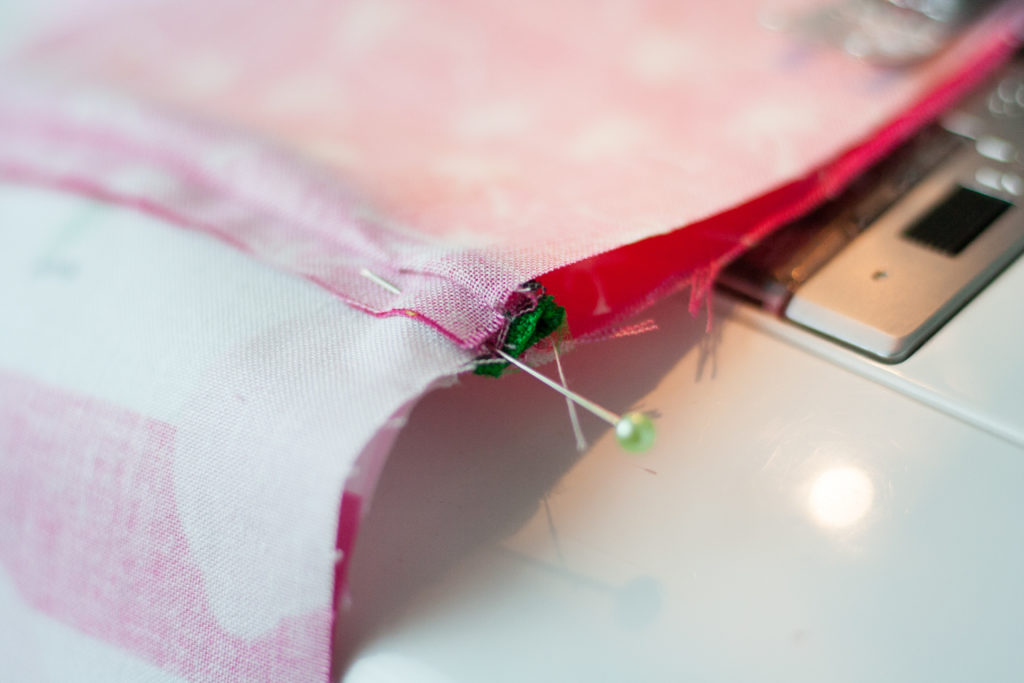
Once the first side is sewn, zip the zipper back up and pin the other side. This will help you to align each side perfectly. Unzip the zipper and sew along the zipper. Once you reach the zipper, back stitch and lift the presser foot. Zip the zipper to the top and begin stitching again until you reach the end.
Align the exterior pieces of fabrics with right sides together and repeat with the lining fabrics. Make sure to leave the zipper open before you begin sewing!
Carefully align all seams together before sewing. You may need to hand crank the sewing machine to get it over the zipper.
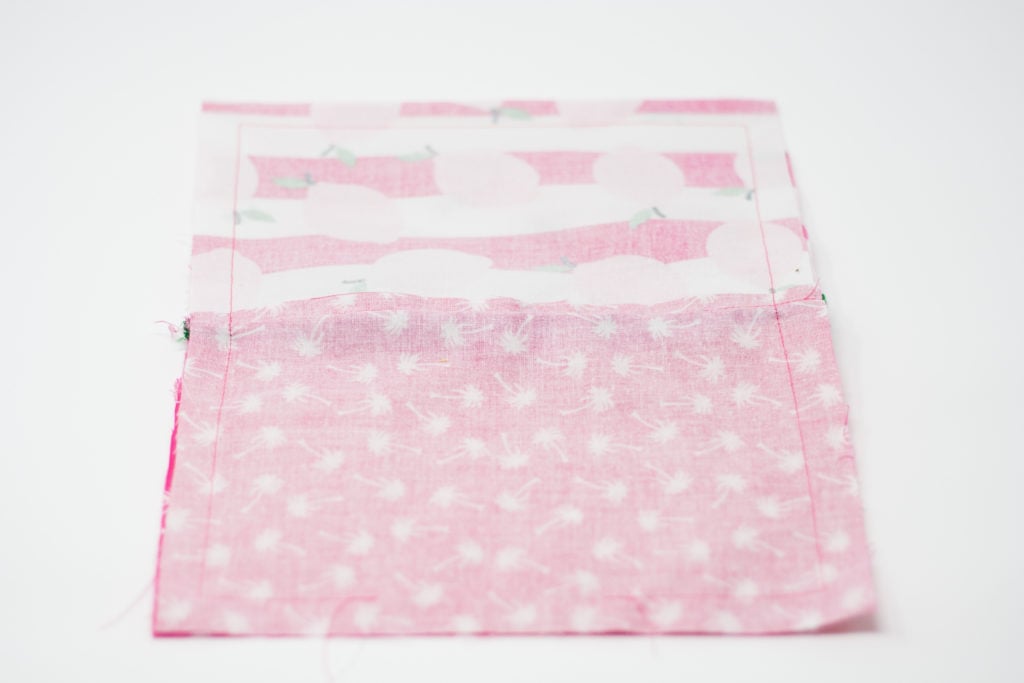
Pin well and stitch (5/8th's inch seam allowance) along all four sides leaving a 3-inch hole for turning along the bottom of the lining.

Don't forget to leave an opening for turning! It needs to be at least 4" wide to fit the pouch through without damaging the iron-on vinyl.
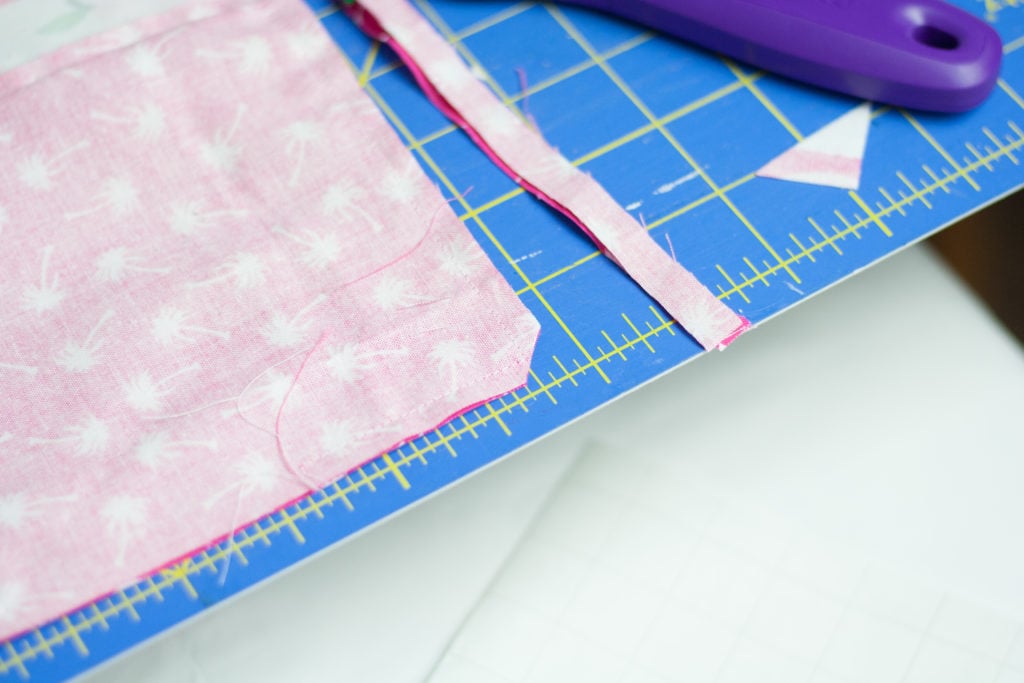
Trim back the seam allowance around the entire bag, especially the corners. This will eliminate any excess bulk.
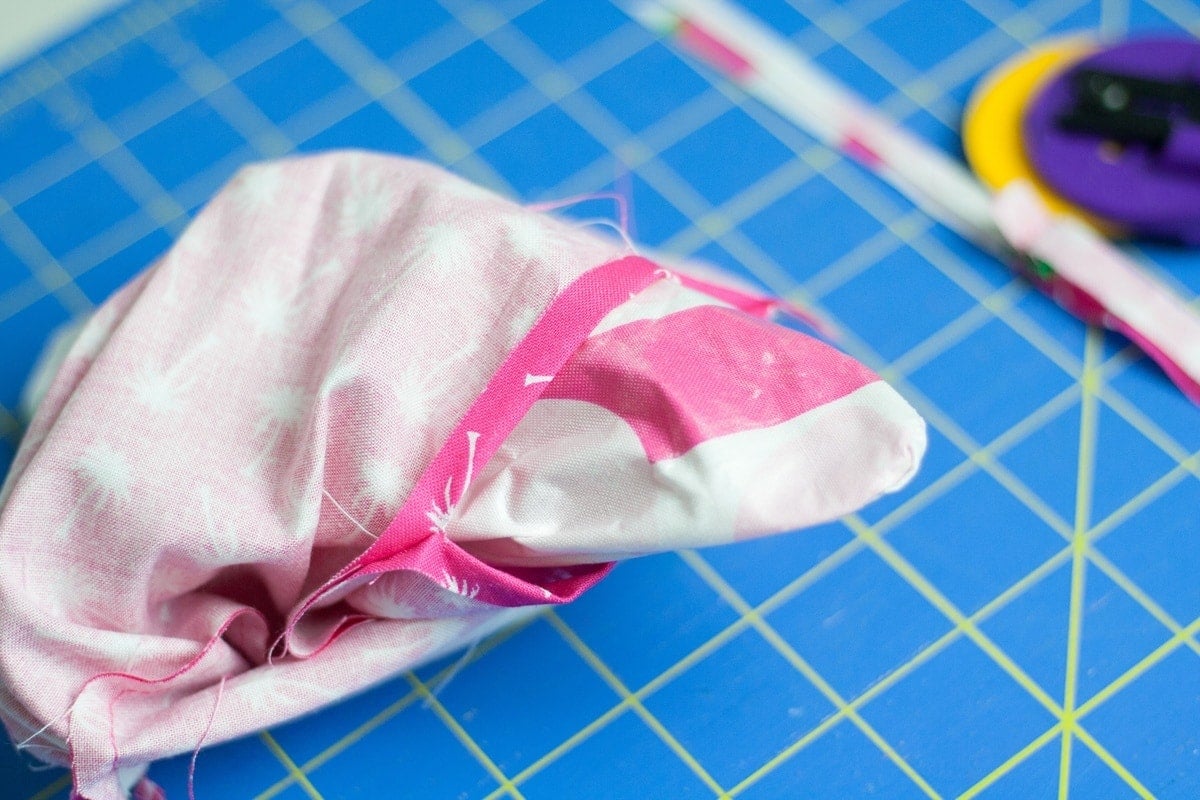
Gently pull the bag through the small hole. Push the corners out using a turning tool.
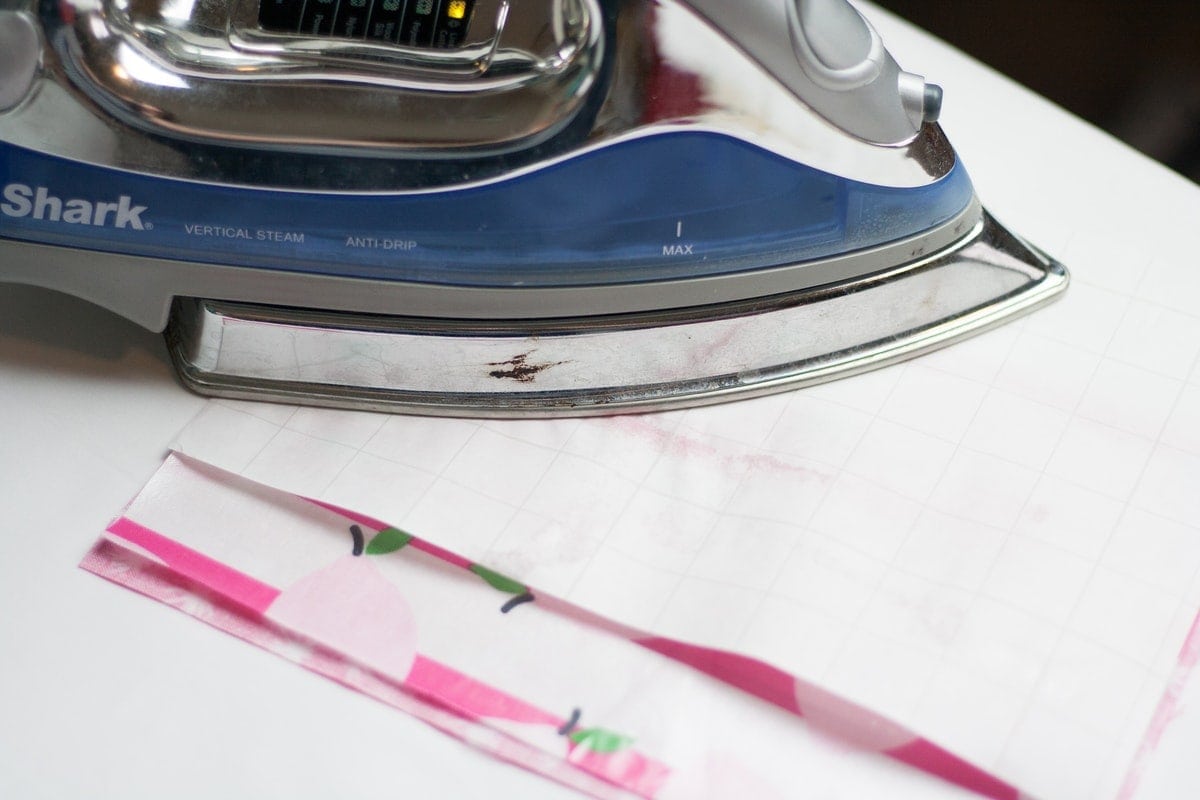
Sew the opening closed by stitching close to the edge. Cover the laminated fabric with parchment paper or the original liner and press it firmly for 10 seconds to get rid of any wrinkles that may have occurred from the turning process.
Push the lining back into the bag. If needed, press the bag using a protective layer again.
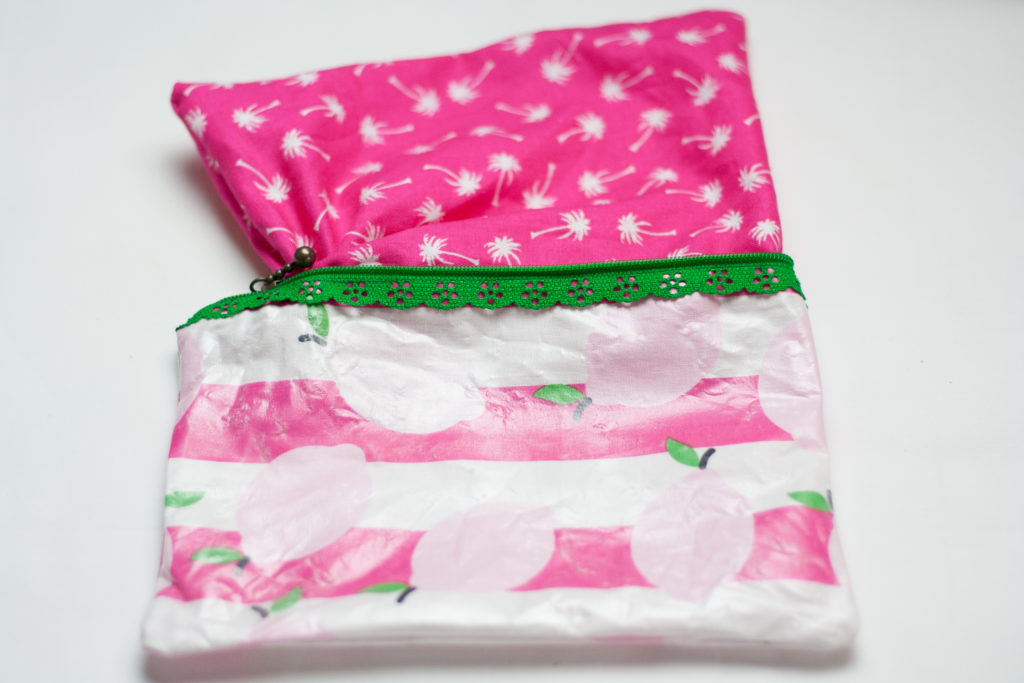
I hope you enjoyed this Zipper Pouch Tutorial!
Variations
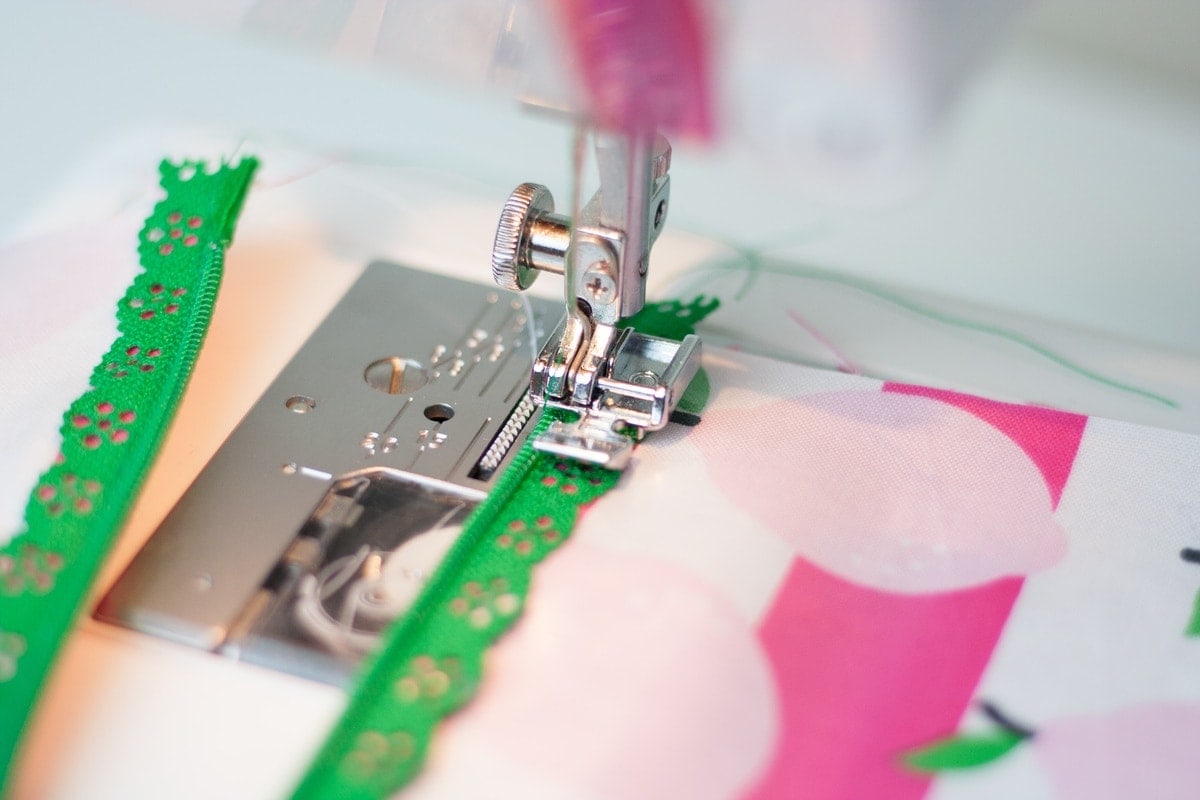
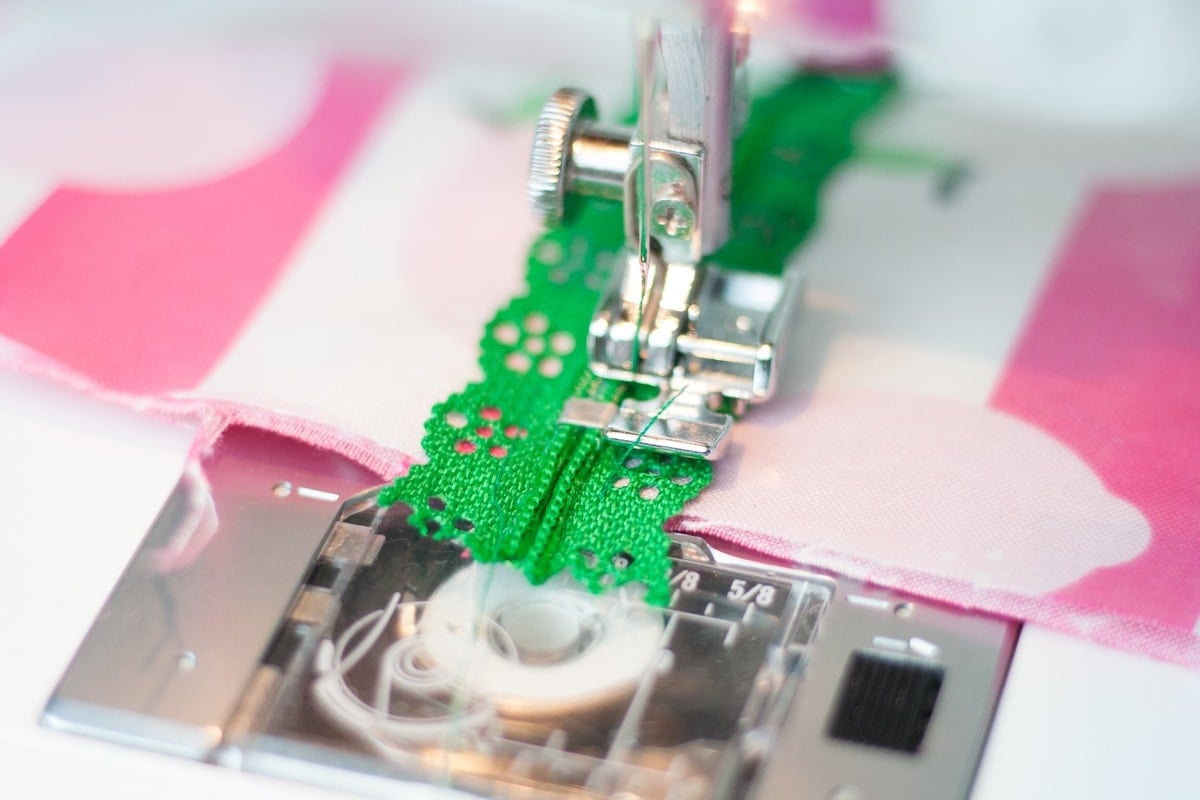
Try adding some fun trim to the bag or even an applique. You can also slice apart the pattern to add different color combinations. Just remember to add the seam allowance wherever the changes are made.
Join my crafting and sewing Facebook group where you can show us what you’re making, ask questions, and learn from others!
Follow me on Instagram for daily crafting inspiration and a look behind the scenes.