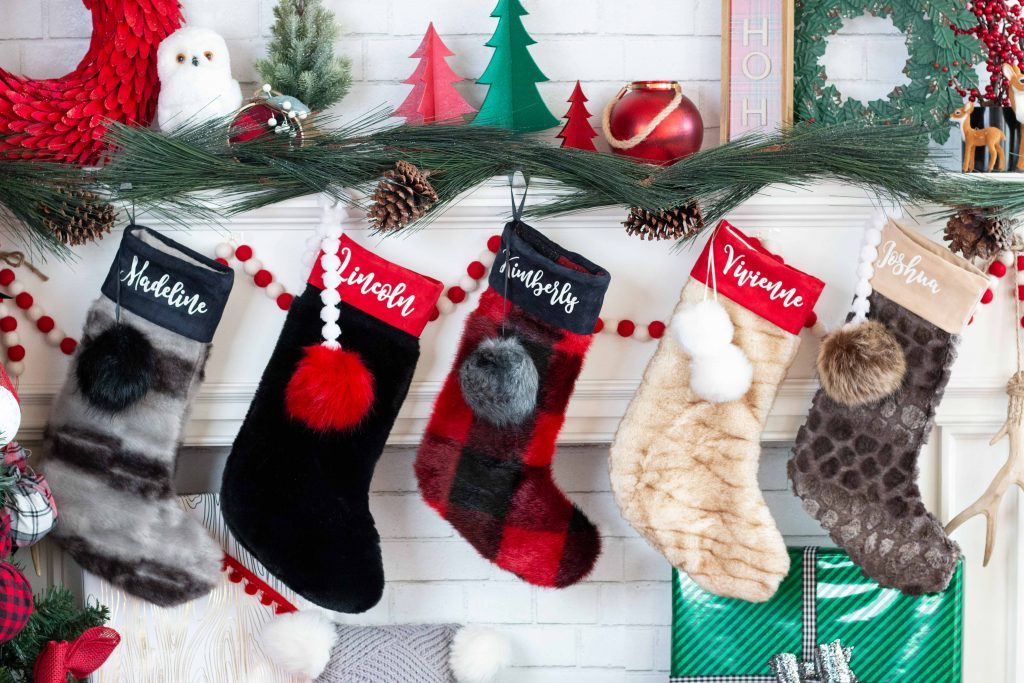
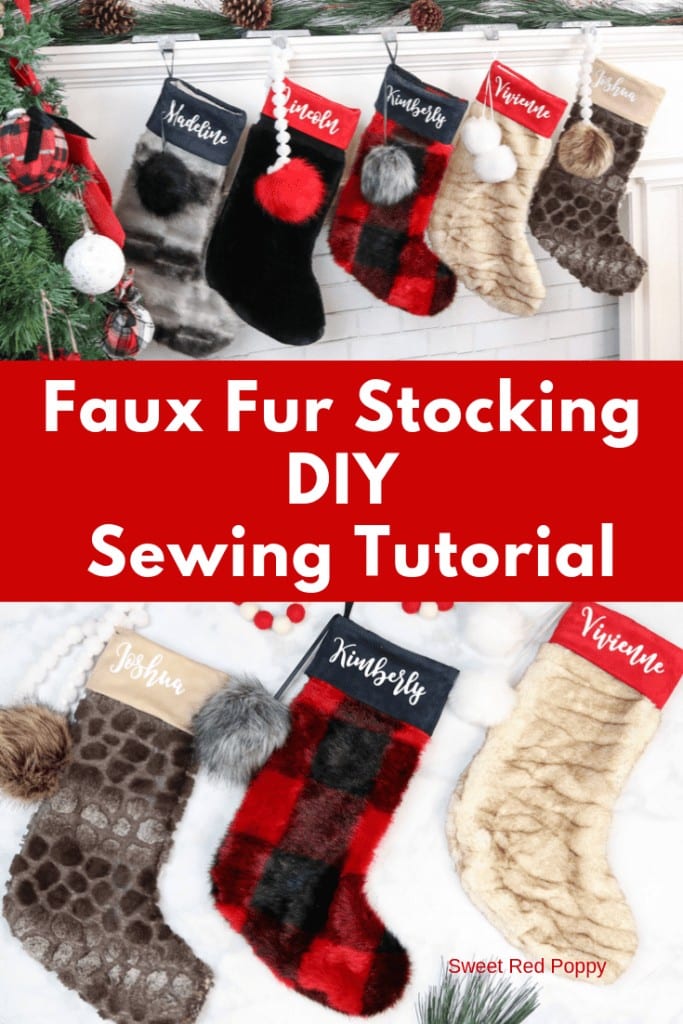
Learn How to Sew a Personalized Faux Fur Christmas Stocking with this Step-By-Step Sewing Tutorial With a Free Pattern Download.
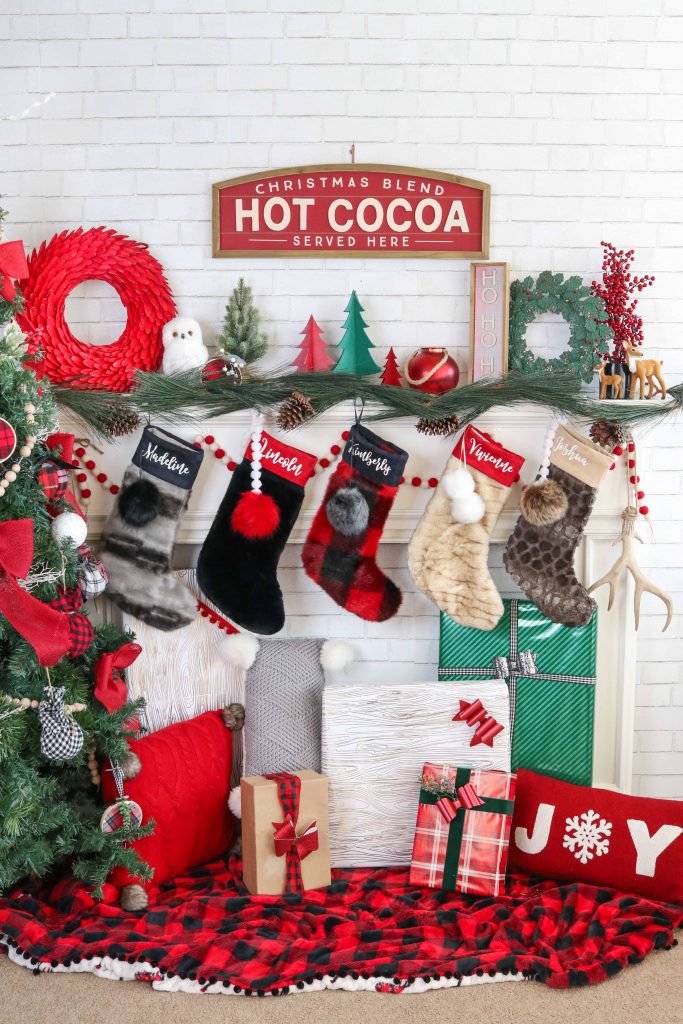
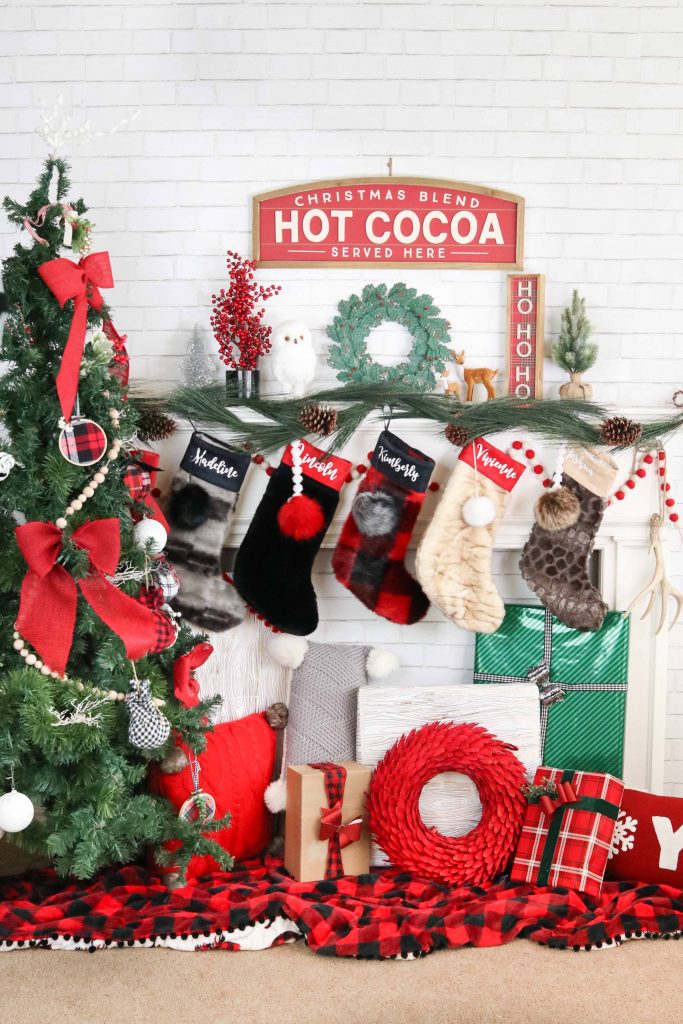
Recently, I fell in love with some faux fur Christmas stockings. After daydreaming about how perfectly they would fit with my Christmas decor, I looked at the price tag, spoiler alert - they were $50 apiece! I had total sticker shock and was quickly brought back to reality!
I knew the only solution was to run to my local craft store and grab the supplies to make my own set of Christmas Stockings.
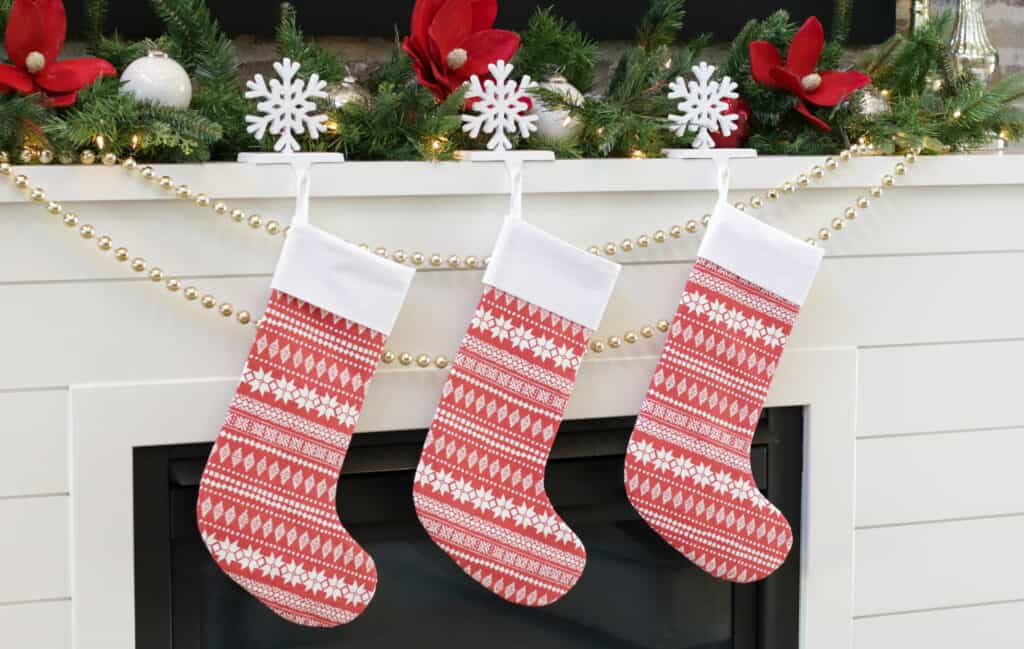
This pattern can also be made out of quilting cotton for a completely different look!
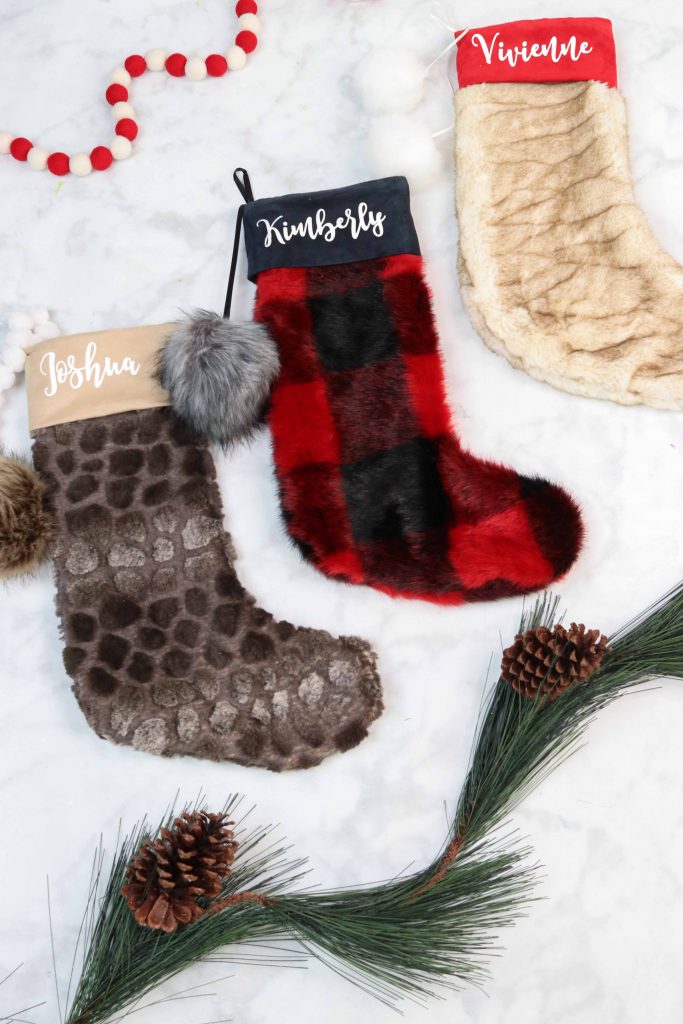
Would you believe I made 5 different stockings and they cost on average only $13.23 each? I made sure to purchase my supplies while they were on sale and I used coupons. I’m calling that a big handmade win!!!
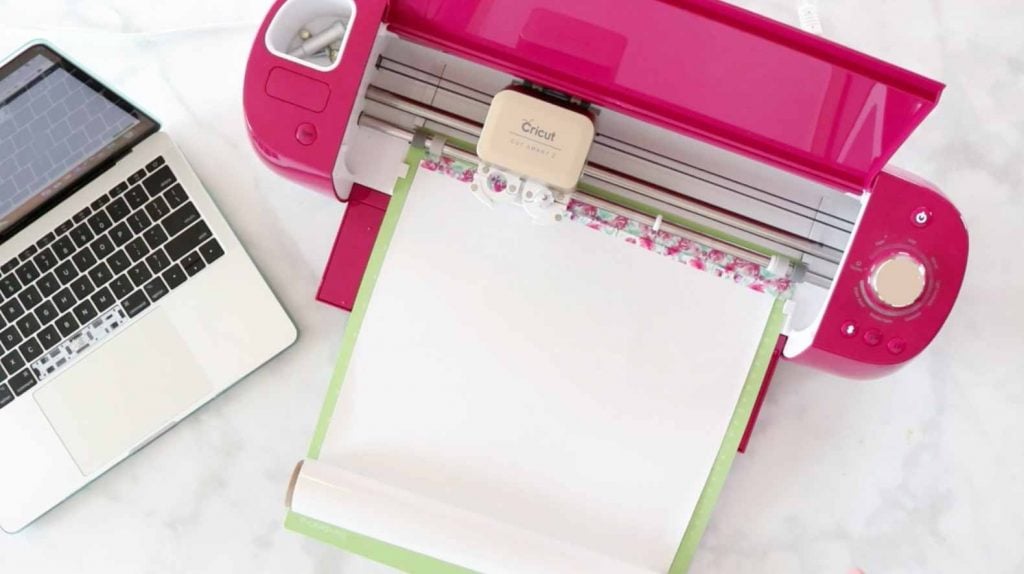
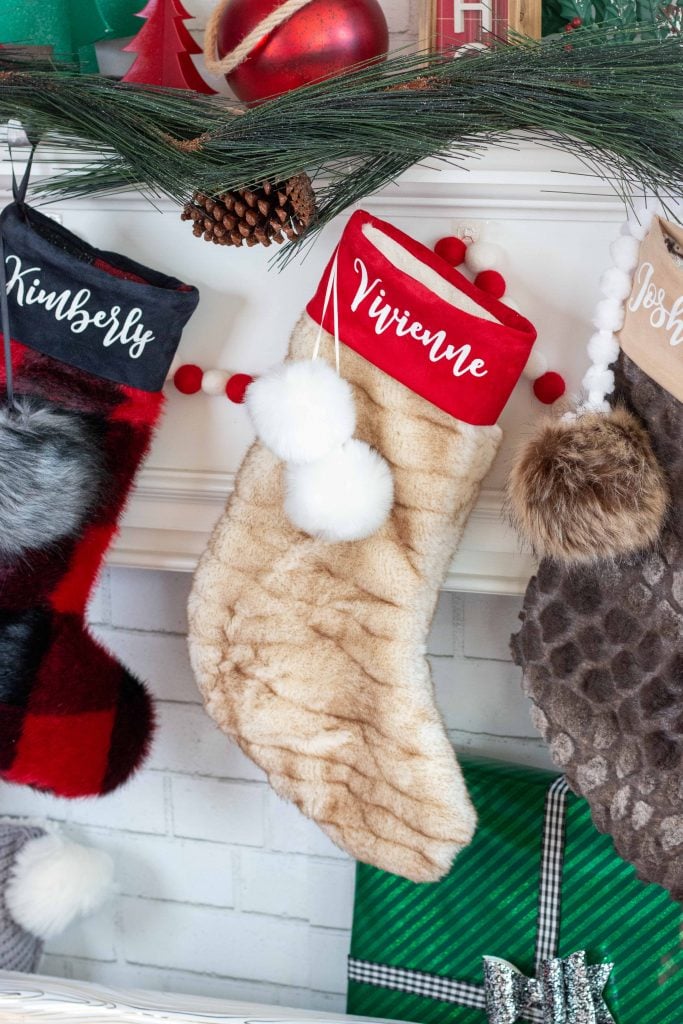
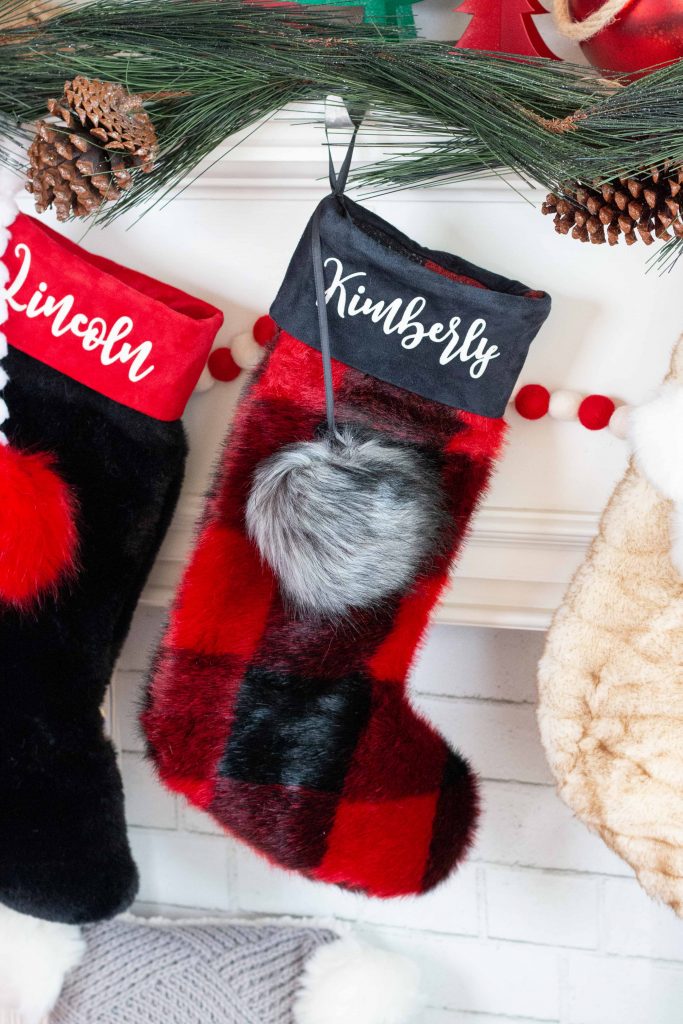
With the help of my Cricut machine, I was able to personalize each of my Christmas stockings making them extra special for each member of my family!
If you haven't already, take a minute to check out the Cricut Explore. It comes jam-packed with tons of goodies and it makes for a perfect Christmas gift!
Let’s go ahead and get started on our Christmas Stockings!
Begin by printing out the Sweet Red Poppy Christmas Stocking Pattern.
Table of Contents
DOWNLOAD THE PATTERN HERE!
Why Shop Through My Links?
When you shop through my affiliate links, it doesn't cost you anything extra, but it helps me out in a big way! I earn a small commission from those purchases, and that support allows me to continue creating and sharing free tutorials and patterns for you. Thank you so much for helping me keep this creative community going!
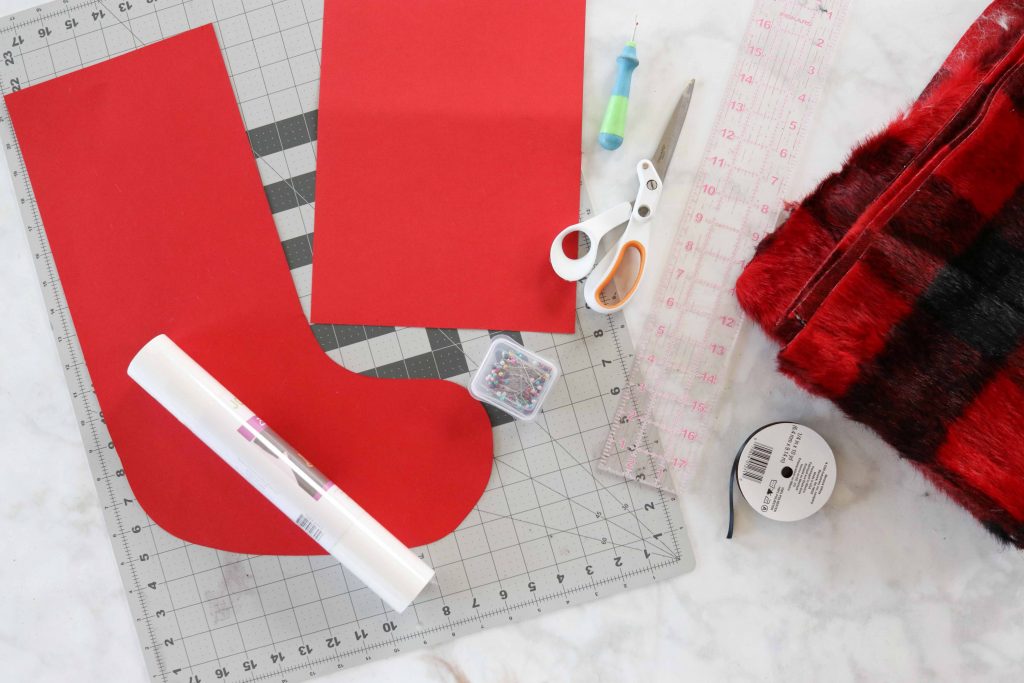
Christmas Stocking Supplies
Shop my favorite sewing supplies here!
- 1/2 Yard Faux Fur Main Fabric (14 inches to be exact)
- 1/4 Yard Faux Suede Contrast
- Sewing Machine & Thread
- Ribbon
- Pins
- Cricut Explore
- Iron-On
- Iron or EasyPress
- Pom Pom Ball
- Weeding Tool
Watch the full video tutorial below!
Cut the Fabric
Begin by printing off the pattern and taping it together.
Lay the fabric out on a table in front of you with the right side facing downwards towards the table.
If you are cutting out fur, REFER TO THIS POST for helpful tips.
Then, place the stocking pattern on top of the fabric and pin it in place. Cut around the pattern piece. Flip the pattern piece over and repeat this process to create a mirror image.
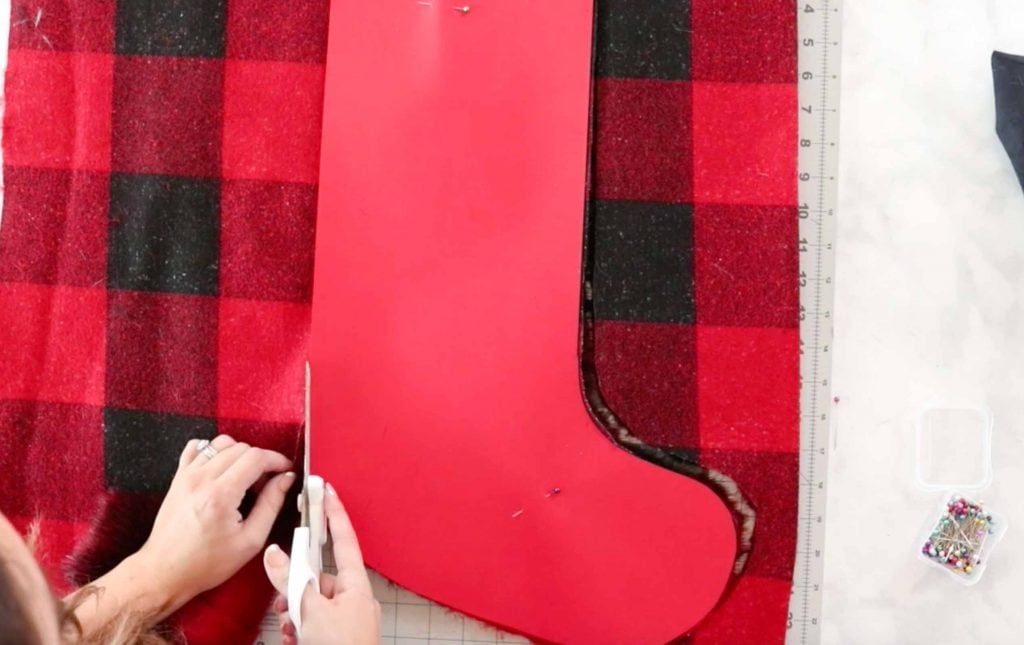
To get rid of the fur mess, either throw the cut fabric in the dryer for a few minutes, use the hose attachment to vacuum along the cut edges or roll a lint roller back and forth along the edges of the fabric.
Prepare to Sew
Prepare and cut the top contrast piece as well. If you are using a thick fur, like the one shown in the photos, add an additional 2 inches to the length of the band to accommodate the fullness of the fur fabric.
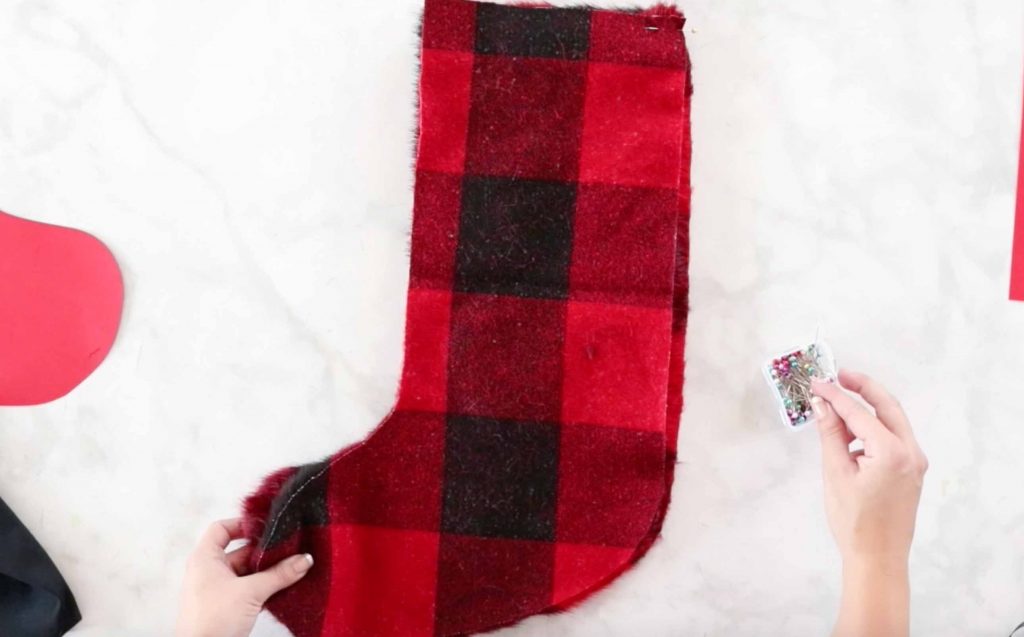
Lay the stocking pieces on top of each other with right sides together. Pin around the outside of the stocking, taking care to brush the fur fibers inside of the seam allowance as you pin.
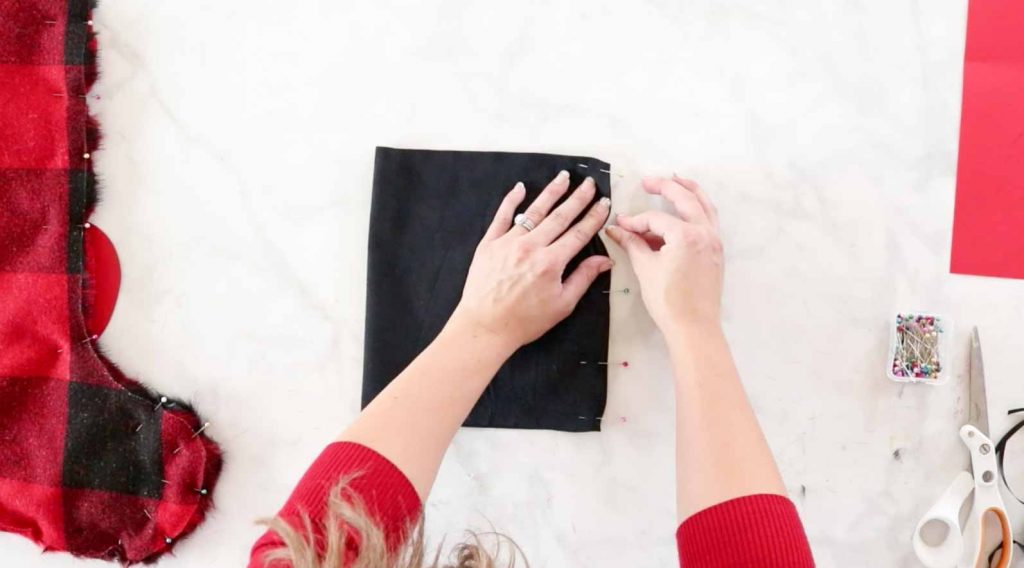
Fold the band in half so the short edges are aligned and pin it in place.
Sew the Stocking
Using a 3/8th’s inch seam allowance sew around the stocking leaving the top open. Sew the band along the pinned edge.
Fold the band in half on itself so that the wrong sides are facing each other, aligning the raw edges together.
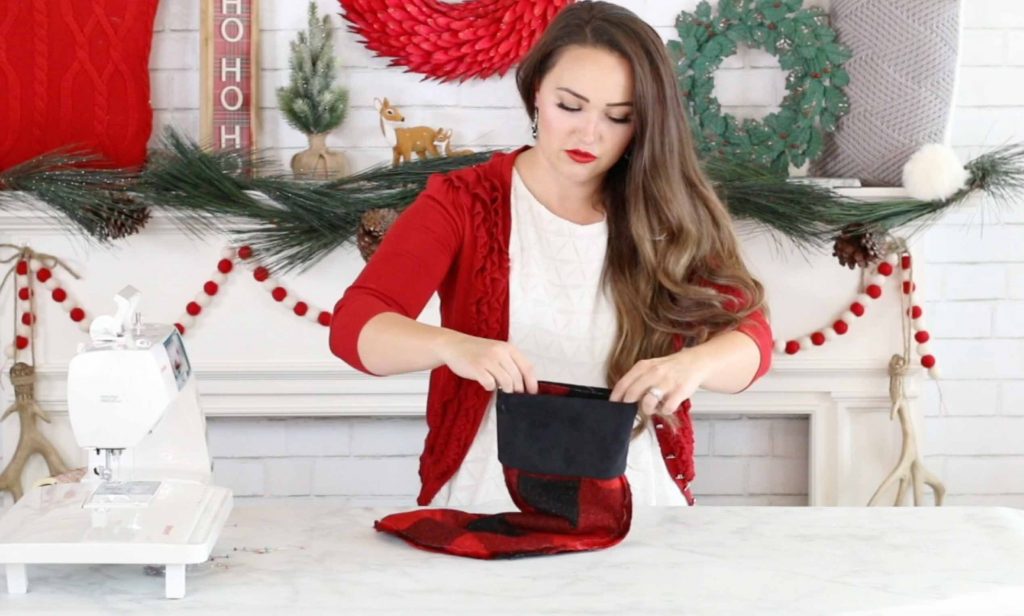
Slide the band onto the inside out stocking aligning the raw edges and pinning them in place. If your band is larger than the stocking evenly distribute the fullness.
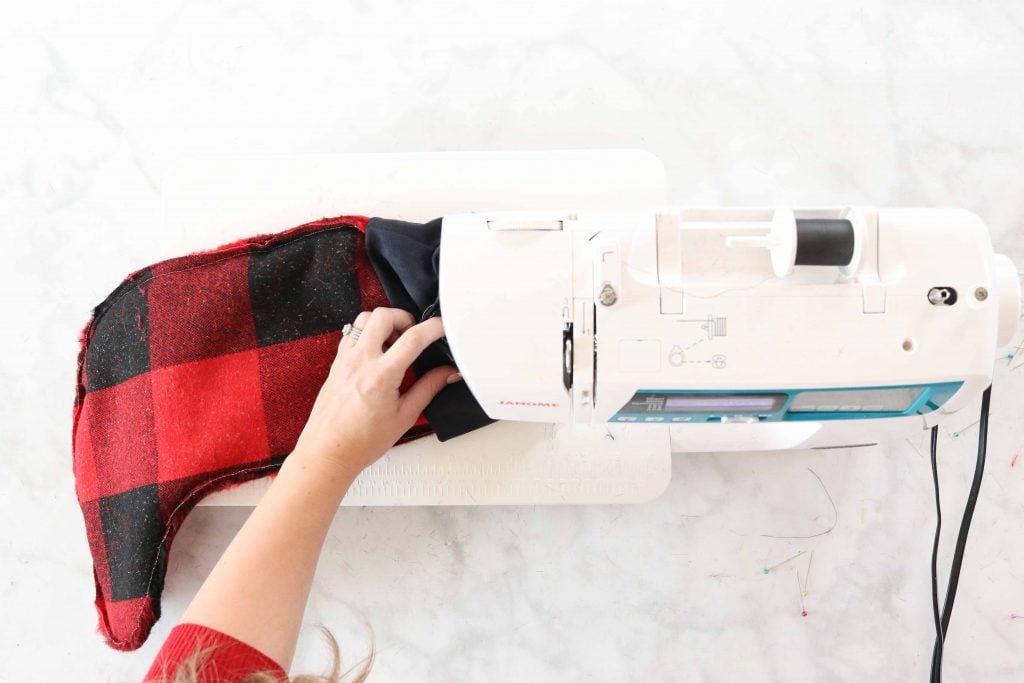
Slide the stocking under the presser foot and sew around the entire raw edge of the band.
Flip the stocking right side out and fold the band downwards.
Create a loop from the ribbon and pin it in place on the side of the stocking. Sew it in place with a needle and thread or with the sewing machine.
Prepare the Iron On
Open Cricut Design Space and prepare the personalization. It should measure around 5 inches wide. Don’t forget to mirror the image before cutting it out!
Once the Iron-On has been cut, weed the excess vinyl to reveal the name.
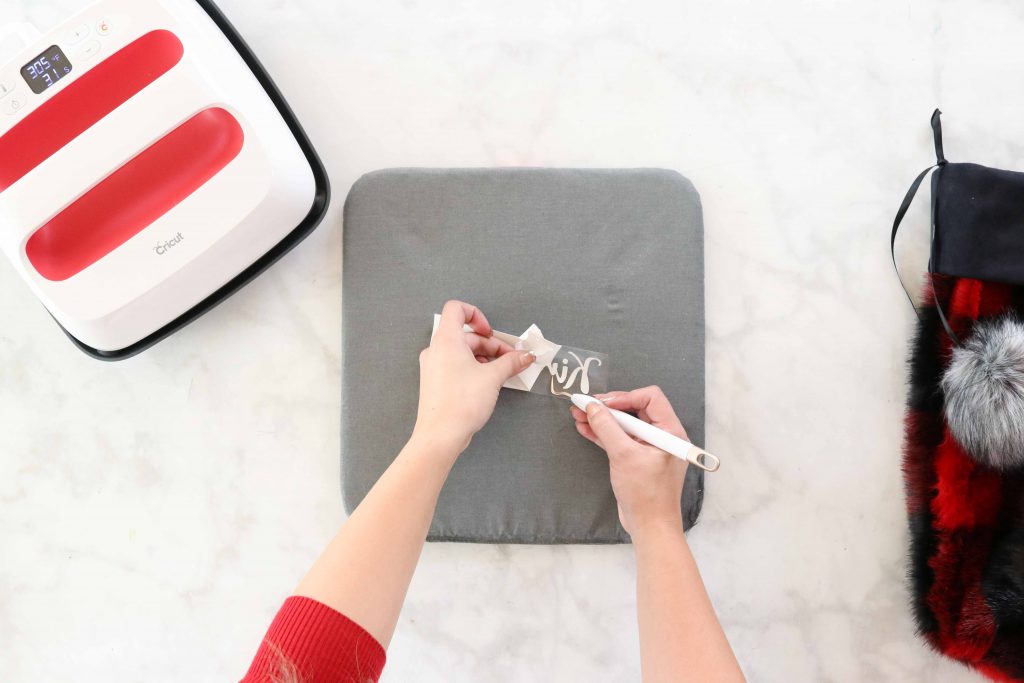
Place it face down on the stocking band taking care to center it. Using an EasyPress (refer to the heat guide) adhere the Iron-On to the band and peel the liner once it’s cooled completely.
Don’t forget to join my Facebook group, Crafting and Sewing with Sweet Red Poppy and share your creations with us! I can't wait to see what you make with this tutorial!
Have you used a Sweet Red Poppy tutorial? If you’re on Instagram tag @sweetredpoppy for a chance to have your work featured on my page!
Don’t want to forget about this free template? Save this project for later! Click here to save this project on Pinterest.
OMG I love this idea
Hello! Just had a question. Do you have favorite fabric websites to buy your knits for your baby hats? My Joann fabrics had a horrible selection. Thanks!Renae
Hi Renee, try GirlCharlee, or Made of Love Fabrics (free shipping)! Ti feel like they are some of the most affordable, as far as fabric goes.
You might also try PeekABoo Patterns website, she has a large selection of fabric as well.
https://wieliczko.eu At Photobook The U.S.A., we're about letting you create gorgeous photo books.
I Love your tree skirt & how it goes in front of the fireplace. Do you have a pattern?
I found you on the Holiday Maker Fest event doing this tutorial. I have been meaning to sew stockings for years, but haven't got around to it. I am excited to try your tutorial. Also, I never thought to use my Cricut to make iron on names.
Love your project. I also love the Cricut machine. What font did you use the the names on the stockings? It is very pretty!
Nice , never thought about faux, it looks great
I have been toying with the idea of making faux fur stockings for a couple weeks. So happy to see this tutorial!!
Disappointed. I was unable to print out stocking pattern from this tutorial
Thank you. My sewing skills are very basic and your patterns make sense to my brain!
Our son adopted a pup this year and just bought fabric to make him a stocking so this is perfect.
I don't have a Cricut so I can't download the SVG files for the pattern, just the pattern for the cuff. Bummer.
Never mind. They're all in the pdf file. Thanks.
My quilt guild makes stockings every year to be donated to CASA. In 2021 we made and donated 75. I found it easier to sew the cuff on the stocking by slipping the stocking over the narrow neck of my machine. I have been making smaller stockings for my boyfriend to give his grandchildren their Christmas money in for the last couple of years as well as for my mother to give her great grands their money! The fur is so cute! gives me ideas for Christmas 2022. I also made bowl cozies using your pattern. They turned out great.
That sounds amazing! We're so excited about your upcoming projects and happy you're finding the patterns helpful!
Could you please do the patterns with just an outline. Full color is very expensive and wipes out the cartridge fast as they cost over $60 each. Love the pattern but can't print full color due to the cost of the ink. Thank you.