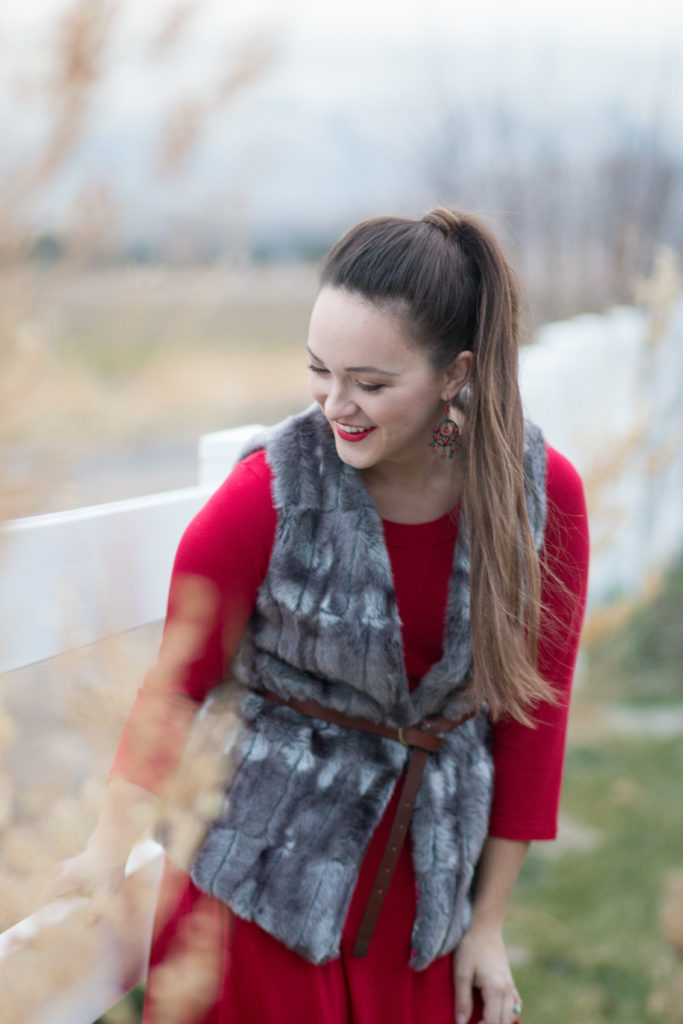
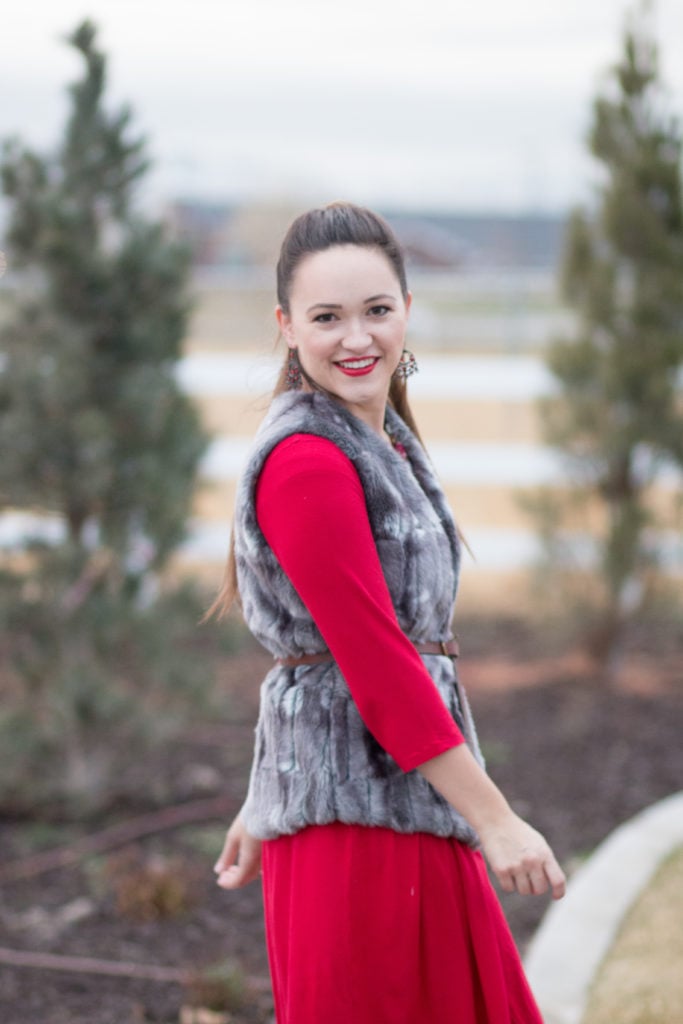
When it comes to clothing, I love a little bit of drama!
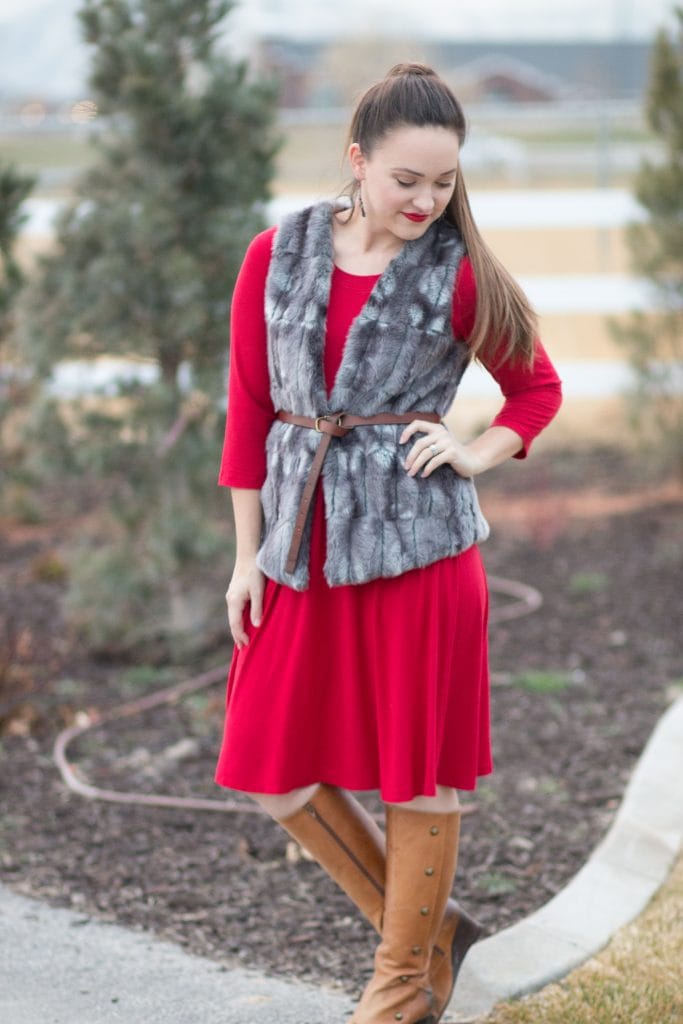
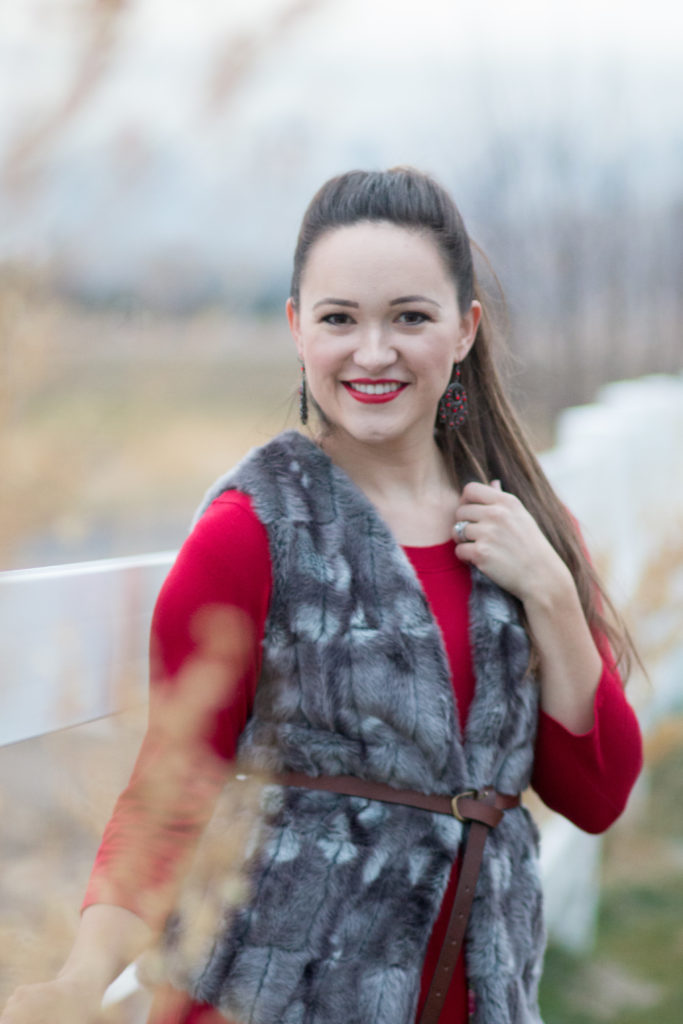
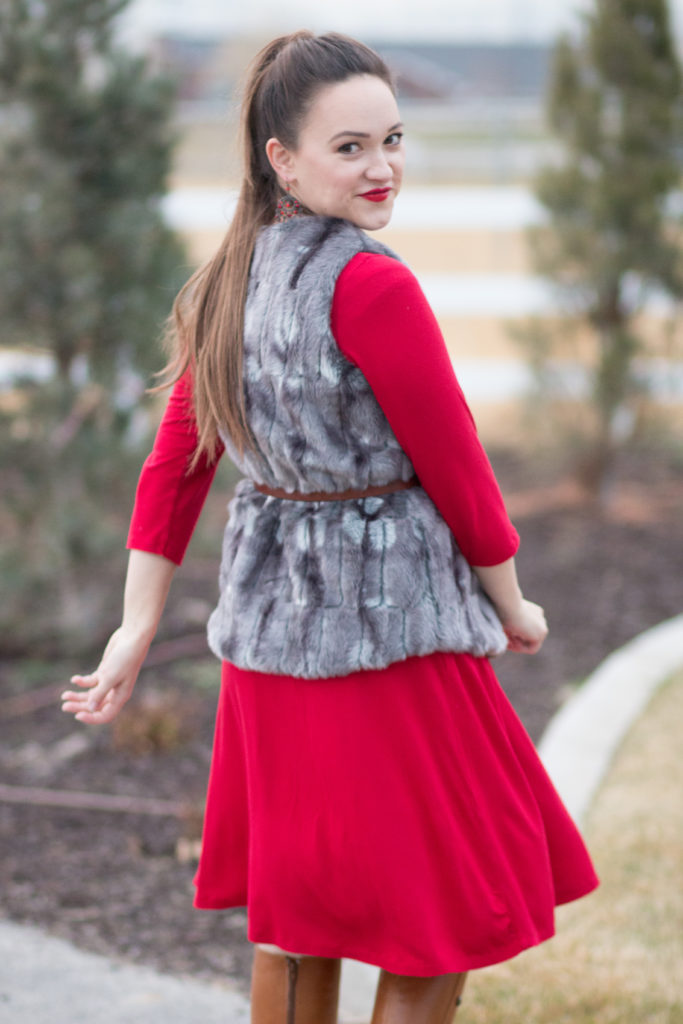
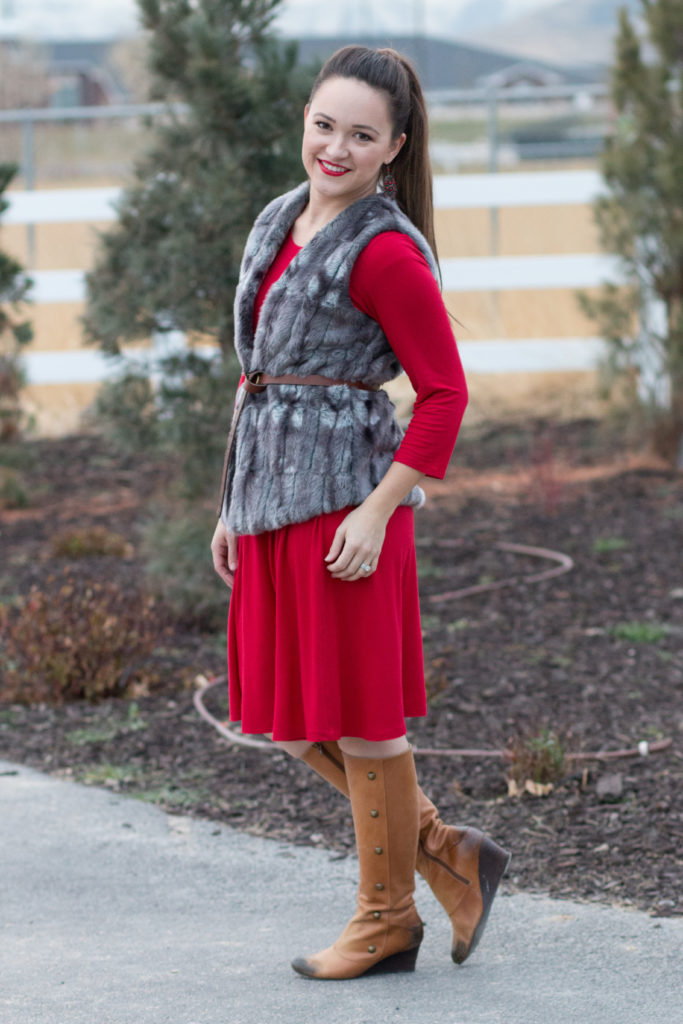
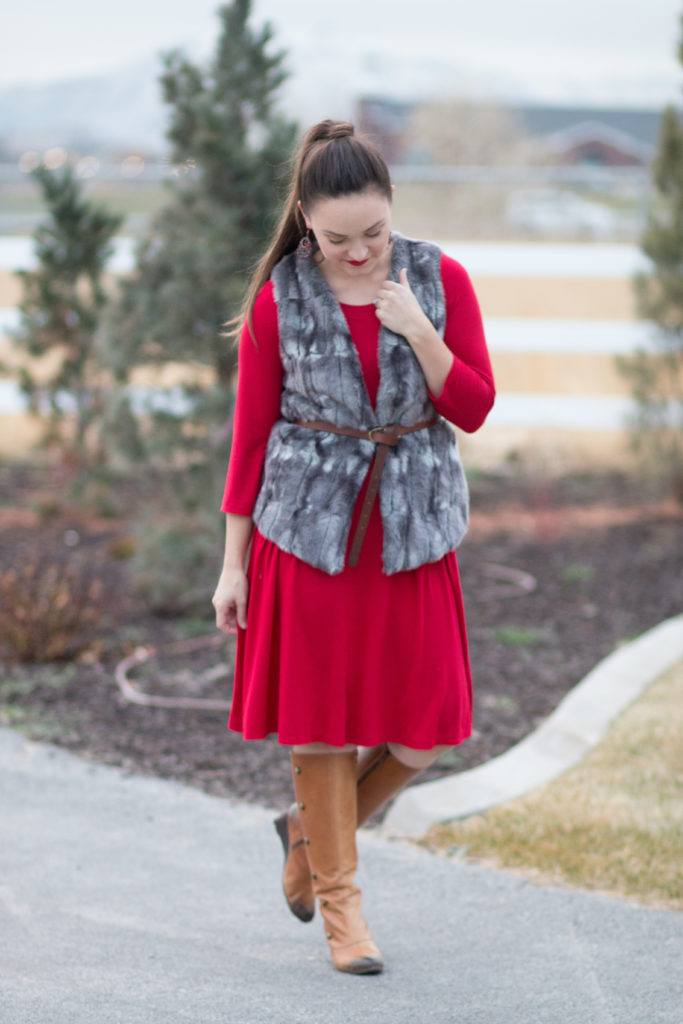
So, of course, I had to sew up a faux fur vest for my fall wardrobe! Sewing with fur has been on my to-do list for some time now and I’m glad I finally tackled this project!
It was much easier than I expected and I’ll definitely be doing it again!
I used Love Notions newly released Oakley Vest pattern for this outfit and its love!!! The pattern is amazingly simple to sew together and the directions are great!
The Oakley Vest comes with two different views, two pocket options, a curved hem, hood option and it’s available in sizes XS-XXXL.
It has a shorter fur pile than some other faux furs which makes it great for a beginner seamstress.
Tips for Sewing with Faux Fur
I’ve rounded up some of my favorite tips for sewing with fur to make this project easy-peasy!
First things first, it’s important to understand a little bit about fur before we start cutting into it! Fur fabric and minky fabric have what is called a nap.
This is the direction that the fur pile lies. It’s important to make sure that all pattern pieces are oriented in the same direction throughout the cutting process.
I cut my pieces with the nap going in the down direction. Lay the fabric with the right side facing the table and place the pattern piece on top of it.
With a marker, outline the pattern piece onto the fabric, making sure to include any important markings.
Use an Exacto knife to cut through just the backing of the fur without cutting into the actual fur hairs. If you don’t have an Exacto knife you can use scissors.
You’ll want to take short, shallow snips making sure to only cut the backing and not the actual fur pile.
Once the pattern is cut out you can place the pieces in the dryer on air dry to clean up the fur mess.
Sew the pattern together as usual. If you find it’s hard to put such thick layers of fabric through your machine consider using a stitch starter at the beginning of the seam.
A stitch starter is a scrap of fabric that is the same thickness as the fabric you are sewing. It’s placed just before the actual fabric you are sewing with.
It allows the presser foot to start at an even angle and raises the back of the presser foot so that it’s able to go over the thickness of the fabric you are sewing.
Once the seam has been sewn, gently tug on any pieces of fur with a pin that have been tucked into the seam allowance.
Here’s a great video made by Fabric.com featuring Shannon Fabrics that gives some wonderful tips to make sewing with fur fabric even easier!
Do you have any tips for sewing with fur? I’d love to hear about them in the comments!
Thanks for the amazing tutorial I cant take my eyes off this beautiful fur vest. I have been buying them from http://www.myfurvest.com always. But after reading your article I think I can make it on my own now. Thanks a ton!
This website uses cookies so that we can provide you with the best user experience possible. Cookie information is stored in your browser and performs functions such as recognising you when you return to our website and helping our team to understand which sections of the website you find most interesting and useful.
Strictly Necessary Cookies
Strictly Necessary Cookie should be enabled at all times so that we can save your preferences for cookie settings.
If you disable this cookie, we will not be able to save your preferences. This means that every time you visit this website you will need to enable or disable cookies again.
Thanks for the amazing tutorial I cant take my eyes off this beautiful fur vest. I have been buying them from http://www.myfurvest.com always. But after reading your article I think I can make it on my own now. Thanks a ton!