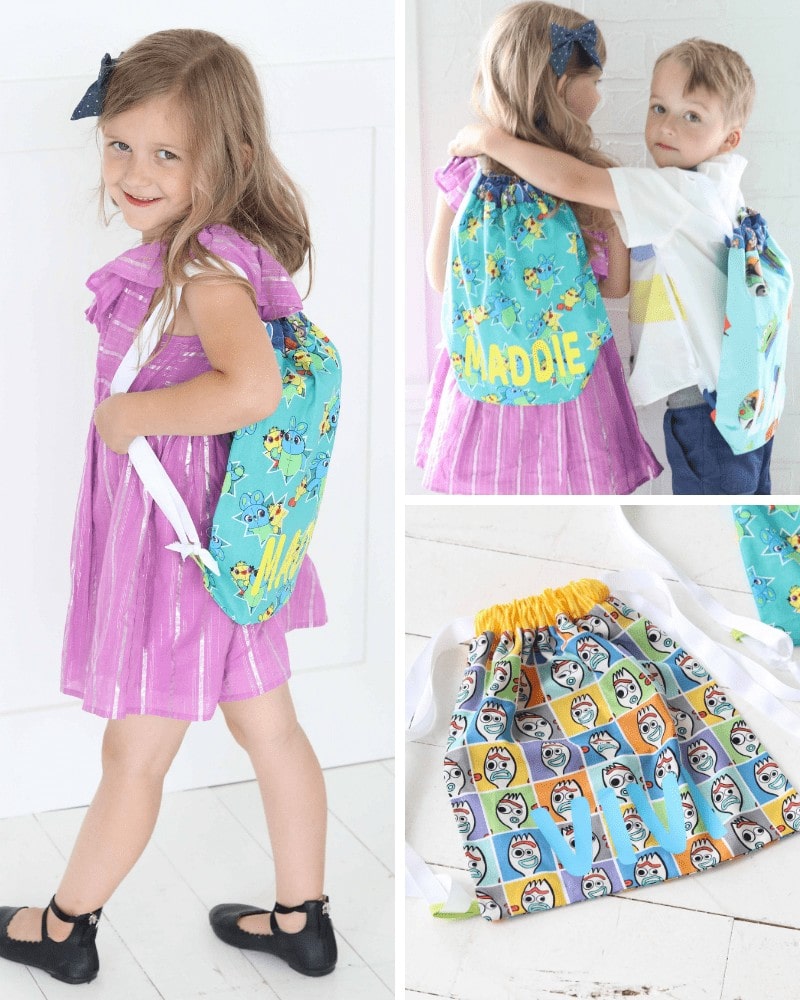
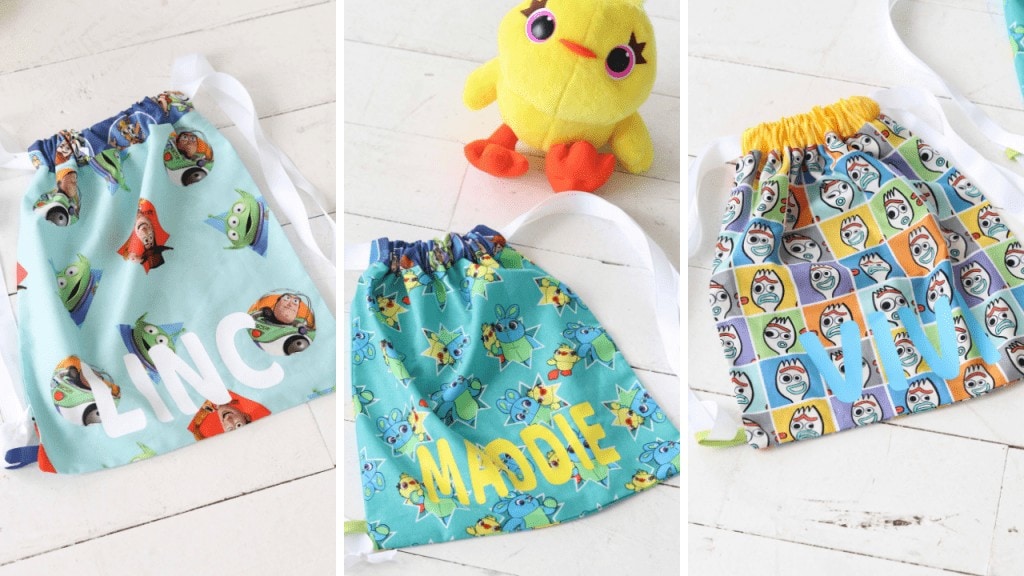
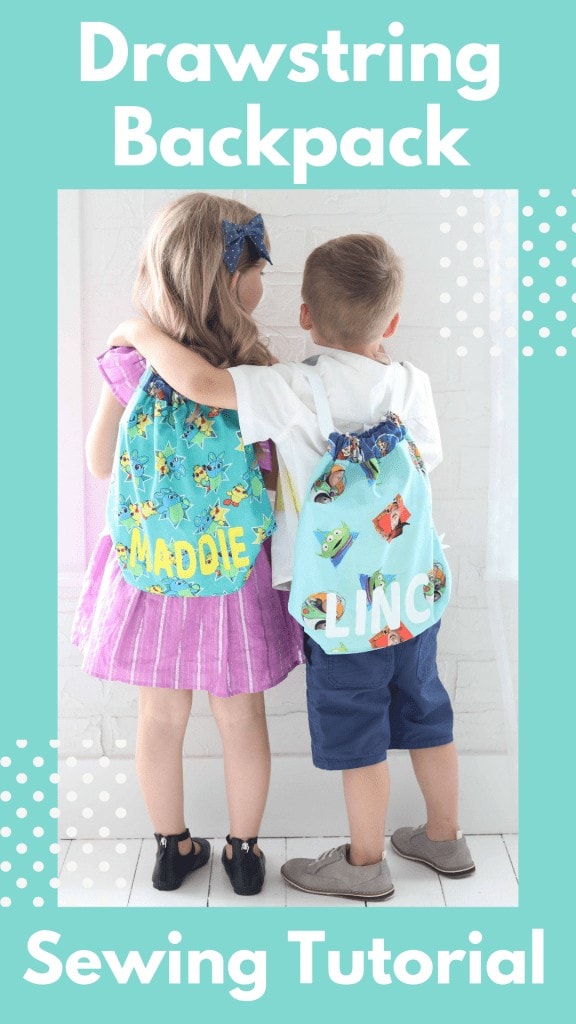
Learn how to sew an easy-to-make, personalized drawstring backpack using fabric from JOANN and Cricut Iron-On.
This is a sponsored post written on behalf of JOANN. All thoughts and opinions are my own.
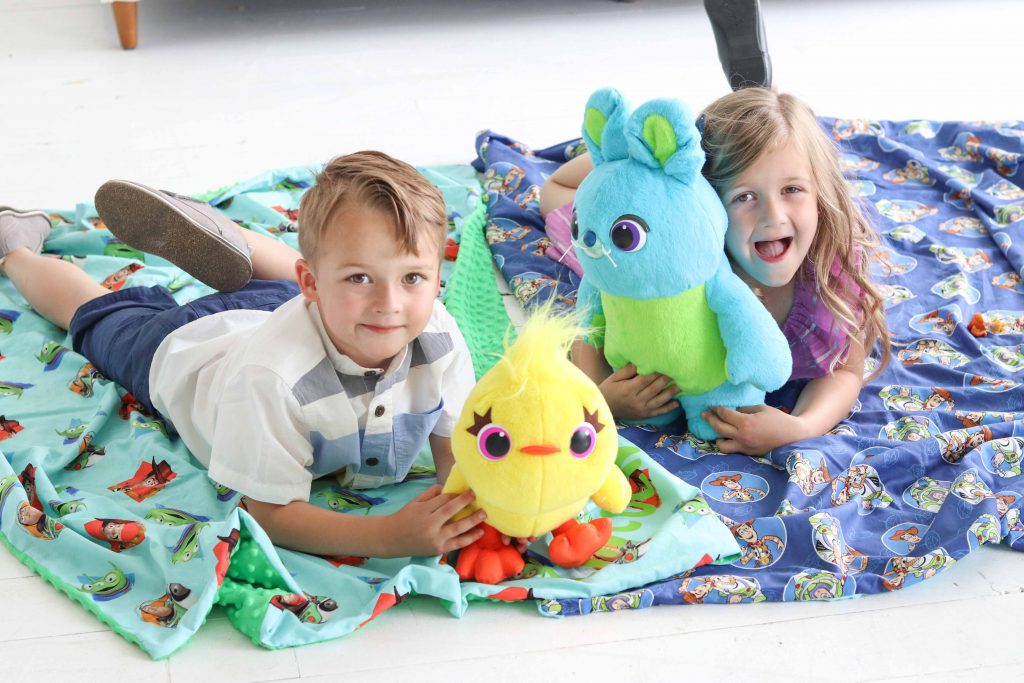
Toy Story 4 just released and my kids have been watching all of the Toy Story movies on repeat for the past few weeks.
As we were shopping in JOANN we came across this adorable line of Toy Story 4 fabric and we knew we had to make something fun with it!
When I asked my kids what they wanted they immediately asked for snuggly blankets and drawstring bags!
Get the tutorial for the blankets here.
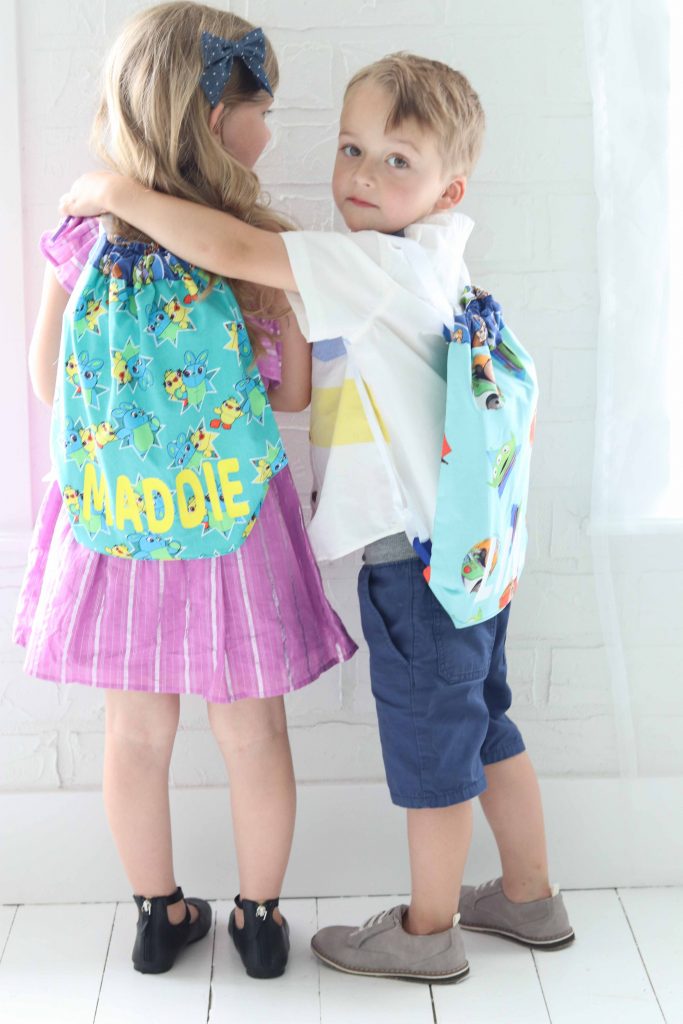
Drawstring Backpacks are easy to make and my kids love them! Planning a road trip this summer? Fill them up with toys, snacks and a notebook and colored pencils.
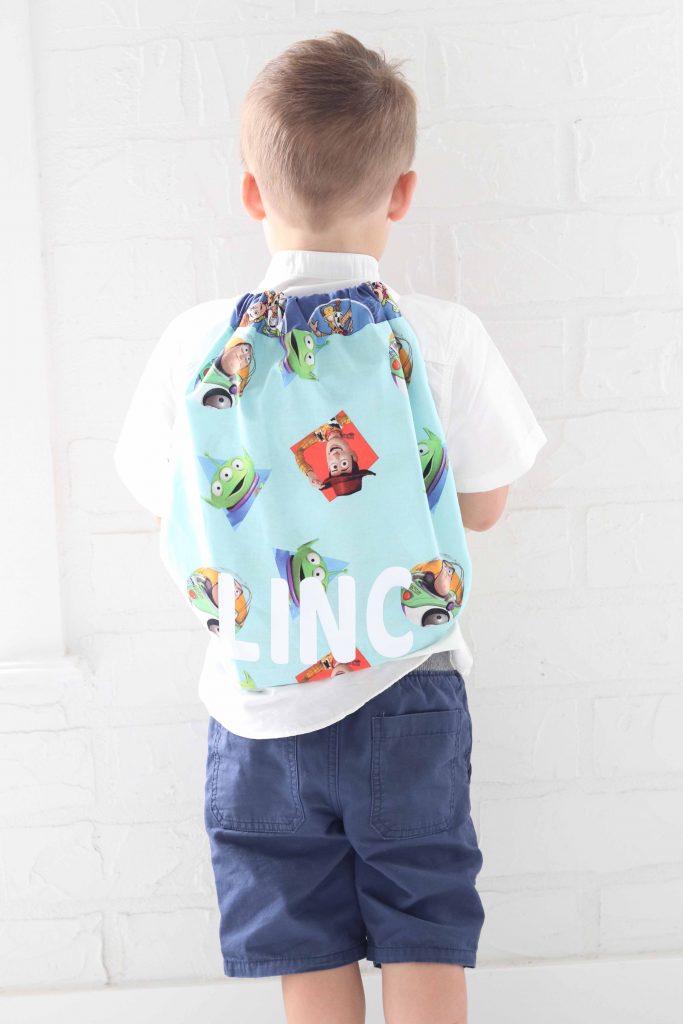
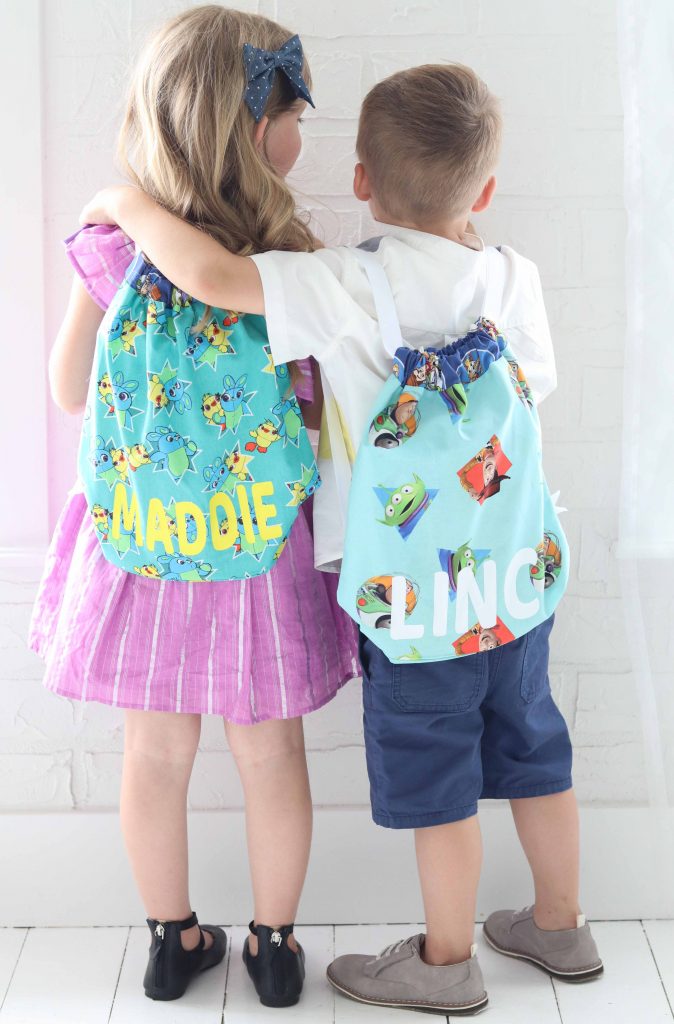
To keep everyone from fighting, I pulled out my Cricut and quickly added names to each of the backpacks. Now everyone knows exactly which backpack belongs to them. Yay for no fighting, plus it makes them even cuter, don’t you think?
This tutorial will walk you step-by-step through sewing a drawstring backpack as well as how to apply Iron-On.
Drawstring Backpack Supplies
- 1/2 Yard Toy Story Cotton Fabric
- 1/2 Inch Wide Ribbon
- Safety Pin
- Pins
- Sewing Machine
- Thread
- Scissors
- 1 Package of Bias Tape
Optional
Measurement Chart
- Main Bag (Cut 2) 14″ x 14″
- Top Contrast (Cut 2) 14″ x 4″
- Drawstring Bias Loops (Cut 2) 4″
- Ribbon (Cut 2) 55″

Let's get started!
If you're new to sewing this is a great beginner project!
Cut all pieces out according to the measurement chart located above.
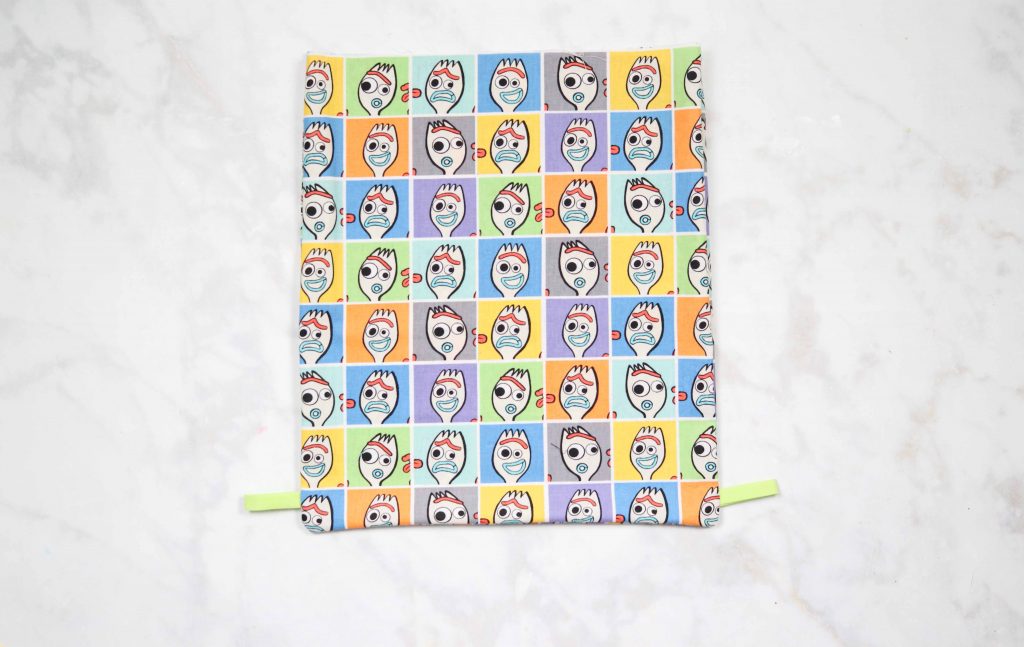
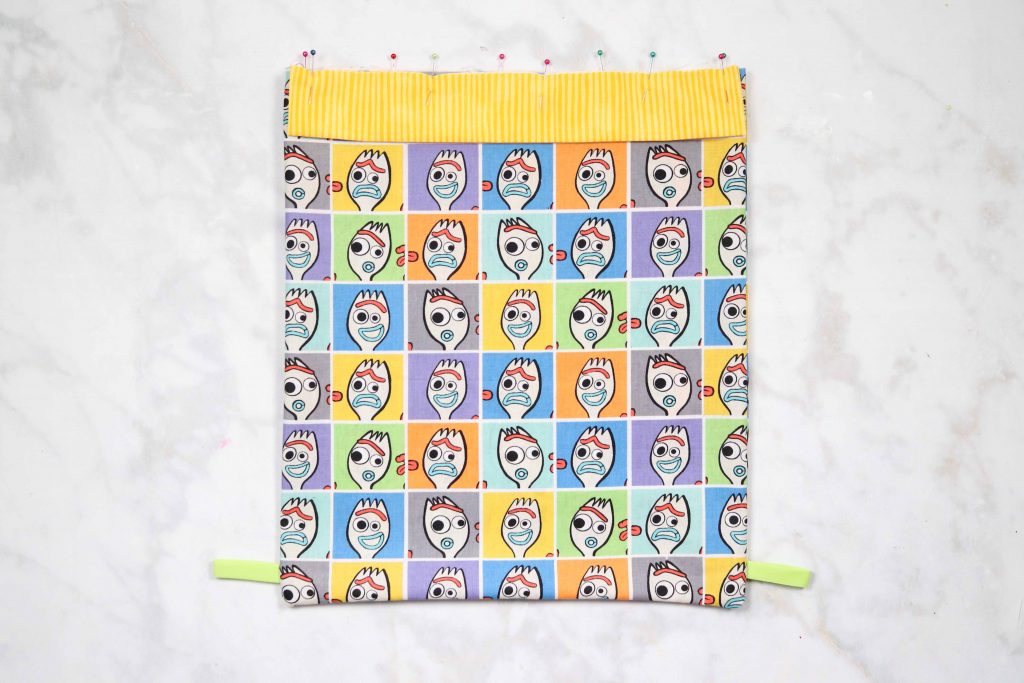
Fold the loops in half and place them 5/8ths of an inch from the bottom of the main bag.
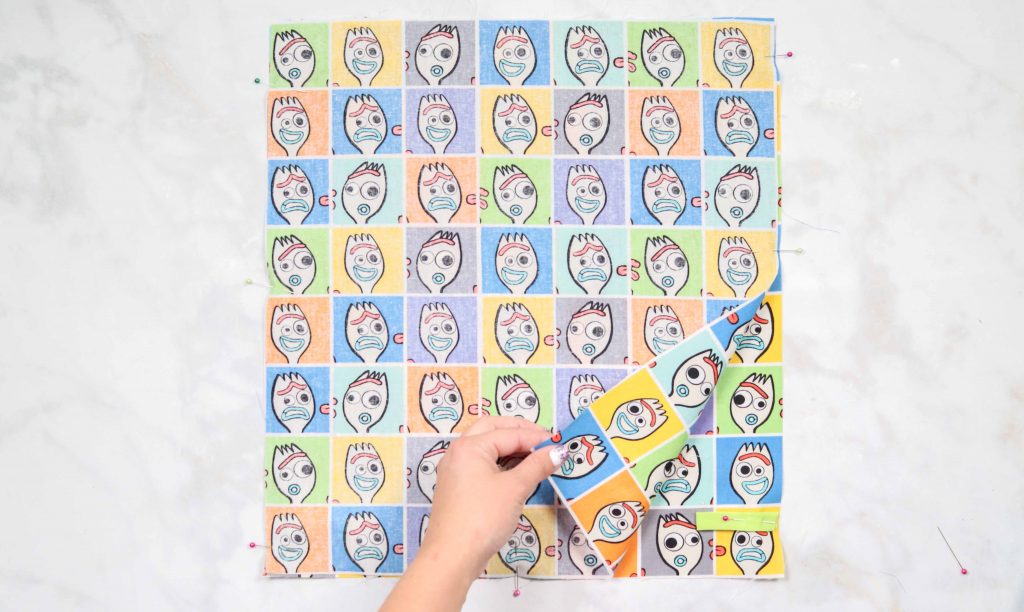
With right sides together pin the front and back together.
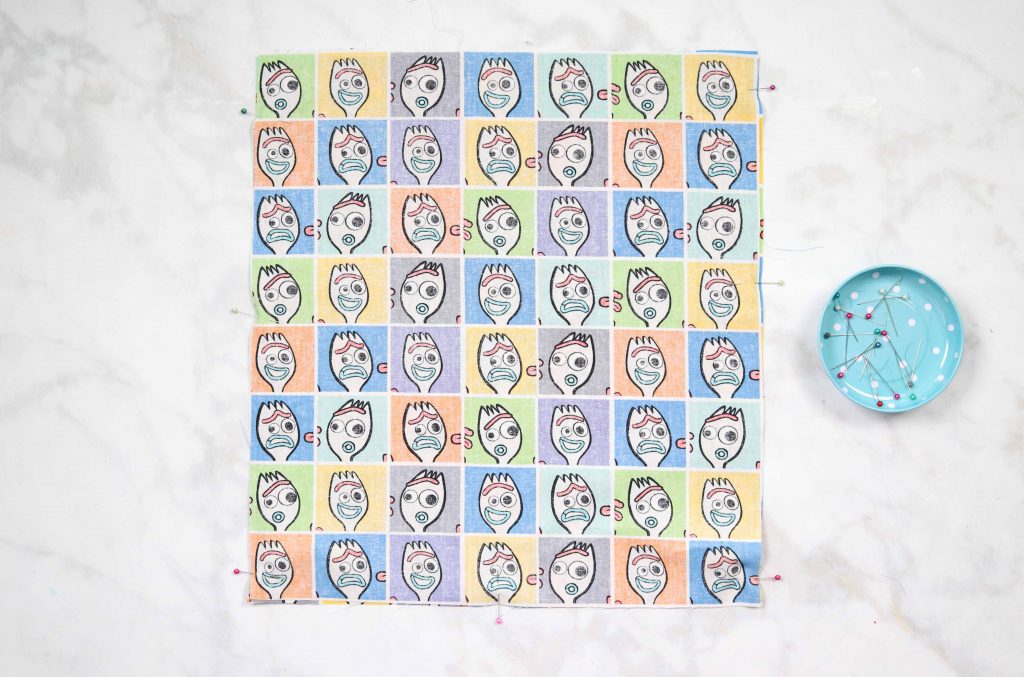
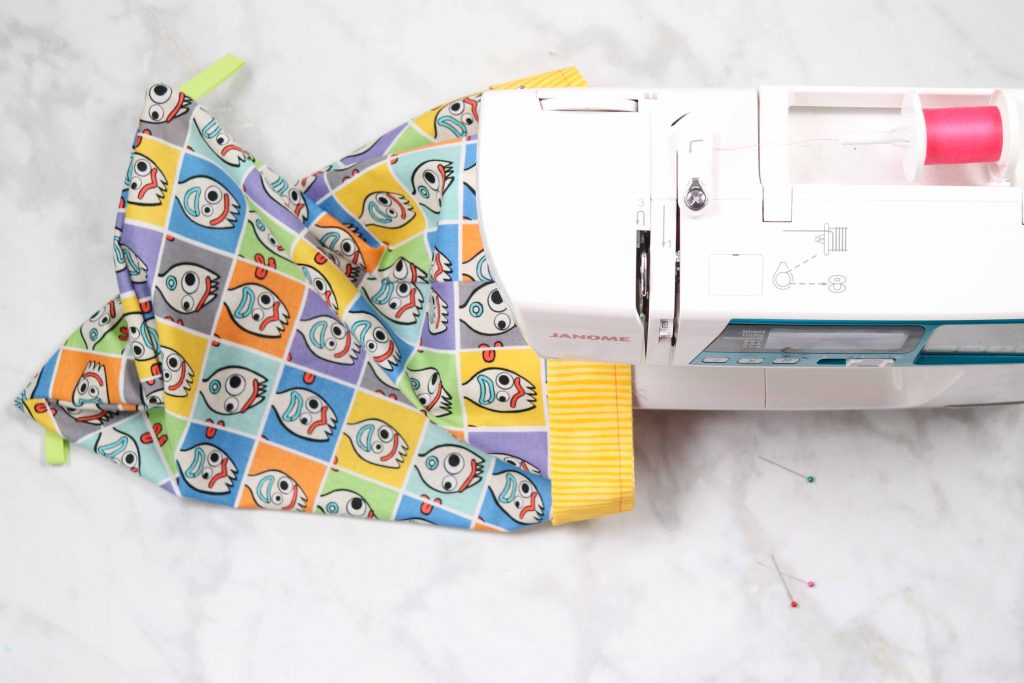
Sew the front and back together leaving the top of the bag open, making sure to pivot at the corners.
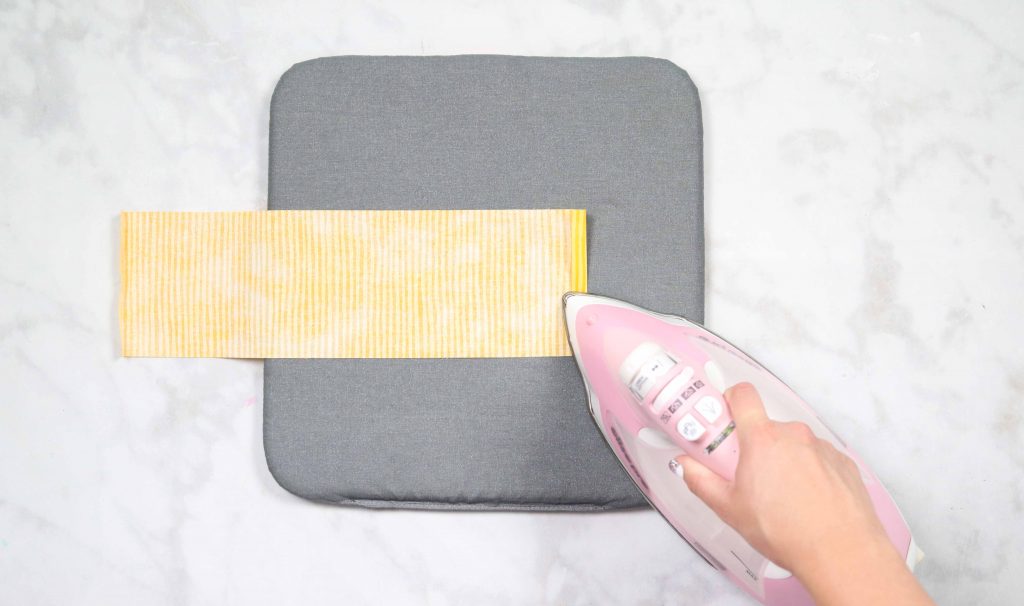
Fold the edge under 1/2 inch on both sides. Then fold the contrast piece in half with wrong sides together. This will be the casing for the ribbon.
Place the casing on top of the main bag with right sides together. The unfinished seam should be at the top. Align the folded edges with the seams on either side. Use plenty of pins to align everything together.
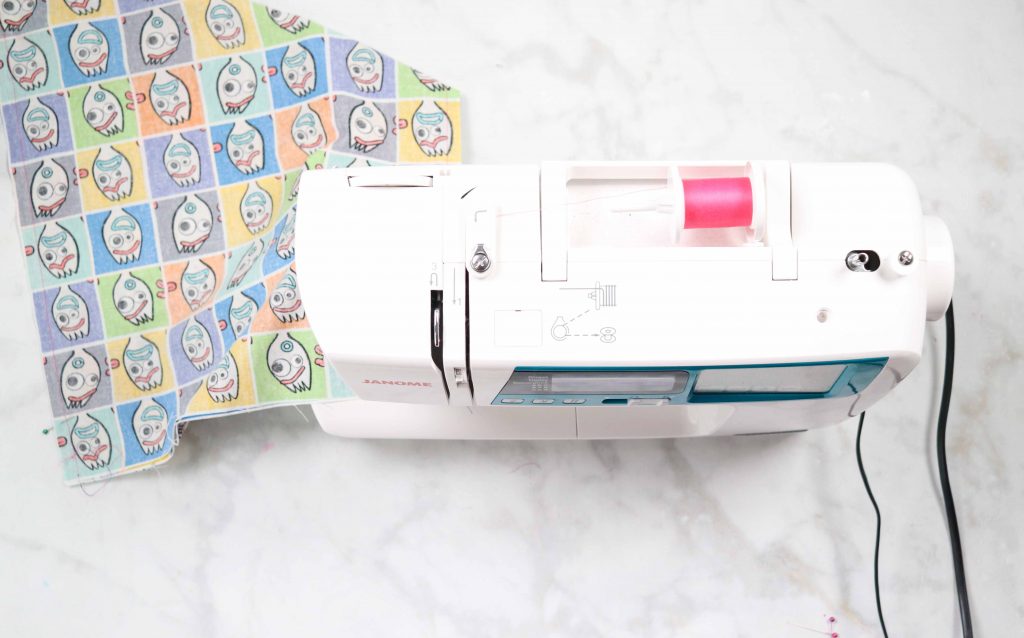
Sew the contrast and the main bag together with a 1/2″ seam allowance and finish the edges using a serger or a zig zag stitch.
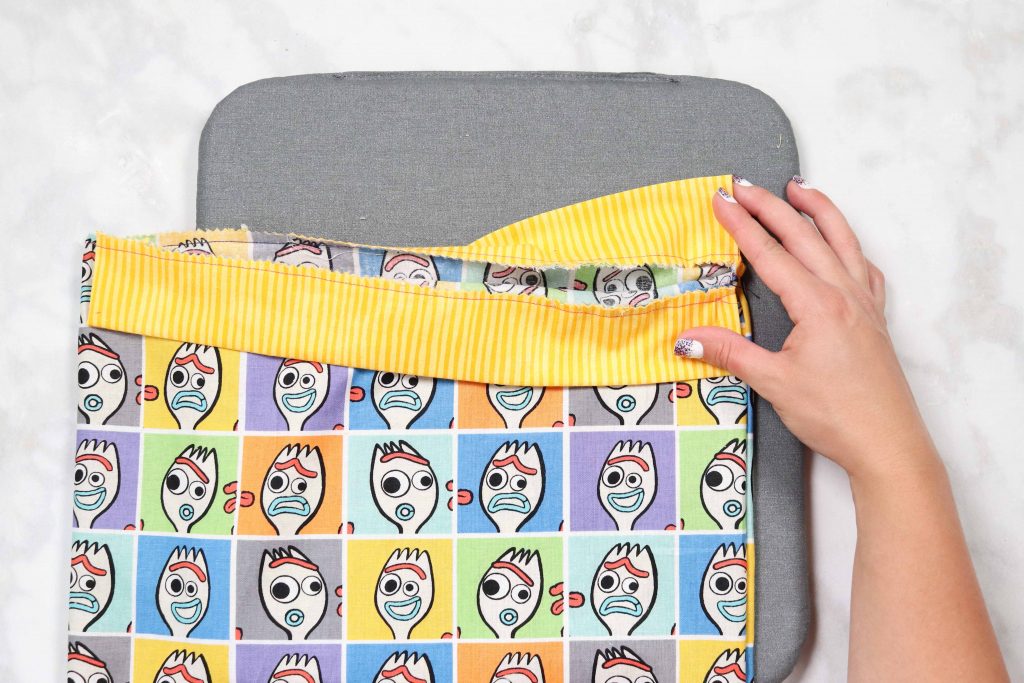
With a hot iron, press the casing upwards away from the bag.
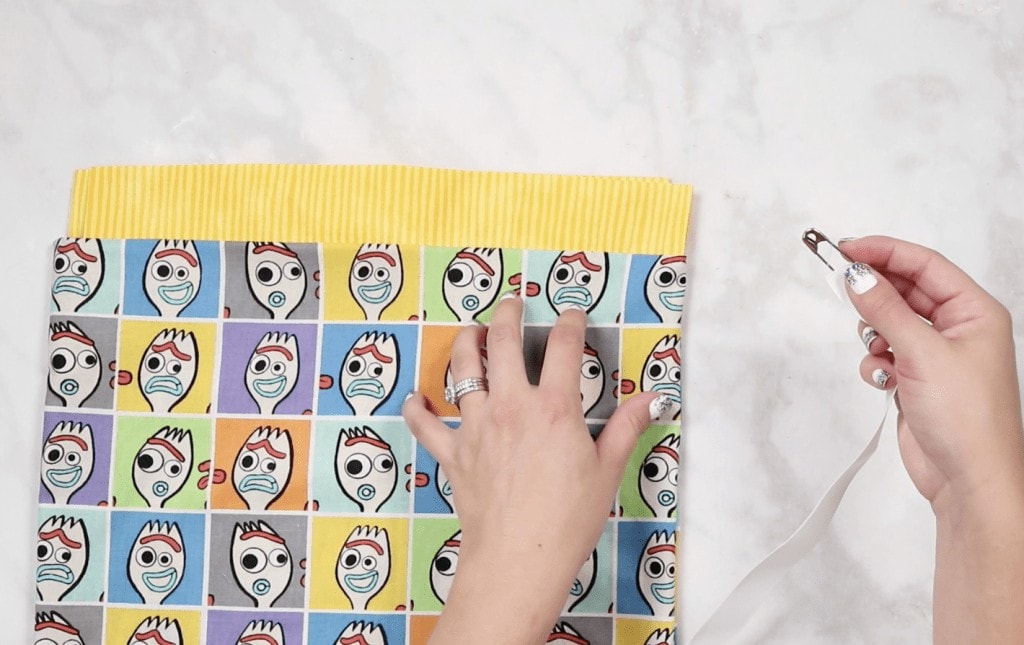
Attach a safety pin to the ribbon and feed it through the casing until it comes out the other side, right next to where you began. Repeat this same process on the opposite side.
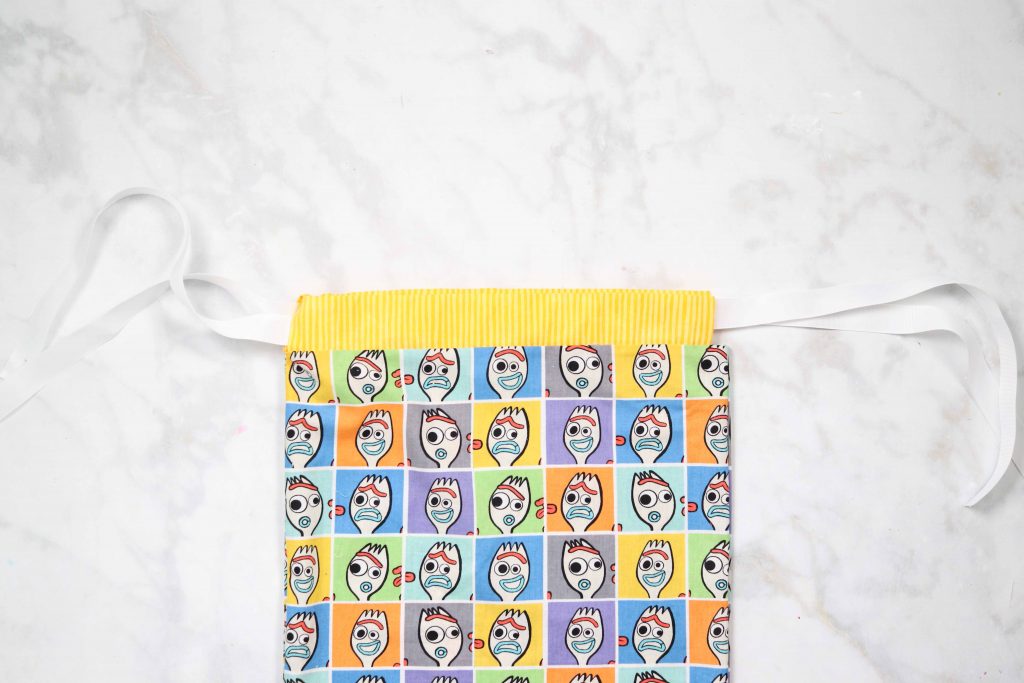
Adjust ribbons until they are equal lengths on either side.
Feed one ribbon through the loop, then
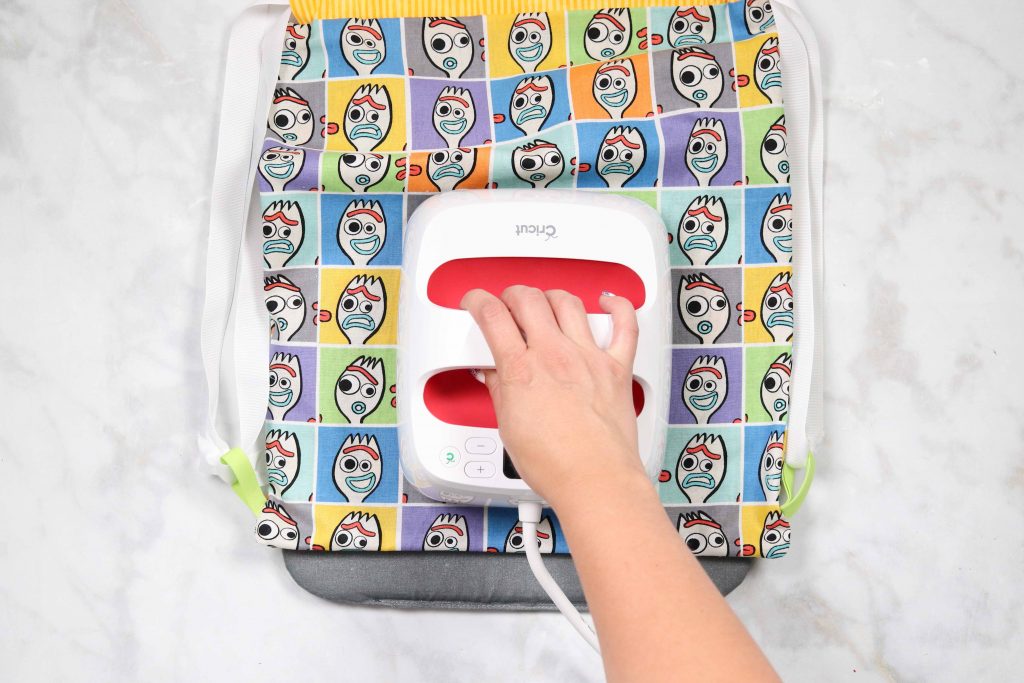
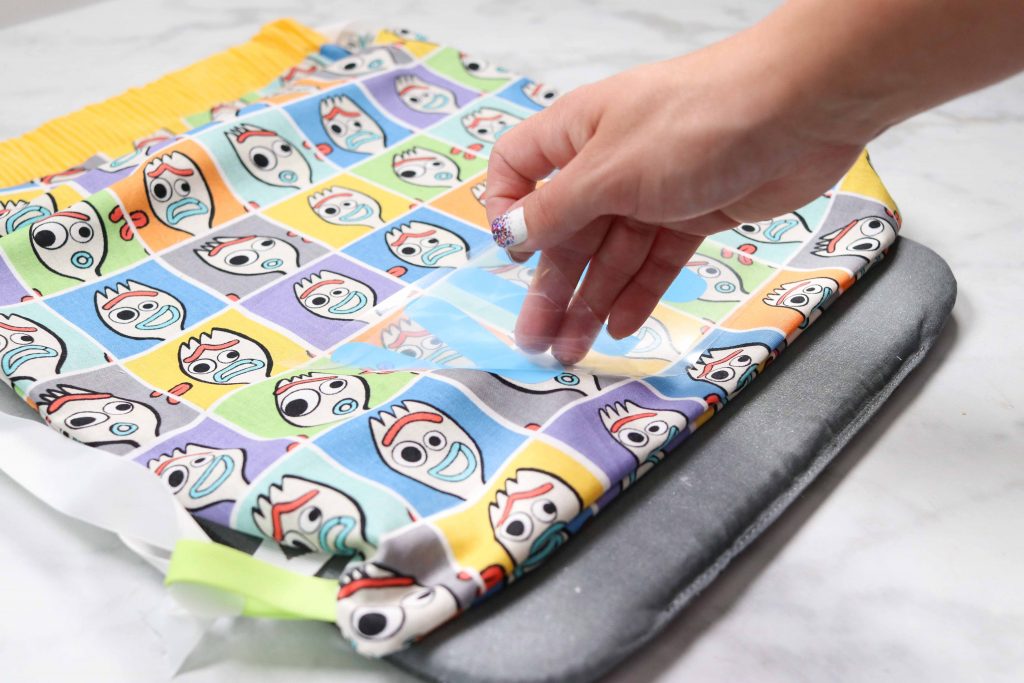
Optional: Personalize your bag with iron-on to make it extra special.

Get the coordinating blanket tutorial here.
Don’t forget to join my Crafting and Sewing with Sweet Red Poppy Facebook group and share how
These are super cute! I love the added personalization with the Cricut. These would definitely be a nice addition to sewing projects for charity too. I love making little zip bags and drawstring bags to add to my Operation Christmas Child boxes.
It's a really bad idea to display a child's name on any item to be used in public. Stranger danger.........being called by their name implies the stranger knows them or maybe knows their parents.
Would you have any advice on weight of fabric used for iron on letters? Same weight as bag or is lesser weight ok? I’m using a heavier weight (decorative cotton) for the drawstring bags. Thanks!!
Hey Karla! Using heavy-weight cotton will work just fine with Iron-On letters.
Thanks for your short article. I would love to say that your health insurance brokerage service also works well with the benefit of the particular coordinators of any group insurance policy. The health agent is given a summary of benefits wanted by somebody or a group coordinator. What any broker does indeed is look for individuals or even coordinators that best go with those wants. Then he gifts his tips and if all sides agree, this broker formulates a binding agreement between the two parties.
These days of austerity along with relative anxiousness about incurring debt, many individuals balk against the idea of utilizing a credit card to make acquisition of merchandise or pay for any gift giving occasion, preferring, instead only to rely on the particular tried in addition to trusted technique of making payment - cash. However, if you possess the cash available to make the purchase completely, then, paradoxically, that's the best time for you to use the cards for several reasons.
How many backpacks would this tutorial make? Would I have enough to make my own bias tape from the excess?
Hey Lisa! This pattern makes one backpack. You should have enough excess to make your own bias tape, but you would still need ribbon for the drawstrings of the backpack.