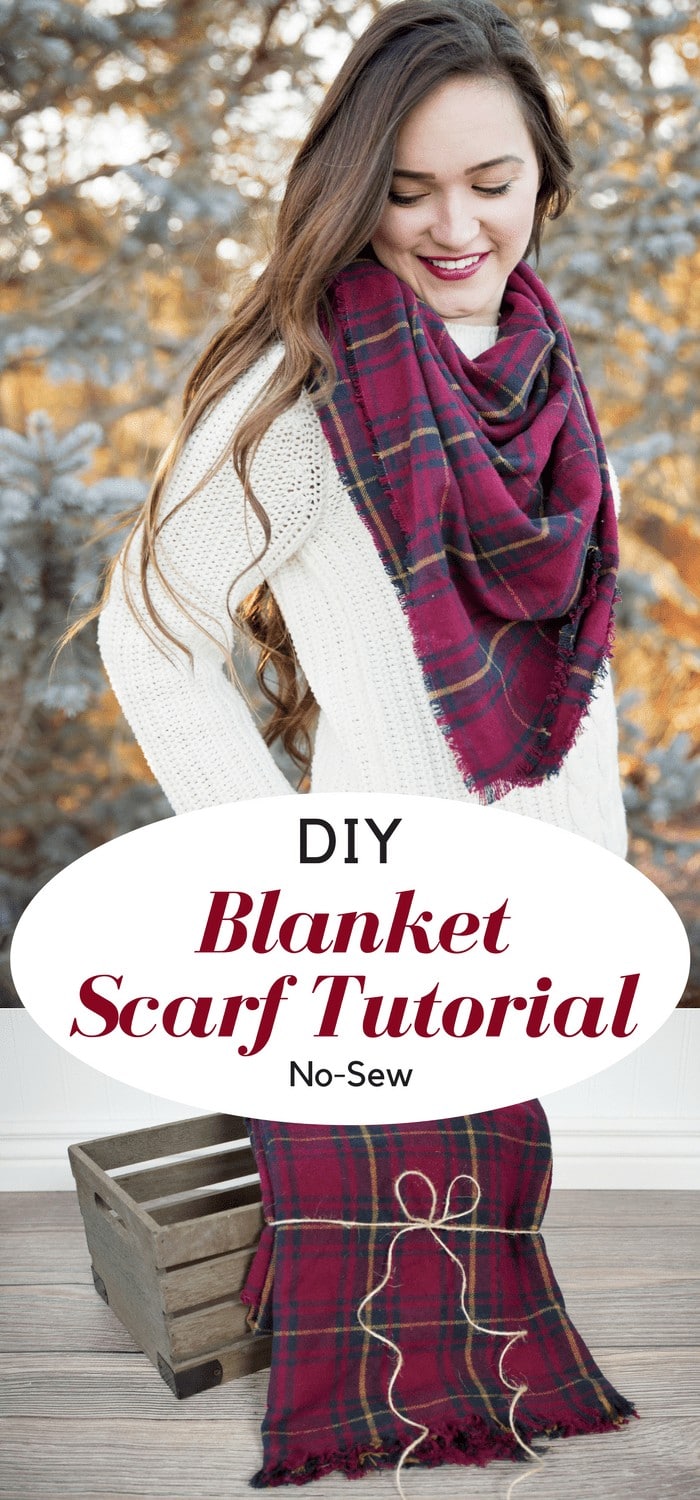
Easy Plaid Flannel Frayed Blanket Scarf Tutorial
Learn how to make this easy flannel blanket scarf in under 10 minutes without a sewing machine!
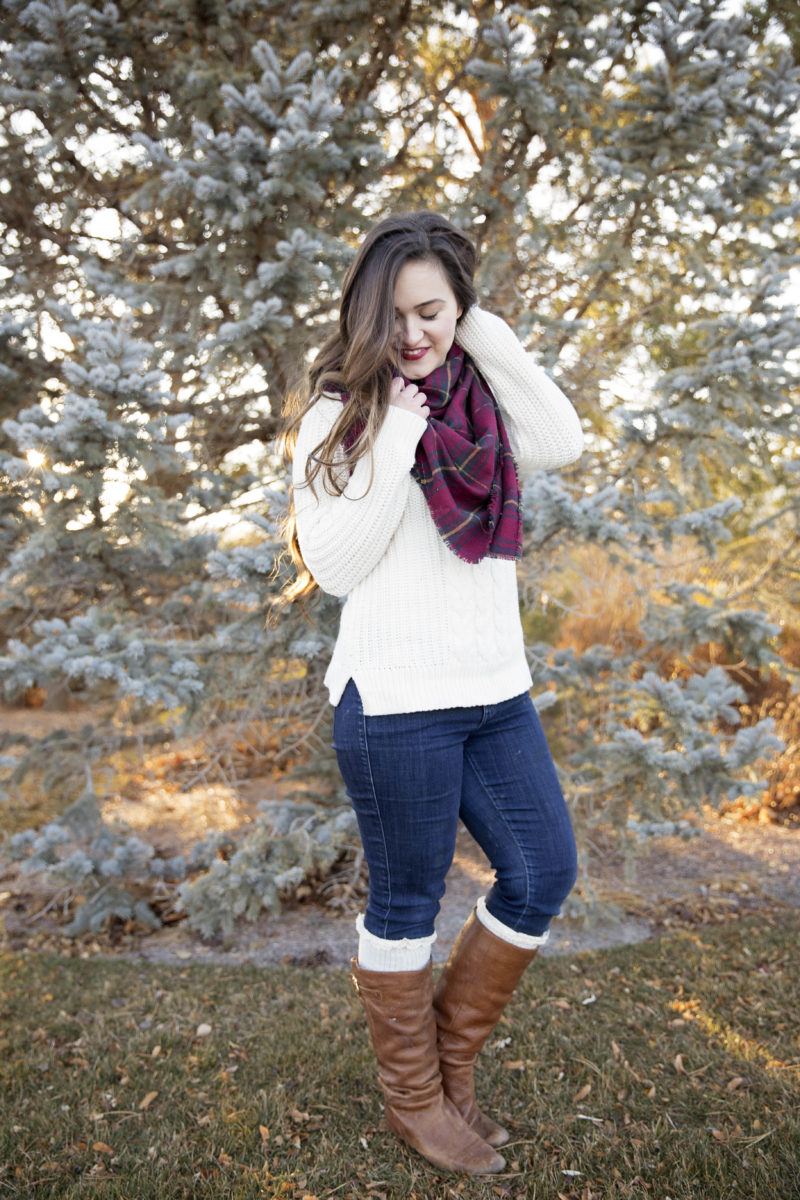
Once winter rolls around there's nothing better than a nice and cozy flannel blanket scarf to keep your neck warm! This is the world's easiest DIY and you can save a ton of money by making your own flannel scarves instead of buying them! Spend a few minutes perusing Pinterest and you'll see that blanket scarves are holding tightly to their spot as a fashionable fall/winter accessory! They are the perfect way to dress up a pair of skinny jeans, boots and an oversized sweater!

Blanket Scarf Tutorial
To begin, you will need to straighten the cut line. Most of the time fabric from the store isn't cut perfectly straight. Choose a plaid line and cut along it with a pair of scissors to straighten the scarf. Do this along both short ends.
Once the scarf has been cut straight, about every 6 inches cut into the fabric 2-3 inches deep depending on how much you want your fabric to be frayed. Repeat this step on all four sides.
Grab a thread closest to you starting at a corner and gently pull it. I found this process went much faster when I used my Cricut weeding tool. I could easily pull 3-4 strands at a time. Repeat this process until you are satisfied with the amount of fraying. Gently brush the frayed edges out with a comb.
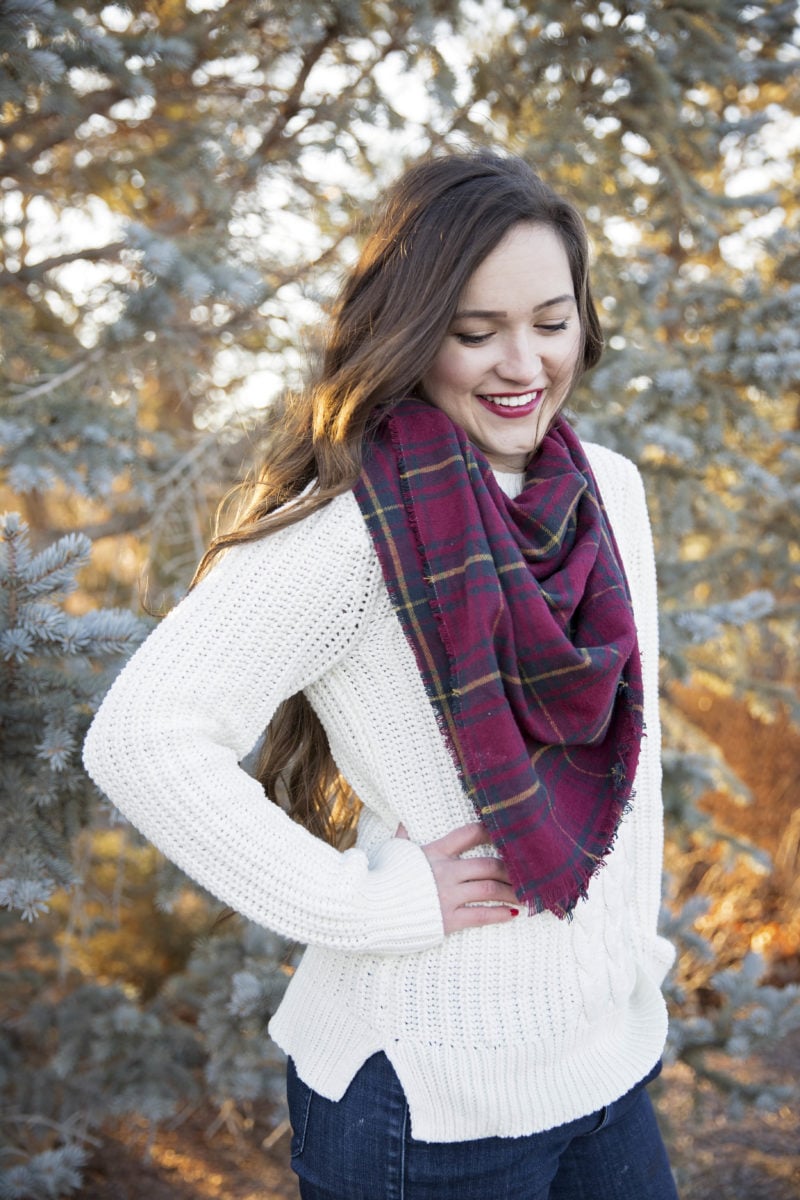
To style this scarf, simply fold it in half to create a triangle. Tie the scarf at the base of your neck by crossing the two ends and tucking them up under the scarf.
Fluff the front of the scarf to add extra volume.
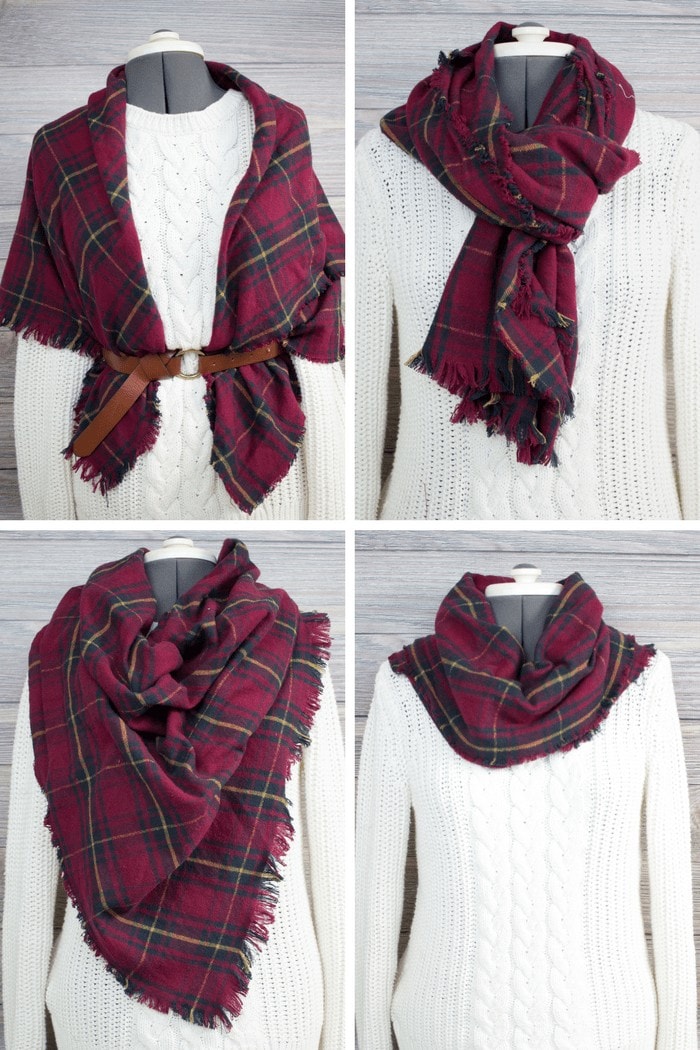
I've included a picture of a few different ways I like to style this scarf.


I love this easy and classy.......thank you for sharing.