Learn How to Use, Cut, and Apply Cricut Joy Smart Iron On in this Step-by-Step Tutorial, scroll down for all the info!
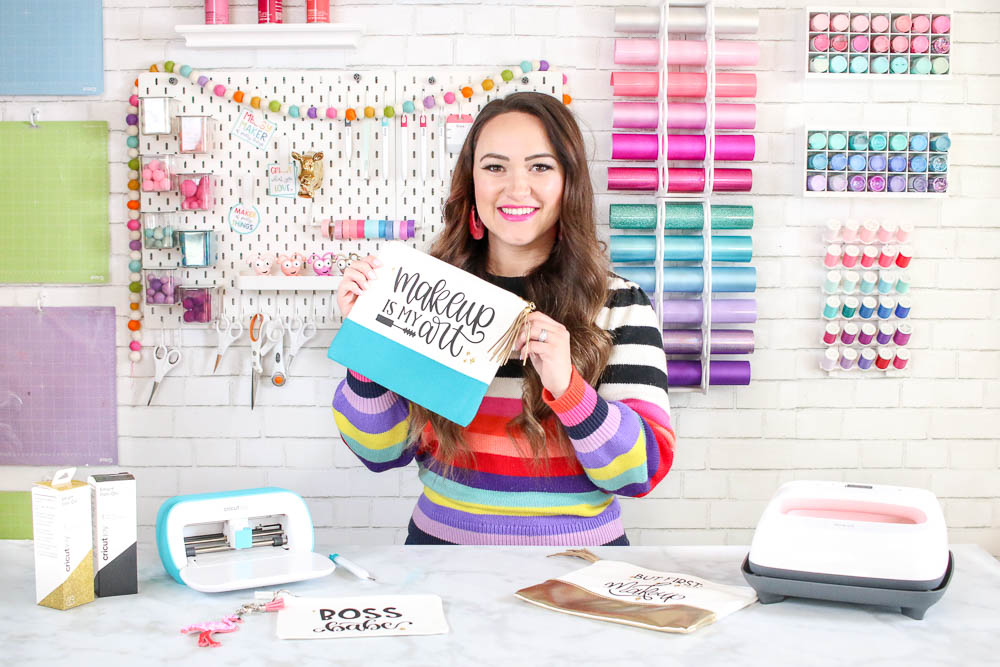
The Cricut Joy writing and cutting machine has finally launched and the anticipation was worth every single minute! This miniature-sized machine is your new DIY best friend.
You can find the Cricut Joy plus the entire line of Cricut Joy products available at your local craft store or online.
It’s small enough for on the go projects, easily blends in with kitchen decor, and be used virtually anywhere. Don’t let its small size fool you because this machine packs a punch. Cricut Joy can cut up to 20 feet in length without using a mat (with compatible Smart Materials).
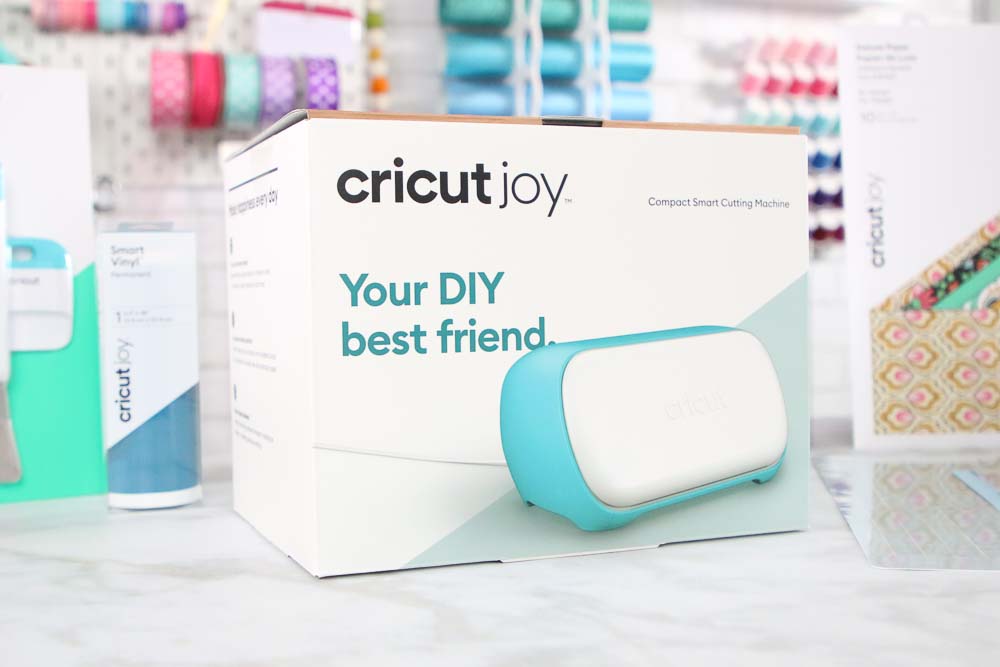
Introducing: Cricut Joy
Cricut Joy can cut over 50 materials including Iron-On, Vinyl, Smart Materials, and Cardstock.

Cricut Joy features an entire line of pens and the ability to draw a wide variety of shapes and fonts. Making it perfect for personalizing cards, labels and more.
It’s Bluetooth enabled and compatible with iOS, Android, Mac, and Windows. Use your phone, tablet or computer to create from anywhere you choose.
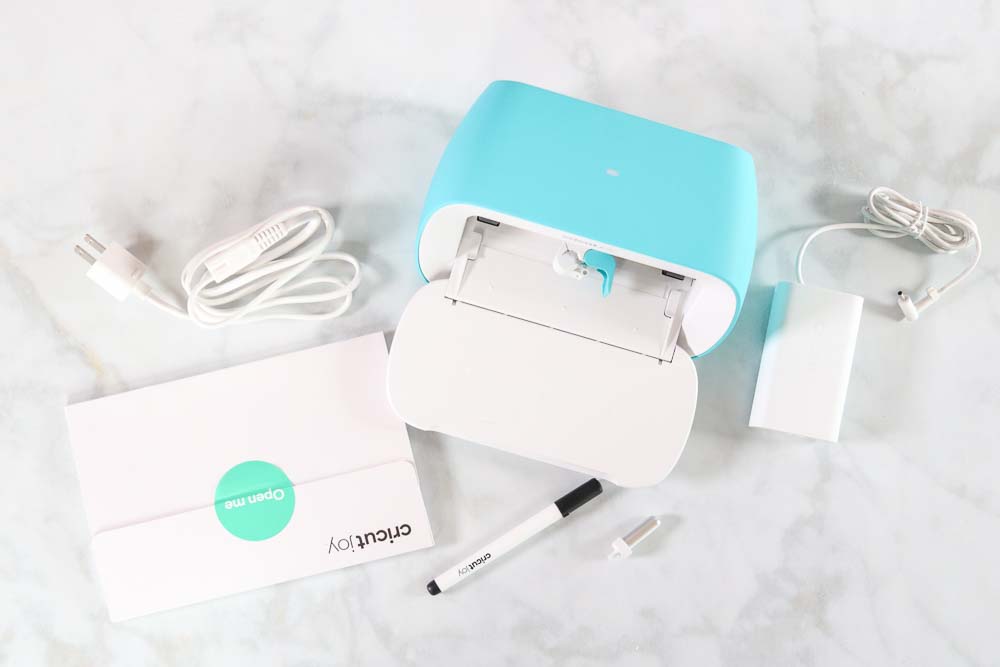
Included inside your Cricut Joy box you’ll find the following:
- Cricut Joy Machine
- Cricut Joy Blade & Housing
- Fine Point Pen in Black
- 4.5" x 6.5” Standard Grip Mat
- Power Adapter
- Welcome Card
- Free Trial Access Membership for New Subscribers
- 50 Ready-to-Make Online Projects
- Test Cut Materials
How to Cut Smart Iron On on a Cricut Joy
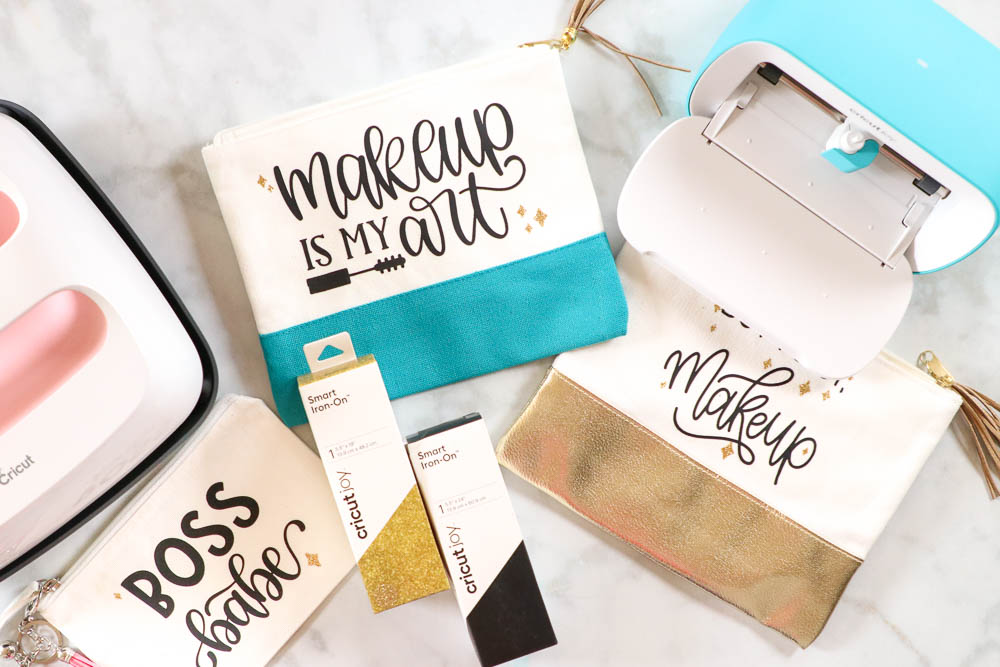
Within Design Space, select your desired material. For this project, I’m using Smart Iron-On and Smart Iron-On Glitter.
Select mat less cutting from the three different options.
*If you’re not using Smart Iron-On place the materials on a Standard Grip Mat with the shiny side facing downwards.
Cricut Joy will create a kiss cut. This is a cut that cuts through the Iron-On material leaving the clear protective liner intact.
Don’t forget to Mirror the images. This step is very important and will ensure that your images end up facing the correct way once they are pressed onto the blank surface.
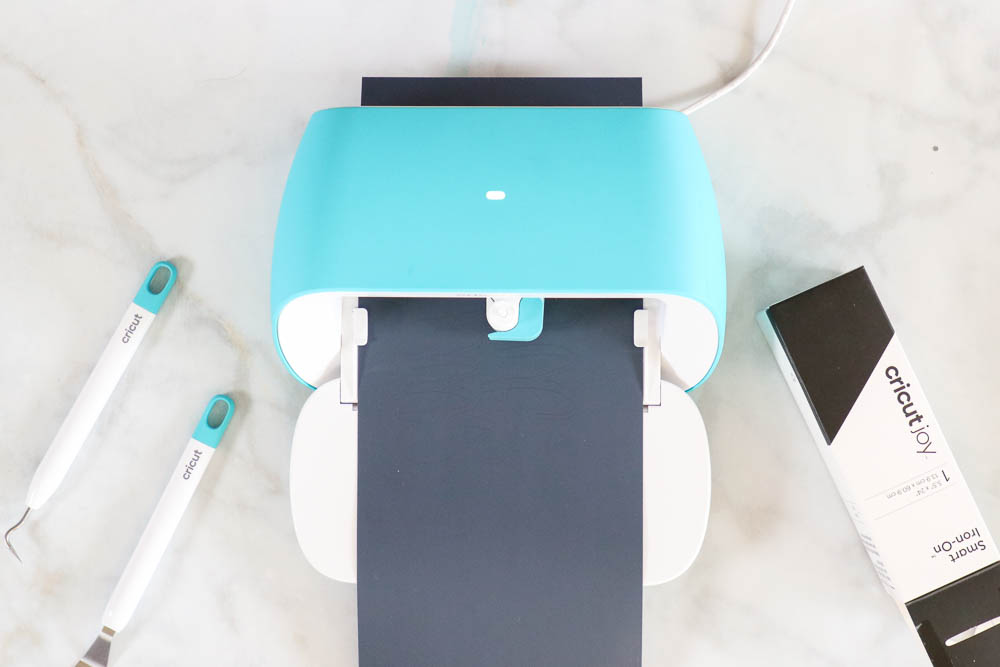
Feed Iron-On shiny side facing downwards into Cricut Joy lining each side of the material up underneath the feed dogs.
Joy will pull the Iron-On into the machine, straighten and measure it to ensure that there is enough material for the chosen project.
How to Weed Cricut Joy Smart Iron On
Using a weeding tool, remove the negative pieces of Iron-On from the cut design. You can hold the piece of vinyl up to a bright light to reveal the cut lines if they are not clear.
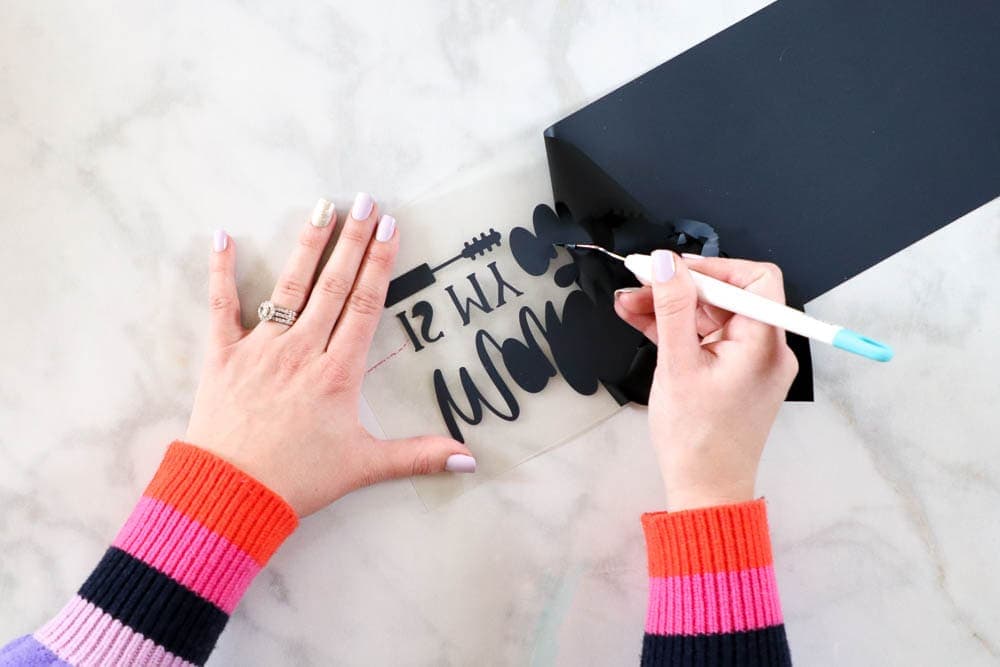
Leave behind the desired image on the clear protective liner.
How to Apply Cricut Joy Smart Iron On
It’s important to use a compatible base when working with Iron-On. The base should be able to withstand heat and have a flat surface for pressing.
If you plan on washing the item afterward it should be prewashed (without fabric softener) before adhering to the Iron-On. This will prevent shrinking from occurring afterward.
Refer to the Cricut EasyPress Heat Guide for temperatures and time recommendations.
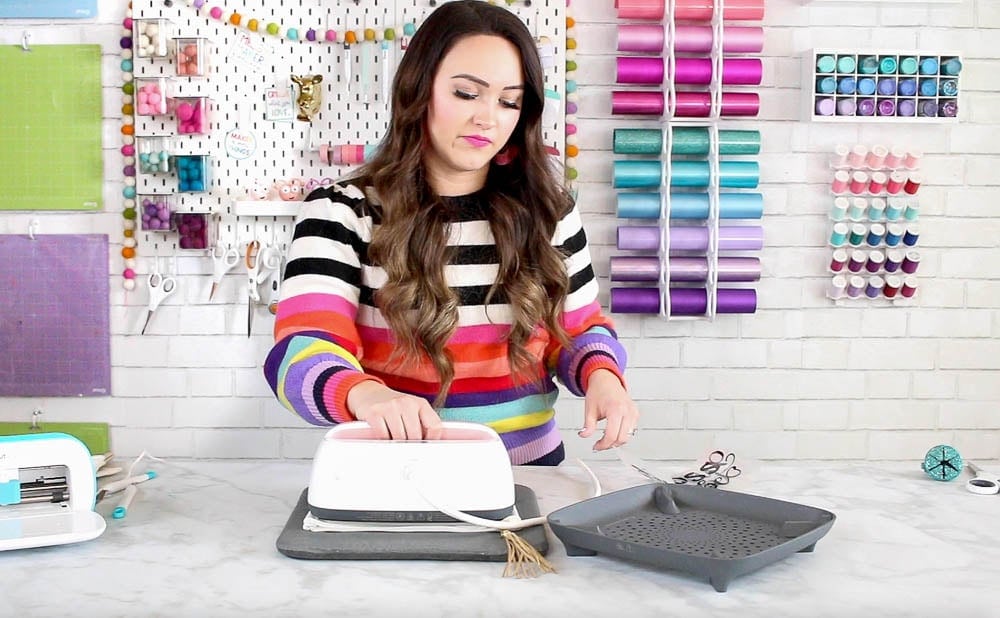
Place your blank item on top of the EasyPress mat and preheat it with your EasyPress. This will ensure better adhesion of the Iron-On.
*If you are using an Iron and Ironing Board use the highest setting with the steam turned completely off.
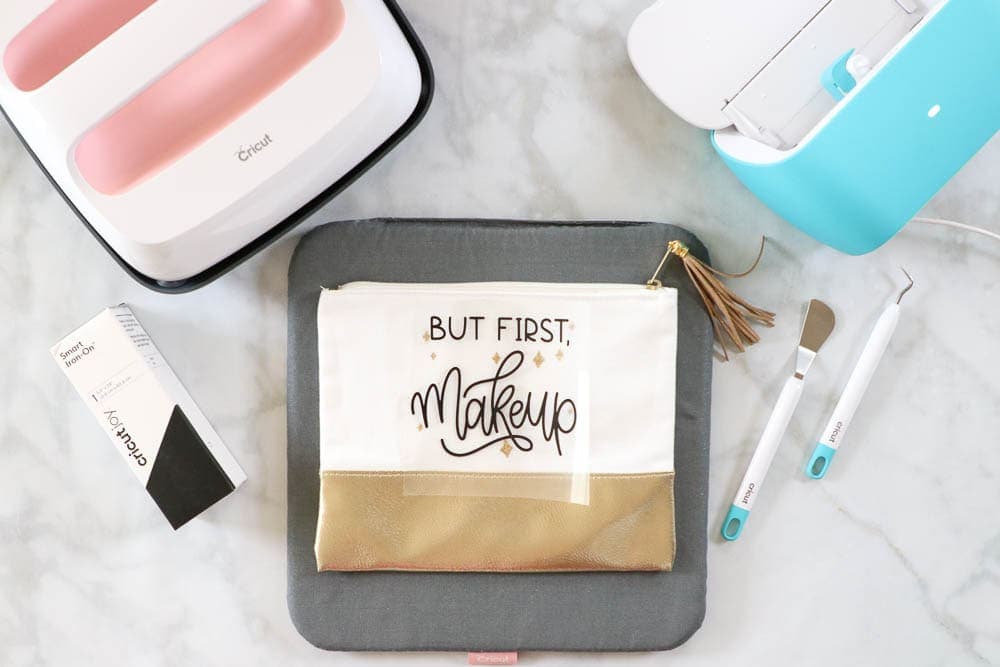
Center the Iron-On design onto the blank with the shiny side facing upwards and press for the designated amount of time.
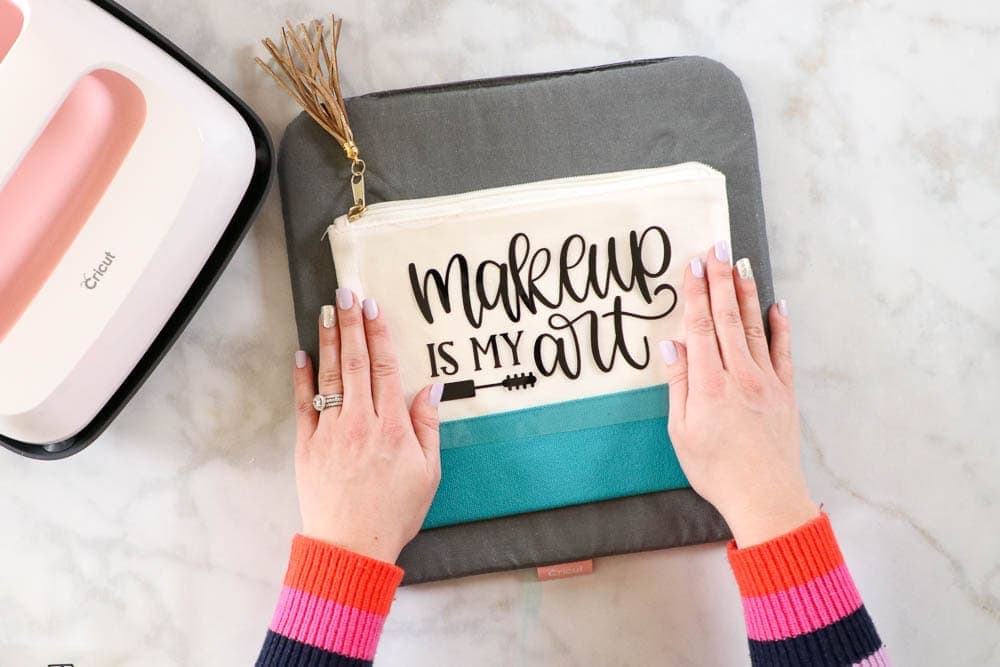
Remove the EasyPress and allow the Iron-On and liner to cool completely before peeling the liner away from the design at a 45-degree angle.
Cricut Joy Smart Iron On Tips & Tricks
It’s helpful to use a counter height pressing table where you can apply firm pressure to the iron or EasyPress.
Don’t forget to turn off your steam setting when using an Iron. Dry heat is needed for the best results.
Allow the item to fully cure for 24 hours before washing it.
Items with Iron-On should be washed inside out to prevent them from becoming damaged.
I hope you enjoyed learning how to cut and apply Cricut Joy Smart Iron-On in this tutorial. I can’t wait to see what you make with your machine!
You can purchase your Cricut Joy and supplies here!
Don't want to forget about this post? Save it to Pinterest here!

Don’t forget to join my crafting Facebook group where you can show us what you’re making, ask questions, and learn from Cricut experts! Follow me on Instagram for daily crafting inspiration and a look behind the scenes.
Are the SVG files available for these designs and where were the blanks purchased.
Thank you.
I hand paint tshirts with faces, am I able to print just the outline so that I can customize the faces. Would I need the cricut explore 2 and the cricut joy?
Do you do the same instructions with the infusable ink?
These are so cute - I see them as Christmas gifts
why cant i upload my own jpeg image on cricut joy