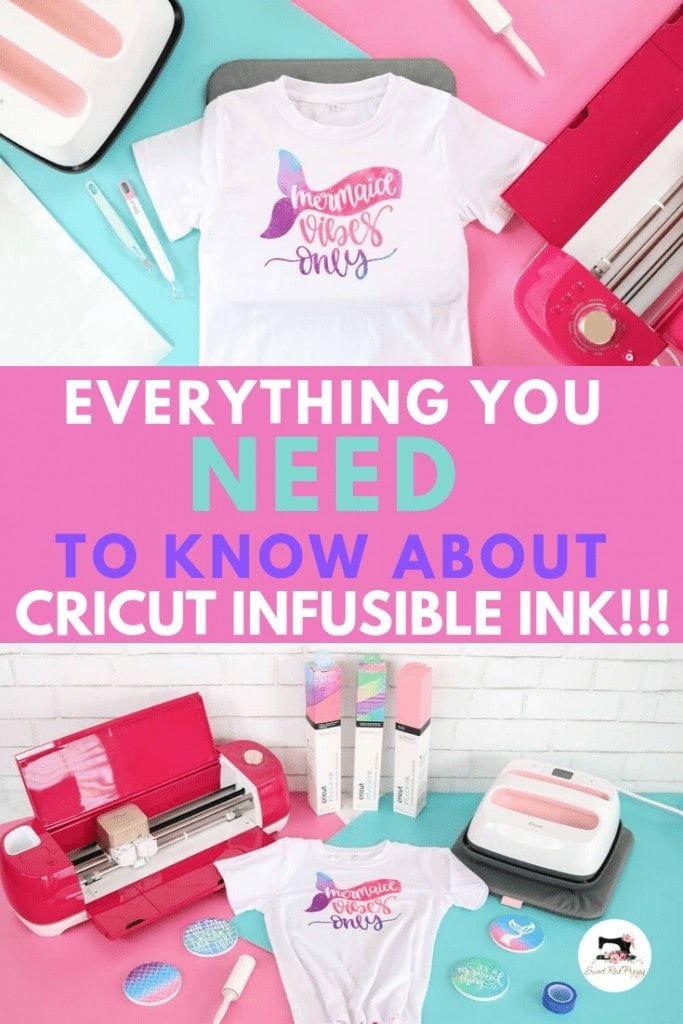
Learn how to Create Stunning, Vibrant Designs Using Cricut Infusible Ink with this Step-by-Step Tutorial.
I’ve been looking forward to sharing this tutorial with you for weeks! Ever since I attended the Cricut launch party for Infusible Ink in Salt Lake City, I’ve been over the moon excited about this product!
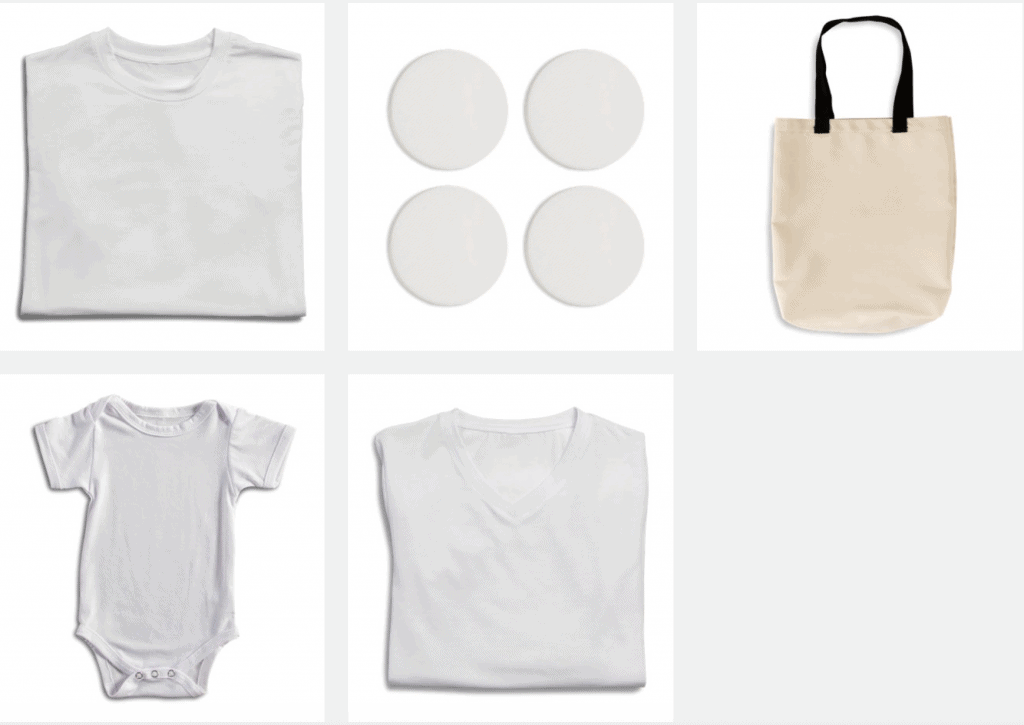
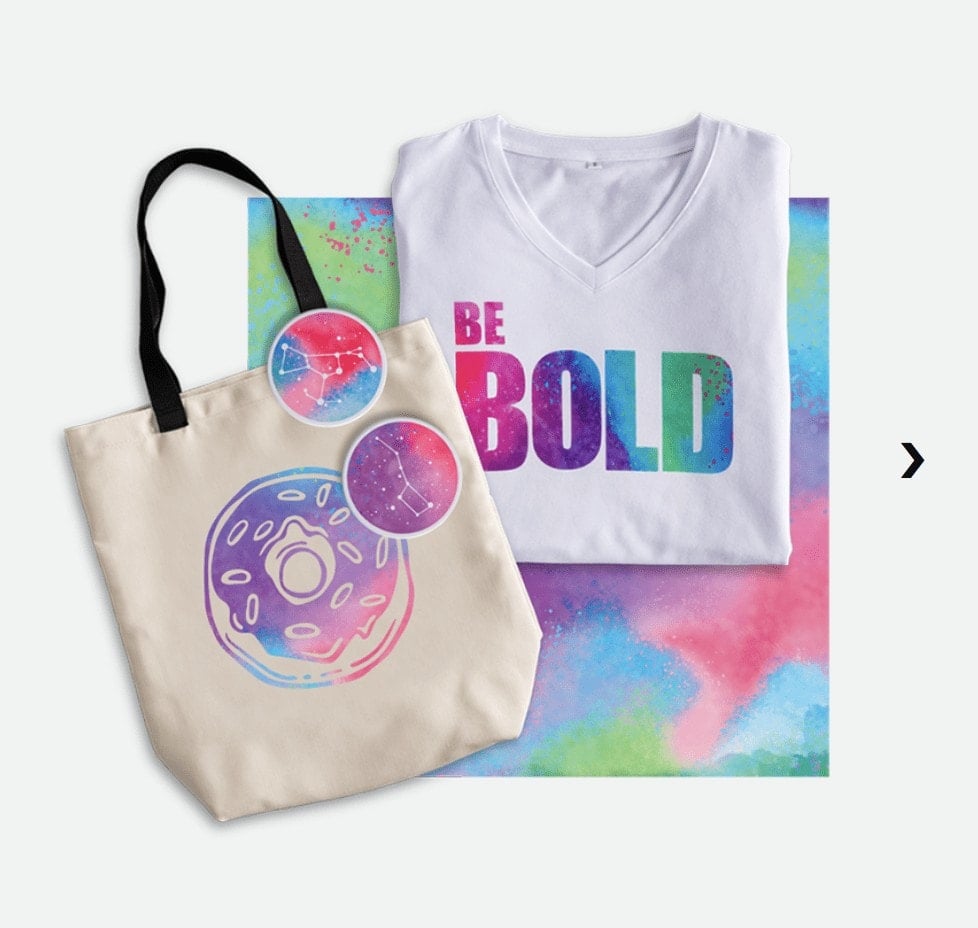
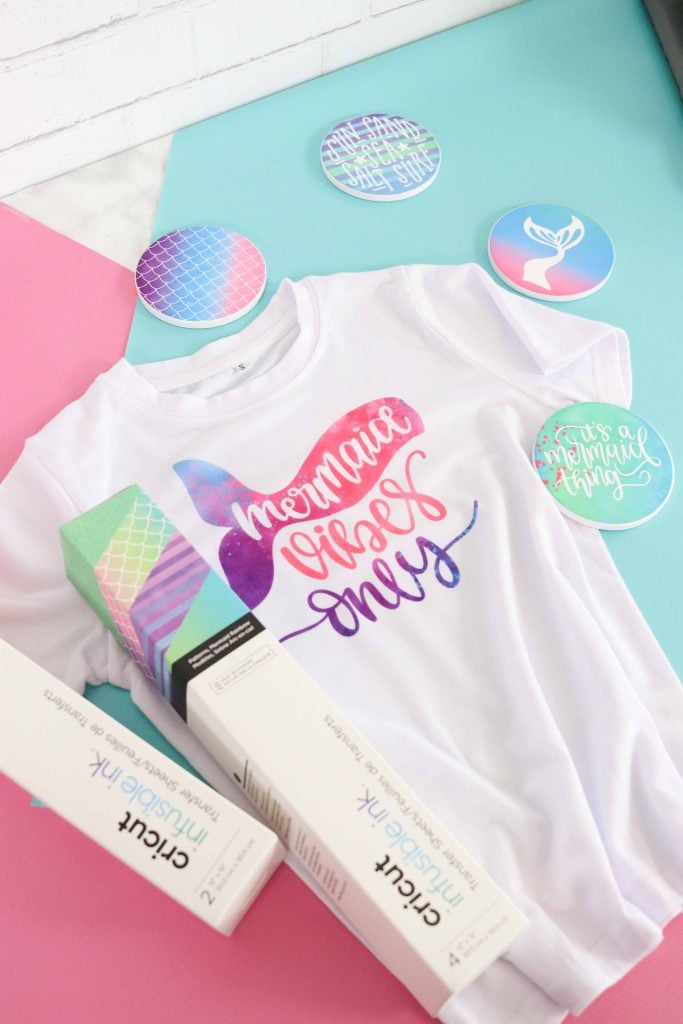
If you love the idea of customizing shirts, bags, coasters and more with vivid color then you’re going to love this new product!
You can find the entire line of
Let’s start off by talking a little bit about what Cricut Infusible Ink really is and how it differs from Iron-On and Heat Transfer Vinyl.
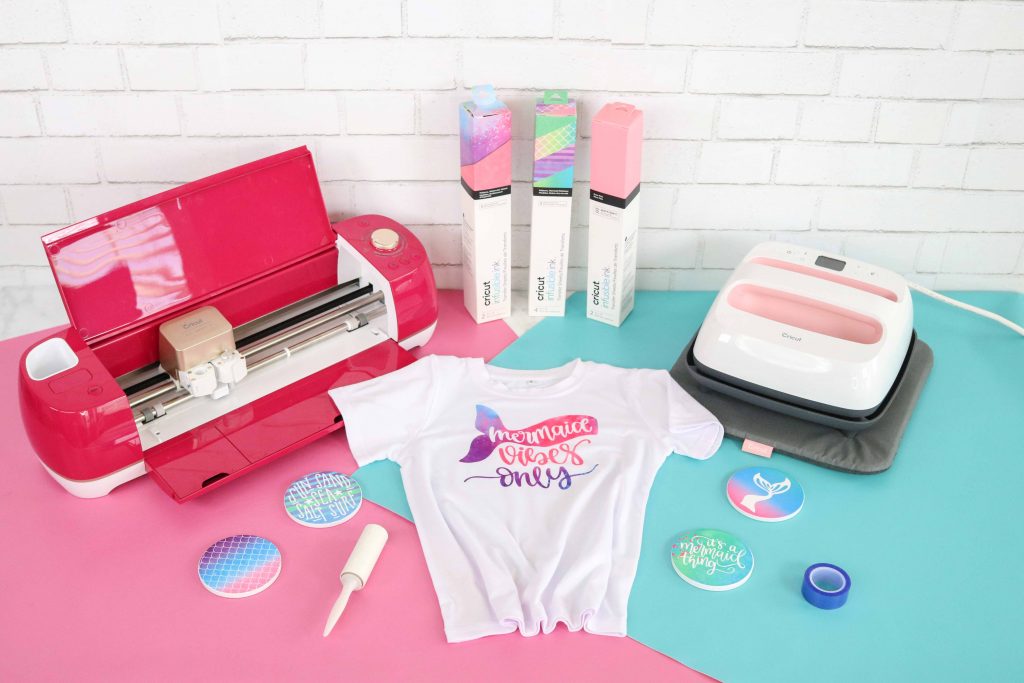
Table of Contents
What is Cricut Infusible Ink?
Infusible Ink is a brand new system of products that allow you to take your DIY projects to an entirely new and completely permanent level.

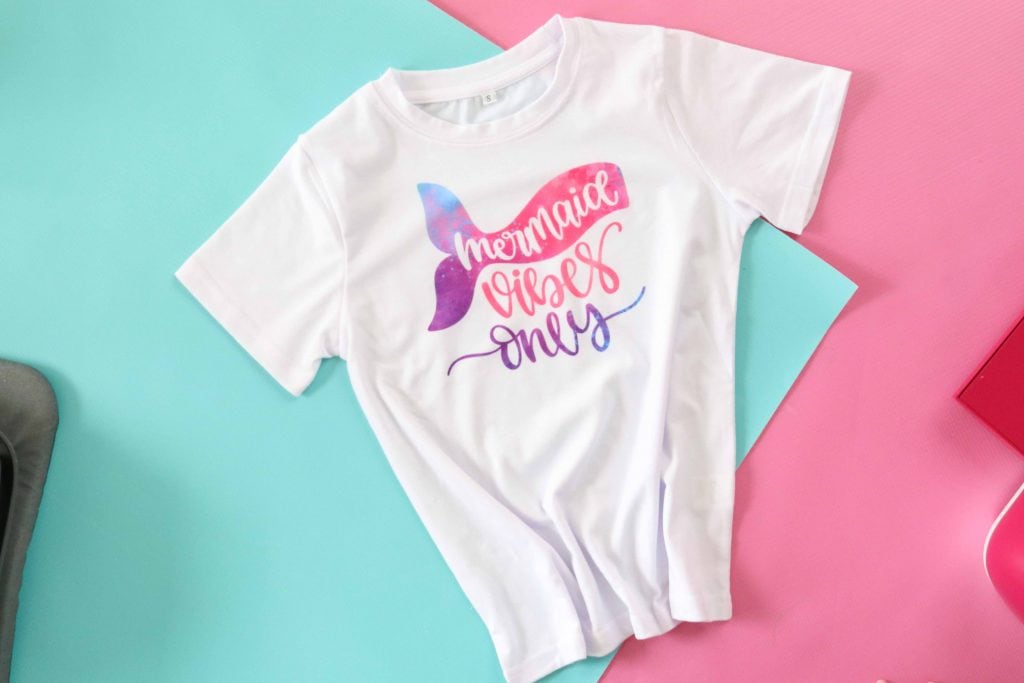
Infusible Ink allows you to create a design that fuses with your shirt for a vivid and seamless result. This prevents any cracking, peeling or lifting of the design.
When Infusible Ink reaches a certain temperature it actually converts to a gas which begins the transfer of the pigment to the compatible base.

What Can you use Infusible Ink On?
Infusible Ink requires polymer or
How is it Different from Iron-On?
Iron-On uses an adhesive backing that is heat-activated to adhere a design to an item. Repeated use can cause wear and tear.
While Iron-On can be applied to a wide variety of materials, Infusible Ink must be used with compatible blanks to ensure the best results. White or light-colored fabrics are needed for the best results. A heat press that can reach 400 Degrees is also needed for a successful transfer.
Which machine can I use with Infusible Ink?
The Cricut Maker
Why Shop Through My Links?
When you shop through my affiliate links, it doesn't cost you anything extra, but it helps me out in a big way! I earn a small commission from those purchases, and that support allows me to continue creating and sharing free tutorials and patterns for you. Thank you so much for helping me keep this creative community going! 💕
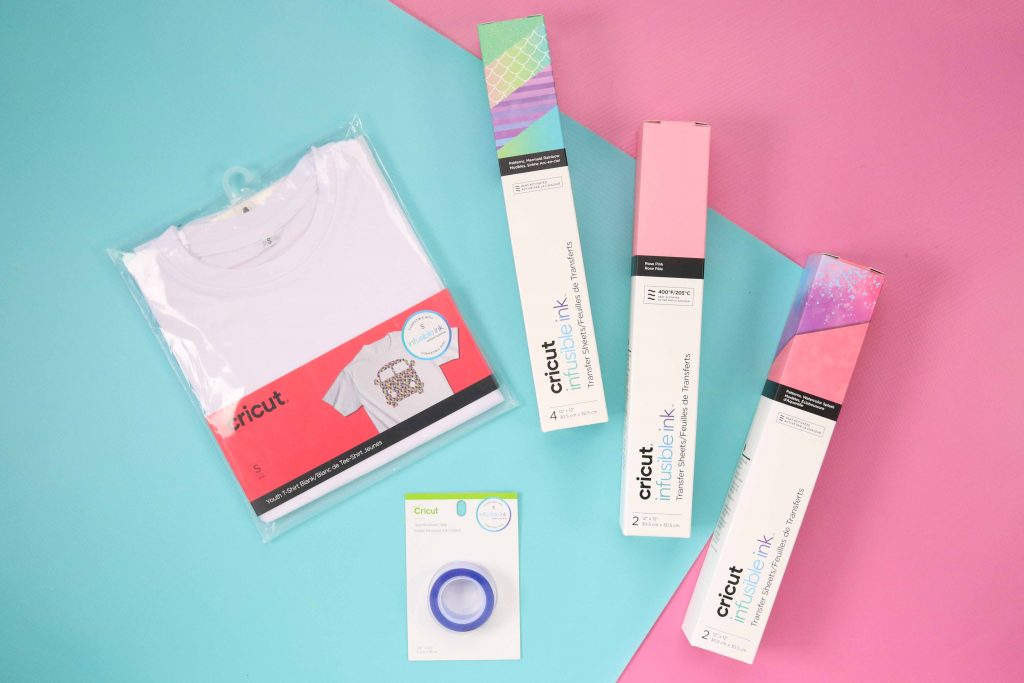
Supplies
- Cricut Infusible Ink (includes 1 sheet of butcher paper)
- Cricut Infusible Ink Compatible T-Shirt
- Heat Resistant Tape
- Cricut Machine-Cricut Maker, Explore, or Cricut Xtra
- Standard Grip Mat
- Tweezers
- Cricut EasyPress & Mat
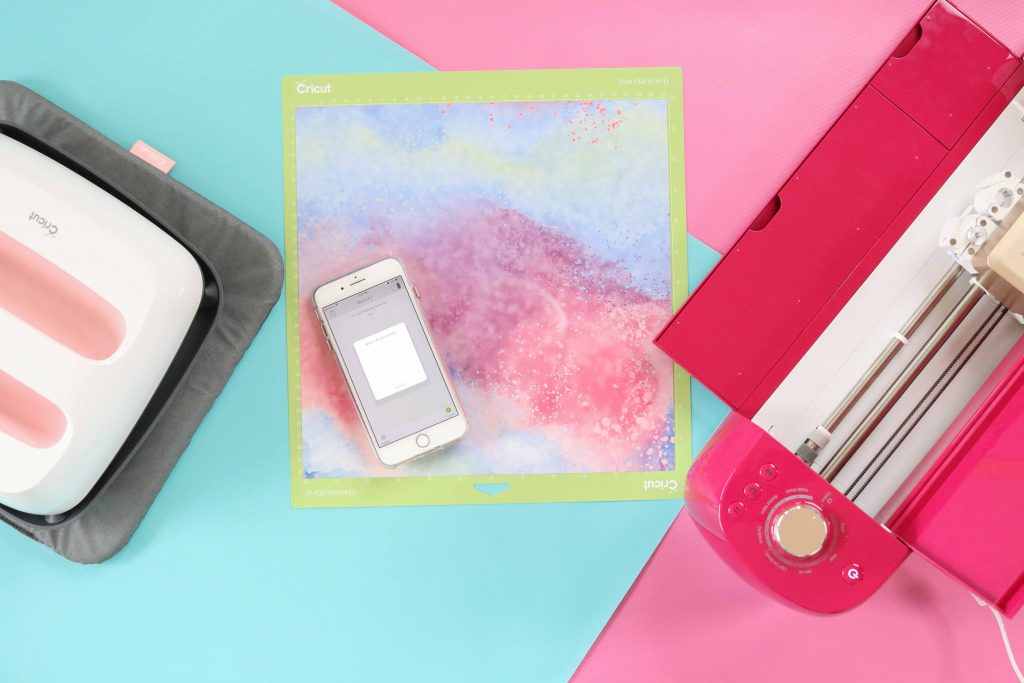
Prepare and Cut Infusible Ink
Place the Infusible Ink Transfer sheet on green Cricut Standard Grip mat with the design facing upwards.
In Design Space select “Mirror” on the entire design.
Turn on the machine, if you are using an Explore Air 2 select “Custom” then select Infusible Ink.
Load the mat into the machine and allow it to cut completely. Once the machine has finished cutting eject the mat.
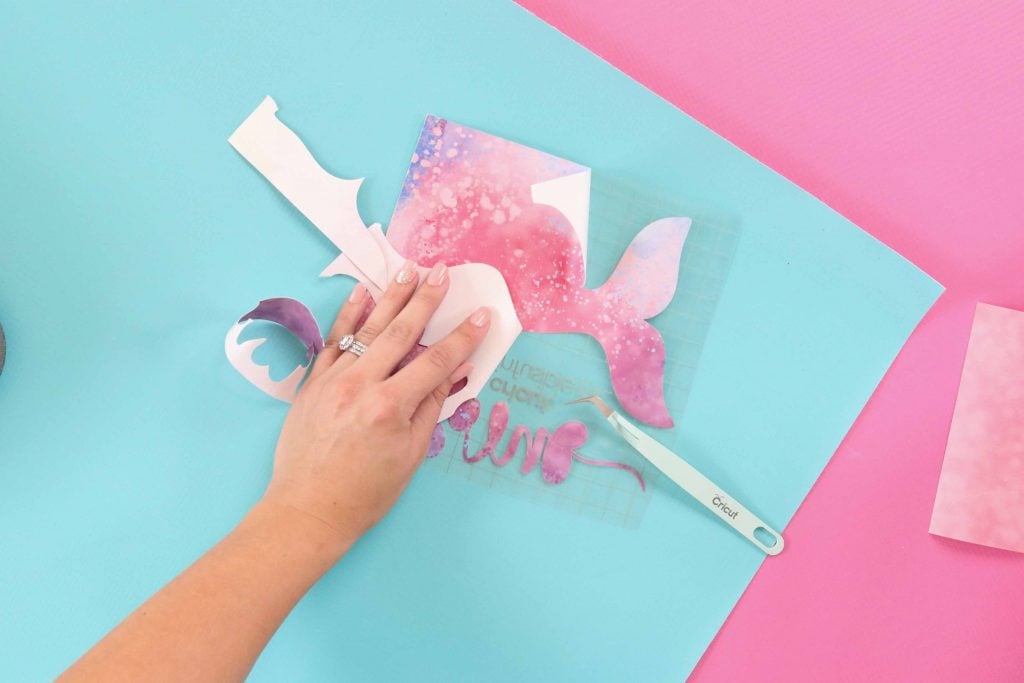
Lay the mat upside down in front of you and slowly peel the mat away from the infuisible Ink. This will protect the material and keep it from cracking. Flip the. Design so the right side is facing upwards.
Roll the design back and forth to lift the excess off of the transfer sheet and use a pair of tweezers to pull away any of the negative designs.
The excess pieces can be saved and used as a design as well.
Preheat the Cricut EasyPress. You can look up the correct temperature as well as time on Cricut.com
Lay the T-Shirt out in front of you on top of a Cricut EasyPress mat
Lay the mat upside down in front of you and slowly peel the mat away from the infusible Ink. This will protect the material and keep it from cracking. Flip the design so the right side is facing upwards.
Roll the design back and forth to lift the excess off of the transfer sheet and use a pair of tweezers to pull away any of the negative designs.
The excess pieces can be saved and used as a design as well.
How to Apply Infusible Ink to a Compatible Base
Step One
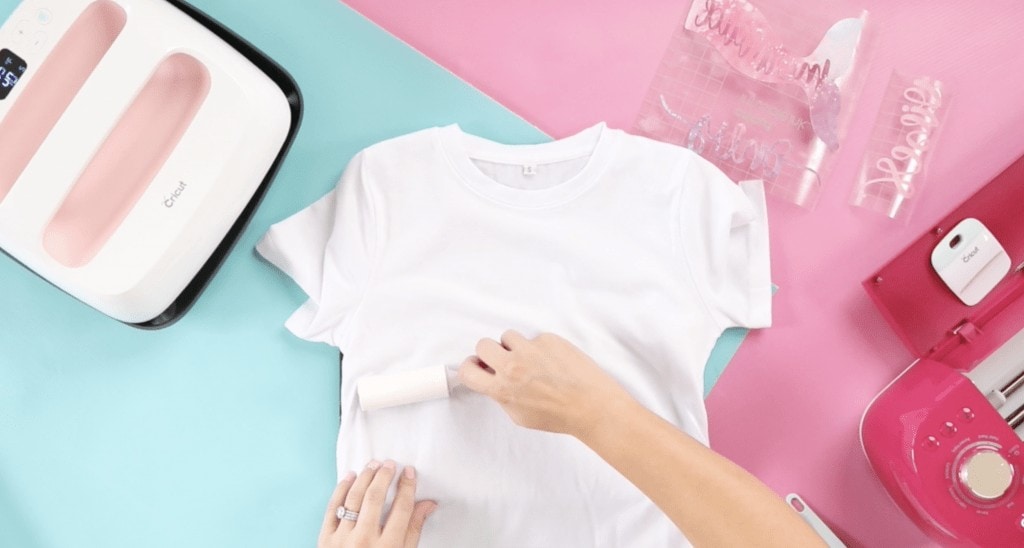
Place the T-shirt on top of a Cricut EasyPress mat and spread it flat. Prepare the shirt by using a lint roller to remove any stray threads or fibers.
This is an important step because fibers can change colors when exposed to extreme heat, resulting in a damaged design. Most of the time, these small fibers are unseen by the naked eye. A few swipes with a lint roller will ensure you have a clean base to start with.
Step Two
Slide a piece of card stock inside the shirt. This will prevent the ink from bleeding through.
Press the shirt with the EasyPress for 15 seconds to warm it up. Place the transfer sheet with the ink side downwards on top of the shirt taking care to center it completely. Apply pressure to the transfer sheet to help it adhere to the shirt.
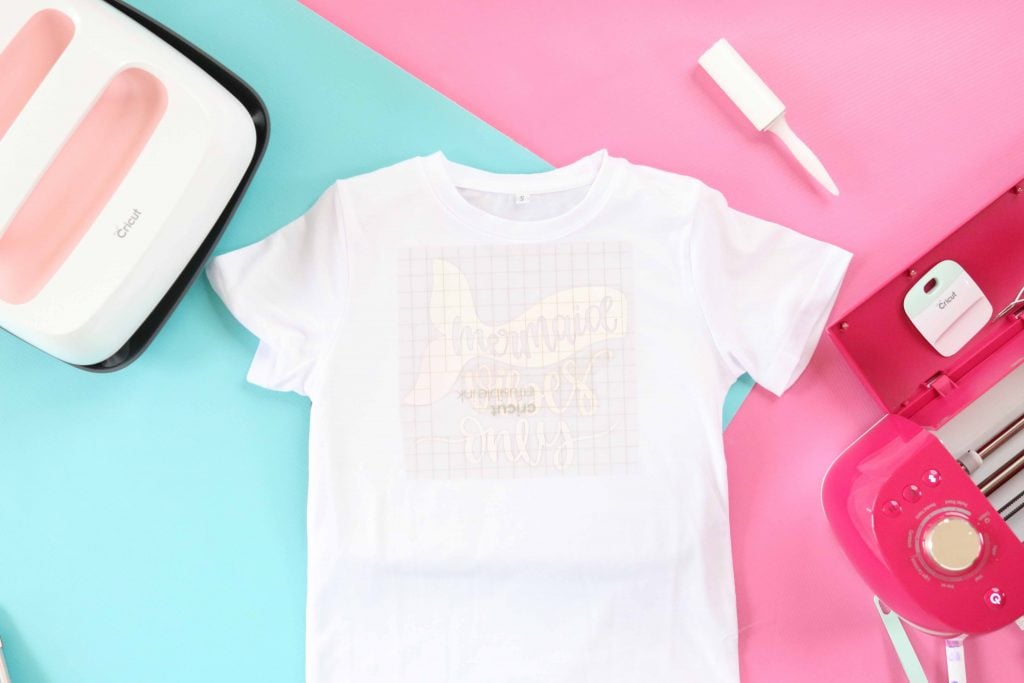
You’ll want to make sure that the transfer sheet is smaller than the size of the EasyPress so that the entire design is covered by the heat plate.
Place a sheet of butcher paper on top of the design.
Step Three
Lower the EasyPress onto the design taking care not to move the design. Set the timer, apply light pressure and remove the EasyPress once the timer has ended.
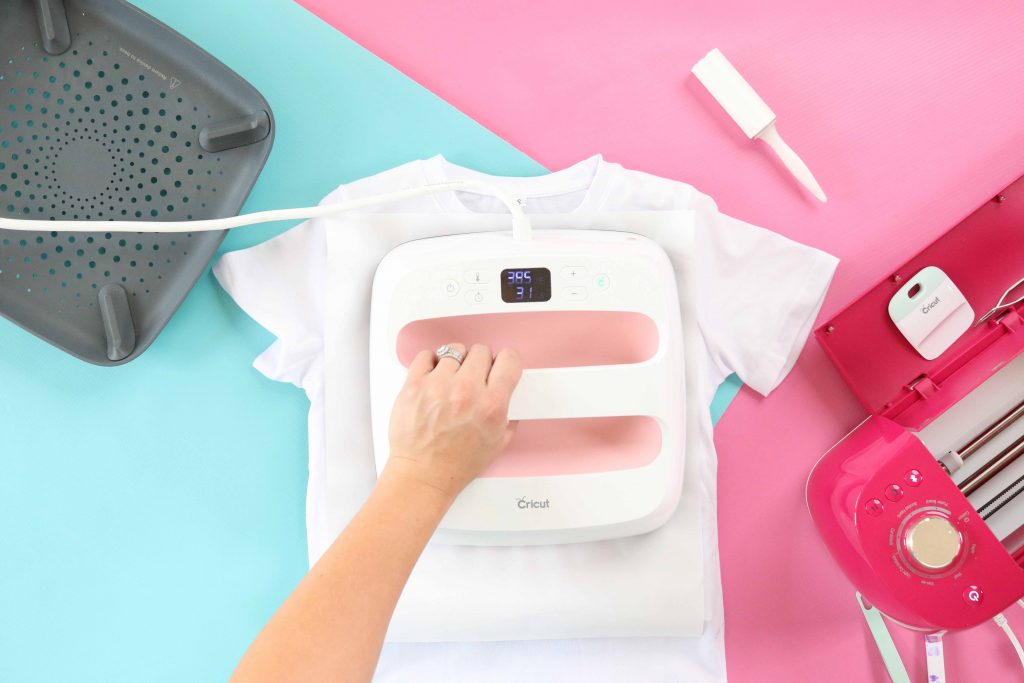
Take extra care not to bump the design as it can cause ghosting of the design.
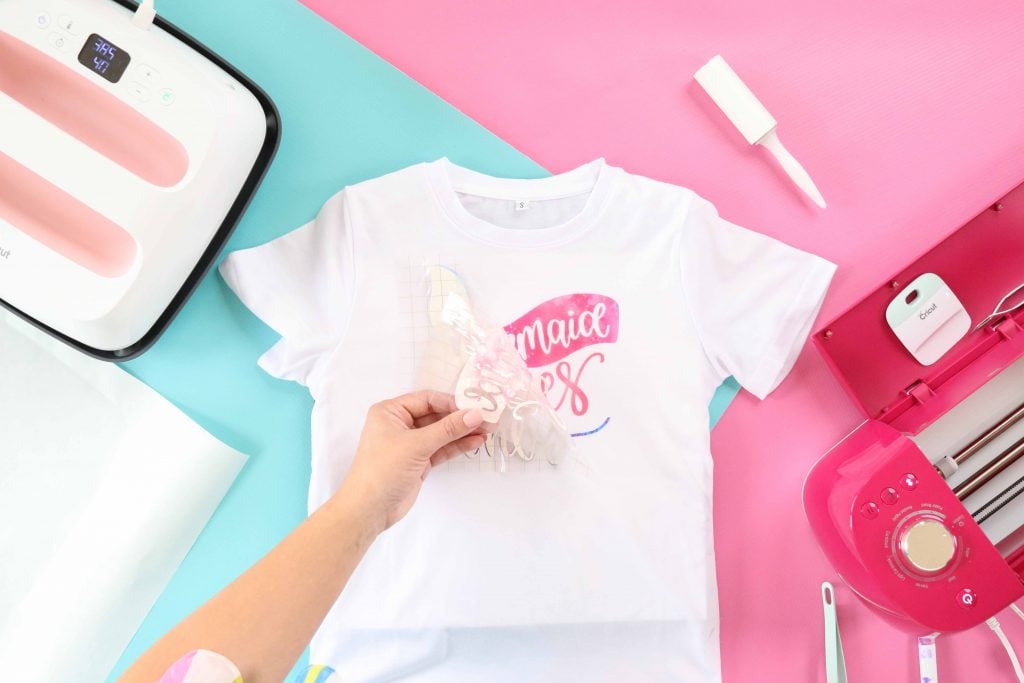
Allow the Transfer to cool for a few minutes before removing the transfer sheet using pair of tweezers.
Infusible Ink Care
Was the shirt on cold with detergent. For best results do not use fabric softener on the design.
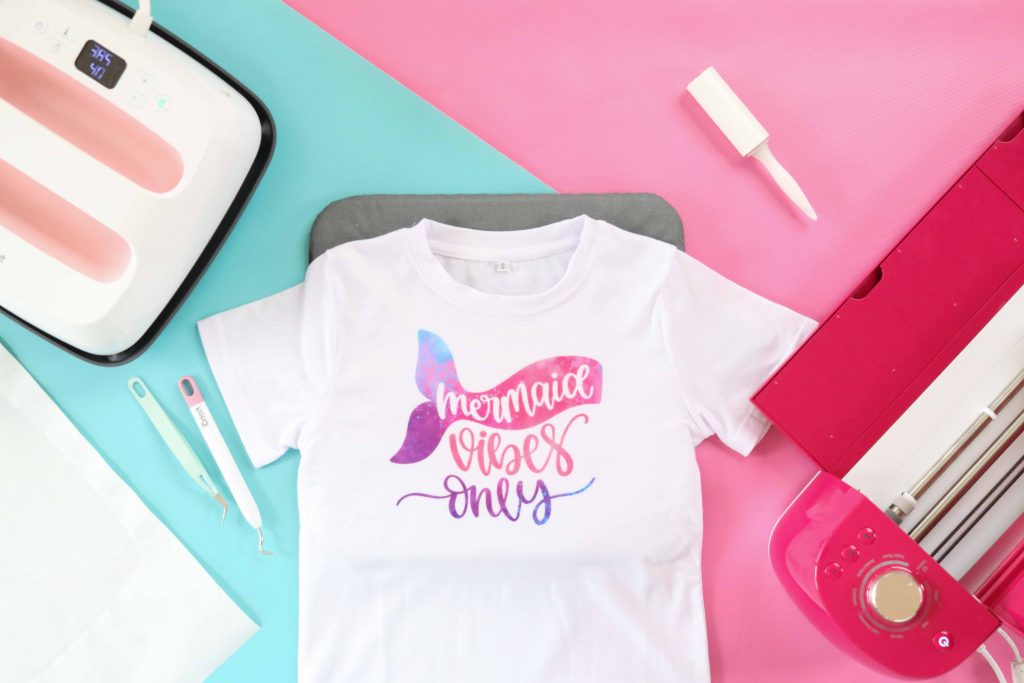
Infusible Ink is a permanent alternative to Iron on. It provides bold and bright color with out fading, cracking or peeling.
I can’t wait to see what you create with this tutorial! There are so many possibilities with this new line of products.
Don’t want to forget about these Infusible Ink facts? Save this for later! Click here to save on Pinterest.
Thank you
Do you have the svg somewhere to be purchased or used?