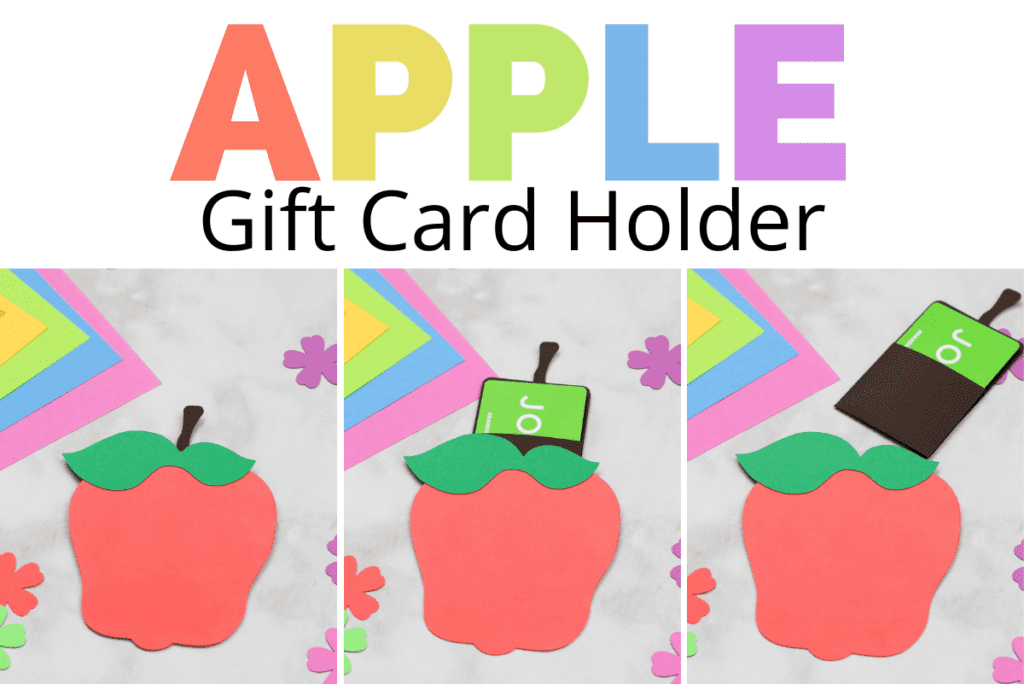
Find Out How to Make an Apple Gift Card Holder for Back-To-School or Teacher Appreciation With This Step-By-Step Cricut Tutorial, Video, and Free SVG File Template.
Looking for a thoughtful gift idea for back-to-school or teacher appreciation? You’re in the right place! Your teacher is sure to love this adorable apple gift card holder.
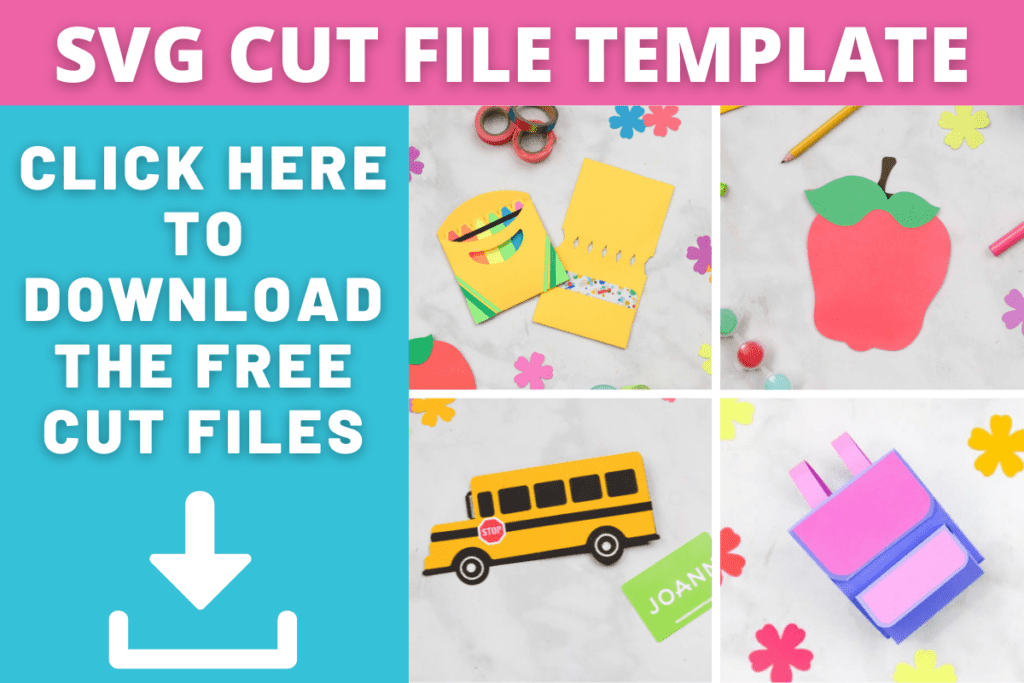
This apple design is one of four Back to School gift card holder SVG designs. This collection includes a Crayon Box, Apple, Backpack, and a School Bus.

The Apple Gift Card Holder design has the main apple shape that consists of two apple pieces, a leaf, and a core piece that forms a pocket that holds the card between the two apple pieces.
What Type of Paper Should I Use?
I used 80lbs cardstock because it’s a heavier stock that makes a great card base. However, it is harder to fold, so I recommend using a single scoring wheel if compatible with your Cricut machine. The scoring wheels (double and single) make deep indents on your stock, making it easier to fold.
For the leaf piece, I used 65lbs cardstock because it's lightweight and you don't necessarily need a heavier cardstock for accent pieces.
How Much Paper Do I Need?
Apple Pieces: 1 Piece of 12 x 12" Cardstock or 2 8.5 x 11" Cardstock
Leaf: 1 Piece of 12 x 12" Cardstock or 1 8.5 x 11" Cardstock
Core: 1 Piece of 12 x 12" Cardstock or 1 8.5 x 11" Cardstock
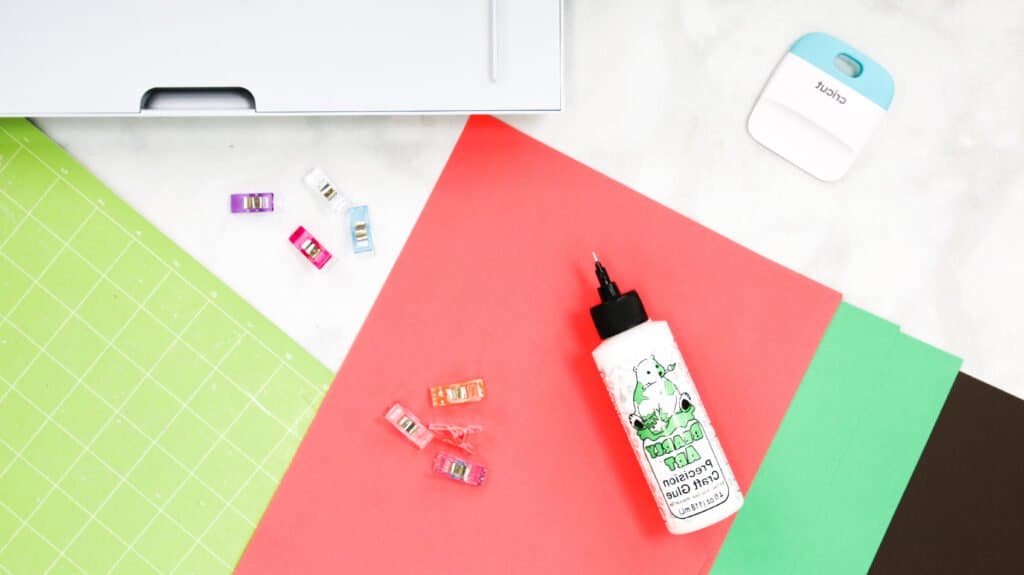
Table of Contents
Why Shop Through My Links?
When you shop through my affiliate links, it doesn't cost you anything extra, but it helps me out in a big way! I earn a small commission from those purchases, and that support allows me to continue creating and sharing free tutorials and patterns for you. Thank you so much for helping me keep this creative community going!
Materials Needed:
- Cricut Maker, Cricut Explore, or Other Cutting Machine
- StandardGrip Mat
- Cardstock 65-80 lbs
- Fine-Point Blade
- Bearly Art Craft Glue (Use code SRP10 to save 10%)
- Scoring Wheel Tip & Housing or Scoring Stylus
- Craft Clips
DOWNLOAD THE FREE SVG FILE TEMPLATE HERE
Upload SVG File
Download the SVG file to your computer, create a New Project, and Upload it to your Canvas.
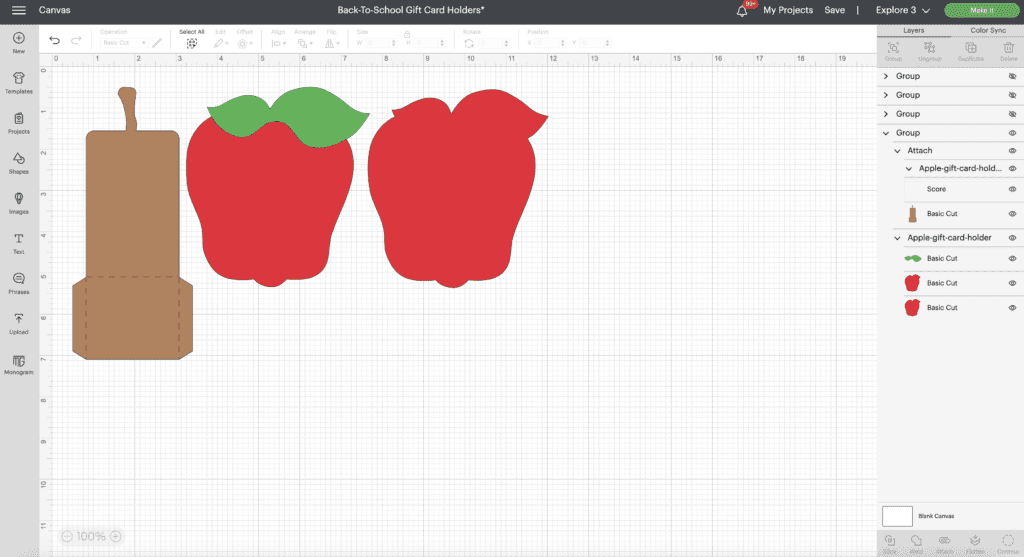
In Design Space, change the lines to Score from Basic Cut in the apple core piece, then attach the score lines.
You can change these lines into score lines by going into the top left corner. Then, click on the dropdown menu where it says Basic Cut, select Scoreline, and attach to their respective pieces in the right-hand menu.
Step One: Cut Out Apple Pieces
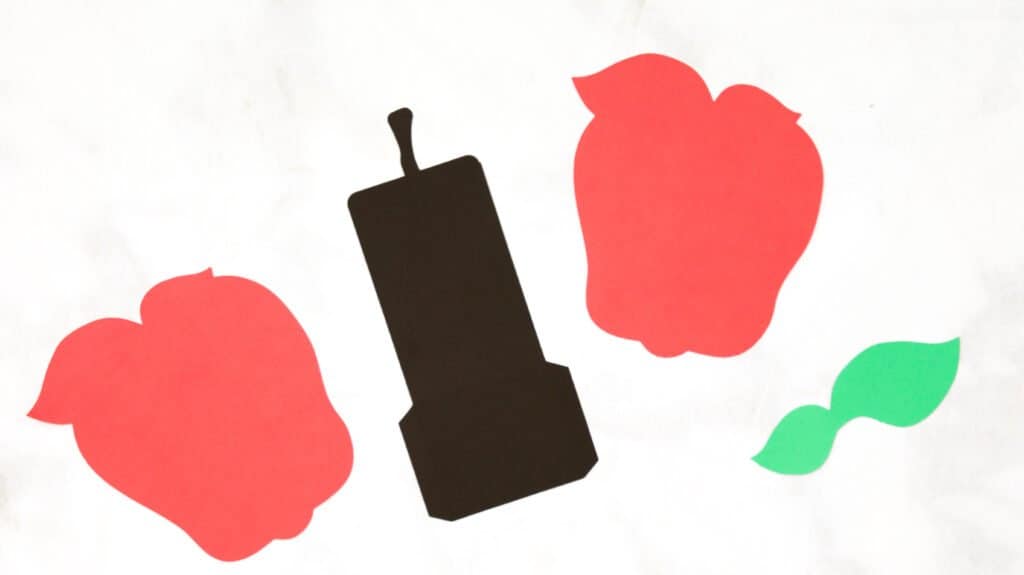
The Gift Card Design Consists of:
- 2 Apple Pieces
- 1 Leaf Piece
- 1 Core Piece
Load your mat with cardstock and place it in the Cricut machine and cut out all pieces making sure to switch between your scoring wheel and fine-point blade.
Step Two: Start Assembling
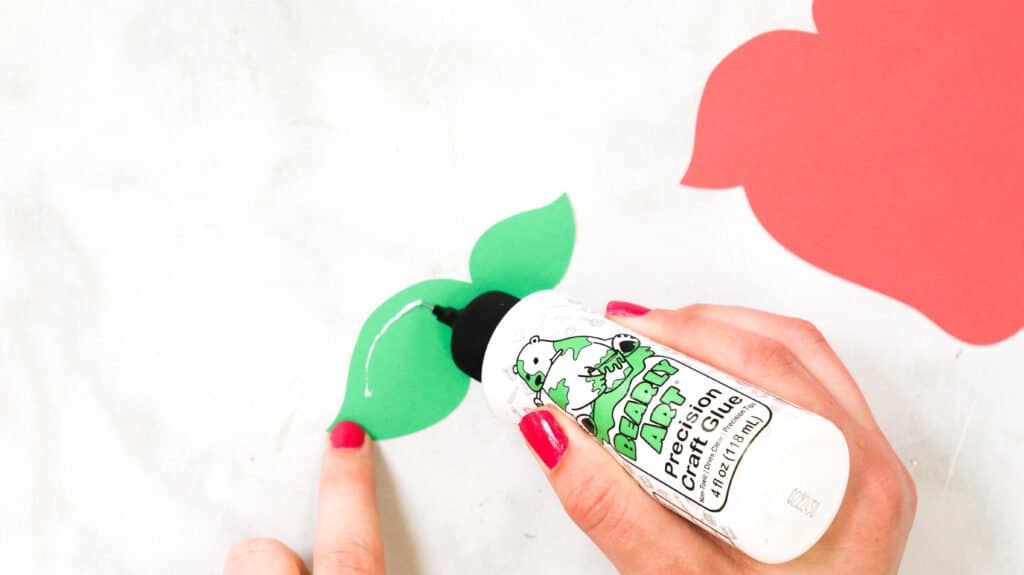
After all the pieces have been cut, assemble your gift card. First, grab the green leaves, and one apple piece. Then, align the leaf piece on top of the apple with the cut-out.

Step Three: Glue Apple Pieces
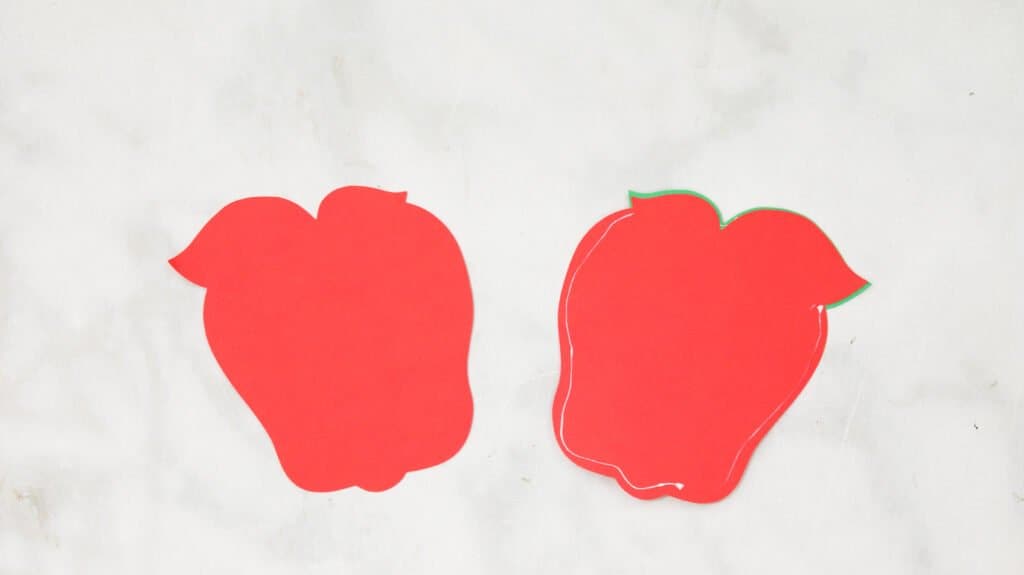
Once the leaf is attached, turn over your apple piece and add glue to the edges. Make sure not to add glue to the top of the apple piece where the leaf is because that is where we will insert the gift card.
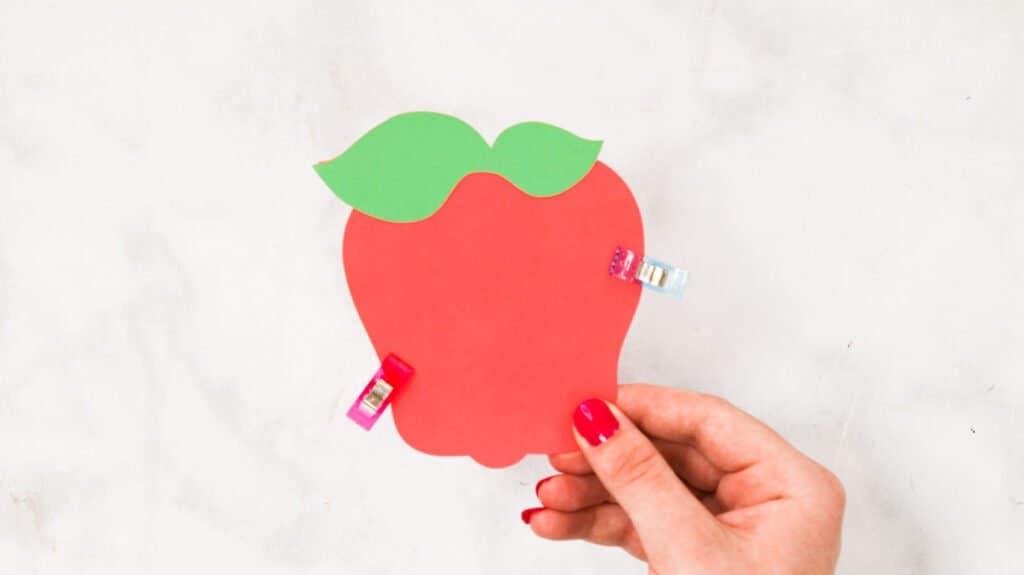
Afterward, bring the apple pieces together.
Tip: You can use clips to keep the pieces in place while it dries.
Step Four: Add Apple Core
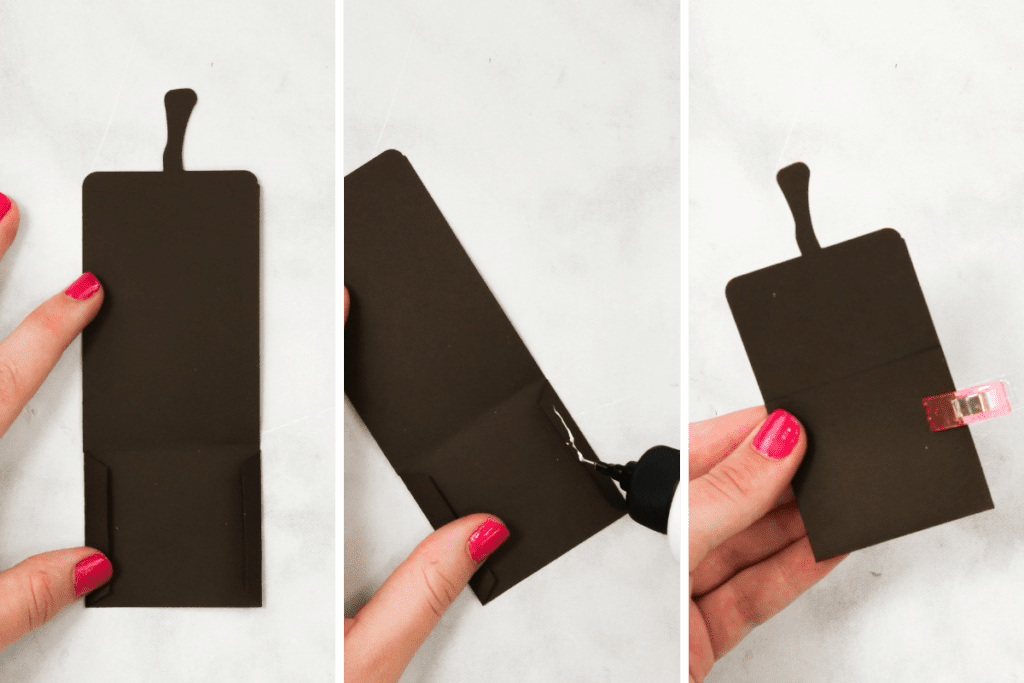
Next, fold the brown apple core piece on the three score lines. Then, add glue to the two side tabs and glue them to the adjoining side. This will make the pocket for the gift card.
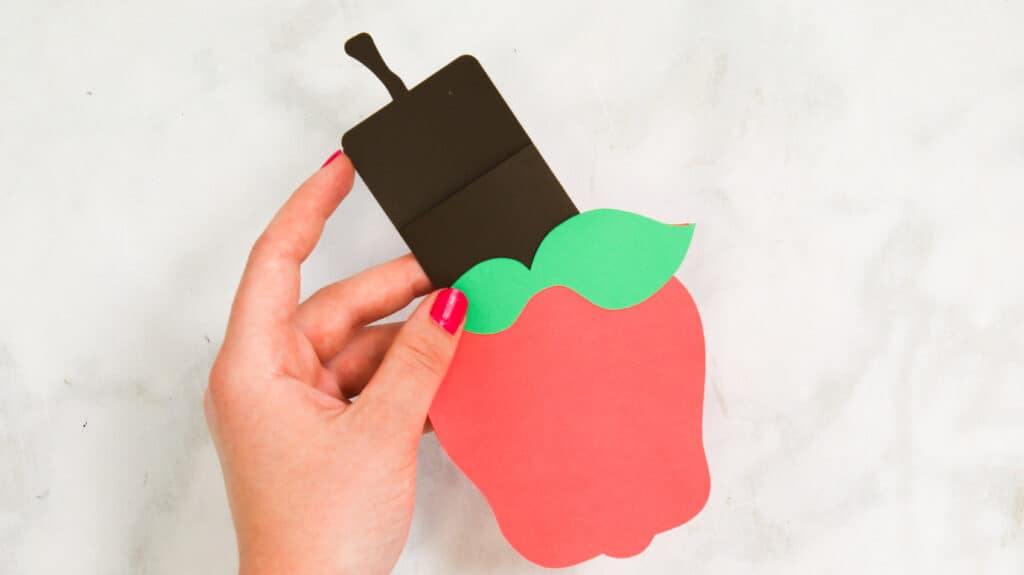
Finally, slip the core between the two apple pieces.
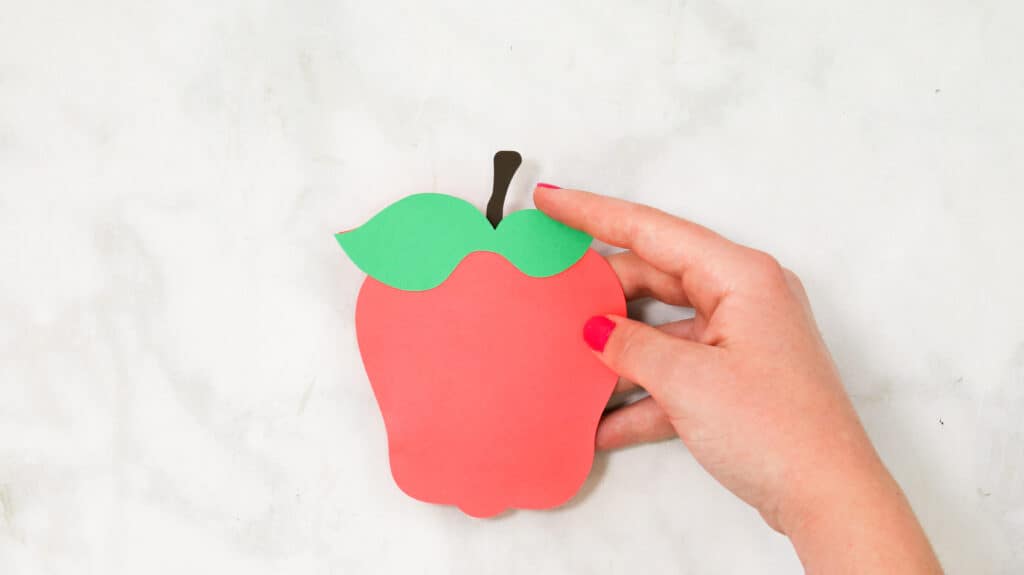
Finished Results
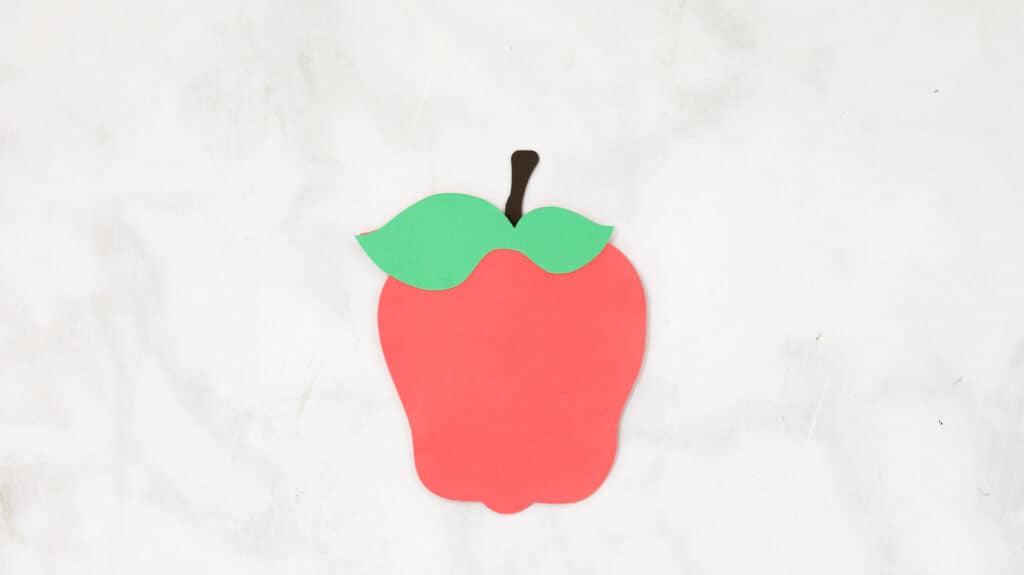
Once dried, You've finished this cute apple gift card holder. Check out the rest of the gift card holder designs if you want more back-to-school designs like this.
Join my crafting and sewing Facebook group where you can show us what you’re making, ask questions, and learn from others!
Looking for more back to school and teacher appreciation projects? Click HERE!
Don’t want to forget about this free template? Save this project for later! Click here to save this project on Pinterest.

Leave a Reply