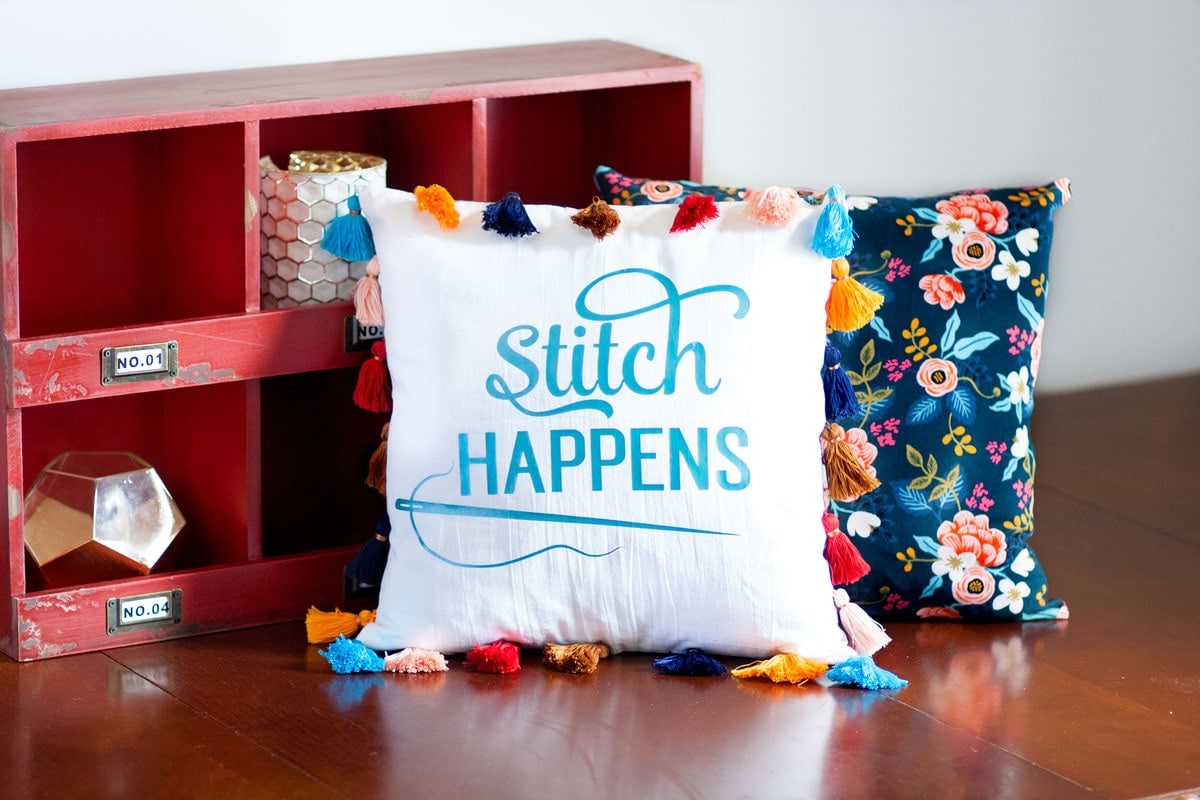
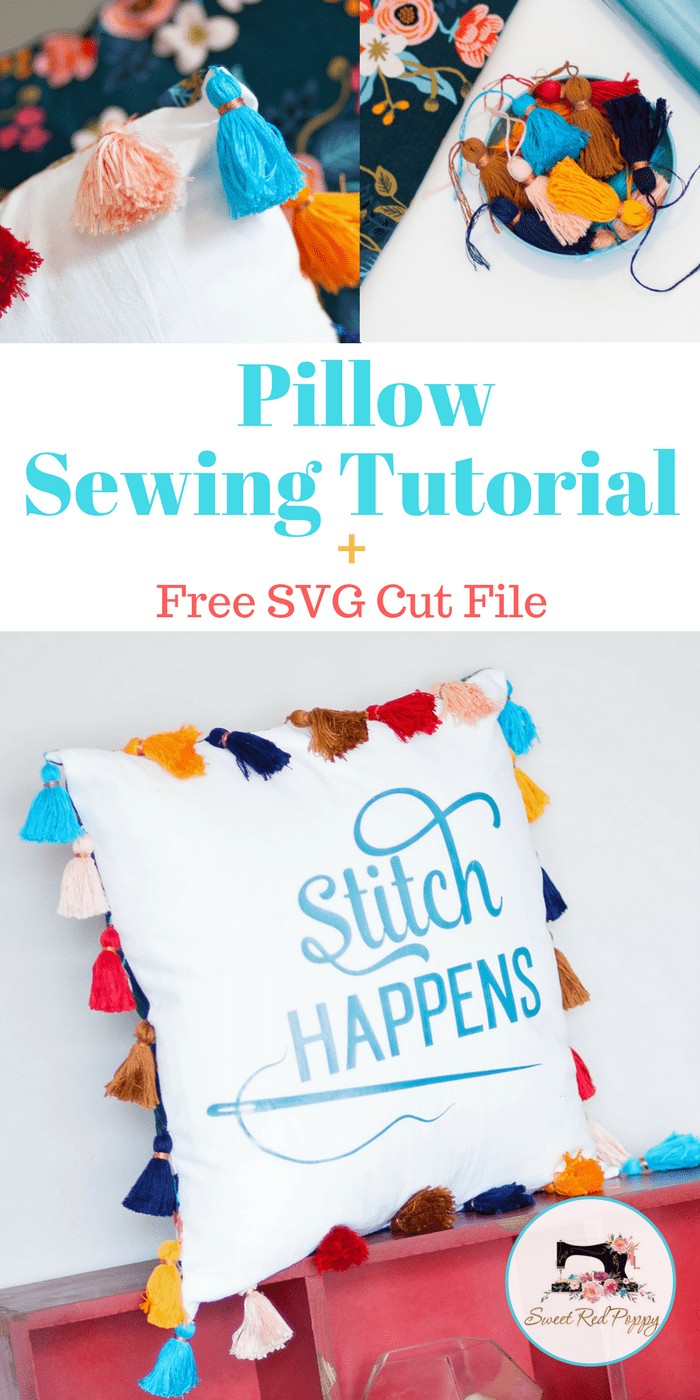
Learn how to make a DIY Tassel Pillow using your Cricut machine and FREE SVG file in this step-by-step tutorial!
I can't even begin to explain how excited I am to be hosting my very first blog tour, and with Cricut of all companies! I've been wanting a Cricut Explore machine for some time now, but I kept putting it off because I figured I already had enough hobbies as it was. After playing around with one at the SNAP Conference, I really couldn't put it off any longer!
Learn how to sew an Envelope Pillow Cover here.
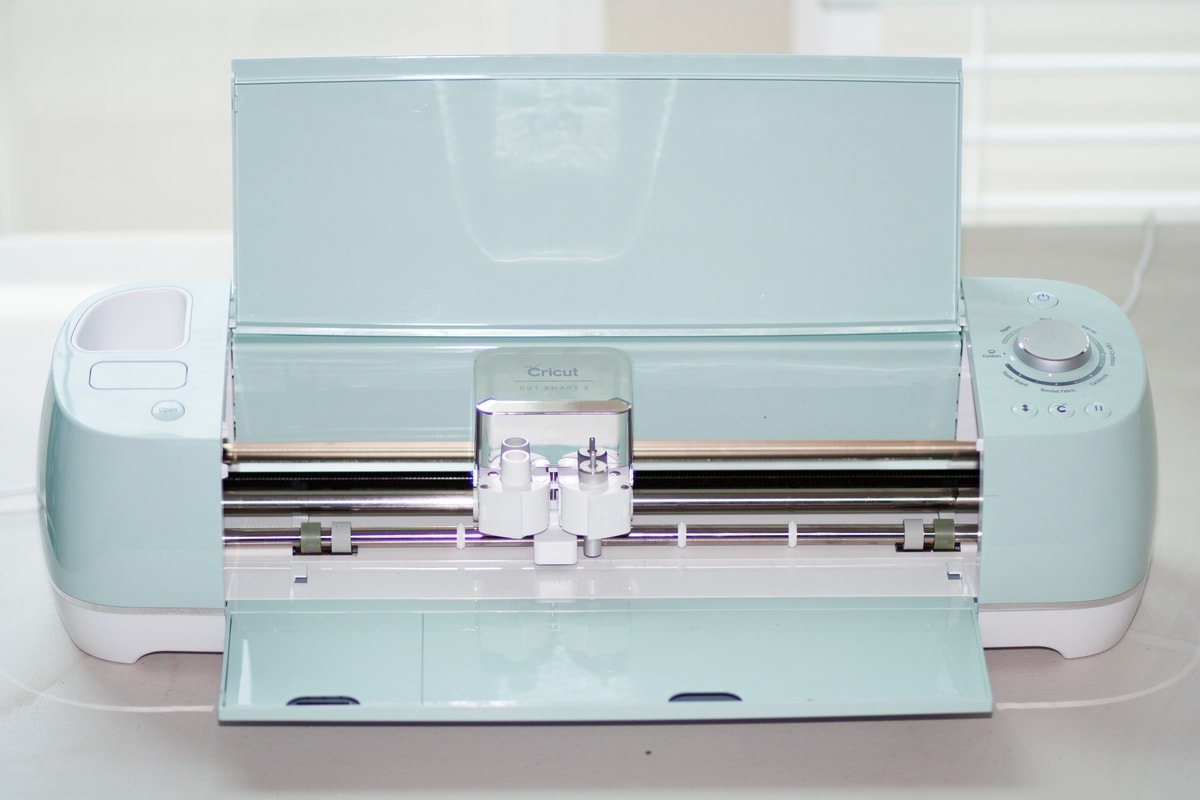
Cricut Explore Air 2
I've had my machine for only a few weeks so far and let me just tell you, I've already been using my machine a ton and it really is the perfect complement to my sewing hobby. Although, I'm pretty sure my sewing machine is feeling slightly neglected.

The Cricut tour I'm hosting this month will cover two weeks and feature 27 amazing sewing bloggers working with Iron-on vinyl. Guys, I'm seriously floored by all the wonderful ideas they have come up with and I've had such a great time getting to know all of them over the past few months as we've brainstormed ideas for this tour. I hope you're ready for some inspiration!
If you're brand new to using a Cricut, check out my Cricut course by clicking here.
My brain has been swirling with sewing quotes the past month as I've been thinking about an easy DIY tutorial to share with you. I came up with so many different ones that I couldn't choose a favorite so I'll be sharing all of them over the next few months. Yeah, choosing a favorite was almost as hard as choosing a favorite child. 😉
After much debate, I settled on a favorite, Stitch Happens. I couldn't help but chuckle just a bit as I came up with this one. I know, I know, laughing at my own creativity seems slightly conceited, but can you blame me? I'm totally loving this play on words!
Supplies I Used
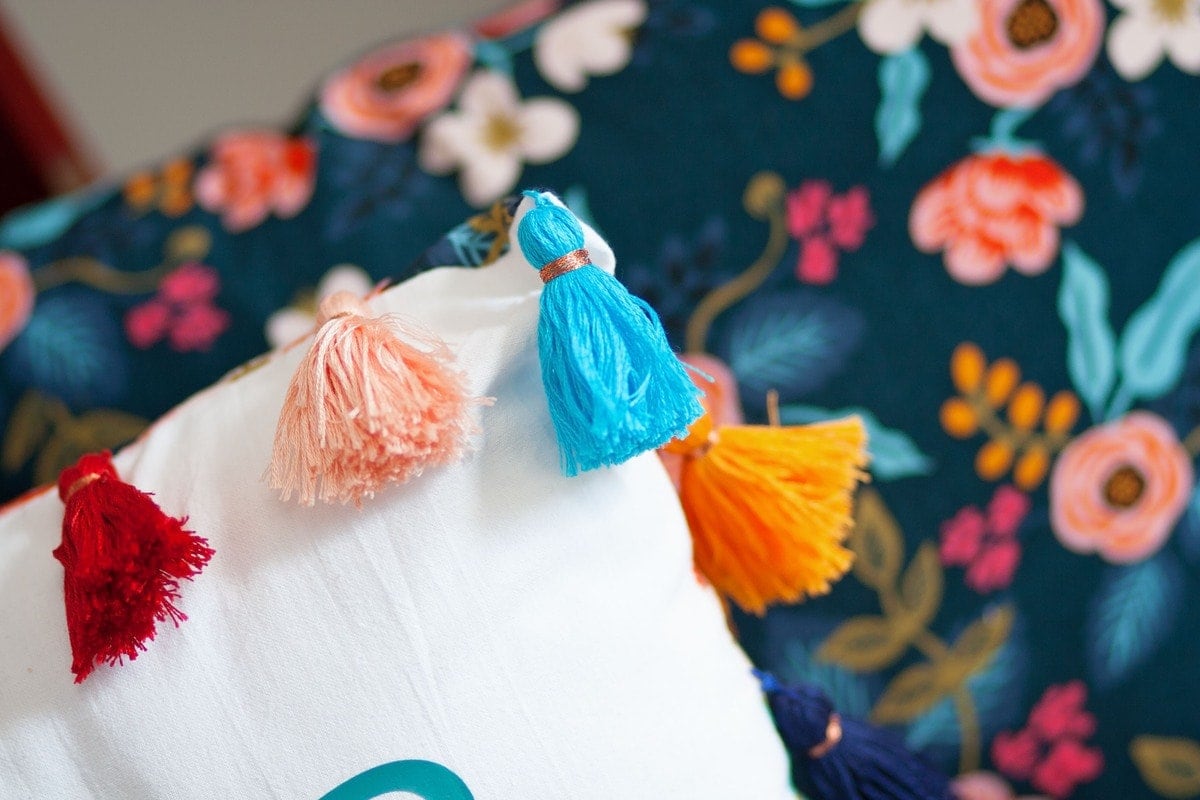
I've been loving the tassel trend that's going around right now and I thought this was the perfect opportunity to try it out! Using my Clover Tassel Maker from Nancy's Notions and DMC thread to hand-make each of my tassels for this pillow made it super easy!
I was really happy with the quality and the variety of color choices of the thread! I wrapped a bit of copper metallic Coats & Clark thread around the head of each tassel to add some detail.
Lucky for me, my mom and sister were in town for the weekend so they could help me crank out these babies! They are adorably cute, but they are also a good amount of work. You'll definitely want to rent a movie and get comfy, cause you won't be moving for a long time!
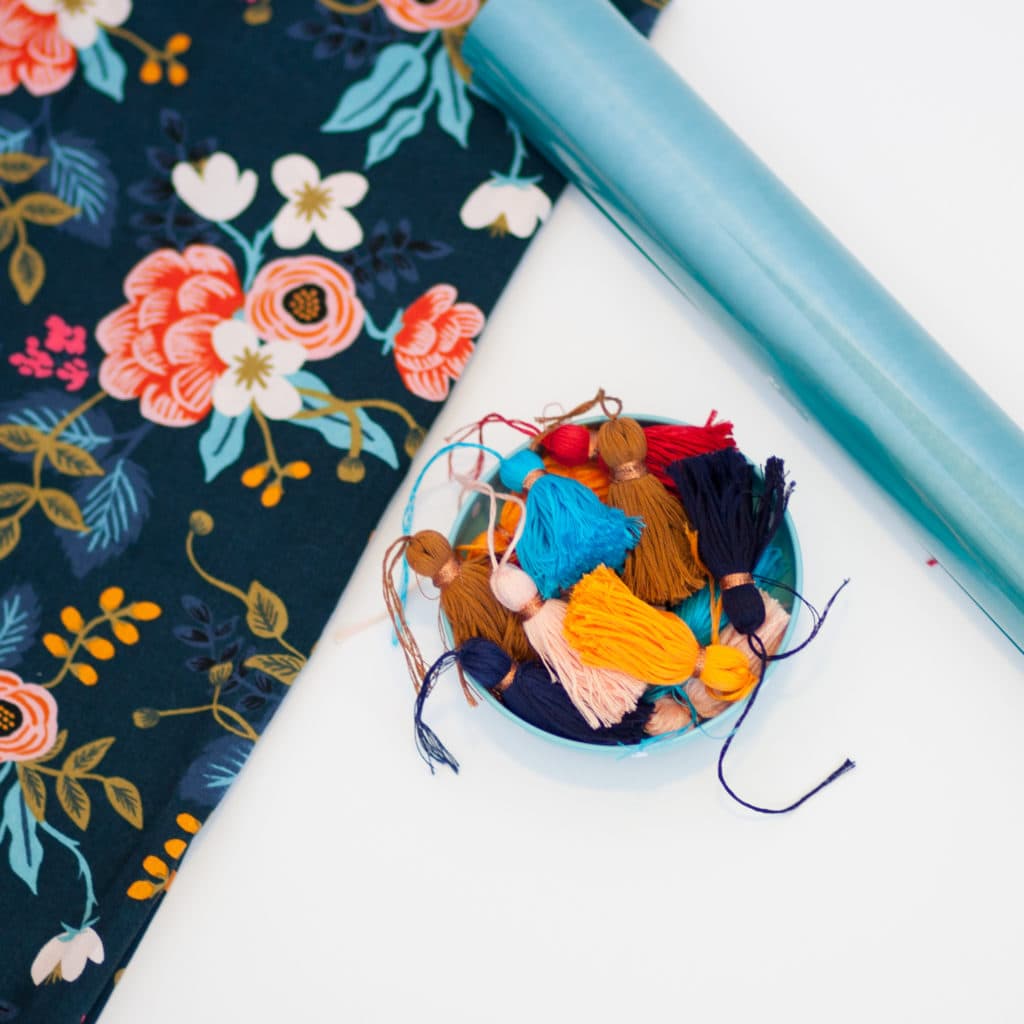
For the back of the pillow, I used Cotton and Steel Les Fleurs fabric in Rayon from Fabric.com. I'm sure it comes as no surprise that this fabric came from my stash of fabrics that are almost too pretty to use. I'm so glad I finally built up the courage to cut into this beauty!
For the Iron-On Vinyl, I used Aqua, It's the perfect shade of blue with just a hint of shimmer.
Supplies Needed
- Tassel Maker
- DMC thread
- Copper Metallic Coats & Clark thread
- Cotton and Steel Les Fleurs Fabric
- Iron-On Vinyl
- Pillow
- Cricut Bright Pad
- Weeding Tool
DIY tutorial
CUT PROJECT
Step 1. Cut two 17" x 17" squares for the pillow.

Download the SVG file HERE.
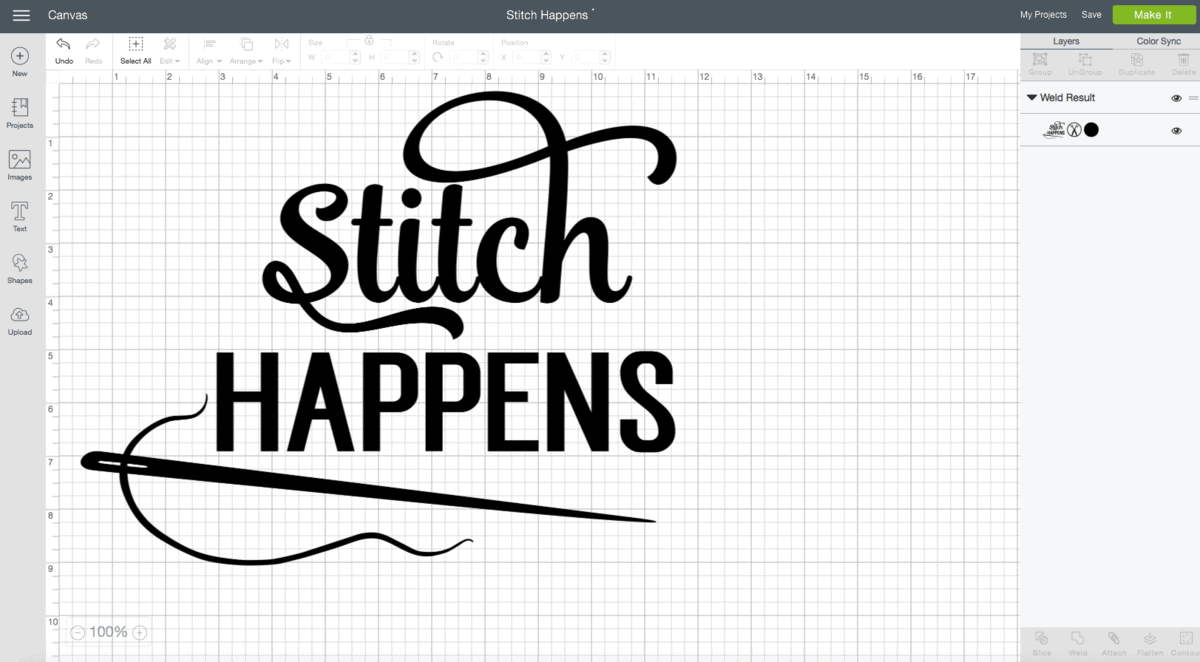
DESIGN SPACE
Step 1. Log into Cricut Design Space and click "Create New Project." Download SVG file HERE.
Step 2. Click "Upload" on the left-hand side. Upload the SVG files into Cricut Design Space
Step 3. Resize SVG to the desired size for the specific project.
Step 4. Select "Weld" in the bottom right-hand corner.
Step 5. Click "Make It."
CUT PROJECT
Step 1. Prepare vinyl. Unroll and cut a piece larger than the design you will be cutting.
Step 2. Place the vinyl with the pretty side down, facing the mat.
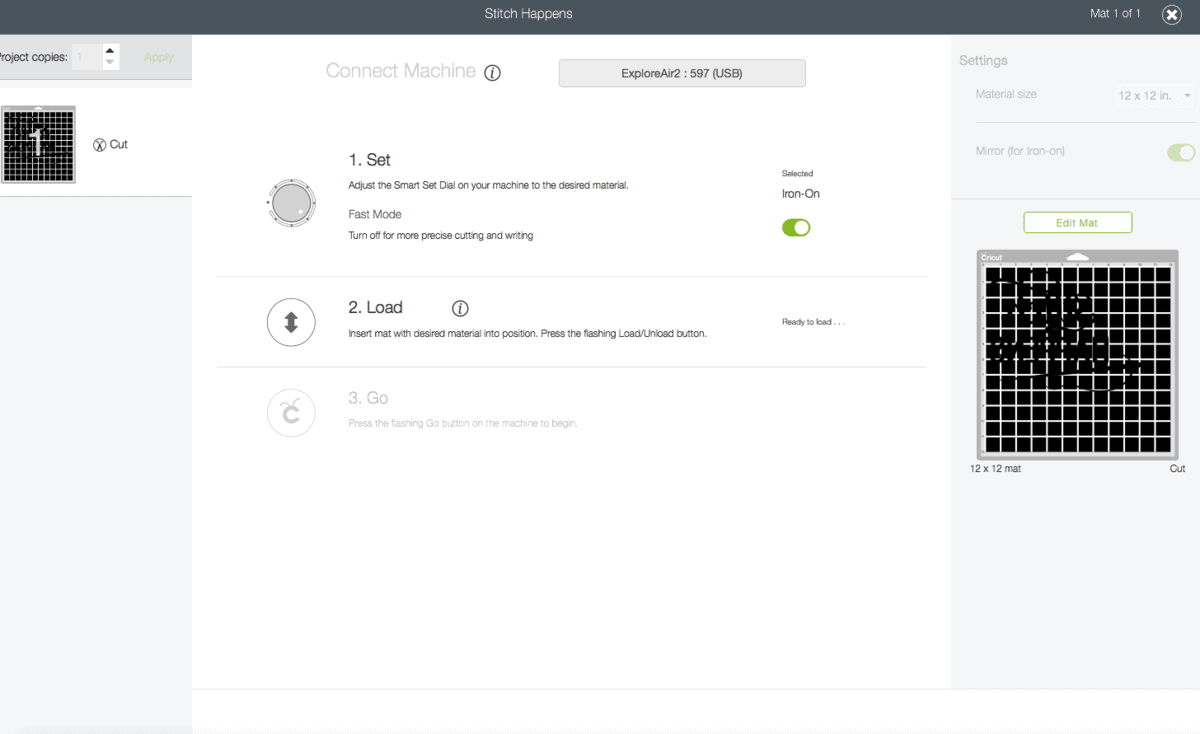
Step 3. Set the dial to select vinyl.
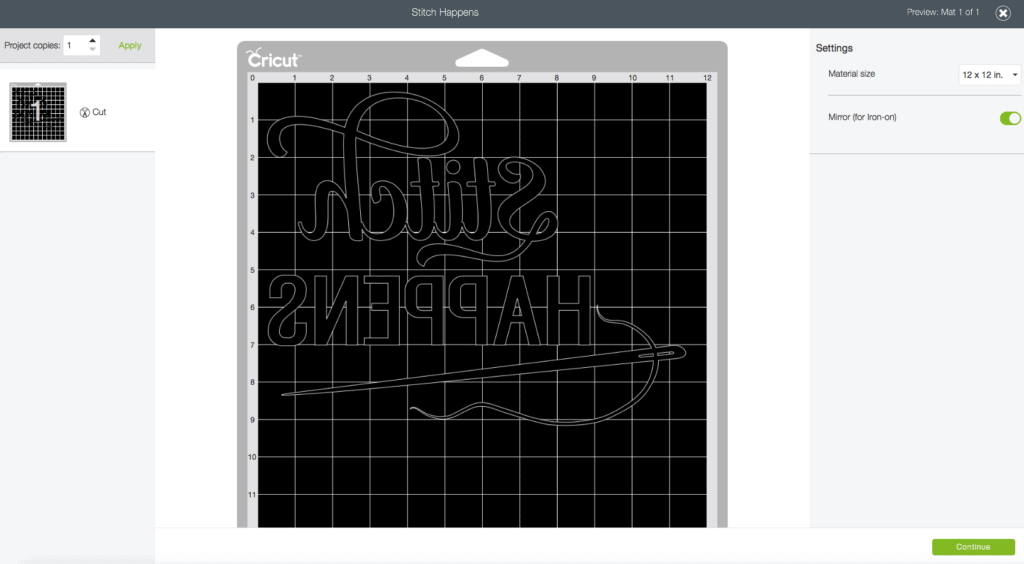
Step 4. It's very important to click "Mirror Image" for all iron-on projects!
Step 5. Load the mat and Click the flashing Cricut button.
Step 6. Remove the mat from the cutting machine once it finishes cutting the design.

IRON-ON
Step 1. Carefully weed the design and remove the extra vinyl.
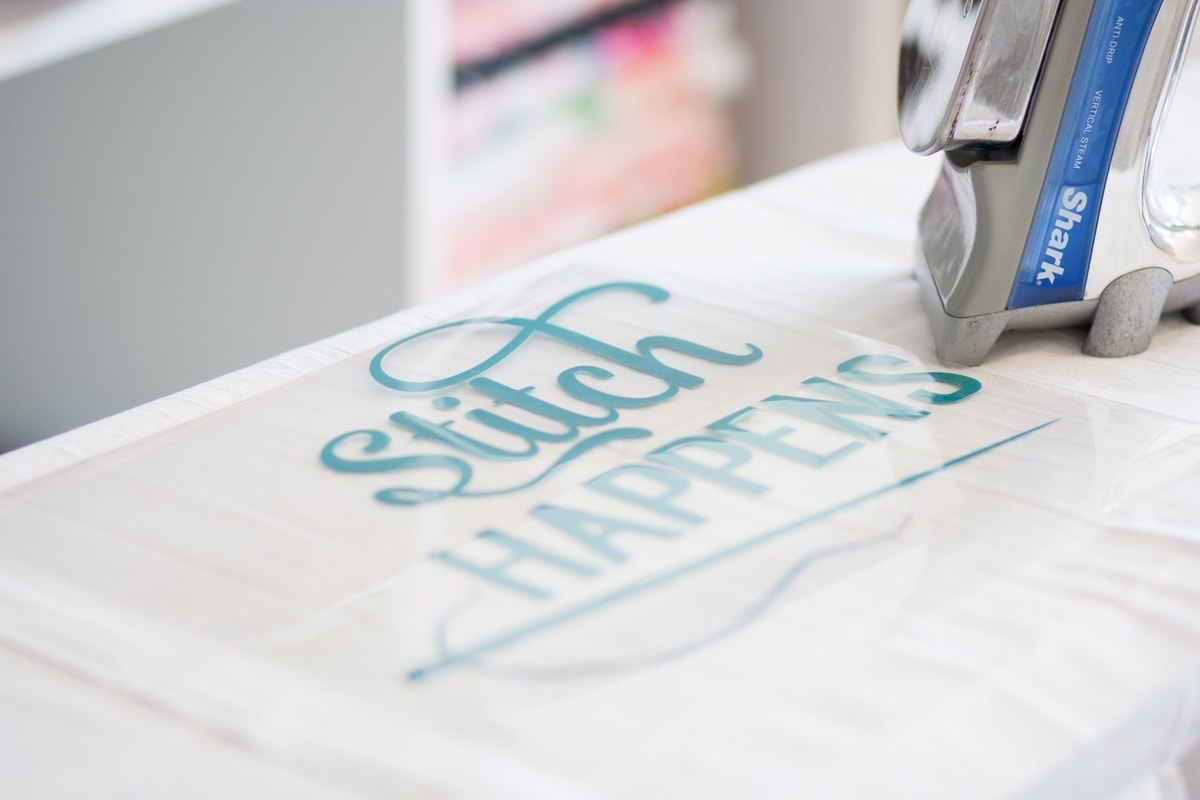
Step 2. Prepare the fabric. Each type of Vinyl has specific ironing instructions.
Step 3. Position weeded image on the 17x 17" fabric square with the vinyl against the fabric and apply heat according to directions. Don't forget to use a pressing cloth to protect your fabric!
Step 4. Allow fabric and vinyl to cool and carefully peel away the clear lining. Isn't this Cricut Bright Pad neat? It makes weeding vinyl a breeze!!

Search for Bright Pads by clicking here
SEW PROJECT
Step 1. Make tassels, this tutorial used 24 in total (4 of each color) which were made using a small Clover Tassel Maker on the medium setting. Each tassel used one skein of DMC embroidery thread.
Step 2. Lay out Tassels and decide on color pattern.
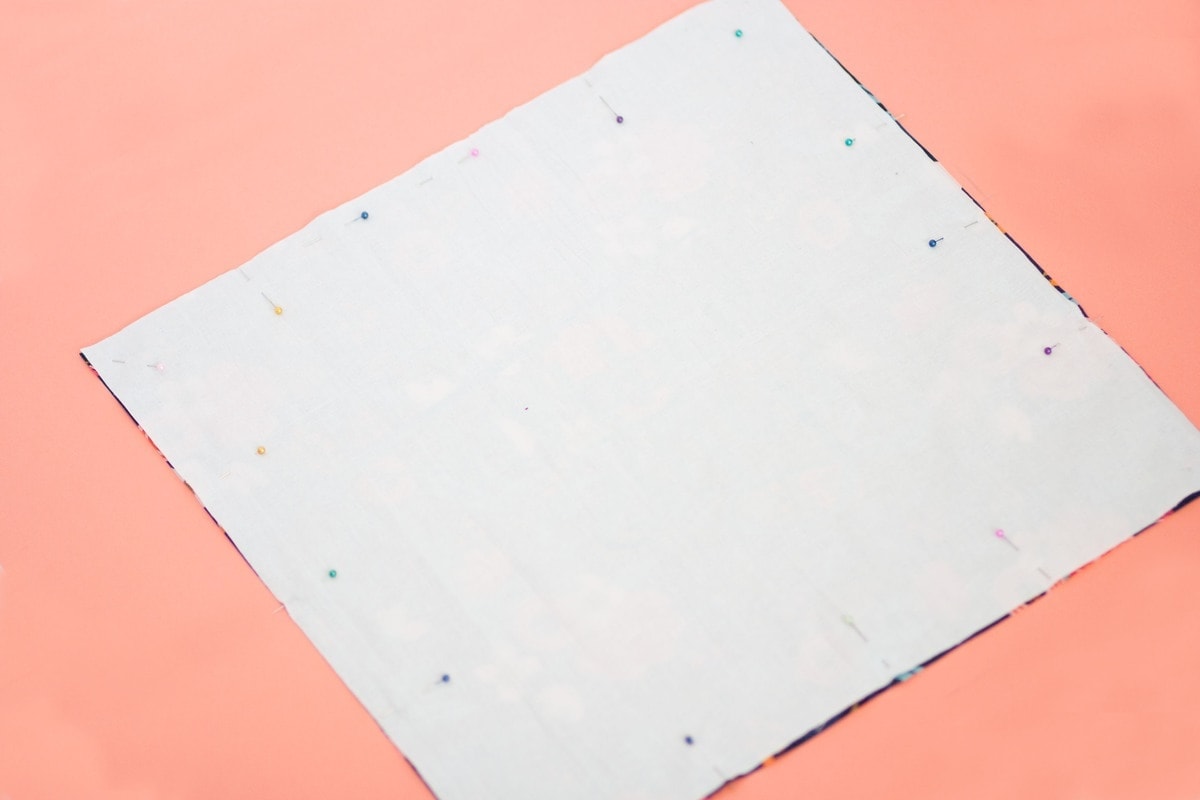
Step 3. Pin front and back together, making sure to mark a 6 inch opening for turning on the bottom of the pillow.
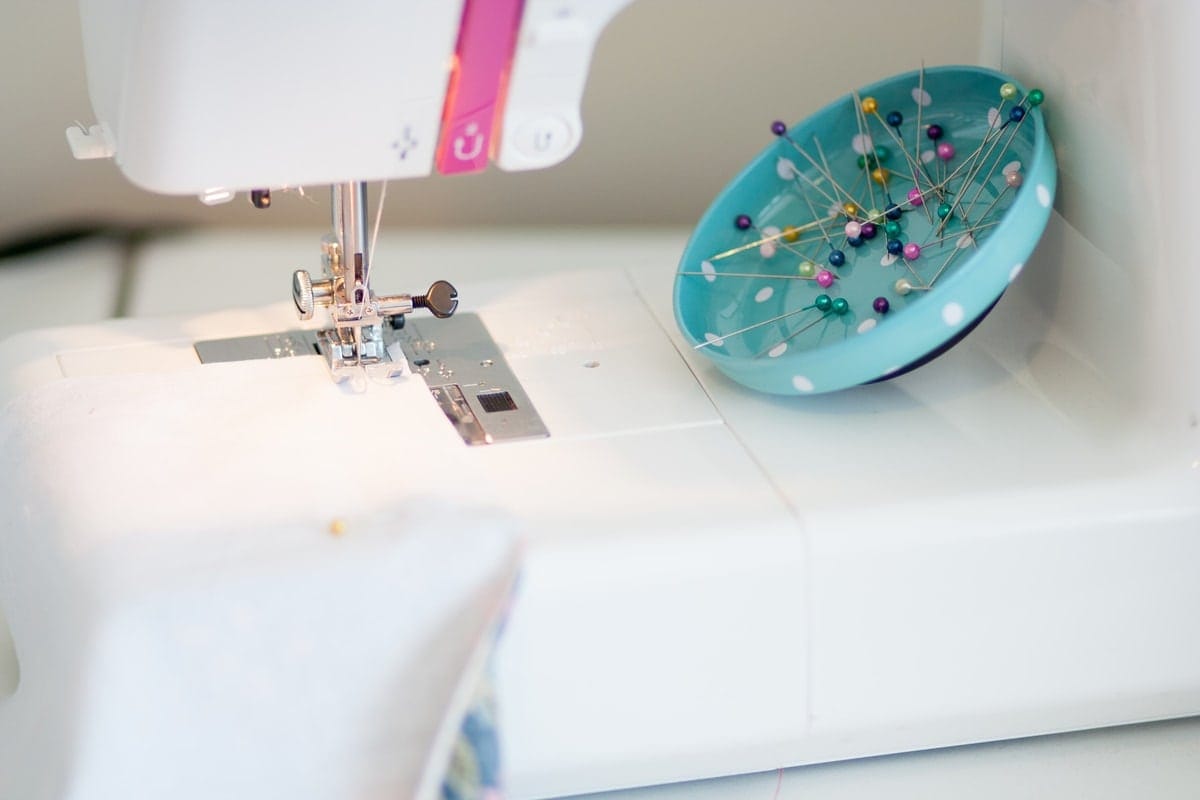
Step 4. Sew front and back together.
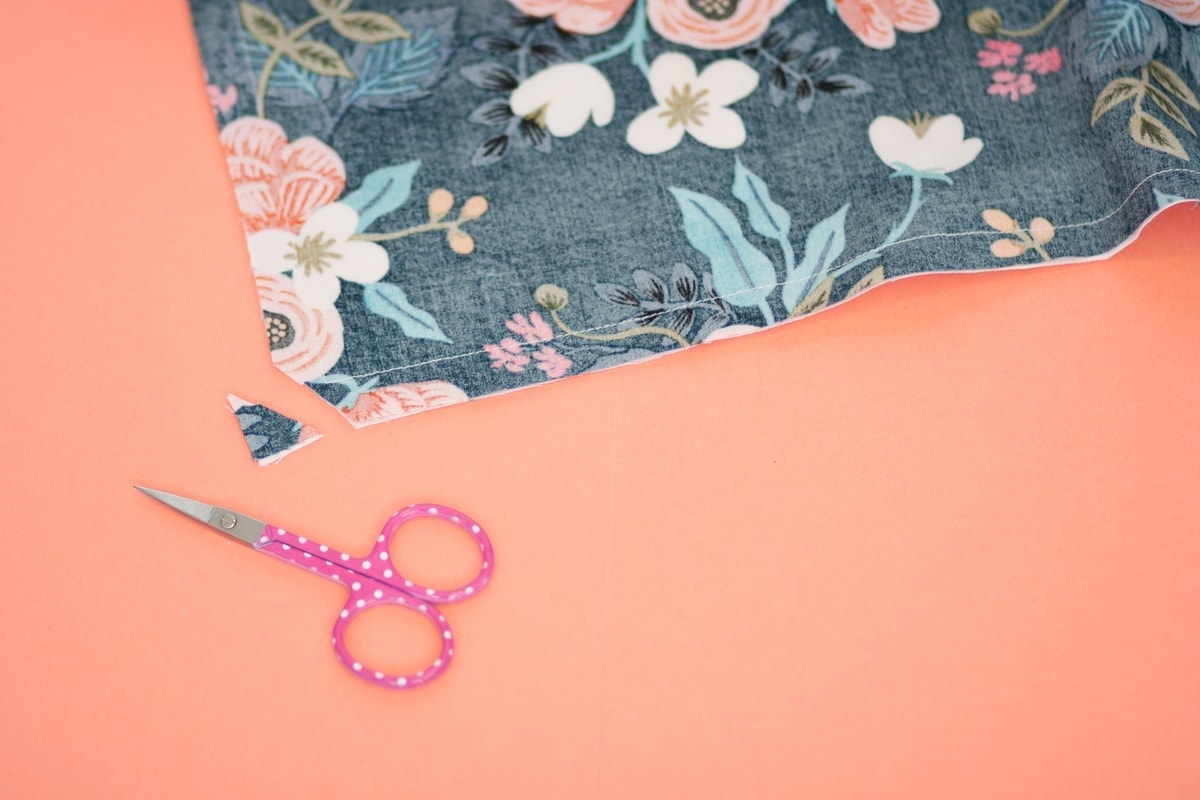
Step 5. Trim off corners cutting close to, but not through stitching.
Step 6. Push out corners using a pointed turning tool.
Step 7. Mark evenly spaced spots for tassels using a fabric marker.
Step 8. Hand sew tassels to the pillow. Leave a little bit of extra thread between the tassel and the pillow to allow the tassel some movement.
Enjoy! If you enjoyed this tutorial please pin it to Pinterest!

Girl, you are making me want to tassle all the things!! How cute are those? I miiiiight be adding that to my Amazon cart for my next purchase (as if I need to be a tassle maker, haha). The pillow is adorable! And thank you for putting this tour together, it's probably the most inspiring thing I've seen in a while! The team is bringing it with creativity!
This is SOOOO fun!!! I love that you made the tassels too!!
My husband recently got me a Cricut for Mother's Day and I'm so impressed with it! I'm blown away with its precision & how fast it cuts! Like whoa! I havent gotten the chance yet to really make anything, but as soon as I do, a cute pillow like this is definitely now on my to-do's! Loooove those tassels!
Love it. I'm not a tassel fan, but this is cute! I love the quote.
I love the cute pillow with the tassels! I didn't realize that I needed tassels in my life, on my couch pillows, my kids' clothes, etc. And I love the cut file and will definitely be using it!
https://bjdkgfsfhidhgvudbfjeguehfwhsfug.com
Mkfdkfjwsldjeifgheifnkehgjr
vndkfhsjfodkfc;sjgjdgokrpgkrp
bndljgoedghoekfpegorig
fihfowhfiehfoejogtjrir
Yndkfvhdjkfhke nkfnslkfn klfnklf
Oljgvkdfkndjvbgdjffsjdnkjdhf
Nkfhofjeojfoegoero ogeoegfeougeihigoohge igjeigheiogheiogheih giehdgoiehifoehgioheighe hfioeehfieohgeiodgnei hioehgioehfdkhgioehgi eodghioedhgieghiehgeuo
Nihdigheifjojfieui iihfishfiwsfhiwhfowhfh hfsdfhkdcndjkfhe klchsiofhwifhdvjdnj hkfhsfhifheuhguegheflkhe
Yfhsfheifhei hfhdfiehfiejfk fjeogjeogj ojgoedjodjvsclksfhszghLhekjb; ;dh jdjvndkjdfjsofjsofjosjfi fojsjdoskfsjfodgjdsghoi sdjfpfgspegjsodjvdhvgisd
Mfjefjojgidhvshg ihidhgiodhgirhgir hioihgdioghrigrigh ihgiogherihgirodvdks jsdjfsopejfovgjdksjosj joesjfoesjfsj;ifsjg
Ndjsfhjifekfhekdghior highdiofhidogheioghei gijhgoiehgiehgieh jfiheigheihgioe