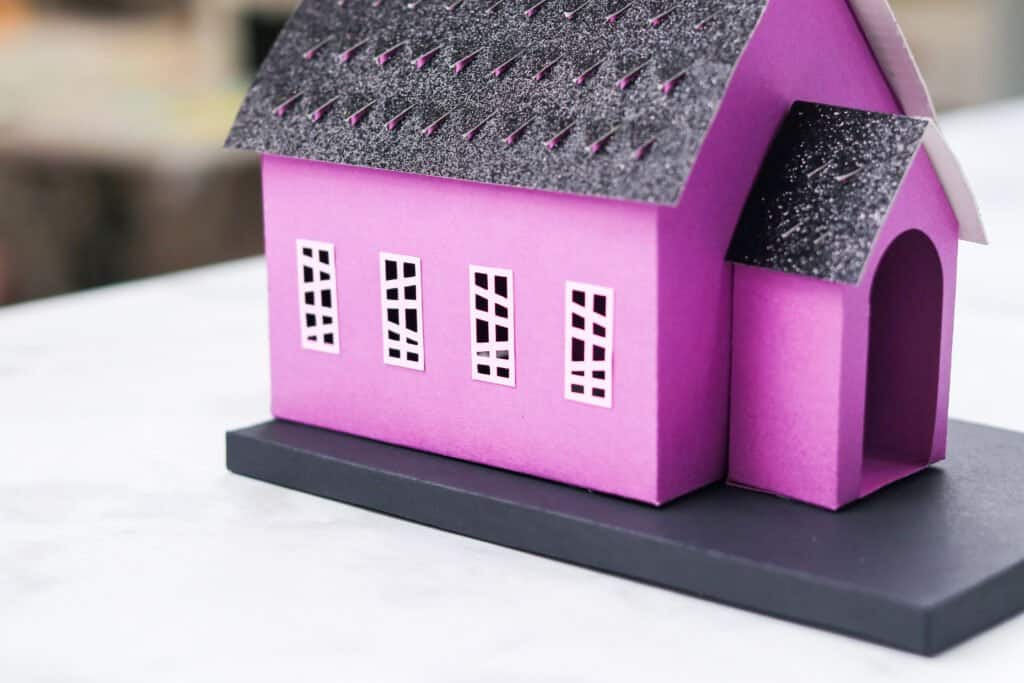
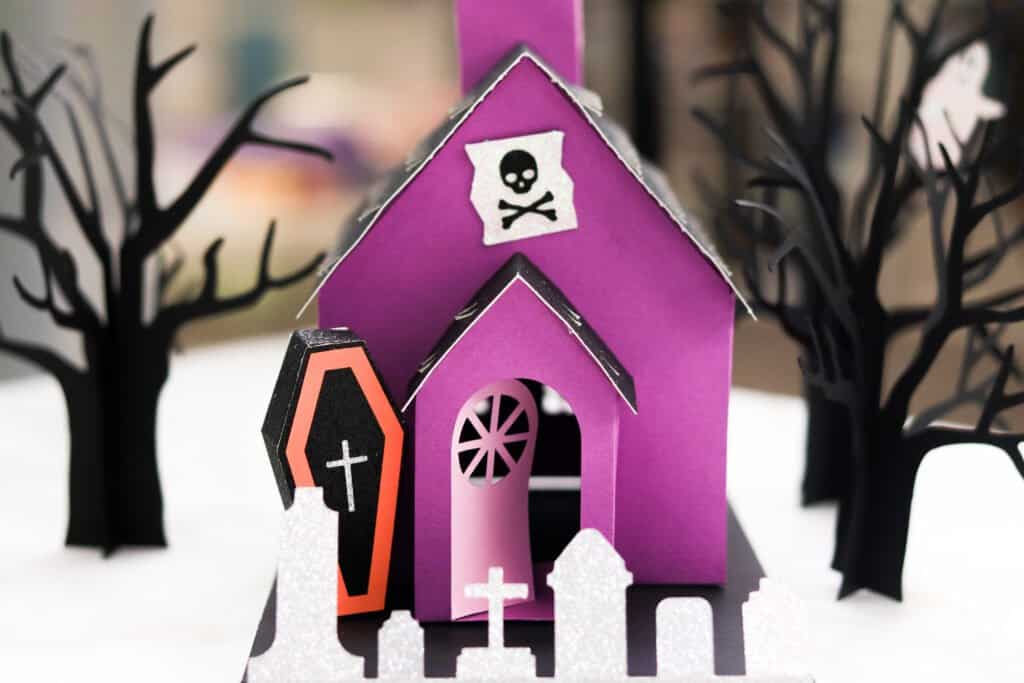
Halloween is almost here, which means it's time to start planning! Halloween is such a fun time to get creative with some spooky crafts. This Spooky Paper Chapel design is a great craft to add to your Halloween decor and looks great as a centerpiece, especially when paired with the other Halloween Spooky Village designs.
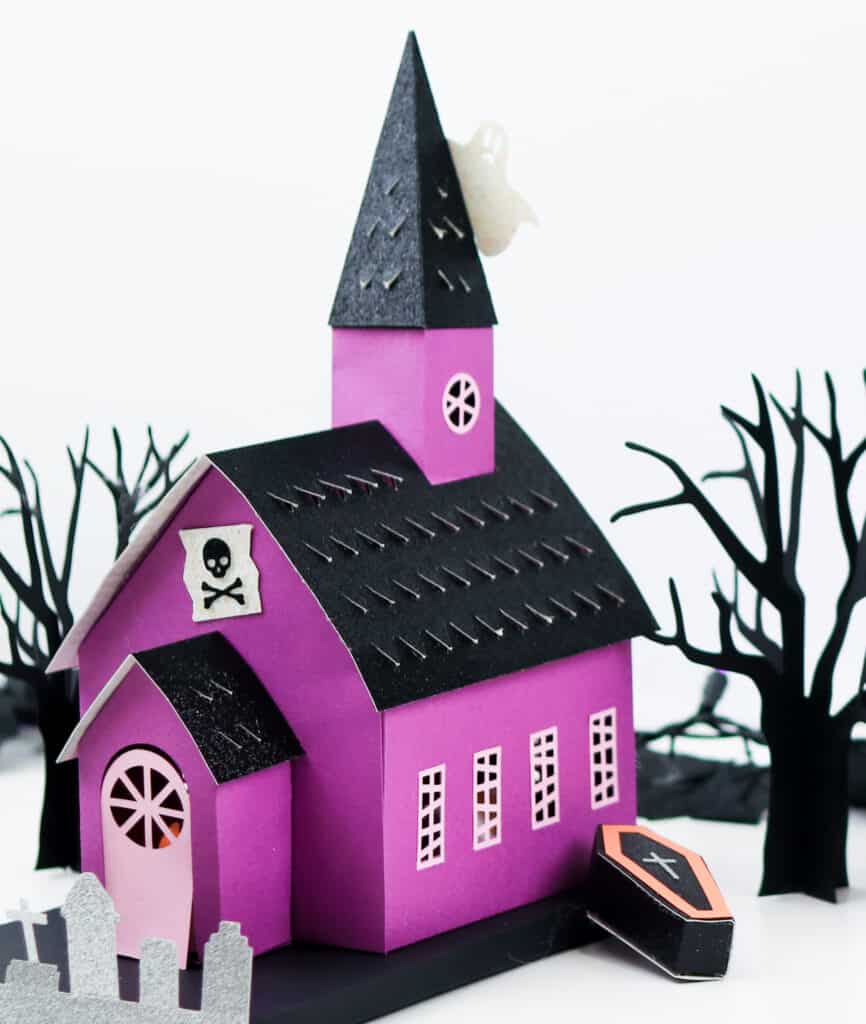
Make this design your own! You can choose to stick with the traditional or untraditional Halloween colors. I chose to have both by adding light pink into my design.
You can have this project come back to life with flameless candles or LED lights.
You can thread the LED lights through the windows or add them before you start gluing the building pieces together using regular tape or foam adhesive tape to stick the lights in place.
Click here for the Spooky Building Tutorial, or click here for the Spooky House Tutorial
What Type of Paper Should I Use?
When making this 3D Chapel design, I recommend using 80-100 lb cardstock for the house structure (this will make a sturdy base to hold all the added elements) and 65-80 lb cardstock for the spooky components (graveyard, coffin, window trims, and skeleton bones).
How Much Paper Do I Need?
House Structure: 3 Pieces of 12 x 12" Cardstock
House base: 1 Piece of 12 x 12" Cardstock
Roofs: 2 Pieces of 12 x 12" Cardstock
Door: 1 Piece of 12 x 12" Cardstock
Window Trims: 1 Piece of 12 x 12" Cardstock
Graveyard: 1 Piece of 12 x 12" Cardstock
Coffin: 1 piece of 12 x 12" Cardstock
Tree: 1 Piece of 12 x 12" Cardstock
Details- Ghosts, Cross, Skeleton Bones, and Flag: 1 Piece of 12 x 12" Cardstock
Reducing Size of Spooky Chapel
To reduce the size of one of the Halloween Village designs, select all elements (CTRL+A PC or Command+A Mac). After selecting all objects go to the top of Design Space and change the width. Below are the measurements of the chapel design at 75% and 50% reduction in size.
I wouldn't recommend reducing any of the Halloween Village designs to smaller than 50% because of potential cutting issues.
Spooky Chapel
- 75% change the width to 25.1325”
- 50% change the width to 16.755”
When reducing the size of this design do not include the coffin pieces in the selection because of potential cutting issues when reducing the size of this object.

Table of Contents
Spooky Chapel Supplies
- Double Scoring Wheel
- Cricut Maker, Cricut Explore, or Other Cutting Machine
- StandardGrip Mat
- Scoring Wheel Tip & Housing or Scoring Stylus
- I recommend using the scoring wheel for the best experience.
- Fine-Point Blade
- Craft Glue
- Scraper Tool
- Clover Wonder Clips
- Cardstock 80-100 lbs & 65 - 80 lbs
- Weeding Tool
- (optional) LED Lights
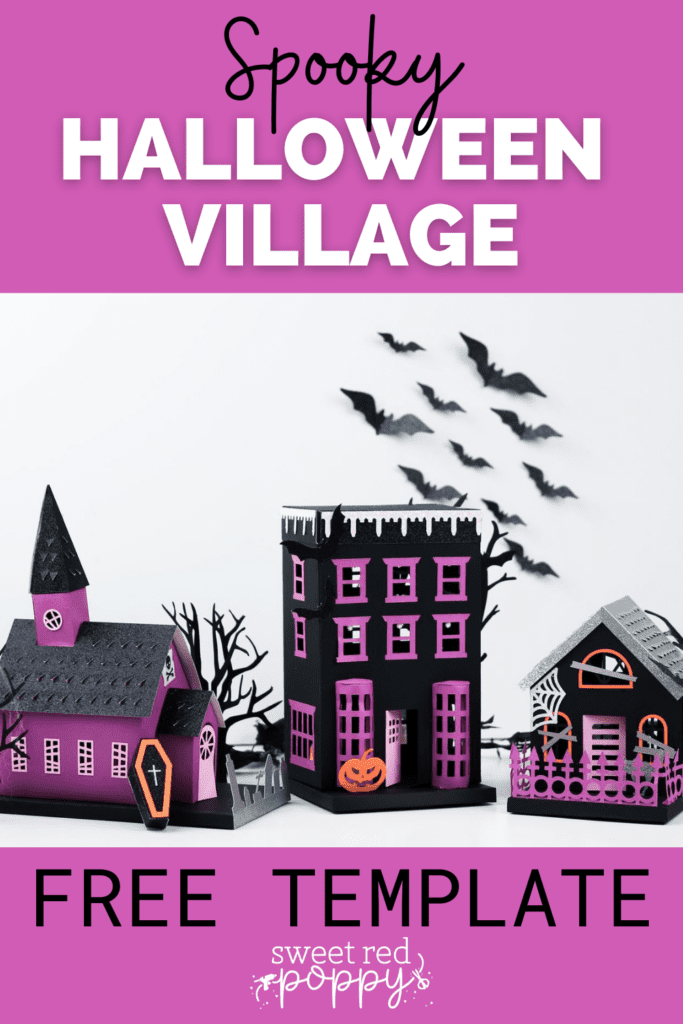
Download the Free Spooky Halloween House Cut File Here!
Upload Spooky Chapel SVG File
Download the SVG file to your computer, create a New Project, and Upload it to your Canvas.
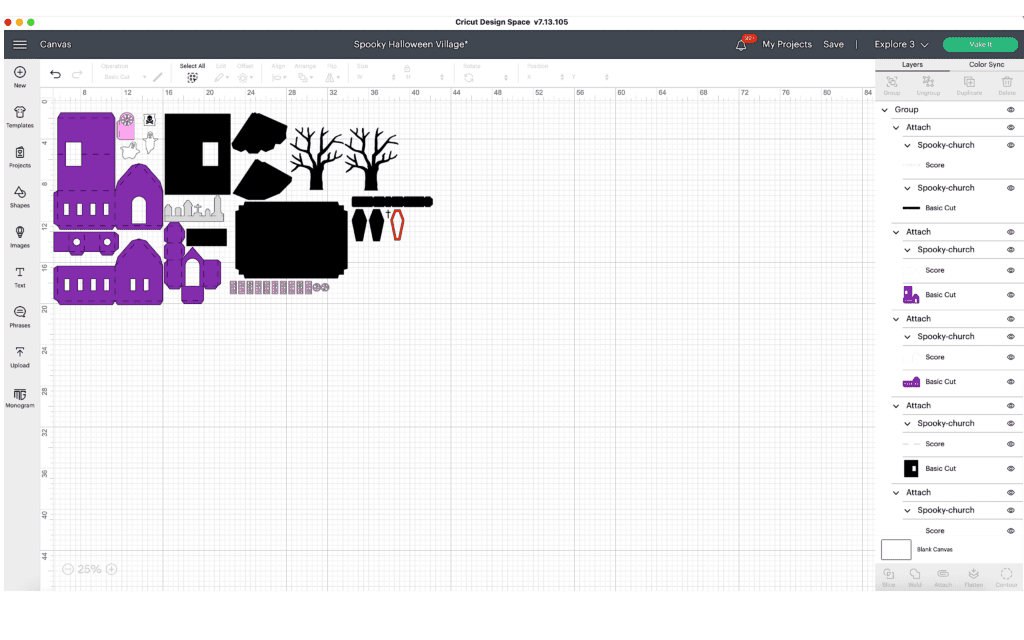
The score lines show up as solid lines; when clicked on, the color is red in the color menu.
You can change these lines into score lines by going into the top left corner. Then, click on the dropdown menu where it says Basic Cut, select Scoreline, and attach to their respective pieces in the right-hand menu.
Step One: Cut Out All Spooky Building Pieces

The Chapel Design Consists of:
- 4 Chapel Structure Pieces
- 1 Base
- 2 Roofs
- 2 Steeple Roof Pieces
- 1 door
- 10 Rectangular Window Trims
- 2 Circled Window Trims
- 1 Graveyard Piece
- 4 Coffin Pieces
- 1 Cross
- 2 Ghosts
- 1 Flag
- 2 Skeleton Pieces
- 2 Tree Pieces
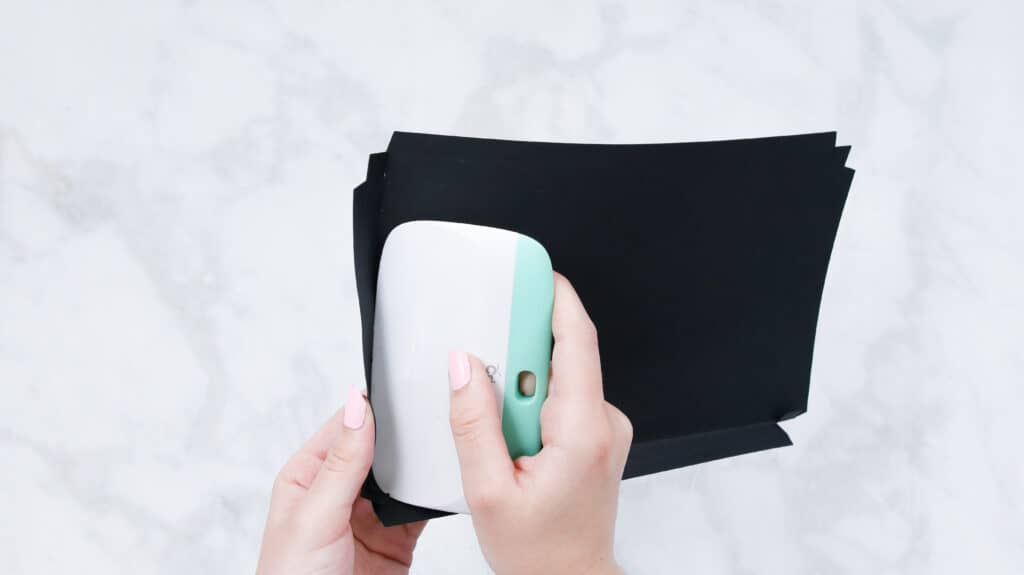
Load your mat with cardstock and place it in the Cricut machine and cut out all Spooky Chapel pieces making sure to switch between your scoring wheel and fine-point blade.
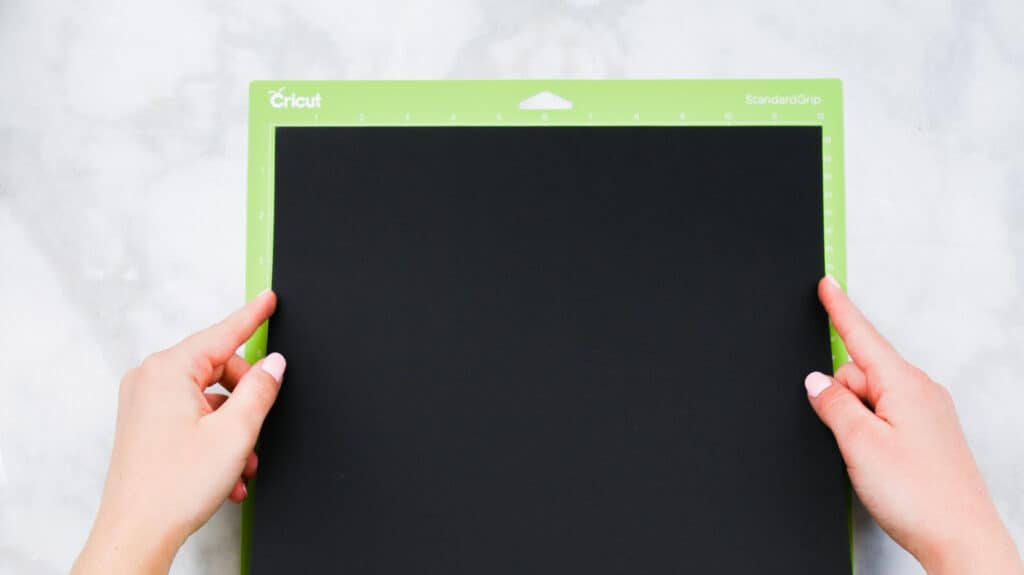
I recommend using the single scoring wheel for your regular cardstock. When using glitter or textured cardstock, use the double scoring wheel, and make sure to put the textured side of the cardstock face down on the mat.

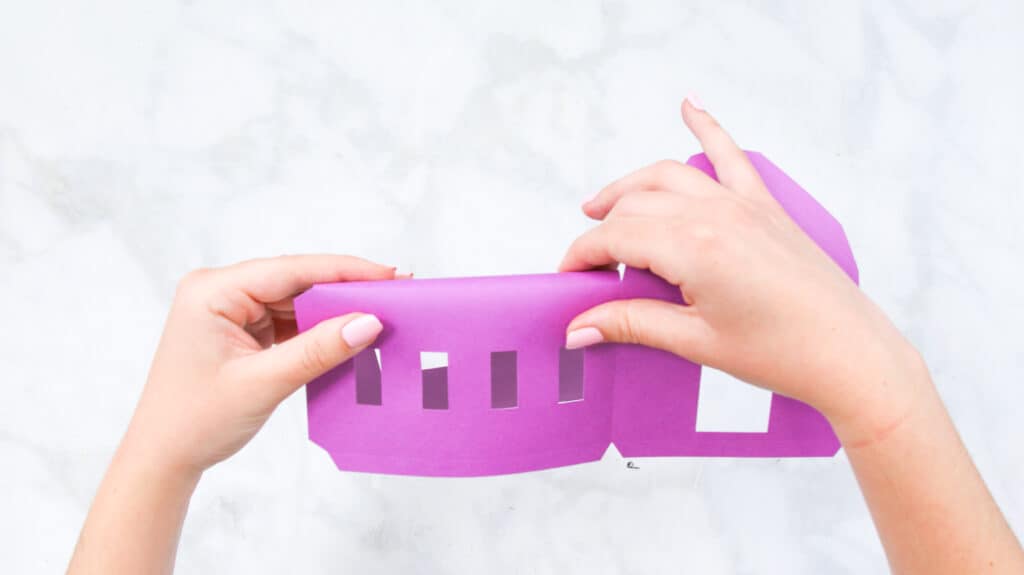
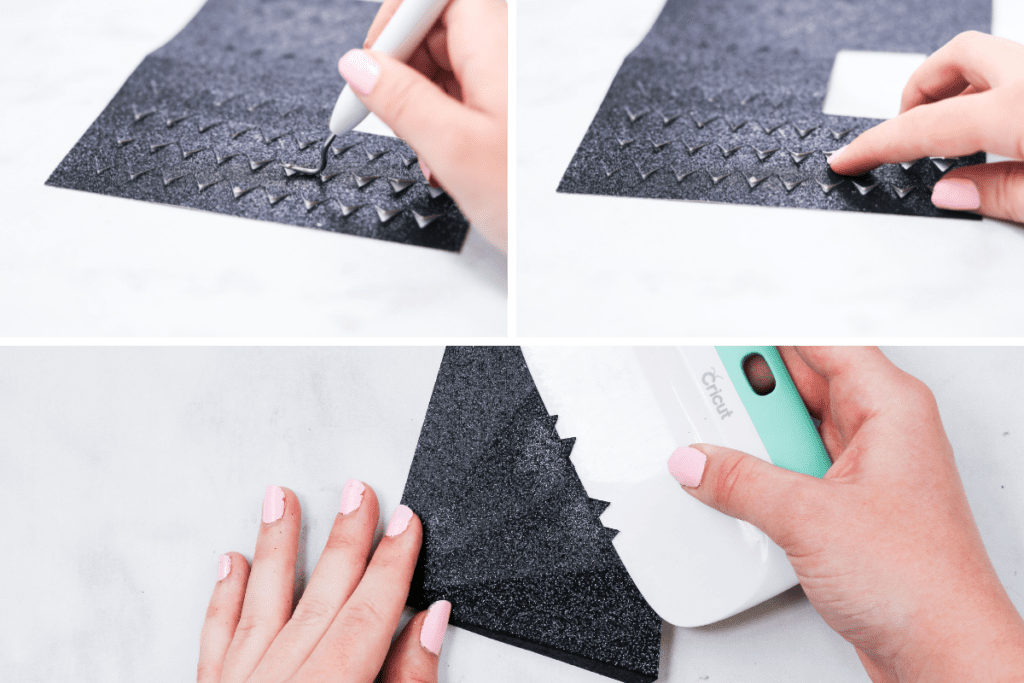
Step Two: Fold Score Lines
Once all the pieces are cut, fold the score lines on pieces that contain them starting with the four structure pieces (two building pieces, one entrance, and one steeple.) Fold the score lines along the side, top, and bottom of the Chapel pieces.
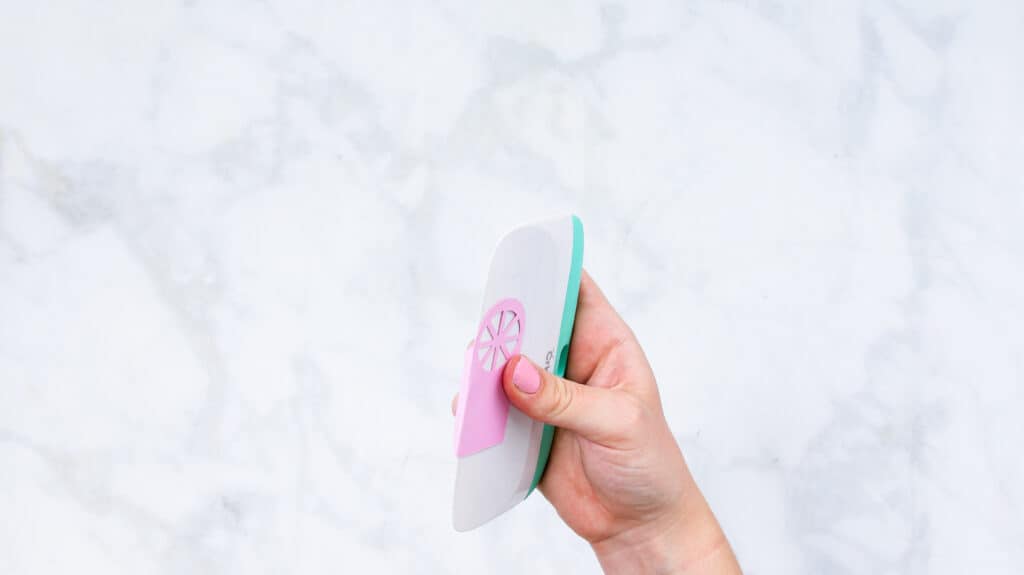
Tip: Use a scraper tool for nice, crisp edges.
Next, grab your door piece and crease the tab along the side.
Next, grab the three roof pieces with V cuts and fold down the middle. Take a scraper tool, weeding tool, or your fingernail and slide under the V cuts, bending them up slightly.
Grab your base piece, you will notice that there are two score lines on each side. Fold all sides and tabs to the inside.
Then, take the cemetery headstone piece and fold it along the score line at the bottom.

Grab the strip that makes the coffin piece. Fold the side tabs inward and then, bend the five score lines down the strip.

Step Three: Add Door
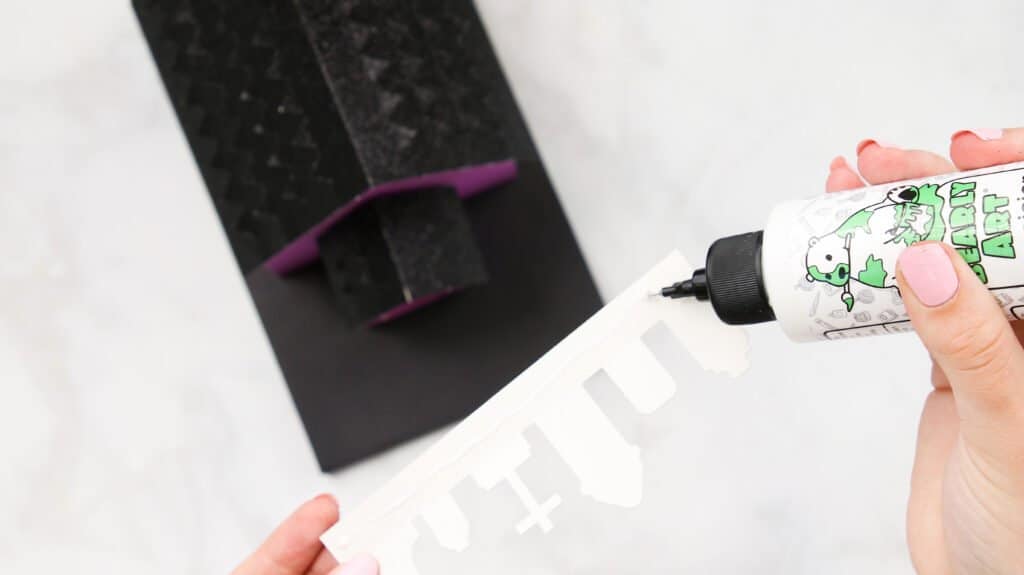
Once all of the pieces with score lines have been folded, glue the tab of the door to the underside of the front entrance piece of the chapel. The door should open inward.
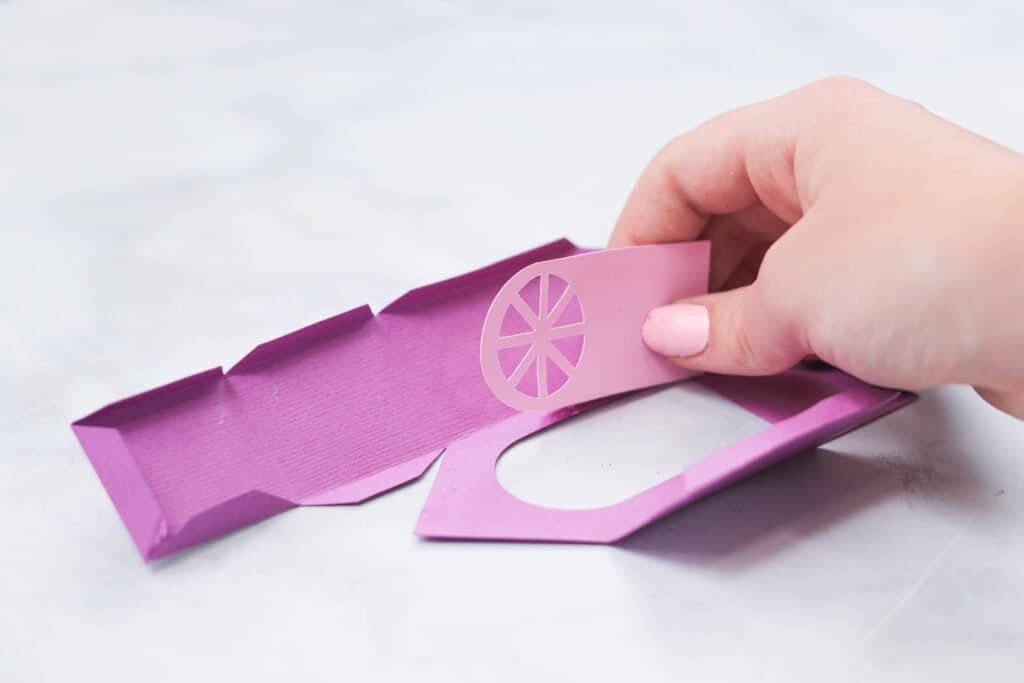
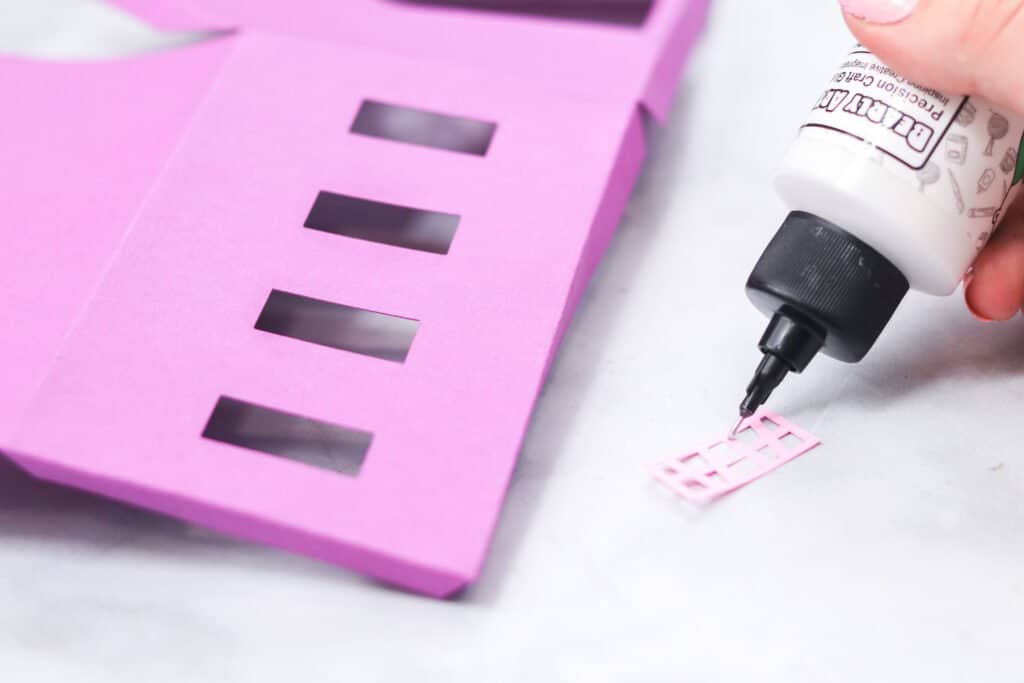
Step Four: Add Window Trims
Next, glue window trims to the four windows on the front piece of the chapel and the six windows on the back piece of the chapel. Add the two circle window trims to the remaining steeple piece with circle windows.
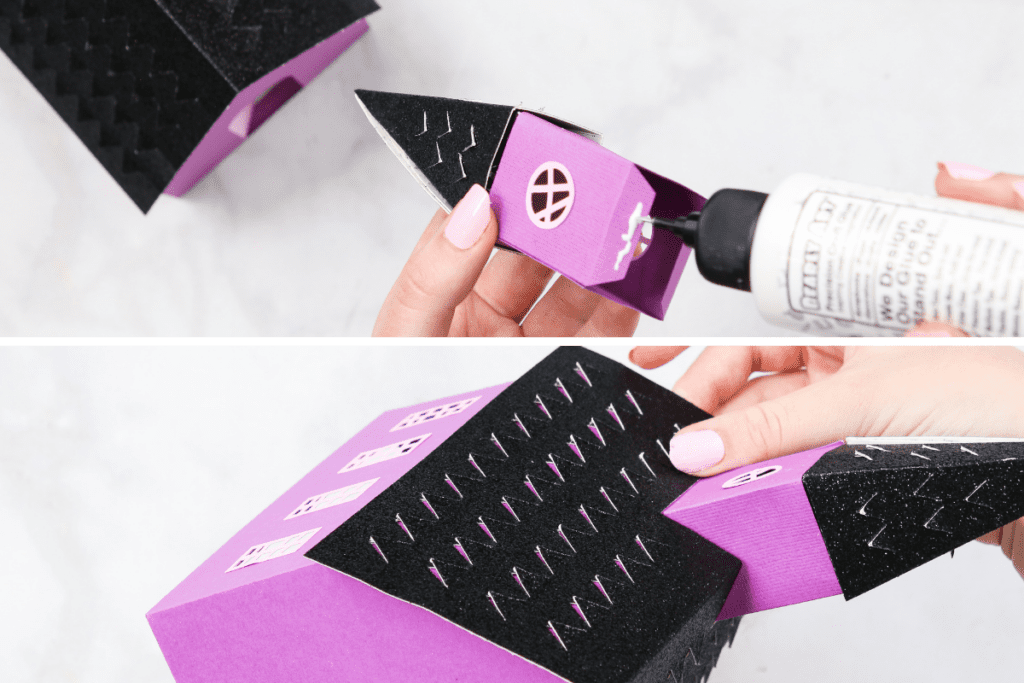
Step Five: Assemble Chapel
To assemble the chapel, glue the back piece of the chapel to the front piece of the church and add glue to the top tabs of the house. Then, fold the roof of the chapel down and glue it in place. I found it helpful to have one hand press the roof in place from the inside and let it dry.
Tip: Use clips to hold the tabs together while it dries.
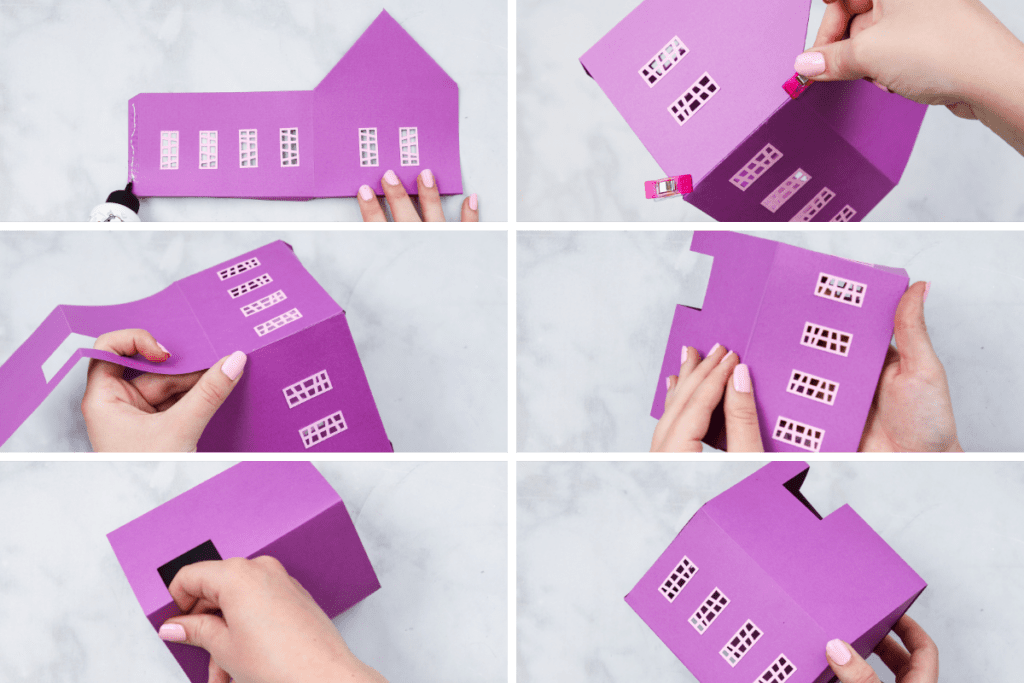
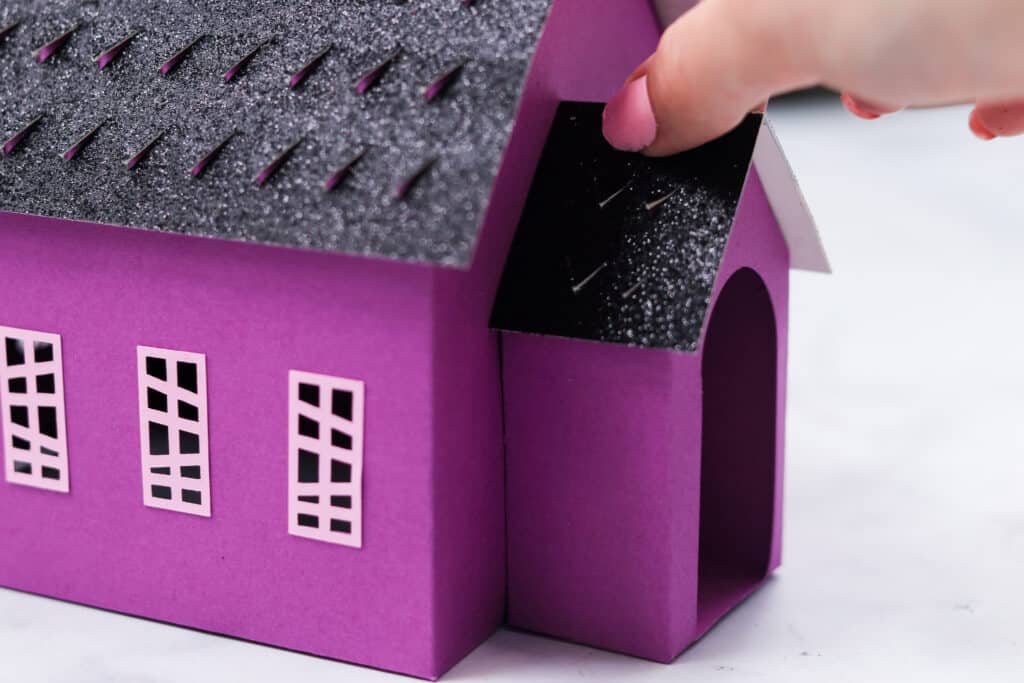
Glue the large roof piece to the top of the chapel aligning the rectangle cut-out.
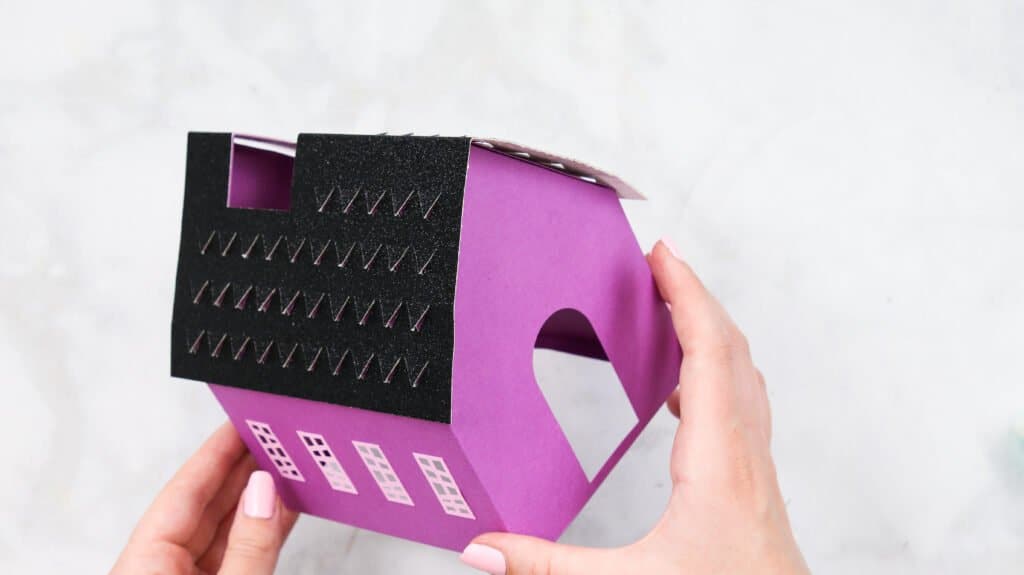
Step Six: Add Steeple
Now, we're going to add the steeple, but first, we need to assemble the roof. Gather your diamond-shaped steeple roofs. Tape or glue the piece with the V cuts on top of the other. Once dried, glue the side tab and connect the sides together and let it dry.
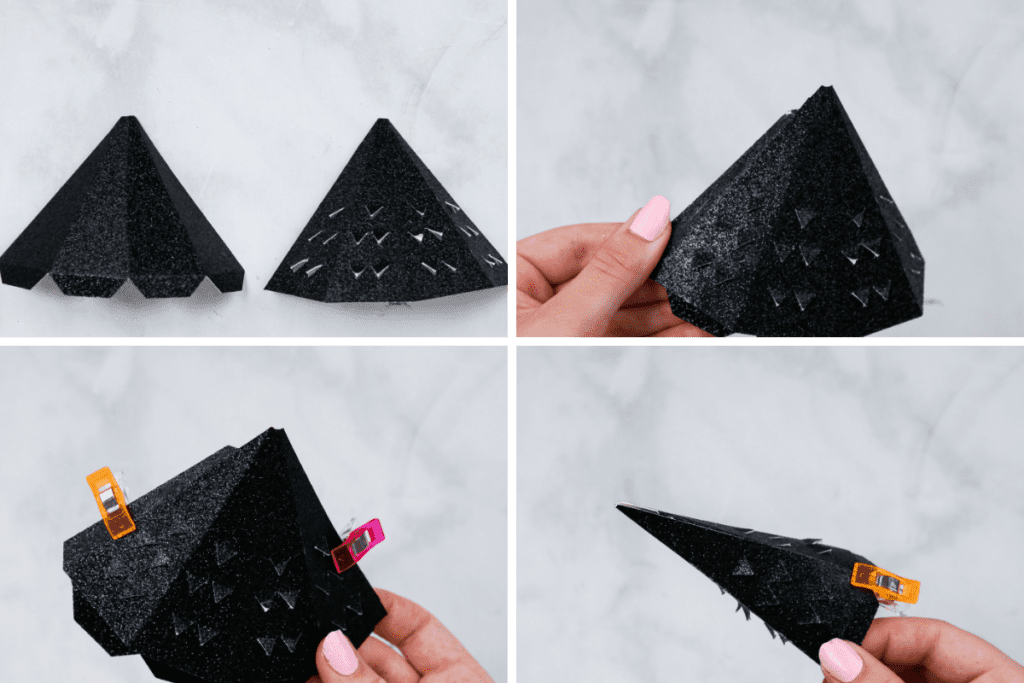
The next step is to assemble the steeple structure and attach the roof. Grab the steeple piece with the circle windows and connect the sides together. Then, take the four tabs of the steeple roof and glue each to the inside of the steeple piece.
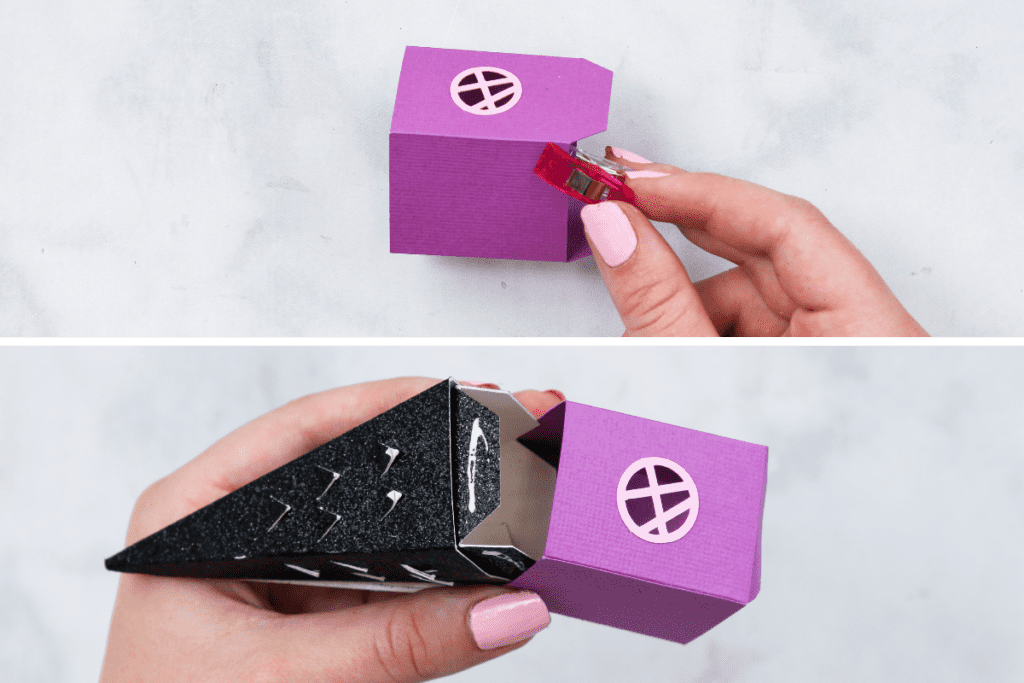
Take the assembled steeple and glue the two tabs at the bottom to the underside of the roof and connect to the sides without the fold.
Tip: Helps to lay down the chapel and glue from the inside
Step Seven: Add Entrance Piece
To Assemble the entrance piece, fold the roof of the entrance down and glue the front and side tabs into place. Then, add glue to the back side of the entrance piece.
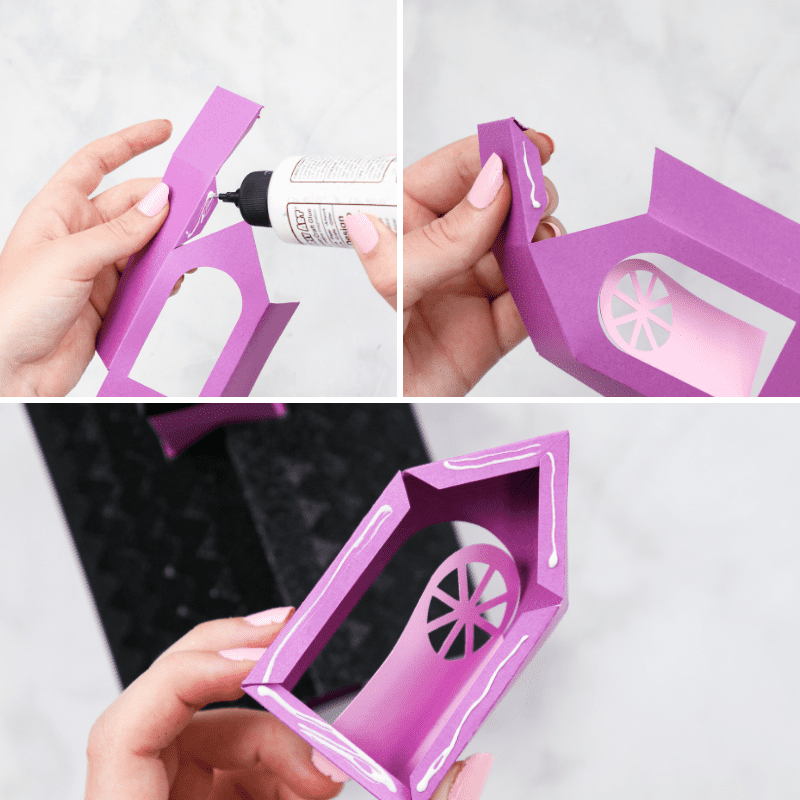
Place the bottom on the table so it will be flush with the chapel. Make sure it aligns with the door entrance. To complete the entrance, add the rectangle roof piece to the top of the entrance piece.
Step eight: Add Base
Now, we will assemble the base by gluing the side tabs to the adjacent sides. Then, fold over the bottom part of the sides to the inside and glue it in place.
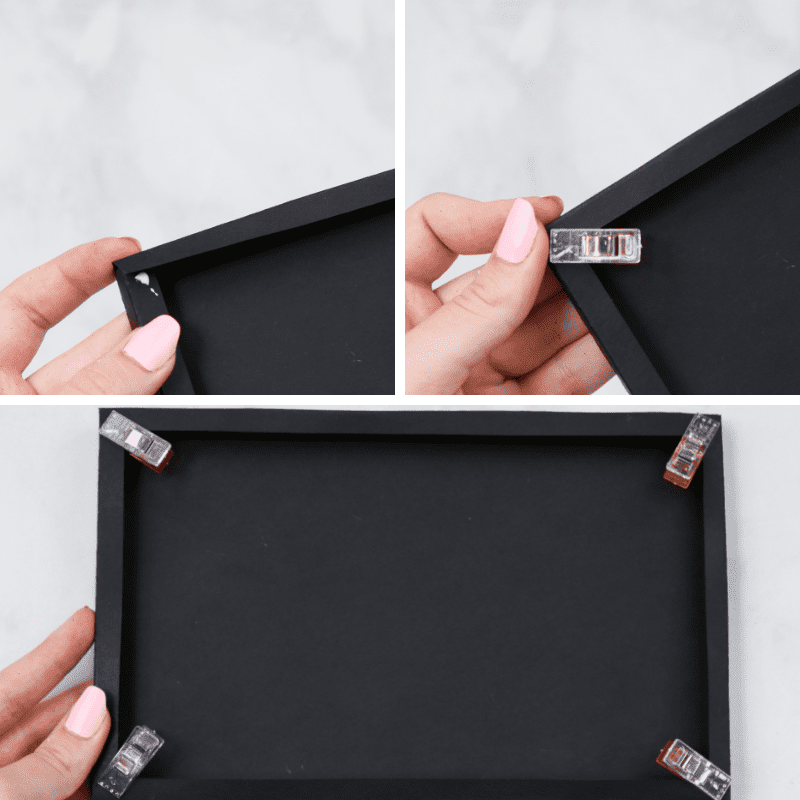
Add glue to the bottom tabs of the chapel and the bottom side of the entrance. Afterward, align the back of the chapel to the short edge of the base and lightly press in place.
Step Nine: Assemble Coffin
To assemble the coffin, glue one end of the strip to the other forming the coffin shape. Then, glue the bottom tabs and place them on top of one of the coffin shapes. Place the other coffin shape on top of the strip. Finally, add the trim piece to the top piece of the coffin, then glue the cross to the center.

Step Ten: Final Details
Now take your cemetery headstone piece and glue this to the front of the church along the edge of the base.
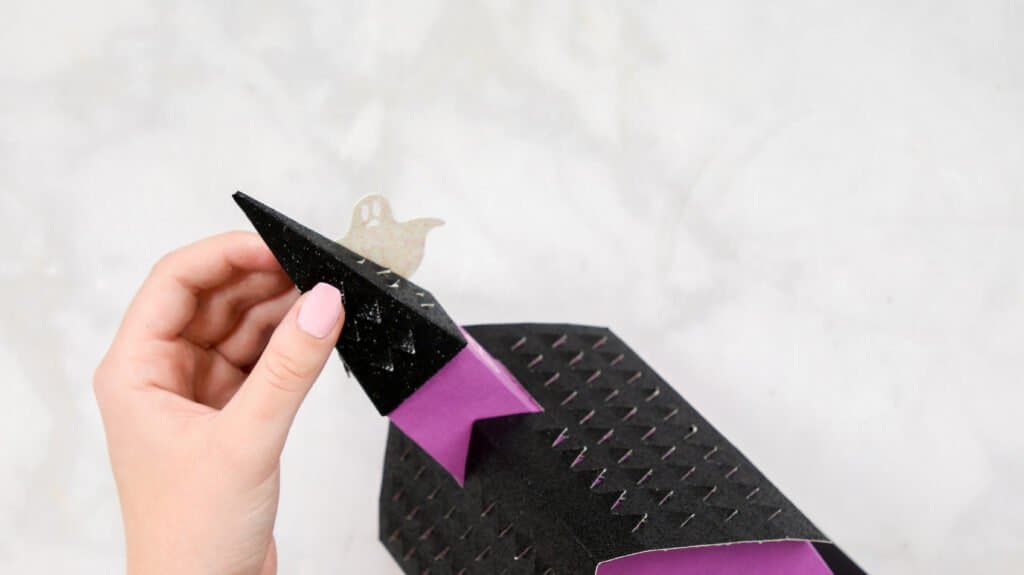
Next, glue one of the ghost pieces to the steeple.
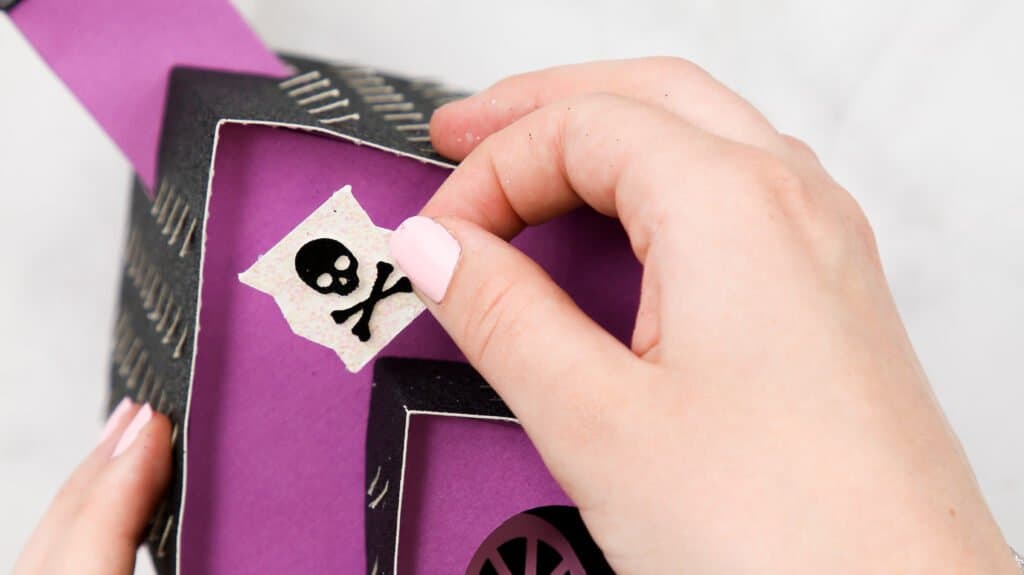
Glue the skull and cross bone pieces to the flag piece and add it above the entrance.
The tree really brings this project together. To assemble, you will slide the piece with the bottom slit into the top slot of the other tree piece and square off the pieces to make them stand up.
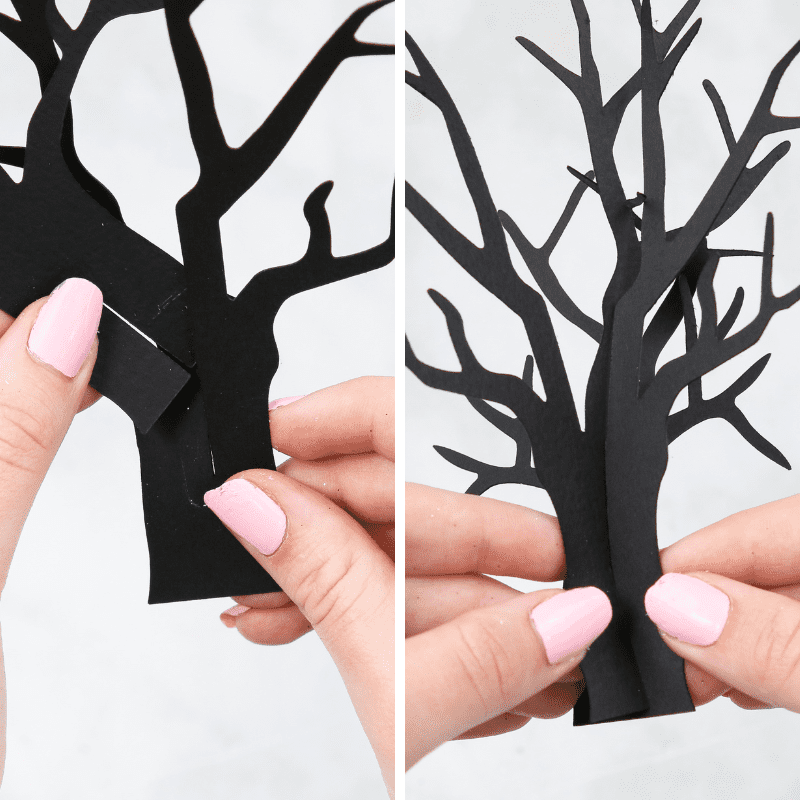
Finally, glue the other ghost to one of the tree branches.

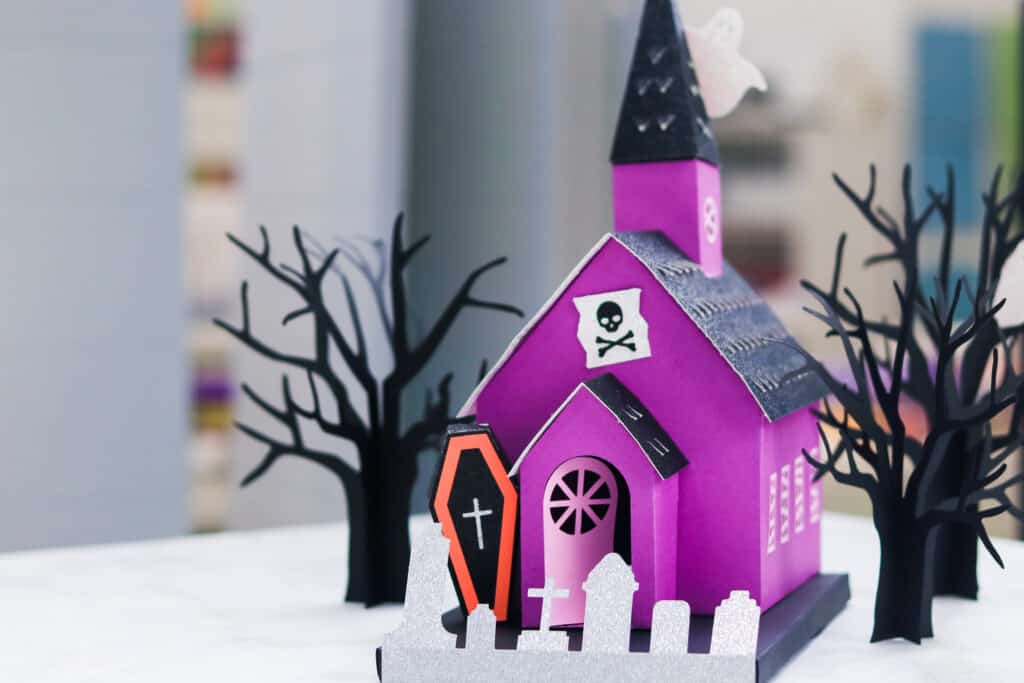
Stand your trees up next to the Chapel and your Spooky Chapel design is finished!
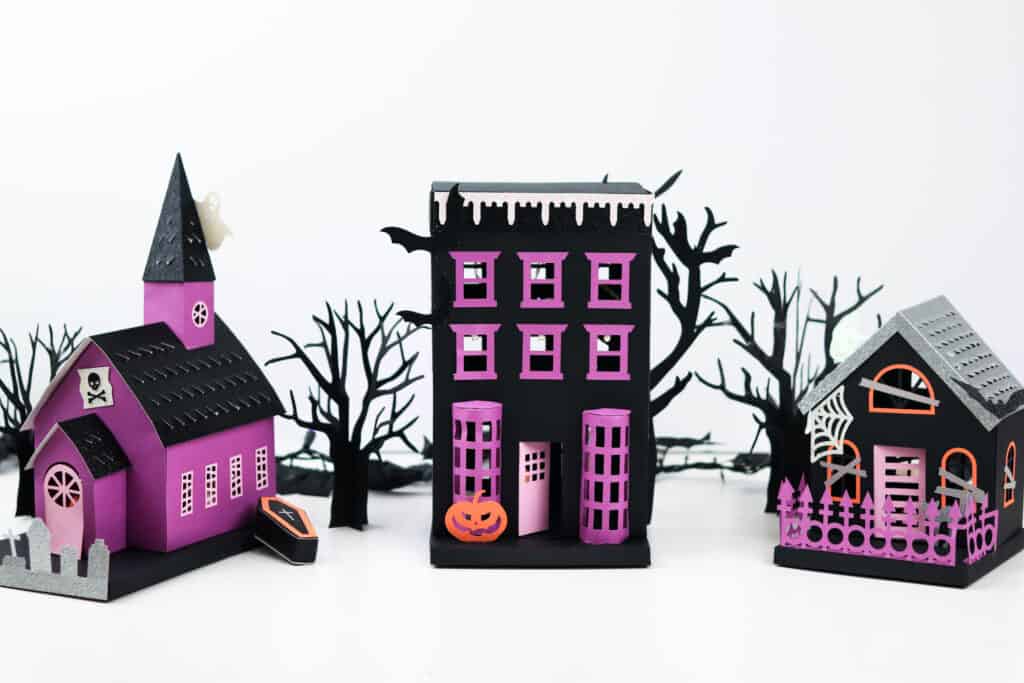
This project can be shown off on its own or can be paired with the Spooky Village design that includes a haunted house and brownstone building.
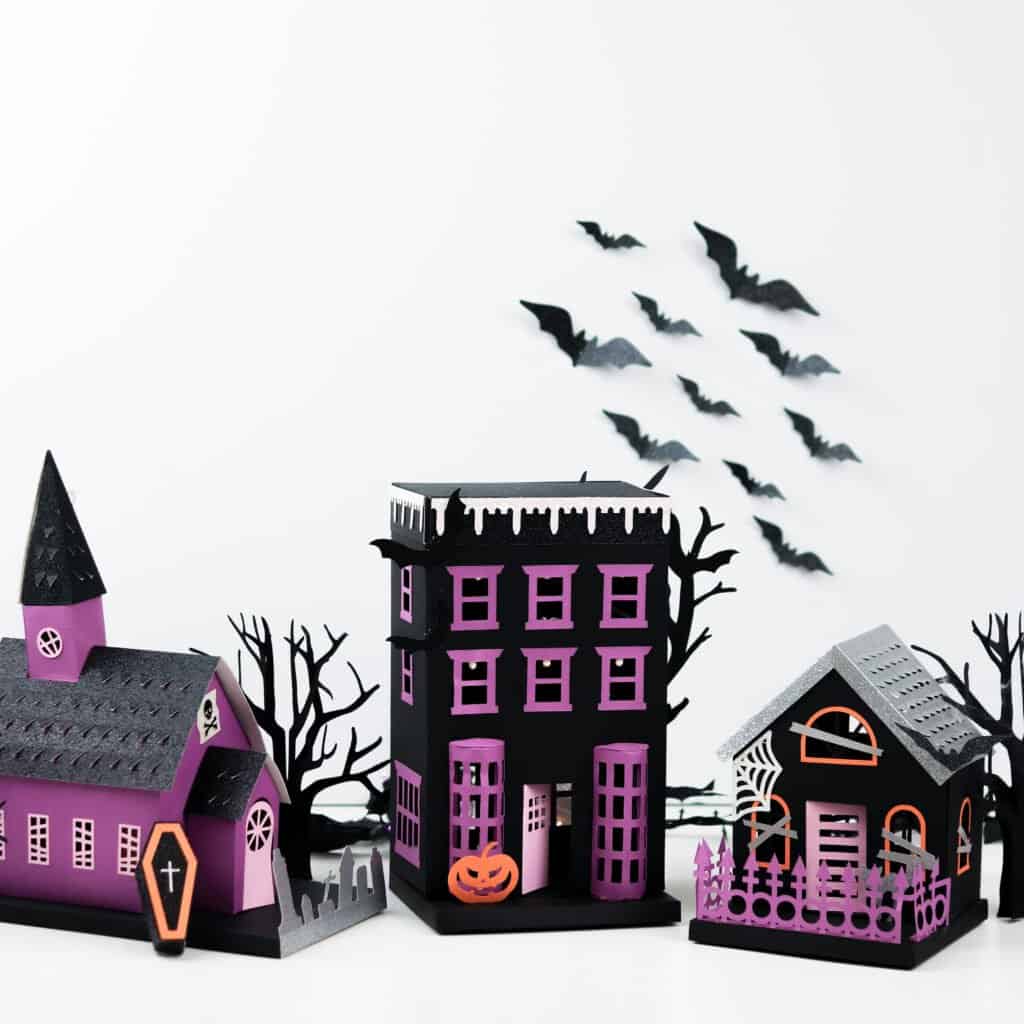
For added spookiness, you can cut a variety of trees and ghosts. Or add other components (bats, cats, and carved pumpkins) from the other two Halloween Village designs to fill space.
To make a great centerpiece, surround the building with black gauze cloth or white webs, with flameless candles inside. Don't be afraid to have fun with this!
Join my crafting and sewing Facebook group where you can show us what you’re making, ask questions, and learn from others!
Don’t want to forget about this free template? Save this project for later! Click here to save this project on Pinterest.
Leave a Reply