Halloween is a great time to craft spooky decor to add to your Halloween stash.
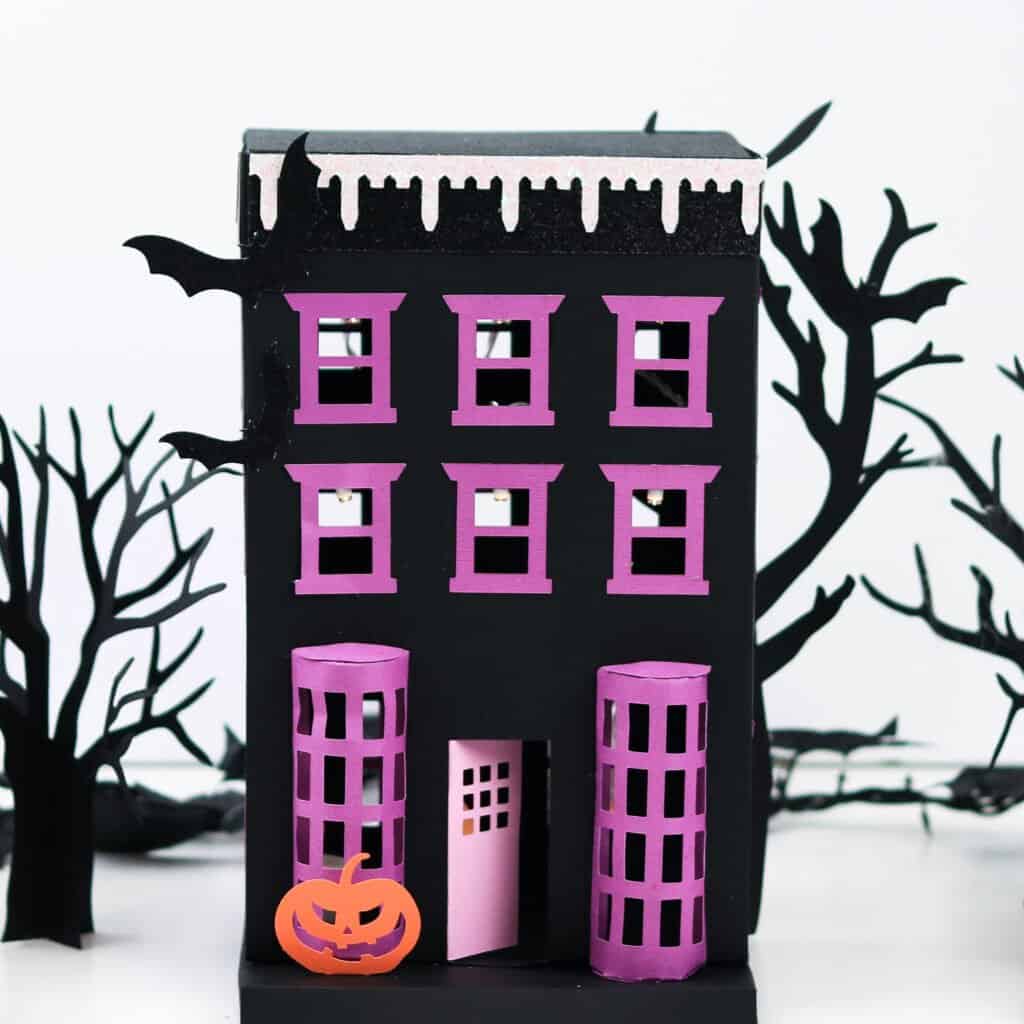
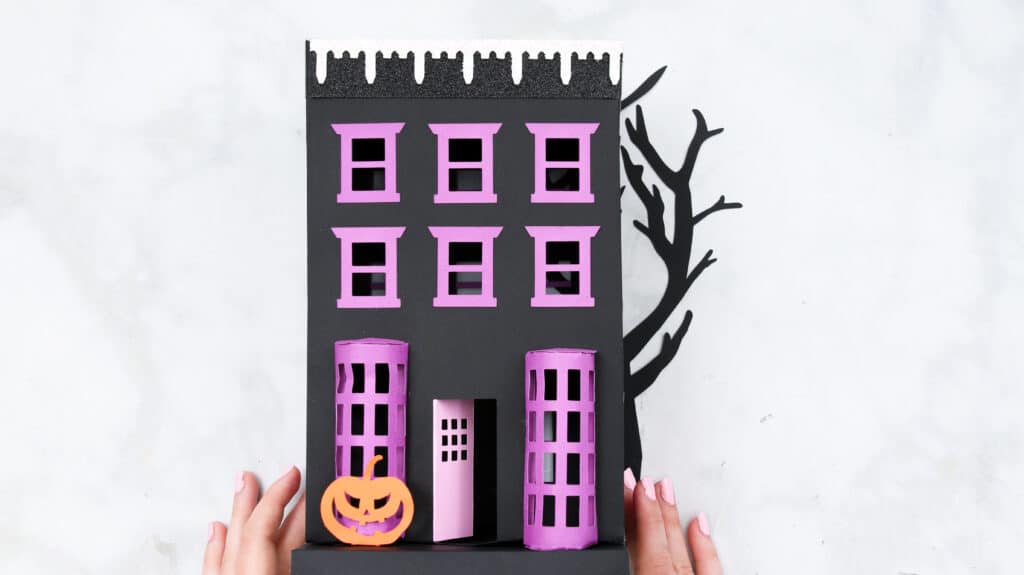
This 3-D building is one of three spooky village designs and resembles a brownstone building surrounded by elements like bats, eerie trees, and a carved pumpkin.
Make this your own; add your touch of creativity. You can stick with the traditional Halloween colors or just the opposite.
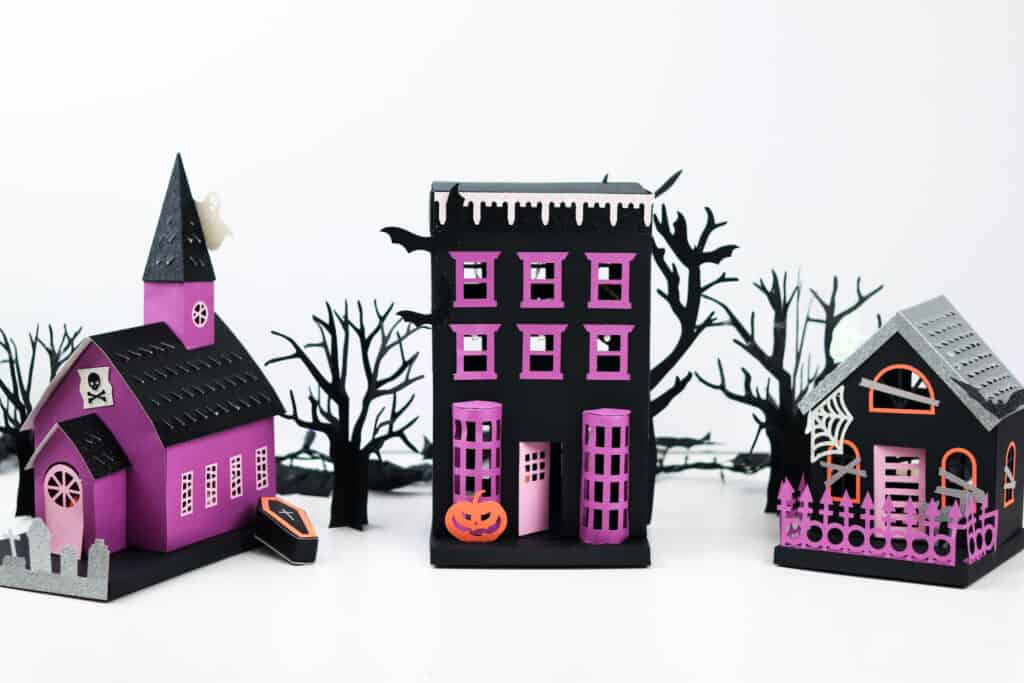
This project can be shown off on its own or paired with the spooky village designs and looks great as a centerpiece. The village includes a haunted house and a chapel.
Click here for the Spooky Church Tutorial, or click here for the Spooky House Tutorial
I added LED lights around the building and inside of it. You can thread the LED lights through the windows or add them before you start gluing the building pieces together using tape or foam adhesive tape to stick the lights in place.
What Type of Paper Should I Use?
When making this 3D Chapel design, I recommend using 80-100 lb cardstock for the house structure (this will make a sturdy base to hold all the added elements) and 65-80 lb cardstock for the spooky components (bats, tree, and pumpkin).
How Much Paper Do I Need?
House Structure: 2 Pieces of 12 x 12" Cardstock
House base: 1 Piece of 12 x 12" Cardstock
Roof: 1 Piece of 12 x 12" Cardstock
Door: 1 Piece of 12 x 12" Cardstock
Window Trims: 2 Piece of 12 x 12" Cardstock
Details- Bats, Pumpkin, and Tree: 1 Piece of 12 x 12" Cardstock
Reducing Size of Halloween Building
I would not reduce any of the Halloween Village designs to smaller than 50% because of potential cutting issues.
To reduce the size of one of the Halloween Village designs, select all elements (CTRL+A PC or Command+A Mac). After selecting all objects go to the top of Design Space and change the width. Below are the measurements of the building design at 75% and 50% reduction in size.
Spooky Building
75% change the width to 16.935
50% change the width to 11.2903

Table of Contents
Spooky Building Supplies
- Double Scoring Wheel
- Cricut Maker, Cricut Explore, or Other Cutting Machine
- StandardGrip Mat
- Scoring Wheel Tip & Housing or Scoring Stylus
- I recommend using the scoring wheel for the best experience.
- Fine-Point Blade
- Craft Glue
- Scraper Tool
- Clover Wonder Clips
- Cardstock 80-100 lbs & 65 - 80 lbs
- Weeding Tool
- (optional) LED Lights
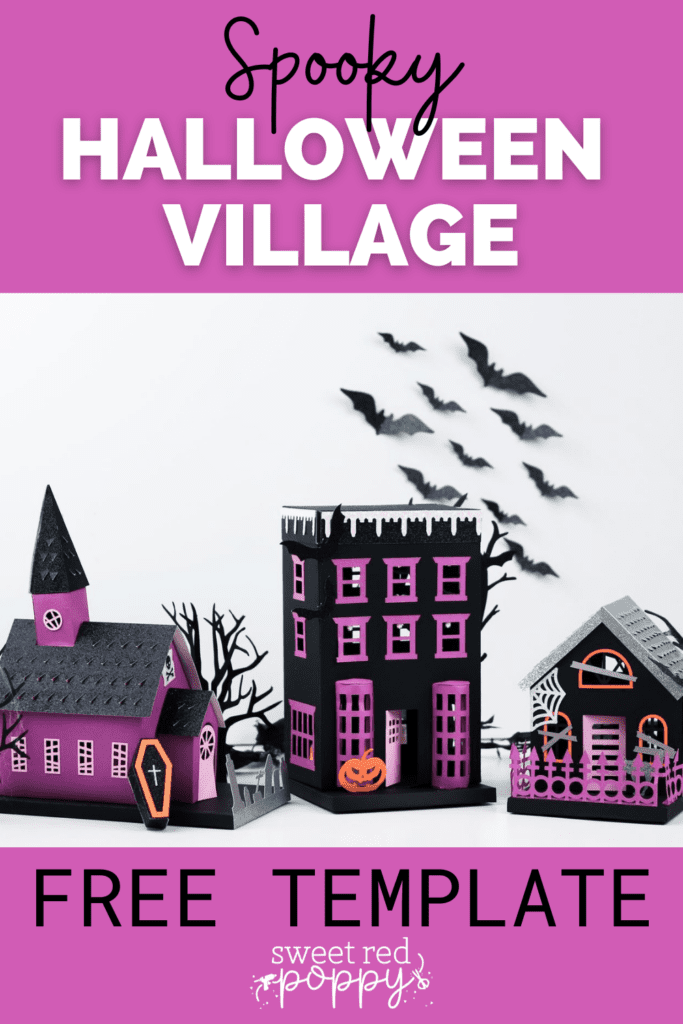
Download the Free Spooky Halloween House Cut File Here!
Upload SVG File
Download the SVG file to your computer, create a New Project, and Upload it to your Canvas.
The score lines show up as solid lines; when clicked on, the color is red in the color menu.
You can change these lines into score lines by going into the top left corner. Then, click on the dropdown menu where it says Basic Cut, select Scoreline, and attach to their respective pieces in the right-hand menu.
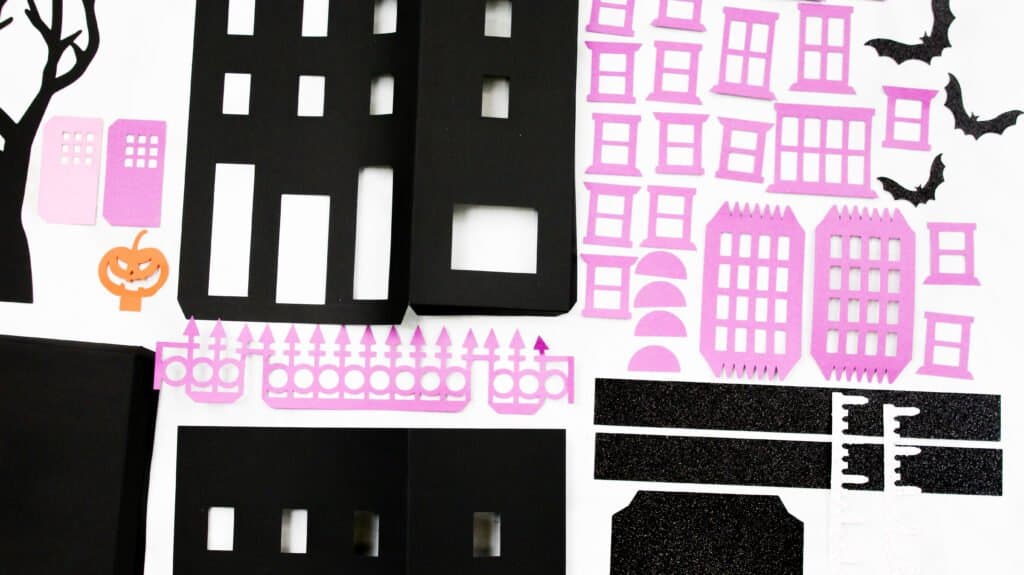
Step One: Cut Out Spooky Building Pieces
The Building Design Consists of:
- 2 Chapel Structure Pieces
- 1 Base
- 1 Roof
- 2 Strips
- 2 Trims
- 1 door
- 20 Window Trims
- 2 Bay Windows
- 3 Bats
- 1 Tree
- 1 Carved Pumpkin
Load your mat with cardstock and place it in the Cricut machine and cut out all Spooky Building pieces making sure to switch between your scoring wheel and fine-point blade.
I recommend using the single scoring wheel for your regular cardstock. When using glitter or textured cardstock, use the double scoring wheel, and make sure to put the textured side of the cardstock face down on the mat.

Step Two: Fold Score Lines
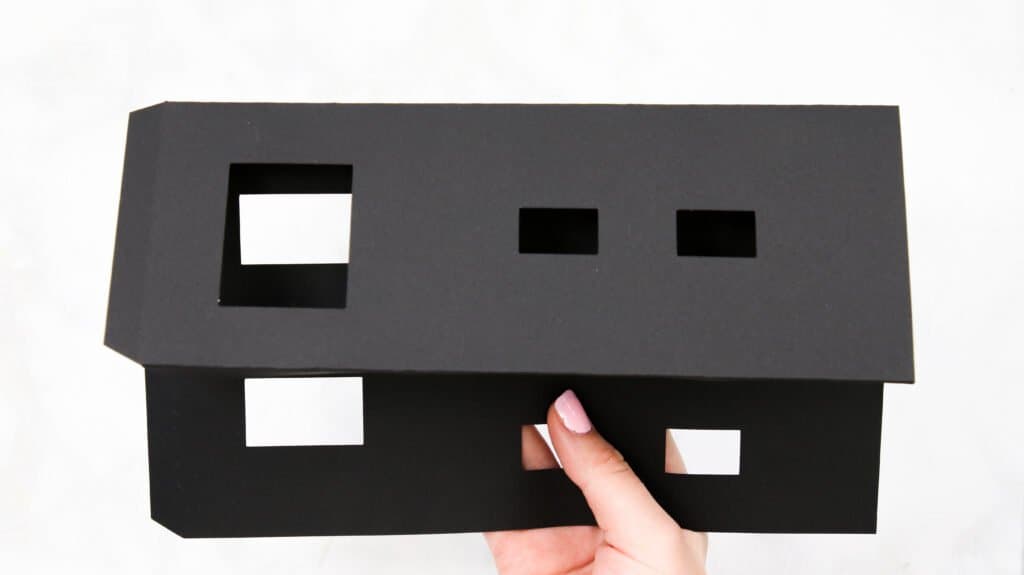
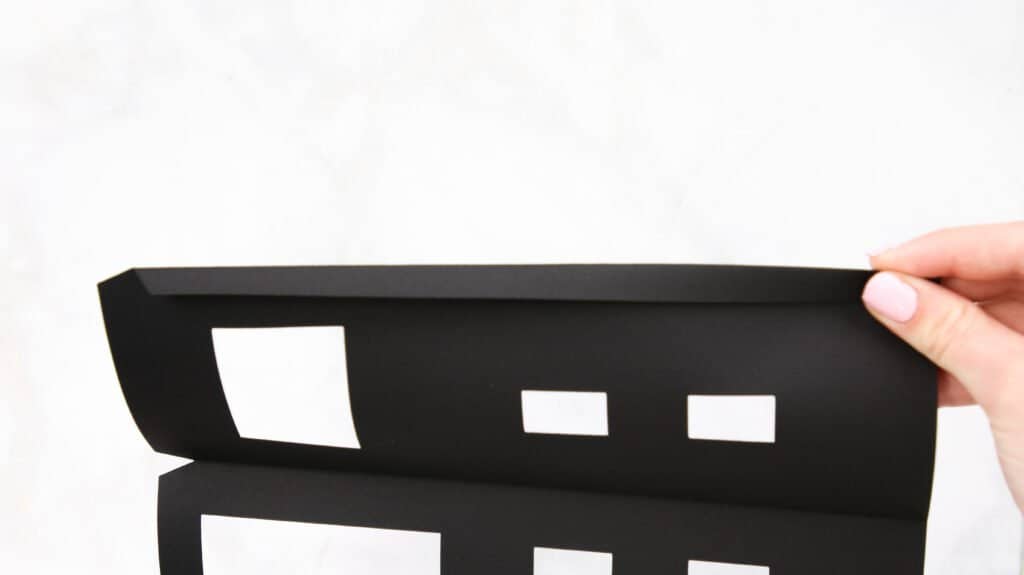
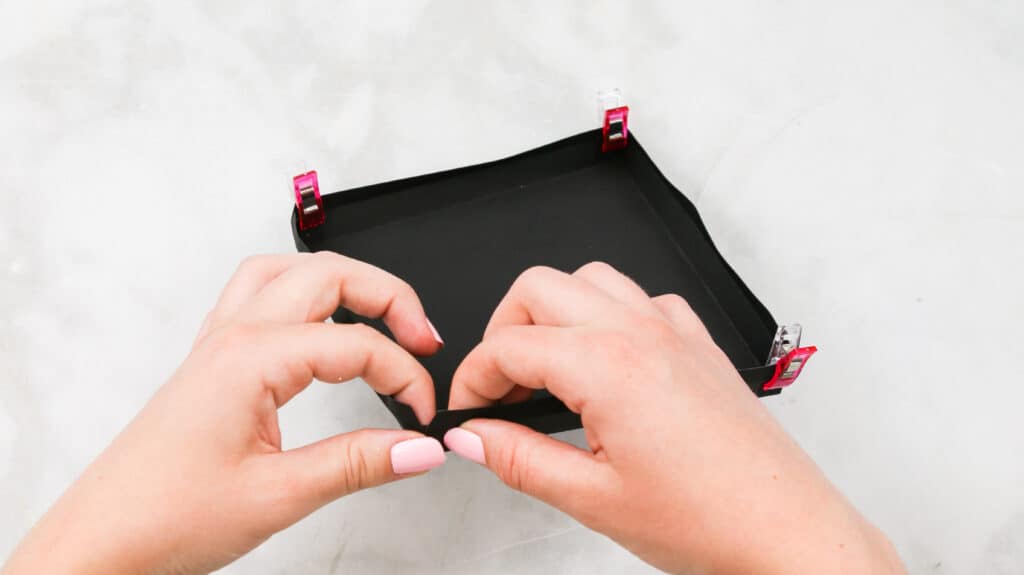
Once you have finished cutting all the pieces, begin folding the score lines for each piece starting with the two building pieces folding along the side and bottom tabs.
Tip: You can use a scraper tool to get a nice crisp edge.
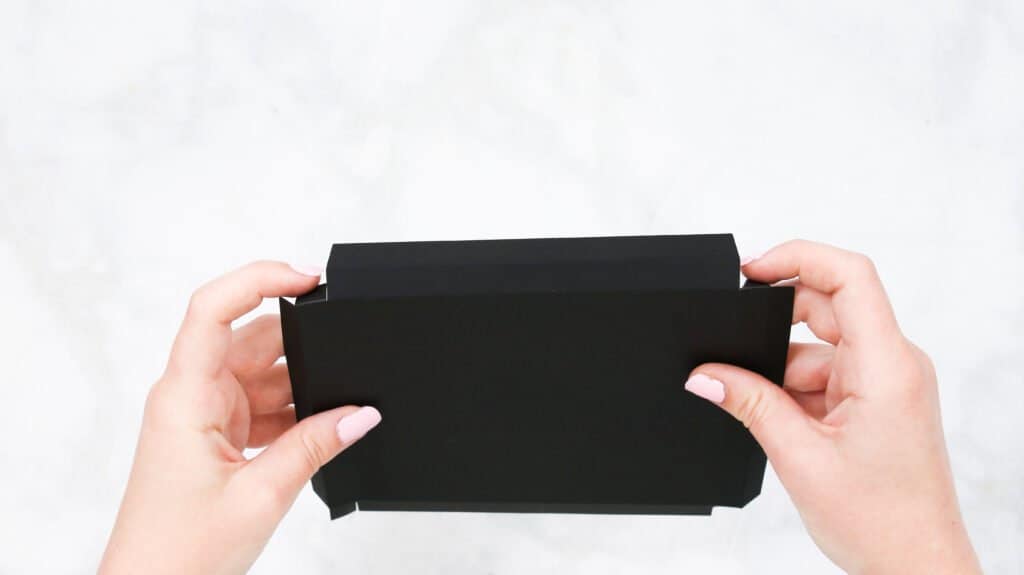
Grab your base piece, you will notice that there are two score lines on each side. Fold all sides and tabs to the inside.
Step Three: Add Door
Start by gluing the tab on the left of the door to the inside of the front building piece.
Step Four: Add Window Trims
Glue the window trims to all the windows on the building pieces.

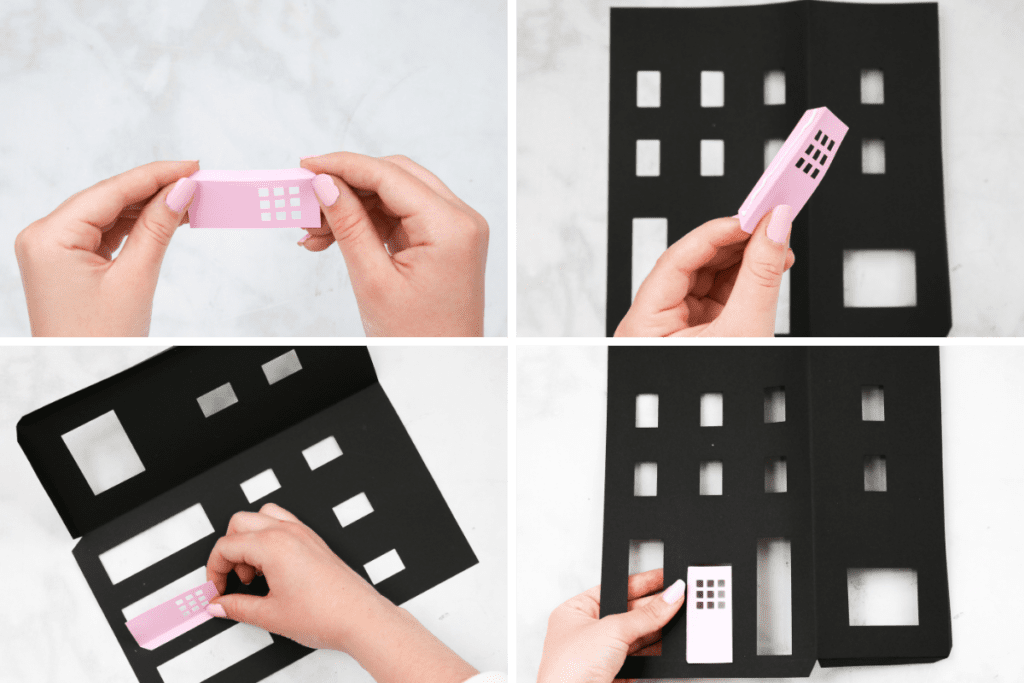
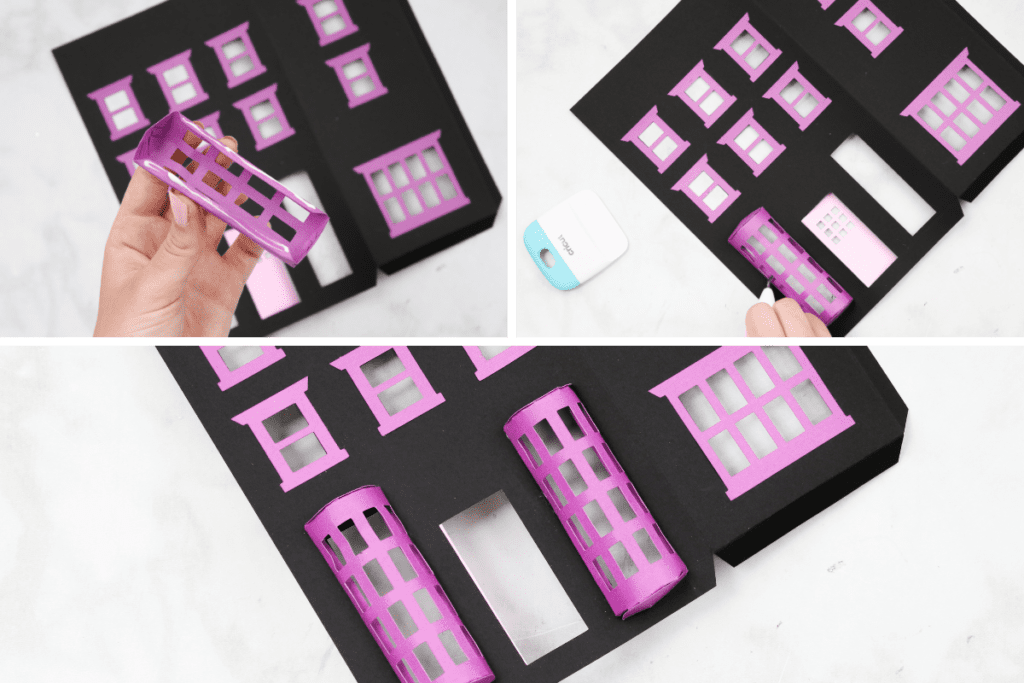
Step Five: Add Front Bay Windows
For the two front bay windows, glue the tabs at the top of the window piece to a half circle piece beginning at the corner of the curve and work your way around. Make sure to glue the tabs underneath the half-circle.
Tip: I find it easier to glue one tab at a time so you can ensure alignment to the curved edge of the half circle.

Add glue to the side tabs and place it on one of the tall window cutouts on the side of the door. Repeat these steps to the other window. Tip: It was helpful to use a weeder or a scraper tool to help attach the bay window to the buidling.
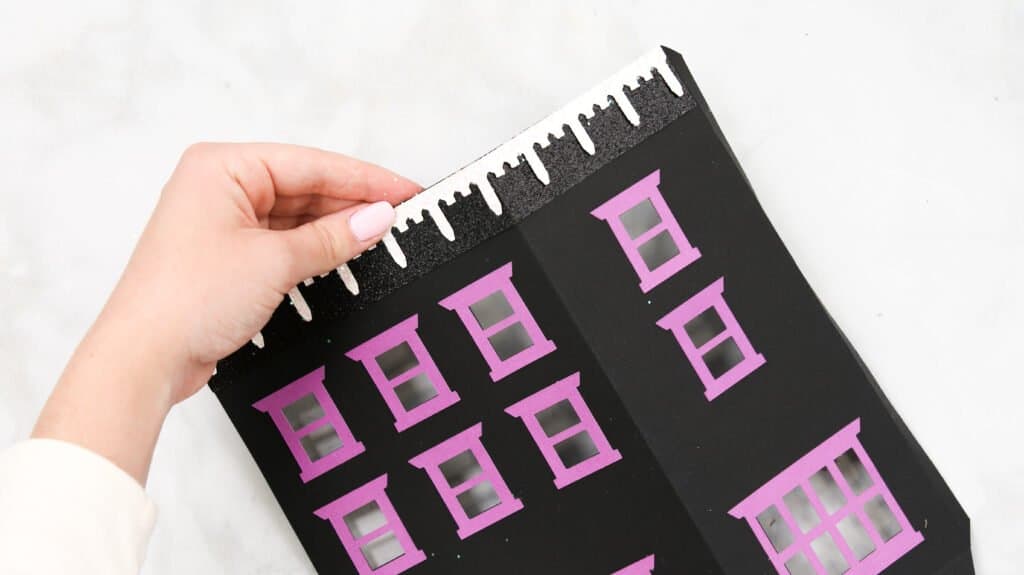
Step Six: Add Trim Pieces
Add the two rectangular strips to the building; the fold should align with the fold of the building. Add glue to the strips and align flush to the top.

Next, add the two trim pieces on top of the rectangular strips. Again, align flush to the top of the building, making sure the fold aligns with the fold in the building piece.
Step Seven: Add Roof
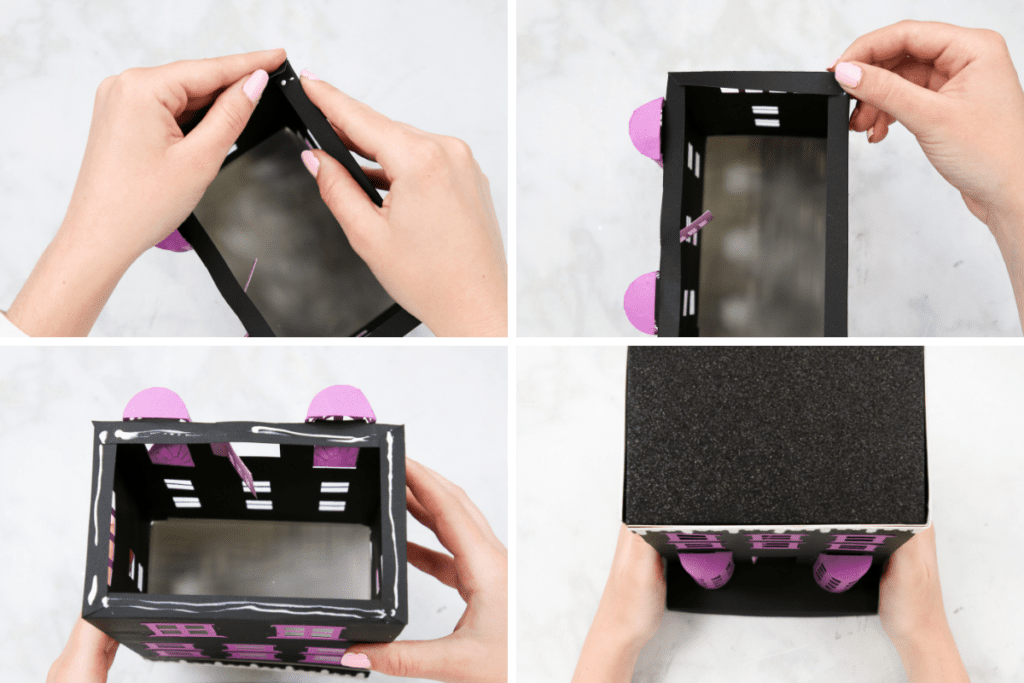
Now, we're going to add the roof piece before gluing the building pieces together by gluing the tabs to the inside of the building pieces.
Glue two tabs of the roof to one building piece, and let dry.
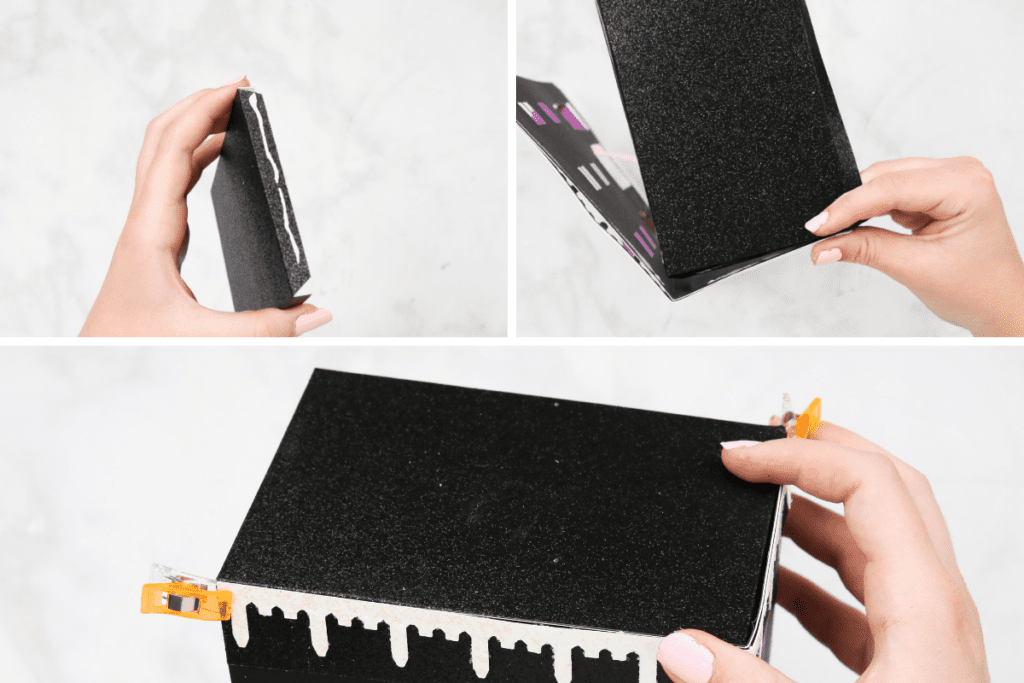
Add glue to the side tabs of the roof and building piece and connect the building pieces together. It helps to lay down the parts while you're gluing and hold the tabs in place with your hand while the glue dries.
Tip: use clips to hold pieces in place while it dries.
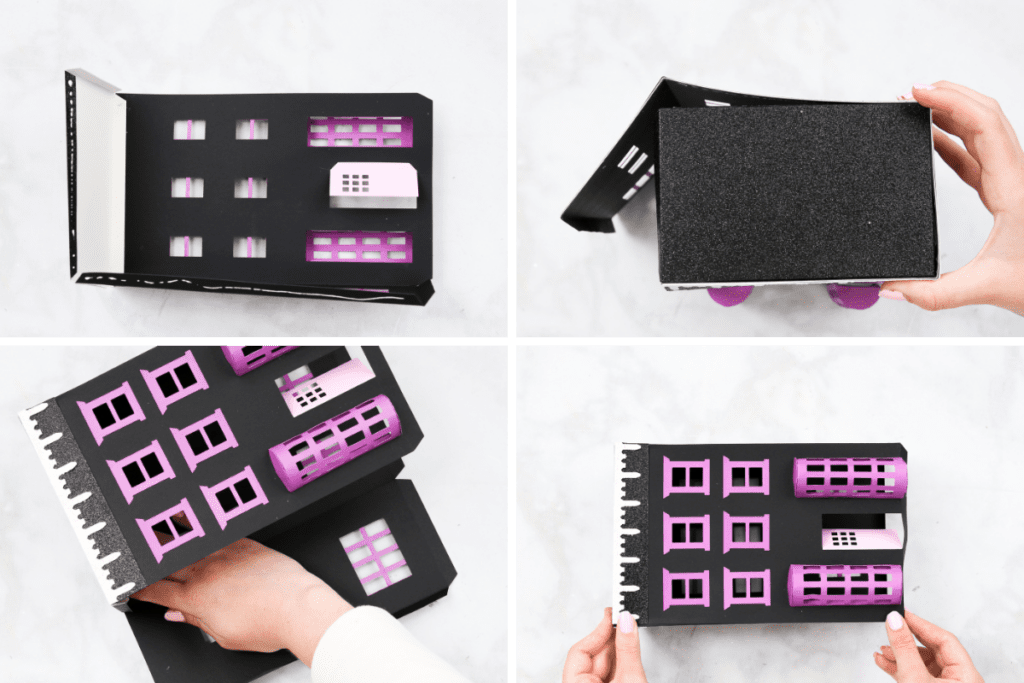
Step Eight: Add Base
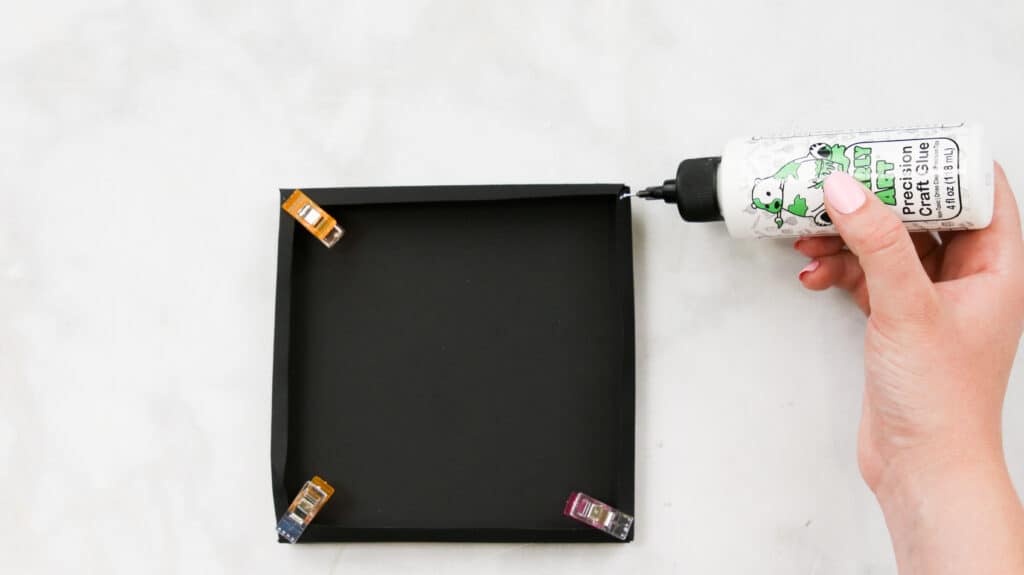
Assemble the base by connecting the side tabs to the adjacent side of the base with glue.
Then, fold the bottom of the side piece to the underside of the base and glue it in place.
Next, Make sure the bottom tabs of the building are folded inward and add glue to each tab.
Align the buidling with the back edge of the base.
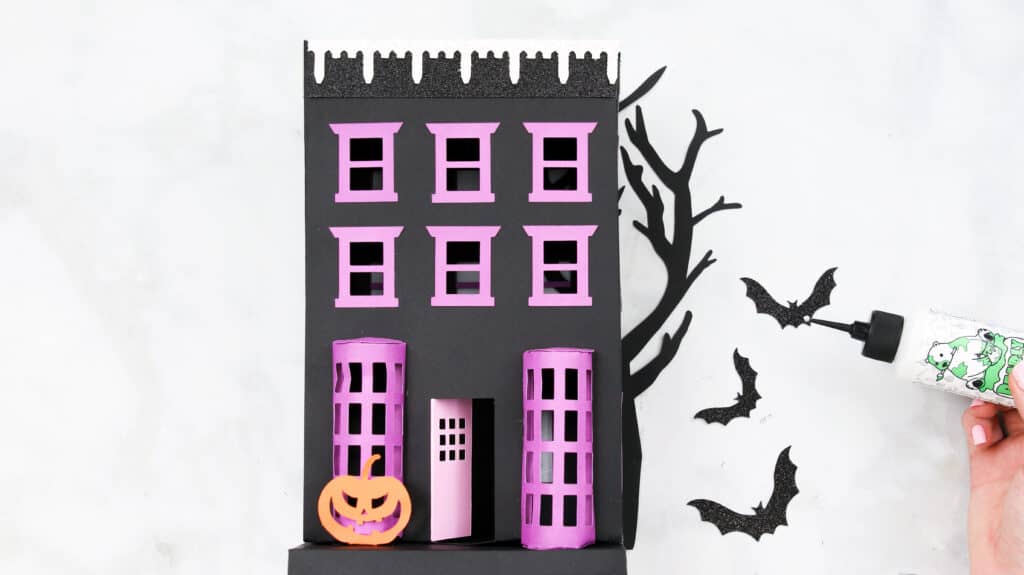
Step Nine: Add Final Elements
It's time to add the final elements to this project that make it spooky.
Glue the tree to the back of the building so it sticks out on the side and the bottom tab of the pumpkin to the base at the front of the building.
Finally, glue the bats randomly, anywhere you want to put them. I glued two on the front left side of the building and one on the tree.
Step Ten: A finished Spooky Building
After adding the final elements, you're finished!
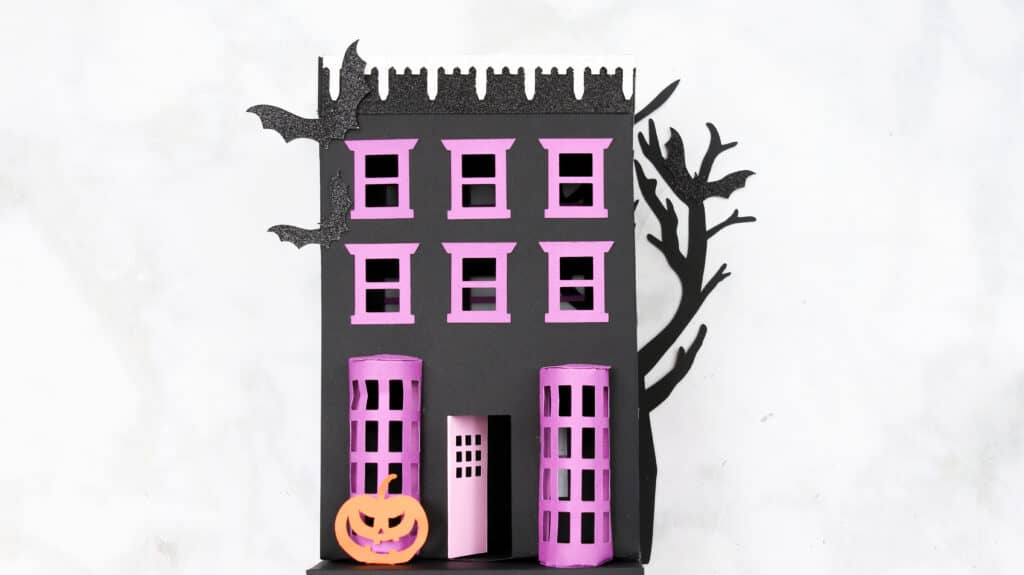
This project can be shown off on its own or can be paired with the spooky village design that includes a haunted house and chapel.
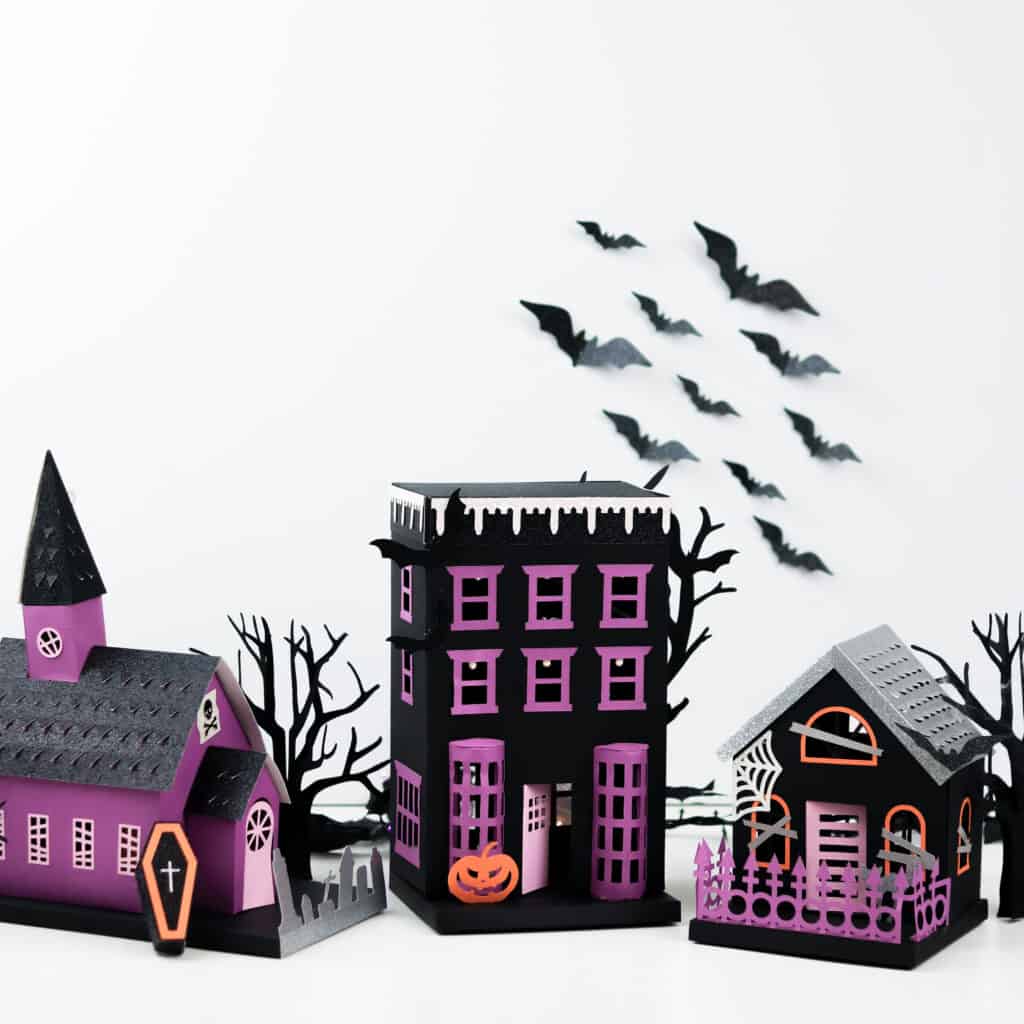
To fill empty space, cut more trees, bats, cats, carved pumpkins, and ghosts to fill space. I cut out a variety of bats and trees from the Spooky Chapel design.
There’s so much you can do with this design. Don't be afraid to make it your own!
Join my crafting and sewing Facebook group where you can show us what you’re making, ask questions, and learn from others!
Don’t want to forget about this free template? Save this project for later! Click here to save this project on Pinterest.
I absolutely love this idea and I want to do this with my little girl but I got my Cricut maker as a gift and have no idea how to use it. Is there anywhere I can go to figure out what you mean buy putting the file in so I can cut it? I'm so confused ^^;;