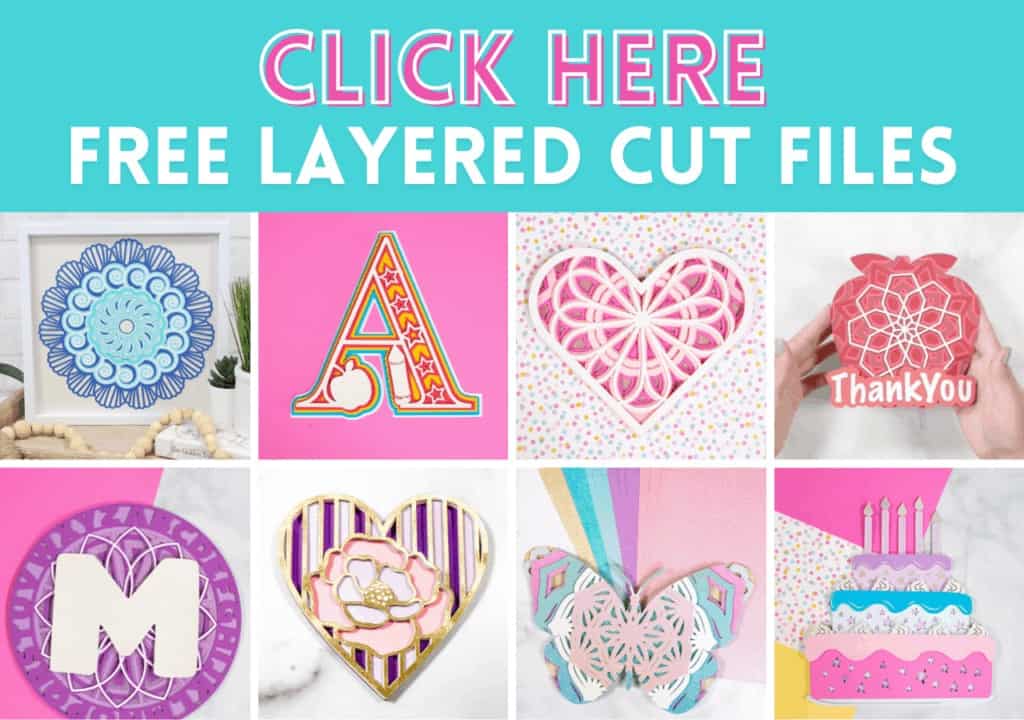
Create a layered alphabet mandala With This Free SVG Cut File and Step-by-Step Tutorial
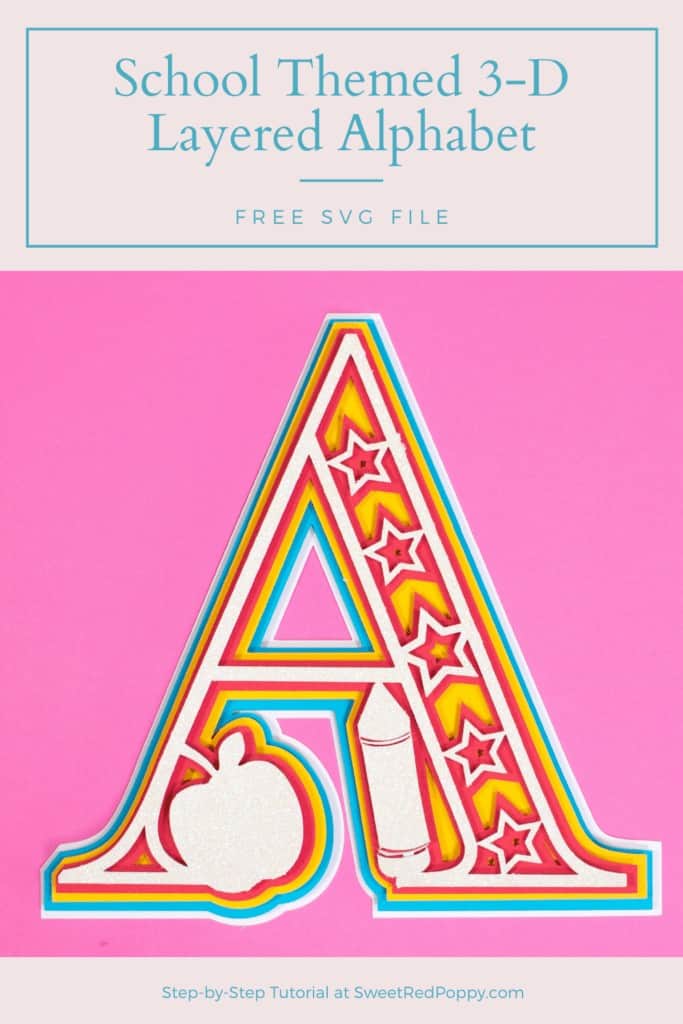
Download this free school-themed ABC layered letters SVG file and create something fun for students or teachers using a Cricut, cardstock, or adhesive.
It's that time of year again when summer is winding down and the kids are heading back to school. I still can't believe just how quickly the summer flew by!
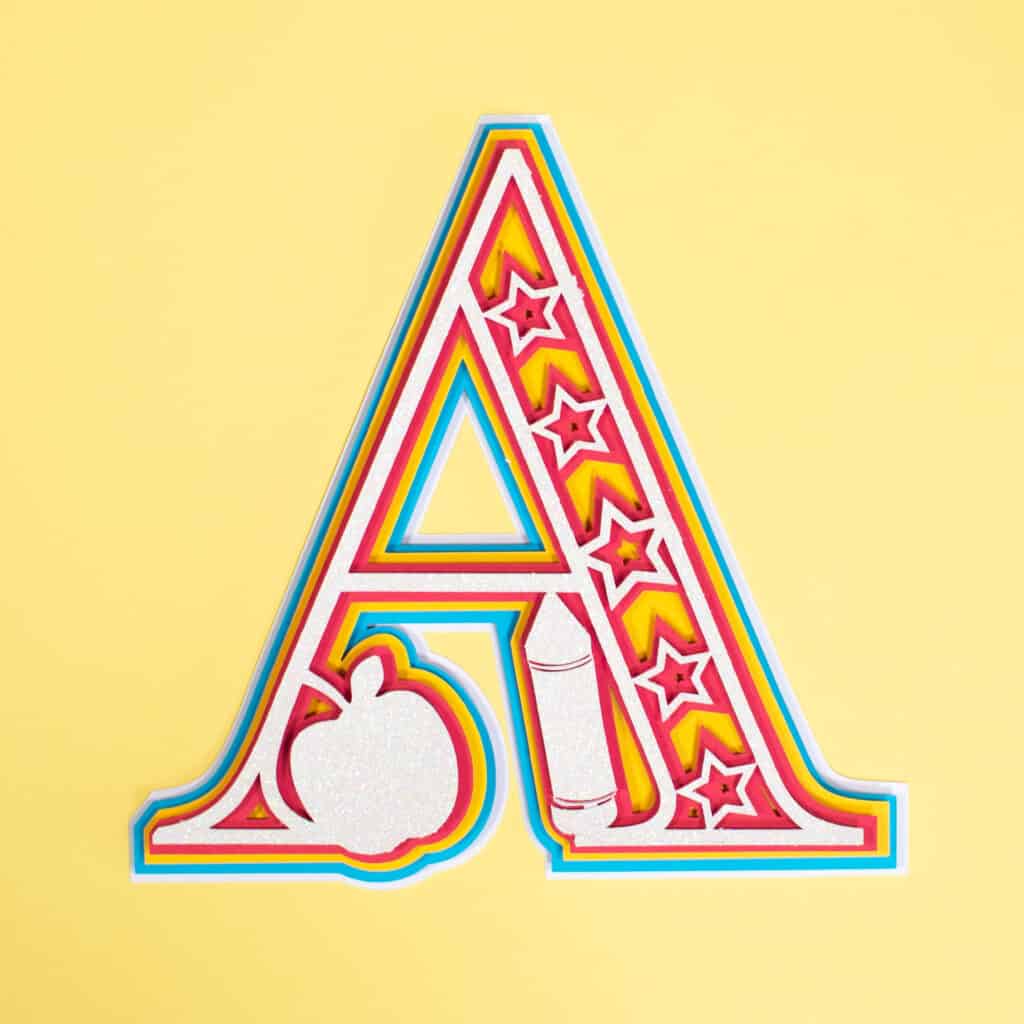
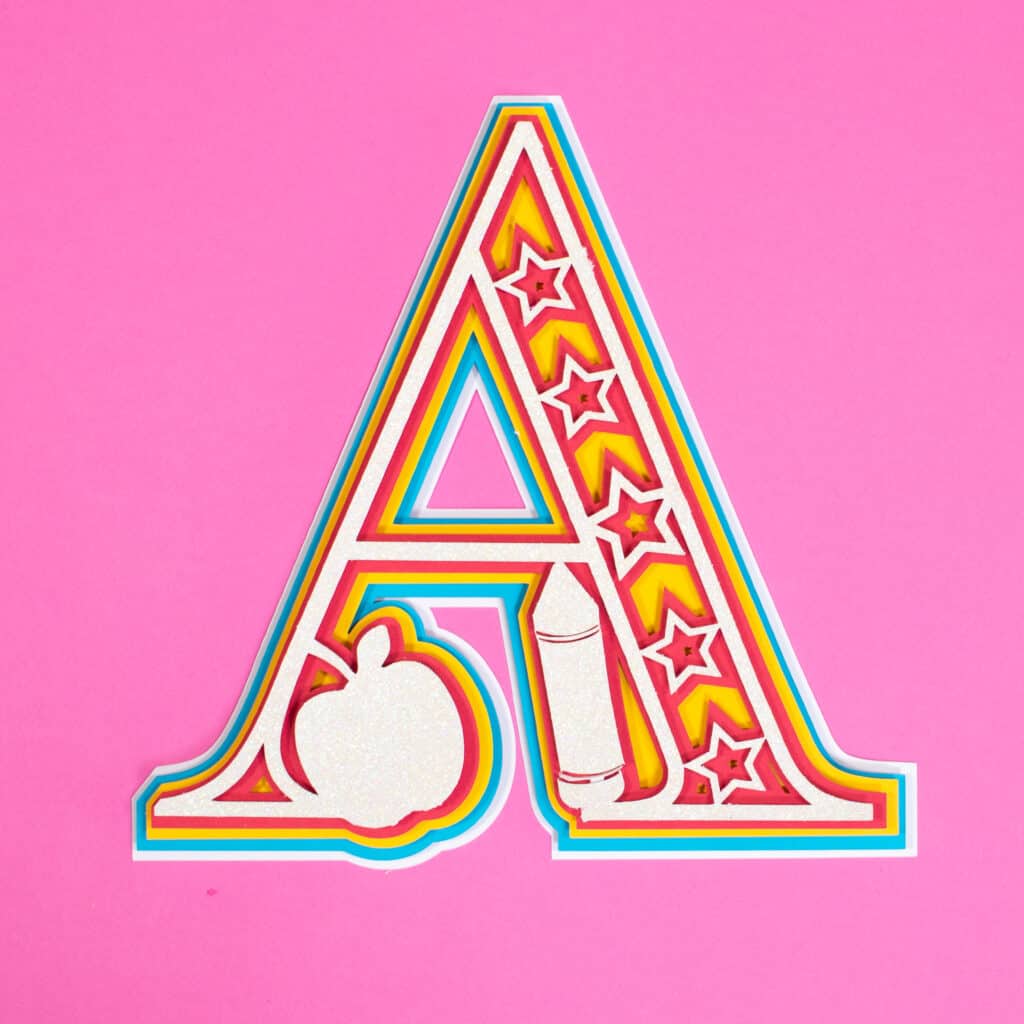
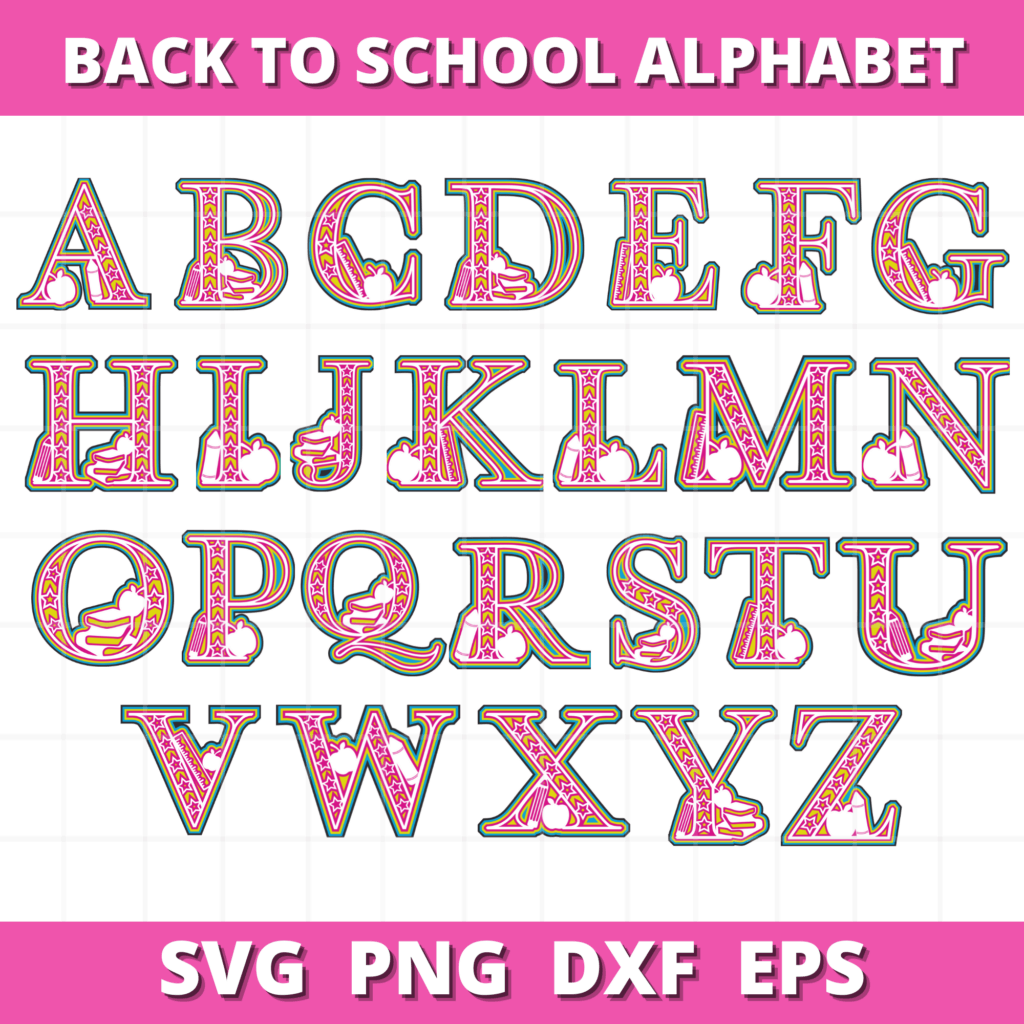
I designed this School-Themed 3D Layered Alphabet cut files with both teachers and students in mind. Included with each latter is an apple as well as a ruler, pencil, crayon, or stack of books.
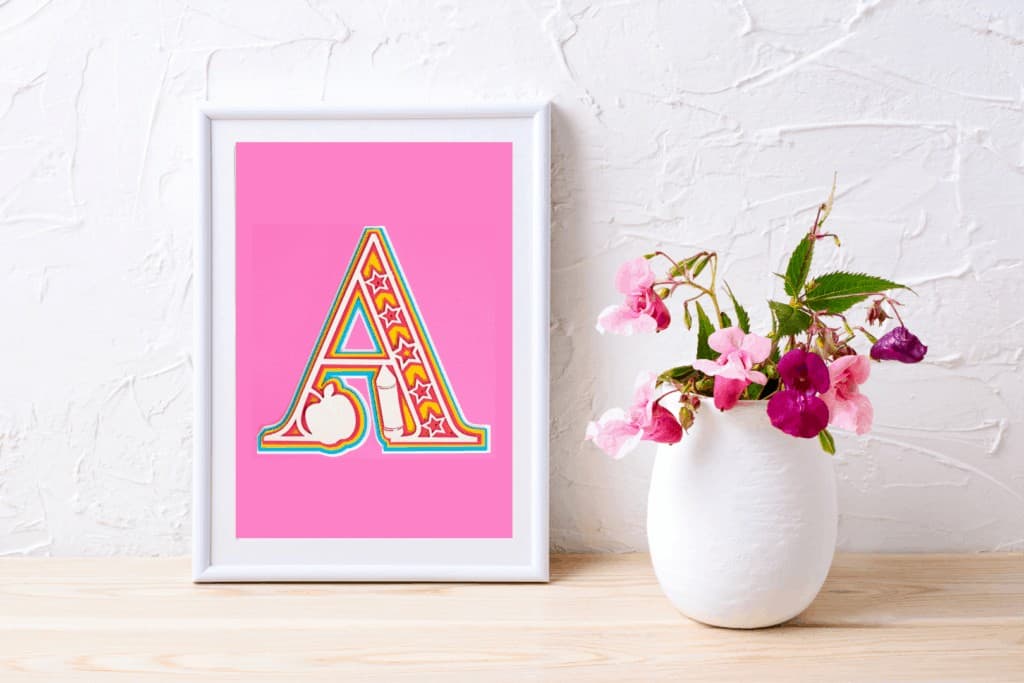
If you're a teacher, this design is perfect to make your own DIY classroom decorations spelling out your name to place on the wall or make a Welcome Back message for your new students, even if it's in the background on a Zoom call.
I'm using this design to decorate my kid’s learning space with their names above their desks. It's also the perfect design to add to a card to commemorate the special day.
DIY Layered Alphabet
Create Your Own School Themed 3D Layered Alphabet Letter with this Step-by-Step Tutorial
For this project, you need:
- Free ABC Layered Letter Cut Files (link below) or purchase the whole alphabet HERE
- Cricut Explore, Cricut Joy, or Cricut Maker
- Fine-Point Blade
- StandardGrip Mat
- Cardstock
- Foam Adhesive Dots or Craft Glue
Click Here to Download the FREE ABC Cut Files!
Click here to purchase the ENTIRE alphabet cut files.
Step 1 - Upload SVG File to Design Space
Open Cricut Design Space and click the + to create a new project.
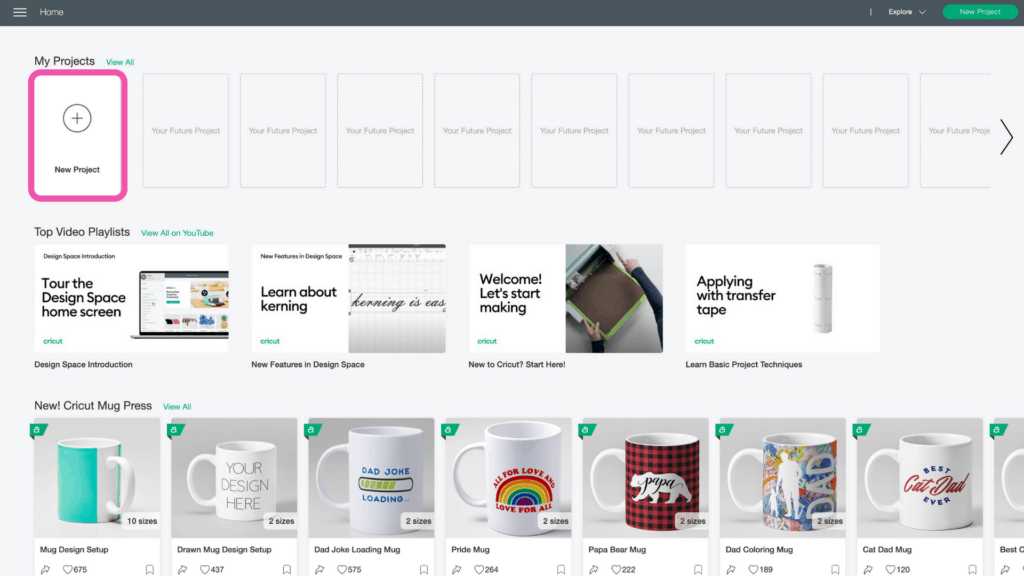
In the Design Panel on the left, select "Upload."
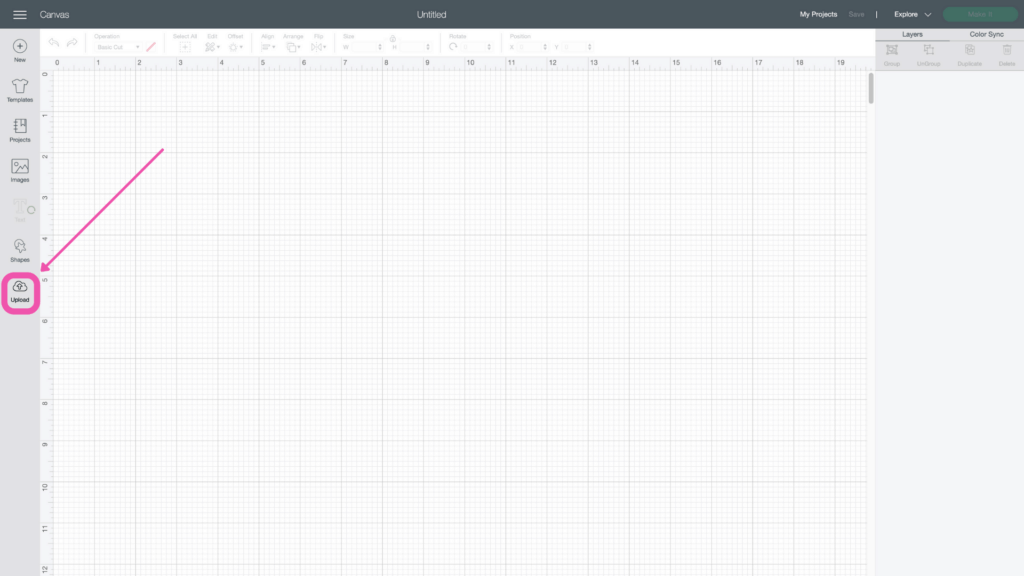
Click “Upload Image.”
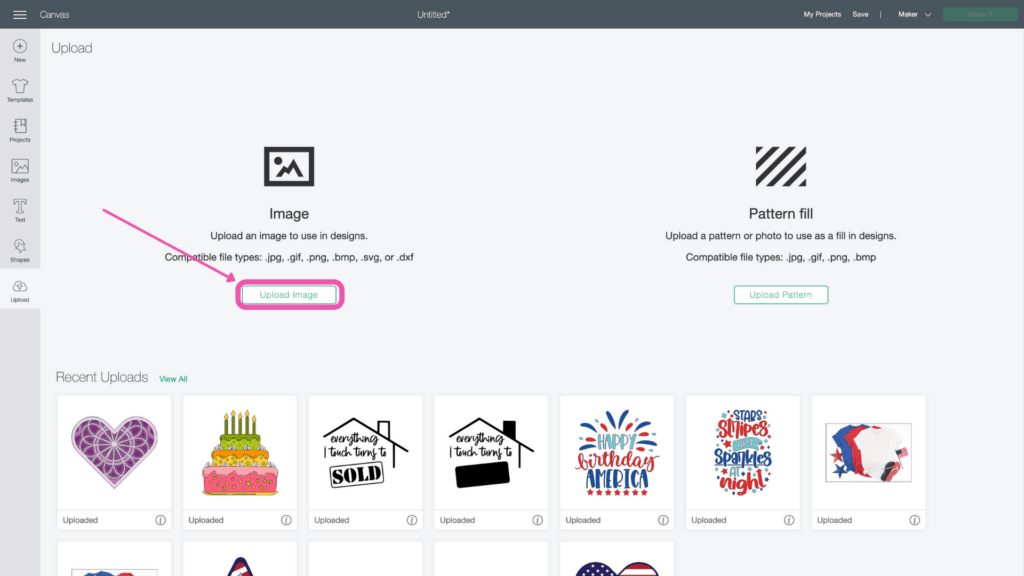
Click “Browse.”
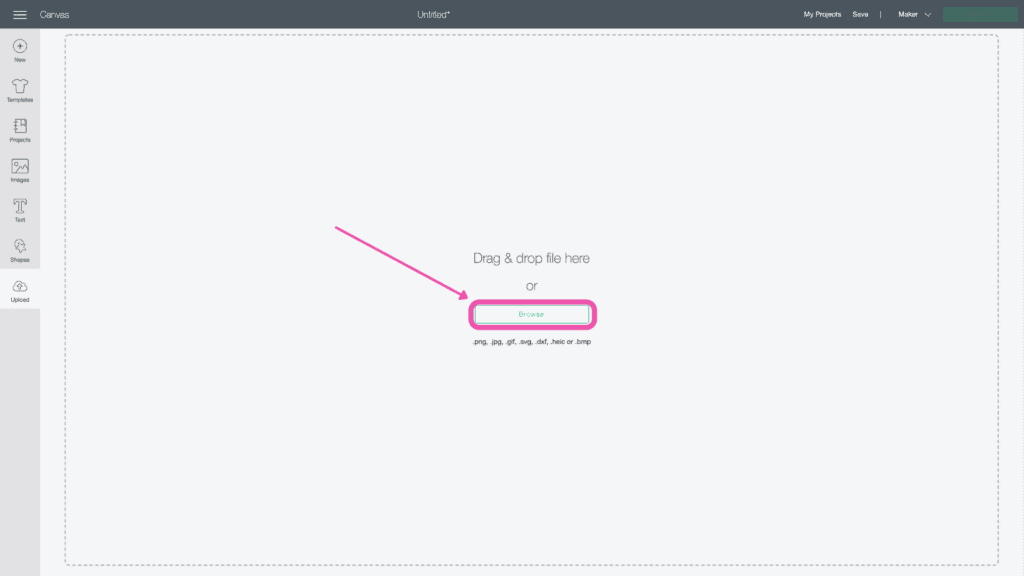
Navigate to the file on your device to upload it to Cricut Design Space.
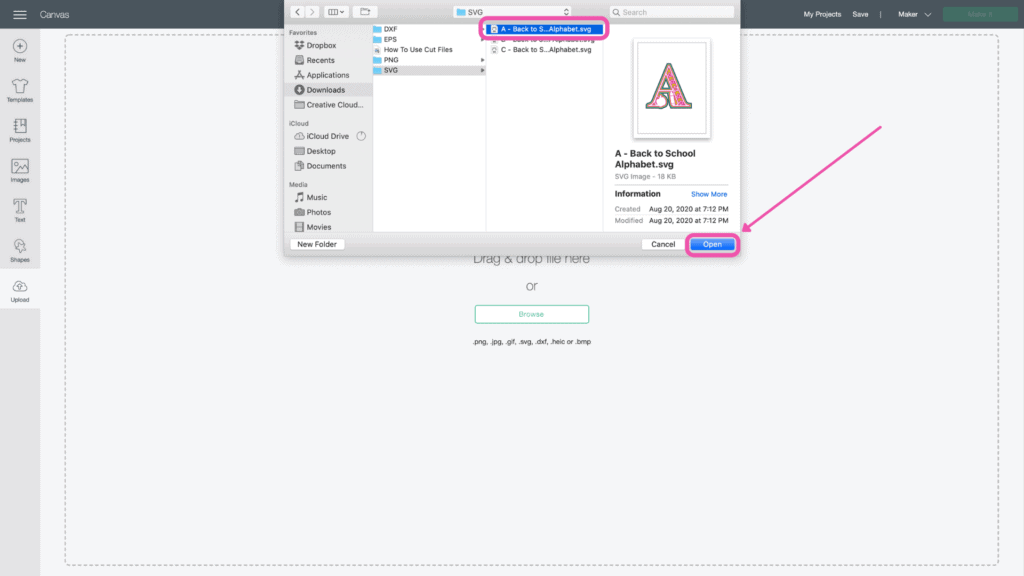
Here you can change the name and add tags. Click "Upload."
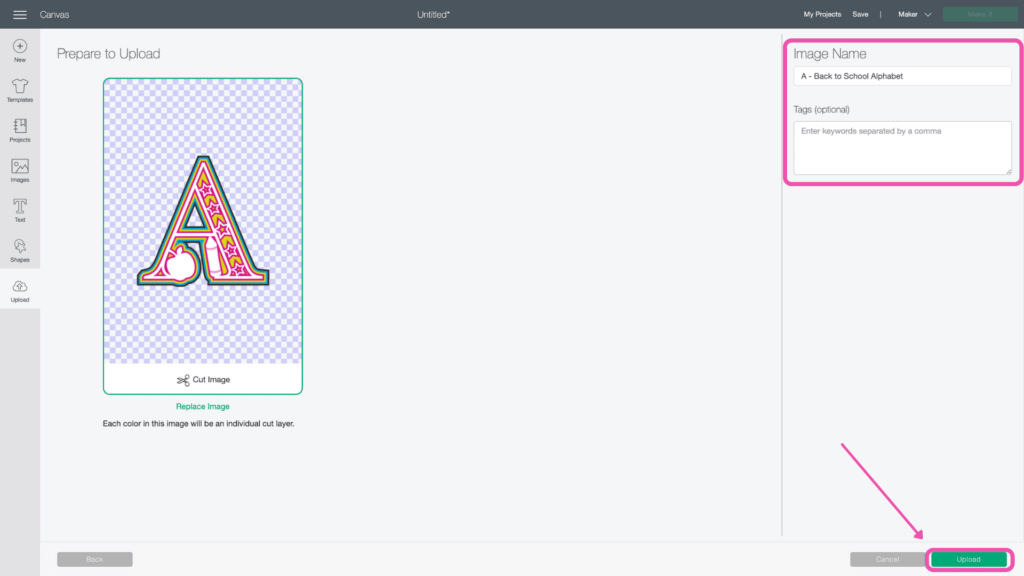
Once you have the file uploaded, select it and click "Insert Images" to bring it onto your canvas.

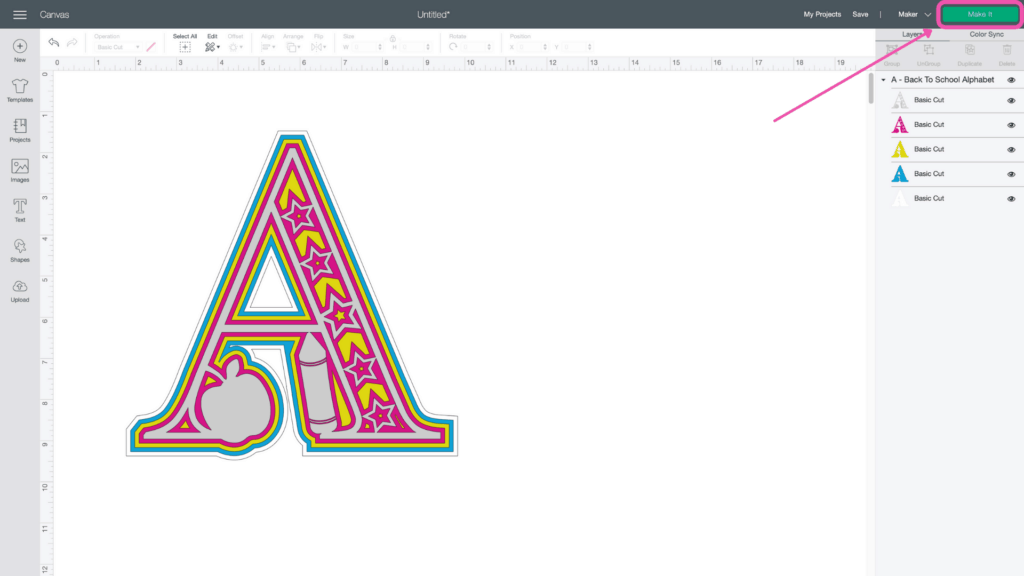
Step 2 - Resize Design
Resize the mandala to your desired size.
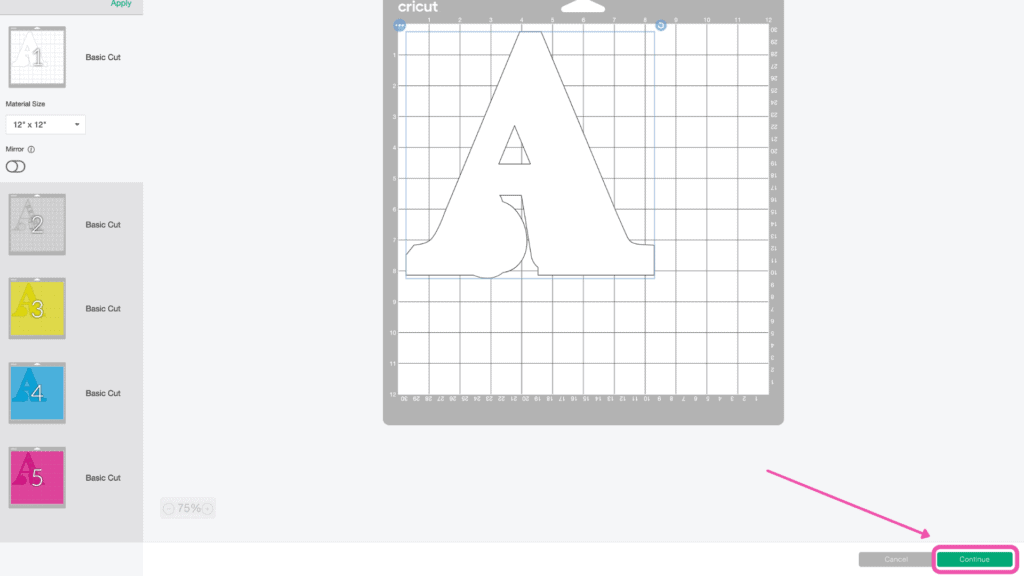
Now you're ready to cut the design! Click “Make It” in the upper right-hand corner of the screen.
This brings you to the preview screen.
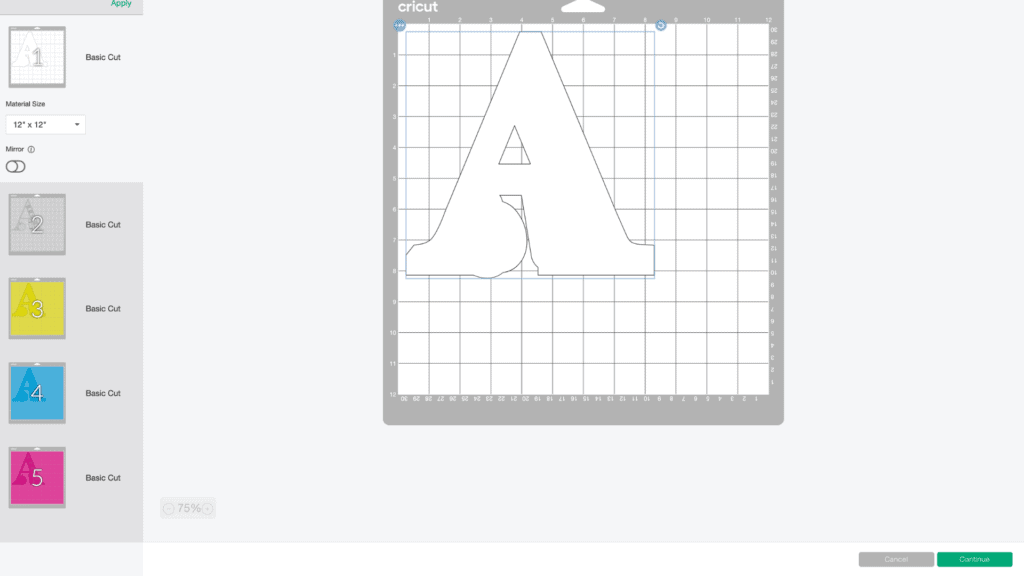
Click “Continue.”
Now it’s time to connect to your machine and select your material. For all of my layered designs, I use the Cardstock (for intricate cuts) setting.
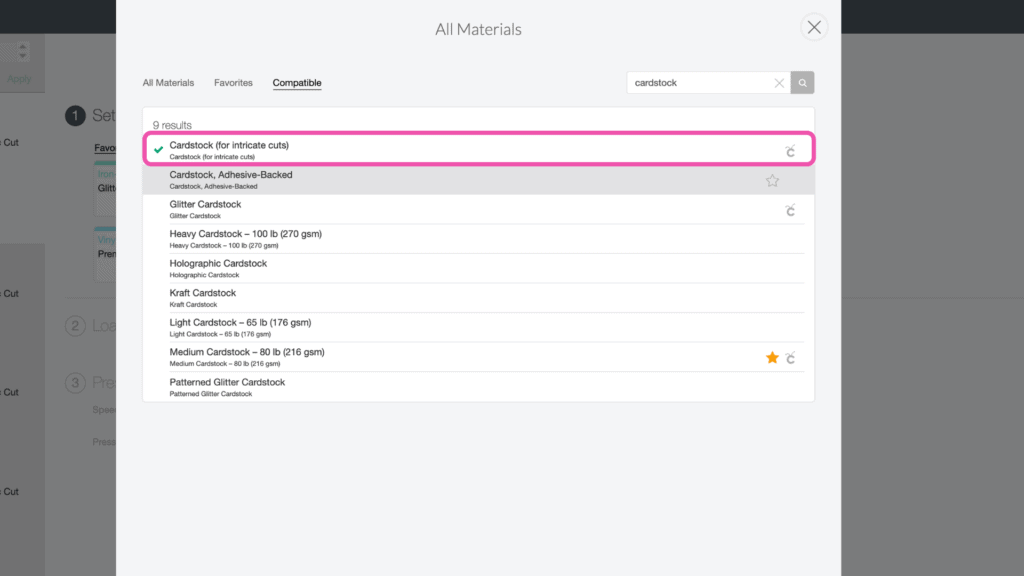
This setting along with a clean, sticky mat ensures a nice, clean-cut.
Ensure your Fine-Point Blade is loaded into your machine.
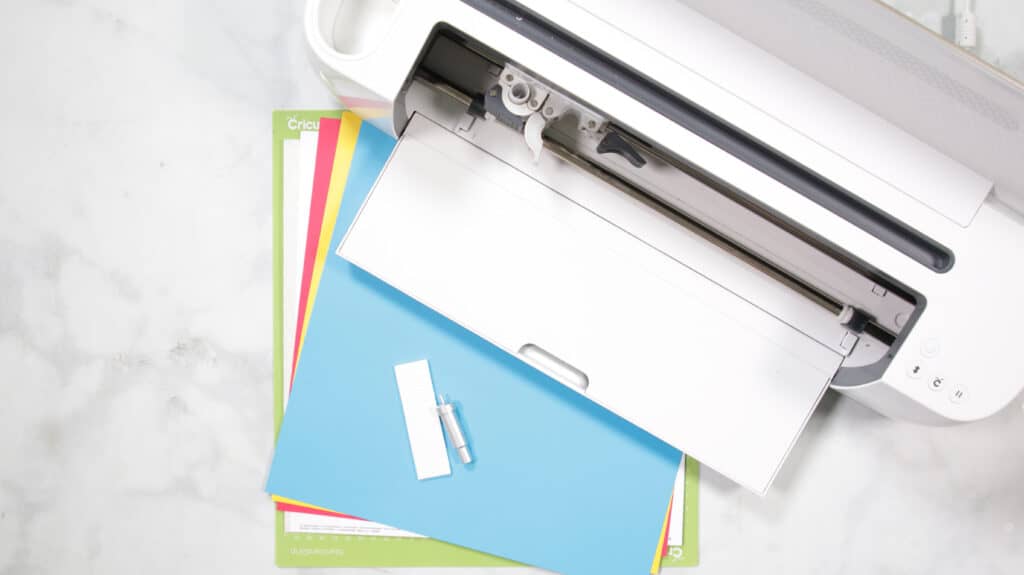
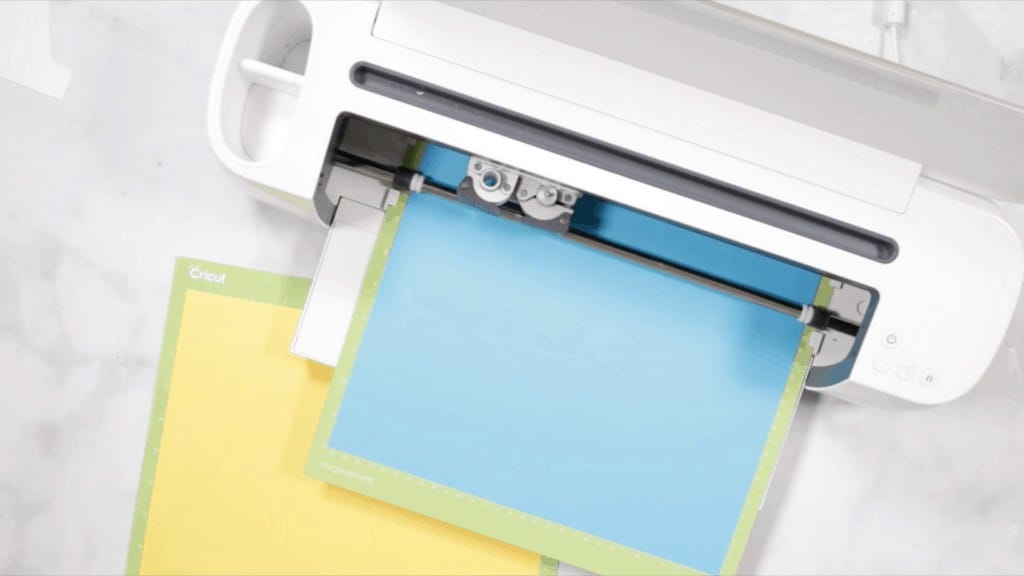
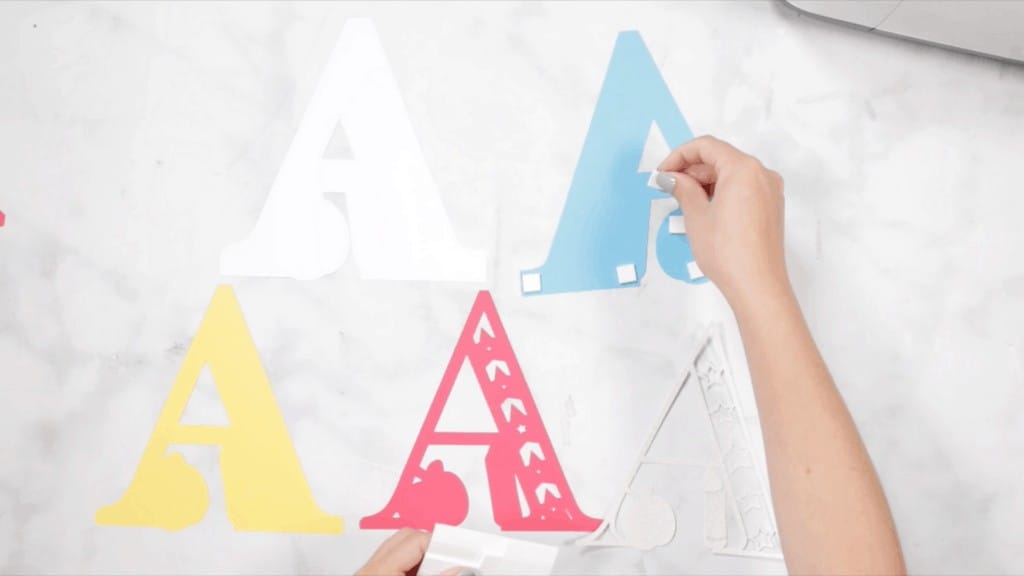
Step 3 - Cut Out Design
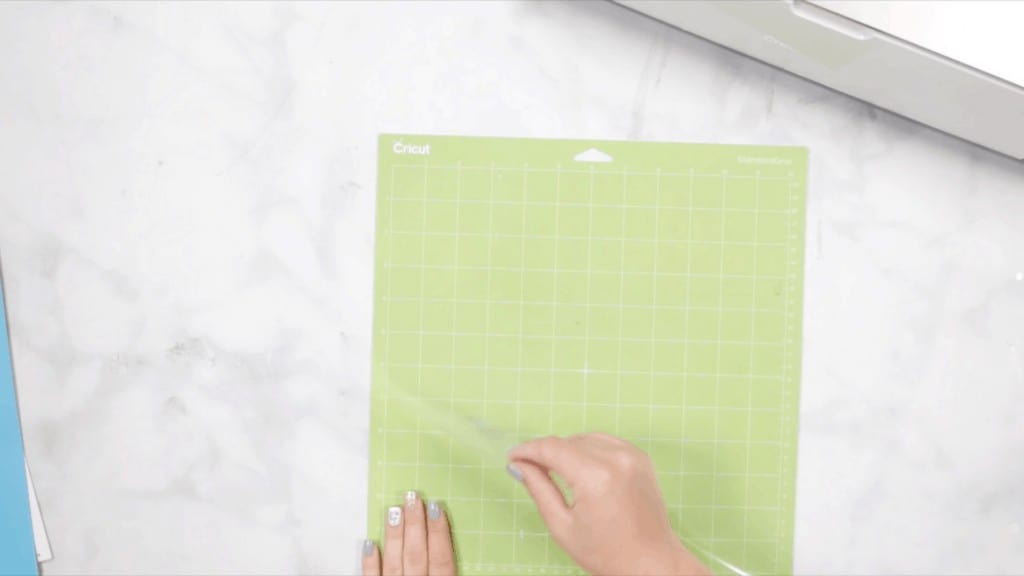
Peel the clear liner away from your mat.
Following Design Space’s prompts, place your first color of cardstock on your mat.
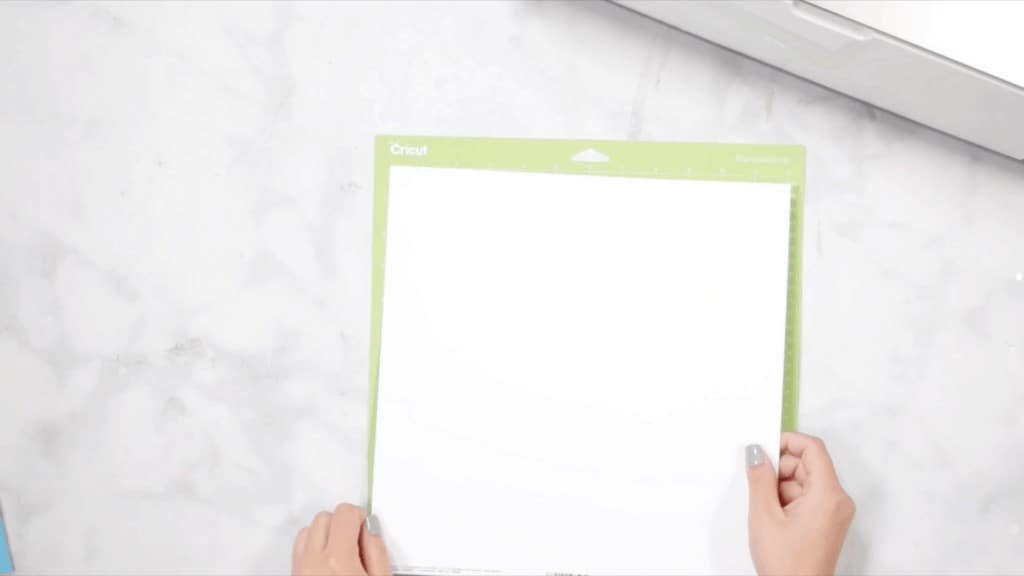
Press the load button to load the mat into your machine. Begin the cut.
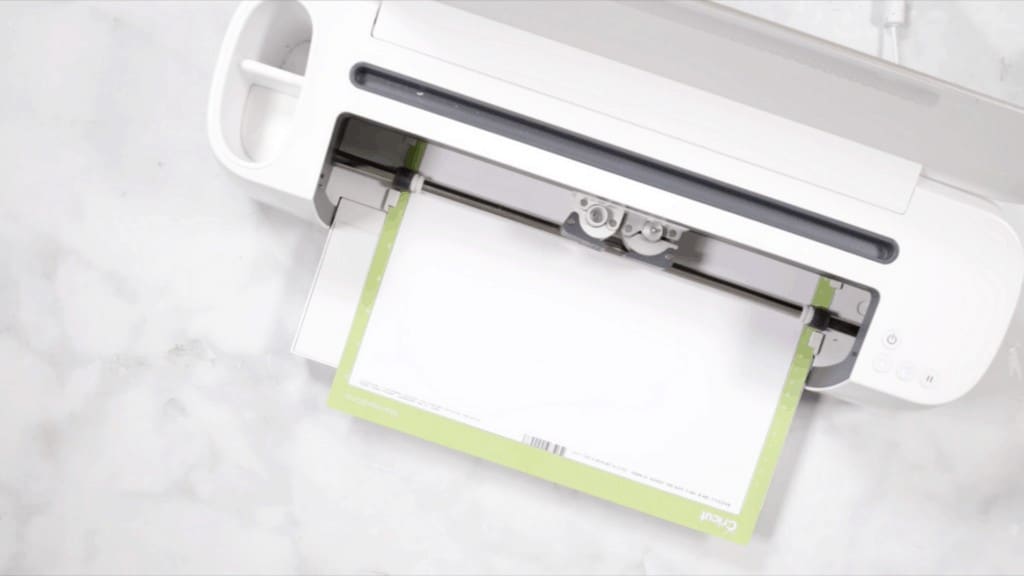
Continue to load, cut, and unload the rest of the cuts until you have all of the elements cut out.
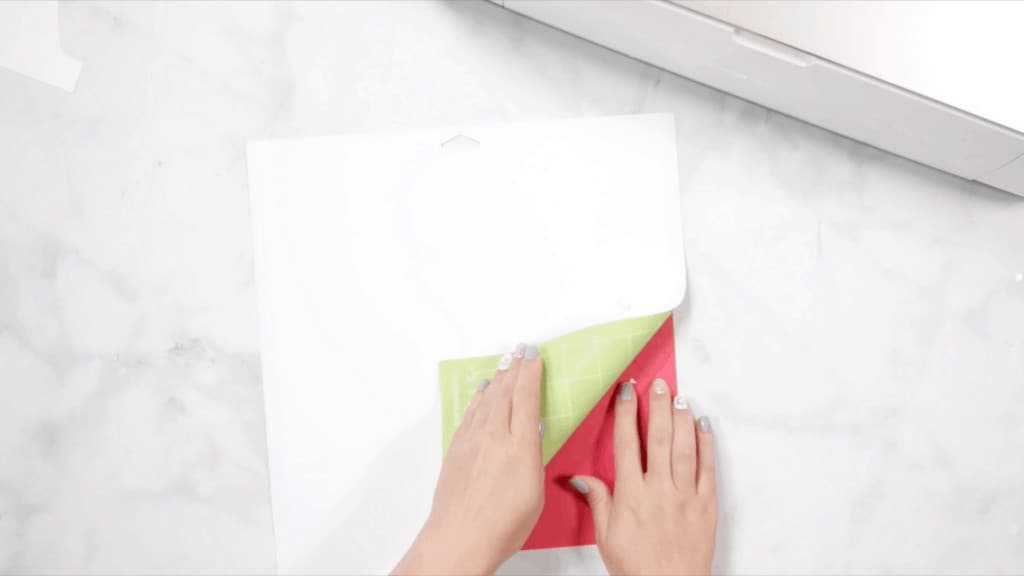
Pro Tip - Peel your mat away from the cardstock to avoid tearing or rolling your cardstock.
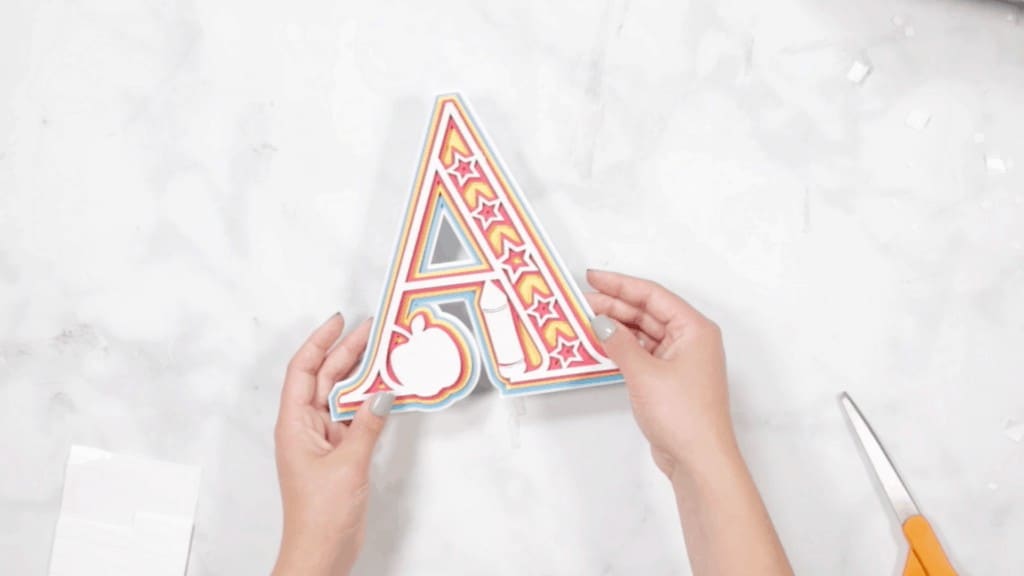
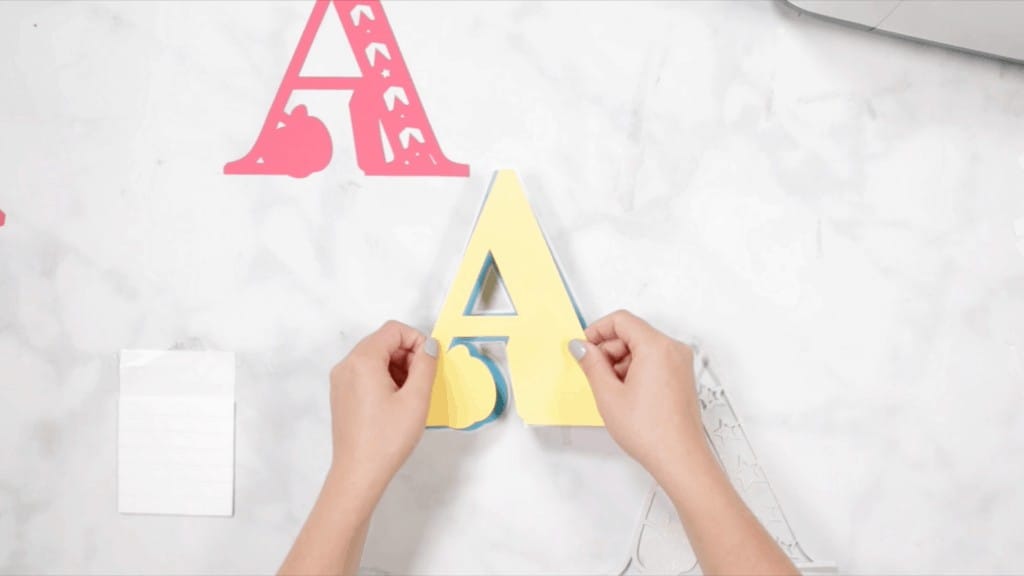
Step 4 - Assemble Layered Mandala
After you cut the design, use the foam adhesive and/or craft glue to put it together.
Pro Tip - It’s best to use the adhesive in the same spot on each layer to get an even rise and 3D layered look.
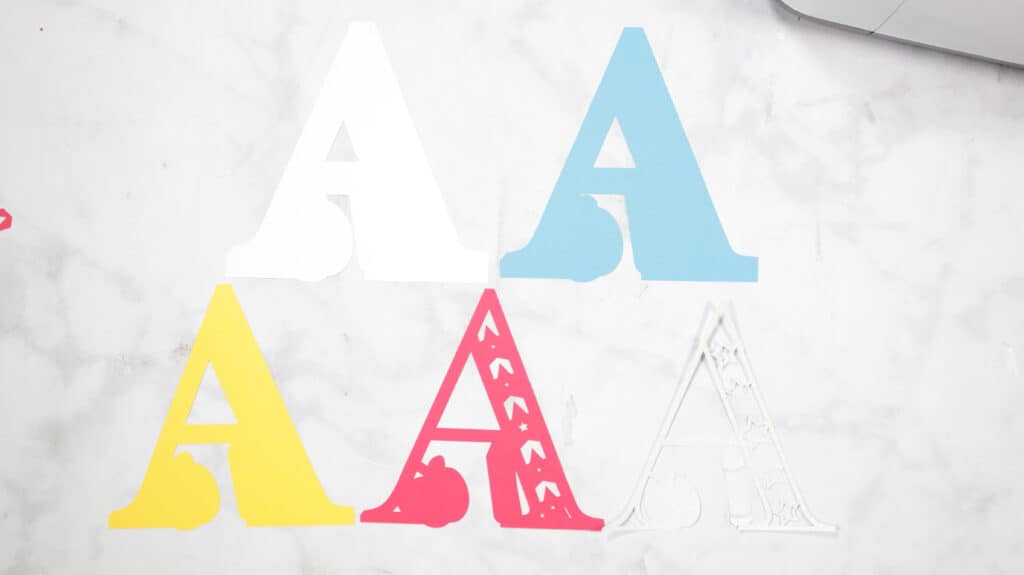
Cricut Design Space doesn’t cut out the layers in order so it can get confusing to piece together. Head back to Design Space to see the layers as a reference for how to put them together.
The image below shows you from bottom to top how the layers should be placed.

Begin by placing your layers out in front of you in order.
Using craft glue or foam adhesive attach the layers together from back to front.
Begin by placing foam adhesive or craft glue on the back of the 4th layer. Line it up with the base layer and press it in place.
Next, place foam adhesive or craft glue on the back of the 3rd layer. Line it up with your base layer and press it in place.
Then, place foam adhesive or craft glue on the back of the 2nd layer. Line it up with your base layer and press it in place.
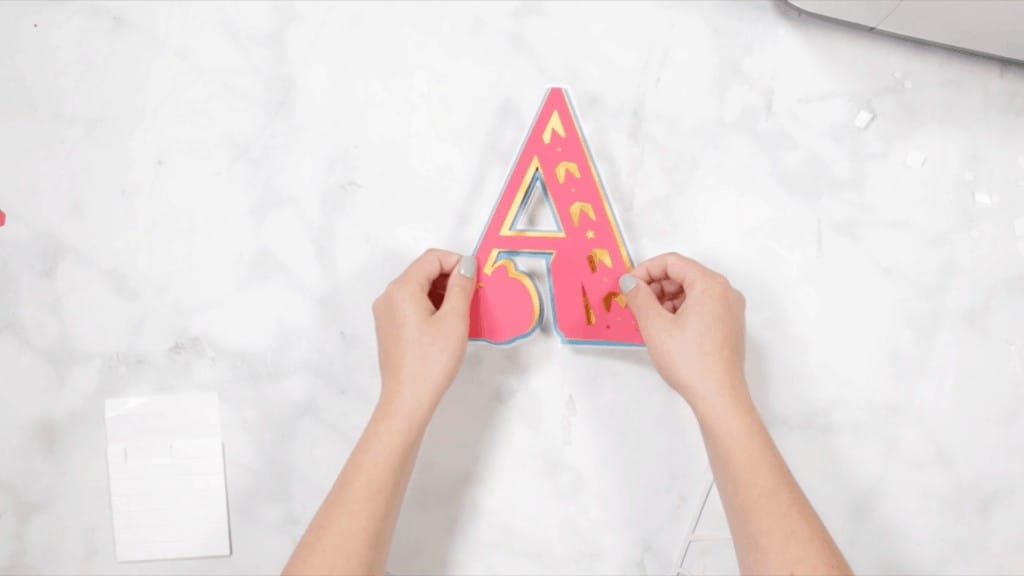
Finally, place foam adhesive or craft glue on the back of your top layer. Line it up with your base and press it in place.
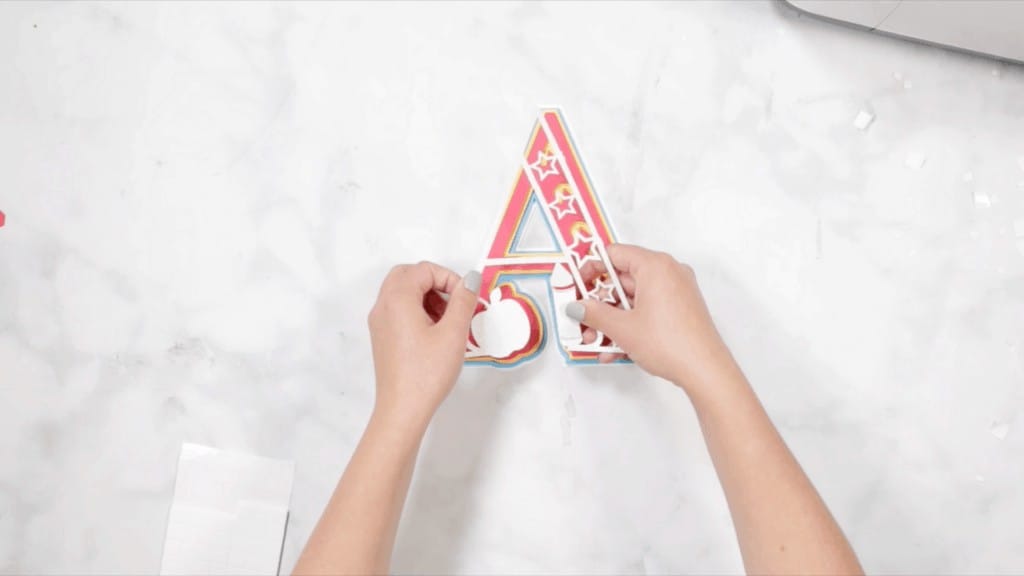
Now you have this adorable layered alphabet mandala.
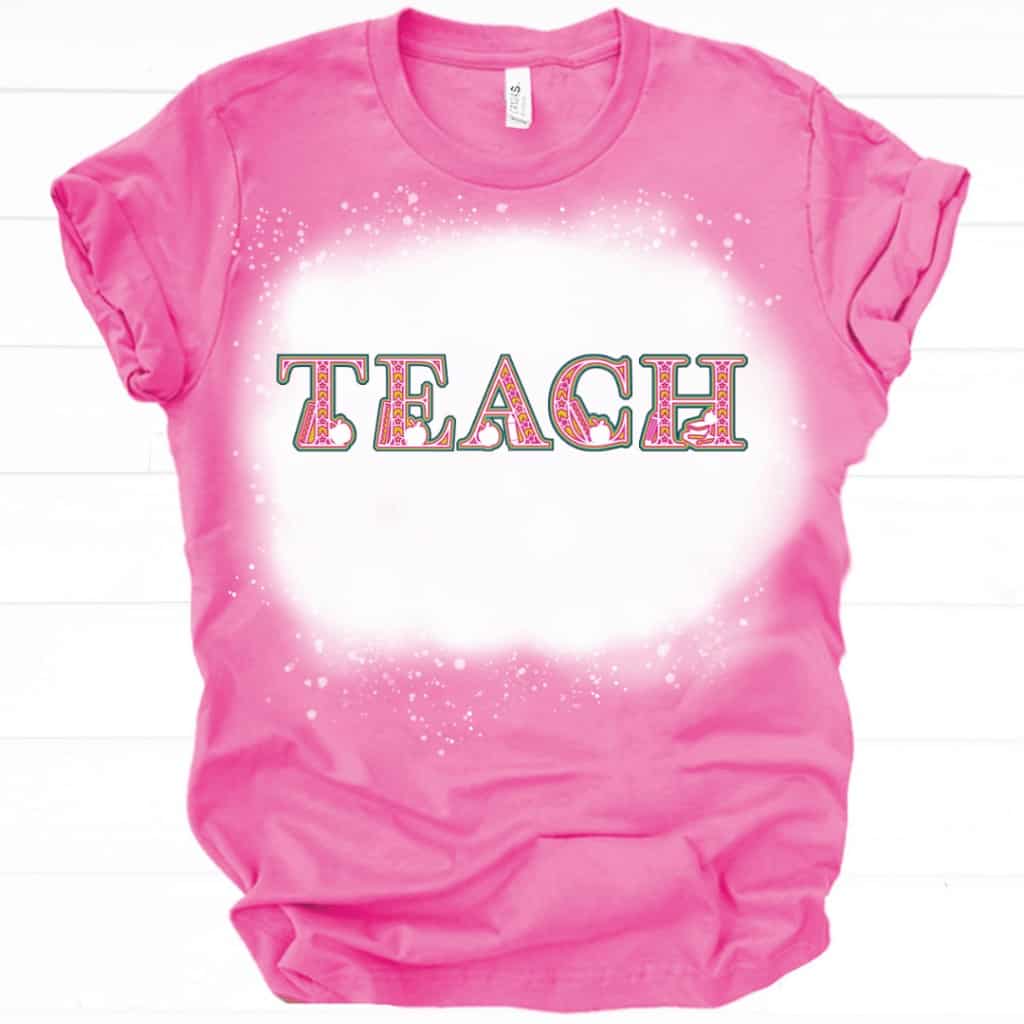
Layered designs aren't just for paper. Use layered designs with other types of materials like heat-transfer vinyl, permanent vinyl, window cling, and more.
- Shadow boxes for wall decor
- Wall decals
- Pennant banners
- Iron-on vinyl decorative throw pillow
- Iron-on vinyl t-shirt
- Stickers
- Greeting cards
- Decorations
- Coffee mugs
Get the entire alphabet HERE!
Looking for more mandalas? Check out my other mandalas HERE.
Don't want to forget about this project? Save it to your Pinterest here!
Do you have any questions about this DIY layered alphabet craft? Let me know in a comment below!
Leave a Reply