Make a Rolled Paper Flower Rainbow Pride Shadow Box with Free SVG Files and Step-by-Step Photo Tutorial and Video.
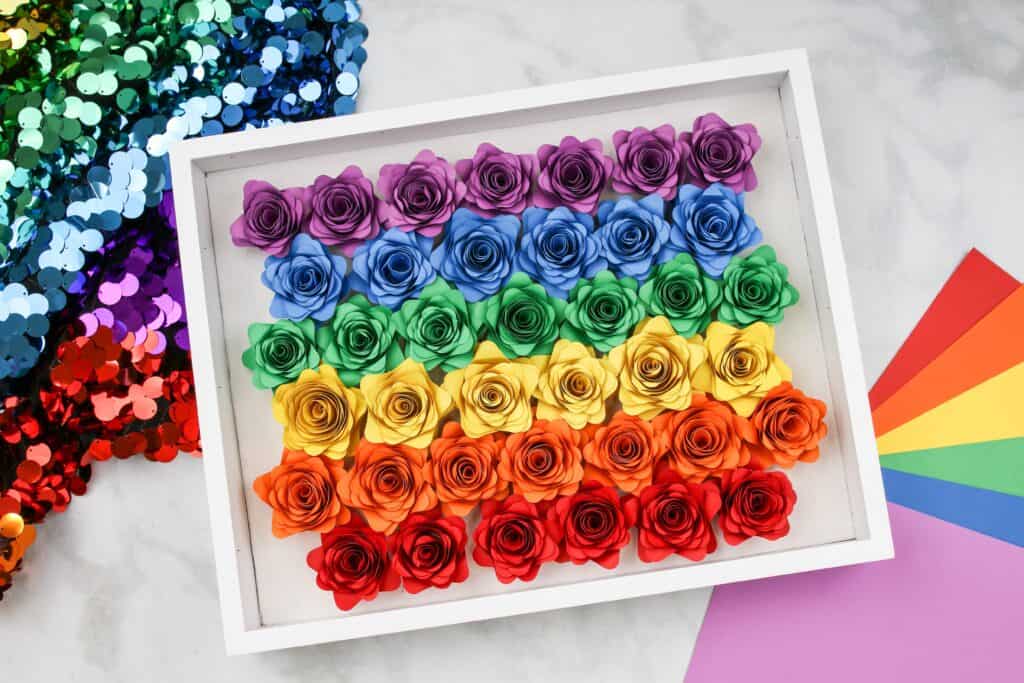
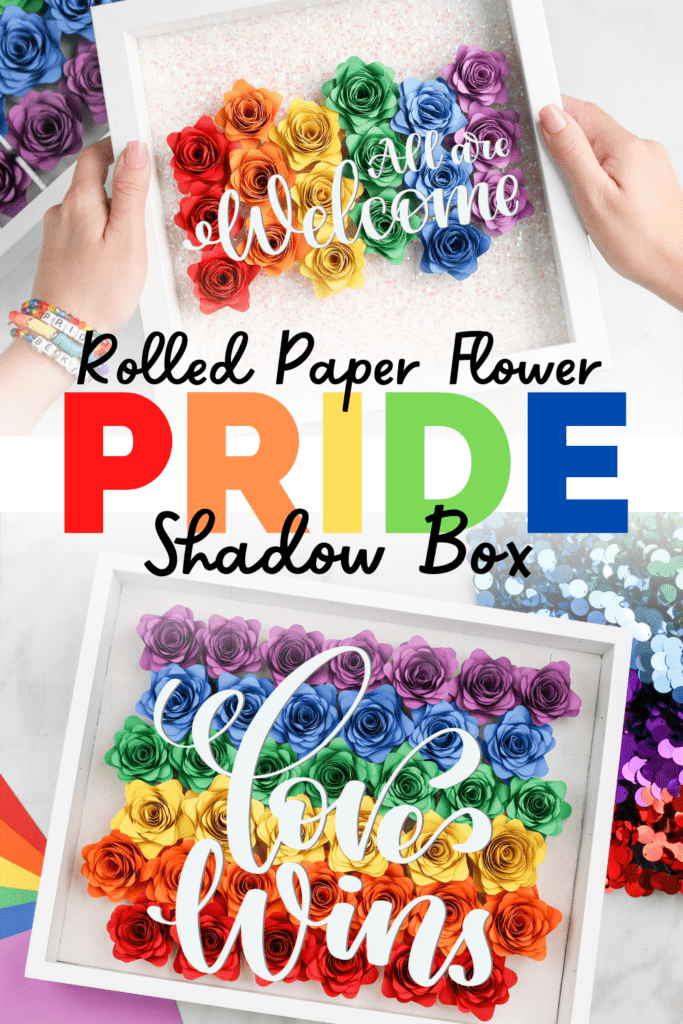
June is Pride Month and I’m celebrating by decorating my home with this custom DIY Rolled Paper Shadowbox!
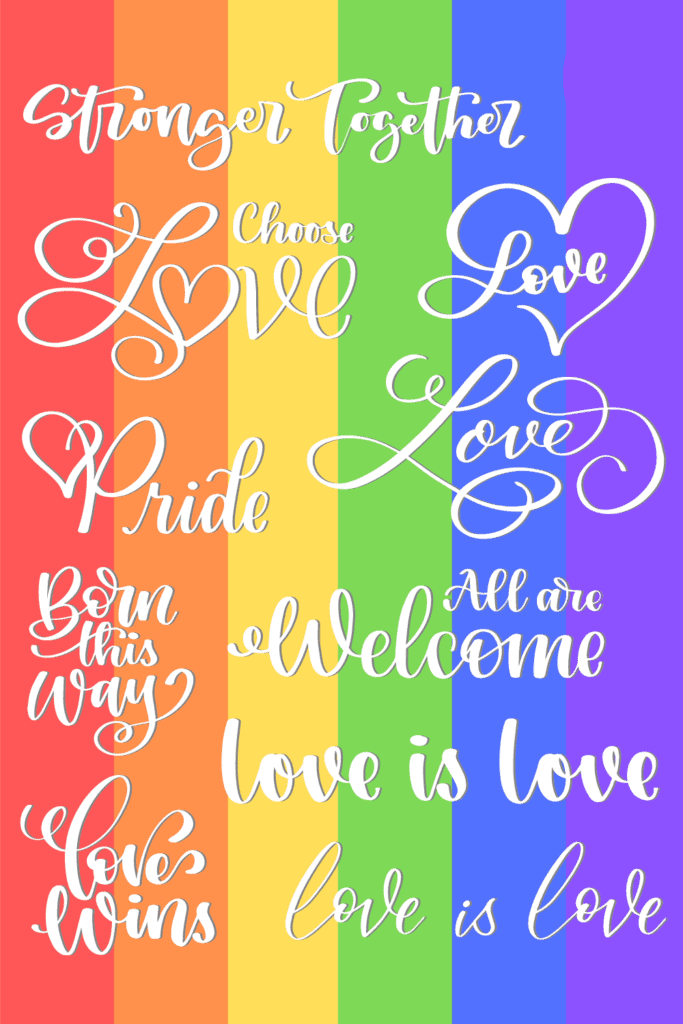
I'm going to show you how to make your very own pride-themed paper flower shadow box with my free SVG files. I've included several hand-lettered designs that you can apply to the glass on your shadow box.
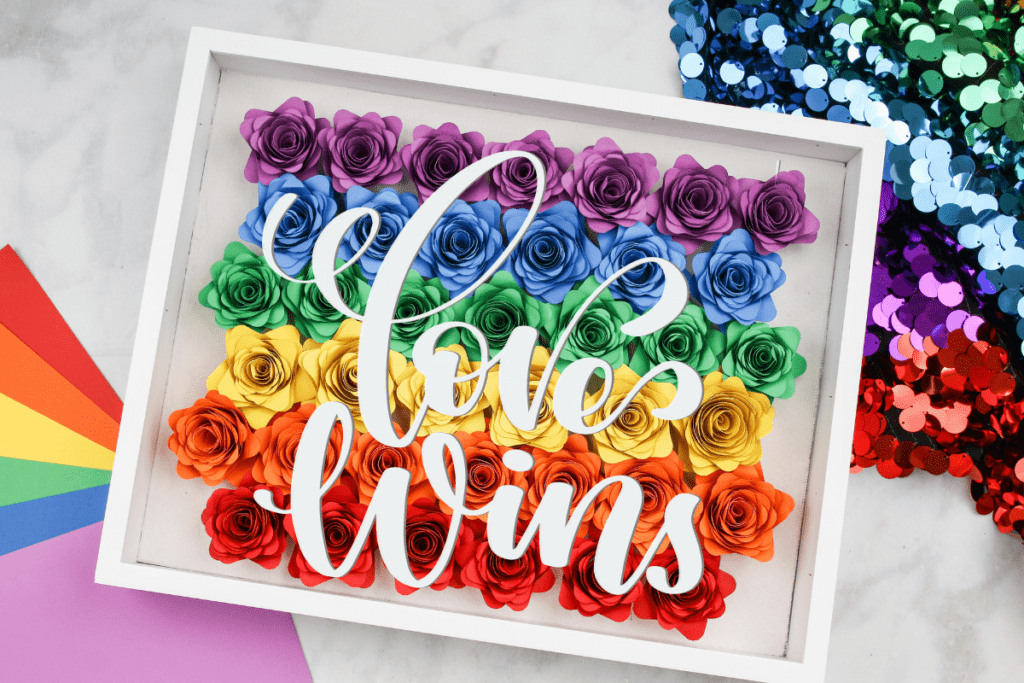
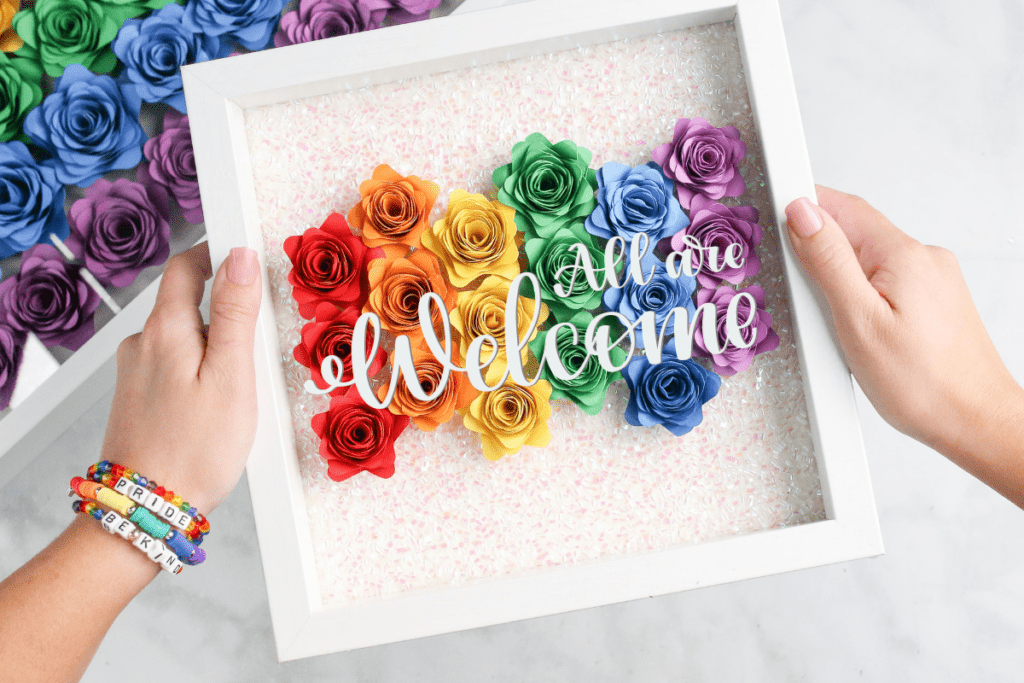
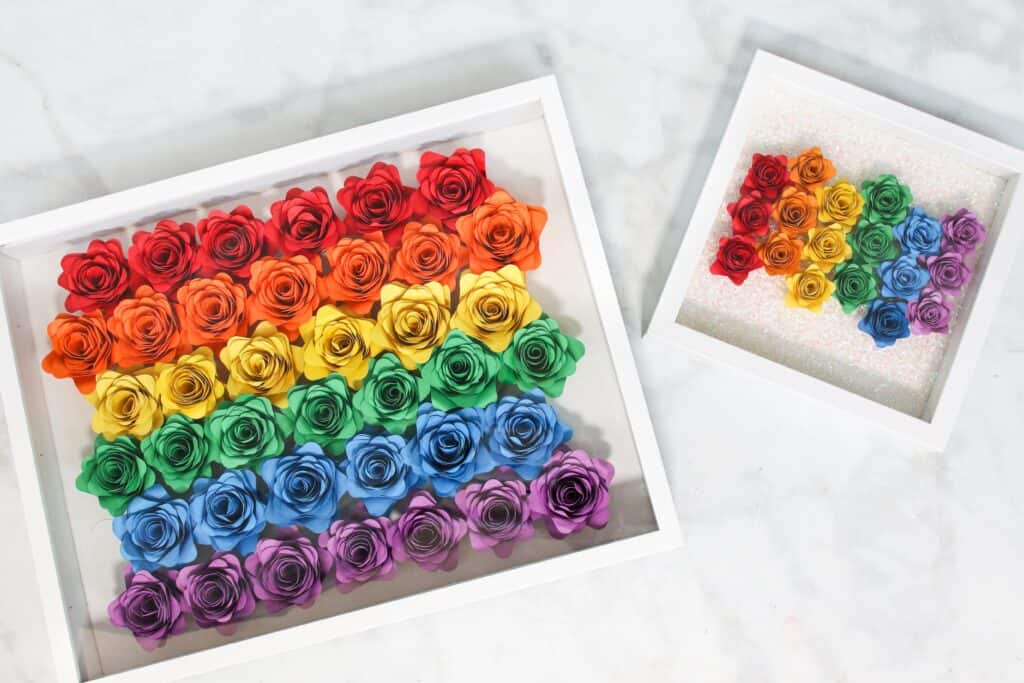
I made two different shadow boxes to show you how this project can be customized to fit the style that you're going for!
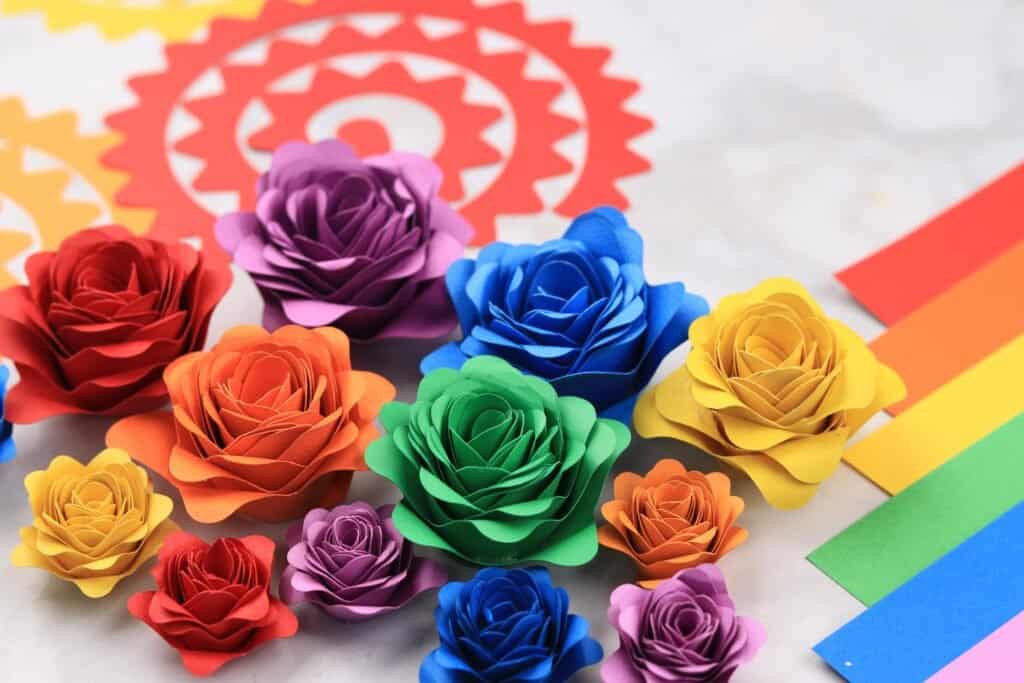
Rolled paper flowers have been one of my favorite projects to make ever since I first got my Cricut machine. I'm so excited to be sharing a free rolled paper flower file with you so you can make your own!
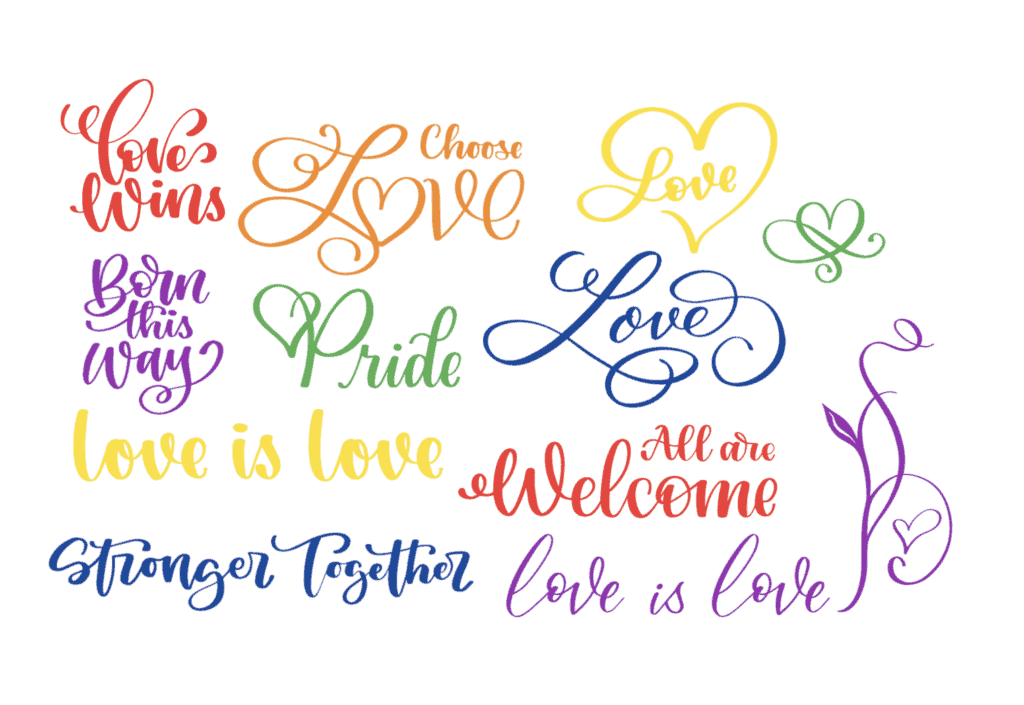
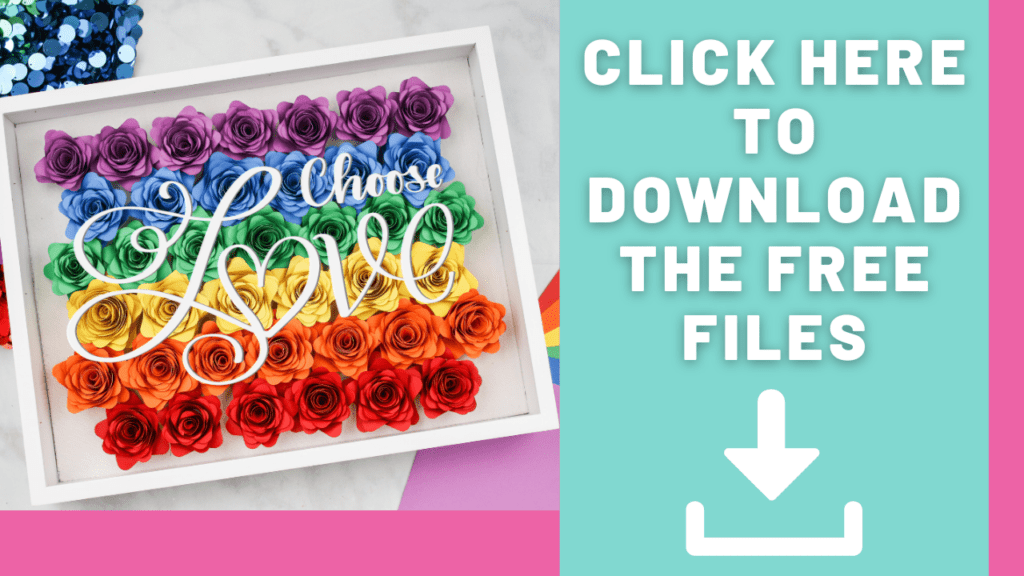
I've also included a bunch of hand-lettered files that you can adhere to the glass of the shadow box to customize your design. It's a simple way to add a message to your shadow box!
What Type of Paper Should I Use to Make Paper Flowers?
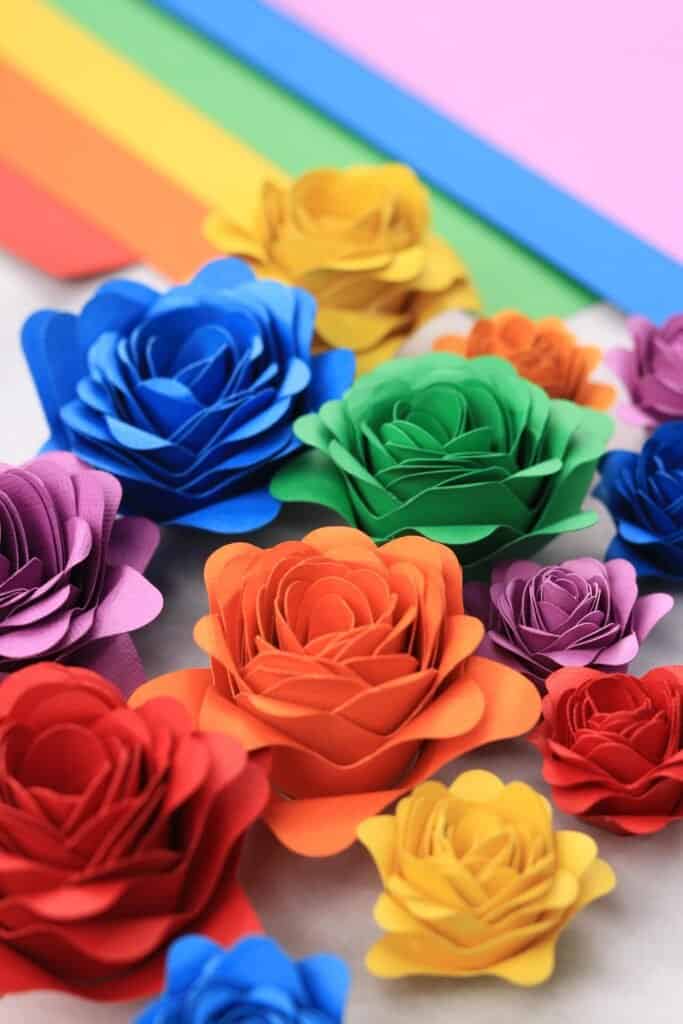
When making paper flowers, it's very important to use the correct type of paper to achieve the best results. This will give you flowers that look realistic and lifelike.
I strongly recommend you find paper between 60-80 lbs, as it will curl and manipulate the easiest. My personal preference is 65 lb cardstock because it's on the lighter side and it's easier to manipulate. Heavier cardstock can be harder to work with.
When you are shopping for paper look for cardstock that is solid core! This is really important! White core paper is a cheaper type of cardstock that has color printed on each side. When you cut into it, it is white on the inside. It tends to look cheap when it's used with paper flowers.
Instead, you'll want to make sure you select a paper that says, "Solid Core". This means the color hasn't been printed on the outside of the paper. Solid core paper has been dyed and has the same color on the inside and outside.
How Much Paper Do I Need to Make Paper Flowers?
This design is sized to fit two flowers per 12"x12" sheet of paper. If you're planning on making a 9" x 9" shadowbox you will need 3 pieces of red, orange, yellow, green, blue, and purple cardstock.
I always recommend grabbing a few extra sheets of paper.
When in doubt, cut extra flowers. Accidents happen, especially when you're working with something as lightweight as paper. I recommend cutting extra paper flowers just in case something goes wrong!
You'll also find it's nice to have extra pieces while you're creating your shadowbox in case you need to fill in an empty spot.
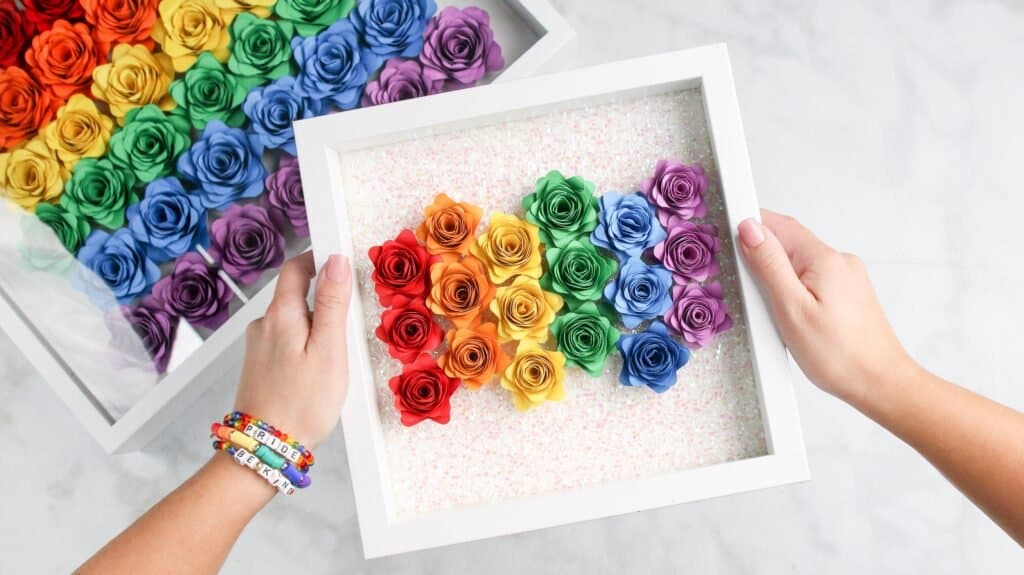
Table of Contents
Rolled Paper Flower Shadow Box Supplies
- Cricut Maker, Cricut Explore, or Other Cutting Machine
- You can cut this on any Cricut machine. If using the Cricut Joy, you will need to resize the flower so that it is no wider that 4.5”
- 12" x 12" or 12" x 24" Standard Grip Cutting Mat
- Cardstock
- Rolled paper flowers look best with solid core paper
- Hot Glue Gun
- Hot Glue Sticks
- Finger Guards
- *Optional, to protect your fingers from hot glue burns
- 1 9" x 9" Shadowbox Frame
- Small 4mm Wooden Skewer
- This is used to roll the petals on the flowers to make them look more realistic
- Paper Quilling Tool
- Premium Permanent or Removable Vinyl
- I recommend using white for this project so it pops against the color of the flowers
Supplies for applying Vinyl to the shadowbox glass
- Cricut Scraper
- Weeding Tool
- Transfer Tape
- Rubbing Alcohol
- Lint Free Towel or Paper Towel
DOWNLOAD THE FREE ROLLED PAPER FLOWER AND HAND-LETTERED FILES BELOW!
STEP #1: UPLOAD THE CUT FILES
Need help uploading your SVG file? Click here to read my blog post that will walk you through this process.
Open Cricut Design Space and click the + to create a new project.
In the Design Panel on the left, select "UPLOAD."
If you are a Design Space PRO, you can skip to step #2.
Click "UPLOAD IMAGE."
Click "BROWSE" or drag and drop the file.
Navigate to the file on your device to click "OPEN" to add it to Cricut Design Space.
On the Prepare Screen, you can change the name of the project and add tags. Click "UPLOAD."
Once you have the file uploaded, select it and click "INSERT IMAGES" to bring it onto your canvas.
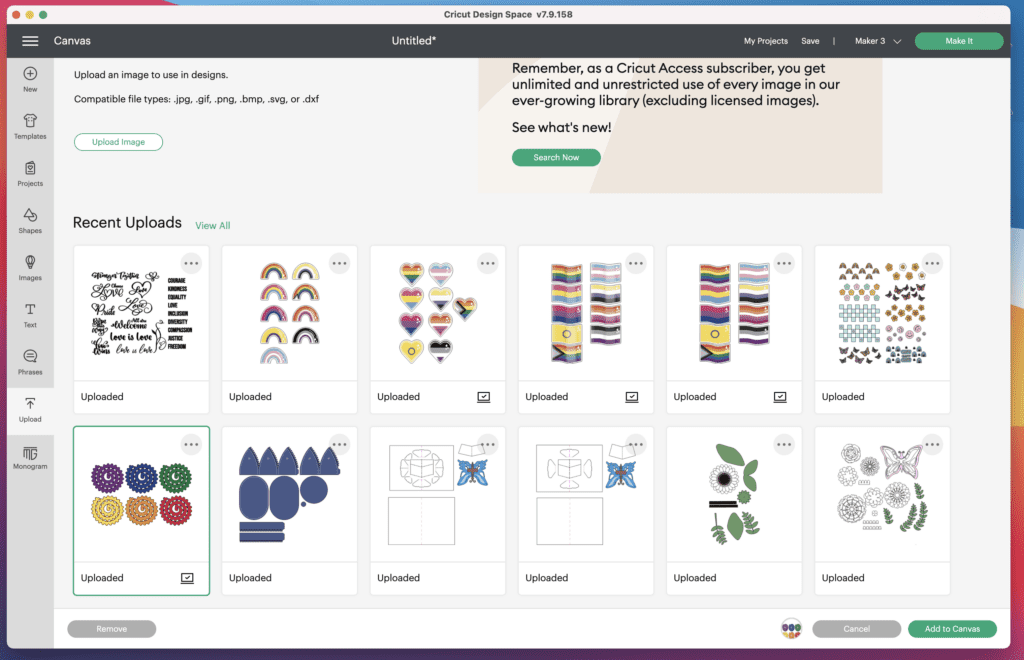
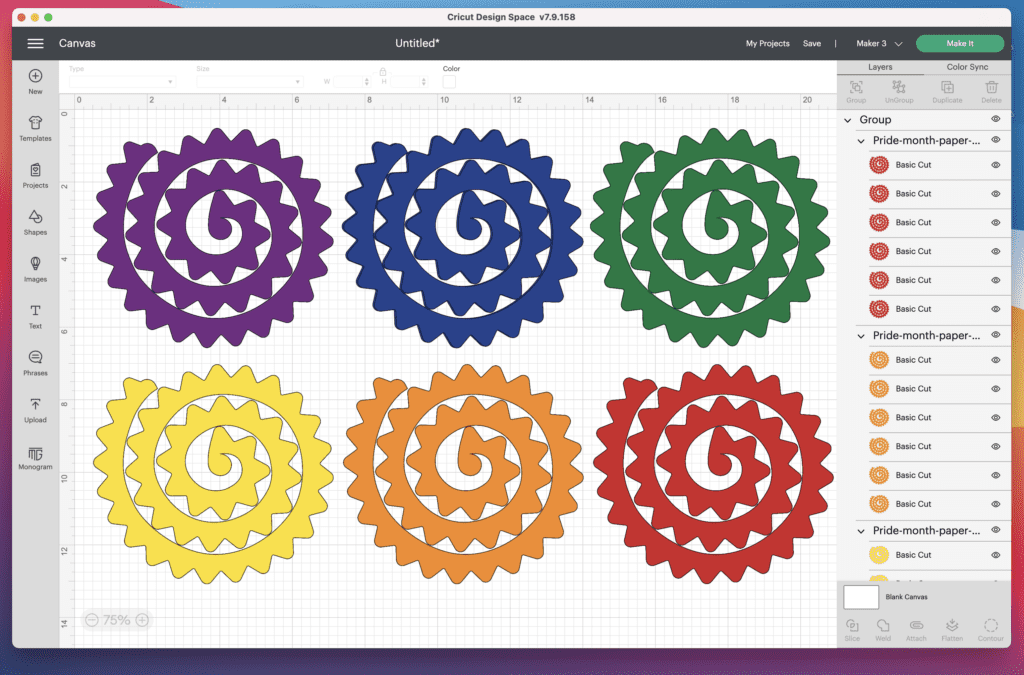
Select "UNGROUP" in the top right-hand corner. Then "UNGROUP" each set of flowers.
STEP #2: PREPARE THE CUT FILES IN CRICUT DESIGN SPACE
I’ve designed my rolled paper flower to fit six across and six down when using a 9” x 9” frame. You will need to cut six flowers of each color (purple, green, orange, red, yellow, and green).
At the bottom of this post, I will show you how to determine how many flowers you need to cut if using a different size flower and/or frame.
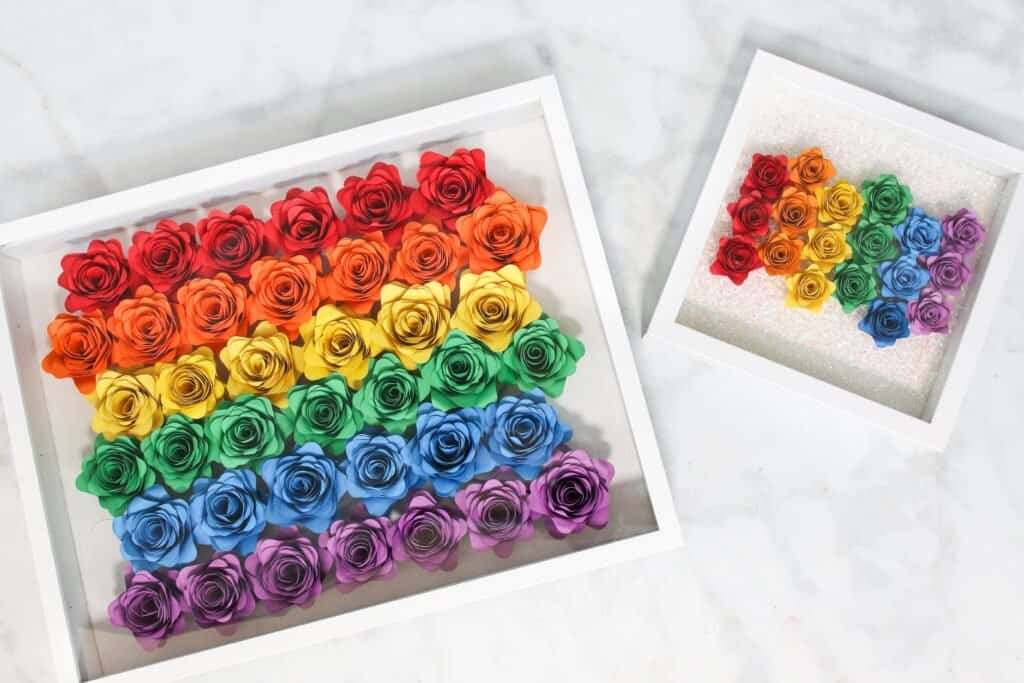
I made two different shadow boxes to give you an idea of how the sizes vary.
In the larger shadow box, I increased the size of the rolled flower to take up an entire 12" x 12" piece of cardstock.
The smaller shadowbox shows the normal cut size that will come up in Cricut Design Space when you import the file.
STEP #3: CUT OUT THE ROLLED FLOWERS
Start by removing the clear liner from your Cricut mat and then set it aside.
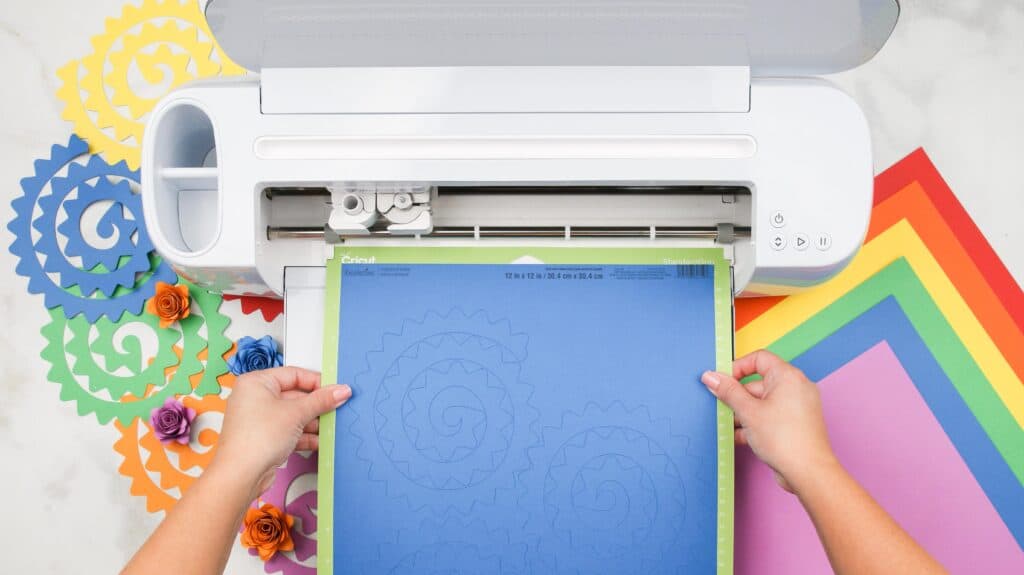
Place the cardstock paper onto the mat and press down firmly on the paper to adhere it to the mat. This step is really important when cutting out cardstock to ensure you get the best results possible.
Insert the mat into the cutting machine and press "GO."
Once the machine has finished cutting the design, remove the mat from the machine. Repeat this process until you've cut out all of the pieces for your shadowbox.
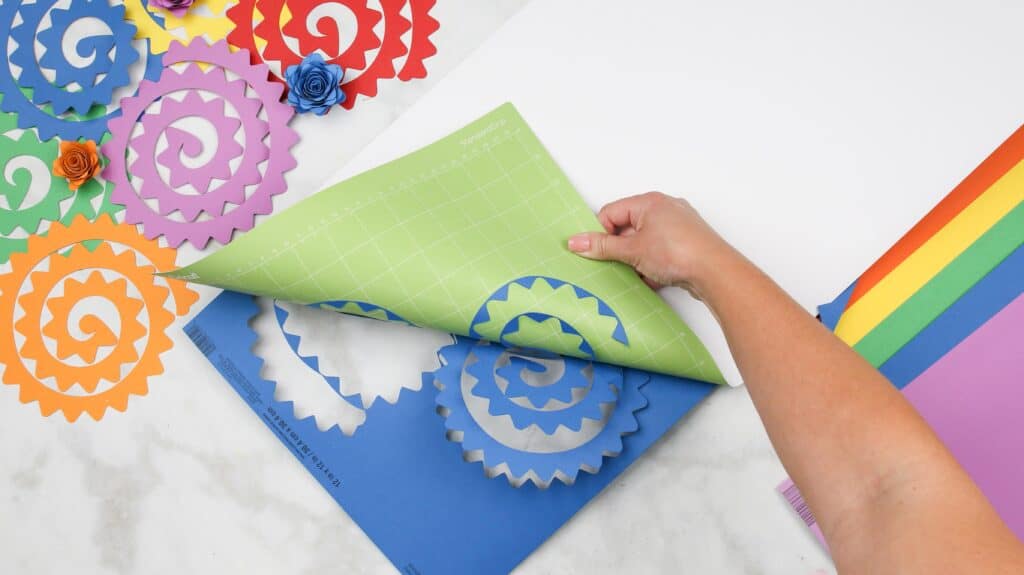
Carefully remove the mat from the cardstock to avoid damaging the flowers.
STEP #4: SHAPE AND ROLL PAPER FLOWERS
Once your flower pieces are cut, use a wooden dowel or skewer to roll the petals to give them some shape.
*Refer to the video tutorial to see this step in action.
Focus the shaping on the petals that are located along the innermost part of the spiral. The petals along the outer most part of the spiral will straighten out when you roll the flower.
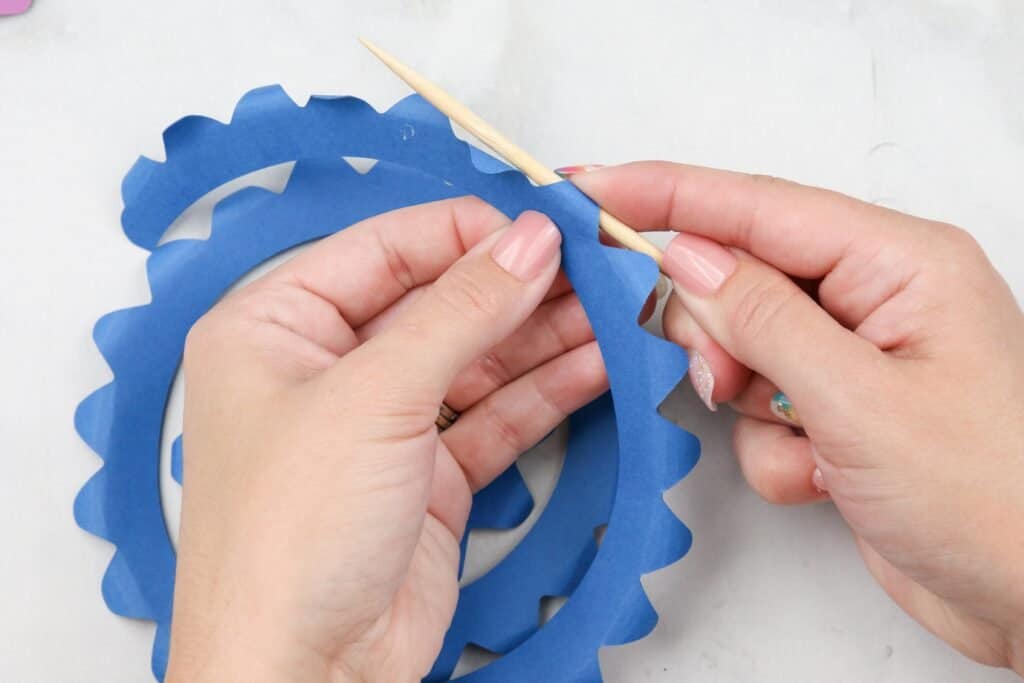
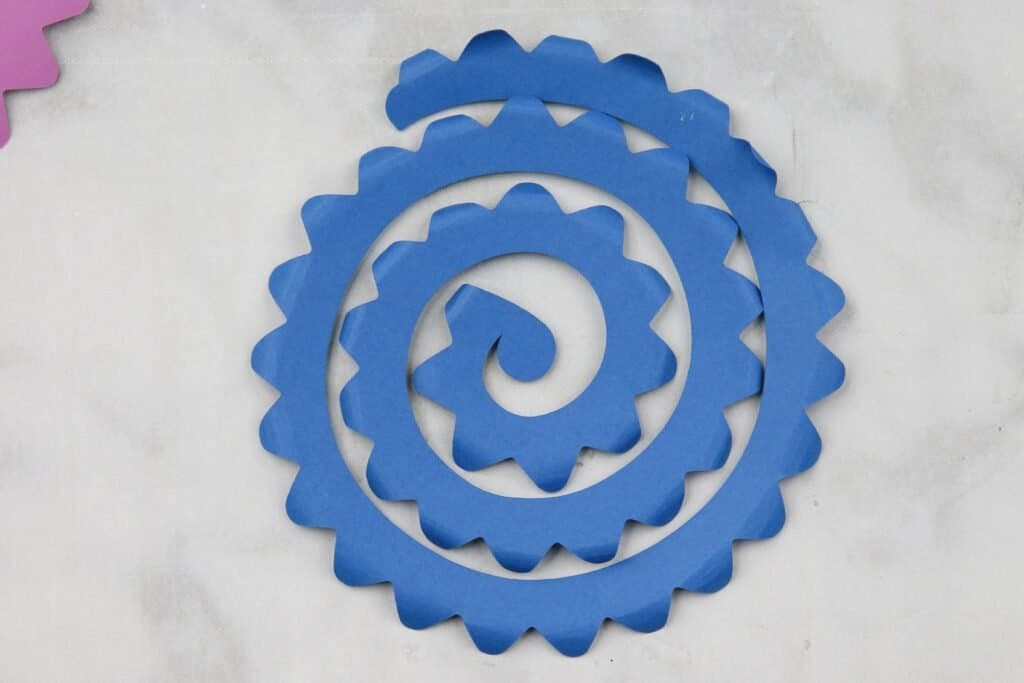
With the petals on all your pieces curled, it is now time to roll your paper flowers.
Grab a quilling tool and place the outer end of the paper flower spiral into the slot of the tool. Begin rolling the paper flower around the quilling tool until you get to the end of the piece.
*Roll the flower so that the petals you shaped in the previous step are curled away from the center of the flower.
You can use a variety of different things to roll your flower. I'm using a wooden flower quilting tool from Etsy. You can use a metal quilling tool, bobby pin, or a pair of tweezers.
Out of all of the tools I've tried this wooden one is by far my favorite because of the round disk at the base of the quilling tool. It keeps the base of the flower-lined up as you roll it. Click here to purchase it on Etsy.
*PRO TIP - Use a drill on a low to speed up this process. You can see an example of this in my video. I use a bobby pin placed inside of the center of a thread spool holder to make a DIY quilling tool.
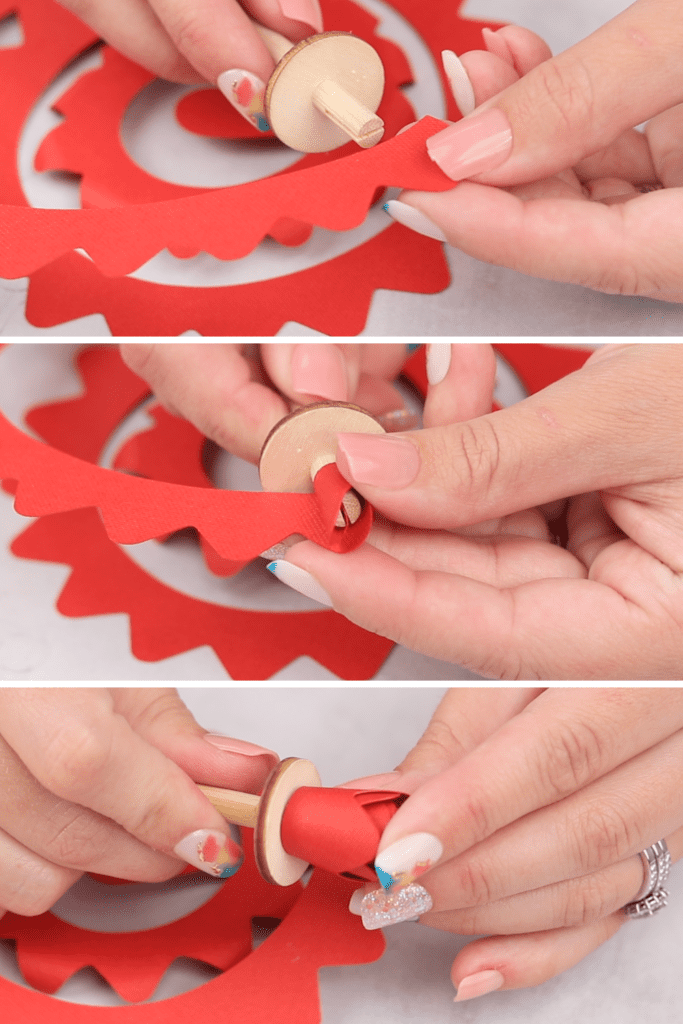
Remove the rolled paper flower from the tool and turn the flower over. Add hot glue to the bottom of the rolled paper flower then flip the circle tab over the glue. You can let the flower unroll slightly to give it a more open appearance.
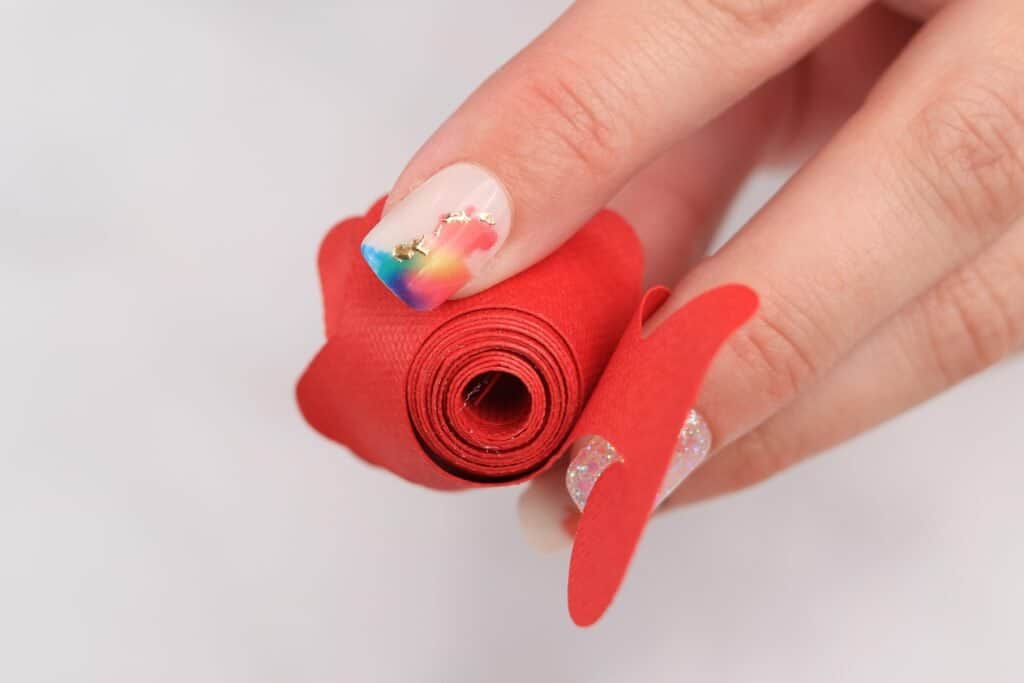
Use the wooden skewer to shape the outer petals away from the flower.
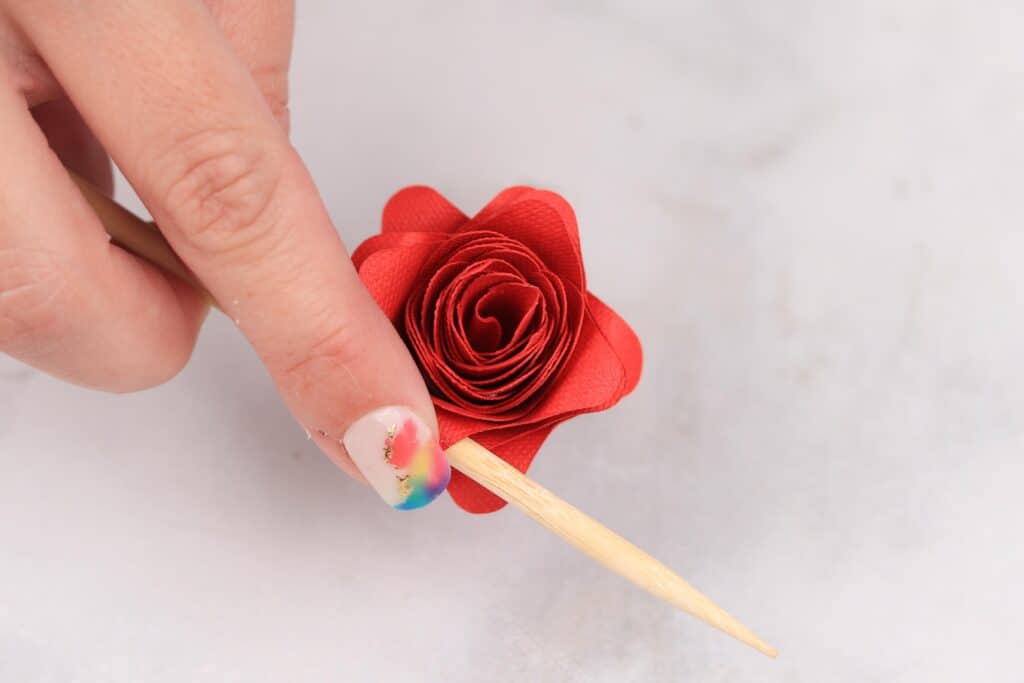
You’ve just made your first paper flower!
Continue rolling and gluing all of your paper flowers. This process gets easier with each flower that you make.
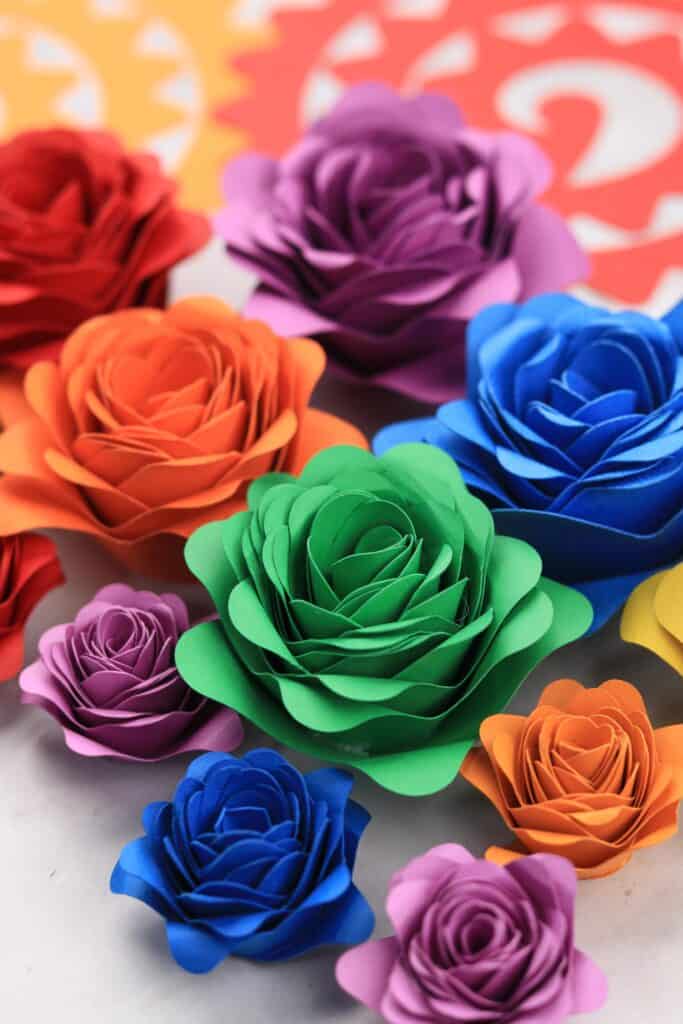
Grab your frame and arrange your paper flowers into the shell of the shadow box frame.
I have arranged mine into six offset rows: red, orange, yellow, green, blue, and violet.
STEP #5: ADHERE FLOWERS TO SHADOWBOX BASE
Begin gluing your paper flowers to the base of the shadowbox.
*You may find it helpful to lay all of your flowers out on the shadowbox base first to double-check the fit.
Optional: You can glue your flowers to a sheet of cardstock if you do not want to glue them to the frame backing.
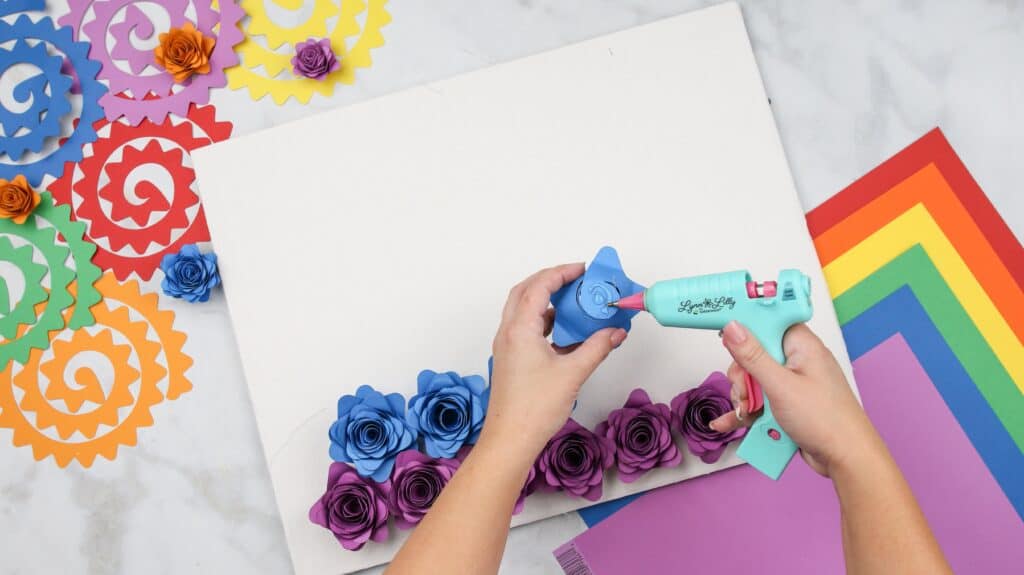
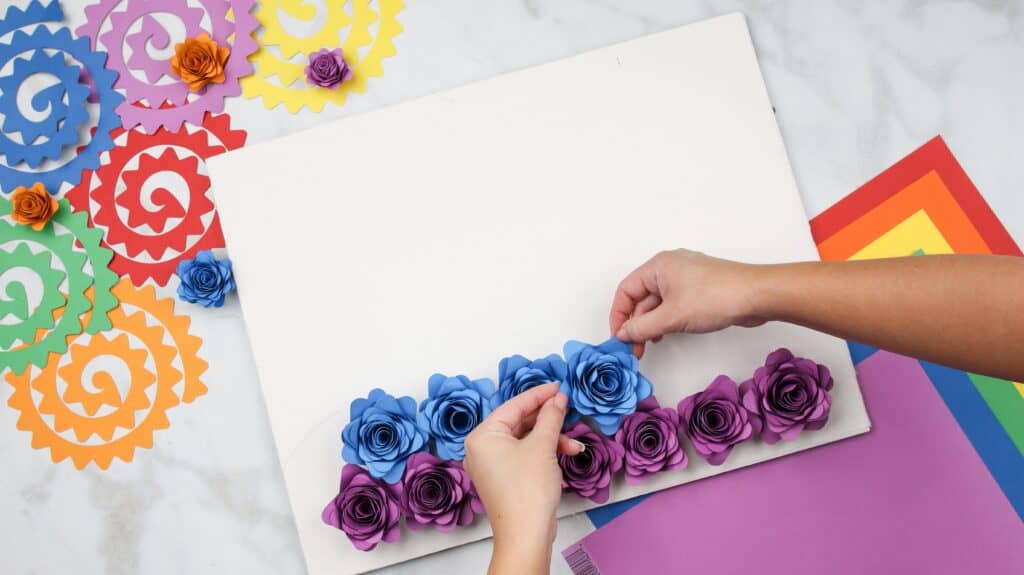
This is what my frame looks like with all my flowers glued in place.
Clean the glass of your frame with rubbing alcohol on both sides. Use a coffee filter or other lint-free towel to dry the rubbing alcohol off the glass.
Assemble the shadowbox with the glass and flowers.
STEP #6: ADD A HAND-LETTERED DESIGN
This next step is completely optional but it does add a special finishing touch!
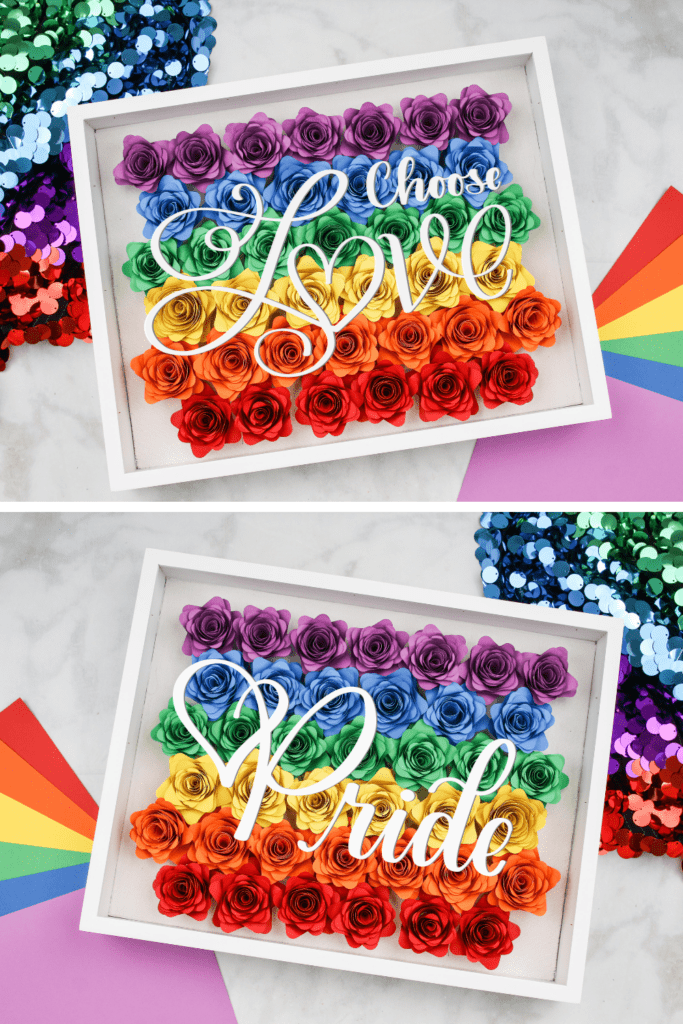
Choose one of my hand-lettered designs to apply on the front of your frame and cut it on your cutting machine. Weed the design and apply it to transfer tape.
Decide where you want to place your design then apply the vinyl to the glass. Use a scraper tool to secure the vinyl to the glass then remove the transfer tape.
Assemble the frame back together and you are finished!
HOW TO CALCULATE FLOWER SIZE AND AMOUNT
If you are using a different size frame or flower, here is my method for calculating how many flowers you will need.
- First cut and assemble the flower at the size you want.
- Measure the width of the flower.
- Measure the width and height of the inner part of your shadow box frame.
- Take the width of the frame and divide it by the width of the flower. For example, if your frame is 12” wide and your flower is 1.5” wide, you will end up needing 8 flowers across.
- Take the height of the frame and divide it by the width of the flower. For example, if your frame is 14” high and the flower is 1.5” wide, you will need 9 flowers.
- Now take the number of flowers for the width and multiply it by the number of flowers for the height: 8 x 9 = 72
Pro Tip: always cut a couple of extra flowers in the event one gets damaged during assembly.
Want to learn how to make even MORE paper flowers?
Get The Ultimate Guide to Paper Flowers E-Book and get access to ALL of my printable paper flower tutorials and flower SVG files in my Ultimate Guide to Paper Flowers Ebook by clicking here!
Join my crafting and sewing Facebook group where you can show us what you’re making, ask questions, and learn from others!
Follow Sweet Red Poppy on Instagram for daily crafting inspiration and a look behind the scenes.
SHARING IS CARING
Help us by sharing this design! If you like free designs, please take a moment to share this on your favorite social media site or pin it on Pinterest!
This helps our site to continue to grow so that we can continue to provide free content. Thank you!
Looking for even more craft projects to make during Pride month? Click the links below!
- Rainbow Yarn Wall Hanging
- Rainbow 3D Treat Boxes
- Print Then Cut Pride Stickers (Coming Soon)

Leave a Reply