• Skip to primary navigation
  • Skip to main content
  • Skip to primary sidebar
Sweet Red Poppy logo
  • Cricut
    • Free SVG Files
    • Paper Flowers
    • Mandala
    • Iron-On
    • Vinyl
    • Maker
    • Explore Air 2
    • Joy
  • Sewing
    • Baby
    • Kids
    • Accessories
    • Christmas
    • Blankets
    • Womens
    • Learn to Sew Tips & Tricks
    • Face Masks
  • DIY Crafting
    • Paint
    • Paper
    • Food
    • Kids
  • Holiday Crafts
    • Valentine’s Day
    • Easter
    • 4th of July
    • Halloween
    • Thanksgiving
    • Christmas
  • Books
    • Cricut Printed Book
    • Cricut E-Book
    • Cricut Joy Printed Book
    • Cricut Joy E-Book
    • Paper Flower E-Book
    • Sewing Printed Book
    • Sewing E-Book
    • Face Mask E-Book
    • Mandala E-Book Bundle
    • Mandala E-Book - Inkscape
    • Mandala E-Book - Adobe Illustrator
    • Mandala Printed Book - Inkscape
    • Mandala Printed Book - Adobe Illustrator
    • Baby Pattern E-Book
  • Courses
    • Cricut Course
    • Sewing Course
    • Serger Course
    • Quilting Course
    • SVG Design Course
    • Course Login: Teachable
  • Shop
    • E-Books
    • Printed Books
    • Sewing Patterns
    • SVG Files
    • Baby Patterns
    • Subscribe to Emails
    • Course Login: Teachable
    • Contact
  • Search

Premium Cricut Iron-On Designs

Written by Kimberly Coffin · This post may contain affiliate links · Leave a Comment

767 shares

Cricut® Iron-On Designs™

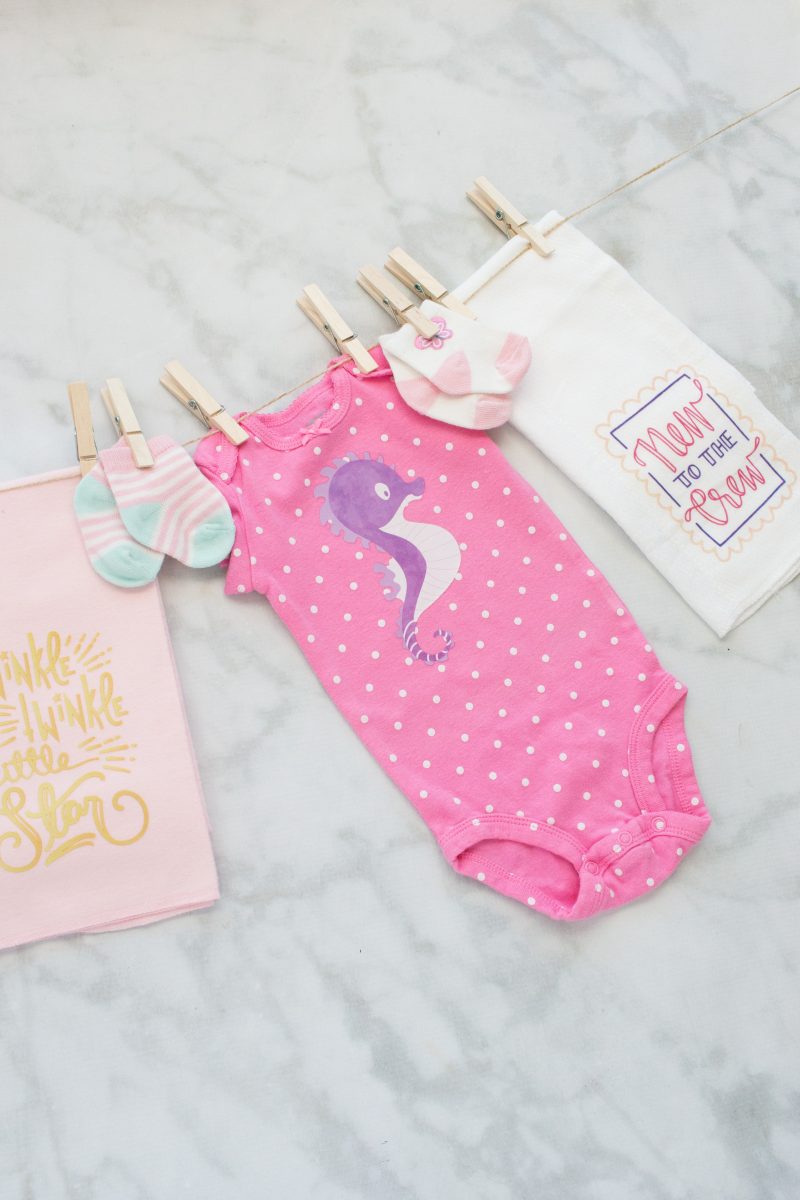
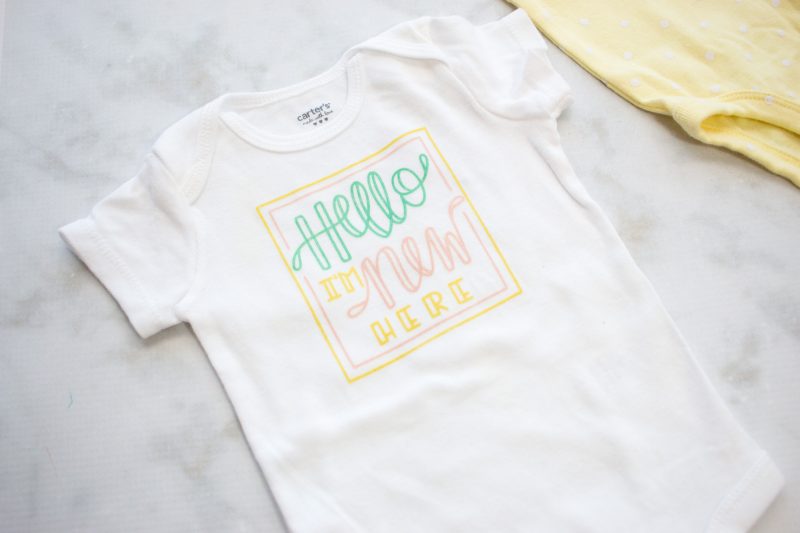
With Cricut Iron-On Designs you can create professional looking apparel in just minutes! These pre-made designs are perfect for personalizing gifts, and quickly creating one of a kind items! I'm pretty excited about these designs because I'm always in need of a quick and easy last-minute gift!

Premium Cricut Iron-On Designs

Would you believe I didn't even have to get my Cricut machine out to make any of these? I whipped up all of these adorable onesies, blankets and burp cloths in under an hour for an upcoming baby shower!
How fun would it be to plan a baby shower and have all the supplies ready for guests to make adorable baby onesies, burp cloths and blankets with these Iron-On Designs?


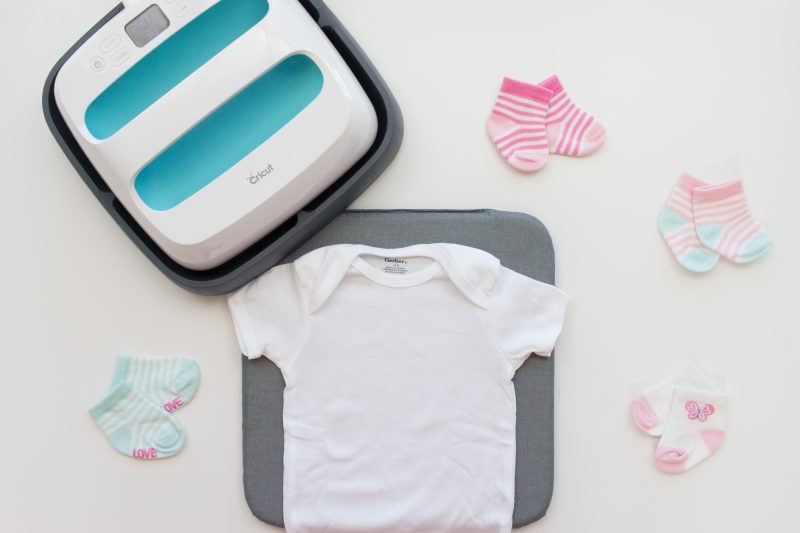
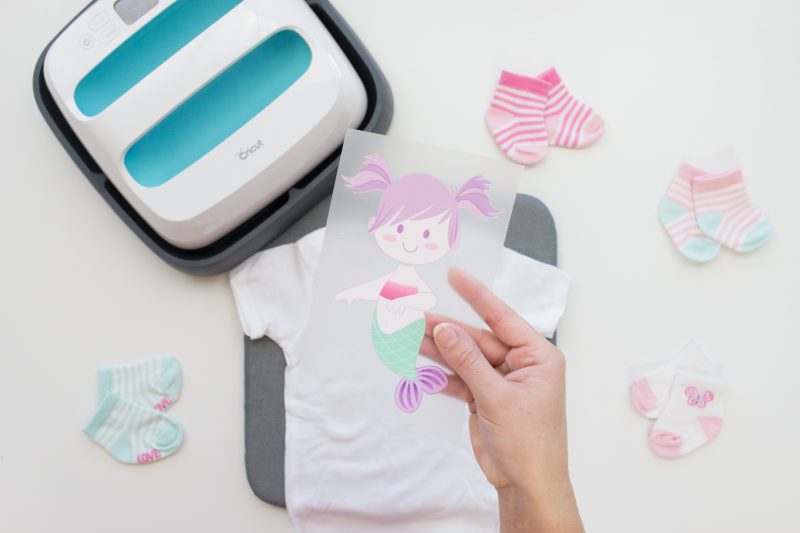
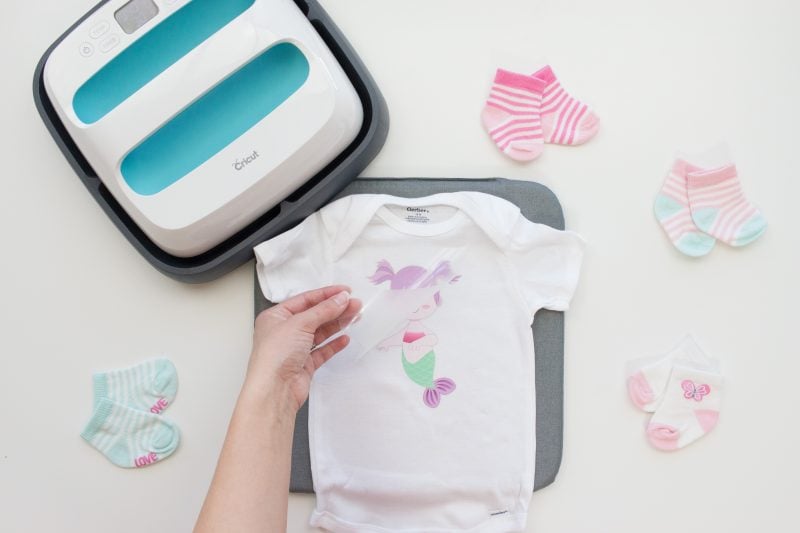
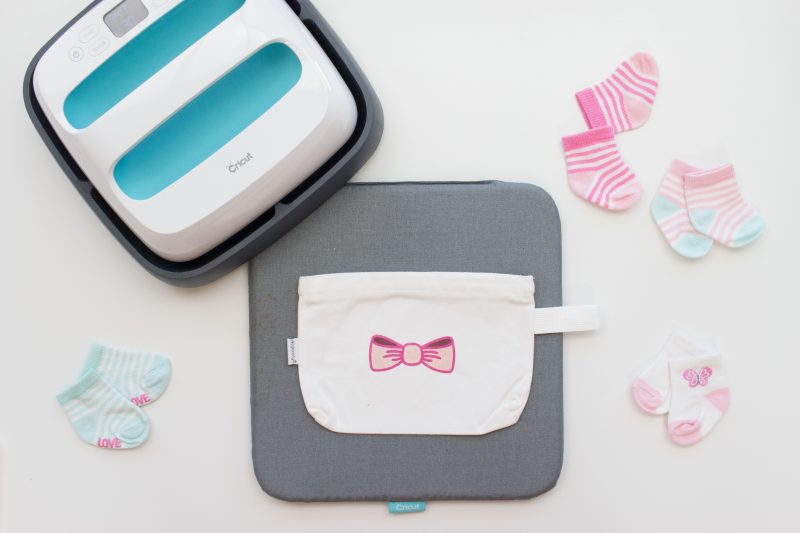
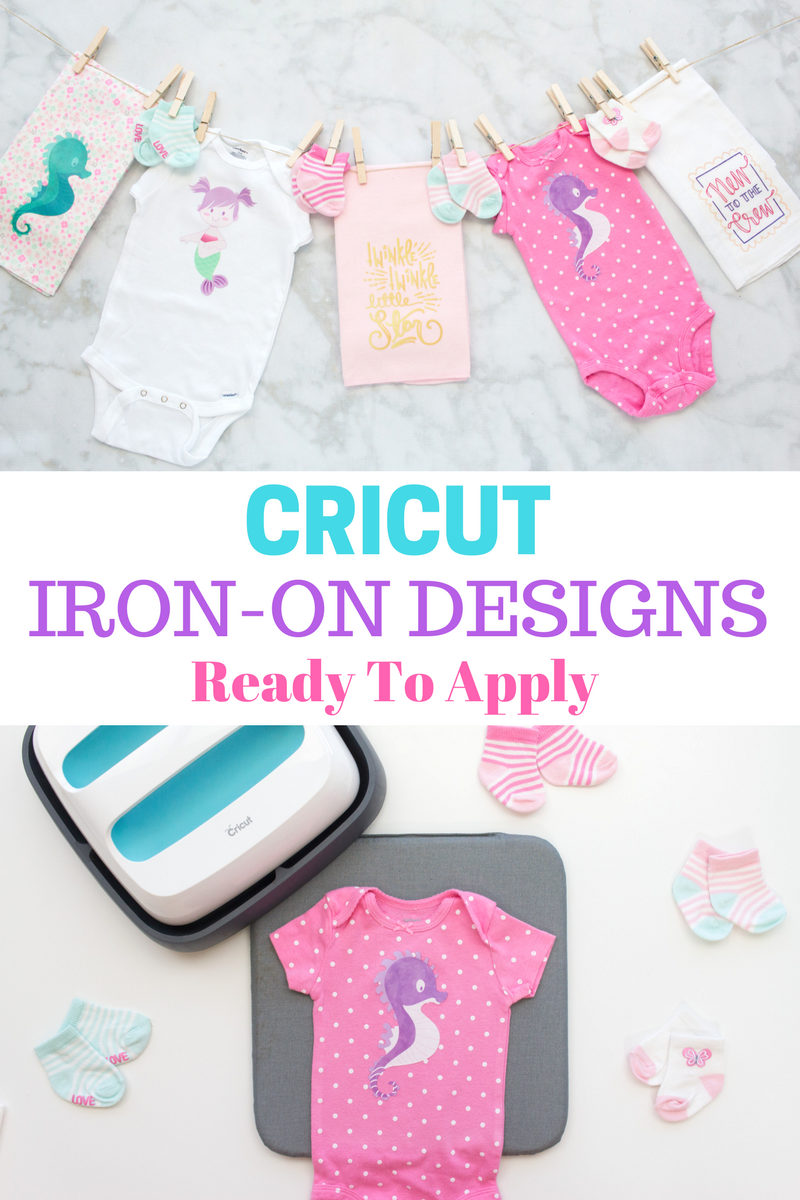
My Cricut EasyPress made this project seamless and I was amazed by just how quickly I was able to get these Cricut Iron-On Designs to fully adhere! It was ready in less than 2 minutes!

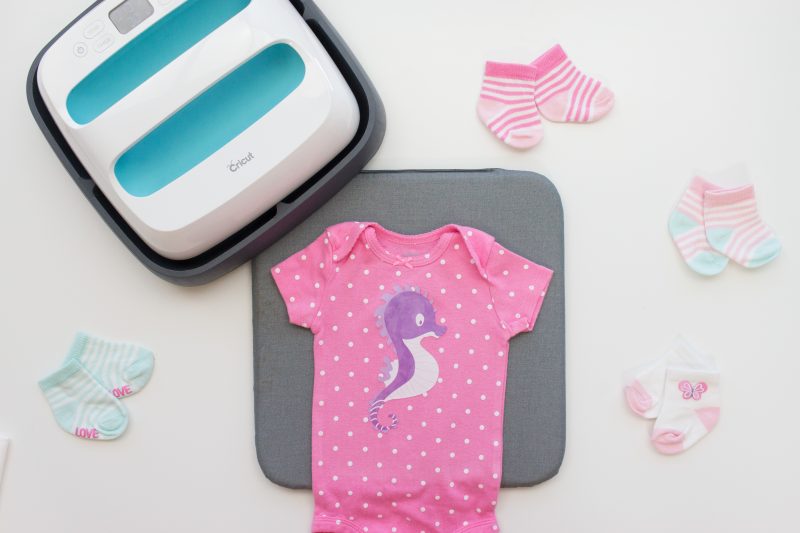
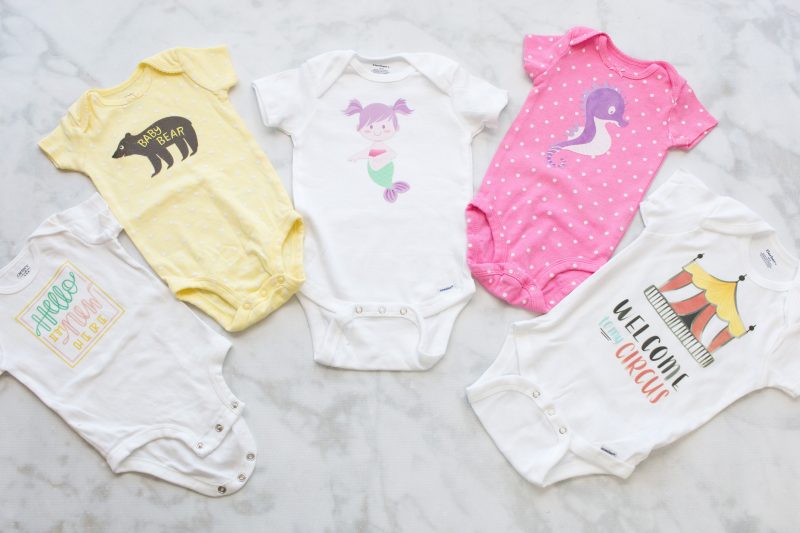
Are you ready to make some adorable onesies?

First, set the EasyPress to 340 degrees Fahrenheit. Preheat the onesies 15 seconds. Warming the surface before applying the Iron-On will ensure the Iron-On design adheres fully.


Learn how to get perfect Iron-On results with the Cricut EasyPress and Iron-On designs.
Get the Mermaid Design Here.
Center the Iron-On Design onto the onesie and heat with Easy Press for 30-40 seconds.
If the design is larger than the EasyPress make sure to evenly heat each part of the design.

*If you are using a standard iron instead of an EasyPress be sure to refer to the directions on the packaging.


Premium Cricut Iron_On Designs are ready to apply without the need of a cutting machine.

Flip the onesie over and heat from the back for 15 seconds.
Allow the onesie to cool completely before removing the lining.
Gently pull away the lining from the design. If it doesn't come off easily, extra heat may be required!


Mermaid Cricut Iron-On Design

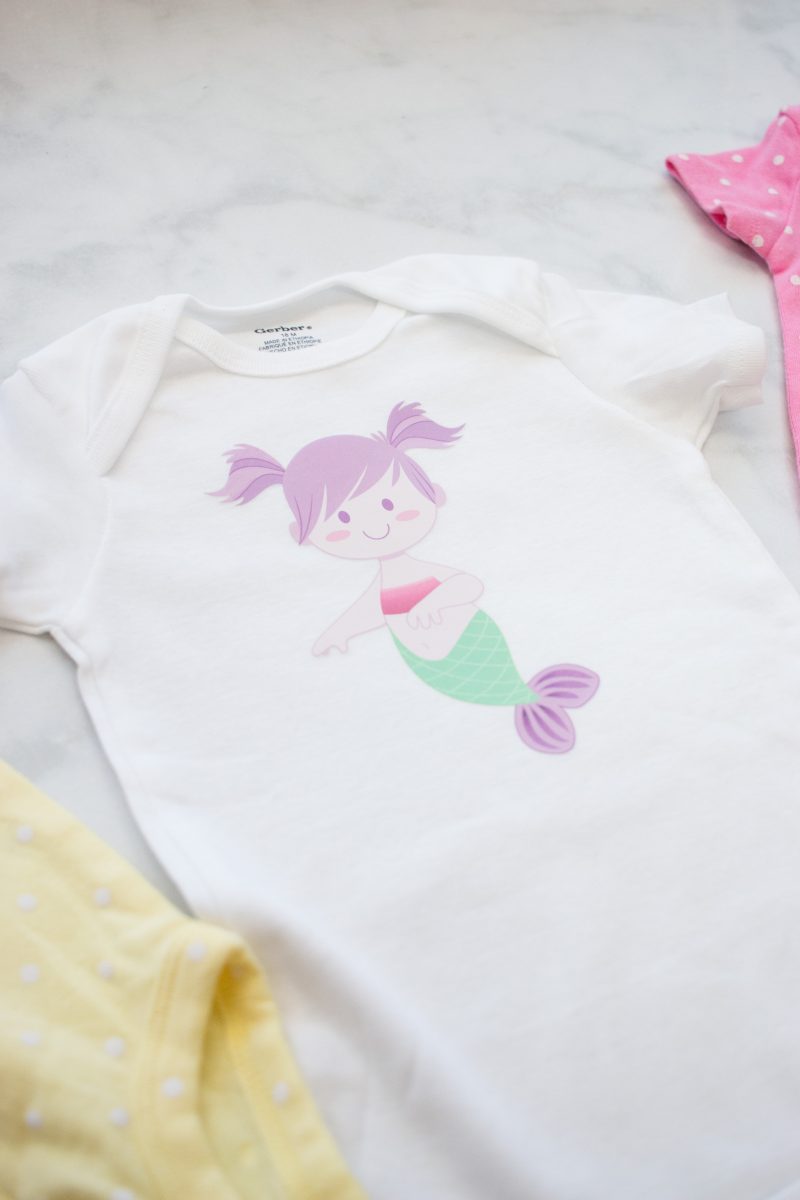
Wasn't that easy?!? I'll definitely be keeping a  variety of these on hand for different occasions.

Cricut Iron-On Designs are perfect for baby onesies!

 Cricut EasyPress™ 

If you use Iron-On regularly then an EasyPress is a great investment! The very first time I used Iron-On I didn't realize just how important having a high, stable amount of heat was. It took me over 30 minutes to get my daughter's name to adhere to her school bag. I was using an old iron that couldn't consistently hold its heat at a high level.

I was amazed when I used the EasyPress for the first time and my Iron-On design fully adhered in less than a minute! The EasyPrress is lightweight, can be easily taken anywhere and doesn't require a lot of space. The temperature is adjustable up to 350℉ and it even has a built-in timer for perfect results. It basically takes out all of the guesswork! The large 9"x9" base allows you to quickly heat large designs with even heat. Oh, and did I mention is works for sewing projects too? Yep! I can press fabric in half the time and it works so well on quilt blocks too!

The Cricut EasyPress makes Iron-On project so easy!

Cricut EasyPress™ Mat
Cricut just released the EasyPress™ Mat which pairs perfectly with the EasyPress. It features multiple layers which wick moisture away from the design and reflect the heat, providing a more stable heating temperature to ensure better results. It even has a protective barrier on the bottom which allows you to use the mat virtually anywhere! Pretty neat, right? No need to haul out the clunky ironing board! 

 I think what I'm most excited about it that I can use this on sewing projects as well. I just keep this mat right by my sewing machine for quick pressing in between seams.


You can find all of these Iron-On Designs here. 


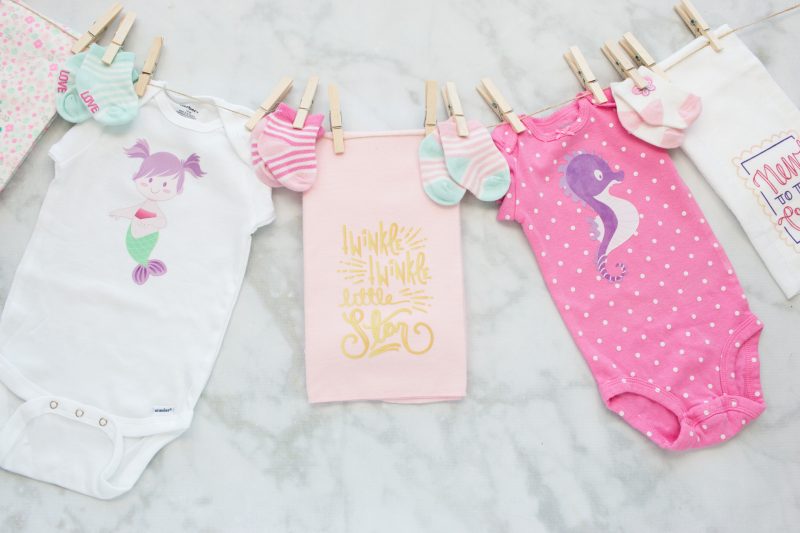
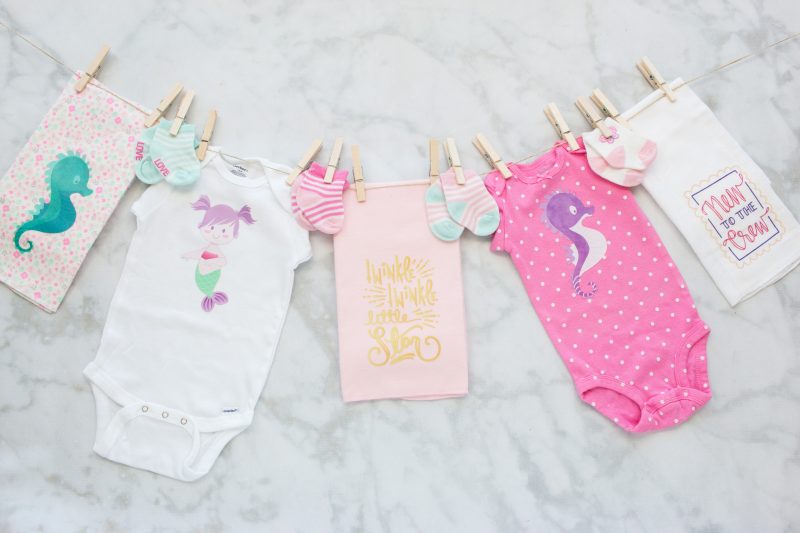
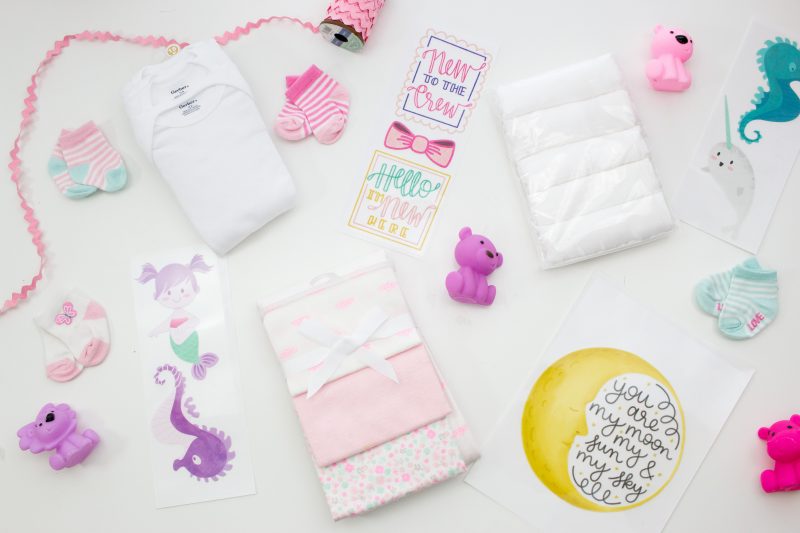
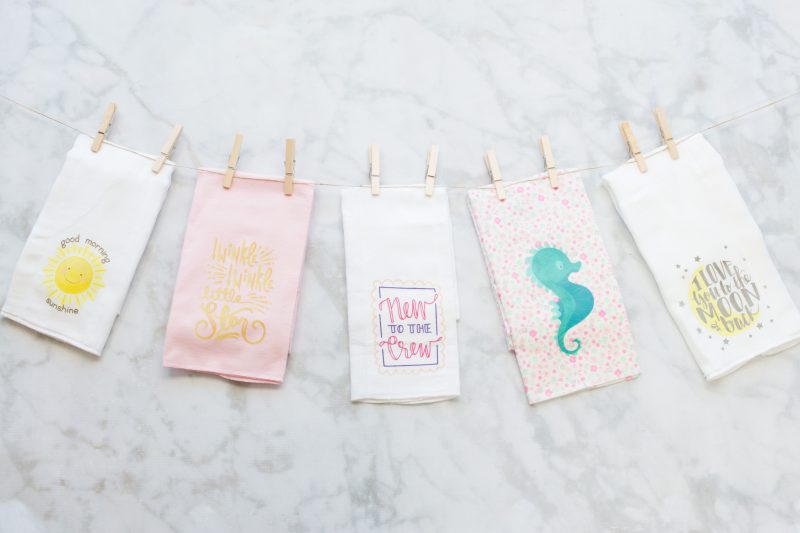
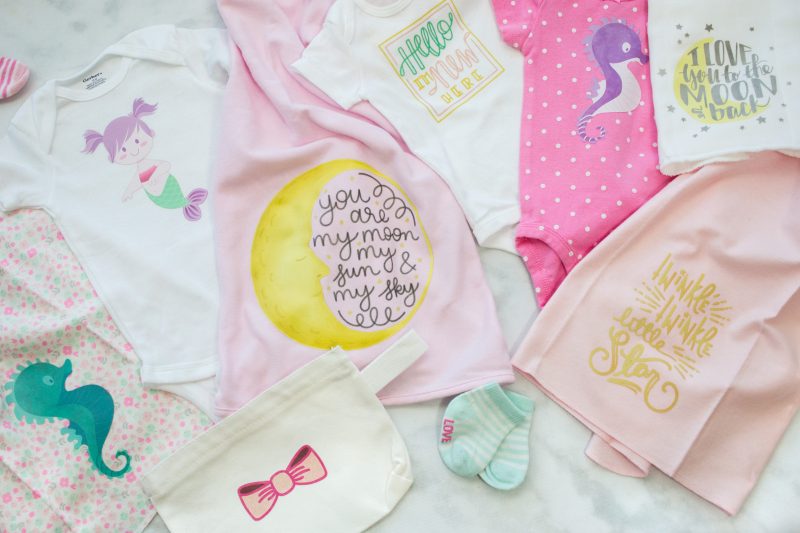
I can't wait to see what you all make with these neat designs, because the possibilities are endless! You could personalize anything from a tote bag to a kitchen towel.

You can even personalize them even further by pairing them with designs that you've cut with your Cricut machine.


What will you make with your Cricut Iron-On Designs?


Cricut Iron-On Designs Are Ready To Apply Without A Cutting Machine.

Love Cricut projects? Be sure to check out all of my tutorials! 


SaveSave

SaveSave

SaveSaveSaveSave

This is a sponsored conversation written by me on behalf of Cricut. The opinions and text are all mine.

SaveSave

SaveSave

« How to Sew a Knit Skirt
Sweet Red Poppy Sewing Blogger Party »

Reader Interactions

Leave a Reply Cancel reply

Your email address will not be published. Required fields are marked *

This site uses Akismet to reduce spam. Learn how your comment data is processed.

Primary Sidebar

Ready, Set, Sew! An online sewing course for beginners by top US sewing blogger, Sweet Red Poppy.

Hello, I’m Kimberly, the creator of Sweet Red Poppy!

I’m a wife, mother to 3, seamstress, and lover of all things crafty! Sweet Red Poppy is my creative outlet where I find and create inspiration. It’s a place where I can share my never-ending sewing projects and my love of learning!

Read more about me →

The Latest

  • DIY Father's Day Magnetic Photo Frame
  • Aeon Mira5 S Sweet Red Poppy
    Aeon Mira5 S Redline Laser: Everything You Need to Know Before You Buy
  • How to Make a Large Crepe Paper Peony
  • The New Cricut Maker 4- What's the Difference Between Cricut Maker 4 vs Maker 3?
  • How to Make Easy DIY Glitter Ornaments
  • Walmart Nutcracker Tutorial

Footer

↑ back to top

Legal

  • Privacy Policy
  • Disclosure

Newsletter

  • Get My Cricut Book HERE
  • Sign Up! For Emails and Updates

About

  • Contact
  • About
  • Home

Copyright © 2024 Sweet Red Poppy