Learn how to sew an invisible zipper with this detailed step-by-step tutorial that's perfect for beginners.
Looking for the perfect closure for a formal garment or a luxe home decor item? The invisible zipper is your answer!
While these unique zippers may seem challenging to sew, they're actually pretty simple! Today I'm sharing my favorite method of sewing beautiful invisible zippers.

Table of Contents
What is an Invisible Zipper?
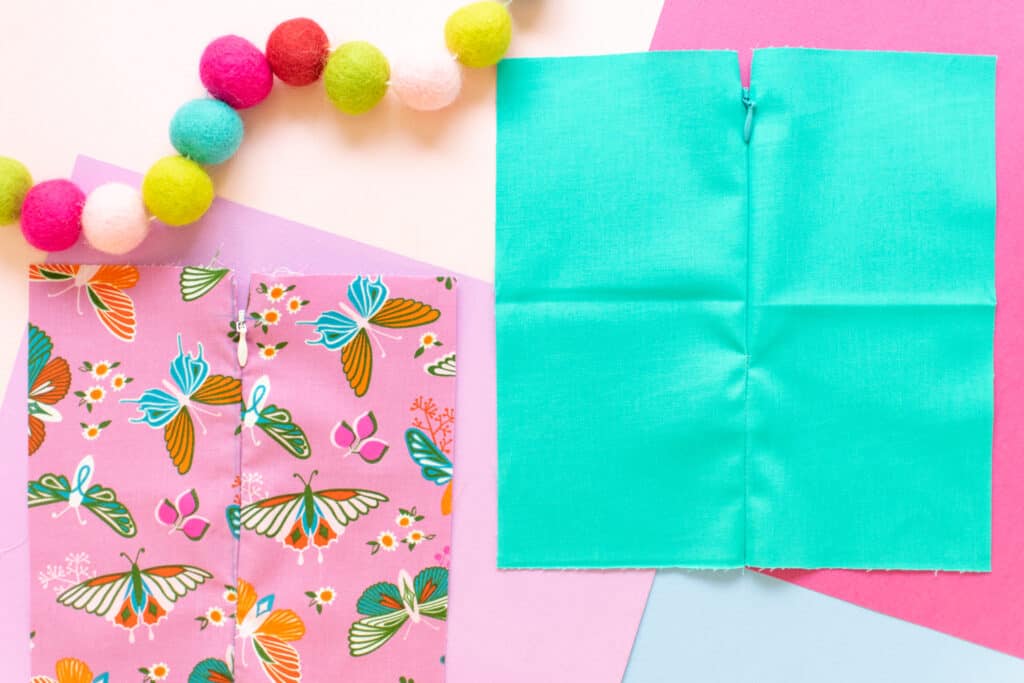
An invisible zipper hides within a seam, giving your project the appearance of not having a zipper at all. This is great when you're sewing something that needs a more refined, high-end look.
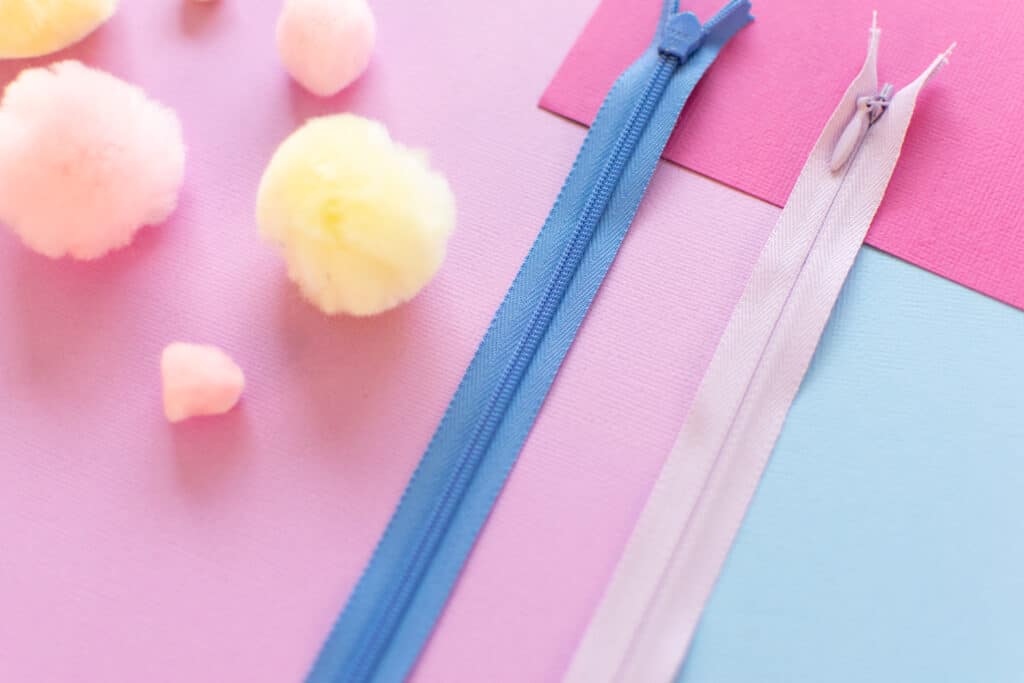
The teeth of an invisible zipper are rolled to the back, which is what pulls the fabric over the zipper once sewn, hiding it from view. In addition, the teeth, slider, and pull of invisible zippers are narrow, allowing them to stay hidden within the seam.
Do You Need an Invisible Zipper Foot?
You can sew an invisible zipper with a regular zipper foot. However, the process is much easier, and the results are usually better if you use an invisible zipper foot.
An invisible zipper foot allows you to get super close to the zipper teeth, which is key to sewing a quality invisible zipper.
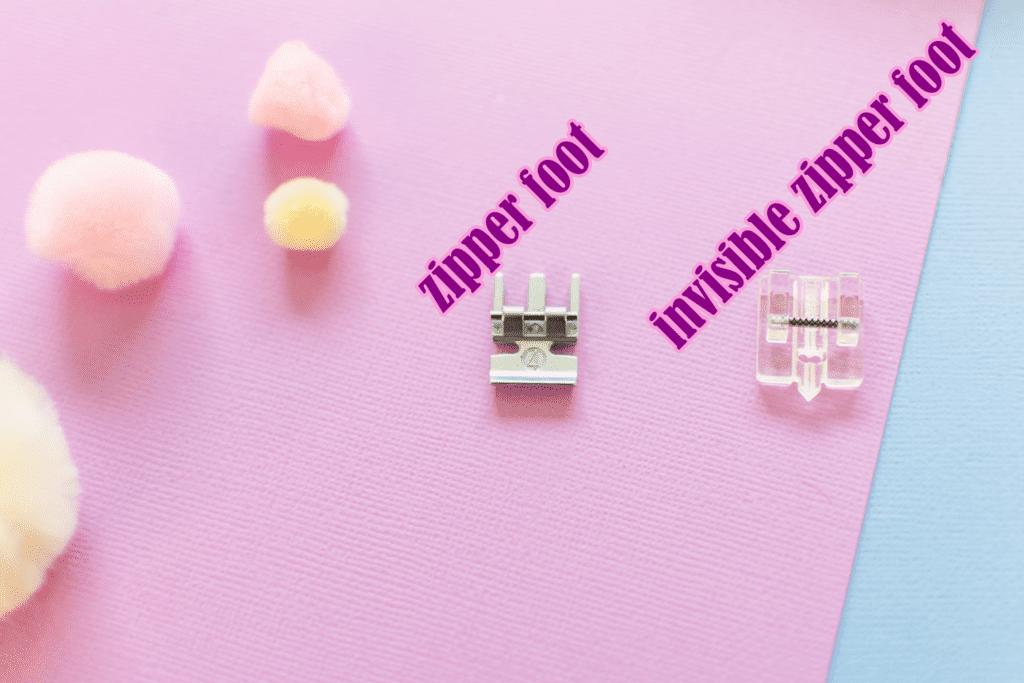
If you do choose to use a regular zipper foot, make sure to move your needle as far towards the zipper teeth as possible!
Why Shop Through My Links?
When you shop through my affiliate links, it doesn't cost you anything extra, but it helps me out in a big way! I earn a small commission from those purchases, and that support allows me to continue creating and sharing free tutorials and patterns for you. Thank you so much for helping me keep this creative community going!
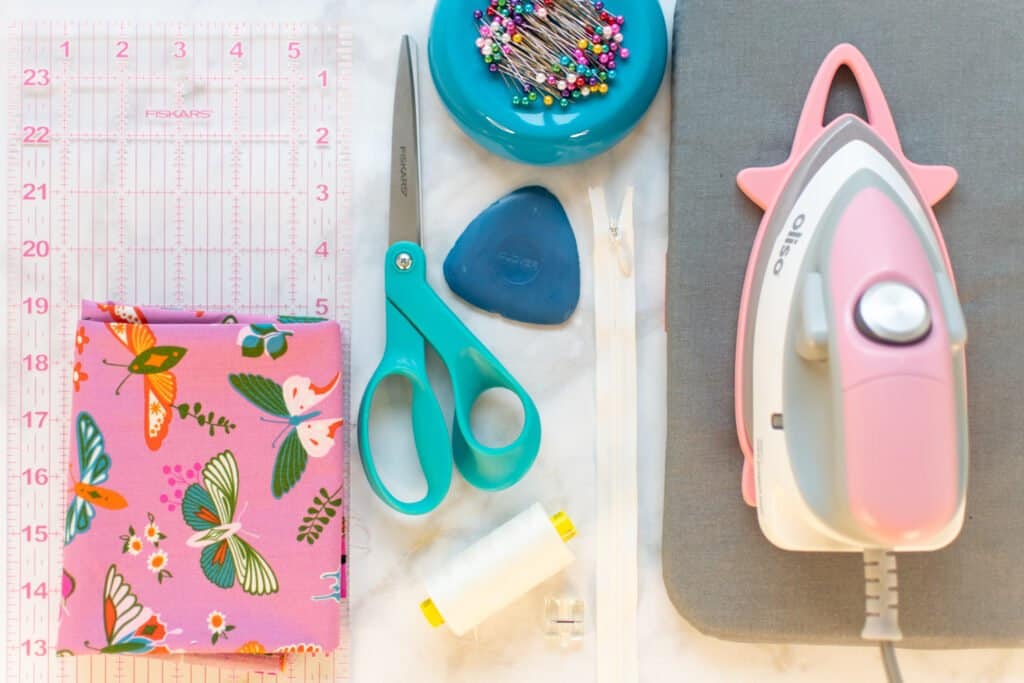
Supplies to Sew an Invisible Zipper
Shop my favorite sewing supplies here!
These are the supplies you'll need to sew an invisible zipper.
- Project that needs a invisible zipper
- Invisible Zipper (Measure project to determine the correct length)
- Scissors or Thread Snips
- Fabric Chalk or Marker
- Clear Quilting Ruler
- Pins
- Thread
- Sewing Machine Needle
- Sewing Machine
- Iron
- Ironing Mat
- Invisible Zipper Foot (Check for compatibility with your machine)
Step 1: Prepare Your Project for the Invisible Zipper
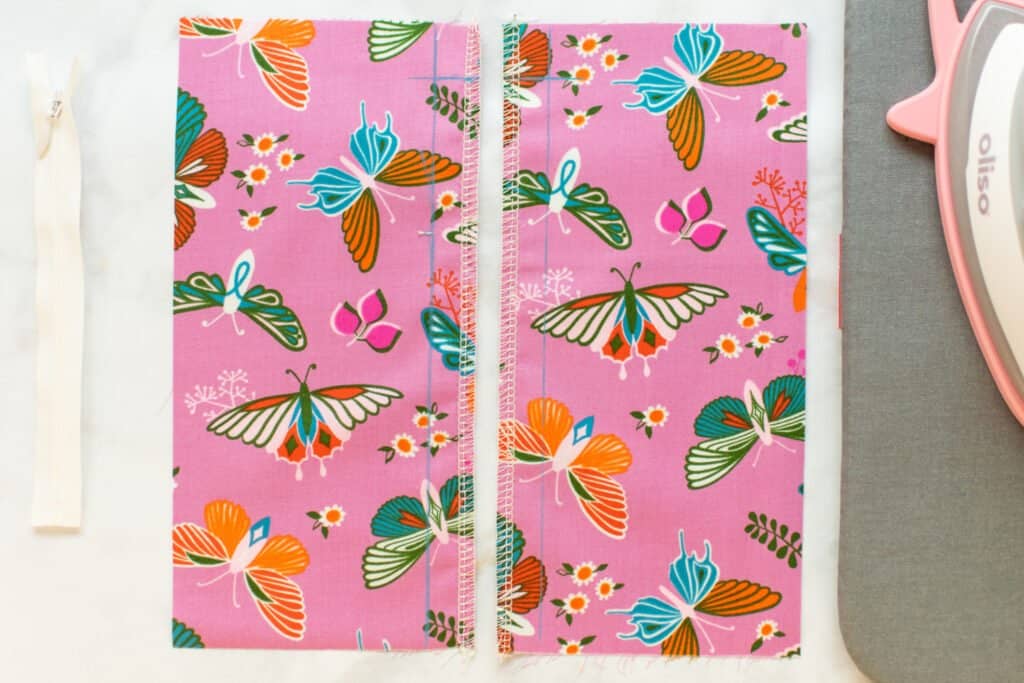
As with any zipper, the first step is to prepare your project for the zipper. To start, finish the raw edges of the fabric that the zipper will be sewn into.
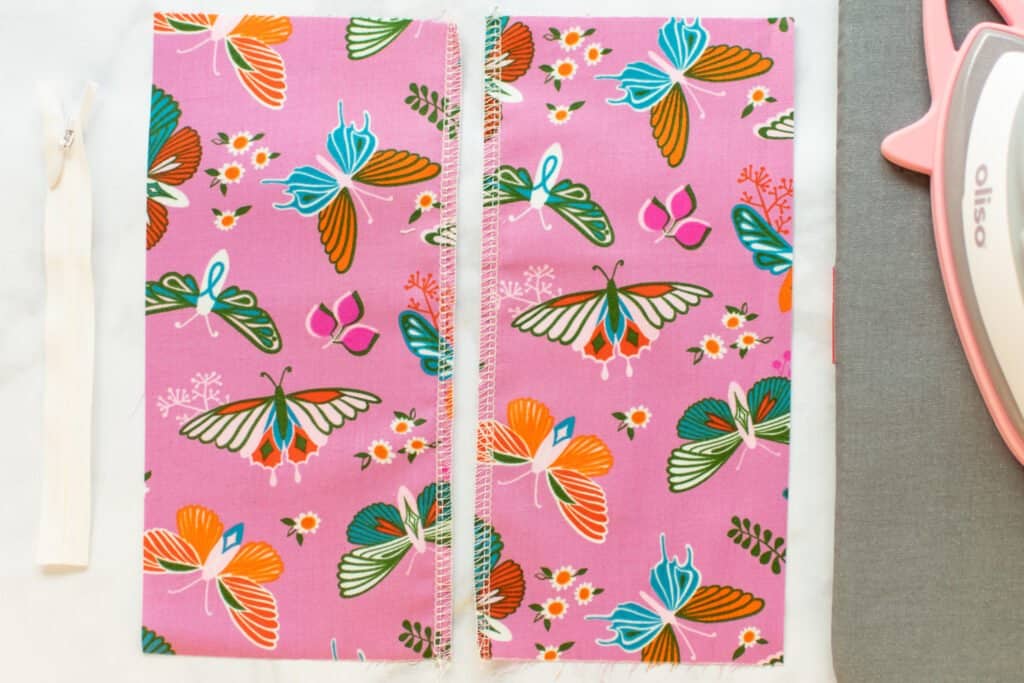
I prefer to finish these edges with my serger, but you can use your favorite finishing technique - for example, a zigzag stitch or pinking shears.
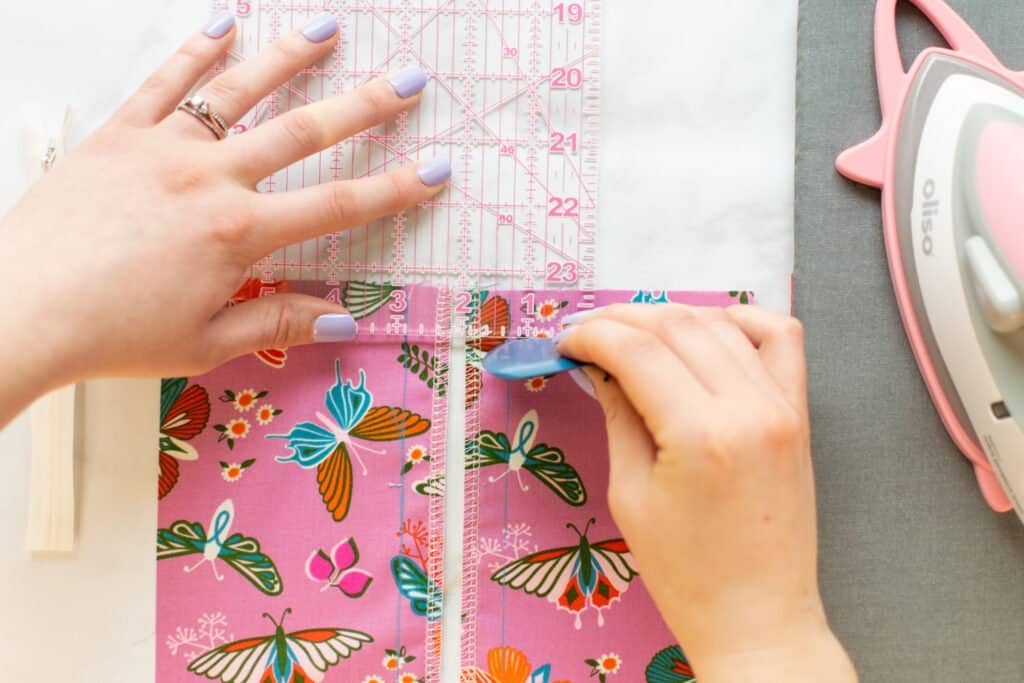
Next, using tailor's chalk or a fabric marker and working from the right side of your fabric, draw a straight line along the edge of both pieces of fabric at the seam allowance.
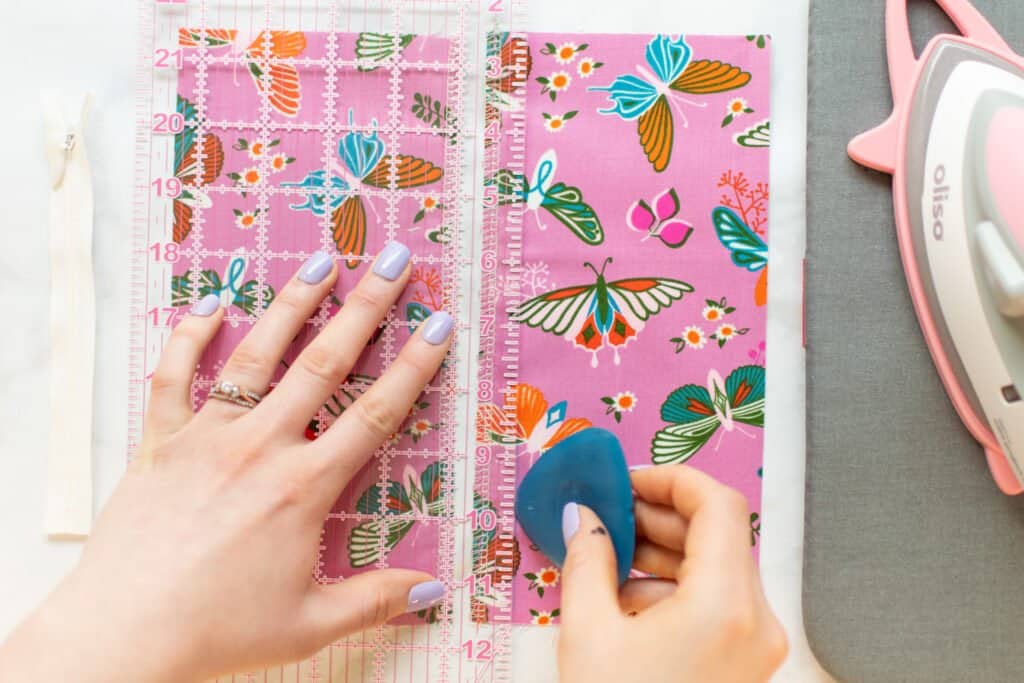
Then mark the (seam allowance + 1/8 inch) down from the top edge on both pieces of fabric. For example, if your seam allowance is 5/8 inch, you would draw these marks at 3/4 inch (5/8 + 1/8) down from the top.
This is because you'll need a little extra fabric beyond the seam allowance above the zipper to make attaching a waistband or facing easier.
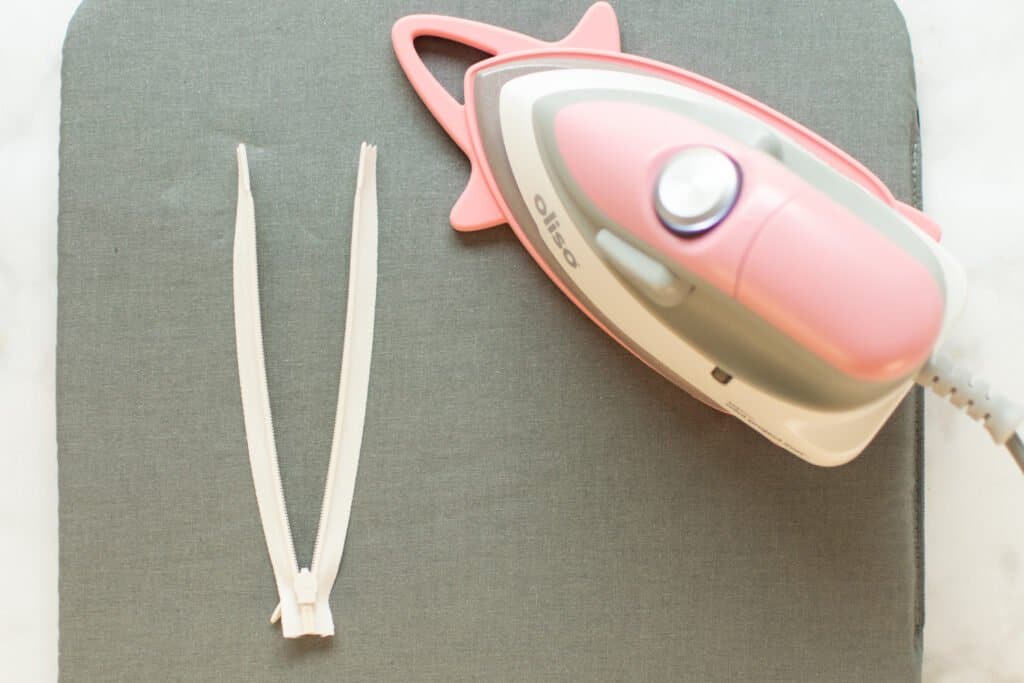
Step 2: Prepare Your Invisible Zipper
Next, an invisible zipper requires a bit of prep work to get it ready to sew into a seam.
Set your iron to the "synthetic" setting or a low to medium temperature. Zipper teeth are usually made from plastic and a hot iron may melt them - not what we're going for!
Open the zipper and place it face-down onto the ironing board. Unroll the zipper teeth away from the tape and press them flat with the tip of your iron.
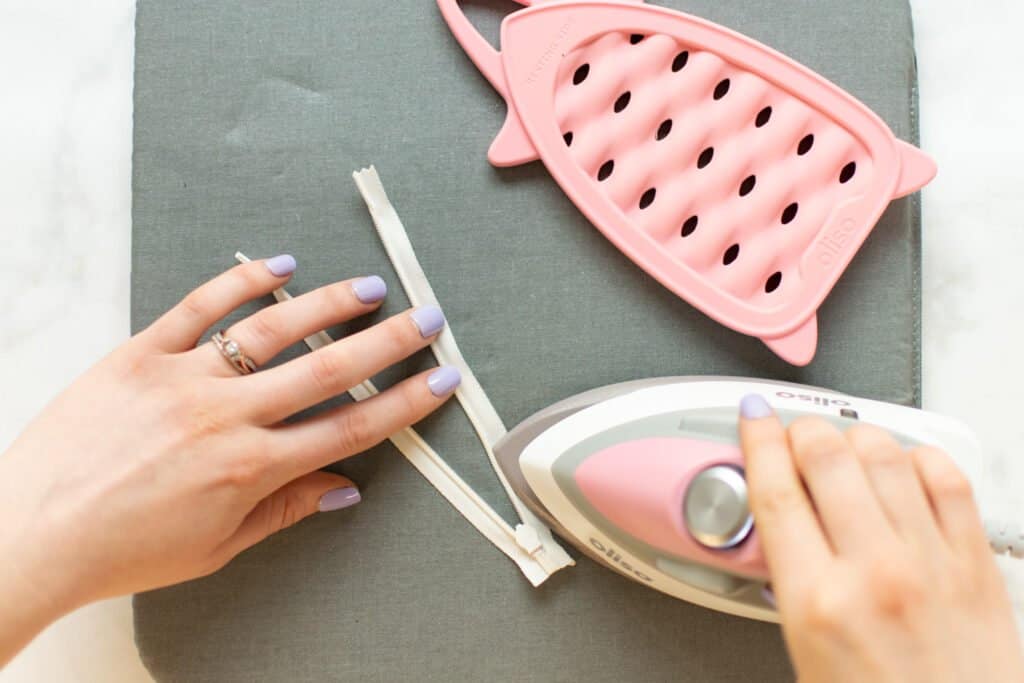
Don't worry about getting them ultra-flat, but make sure to press them out enough that you'll be able to sew very close to the edge of the teeth.
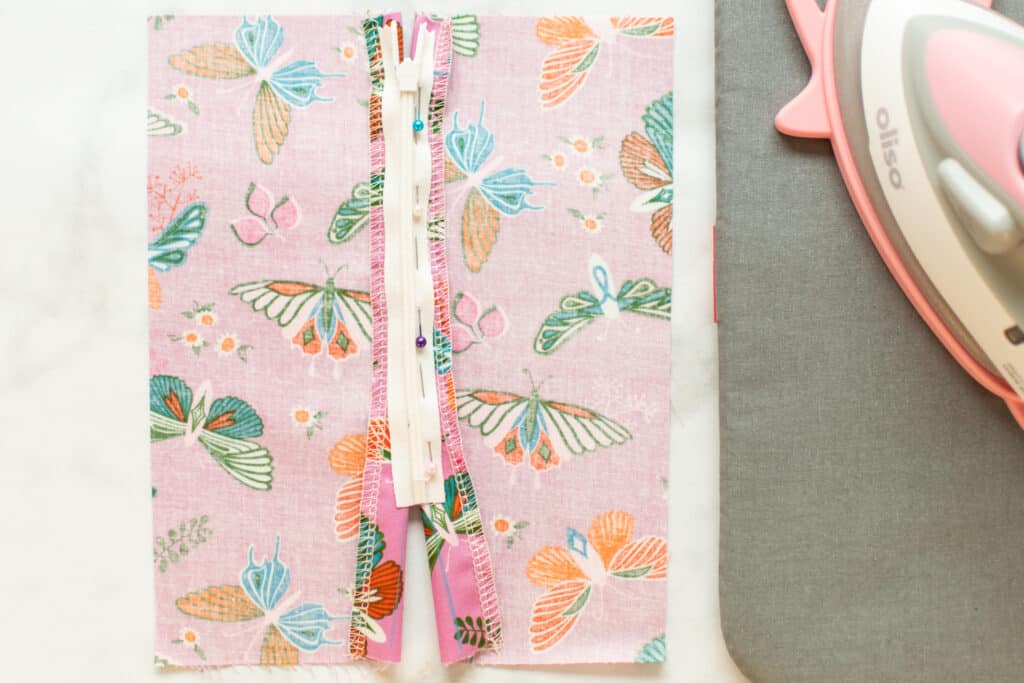
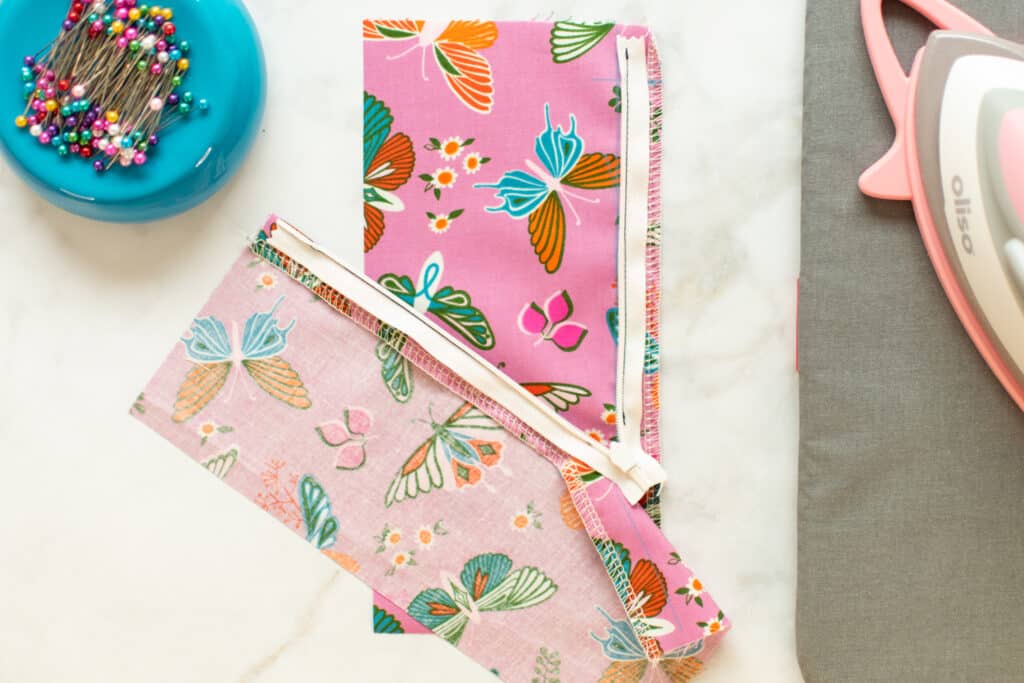
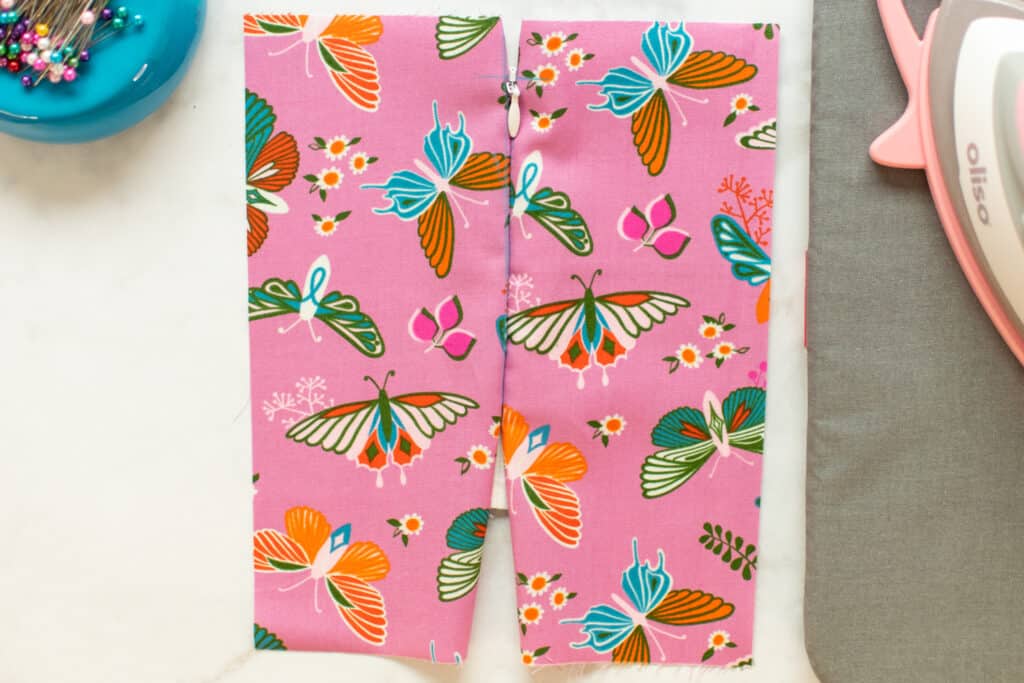
Step 3: Pin and Sew the First Side of Your Zipper
With your zipper flat, it's time to start pinning and sewing! You'll want to have the zipper open while pinning.
Place the zipper right side (the side with the pull tab) down onto the right side of one of your pieces of fabric. Align the zipper teeth right along the seam allowance line you drew and line up the top stop with the top marking on the fabric. The teeth should be facing away from the edge of the fabric.
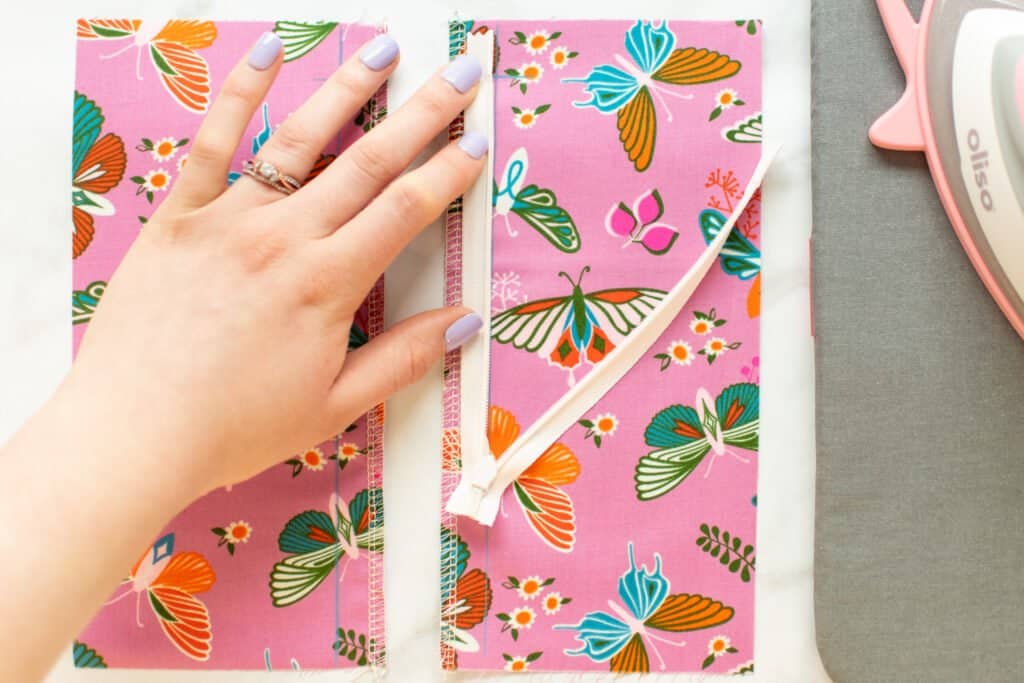
Pin the first side of the zipper tape in place.
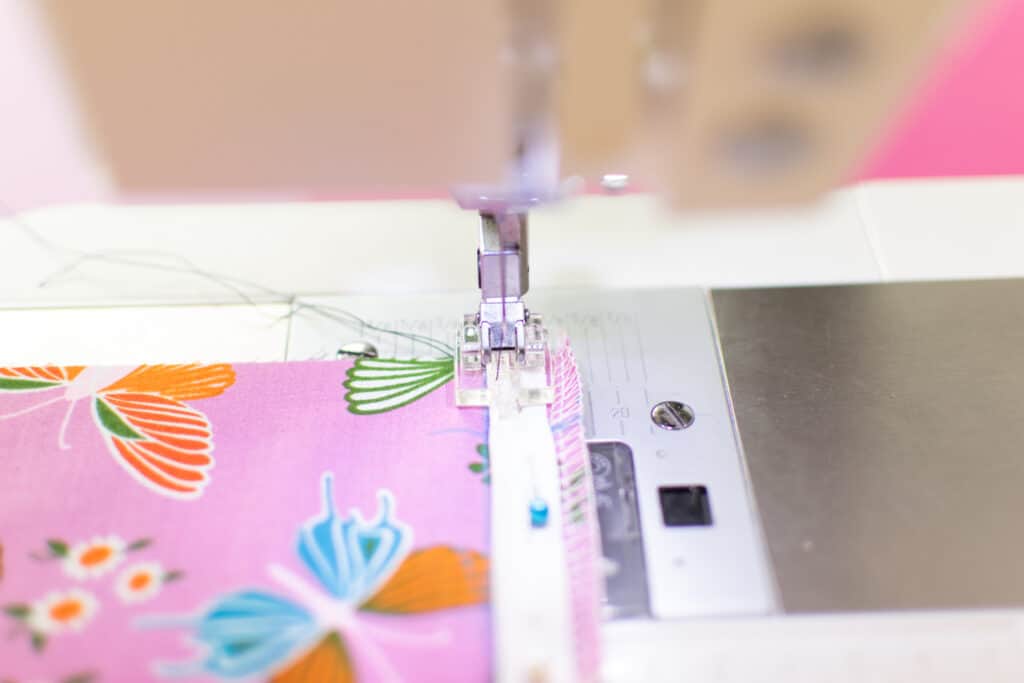
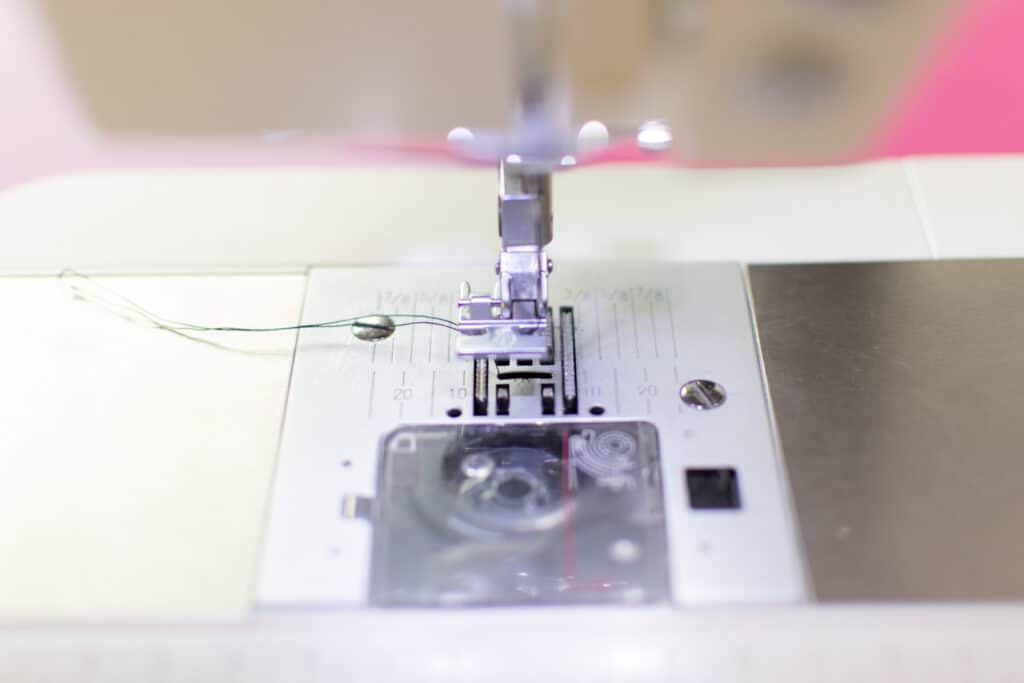
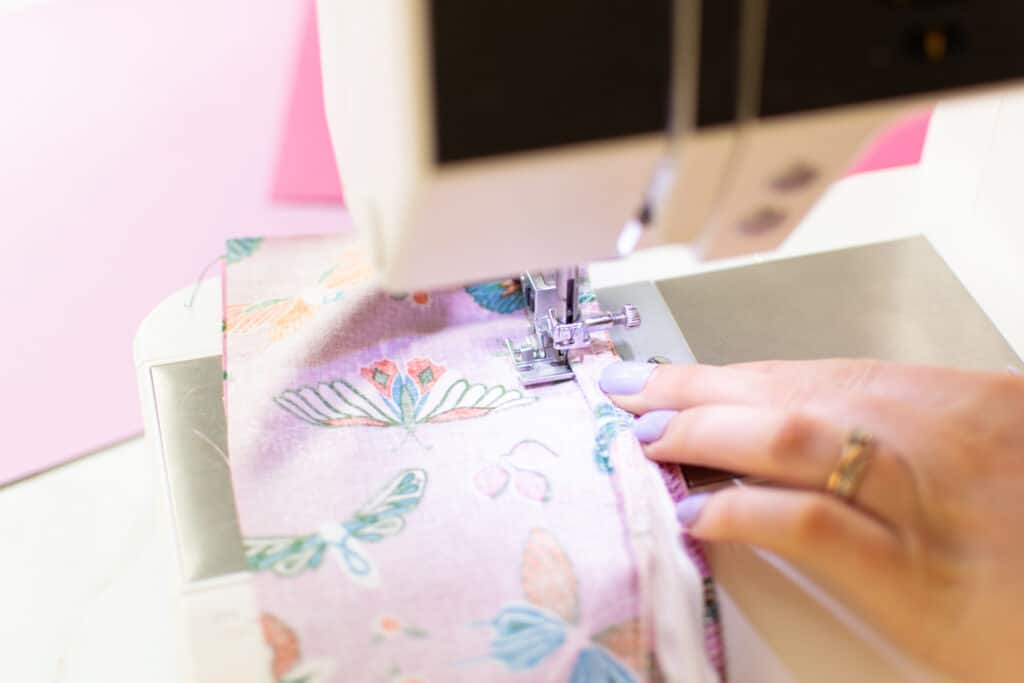
Next, put your invisible zipper foot on your machine. Make sure that the needle is aligned with the hole on the invisible zipper foot.
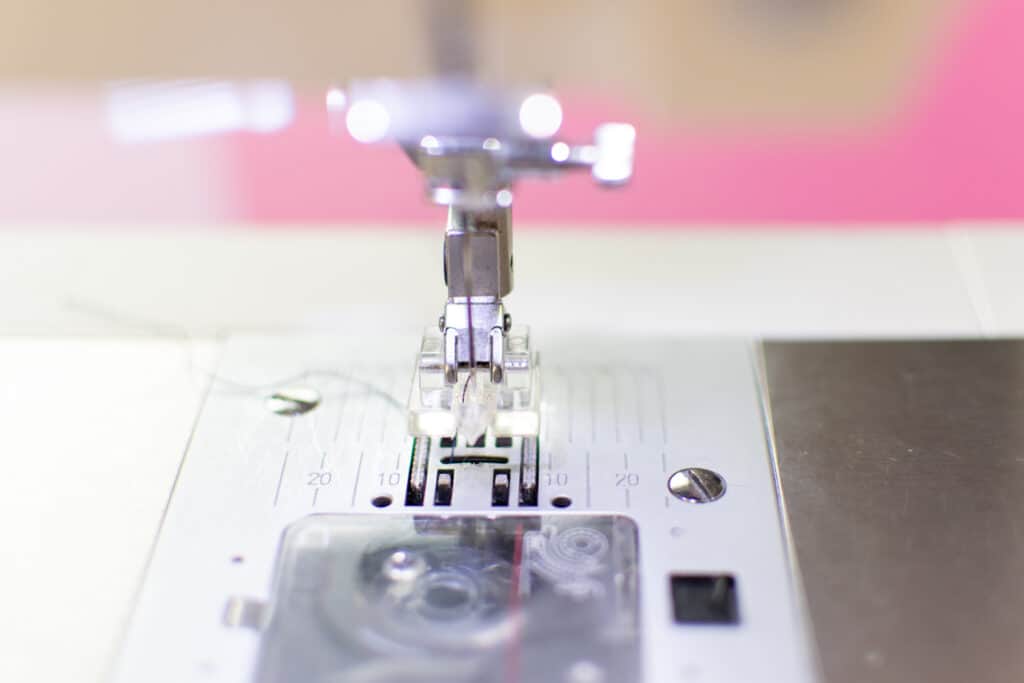
Place the teeth of the first side of the zipper into the right groove of the foot. The needle should be just to the right of the teeth.
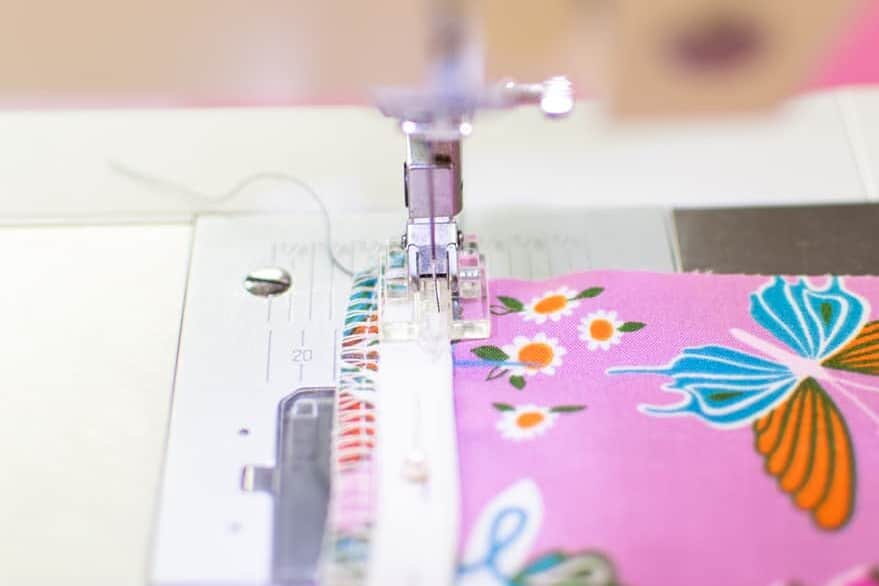
*PRO TIP: It can help the teeth to fit into the groove better if the teeth are sticking up at approximately a right angle from the fabric.
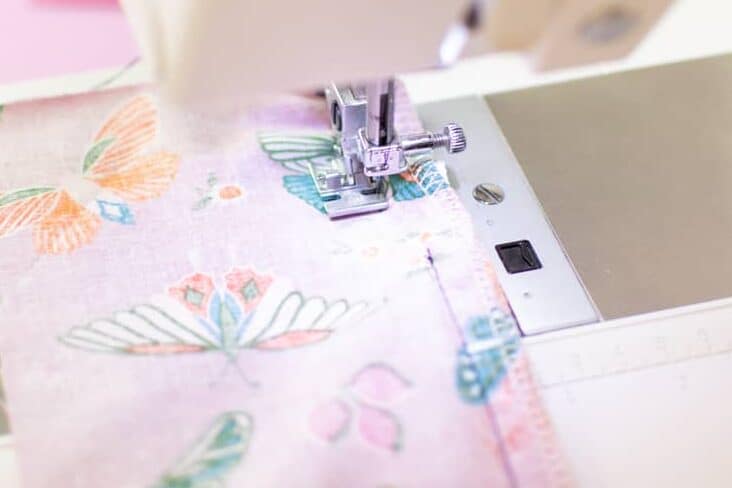
Sew down the first side of the zipper, remembering to backstitch at the beginning and end. The groove in the foot will keep your seam allowance perfectly consistent and close to the teeth the entire way.
Stop stitching when your presser foot touches the zipper slider, then backstitch and trim away your thread tails.
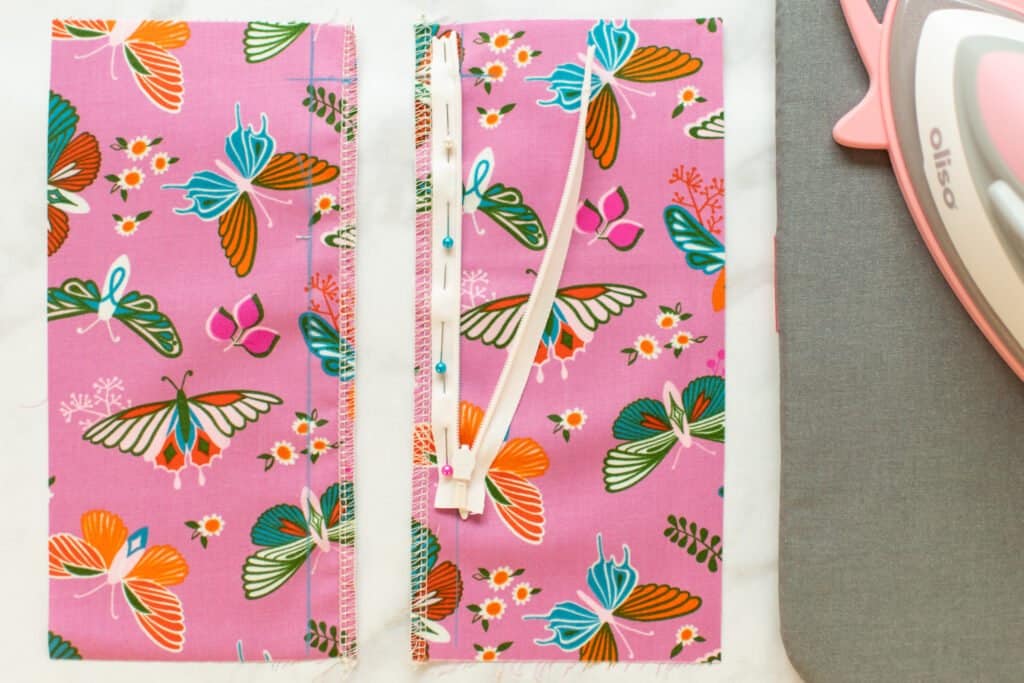
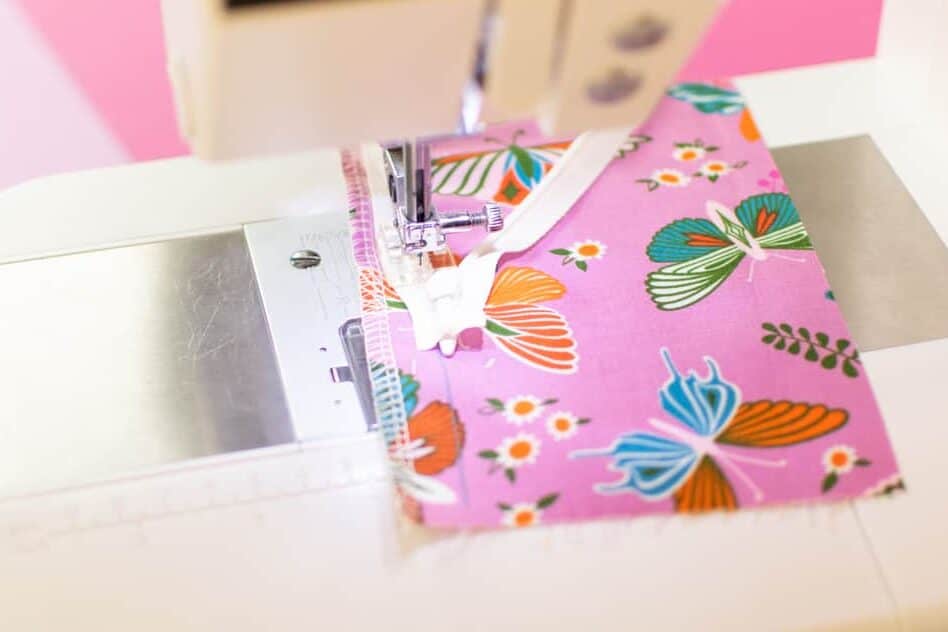
Step 4: Pin and Sew the Second Side of Your Zipper
Next, zip up the zipper. This ensures that it works and your stitching isn't too close to the zipper teeth.
Unzip the zipper and place the zipper face-down on the second piece of fabric. Again, line up the zipper teeth along the seam allowance marking and the top stop at the top marking.
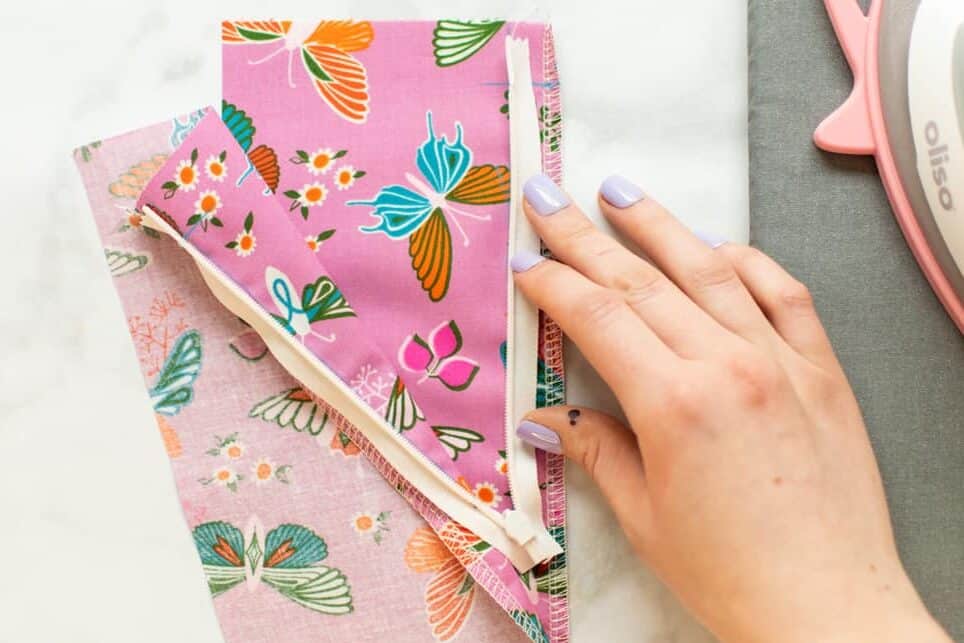
Pin the second side of the zipper tape in place.
Before taking the zipper to your machine, zip it up, fold the fabric out away from the zipper and make sure the two pieces of fabric are aligned perfectly.
If all looks good, unzip it and take it to your sewing machine. This time, place the teeth of the zipper into the left-hand groove of the invisible zipper foot.
Stitch down the second side of the zipper the same way you sewed the first side.
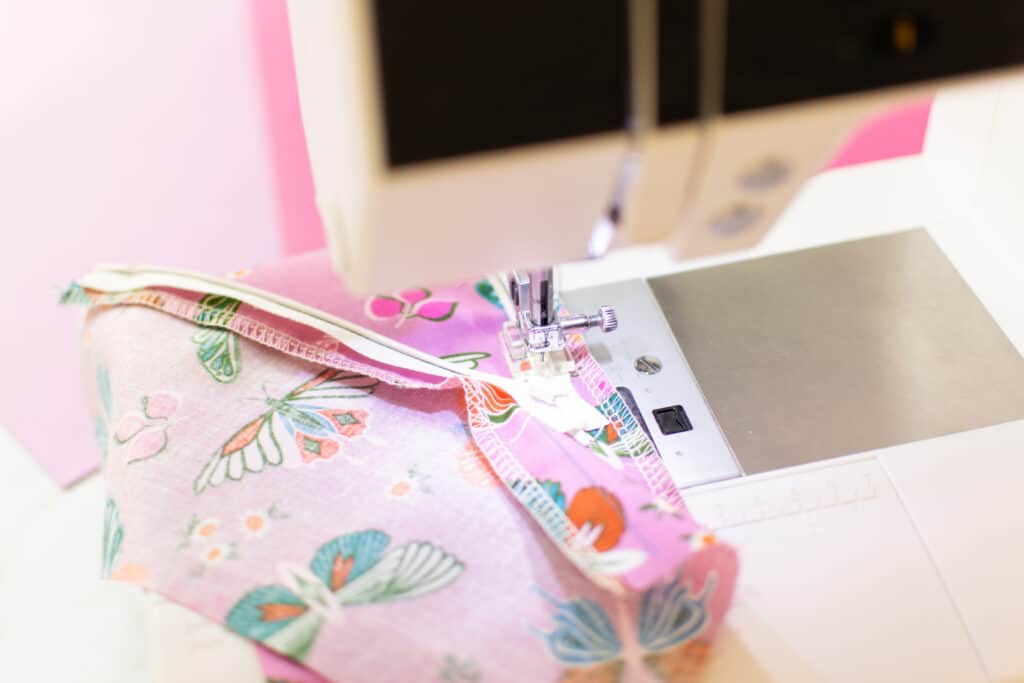
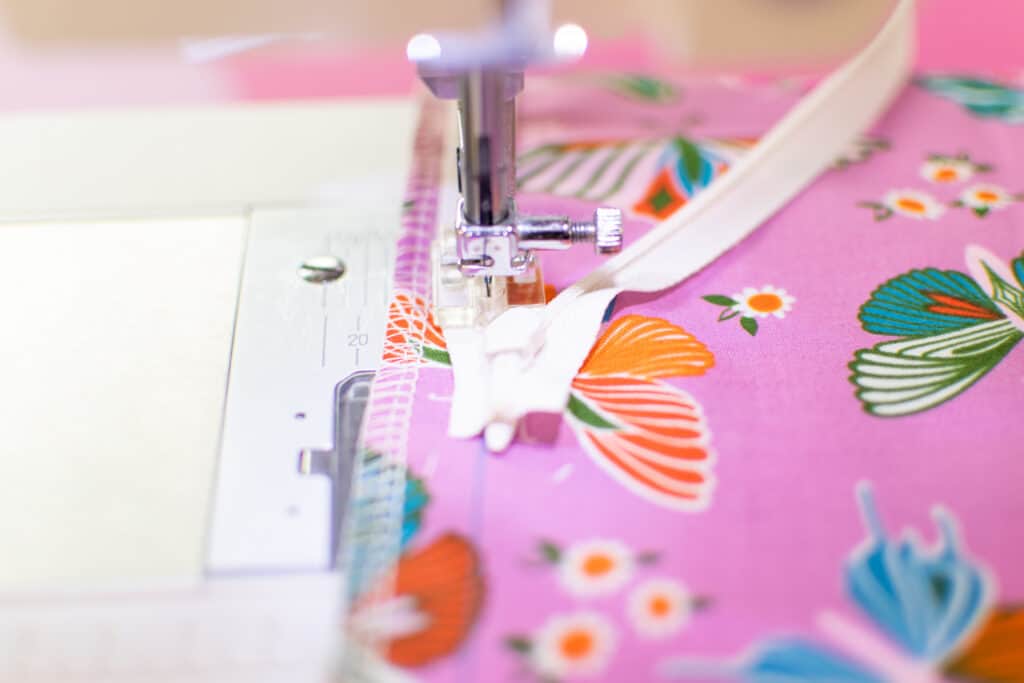
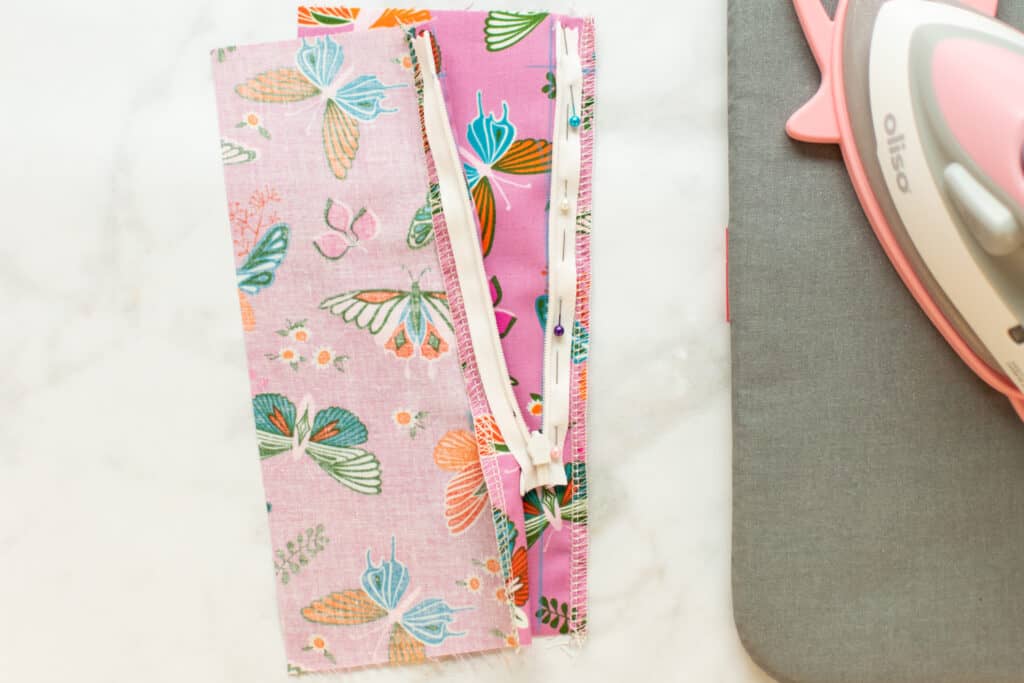
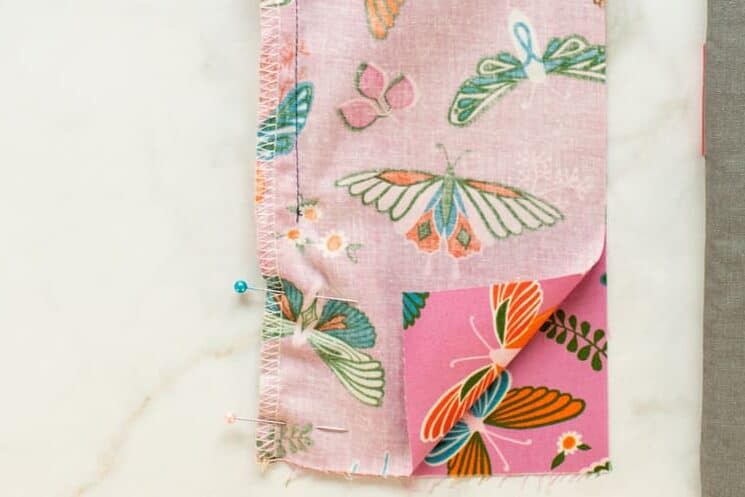
Step 5: Finish the Seam Below Your Zipper
Once you've finished sewing the second side of the zipper, zip it up again to ensure everything is still lined up. If it looks good, it's time to finish sewing the seam below the zipper.
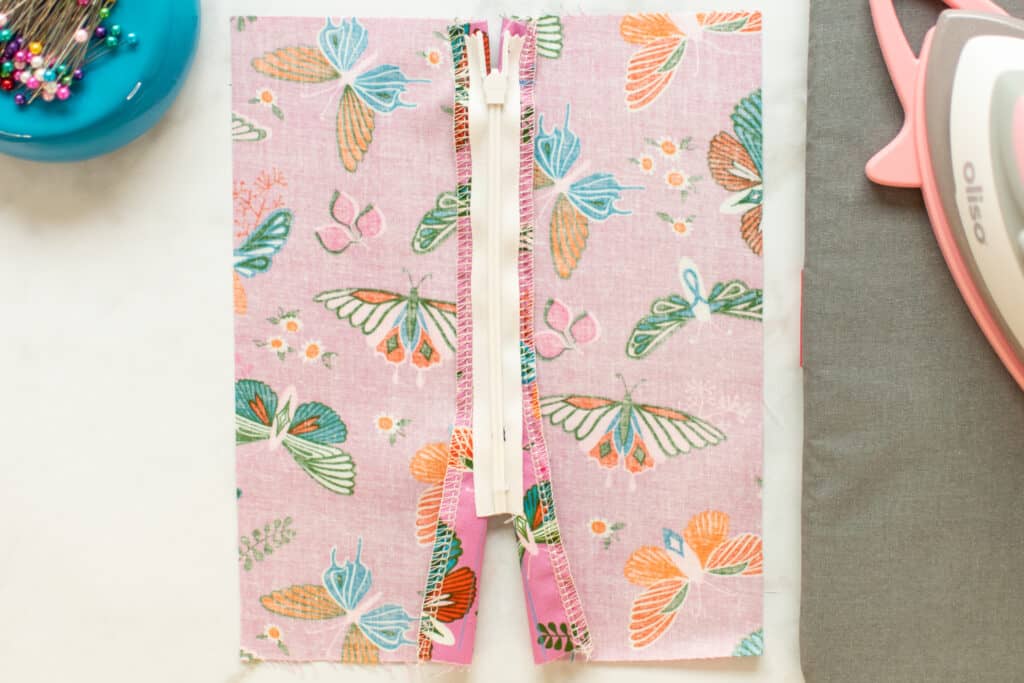
Turn the fabric pieces so that they are right sides together and pin the seam below the zipper.
Switch the invisible zipper foot out for a regular zipper foot.
Place the zipper foot so that the needle is to the right of it. If possible, move the needle all the way to the right of the zipper foot.
Begin sewing at your regular seam allowance, starting at the bottom of the seam and going up towards the zipper. Make sure to backstitch when you start sewing.
When you reach the stitching holding the zipper into the seam, sew past it by about 1/8 inch. If you aren't able to get close enough to stitch directly on top of the zipper stitching, get as close to it as your zipper foot will allow. Pull the zipper out of the way while sewing if needed.
Backstitch and trim your thread tails.
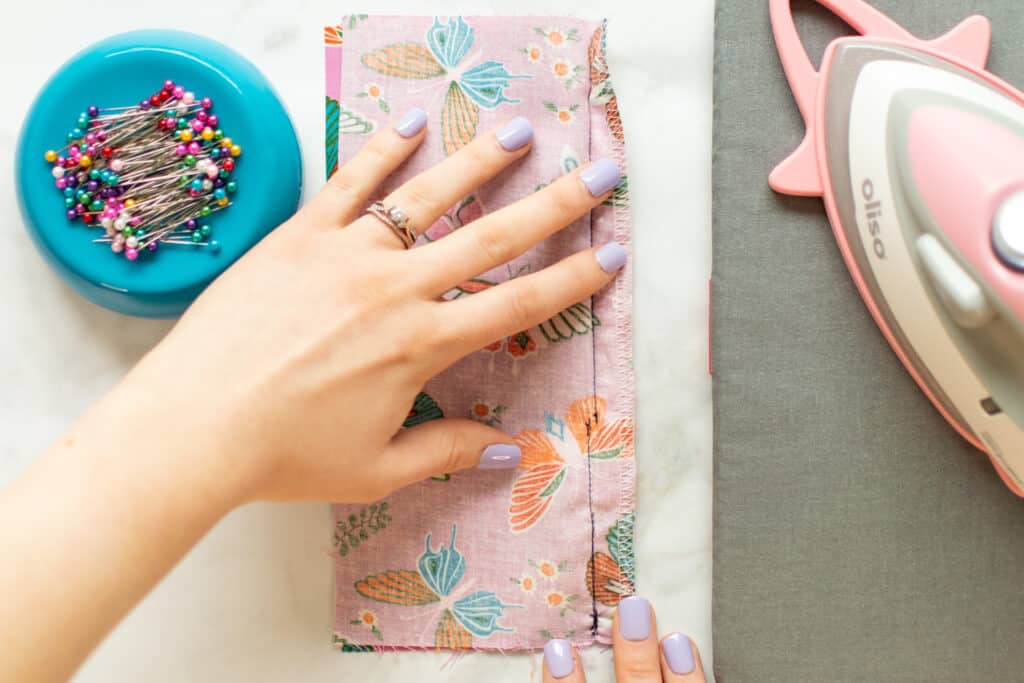
If you like, you can now hand or machine tack the bottom of the zipper tape to the seam allowance. This is totally optional and is only needed if the loose zipper tape bothers you.
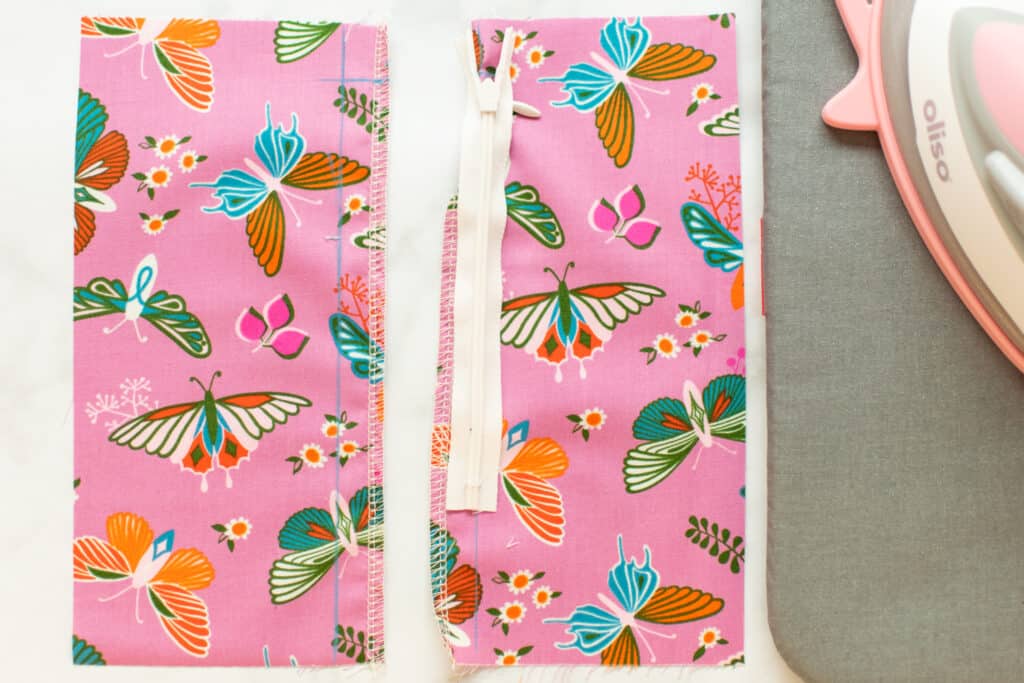
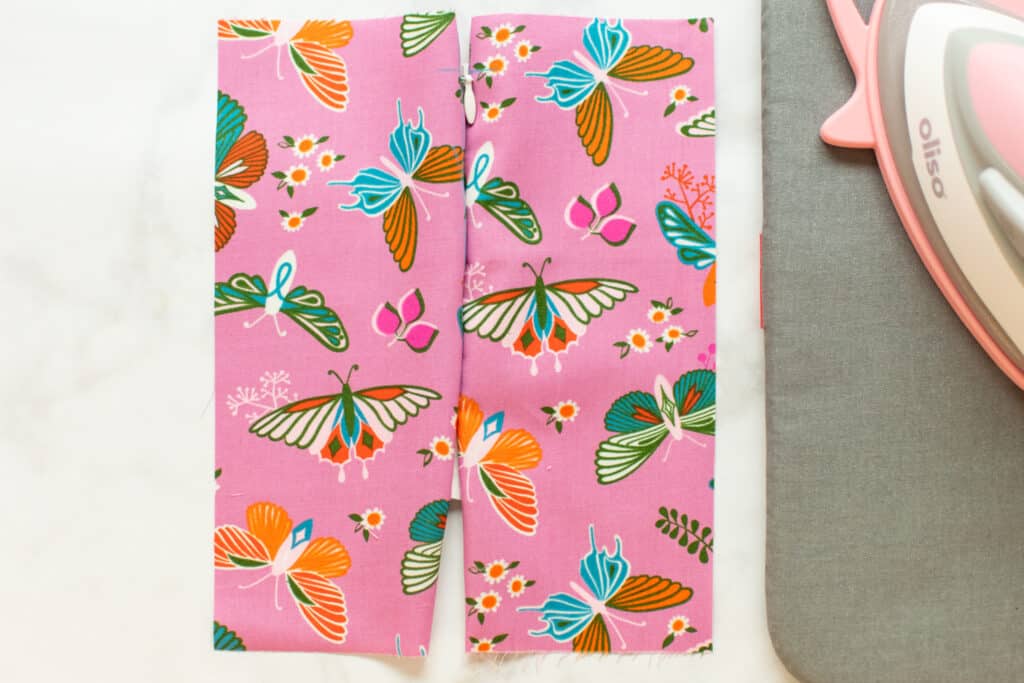
Step 6: Press Your Invisible Zipper
Finally, don't forget to press! Give your invisible zipper a good, but gentle, press with steam. You don't want to press it so firmly that the zipper teeth will leave an impression in the fabric, but make sure to get it looking flat and professional.
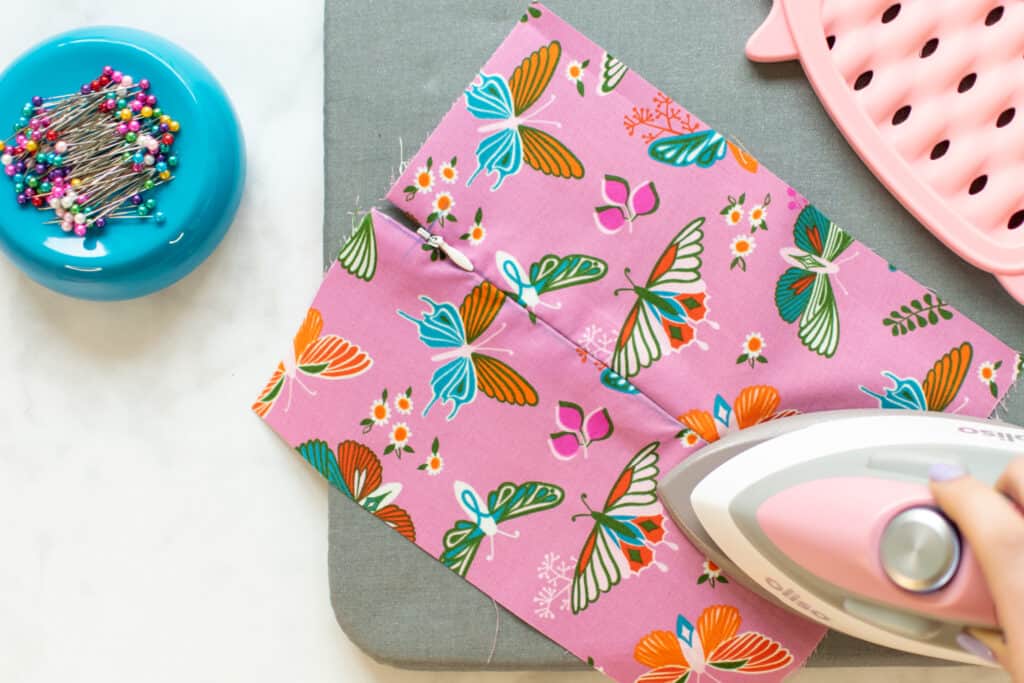
Make sure to press the seam allowances below the zipper open.
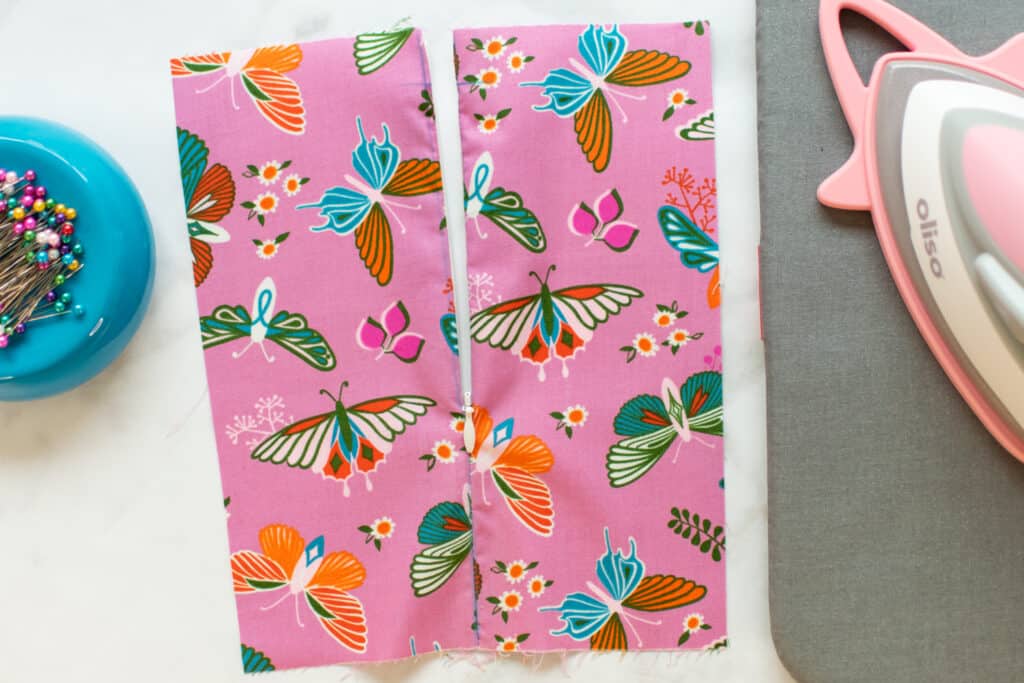
You've now sewn a gorgeous invisible zipper!
What projects do you love to use invisible zippers for? Let me know in the comments below!
Did you try this zipper installation technique? Share a photo on Instagram with the hashtag #sweetredpoppy - I'd love to see how it went.

Don't forget to join my Facebook group where you can show us what you're making, ask questions, and learn from others
I like using an invisible zipper because, when you look at the garment you just see a straight seam and not the stitching of a lapped zipper. It looks more professional/invisible.