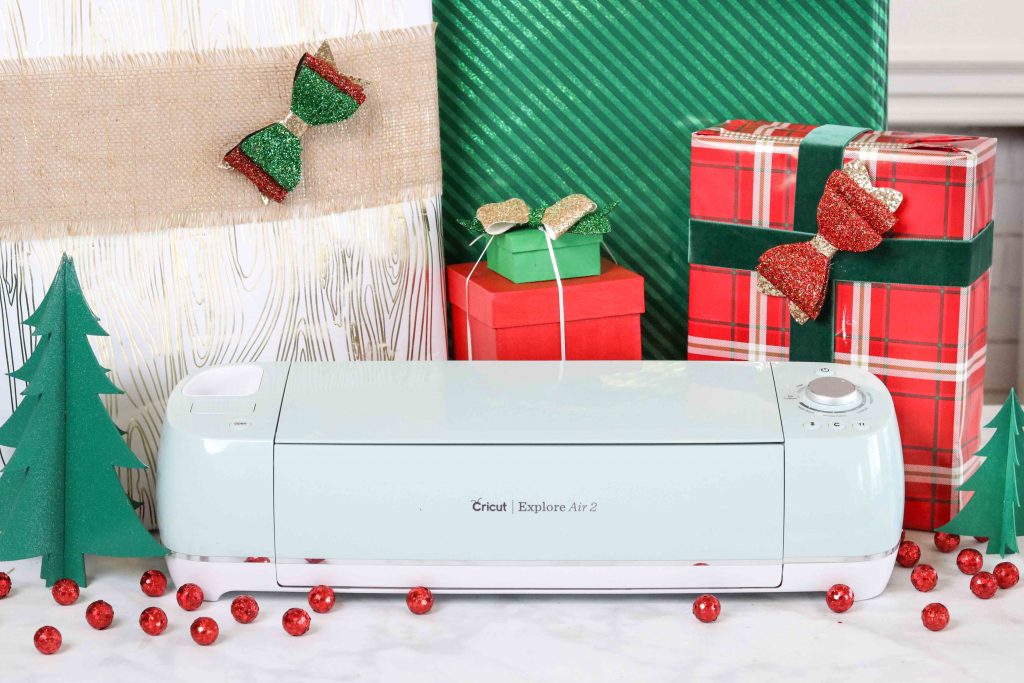
The Cricut Explore Air 2 has elevated my crafting game like nothing else! There are so many things I love about this smart cutting machine because it allows me to create amazing projects at the touch of a button!
Scroll to the end for the Santa Cam Tutorial!
Long gone are the days of meticulously cutting out projects by hand. Now I spend more time being creative and less time worrying about the details.
I've rounded up the top five things I love most about my Cricut Explore Air 2 below!
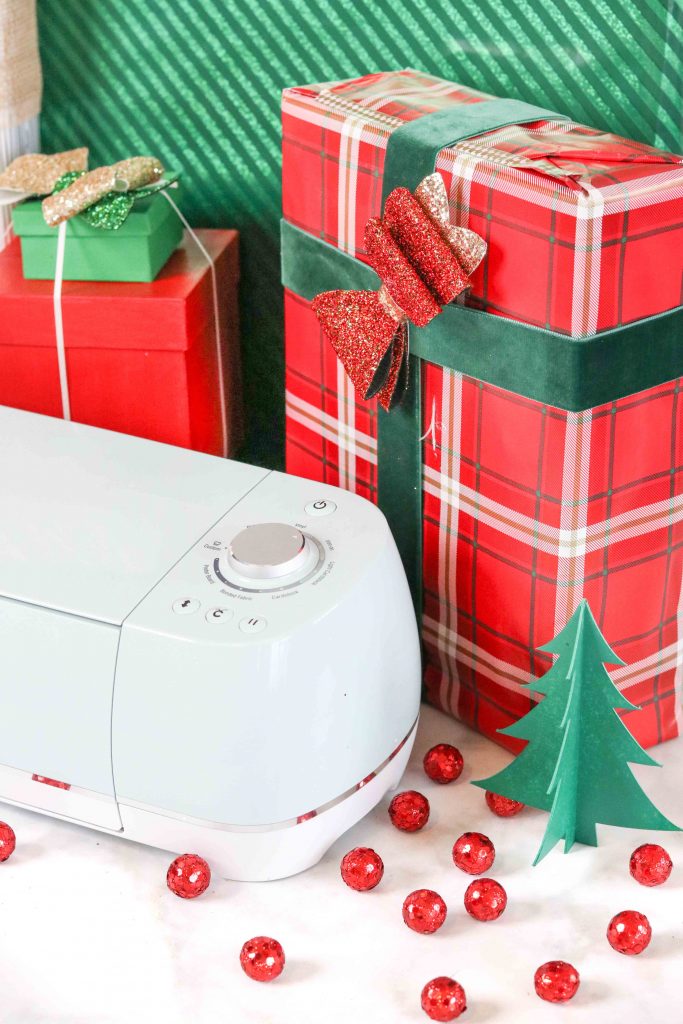
Table of Contents
CUSTOMIZATION
One of my favorite things about the Cricut Explore Air 2 is it allows me to customize anything! If you can dream it up, you can create it with the Cricut Explore Air 2.
When I first got my Cricut I had tons of impressive projects in mind that I was going to use it on. While I’m definitely made lots of over the top projects with it, I find I use it the majority of the time to customize things around my house.

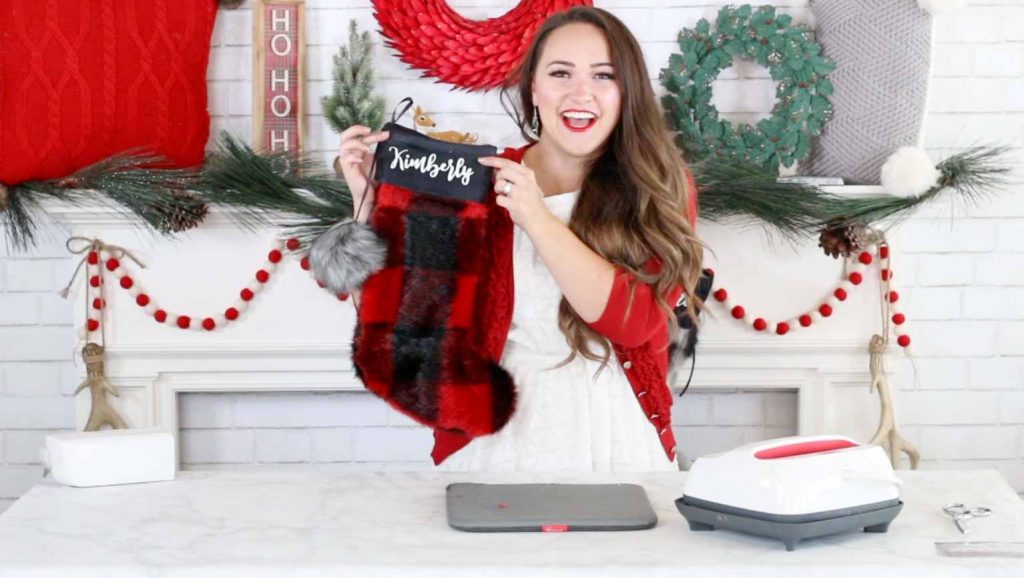
I’m always adding Vinyl or Iron-On to different things around the house to personalize them. I love having the ability to make something unique and special for each of my children with just a few simple steps.
Here are a few of my Christmas stockings that I sewed and personalized with Iron-On cut on my Explore Air 2.
DESIGN ANYWHERE
As an avid crafter, I never know where or when inspiration will strike, but when it does, I’m always prepared! I can create projects from anywhere using Cricut’s Design Space. I have it installed on my phone, tablet, laptop, and desktop.
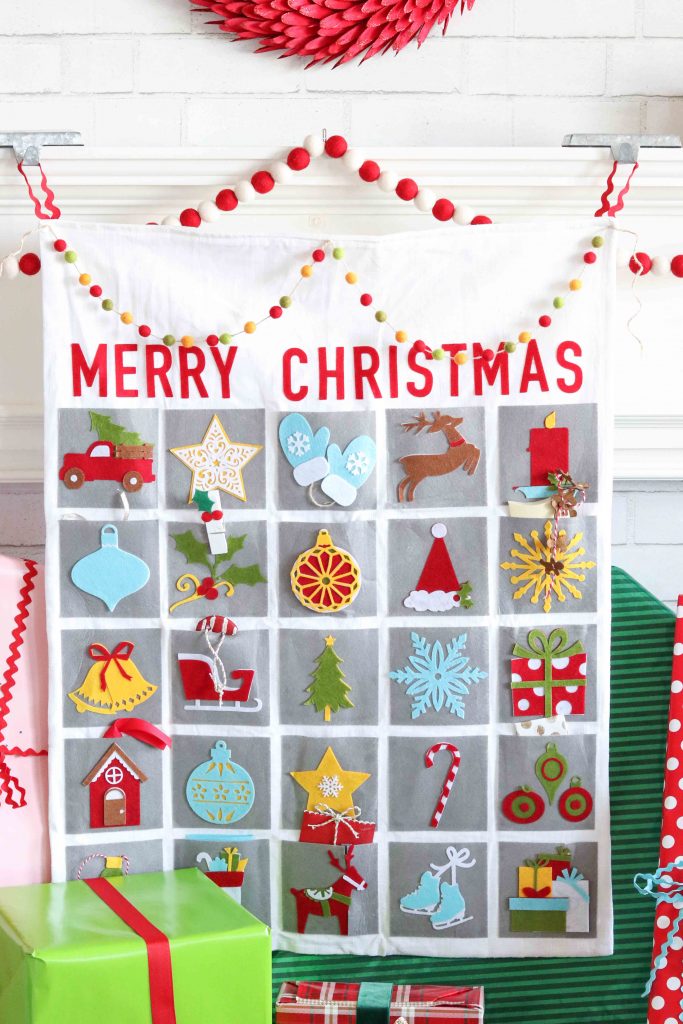
I was sitting in an airport when I had the idea for this Christmas Advent Calendar and I was able to design it from the Design Space app on my phone. Pretty neat, right?
Not only is it easy to use from anywhere, it's also jam packed with thousands of images, fonts and Ready to Make Projects.
TWO TIMES FASTER
When it comes to crafting, I’m not the most patient person. I have a limited amount of time to get things done which means I rely heavily on the speed of my Cricut Explore Air 2!
This machine is 2x faster than the previous model. I love having the ability to use the fast mode when I’m cutting out images. It allows me to create more in less time.
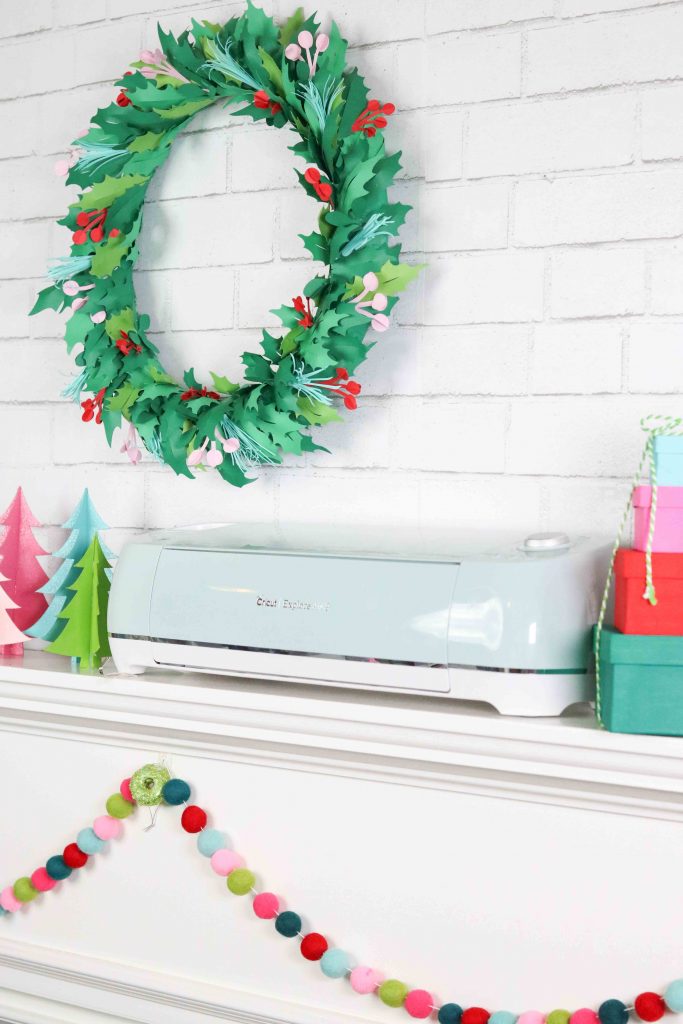
Here’s a Christmas wreath I made recently out of paper and I was amazed at just how quickly my machine was able to cut out so many detailed pieces! There's no way I would have attempted this project without the

CUTS OVER 100 MATERIALS
Let’s just take a moment to sing praises to the. Explore Air 2. The Cricut Explore Air 2 cuts over 100 materials. It can cut everything from cardstock, vinyl, and iron-on to thick materials like leather. The Cut Smart technology allows you to precisely cut a wide variety of materials with incredible precision.
During the holidays I love decorating Christmas presents with layered bows. I cut them out of canvas glitter sheets, cardstock, glitter paper and felt. My Explore Air 2 handles each individual material without so much as a single problem!
Variety of Blades
The Cricut Explore Air 2 is ready to tackle any project with it’s a variety of different tools. You can choose from the fine-point blade which is compatible with most materials, the Bonded Fabric Blade, Deep-Point Blade, Scoring Stylus or Pens.
Fine Point Blade
The Fine Point Blade is designed to cut light and mid-weight materials like vinyl, iron-on, cardstock, and posterboard. The blade is made out of premium German carbide for
Bonded Fabric Blade
Designed specifically to cut bonded fabrics the Fabric Blade is made of German carbide as well. It allows you to cut a variety of lightweight fabrics that have a backing on them. This is a great option for creating appliques!
Deep-Point Blade
Need to cut thick materials like stiff felt, leather, cardboard or even magnet? This blade does the trick! The steep angle of the blade (60 degrees vs 45) allows you to cut thicker materials than the Fine Point Blade. With this blade, you can cut materials up to 1.5mm thickness.
Purchase a Cricut Explore Air 2 HERE!
Now that we’ve talked about some of the reasons I love my Explore Air 2 let’s get busy crafting!
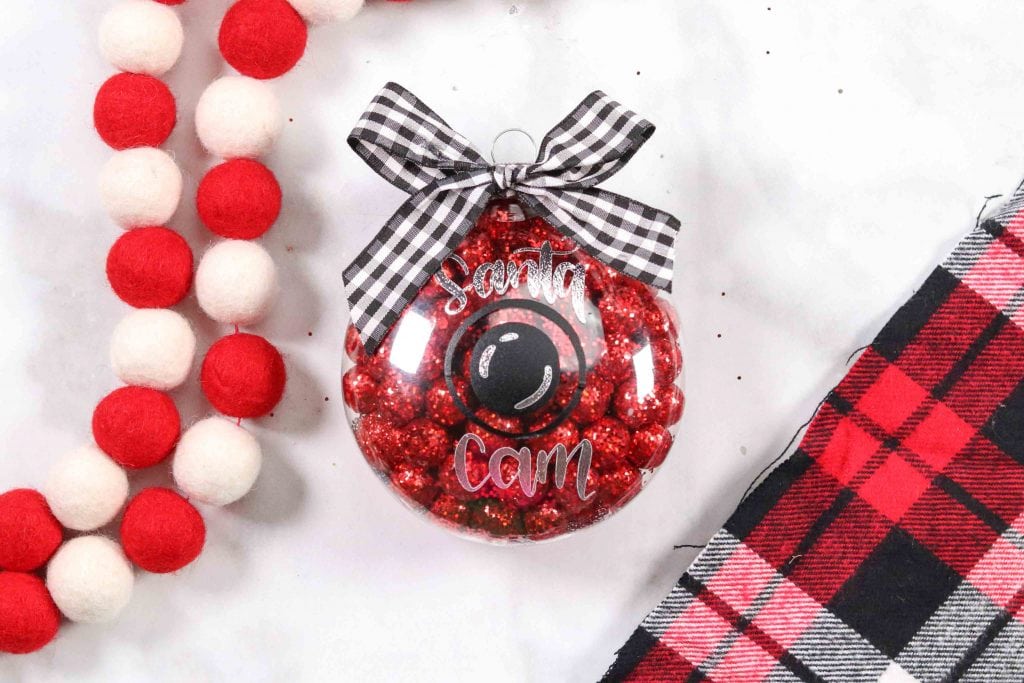
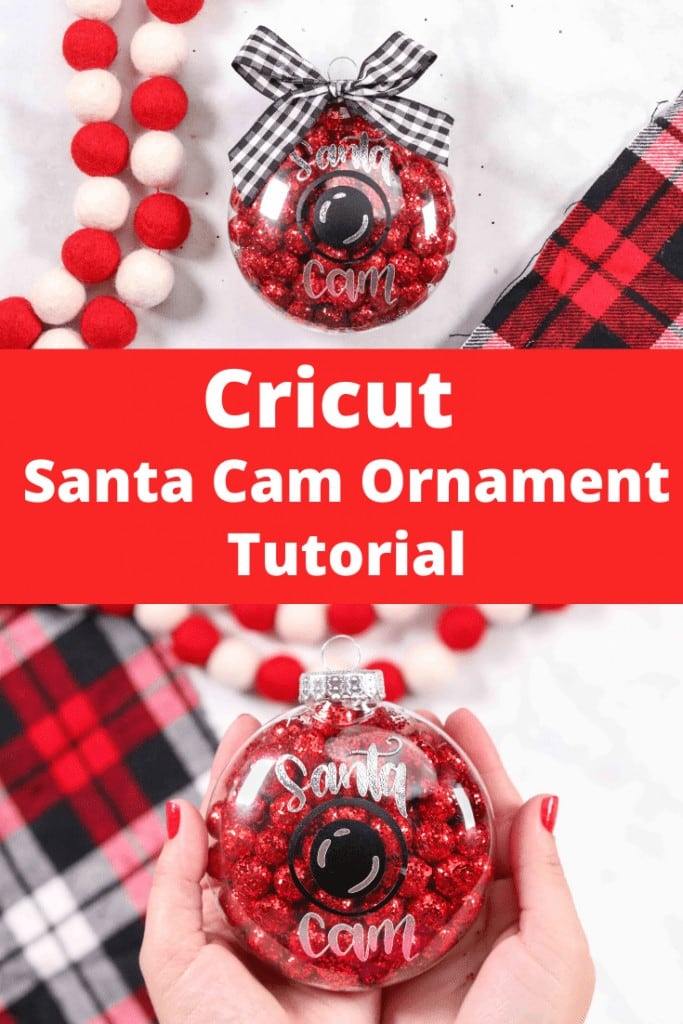
Santa Cam Tutorial
Christmas is coming soon and I'm adding something extra special to my tree this year! You can make a "Santa Cam" for your tree too in just a few simple steps!
Open this Design Space link for the Santa Cam cut files.
Remove the clear film from a Cricut mat and place the vinyl shiny side facing upwards on the mat.
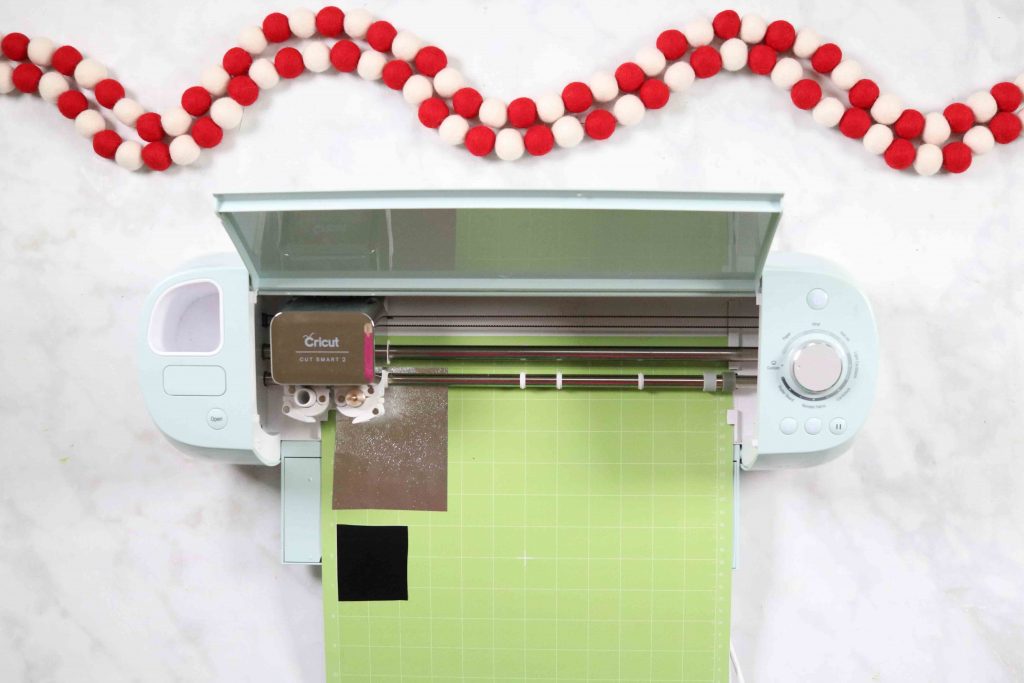
Feed the Cricut mat into the cutting machine. Repeat this process until all of the items have been cut out.
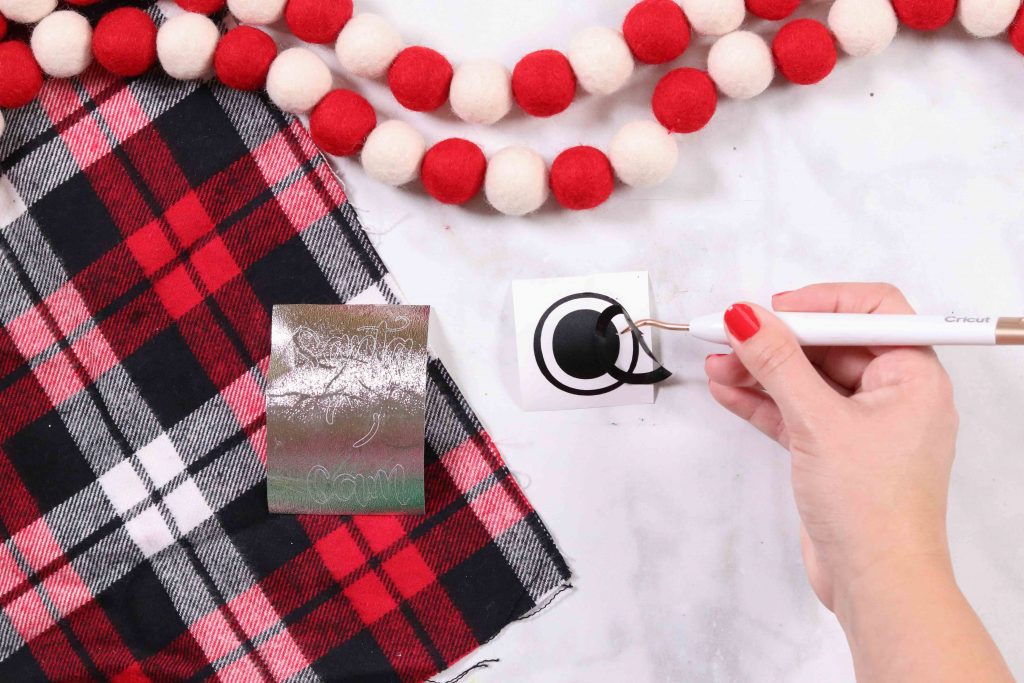
Once all of the images in Design Space have been cut, use a weeding tool to carefully peel back the negative vinyl.

Cut a piece of transfer tape the same size as the image. Carefully peel back the paper lining from the transfer tape and place the tape on top of the design.
Using a scraper too, burnish the design by scraping back and forth until the vinyl has transferred from the paper backing to the tape. Repeat this process to adhere the circle to the words.

Peel the tape and the vinyl away from the paper backing and place it on the ornament.

Fill the ornament with vase fill, place the ornament top back on and tie a bow around the top of the ornament.

This is a sponsored conversation written by me on behalf of Cricut. The opinions and text are all mine.
Can you include links to the filler and the ornament you're using as well as the color vinyl? Thanks!