Learn How to Sew an Exposed Zipper in This Step-By-Step, Beginner-Friendly Sewing Tutorial.
Perhaps the most fun and unique type of zipper is an exposed zipper. You can play with so many fun colors and textures, giving your projects an extra-special detail.
Sewing an exposed zipper is just as easy as installing a standard centered zipper - I'll show you how!
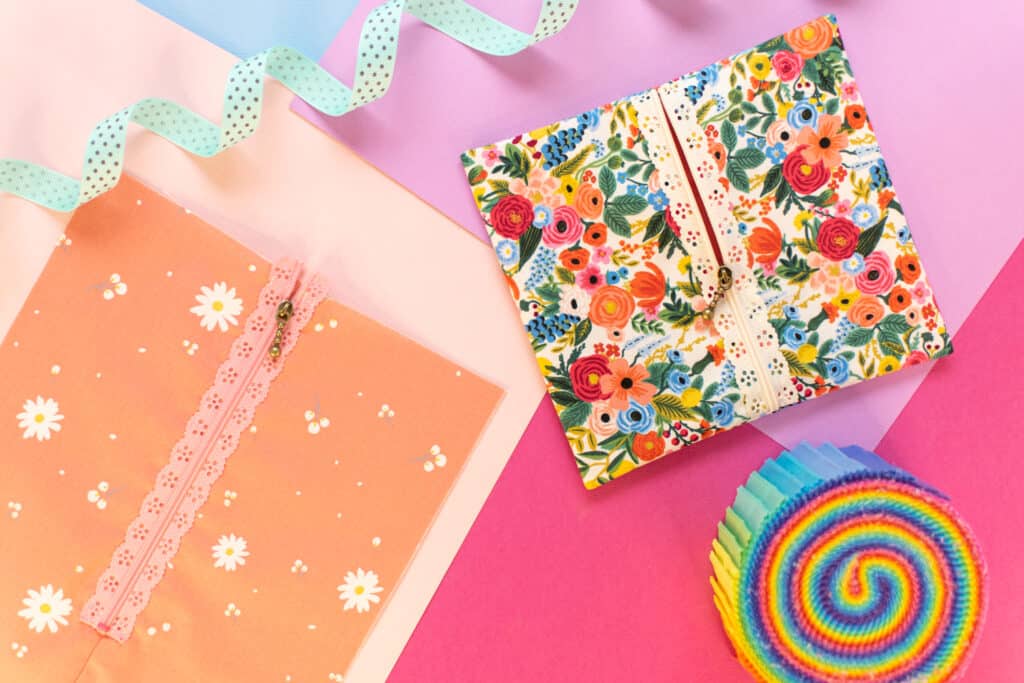
Table of Contents
What is an Exposed Zipper?
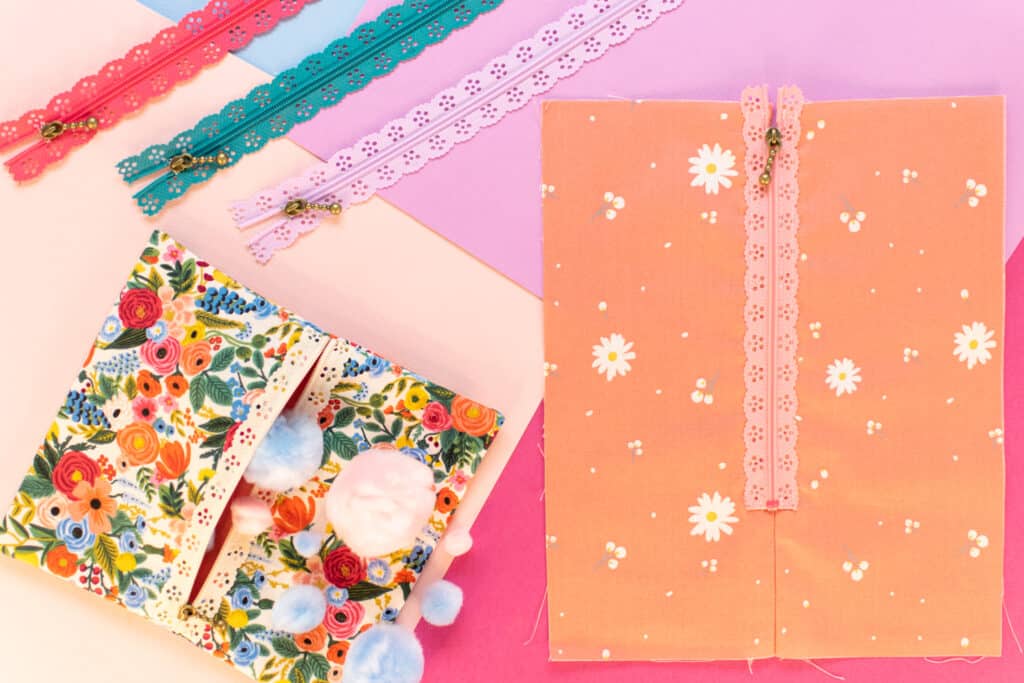
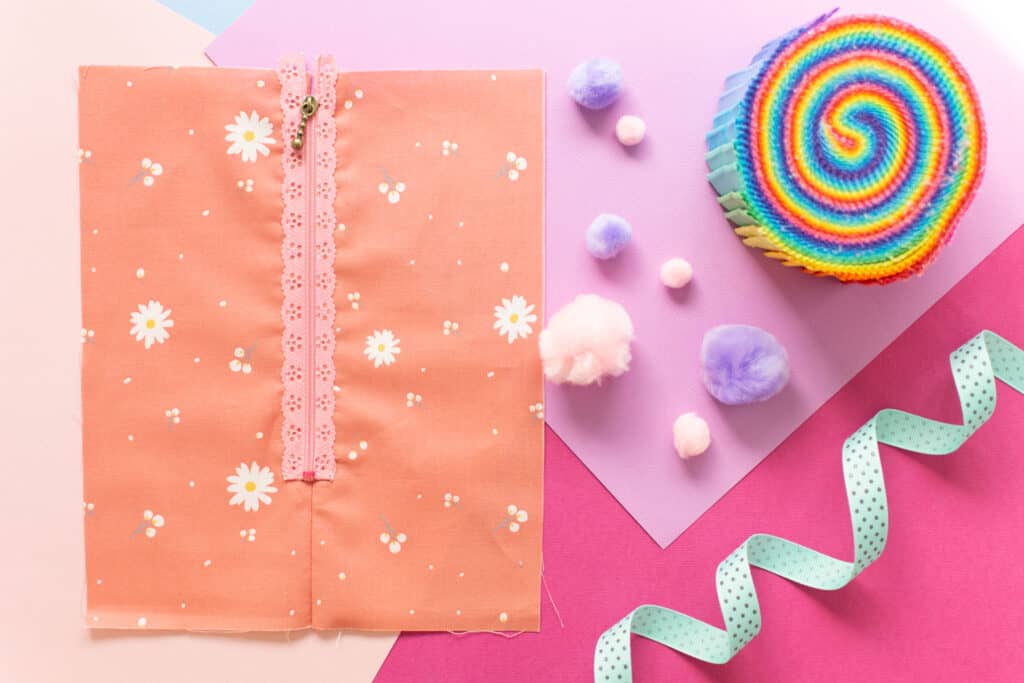
An exposed zipper is a zipper that is sewn onto the outside of a seam, rather than the inside. The entire zipper, including all of the zipper tape, will be visible.
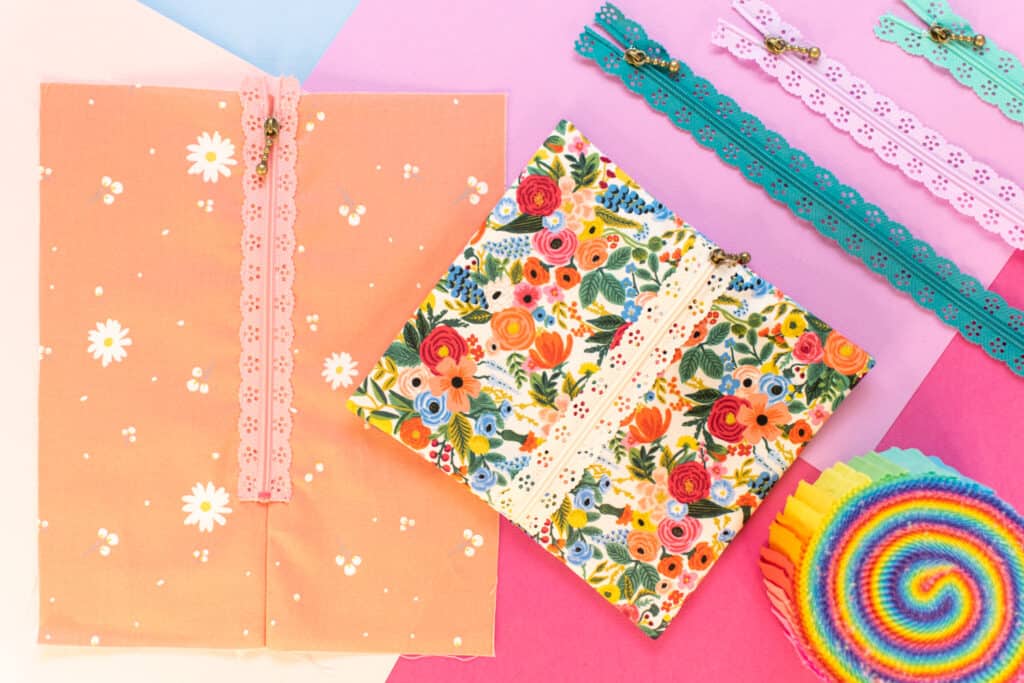
Generally, zippers used as exposed zippers are decorative, often with tape made in fun colors, patterns, and textures.
When to Use an Exposed Zipper?
An exposed zipper is the perfect touch for any garment, accessory, or home decor project that needs a fun pop of color or an eye-catching detail.
You can use exposed zippers as a more subtle touch, such as for pocket zippers, or go all out by using a bold exposed zipper on the back of a dress.
Types of Exposed Zippers
Really any zipper can be used as an exposed zipper, but try going for one that's a little more special than your typical zipper.
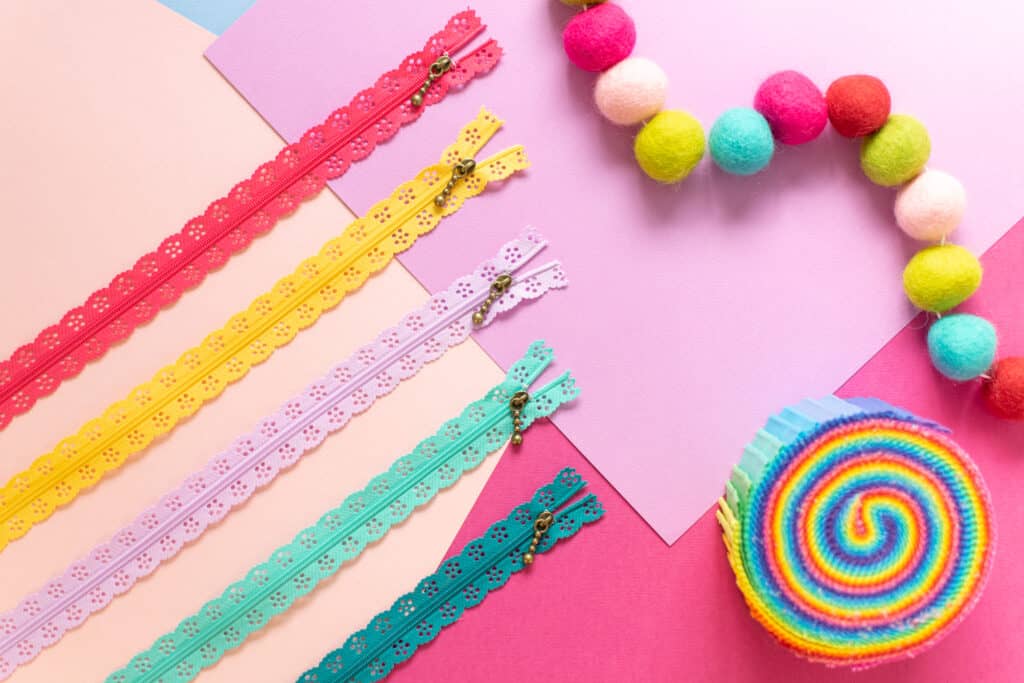
Lace zippers are a great option for an exposed zipper. Or, try a zipper in a bold, bright color or pattern. You can even find interesting zippers with textured elements such as studs and rhinestones!
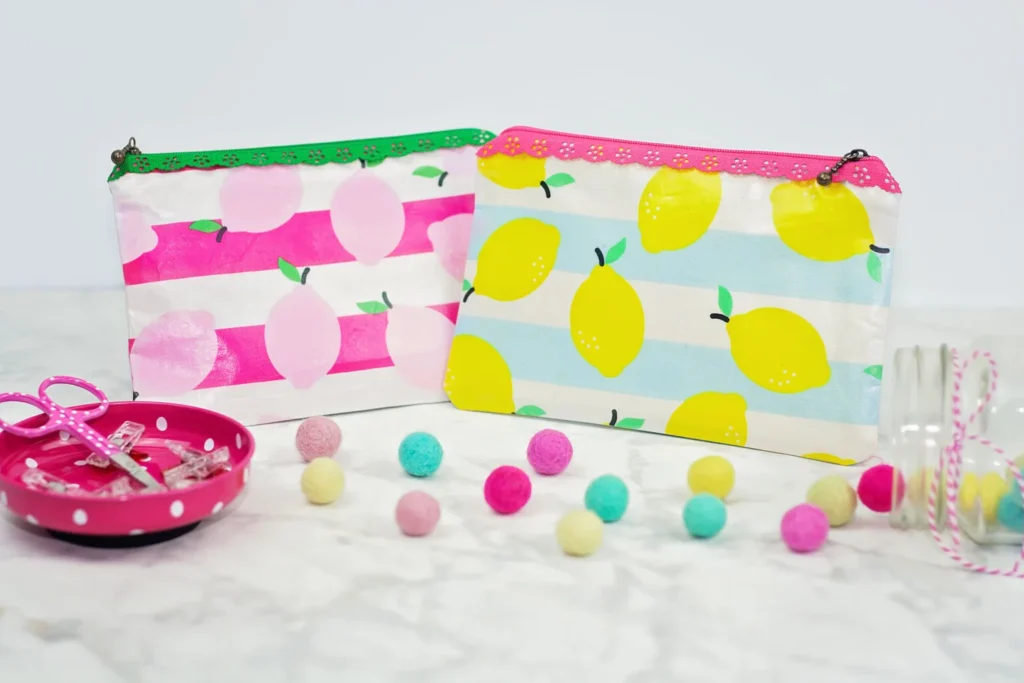
Looking for a project to make with an exposed zipper? Check out this tutorial for an adorable zipper bag!
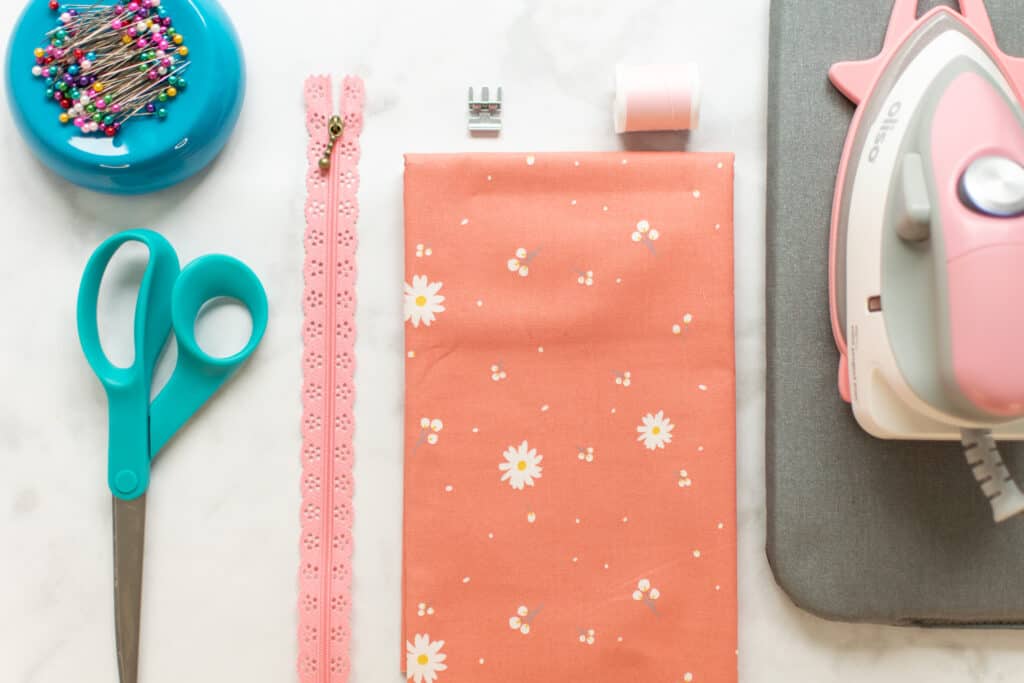
Supplies to Sew an Exposed Zipper
These are the supplies you'll need to sew a cool exposed zipper.
- Project that needs a zipper
- Exposed Zipper (in the right length)
- Scissors or Thread Snips
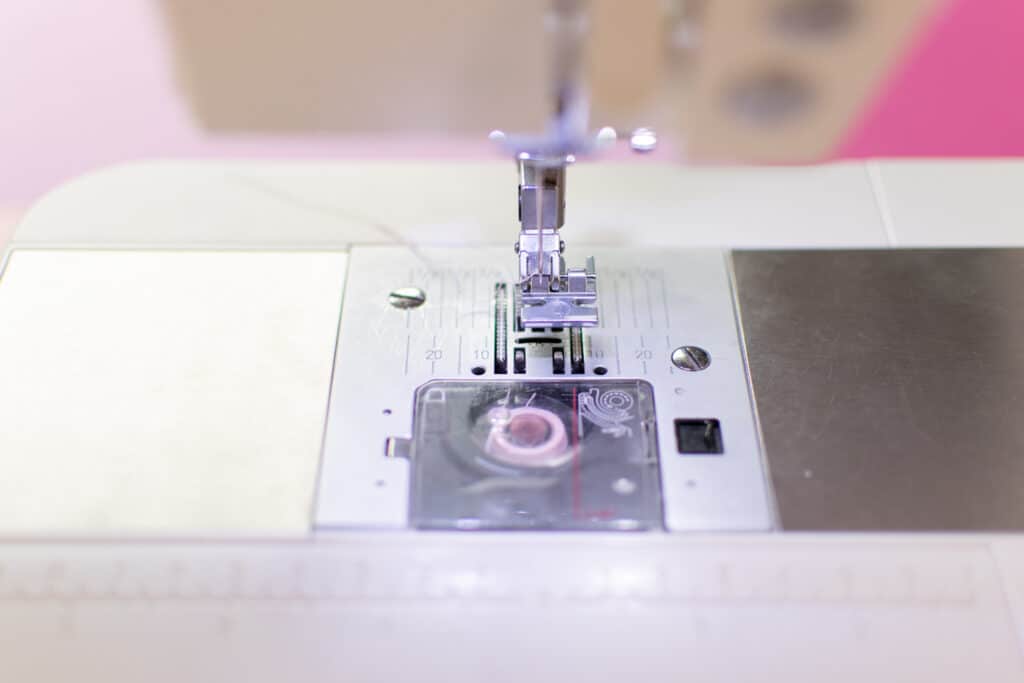
- Zipper foot
- Pins
- Thread
- Sewing Machine Needle
- Sewing Machine
- Iron
- Ironing Mat
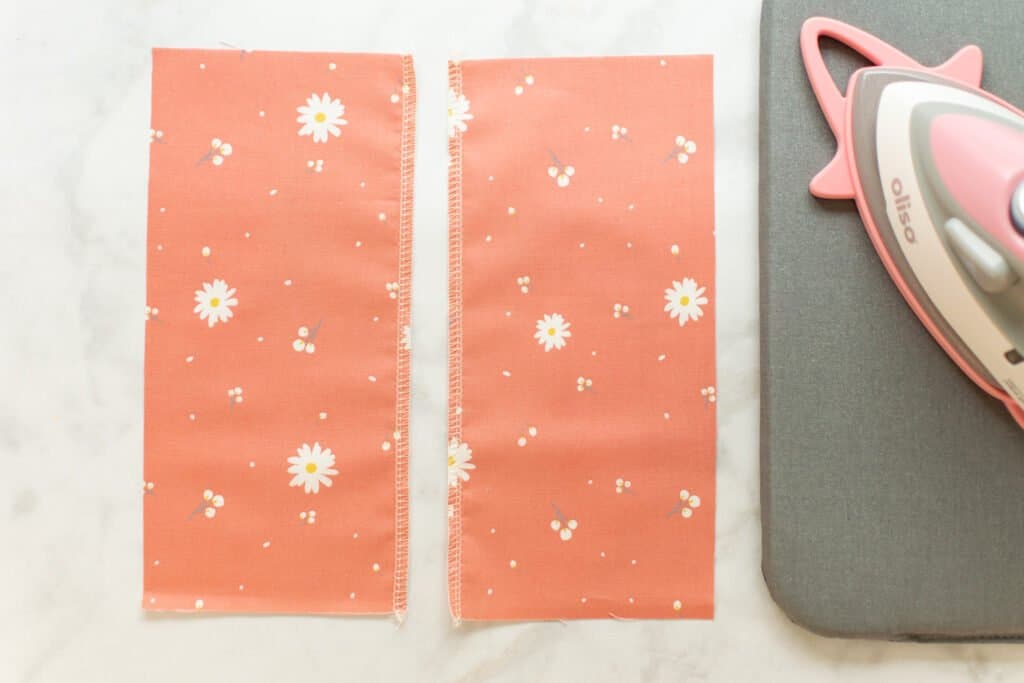
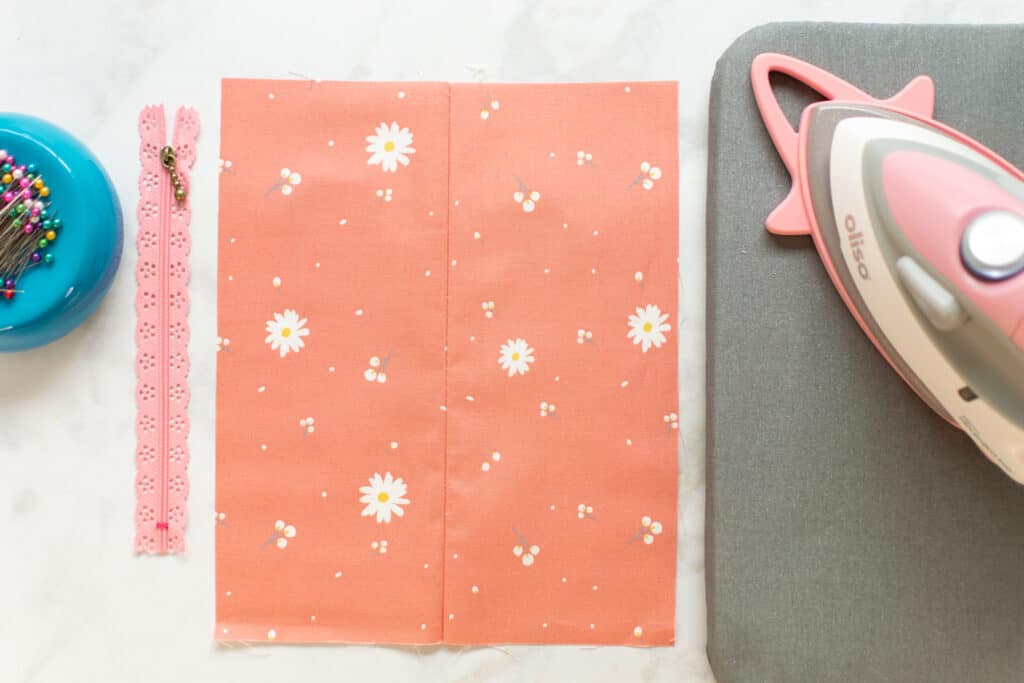
Step 1: Prepare Your Project for the Zipper
First, you'll need to prep the seam of your project for the exposed zipper.
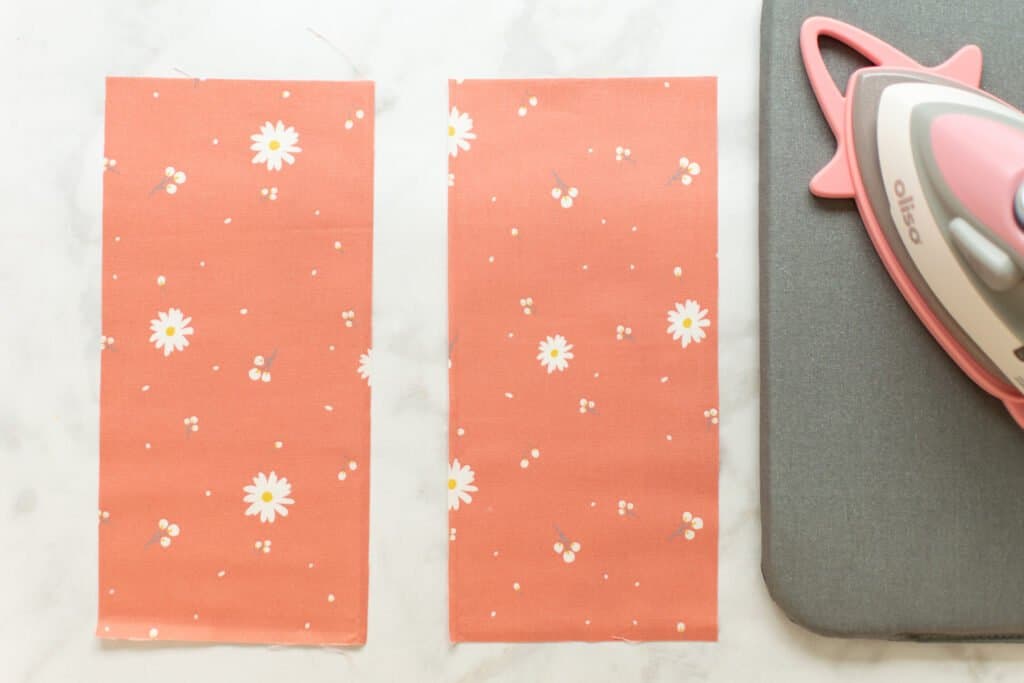
To start, finish the raw edges of the fabric that the zipper will be attached to. I prefer to serge my raw edges, but you can use whatever finishing technique you like best - such as a zigzag stitch or pinking shears.
Next, pin the seam that the zipper will be sewn into with right sides together.
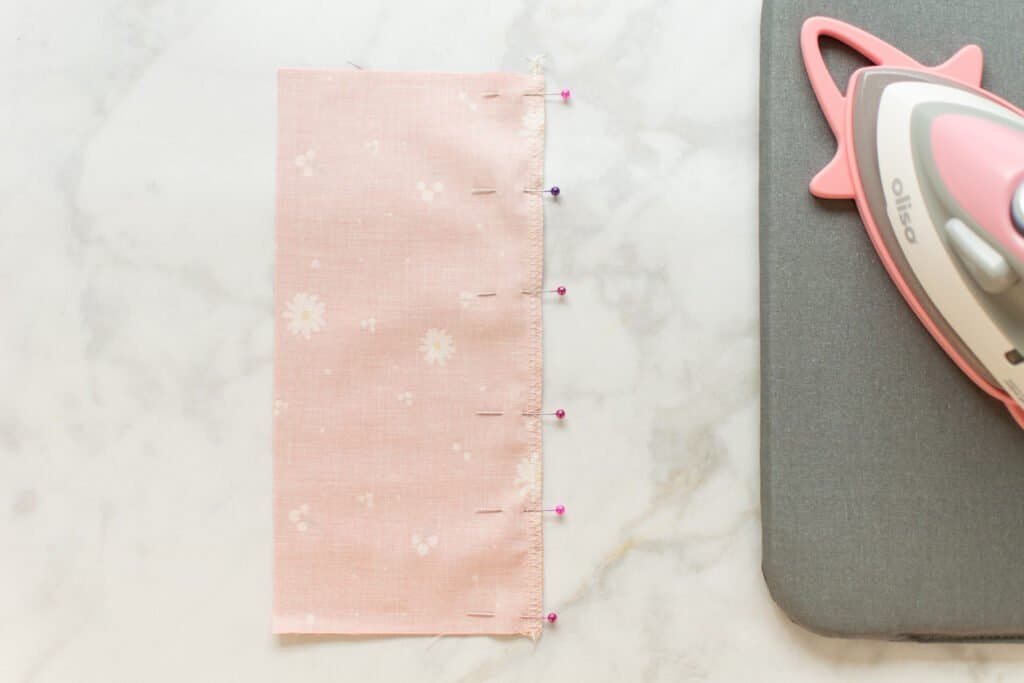
Line up the zipper along the pinned edge of your project, aligning the top stop a little over a seam allowance distance down from the top.
Mark where the bottom stop falls along the edge of the fabric.
Then, sew from the marking to the bottom of the seam with a regular seam allowance, backstitching at the beginning and end. Switch your machine to a long basting stitch and sew from the mark to the top of the seam with a basting stitch. Don't backstitch in this section of the seam.

Press the seam allowances open.
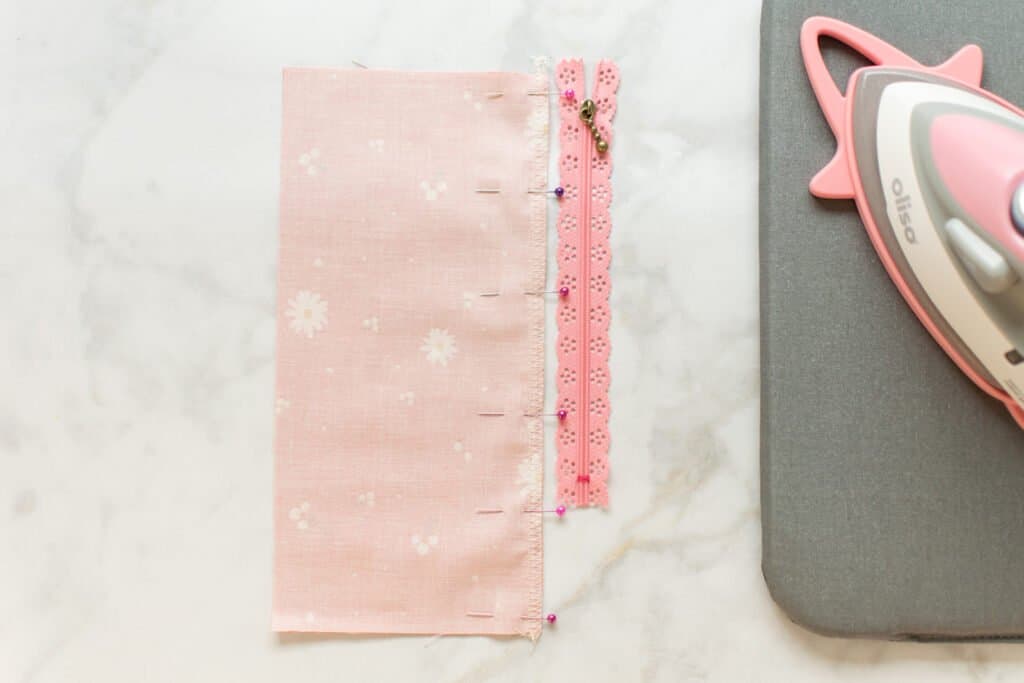
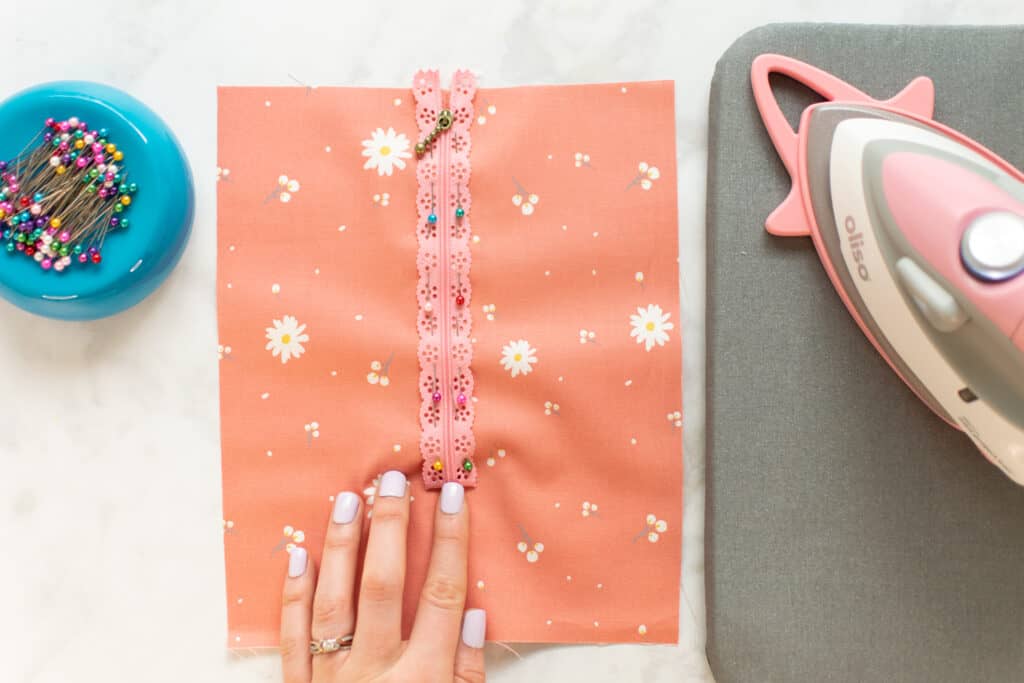
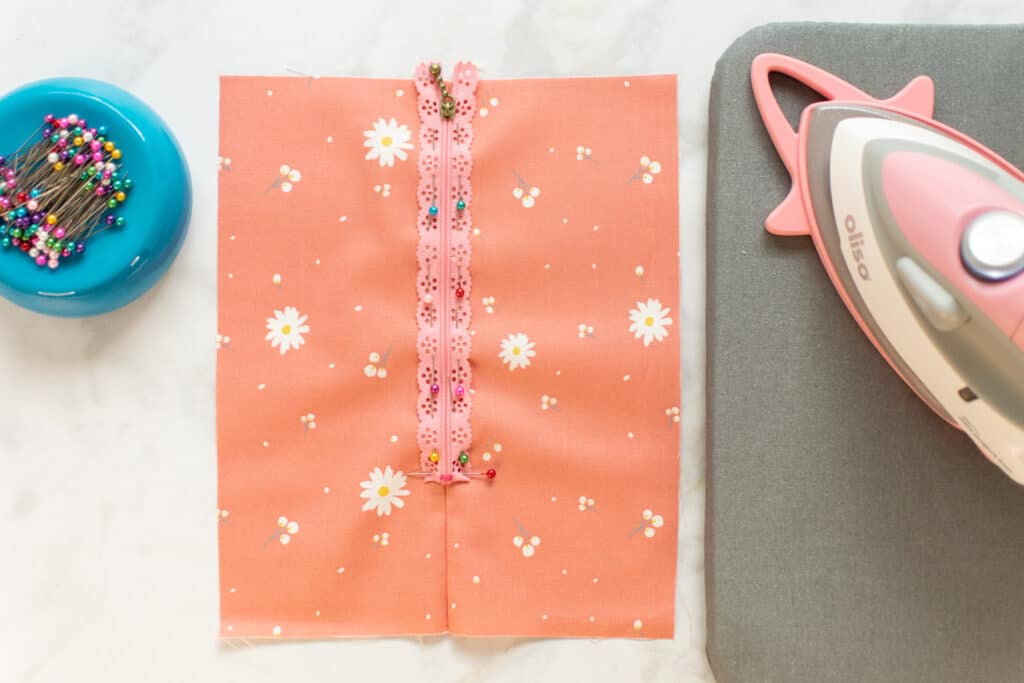
Step 2: Pin the Zipper to Your Project
Next, flip your project so that it is right sides up.
Line up the zipper on the right side of the seam, centering it over the seam with the front of the zipper facing up. The bottom stop should match up with the mark you made on the wrong side and the top stop should fall a little more than a seam allowance distance from the top.
Pin the zipper in place, leaving the bottom inch of the tape free.
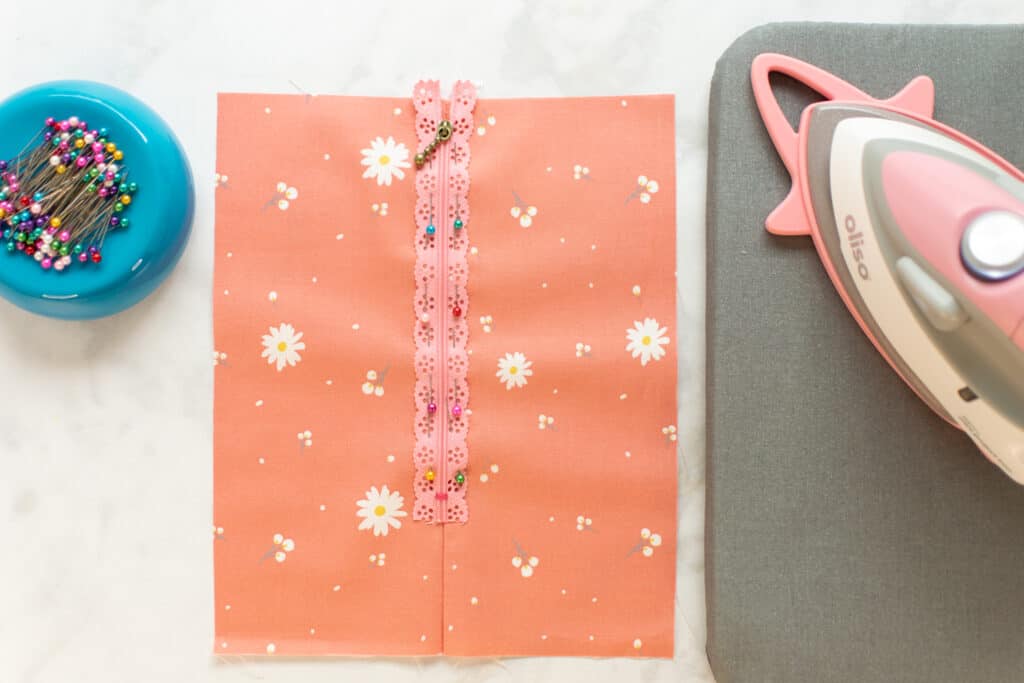
Next, fold the two bottom ends of the zipper tape under by 1/2 inch and pin them down.
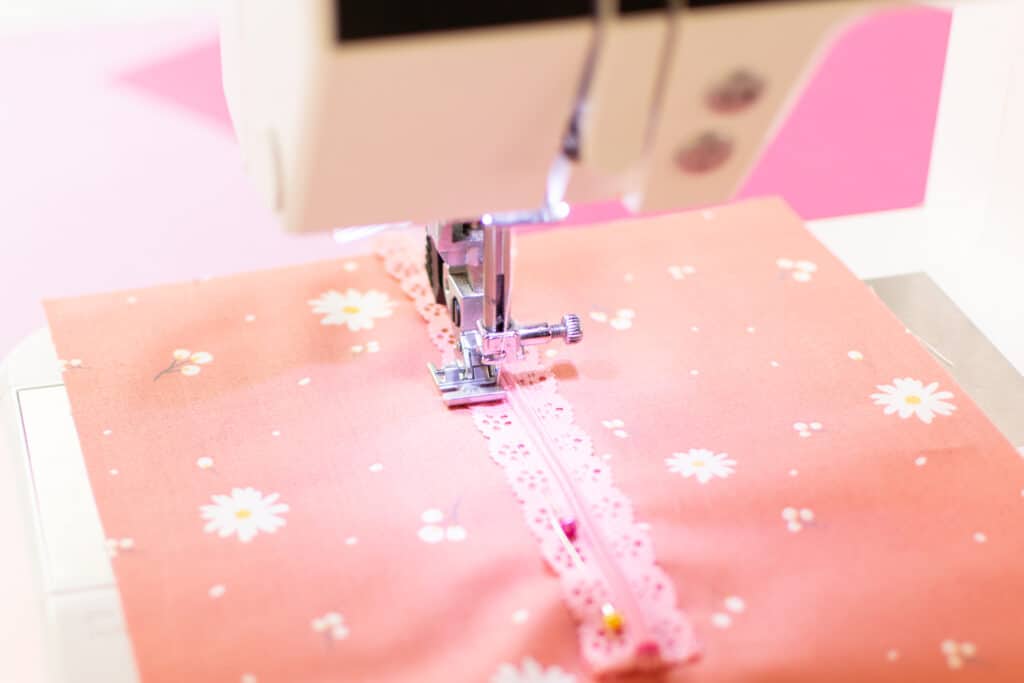
Step 3: Stitch the Zipper in Place
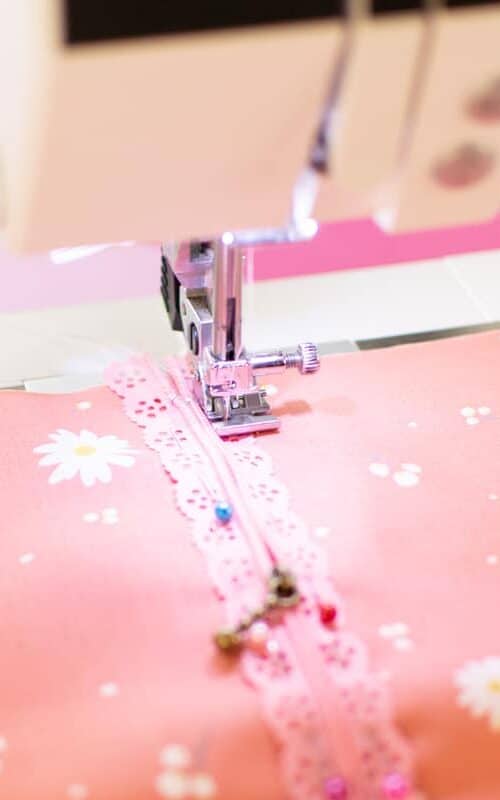
It's time to stitch this zipper down! Start by moving the slide about halfway down the zipper.

Put the zipper foot on your machine so that the needle is to the left of the foot.
Begin sewing down the right side of the zipper tape right along the zipper teeth. Make sure to backstitch at the beginning.
Continue stitching next to the zipper teeth until you near the slider. Once you're about 1 inch from the zipper slider, stop sewing, lower the needle, and raise the presser foot.
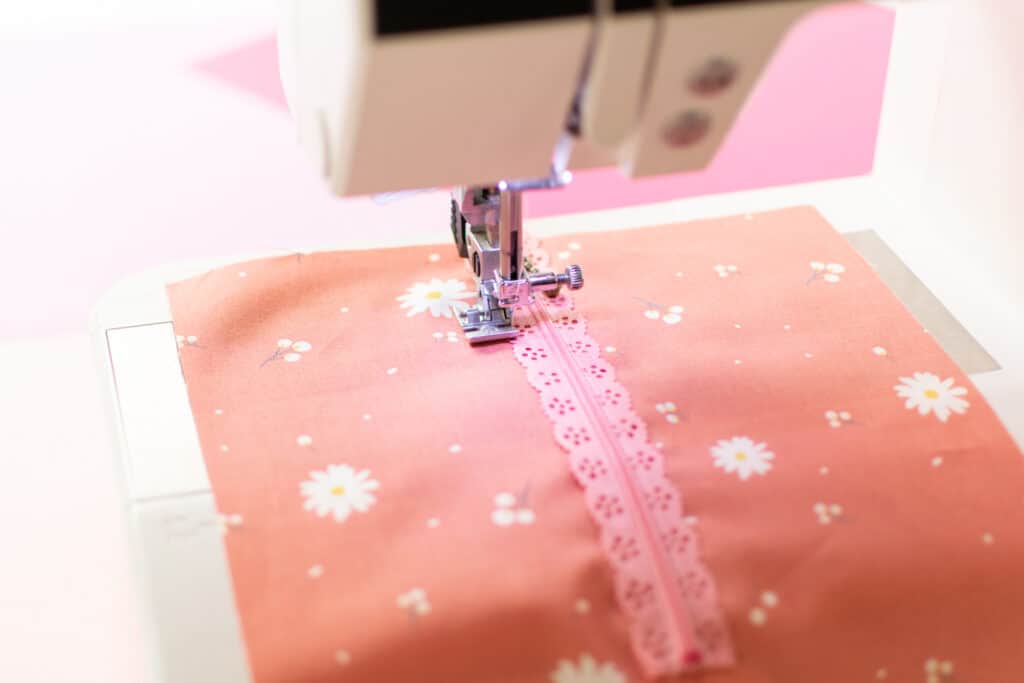
Gently move the slider up the zipper past the presser foot to get it out of the way. Just be careful not to hit the needle as you do - you don't want any bent needles!
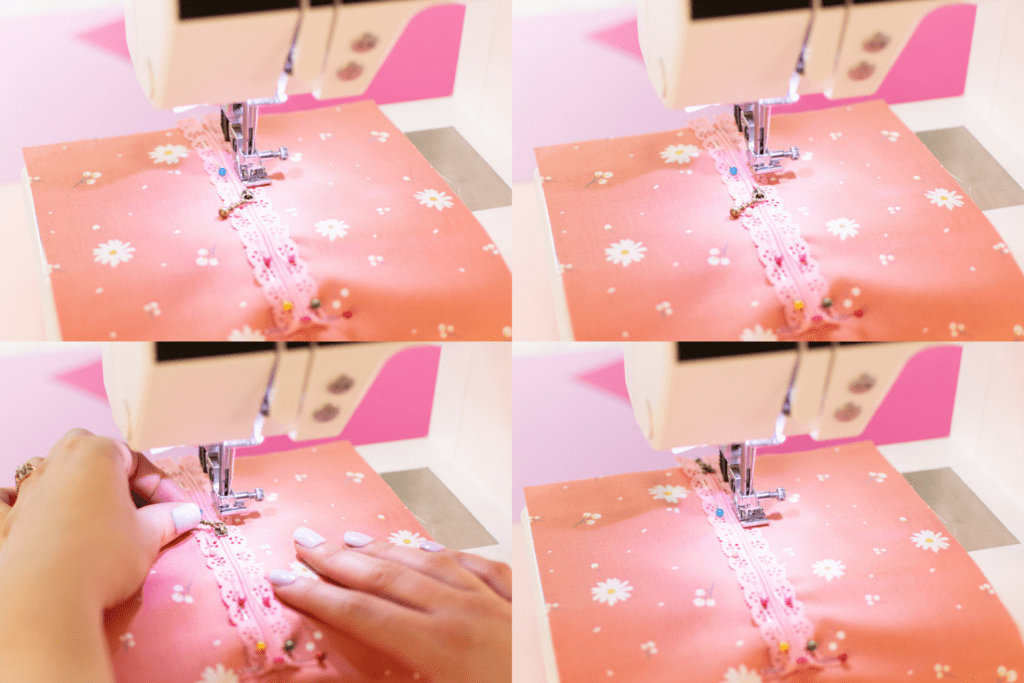
Finish sewing the first side of the zipper tape, backstitching at the end. Trim away any thread tails.
Next, switch your zipper foot to the other side and sew down the second side of the zipper tape the same way.
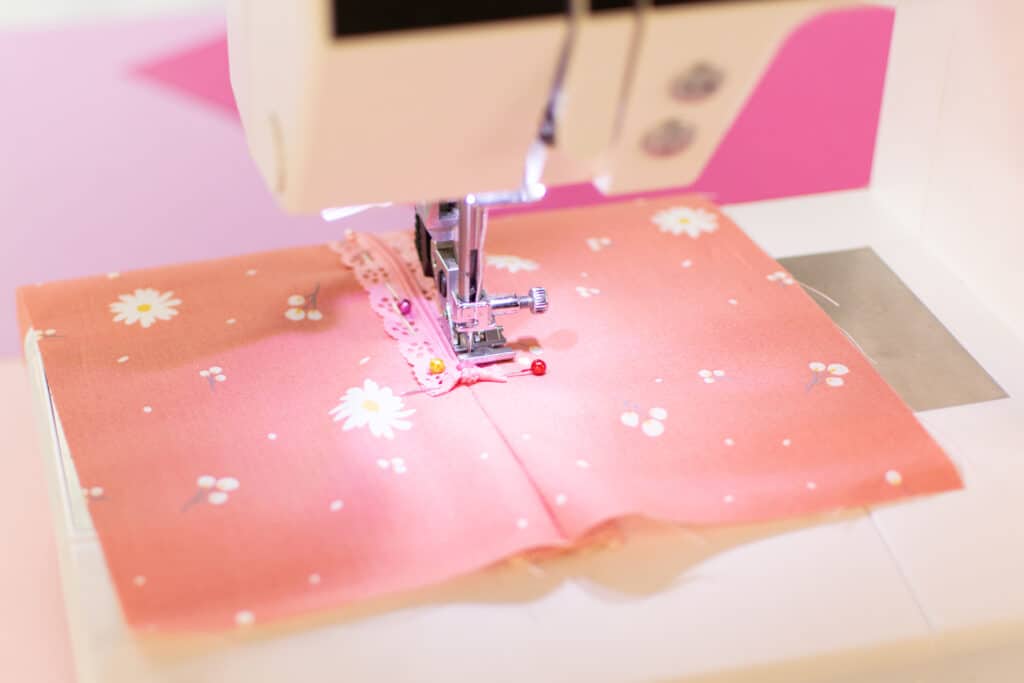
Finally, add a row of topstitching along the outer edge (this helps to secure your seam allowance) and the bottom of each side of the tape to hold it down. Don't forget to backstitch to secure your stitching!
*PRO TIP: If you're sewing a lace or patterned zipper, you'll probably want all of this topstitching to be done with matching thread to make it as subtle as possible. However, if you're sewing a solid-colored zipper, you may want to use contrasting thread for a fun detail.
Step 4: Remove the Basting Stitches
Next, flip your project to the wrong side and carefully remove the basting stitches under the zipper with a seam ripper.
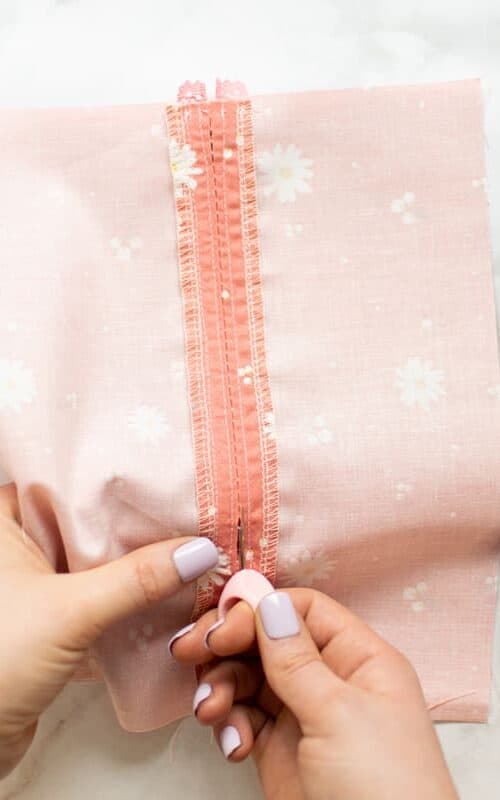
Be careful not to nick your fabric or zipper and try to get all the excess threads cleared away.
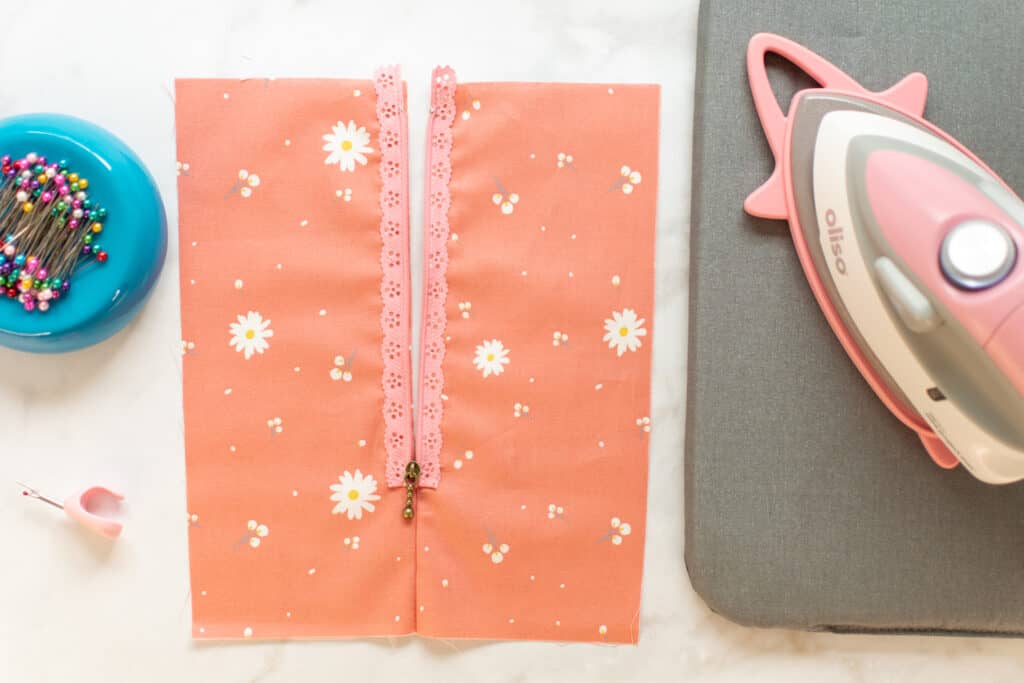
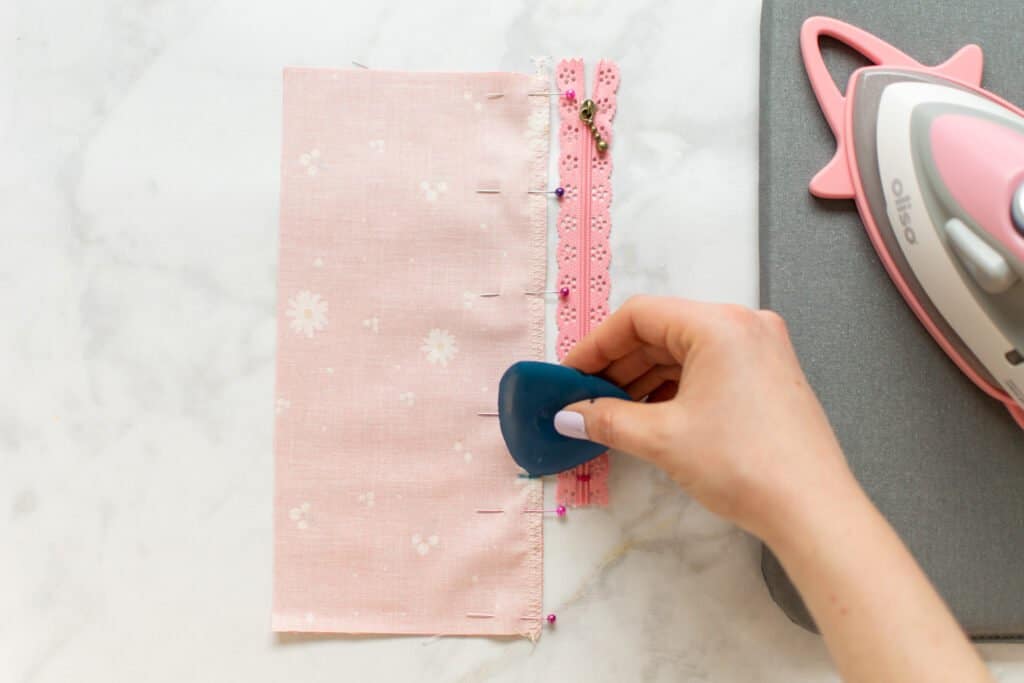
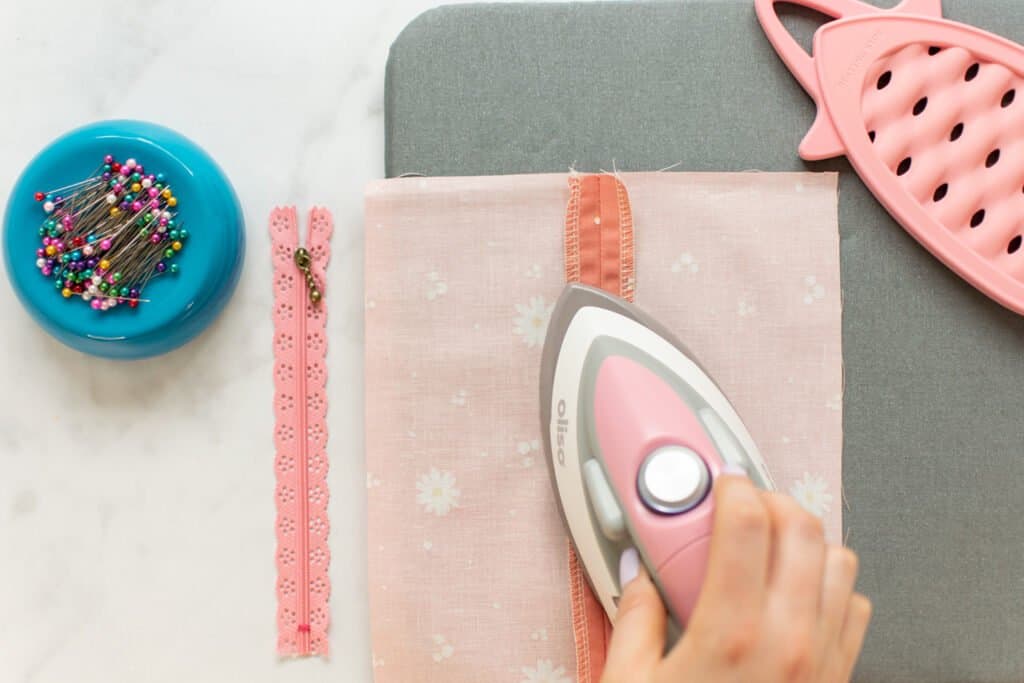
Step 5: Press Your Zipper
Lastly, give the entire zipper a good pressing with lots of steam. You want your beautiful exposed zipper to look high-quality and stand out in a good way!

Do you love exposed zippers as much as I do? Let me know in the comments what project you're looking forward to sewing with an exposed zipper!
Sew an exposed zipper? Share a photo on Instagram with the hashtag #sweetredpoppy - I would love to see what you're working on!
Don't forget to join my Facebook group where you can show us what you're making, ask questions, and learn from others!

Thank you so much for this awesome explaination of exposed zippers. You really explain how to sew them with such clarity.
Thank you very much for this quick tutorial on exposed zips. I have not seen many here but will go looking for them.
Thanks for explaining this technique. I need to get practicing!