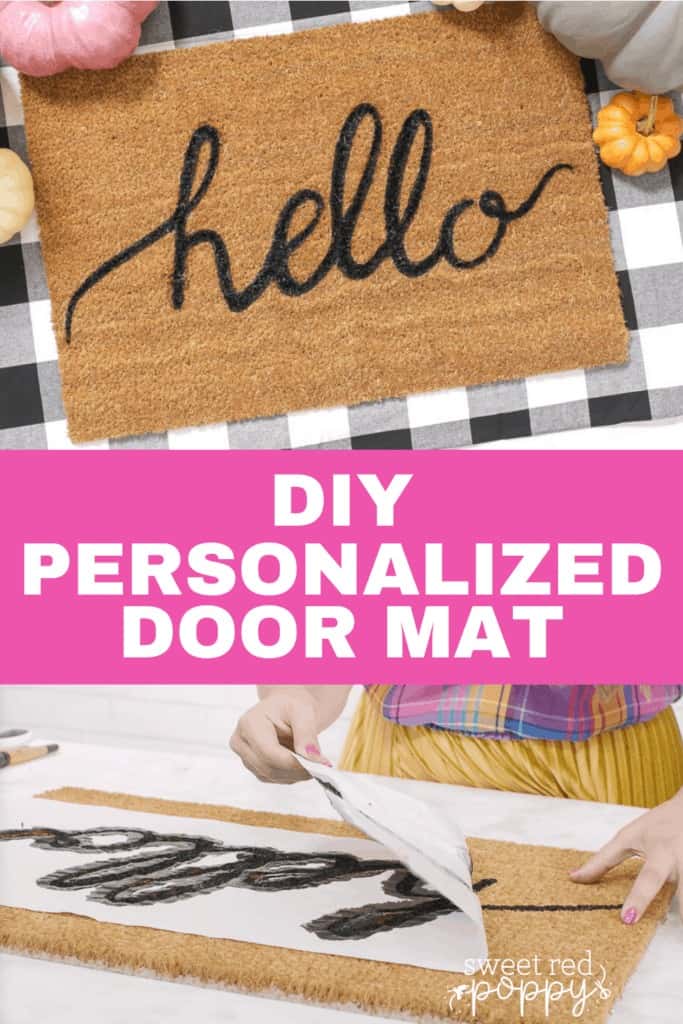
How to Make a DIY Personalized Welcome Doormat With a Freezer Paper Stencil Using a Cricut Cutting Machine - Free Custom SVG File Download
Today we are talking all about how to make coir doormats! This is such a trendy project and this tutorial has been requested over and over. I’m so excited to be sharing this tutorial with you! I'll be sharing my tips and tricks for getting amazing results.
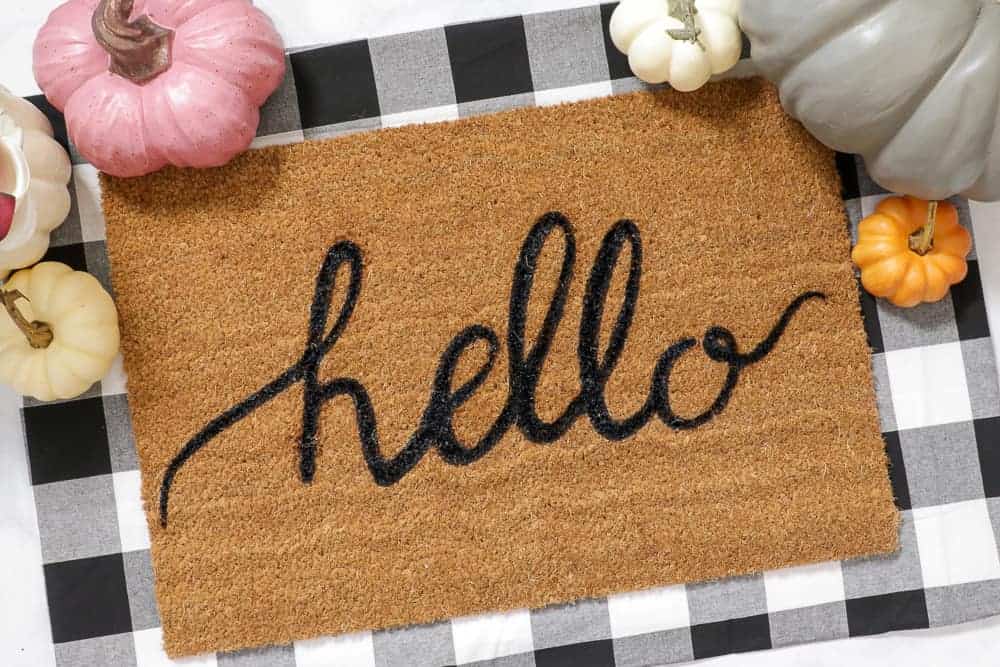
Recently, I fell in love with a doormat that I spotted at a boutique store. I had a bit of sticker shock when I looked at the price, so in typical Sweet Red Poppy fashion, I decided to make it myself! Make sure to check out my tips and tricks section at the end of this post!
Here’s a little bit of background on this type of doormat. Coir mats are made from the fibers of the outer shell of a coconut which is what gives it that coarse feeling. It’s a natural fiber making it easy to clean with a vacuum or warm water.
While I’m going to be using my Cricut Explore Air 2, you can use any cutting machine for this project.
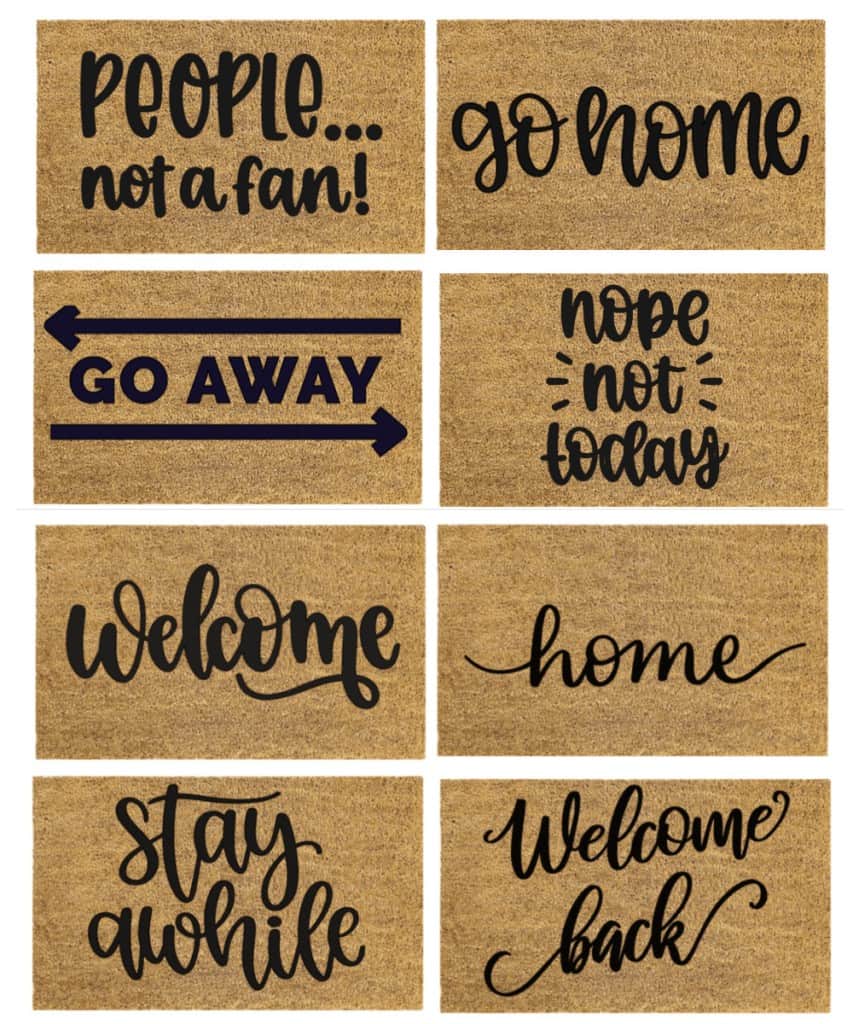
Here are a few examples of what your door mat could look like! As an introvert, I'm kinda loving the sarcastic ones! Anyone else?
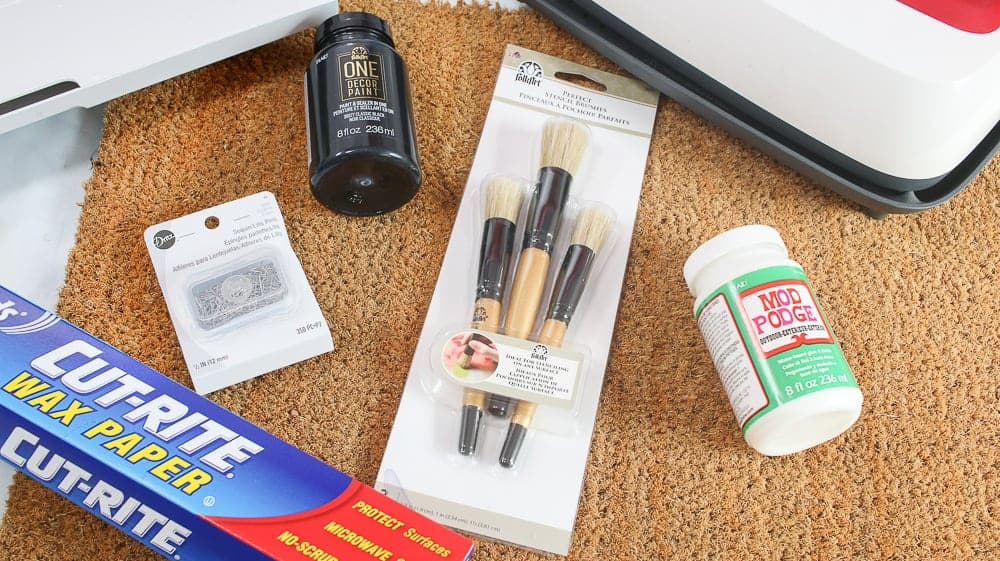
For this project, you will need the following supplies:
- Blank Coir Door Mat
- Cricut Machine- Cricut Maker or Explore
- Freezer Paper
- 12 x 24 Light Grip Cricut Mat
- Stencil Brush
- Outdoor Acrylic Paint (Paint and Sealer in One)
- Flat Head Pins (1/2")
- Sealer (Optional) Mod Podge Outdoor
- Iron or EasyPress
Table of Contents
DOWNLOAD THE FREE "HELLO" SVG FILE HERE!
Step 1: Download Personalized Door Mat SVG File
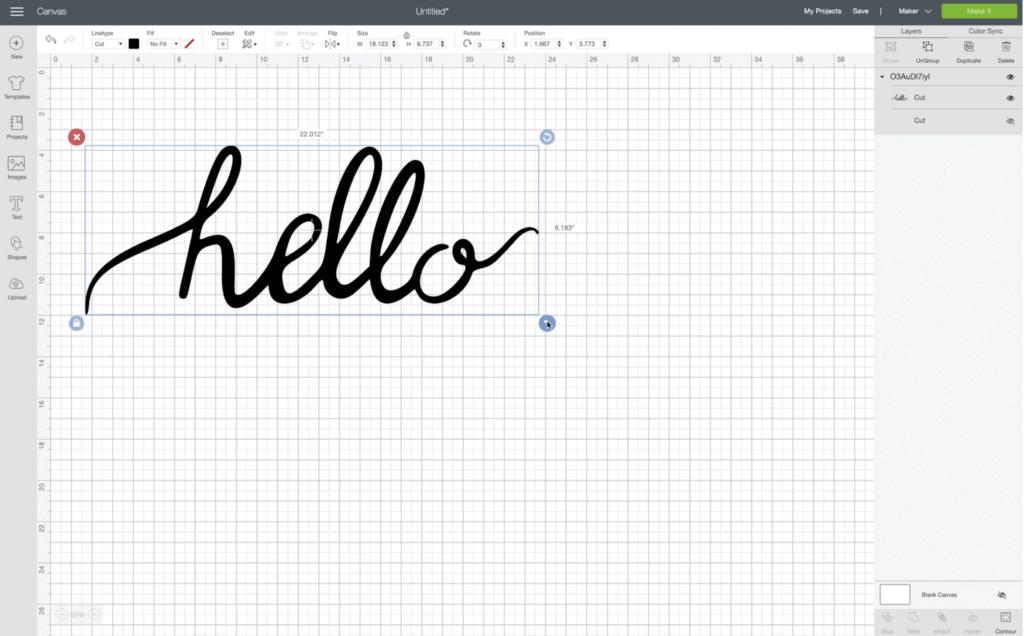
Let’s begin by downloading the "Hello" SVG file linked just below the supply list in this post. Open it up in Design Space and resize it to fit your mat. You'll want to take a measurement of the width and height of your mat to get the best fit! My mat measures 18" tall by 30" wide so I'll be using the largest Cricut mat to cover as much surface as possible.
I want my image to take up as much space as possible on my mat so I’m going to change the size to about 22" wide.
If you want a different image, you can search for images on the left-hand side of Design Space, or you can create your own. A few things to keep in mind, you'll want to make sure you use a font that's somewhat bold, avoid any thin lines and keep the design simple for the best results!

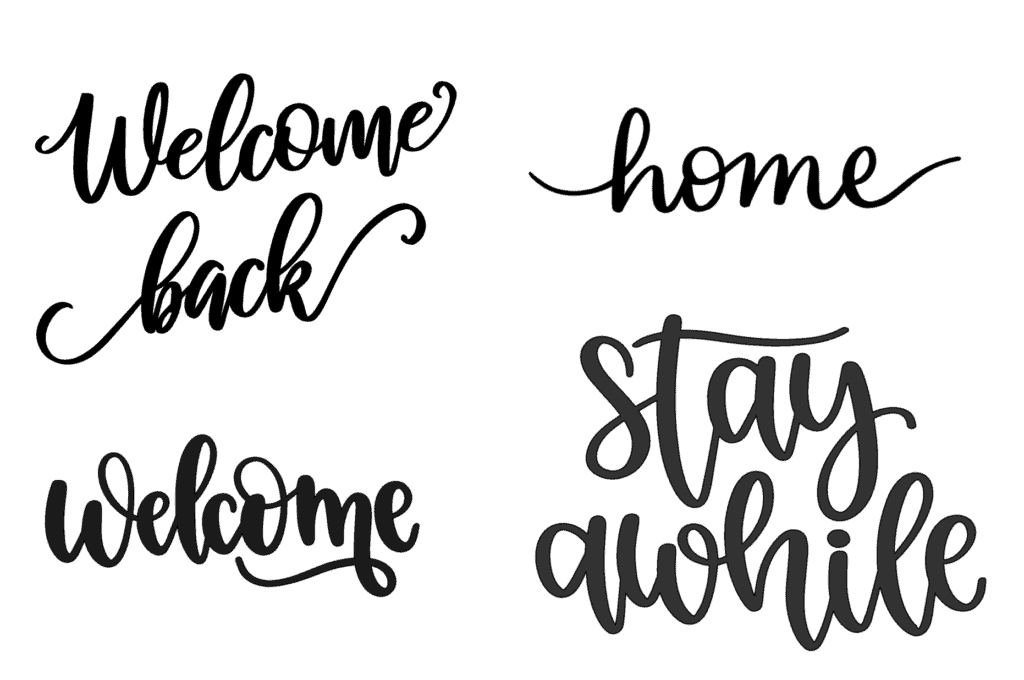
Here are a few images in Design Space that would work perfectly for this project. Just type in the number into the image search.
- Home: #M910B8B9
- Stay Awhile: #MB4FFD43
- Welcome: #M8A1DAA3
- Welcome Back: #MF9CC3F0
You could always go with a bit of sarcasm with these ones.
- Go Home: #MBC49A01
- People Not a Fan: #M1DA5C311
- Go Away: #M16F7AE26
- Nope Not Today: #M1DA5C2B3
- Go Away I’m Introverting: #M1DA5BE6E
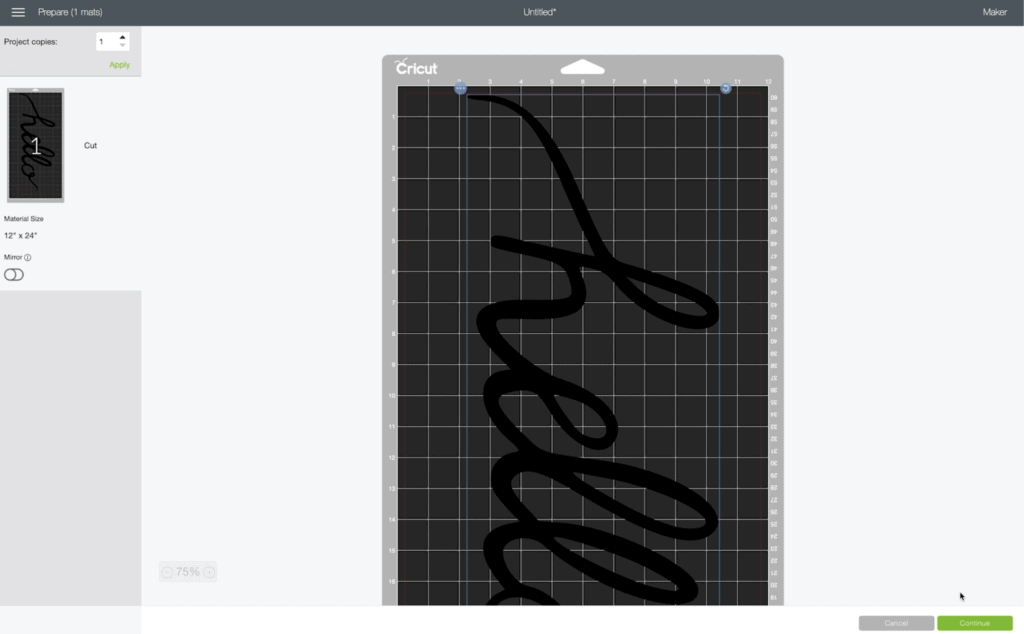
Go ahead and click make it, center your image on the canvas and press continue. You will need to use a 12" x 24" mat for this project.
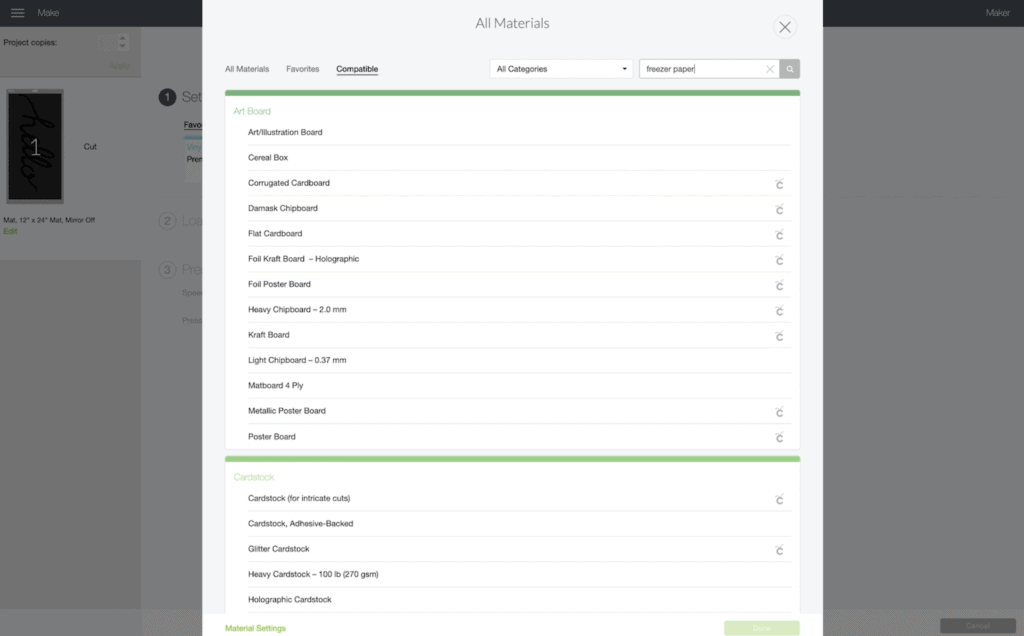
Set your base material as freezer paper and make sure you’ve loaded your fine-point blade.
Step 2: Cut Freezer Paper on Cricut Machine to Create Stencil
Now let’s work on our freezer paper. The nice thing about using freezer paper is it’s very inexpensive so you can easily make multiple mats or use the rest of the roll for other projects. It features a shiny waxed side which allows the material to be temporarily fused to the material making it perfect for stenciling.
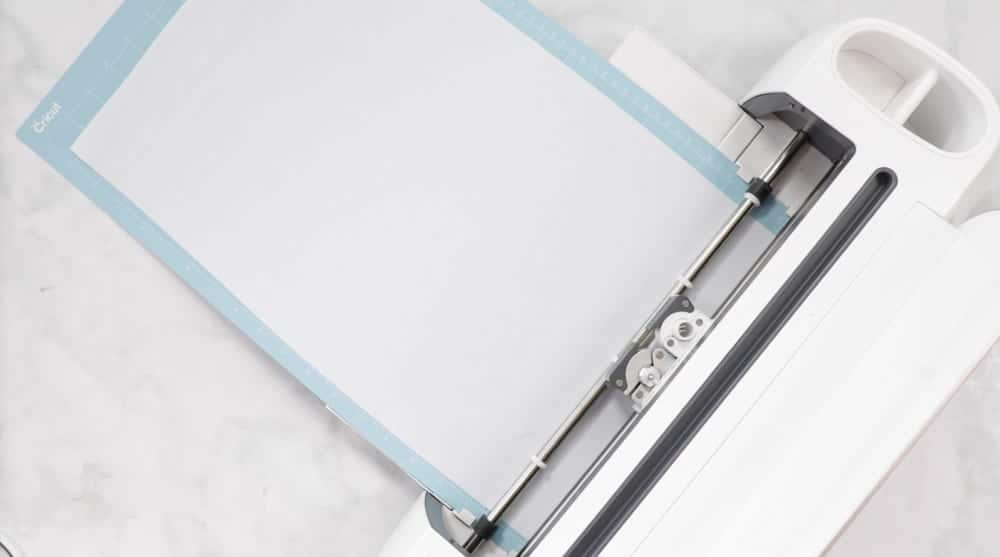
Place your freezer paper shiny side facing downwards on the light grip mat. I like to roll my sheet up and slowly place it on the mat. Place the mat into the machine and load your mat, then press the flashing Cricut mat to start cutting. Remove the mat once it’s finished cutting.
With a weeding tool remove the letters from the design. Keep the small pieces from the inside of the letters in place on the mat.
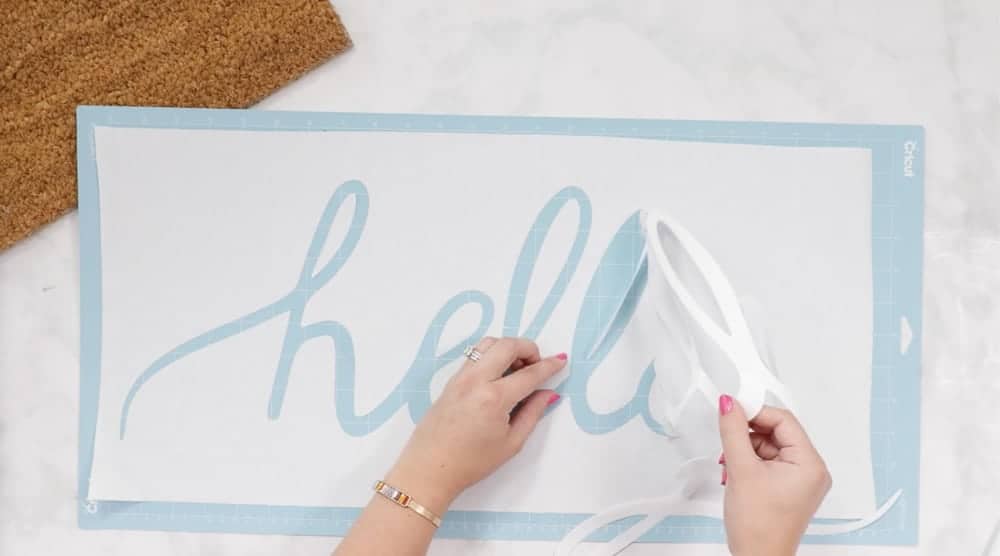
Gently remove the freezer paper from the mat.
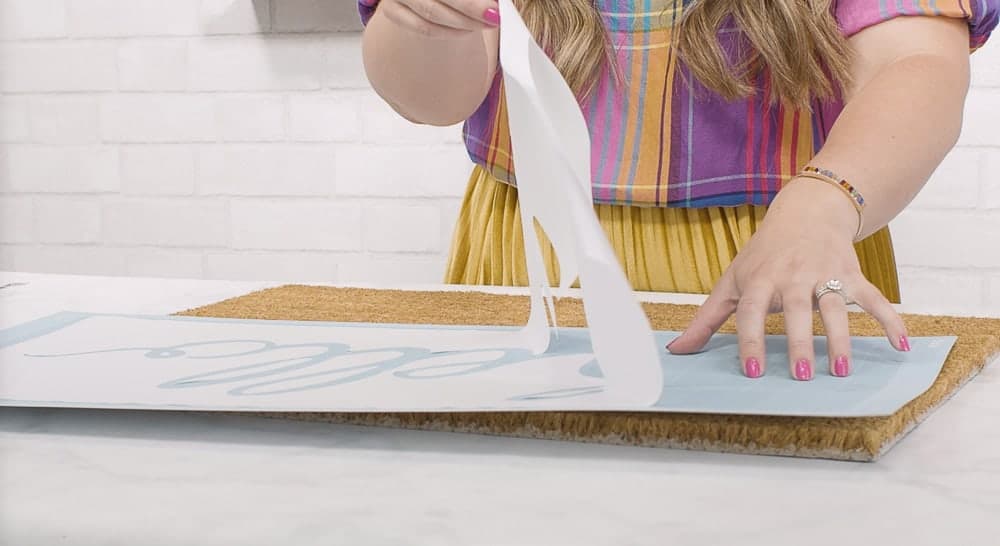
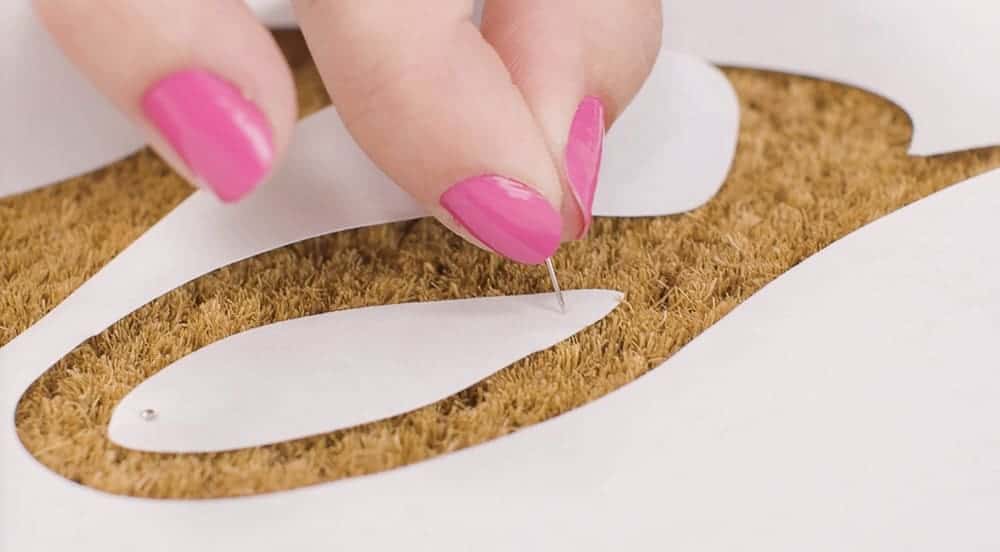
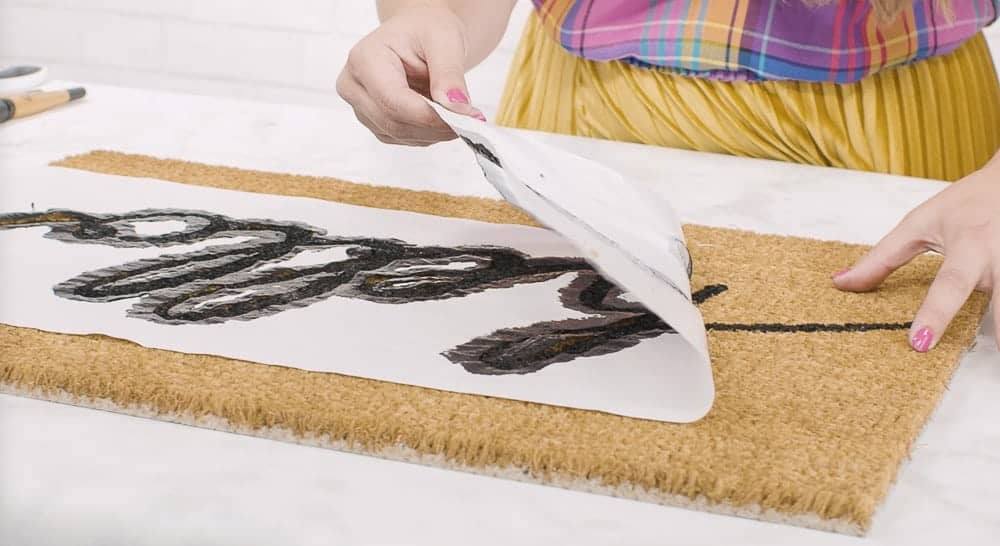
Place the stencil with the shiny side facing down on top of your coir doormat. Make sure the design is centered from side to side and top to bottom.
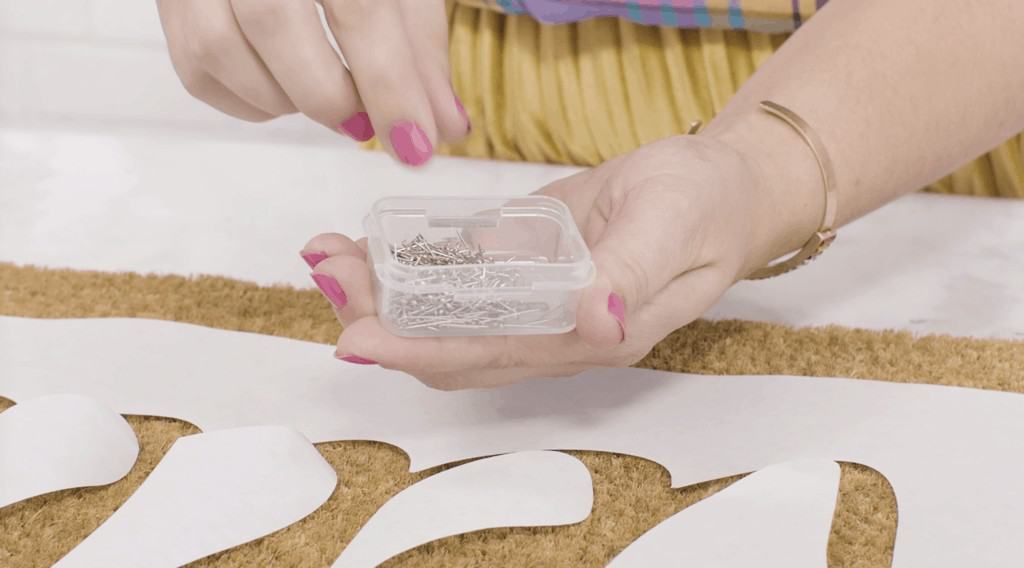
Once you're happy with the placement of the mat, use a few flat head pins to tack it into place. Transfer any remaining pieces of freezer paper to the mat. You can use the flat head pins to secure them into place.
Step 3: Transfer Stencil & Iron Freezer Paper to Door Mat
Heat up your EasyPress to around 300 degrees or your iron to its highest heat setting with the steam turned off.
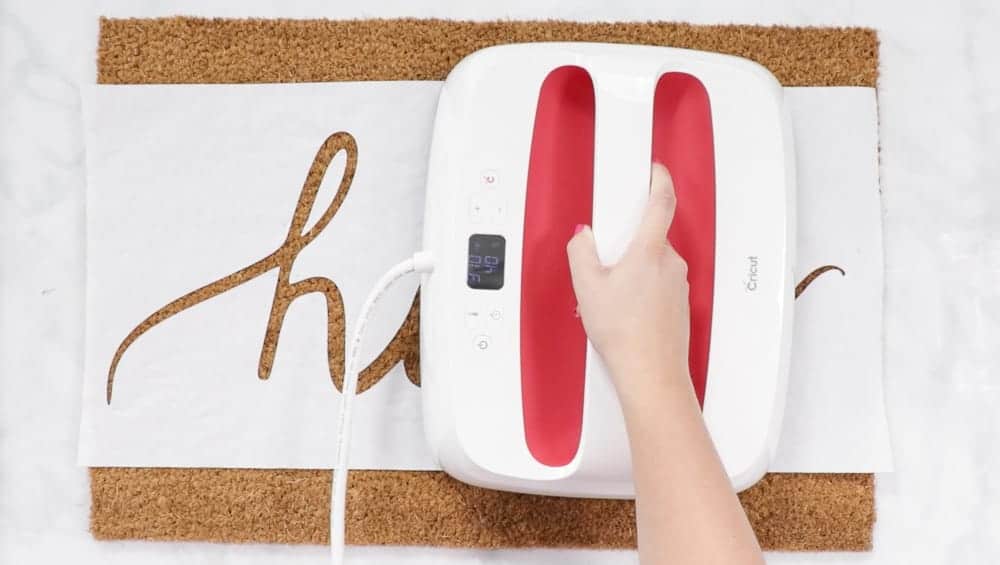
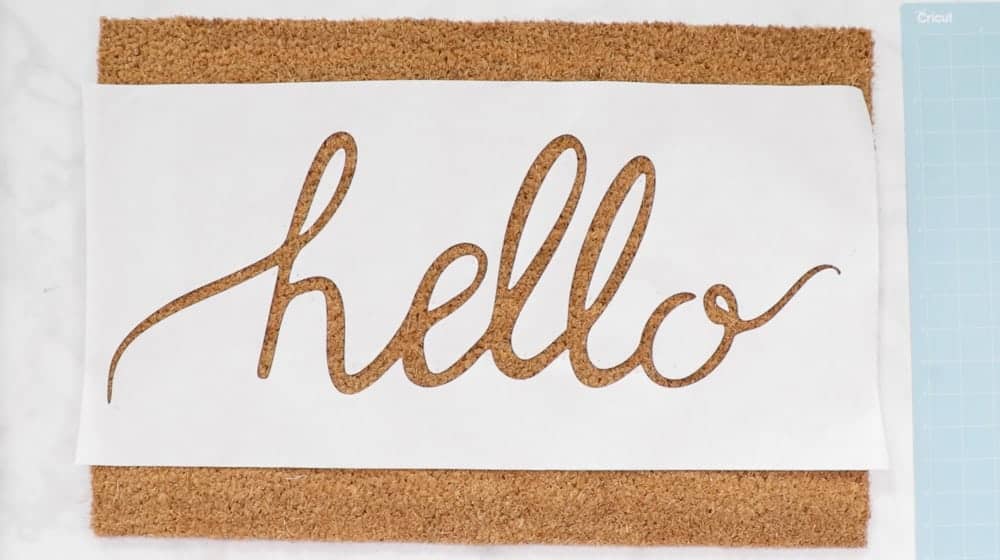
Now it’s time to adhere the freezer paper onto the mat using either an iron or an EasyPress. I’m using my largest EasyPress to cover as much surface area as possible with each press. I typically press each section for about 20-30 seconds until I see that the freezer paper has begun to adhere to the fibers of the mat.
Step 4: Paint Doormat with Stencil
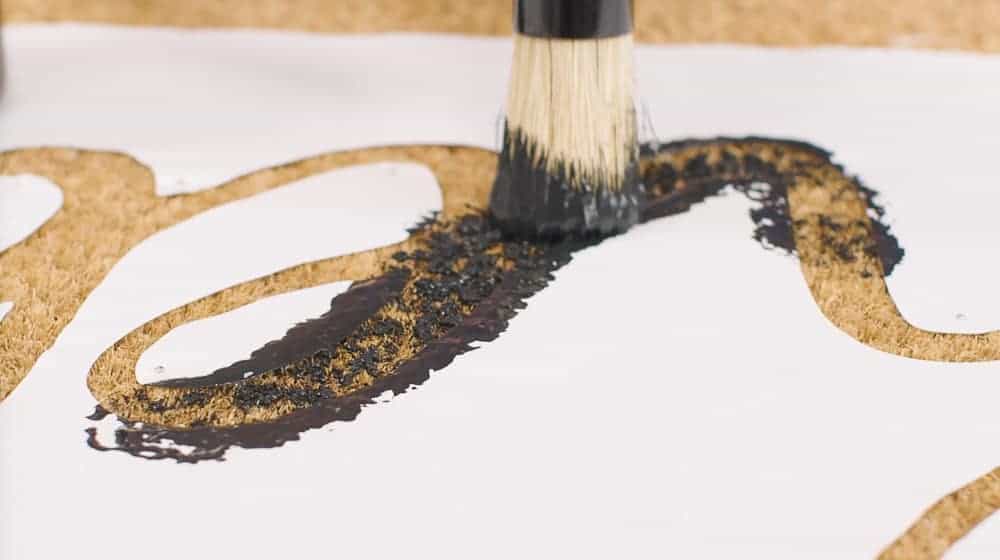
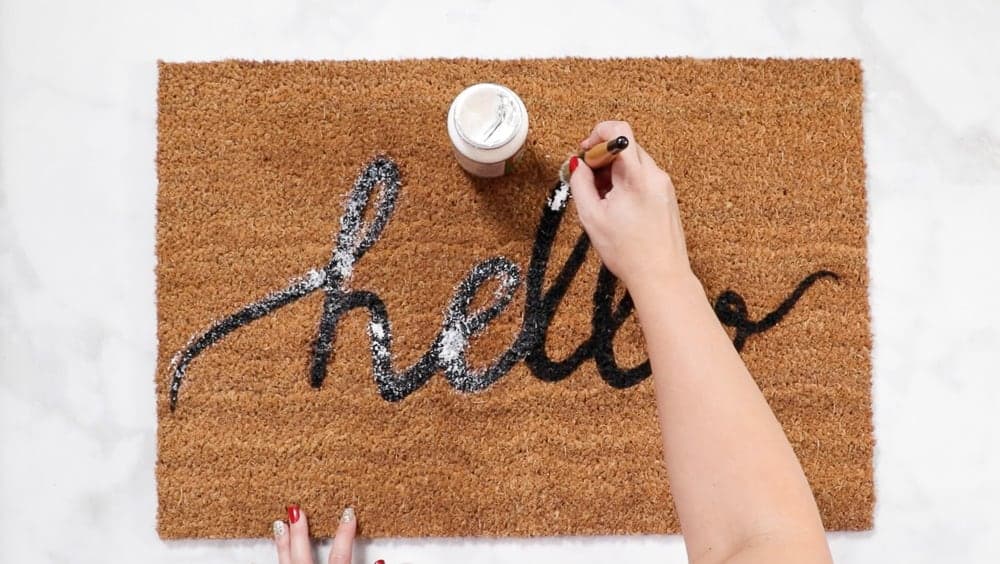
With a stencil brush, dab the paint straight up and down along the inside of the stencil. Make sure you aren’t applying the paint at an angle as that will lead to the paint bleeding underneath the stencil.
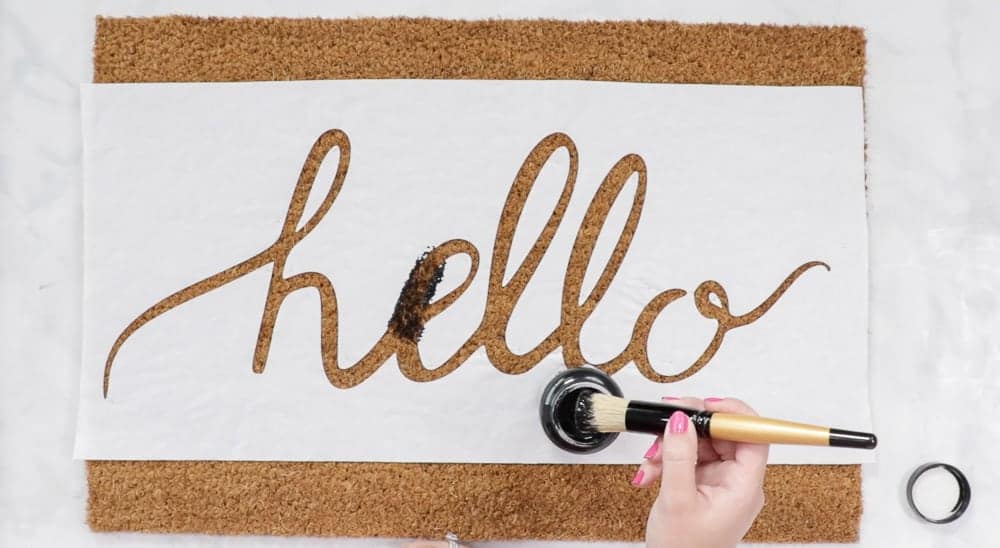
Cover the entire design and allow the paint about 10-15 minutes drying time before layering on a second application of paint.
If needed, you can go back and add a third layer to get a really vibrant and bold result.

Allow your paint to dry completely. Now it’s time to remove the stencil and reveal our finished door mat!
Step 5: Seal Your Customized Doormat
This next step is optional. Apply a layer of Mod Podge Outdoor sealant to your project to help it stand up to harsh outdoor weather.
I love how this project turned out and I can’t wait to set it outside of my front door!
Tips & Tricks for Troubleshooting a DIY Door Mat with Cricut
Use a squeeze bottle like this one to make transferring the paint to the doormat easier. Fill it with paint and then draw the paint onto the stencil cutouts directly.
Make sure to use an outdoor acrylic paint as this will give you longer lasting results than normal acrylic paint.
Allow the mat to dry completely for 24-48 hours before using it.
When stenciling, use an up and down motion. Avoid brushing or going side to side as this will cause the paint to seep underneath the stencil.
Make sure that you’ve applied heat to the stencil and fully adhered it to the mat for a good seal.

Do you have a Cricut loving friend who needs this tutorial? Make sure to share it with them!
Is there a crafting tutorial you want to see next? Let me know in the comments!
Don’t forget to join my crafting Facebook group where you can show us what you’re making, ask questions, and learn from others! Come follow me on Instagram for daily crafting inspiration and a look behind the scenes. If you use these files, be sure to tag @sweetredpoppy so I can see what you’re making and share your photos in my stories!
Hi, thank you so much for this DIY, which setup did you use in your Cricut to cut the wax paper?
This is so beautiful!!!!
I love it . I want to try this for Christmas
Wooah!! This tutorial is amazing!
I will try this for Christmas gifts.
How fun to be able to design my own! Thank you for sharing!
I tried this today... I was alittle confused on the wax paper vs the freezer paper... I went with freezer cause i could see the shiny side, however it didnt really ahere like i would have like for it too.... I did have the pins... still hard though..... and its really hard to actually paint... I'll send a pic when im finished... I might have to paint it like 100 times first tho...LOL
Did you use freezer or wax paper? Wax paper can’t be ironed on right?
Hello
Do U only do these projects with their patterns on a cricut machine ?? Or can a person download a file that's just done without the cricut machine ???? Please and thank you Erika
I loved this project with using the bottle. i will be doing this for older friends and leaving it on their doorsteps this holiday! Thank you for the ideas!
BEST IDEA EVER!!!! such a fun gift idea!!
Thanks for this tutorial. Been wanting to know how this is done.
I love your tutorials and your ideas. Can't wait to get this project started!
completely obsessed with these!! thanks for breaking it down and making it seem so easy!
Wow, looks pretty easy, I'm going to try making this, TY!
It would be fun to have a doormat for every occasion
I used liquid rubber and it worked like a dream! Don’t even need to seal for weather proofing. Love it!
Liquid rubber!? Is it black? So cool! I’m interested.
This is amazing it help me sooo much !!
I will try this project with some dollar tree products. I’m so excited!!!!!
Thanks for your wonderful project ❤️❤️❤️
Wow I like the doormat thanks for the steps makes it easier to do
This is something I have wanted to try for so long thank you so much for sharing your talent with us ♥️
I have a cricut so This was helpful.
I can't wait to try this.
I’m glad you made a post because I just went to IKEA and got me two of these mats to do a personalized design but didn’t know the material to make the stencil with or paint. Thanks for this very much. I hope mine comes out as good as yours. Lol. Thanks so much
Definitely going to try this
Bwen wanting to do a personalized doormat for a long time. Now that I have my cricut I can! New at this
Ill definitely be making this!!!
Thanks so much for this! I have been wanting to try making a door mat! I'm excited!
Love it! Can't wait to try this!
Love this! I can’t wait to start making it
This is an awesome DIY! Thank you for the great idea! Love this!! I will try this soon! 🙂
I love this idea!!
Love it!
Love these!
I love this! I’ll try to do this
This is my new obsession. So cute!
I was so nervous to make one of these due to the paint bleeding out but I love it! And look forward to making a Christmas doormat.
Love this, going to make some for every holiday/season.
So cool! I'm doing this soon!
Great instructions! Thanks
Great tips!
Yassss I totally have wanted to do this. Thanks!!
I’ve been wanting to try these. I’ve seen a few different options for the design: Paint, flex seal. I am interested to see how the different options hold up.
I am so glad you made this tutorial! I want to create my custom rug for the holidays!
Can’t wait to try making these.
Love this! Easy to follow
This is awesome - I'm definitely going to try!
What a fun way to personalize your home!
We learned how to do these at pinner's and it was super fun!
I definitely need to try this now that I have a Cricut!!
My friend just moved to a new home and I can’t wait to make one for her!! So many different ideas, thank you!!
This looks really fun!
So cool. Trying this out soon!
Love the tutorials!!
Woowwwww soo nice !! ♥️
Great idea
Thank you for the tutorial! These are so cute!
Who would have thought it was so easy?. Thanks for sharing. Will try at home.
Fabulous...
Another excellent tutorial. Much appreciated too. Thank
It looks beautiful!
I made a friend a door mat but didn’t deal it. I will try that step next time.
SO CUTE!!!! cant wait to try my hand at one!
So cute! You make all of your tutorials look so easy. Can’t wait to try this one out!
Great idea... would make great welcome gifts for new neighbors.!!!
Wow this was so cool I’d love to do these for family members and friends.
It seems super easy!! ❤️❤️
Love the very well explained tutorial. This is my next project❤️
I can’t wait to try this, I’ve been wanting a new one and couldn’t find any that said what I wanted!!
Yes! I’ve been wanting to learn the freezer paper method! Thanks for the How-to!
Today I learned there was a difference between freezer and parchment paper! Thank you for all the instructions!!!!!
Loved this! So excited to try!!!
Omg such a great idea!! Thinking of doing a Merry Christmas one!!
I actually bought a May to try this . Didn’t know about the freezer paper
So cute, fun to do
I would love to try this!
I can’t wait to make something like this!!!
This was awesome! Mine came out perfect!
Can't wait to try this for a christmas mat!
Love this! Need one!
I love it, this is going to be my next project
Wow! A Cricut Maker is on my Black Friday shopping list! I’m hoping to catch a good deal on it so I can get started with all my craft dreams!
I need a Cricut so I can make all these beautiful things.
Need to try this !! Found a mat at IKEA !
I love your projects
We're in the process of doing an outside makeover to the front of our house. I can't wait to make my new doormat to place on my new porch entrance!
I want to make a rug using my Cricut, it's on my lengthy to do list.
This is something I’ve wanted to try for awhile now.
Always wanted to try this. Thanks for sharing.
Trying this this weekend.
Such a cute idea. I have always wondered how these were made.
I absolutely love this! I can not wait to try this and post how it comes out. Thank you!!
Can’t wait to try this.
I need to make a snarky one! Lol
I am so excited to try this.
I’m going to try this. Might be my Christmas gifts this year! Thanks.
Cannot wait to try this! Thanks
Would love to have a Cricut maker to complete this amazing project!
Thank you for this tutorial! I want to make a personalized doormat for my newly married son and daughter-in-law and this looks like a great starting place.
Your tutorials are great! Thank you for sharing with all of us so we create successful projects!
I love this! Can't wait to try it.
I love the idea of personalizing my own door mats. Can't wait to try it!
The " Go Away' doormat had me in stitches! You could get really cheeky with these. Thank you for the tutorial, these quote mats run quite pricey online.
I’ve been wanting to make one of these! Thank you so much for the easy tutorial.
Can't wait to try this! Thank you for your instructions!
These are super cute especially for the fall. I’m going to have to make one myself. I love personalized items!
This is so beautiful! I can’t wait to make my own!
So helpful!