Learn How to Make Clay Earrings in a Variety of Different Shapes and Sizes Using Different Types of Sculpey Clay. Step-by-Step Photo Tutorial Plus Video!
This tutorial on How to Make Clay Earrings post is sponsored by JOANN, my one-stop shop for all of my crafting needs!
I started making clay earrings a few months back when I saw them popping up in my favorite boutique shops. I knew I could figure out how to make them myself and save myself some money in the process.
I was happily surprised by just how easy it is to make your own clay earrings! Plus, I can't get over how therapeutic working with clay is. It brings back happy memories of playing with Play-Doh!
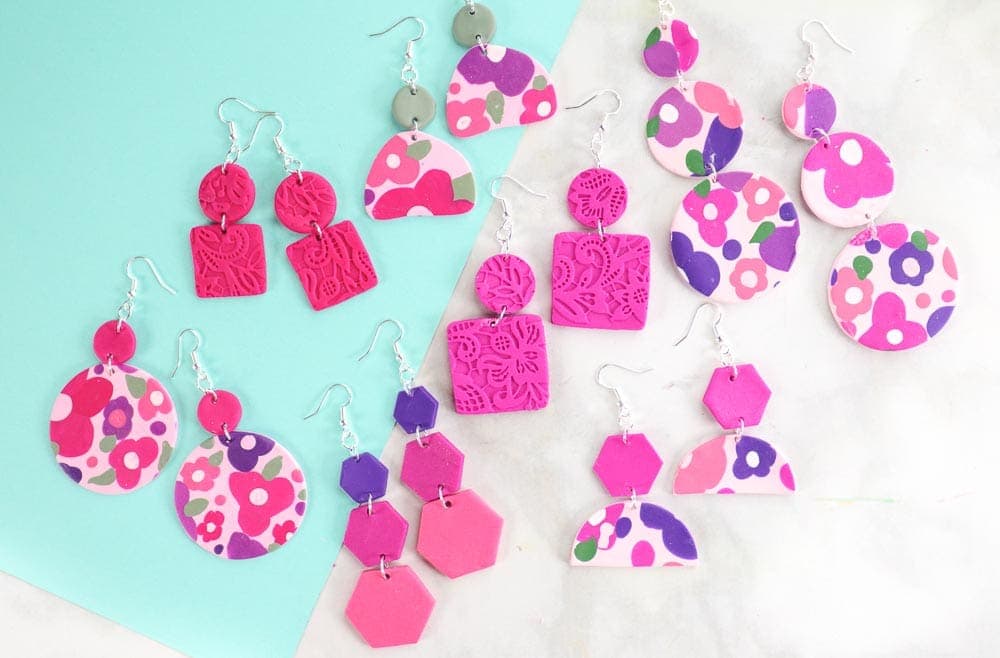
You can make your own clay earrings from home with only a few supplies! Are you ready to get started?
What is Polymer Clay?
First, let's talk about what Polymer Clay is. Polymer clay is available in a vast variety of different colors. You've probably come across the colorful aisle of polymer clay in your local craft store before.
It can be molded, sculpted, and shaped to create anything you can dream off. Polymer clay remains soft as long as it is unbaked.
Polymer clay consisted of a Polyvinyl Chloride base and is a mixture of pigment, lubricant, polymers, resins, and fillers.
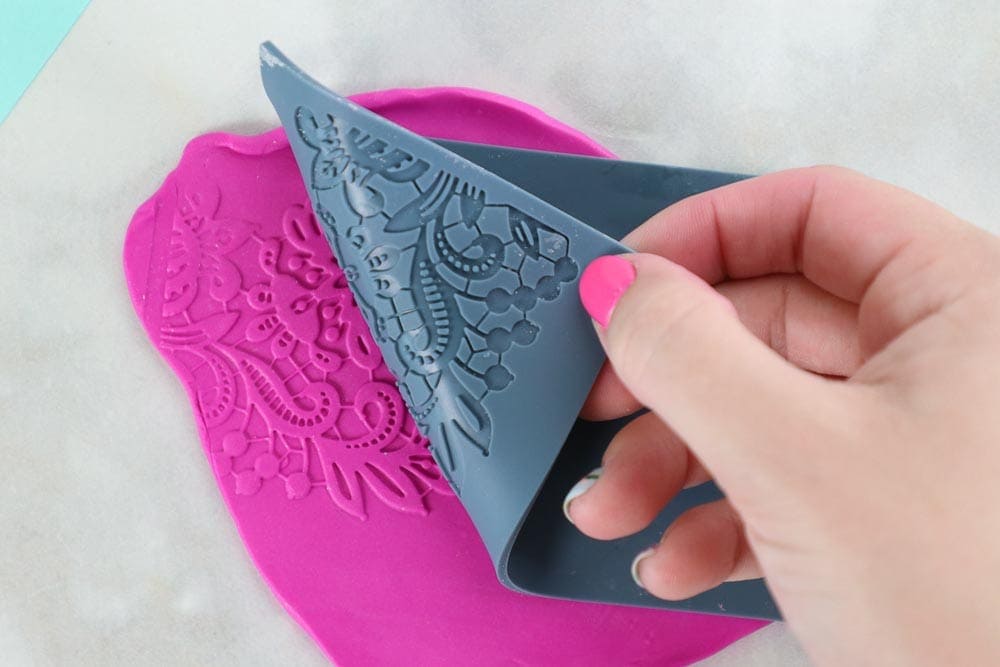
Polymer clay is a plastigel meaning it will retain its shape even when exposed to heat. That means, even when it's placed in the oven, it won't melt.
Polymer clay typically doesn’t contain any clay at all and is a synthetic man-made material. I was surprised to learn this when I first started using it!
Polymer clay is an inexpensive low-cost crafting material that doesn’t require any expensive equipment to use.
Select the Correct Clay for your Clay Earrings
There are a few different types of clay that are available at JOANN and you might be wondering which type is the best! CLICK HERE TO SEE MORE!
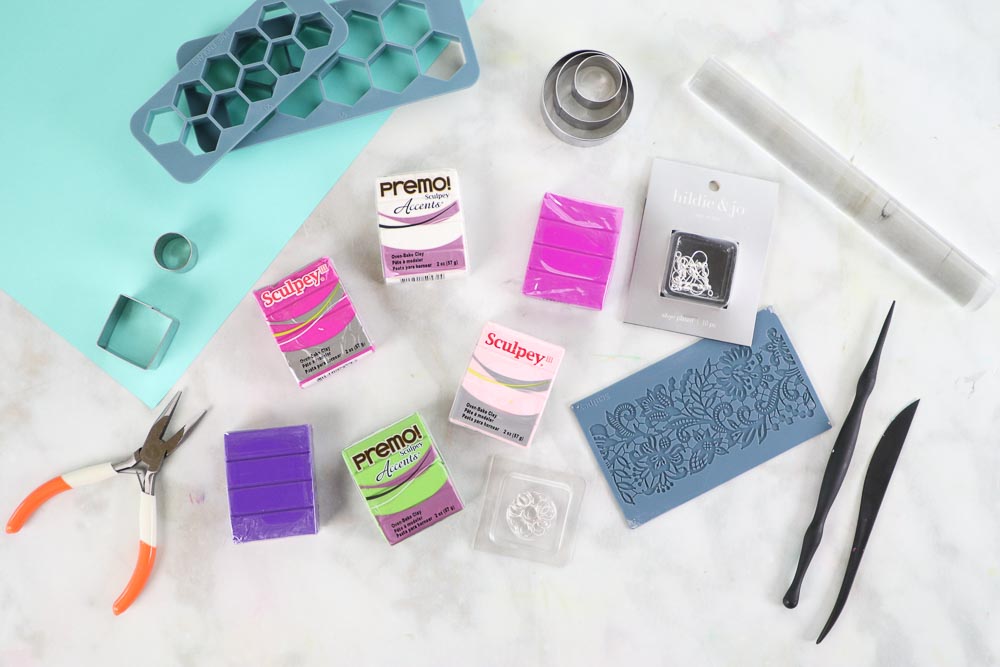
Premo Sculpey: This is a polymer-based clay that comes in a wide variety of different colors. This specific clay is flexible while still maintaining its strength. As you unwrap the clay you’ll notice it has a medium firmness to it and may take a few minutes of kneading before softening up.
Premo Sculpey Accents: Similar to Premo Sculpey in weight and texture, this line adds a bit of sparkle or iridescence to every shade.
Sculpey Souffle: Soft and lightweight this is the easiest clay to work with and bakes to a perfectly matte finish.
Sculpey III: Soft and easy to use texture. Easy to detail, bakes hard with a flat finish.
I use a variety of Sculpey III and Premo Sculpey Accents to create my earrings. You’ll want a strong clay that can stand up to being worn.
Prepare your Clean Workspace
Prepare a clean workspace with good lighting. Make sure the table is free from any hair, lint, dust, or debris as this can easily be worked into the clay causing issues
You can create a clay workspace by using a metal cookie sheet, wax paper, tin foil, a piece of paper or you can use a Sculpey work n bake clay mat.
Don’t forget to thoroughly wash your hands and dry them with a paper towel before beginning to work with your clay!
Clay Earring Supplies
Work the Clay
Begin by unwrapping the clay, breaking off a piece of the clay, and start working it between your fingers to soften it and create a more uniform texture.
I like to prepare all of my clay at once and set it aside so it’s ready to pull from as I create my designs.
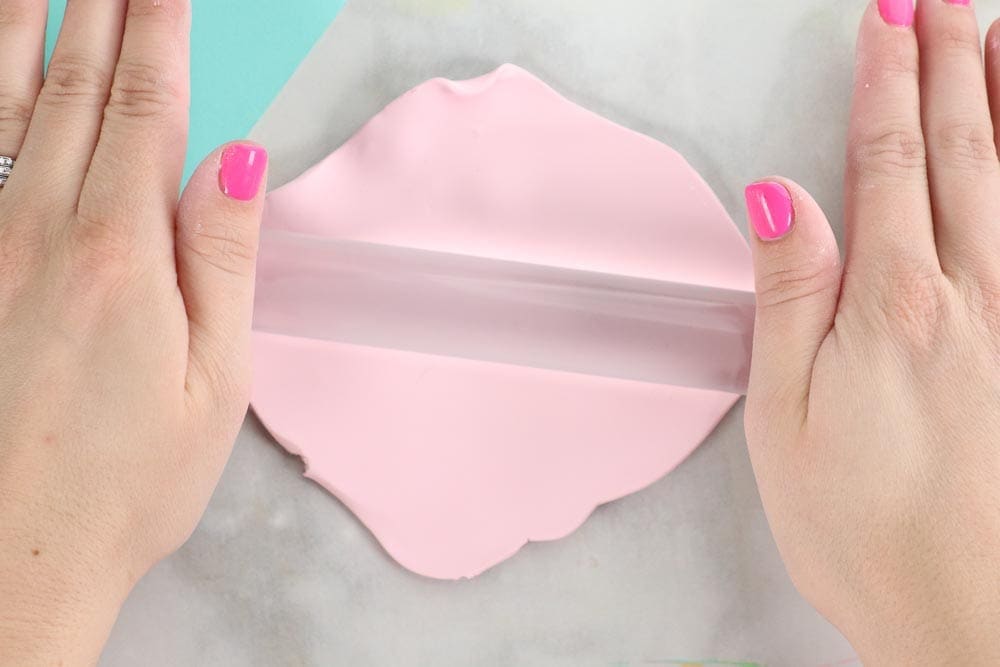
Place the main clay on the table in front of you in a ball. Using a rolling pin, flatten the clay into a uniform thickness. I usually shoot for around 1/4” - 1/2” in thickness depending on the project. Keep in mind that the thicker you go, the heavier the earring will be.
Create Shapes
Once the clay has been rolled out to the desired thickness, it’s time to create different shapes! You can use anything around you to create different shapes from cookie cutters to bottle caps. Get creative! You can even freehand a shape with an exacto knife.
As you cut out the shapes for your earrings, don’t forget to create a small hole for the jump ring to connect the pieces together.
I’ve created a video showing three different clay earring designs. They all utilize the same basic principles with a small twist! It’s up to you to make the earring your own!
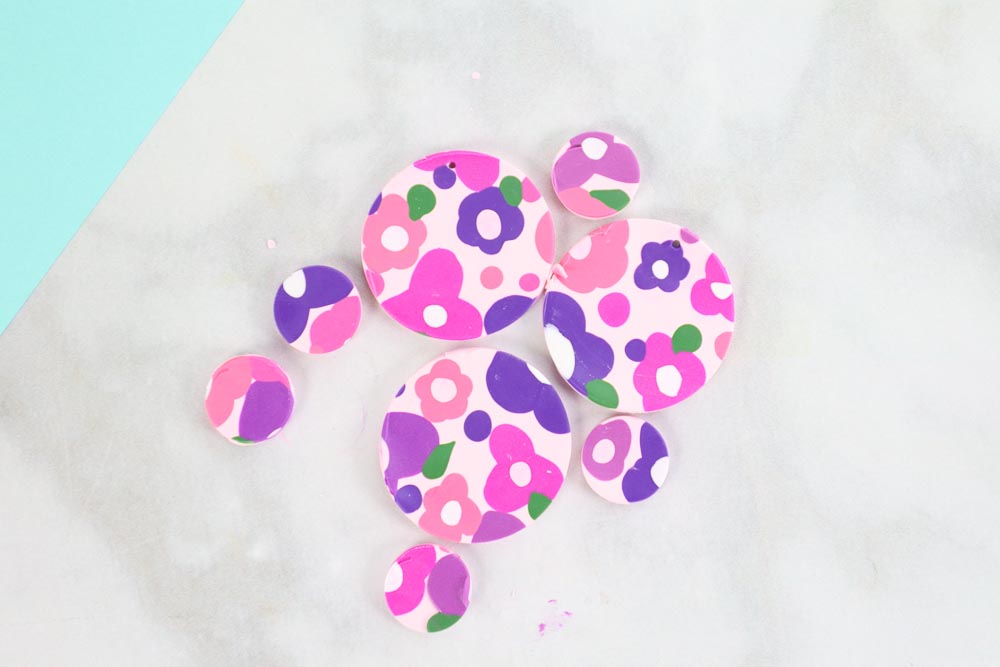
For the pressed flower earrings, roll out tiny balls of each color of clay.
Press them onto the flattened clay base and press them flat. Create different patterns using different colors, sizes, and shapes.
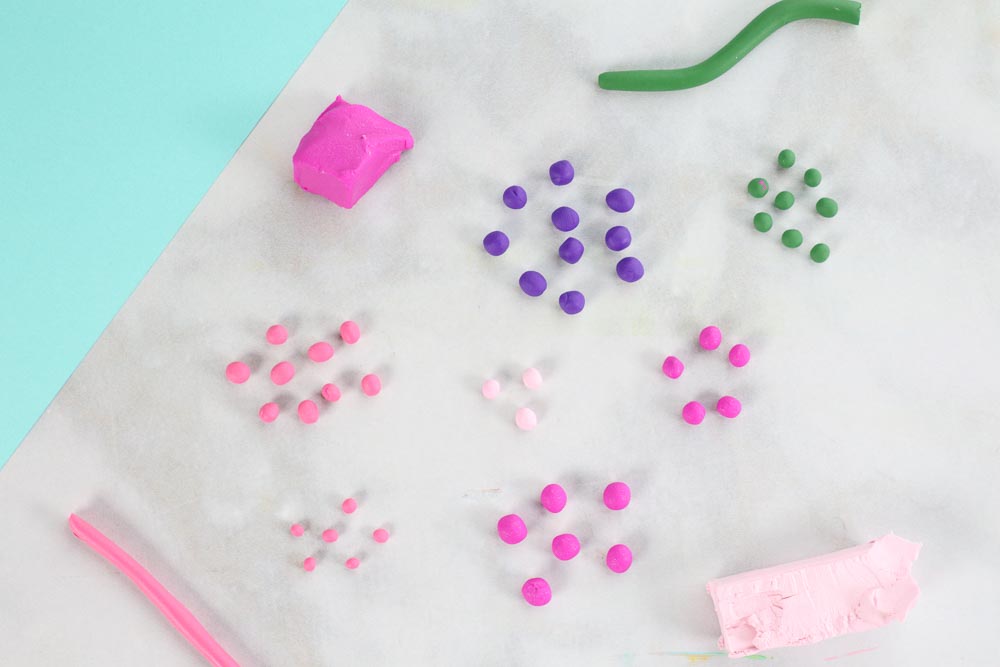
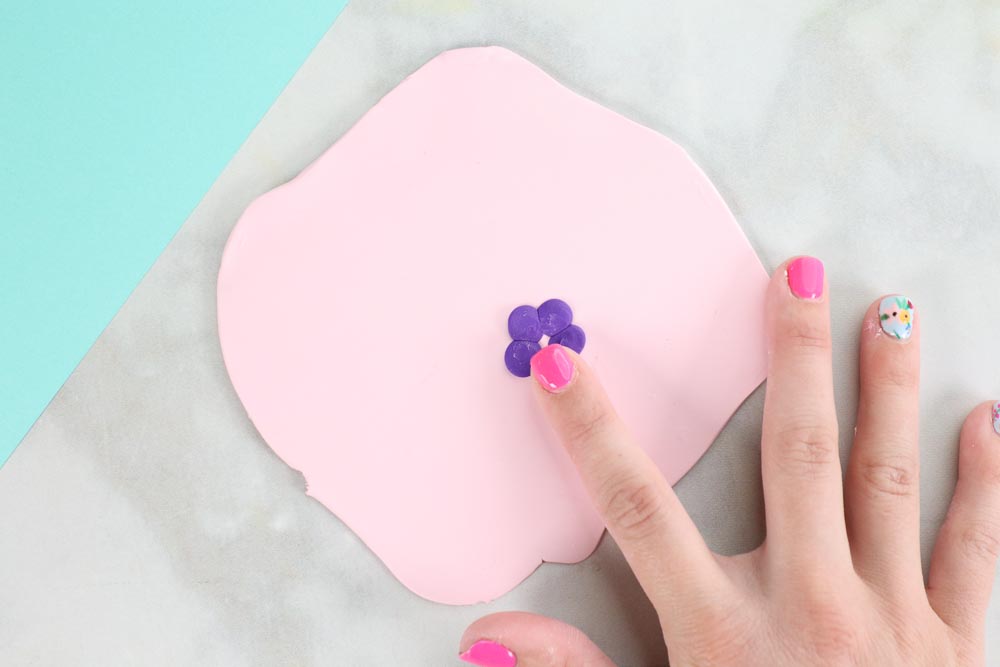
Repeat this process until the entire surface has been covered. Use a rolling pin to flatten the clay into a uniform thickness.
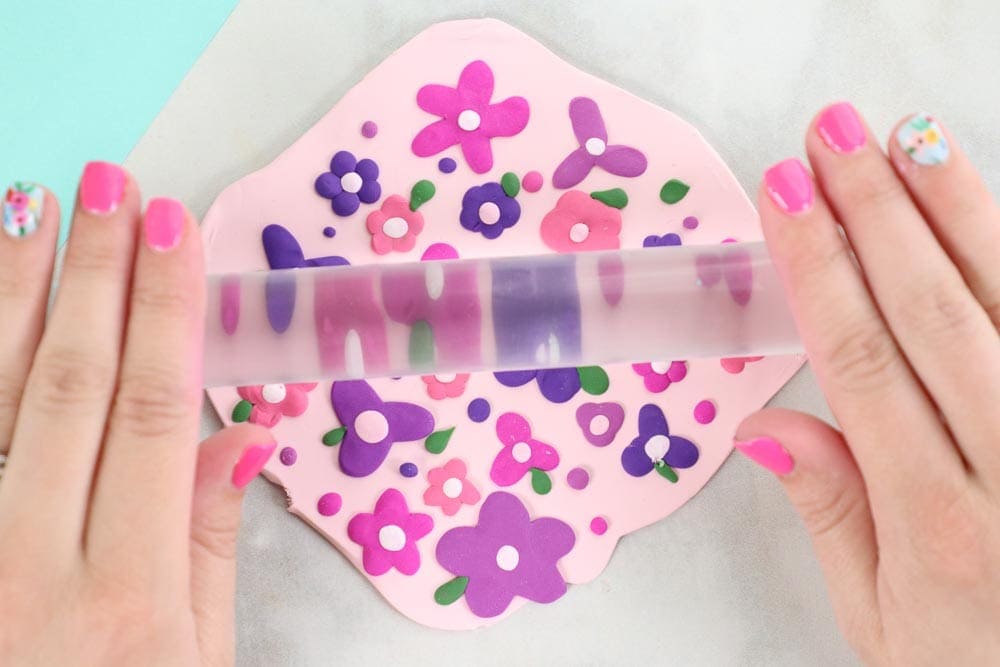
Use a cookie/clay cutter to cut out different shapes.
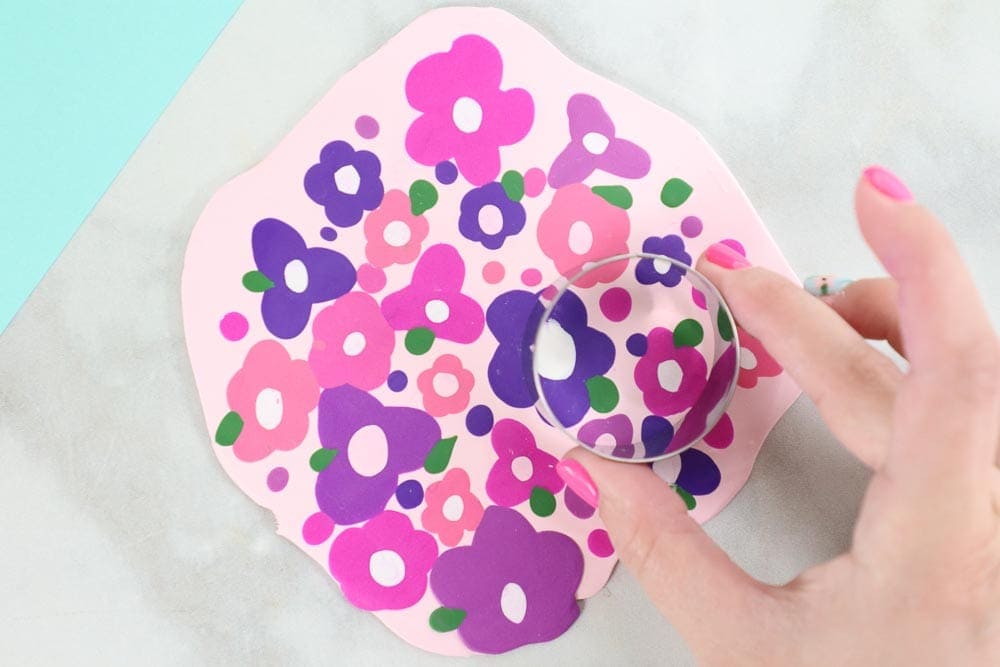
If at any point you find you’re not in love with the design you’ve created, you can always wad it up and start over!
Bake your Clay Earrings
Preheat your oven to the specified heat on the packaging of your clay. Do not microwave the clay as it is only meant to be baked in an oven!
Place your cut-out earring designs on a bakeable Sculpey mat placed on a cookie sheet. Bake them at the heat specified on the back of the clay wrapper. Don’t forget to bake for 30 minutes per 1/4” of thickness.
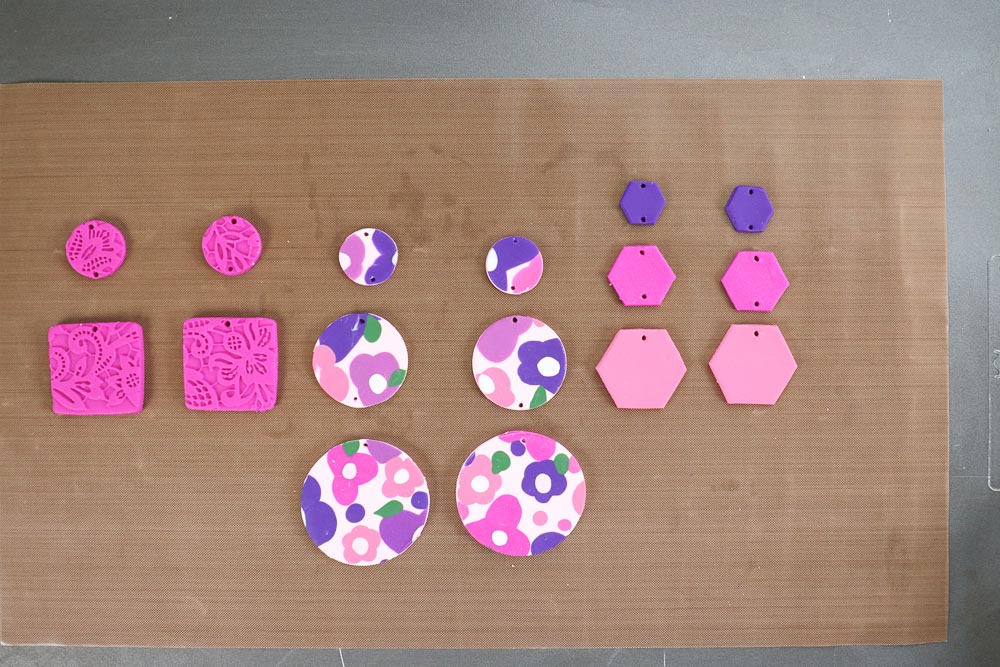
Once the earrings have finished baking, allow them to cool completely before working with them.
Add Jump Rings and Hook
Lay the earring pieces out in front of you in the order you want them to hang.
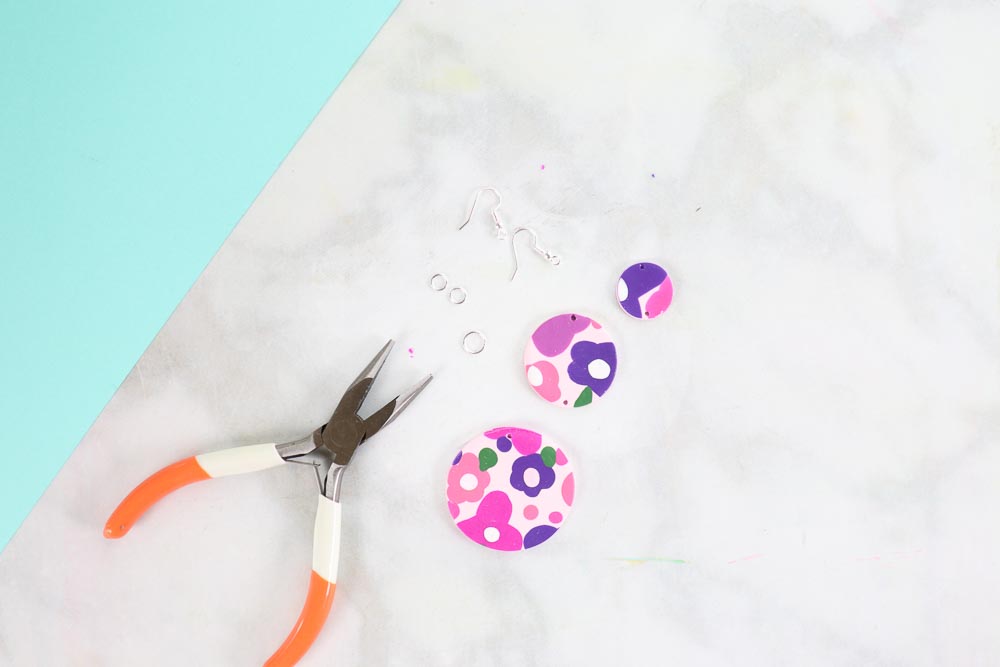
With two pairs of pliers, gently twist the jump ring open and slide the jump ring into the clay earring holes. Close the jump ring completely using the two pliers.
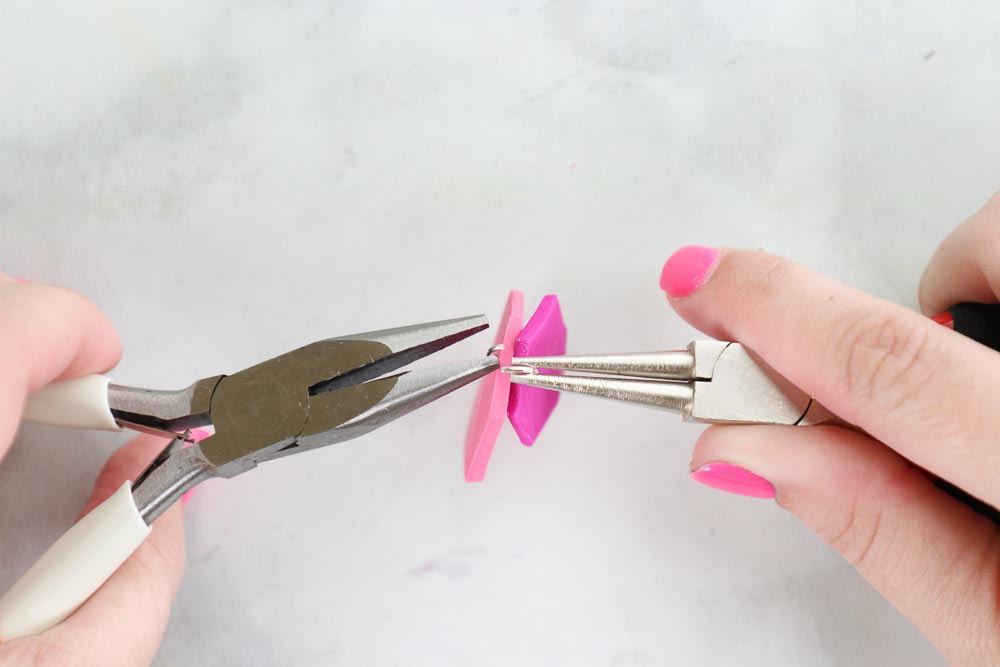
The size of the jump ring you need will depend on the thickness of your clay, and the spacing of the hole.
Add the earring hook and you’re done!
Troubleshooting
My baked earrings keep breaking.
-Make sure that the clay you are using has been cooked completely. Underbaked clay can result in earrings that break apart or crumble.
My clay ended up burning
-Oven temperatures can vary widely! Measure the internal temperature of your oven to ensure that it’s reading correctly. Adjust as necessary.
Bake the clay for at least 30 minutes per 1/4” of thickness. If you have an earring that's 1/2” thick you would need to bake the clay for 1 hour.
Storing Leftover Clay
Store leftover clay in a ziplock baggie and squeeze all of the air out of it before sealing it.
You can find all of the supplies for this tutorial at your local JOANN or online at JOANN.com
Don’t forget to join my Facebook group where you can show us what you’re making, ask questions, and learn from others! Follow me on Instagram for daily crafting inspiration and a look behind the scenes.

Its a really nice website. Thanks for giving full information about EarRings.
This is so cute, Please share more interesting blog like this
Nice Earring, i actually love Oxidized earring, They gave us look very nice.
This is so cute, Thanks for giving full information about EarRings.
Hi Kimberley,
Great website, YouTube, Instagram, I love the colourful mood!!! Thank you for sharing all the tuturials with us!
May I ask what is the grean surface you use in one of the clay earring tutorial? Also, if the back is uneven after baking how do you smooth it?
Thanks and kind regards,
Emy from Hungary
idk
You can sand the backs with regular sand paper or a dremel tool.
I just bought an earring kit at the store to make my own. I'm really excited, your blog is so helpful! I have read it over several times now! I will be making my earrings with FIMO clay, do you recommend cleaning your oven after baking the clay also what glue should I use to glue the backs on if I'm making studs?
Be aware that when you bake polymer clay it off-gasses, leaving a light film on the walls of your oven. To avoid this you can place your pieces to be baked in an aluminum baking tin, and cover that with another tin, so that all the fumes from off-gassing are held inside, and don’t get deposited on your oven walls.
I have been a polymer clay artist for forty years. Those electric turkey roaster ovens are wonderful for baking your clay pieces in. I do it outside so the fumes are not in the house. You can use old toaster ovens too. You never use your clay bake ware for food again. If you don't want shiny spots on the back of your earrings use cotton towel in your dish. Not in a toaster oven as it has exposed elements which is why the roaster is best. I love using mica powders on my work too.