Learn How to Sew a Halloween Pillowcase That Can Be Used as a Trick or Treating Bag in This Step-By-Step Sewing Tutorial With Video and a Free PDF Sewing Pattern.
Are you ready for Halloween and trick or treating this year?
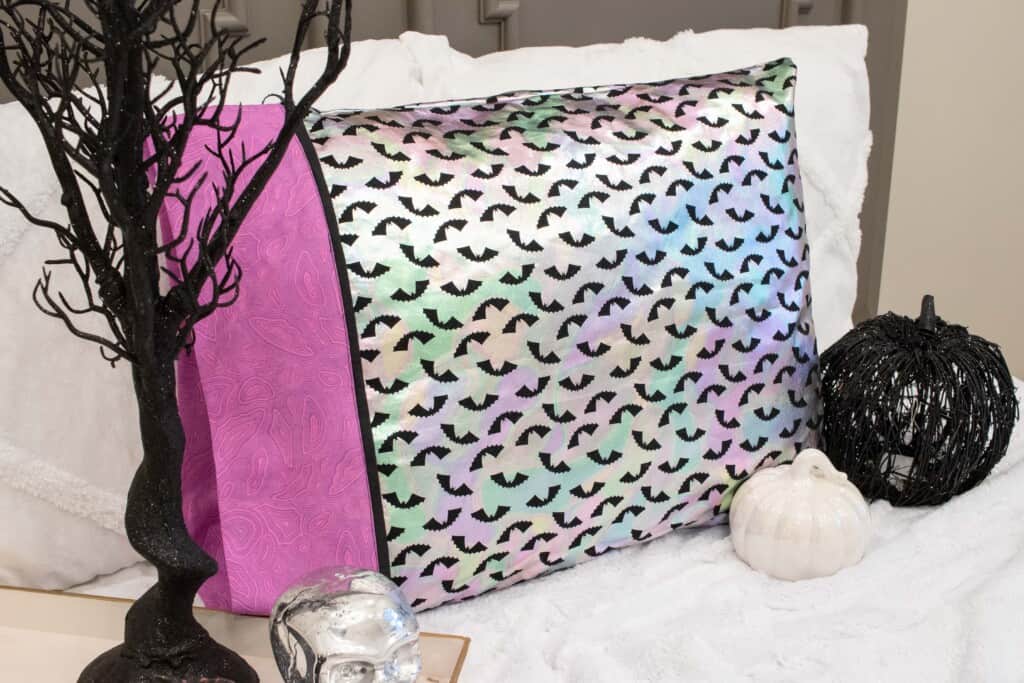
You’ll love this multi-use pattern that can be used as a fun Halloween pillowcase or a trick-or-treating bag!
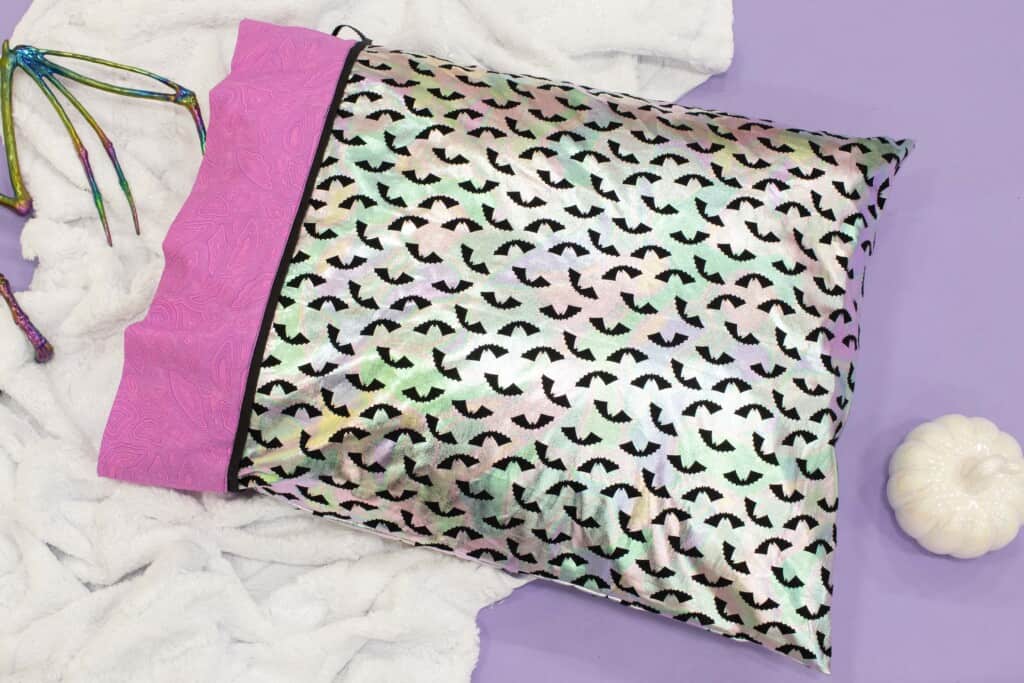
I always loved trick-or-treating with a pillowcase as a child and I passed on that tradition to my children. When I found this iridescent fabric at my local craft store I knew I had to make a pillowcase bag out of it!
I sewed up a few pillowcases for my kids to use in their room for the month of October and on Halloween, they can slide their pillow out and take it trick or treating!
This pattern features FIVE sizes of pillowcases so you can make it in whatever size you need!
The pillowcase bag takes less than an hour to sew up, making this project quick and easy.
PILLOWCASE SIZES
This pillowcase bag pattern comes in 5 different sizes.
- Standard 20” x 26”
- Super Standard 20” x 28”
- Queen 20” 30”
- King 20” x 36”
- Body 20” x 54”
Fabric Requirements
To start, you’ll want to use cotton fabric. This pattern works best with a light to medium weight fabric. In this tutorial, I’ll be using quilting cotton.
Table of Contents
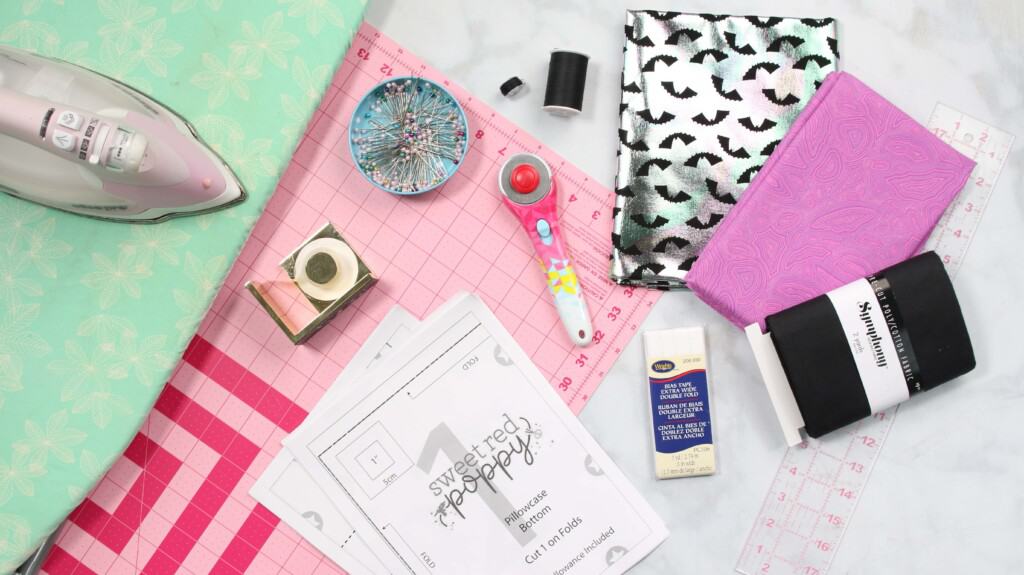
HALLOWEEN PILLOWCASE SUPPLIES
- 1.5-3 Yards Woven Fabric - Bottom (Depending on Size)
- 2/3 yard Woven Fabric - Top
- 1/6 yard Woven Fabric - Trim Casing
- Twill Tape/ribbon/rope for drawstring
- Sewing Machine
- Scissors or Rotary Cutter & Mat
- Thread
- Pins
- Iron & Ironing Board
- Needle
- Tape
- Bias Tape
- Acrylic Ruler
DOWNLOAD THE FREE PILLOWCASE PATTERN HERE!

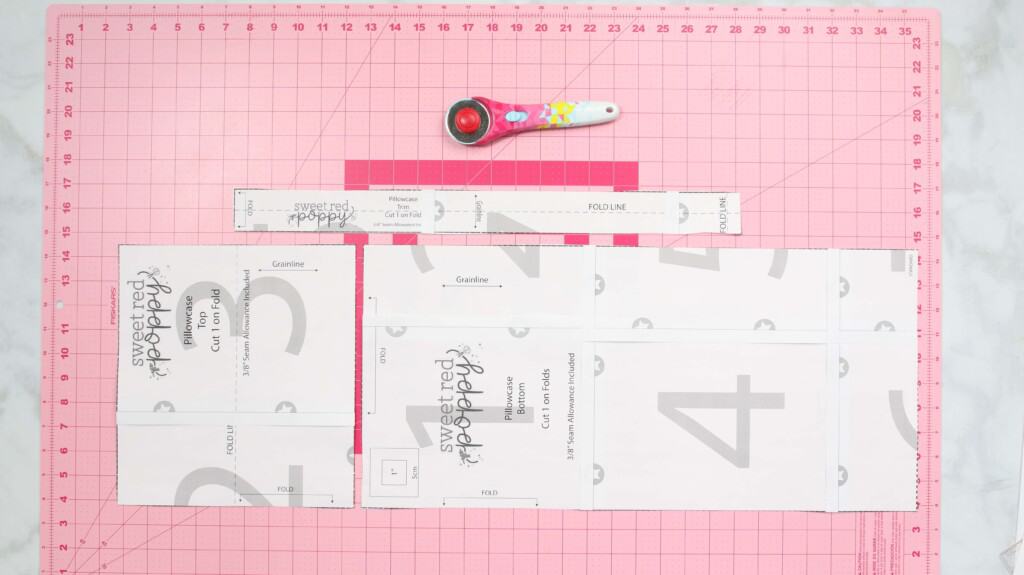
STEP #1: PRINT PILLOWCASE PATTERN & ASSEMBLE
Download the pattern to your computer and print the pattern at 100% with no scaling.
The pattern has numbers to guide you as you piece it together.
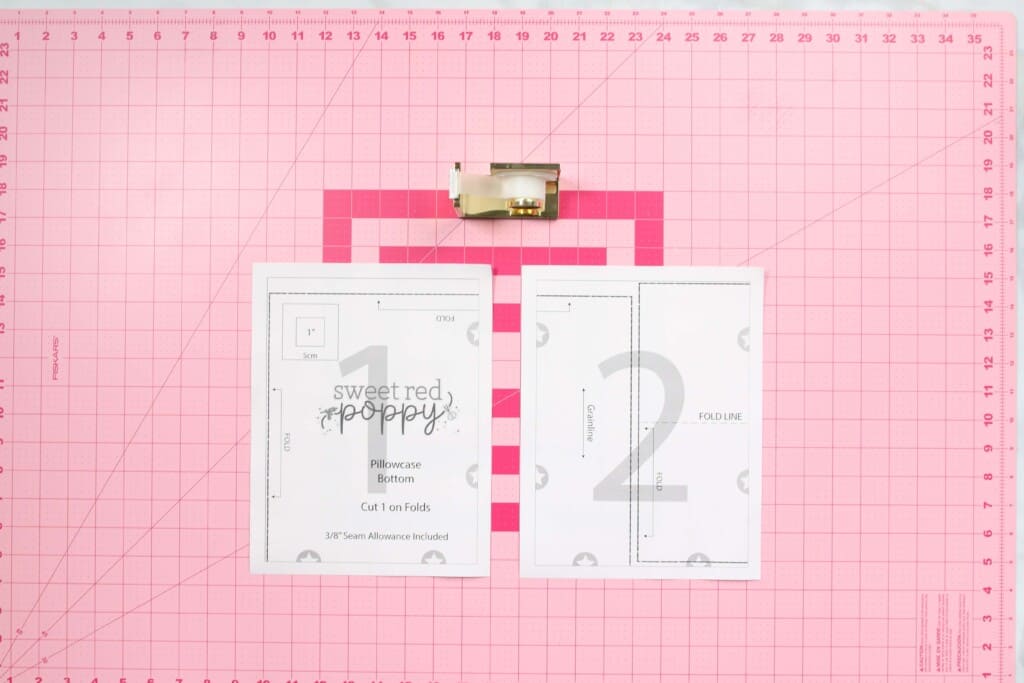
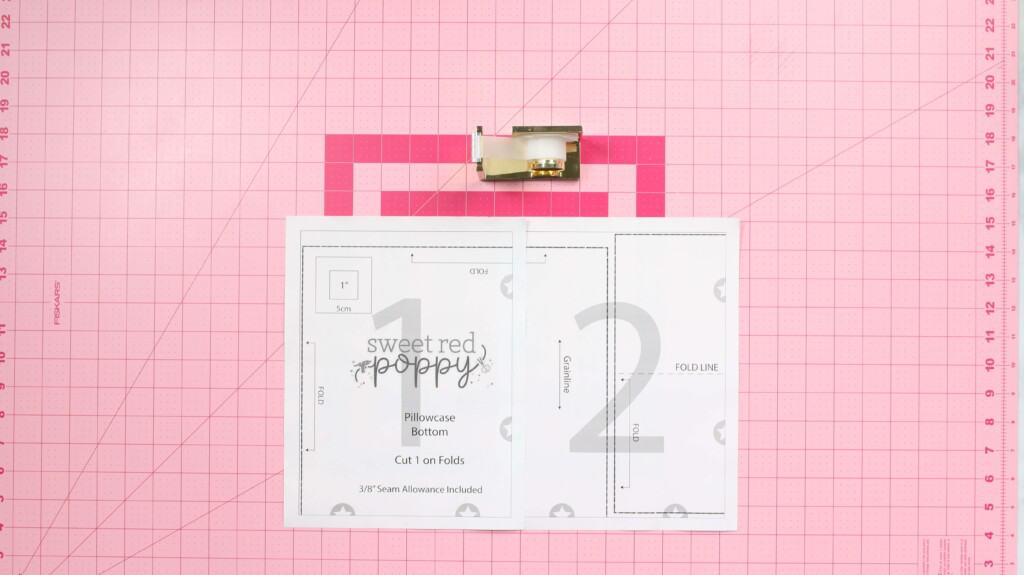
Align the small stars of each page and the black lines and tape the pages in place.
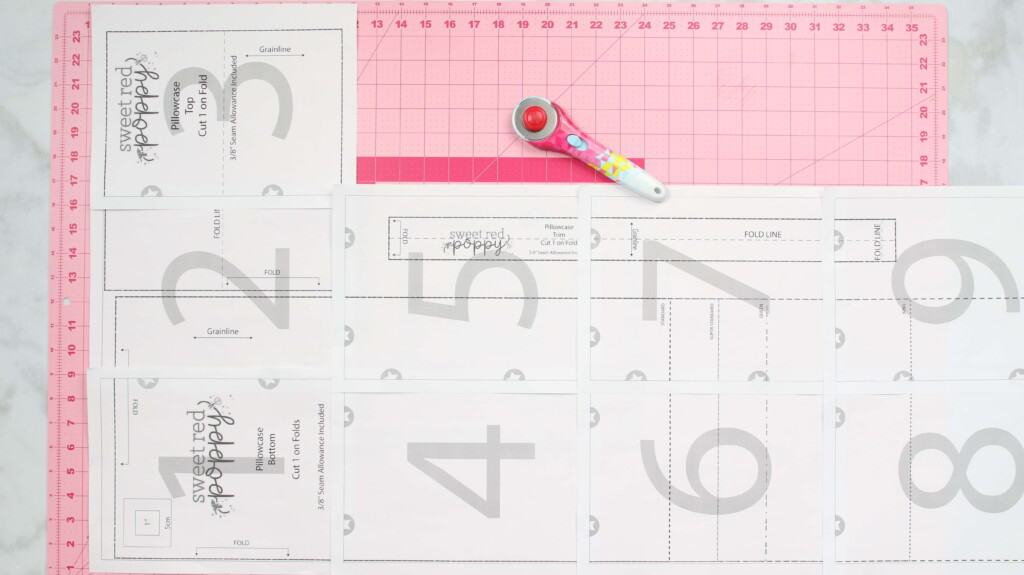
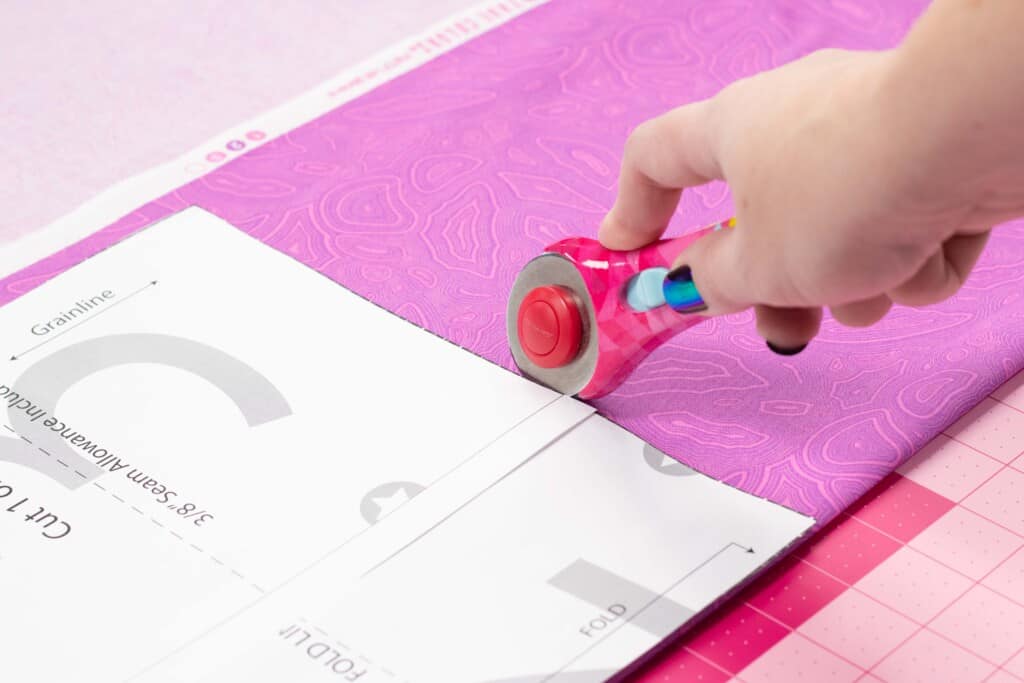
Then, cut out the pattern in your desired size.
STEP #2: CUT OUT PILLOWCASE FABRIC
*PRO TIP: Make sure to iron your fabric before cutting it out to ensure the best results. This will ensure that your fabric cuts out evenly without any wrinkles or folds.
Lay the fabric out in front of you on a flat surface and fold the selvage edges of the fabric together. Fold the fabric in half again and align the folded edges with the fold markings on the pattern.
Lay the patterns on the fabric taking care to align the grainline markings so they are running parallel to the selvage edge of the fabric. Pin the fabric in place and cut around the outside of the pattern pieces.
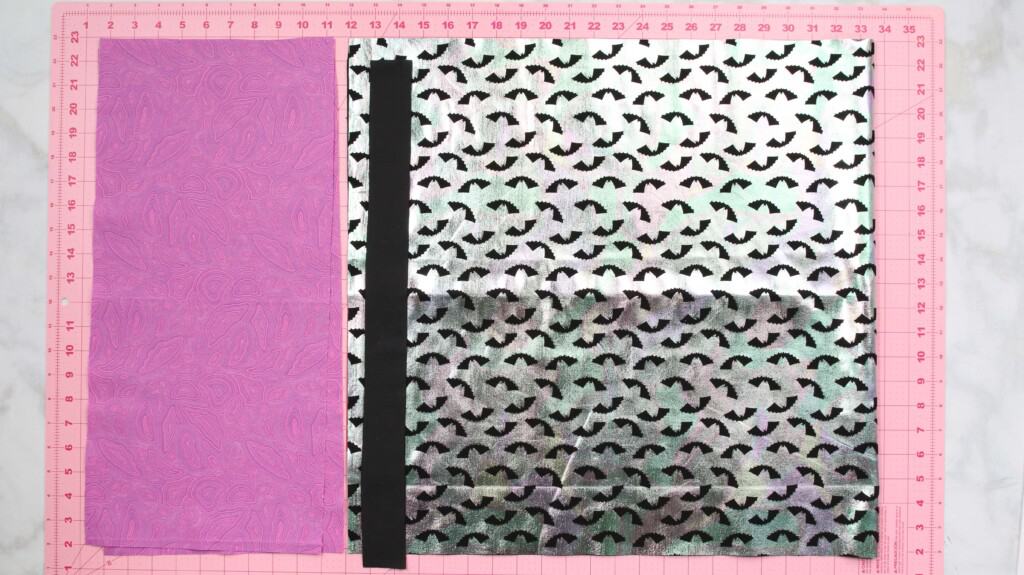
Cut 1 on Double Fold - Pillowcase Bottom
Cut 2 on Fold - Pillowcase Top
Cut 1 on Fold - Trim Casing
Cut 50” Ribbon - Drawstring
STEP #3: PRESS ALL PIECES FOR SEWING
Begin by folding the pillowcase top in half lengthwise. Press the fold and repeat this on the other piece as well.
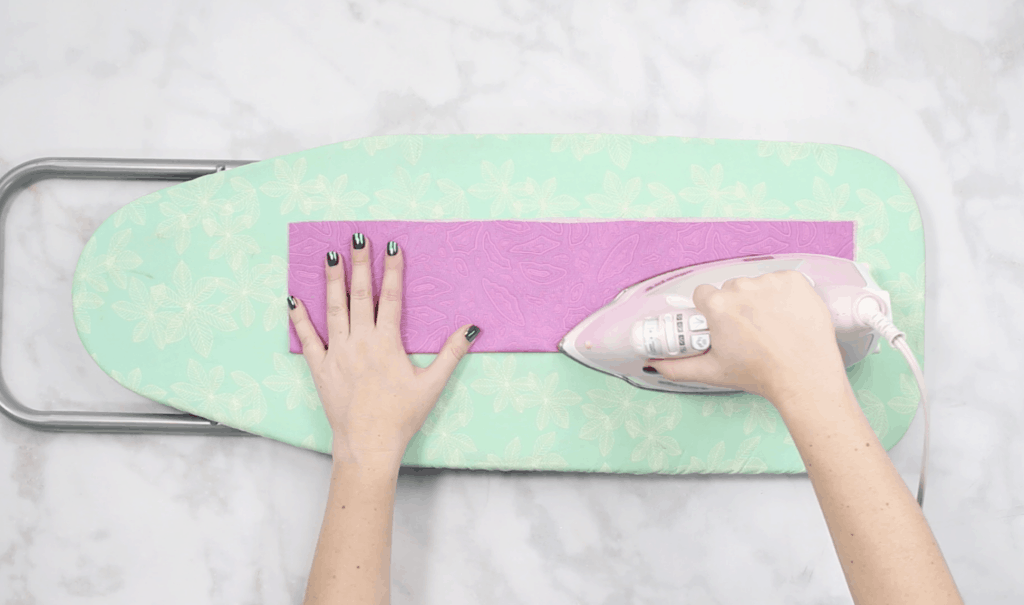
Fold one long raw side towards the wrong side 1/4" and press it in place. Repeat on the other pillowcase top piece.
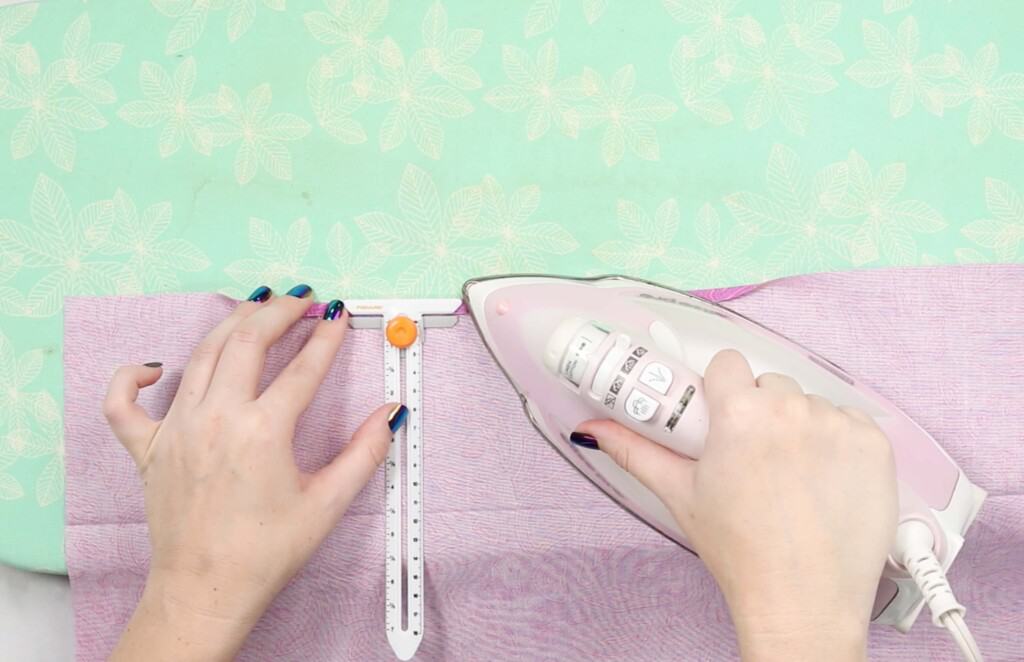
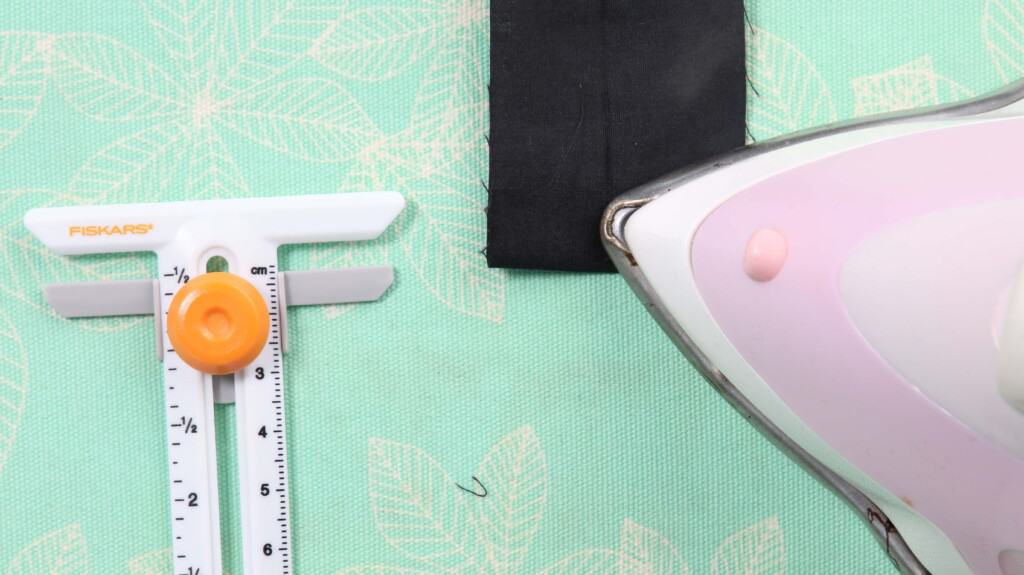
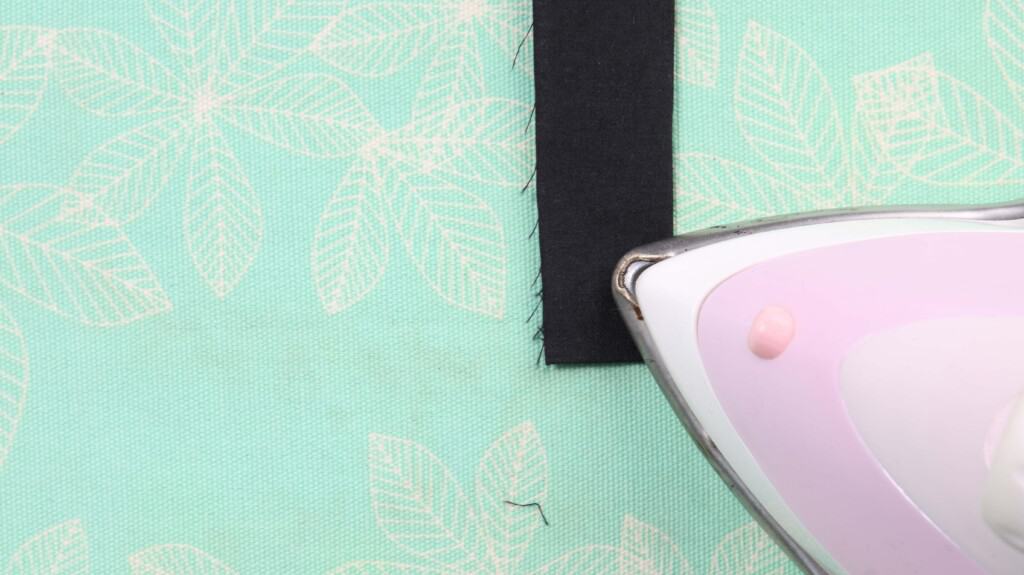
Fold the short ends of the casing inwards toward the wrong side 1/2” and press. Then, fold the casing in half lengthwise and press again.
STEP #4: SEW & PRESS PILLOWCASE TOP & TRIM CASING
Let’s begin by sewing the pillowcase top. Place one pillowcase top on top of the other with right sides facing together.
Pin or clip them together along the shorter raw edges.
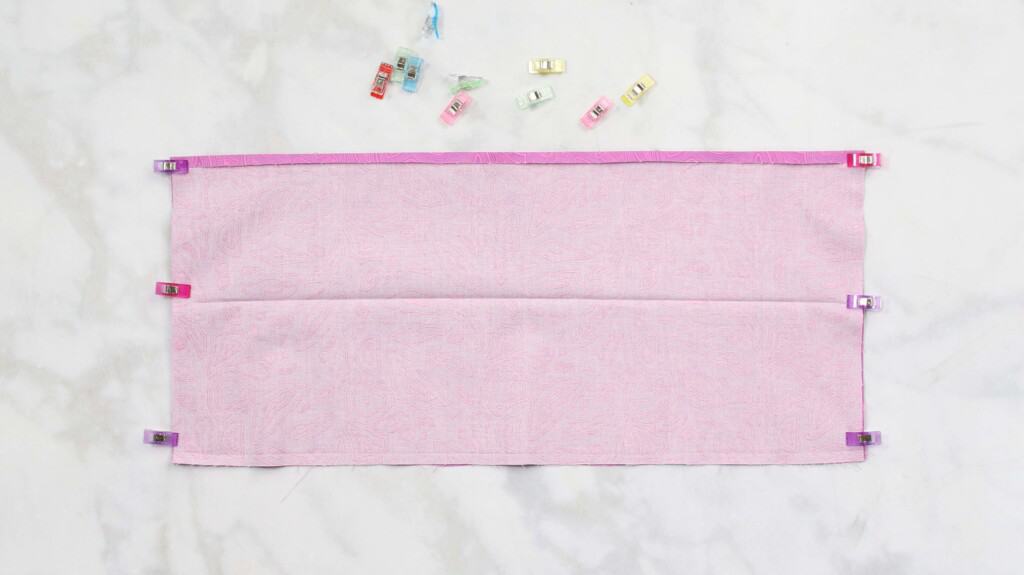
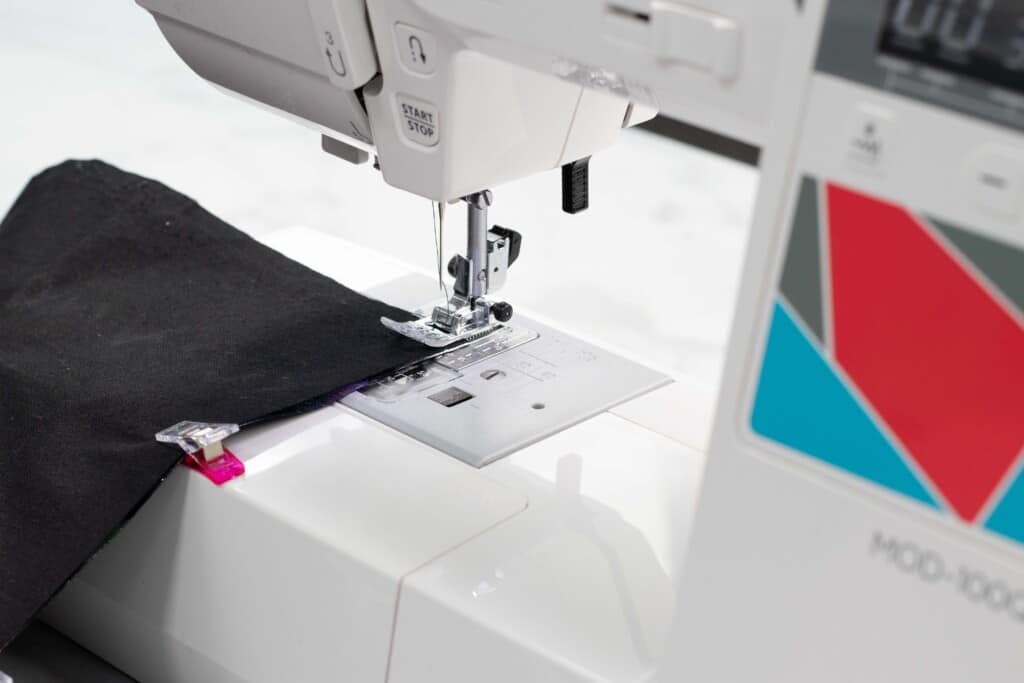
Sew along the short pinned/clipped ends with a 3/8" seam allowance
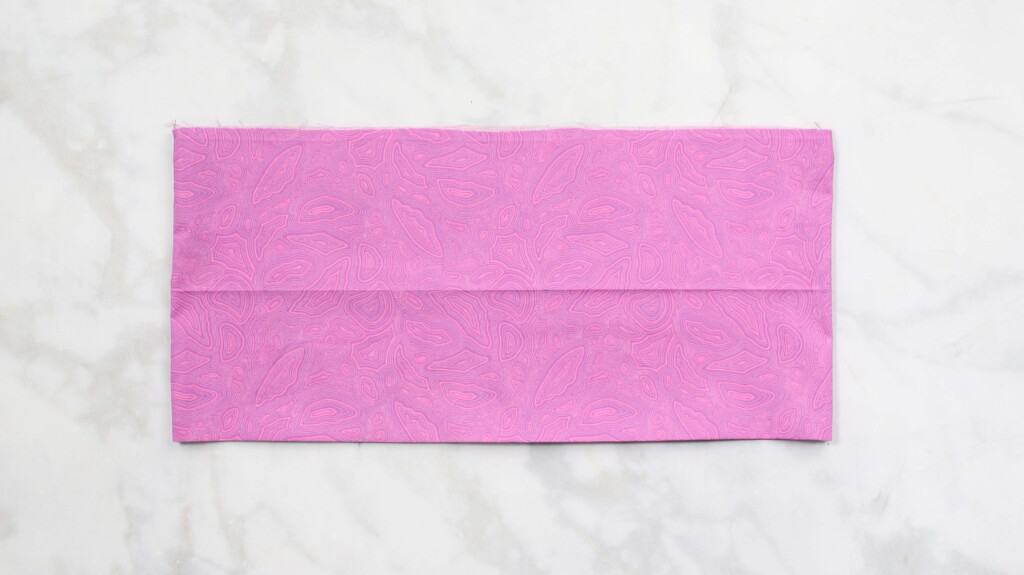
Turn the pillowcase top right side out and press the seams.
Open the trim casing so only the short raw edge is folded over. Sew along the short folded edge of the trim casing securing the raw edge in place.

STEP #5: SEW AND PRESS MAIN PILLOWCASE
Fold the main pillowcase material in half (with right sides together) and pin along the sides leaving the folded bottom and top unpinned.
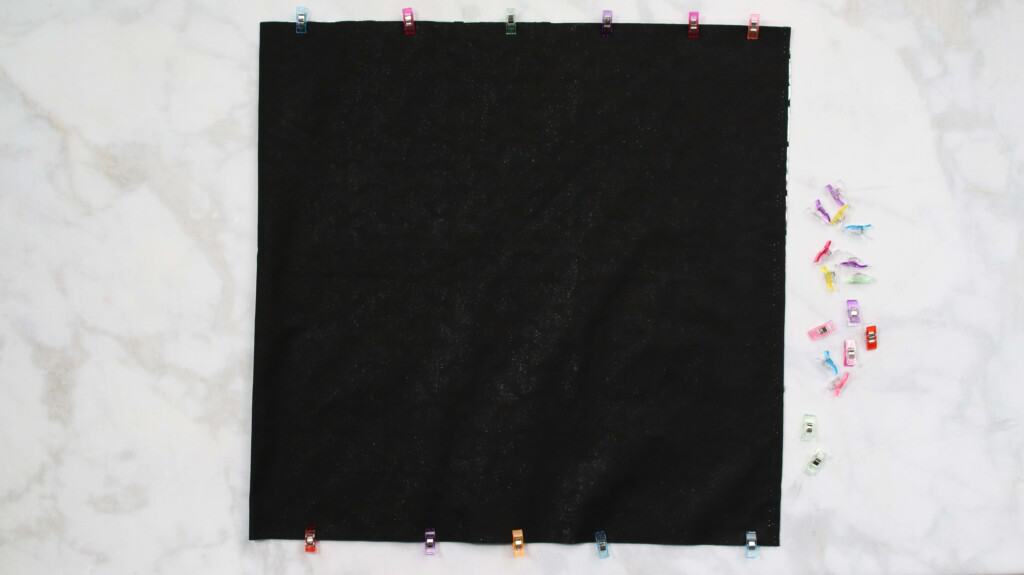
Sew along the pinned sides with a 3/8" seam allowance.
Turn the pillowcase right side out and press the seams.
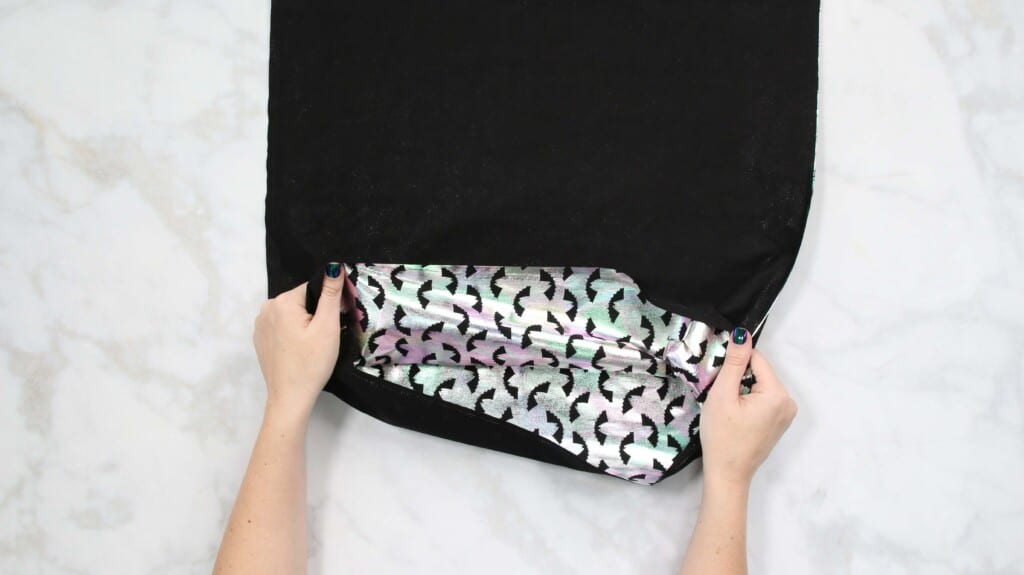
Use a turning tool or pen to gently push out the corners of the pillowcase.
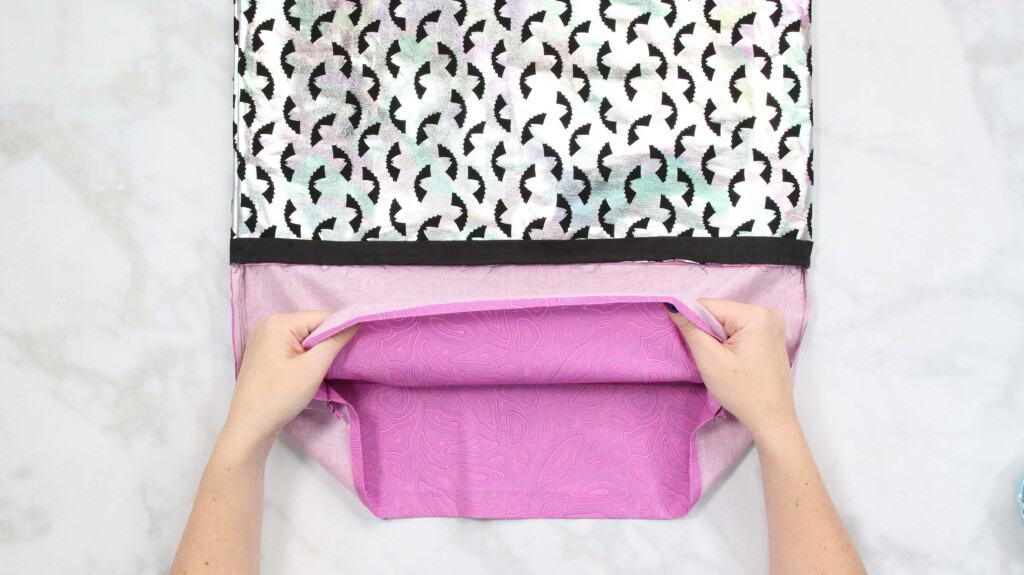
STEP #6 ALIGN TOP, CASING, AND MAIN PILLOWCASE AND SEW
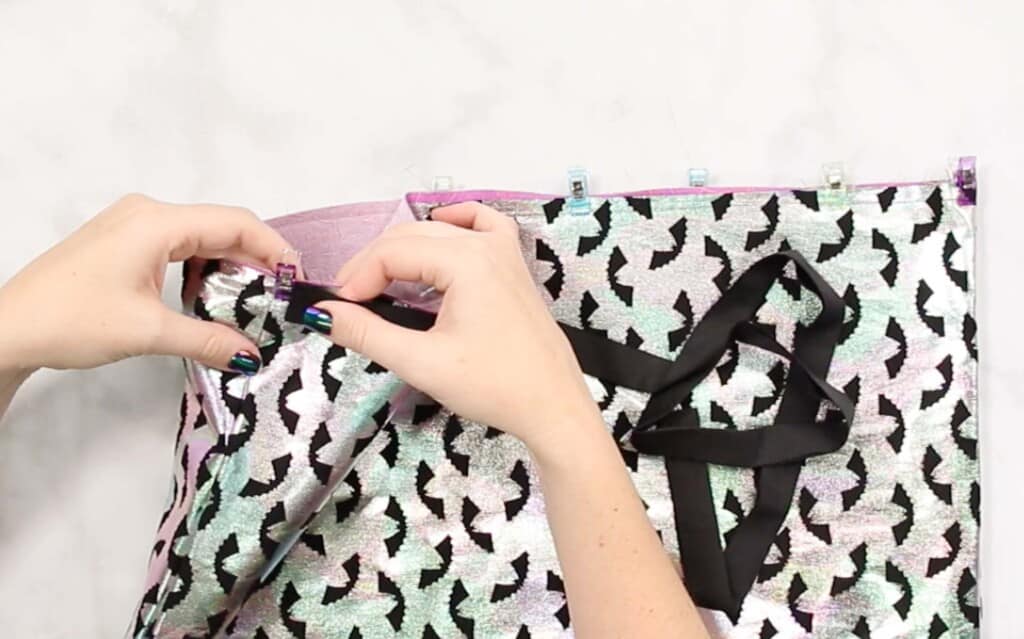
Slide the pillowcase top (purple) inside of the main pillowcase. The pillowcase top should have the right side of the fabric facing the wrong side of the main pillowcase.
Pin or clip the two layers together.
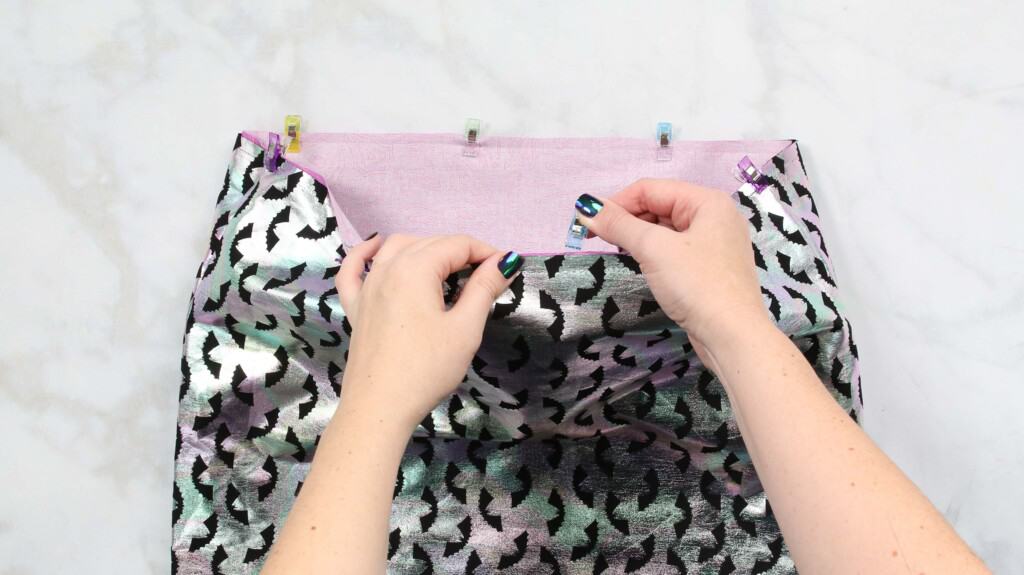
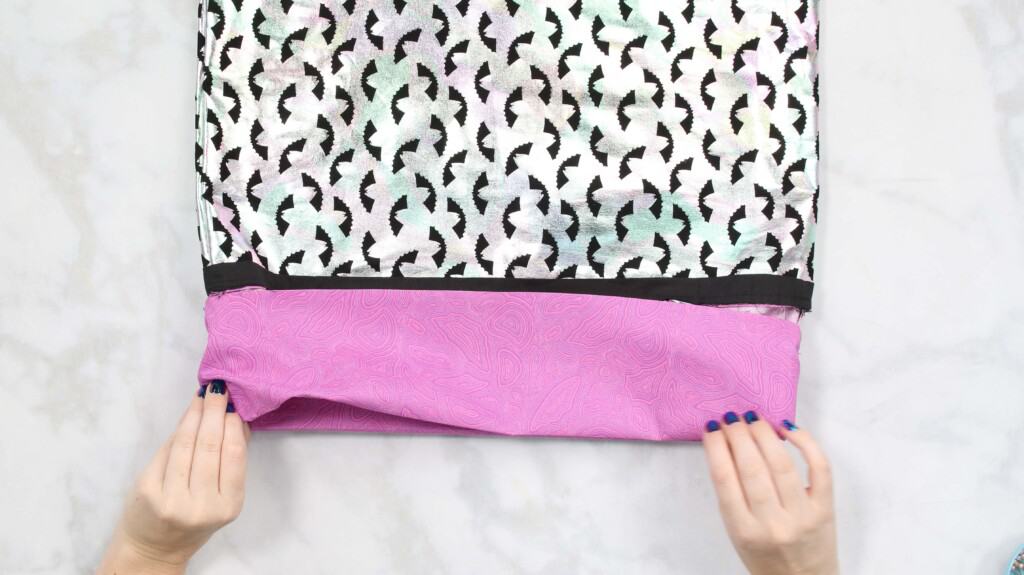
Layer the casing on the outside of the main pillowcase aligning the raw edges together.
The folded short edge of the casing should start 1/4" from the side seam. Pin or clip around the entire pillowcase. The other folded end should end 1/4" from the seam leaving a small gap.
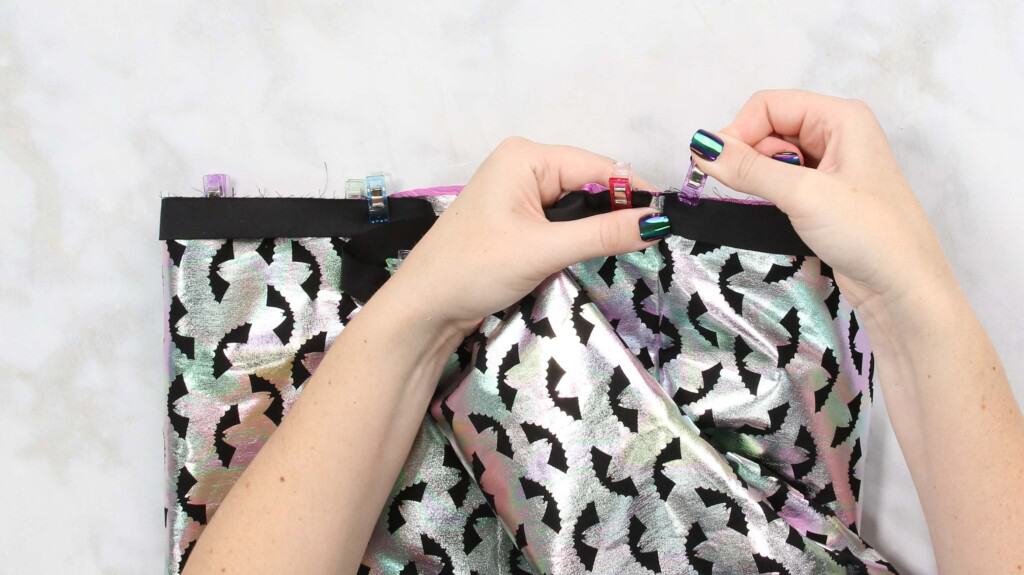
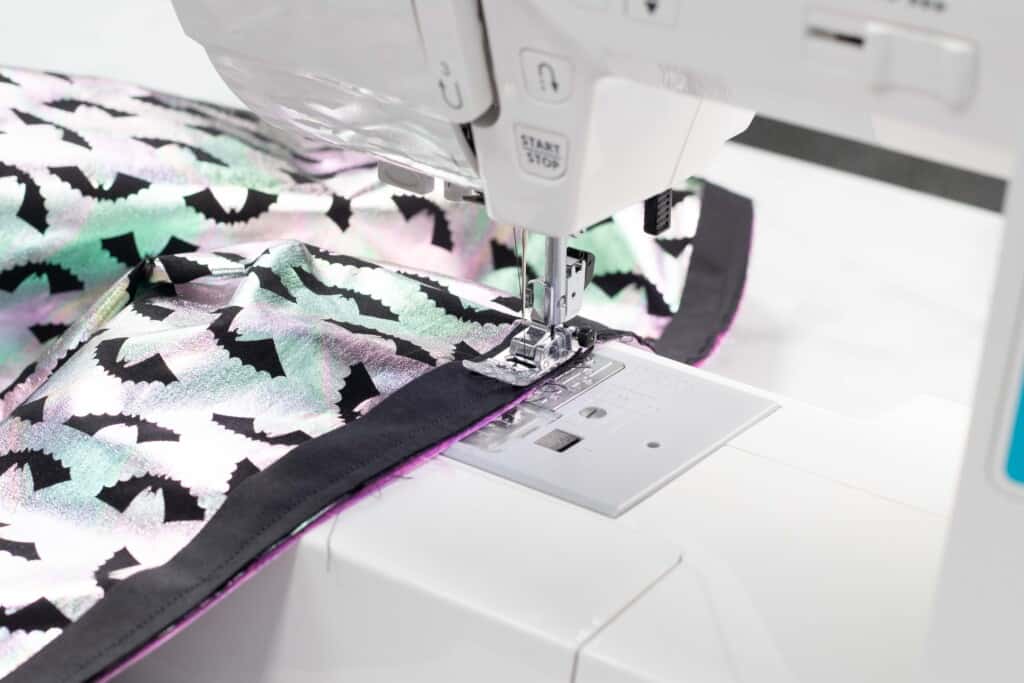
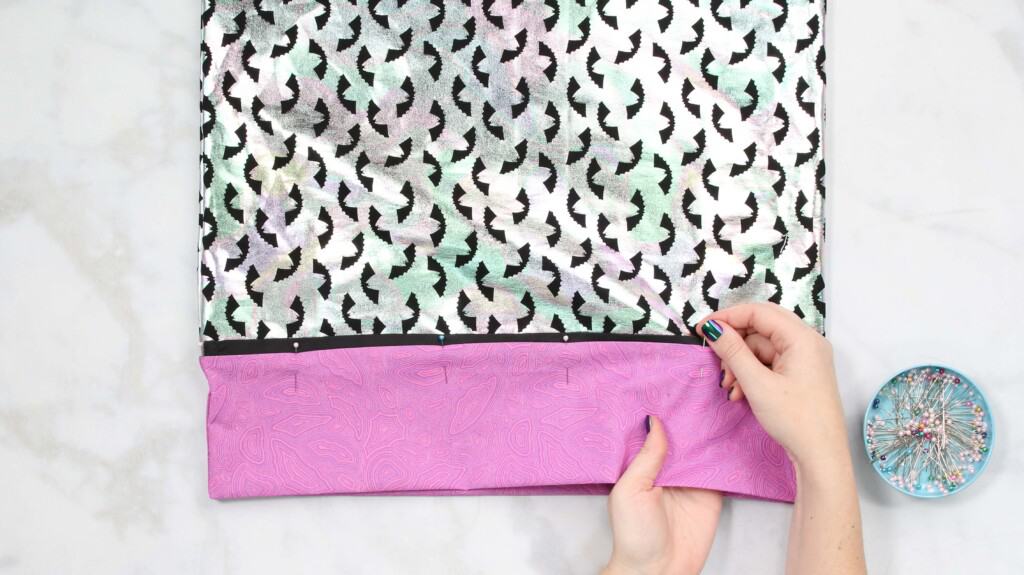
Sew along the entire pillowcase opening with a 3/8" seam allowance. You should be sewing through two layers of the casing, one layer of the pillowcase, and one layer of the pillowcase top.
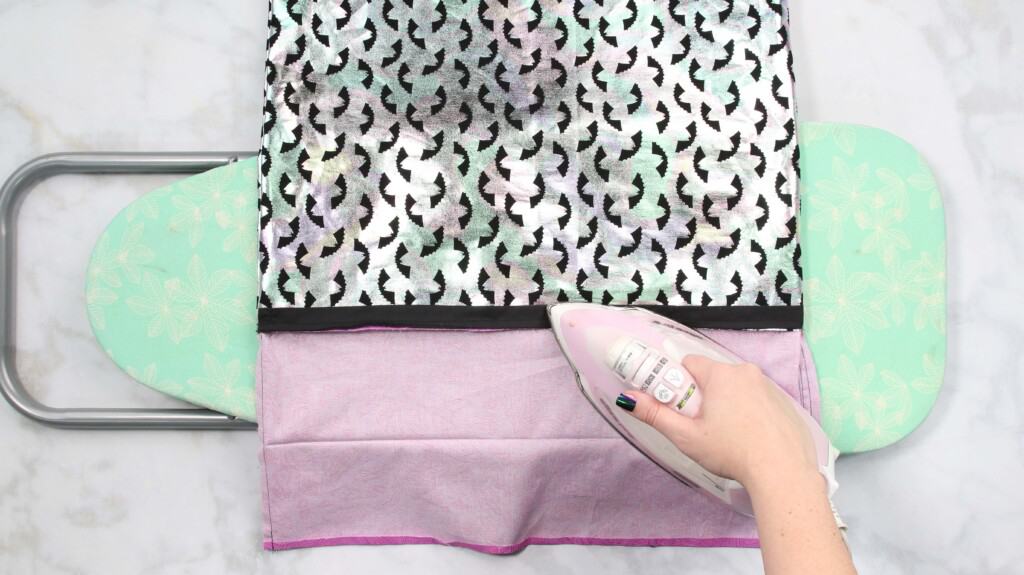
Pull the pillowcase top away from the main pillowcase and iron the seam allowance.
Fold the pillowcase top onto itself along the fold line you made in a previous step.
Pin the folded edge of the pillowcase top so that it aligns with the main pillowcase. The folded edge of the pillowcase top should be slightly overlapping the stitching from the previous step.
Starting at the side seam, topstitch around the entire pillowcase enclosing the raw edges.
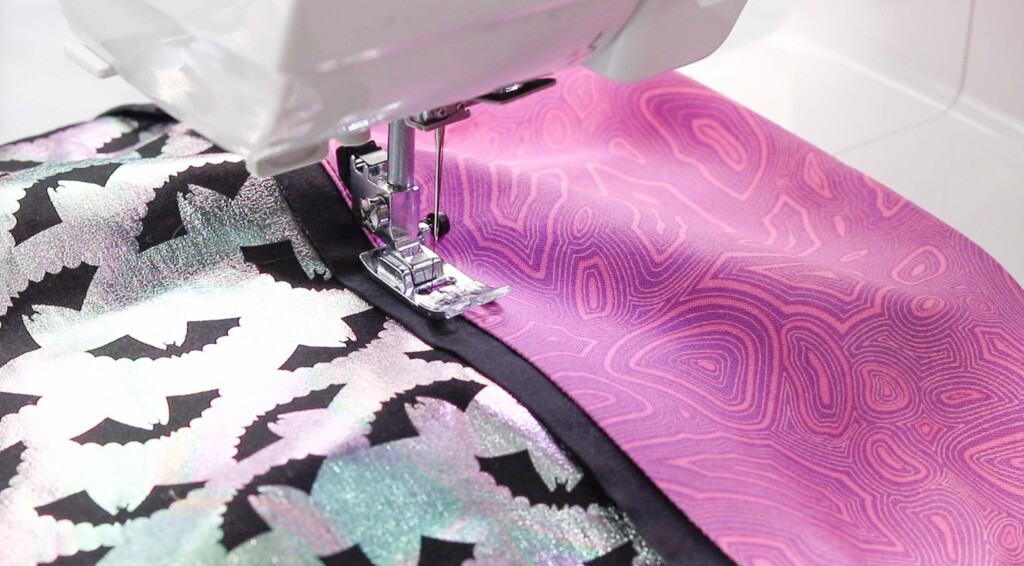
Press the pillowcase well.

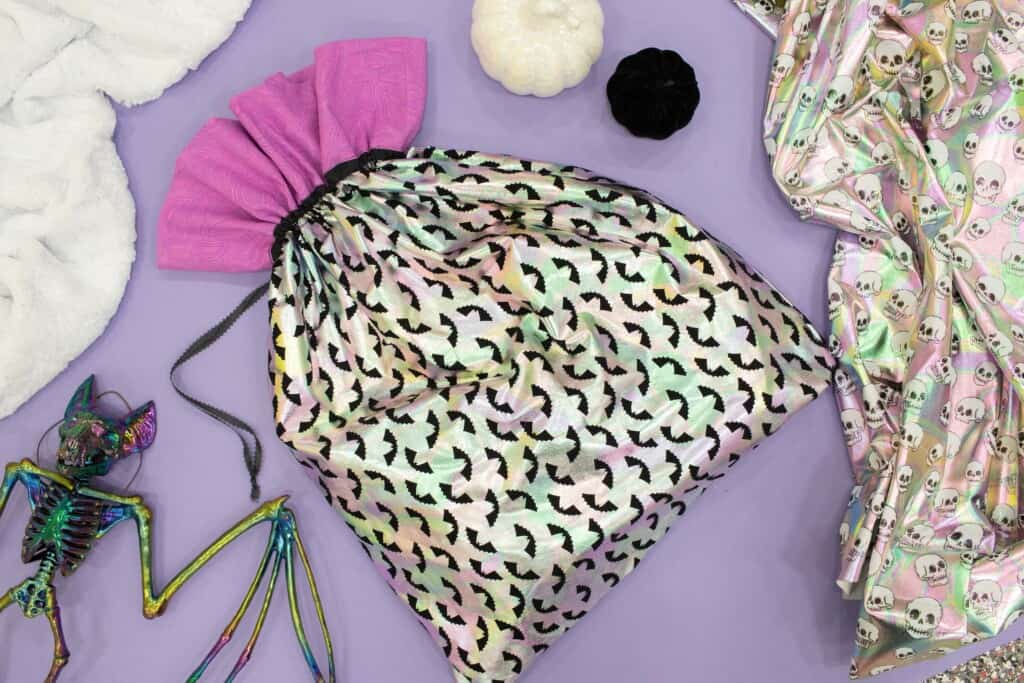
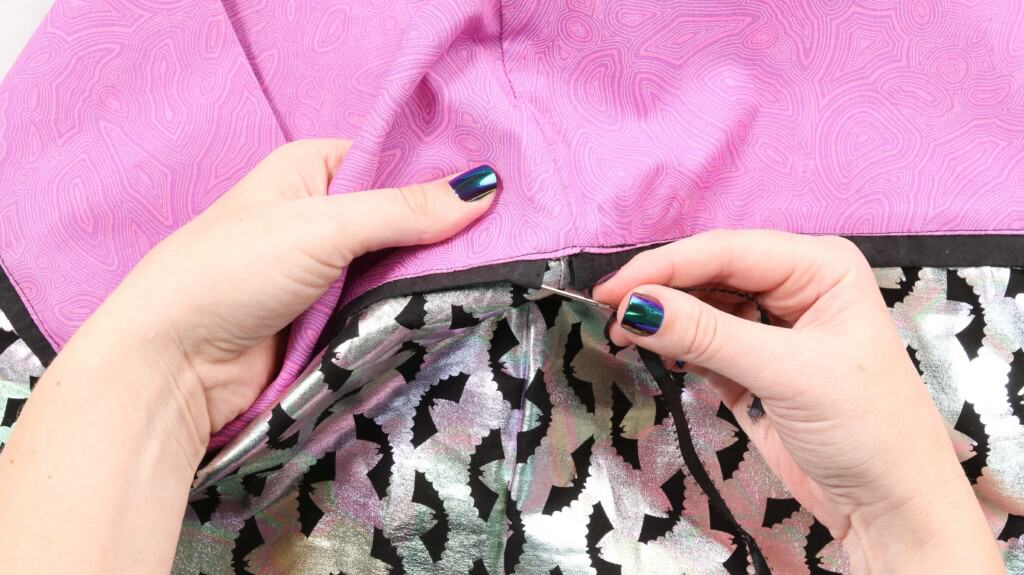
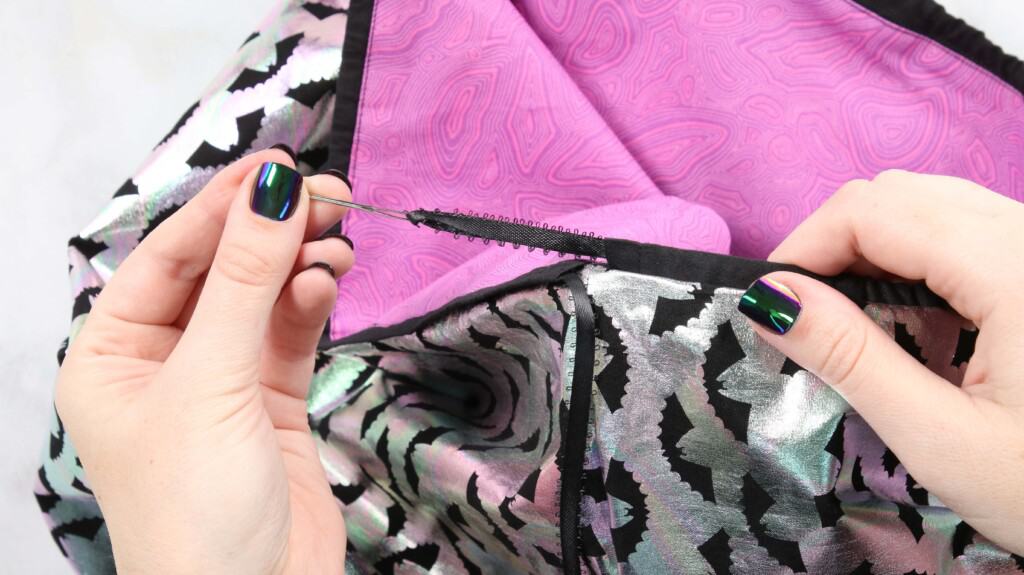
STEP #7 THREAD & TIE THE DRAWSTRING
Using a tapestry needle (or bodkin or safety pin) thread the drawstring through the casing.
If you are planning on using the pillowcase as a trick or treat bag, align both ends of the drawstring and make a knot.
If you are using this as a pillowcase, you can skip this step.
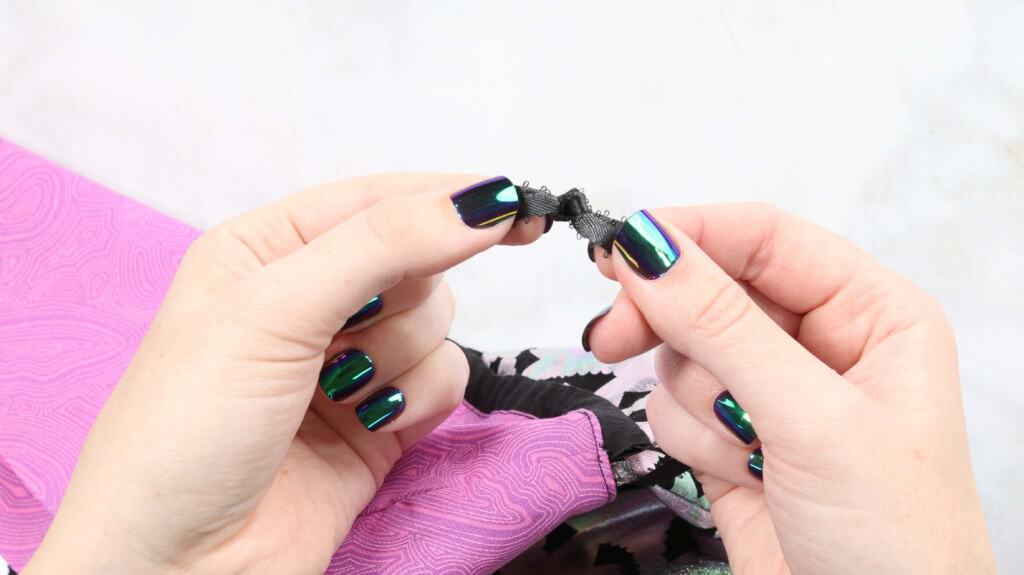
Pull the drawstring tight to finish your Trick or Treat bag!

Did you enjoy this tutorial? I’d love to see what you’ve made with it!
Want more Halloween tutorials? Check out all my Halloween tutorials here!
Join my crafting and sewing Facebook group where you can show us what you’re making, ask questions, and learn from others!
Follow me on Instagram for daily crafting inspiration and a look behind the scenes.
Is there any way to download the instructions?
if you look, half way down, there is a link to click and it will allow you to download the pattern.
there is a faster way to do the pillowcase with piping and constrasting band. I use jellyroll system. Jenny Doan of Missouri Quilt company has a video describing the system. All the seams are enclosed at the band end first with just one seam. then press and fold the pillow for either French seams or serging. It is really fast and I have made over 10 pillowcases using this system.
Thank you for the pattern. Can't wait to get started on these for my gran-girls.