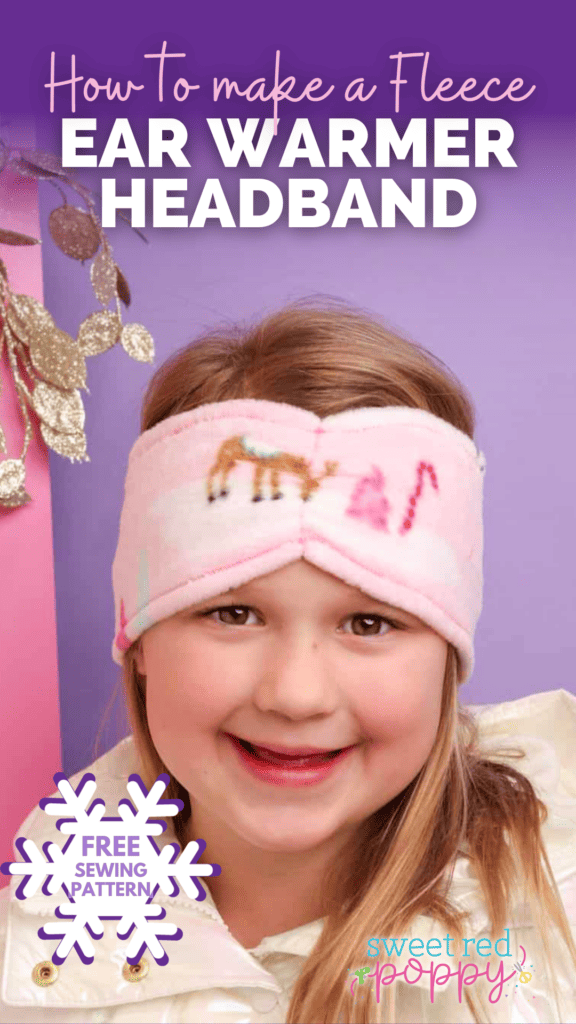
Today I'm Sharing My Free Fleece Ear Warmer Headband Pattern. This Pattern Is Simple To Sew And Perfect For The Cold Winter Weather!
Are you looking for the perfect cozy, cool-weather sewing project? I'm bringing you my fleece ear warmer headband pattern. This pattern is simple and ultra-quick to sew - and the finished headband is super cozy!
Plus, this pattern makes for some wonderful handmade stocking stuffers! Who doesn't love to receive cute and comfy winter accessories during the holidays?!
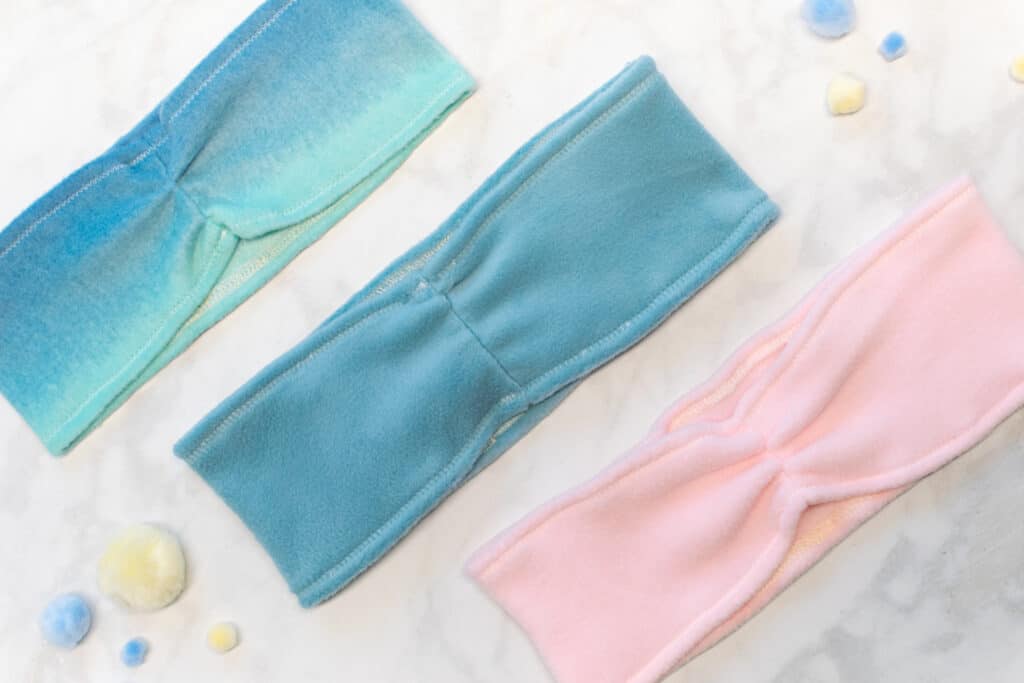
Table of Contents
What is an Ear Warmer Headband?
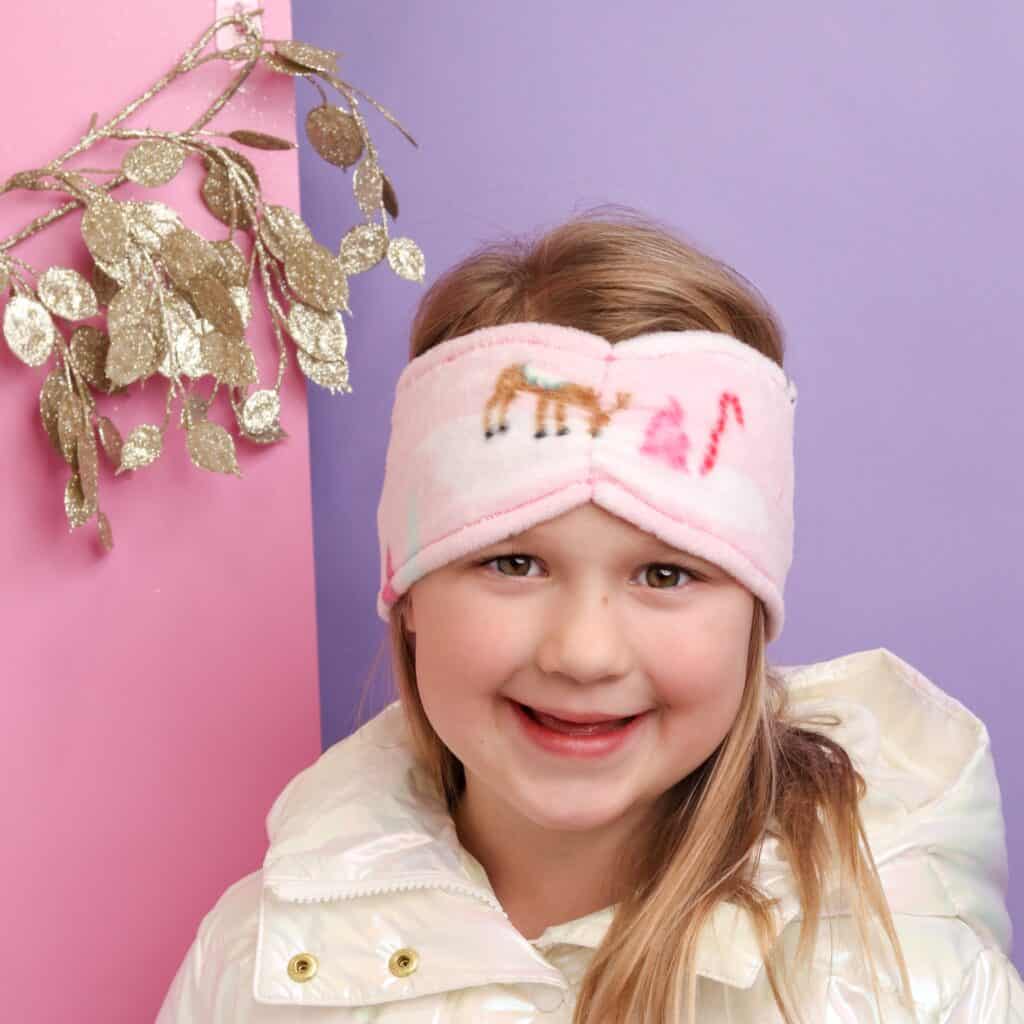
An ear warmer headband is pretty much just what it sounds like - a headband made to keep your ears toasty warm! Think of it as the bottom part of a hat, just the part that covers your ears.
I love ear warmers because I find that they stay down over my ears much better than a traditional hat. And honestly, my ears are usually what gets cold - not the top of my head! Plus, they're adorable, especially when you make them yourself out of a cozy winter fabric.
If you'd rather make a full winter hat, check out my Fleece Beanie Pattern HERE.
About the Ear Warmer Headband Pattern
My winter ear warmer headband pattern makes for the perfect handmade gifts - because it comes in 8 different sizes! No matter if you're sewing one up for a baby, a toddler, or an adult, there's a size that will work. The pattern includes 5 child sizes, a teen size, as well as small and large adult sizes.
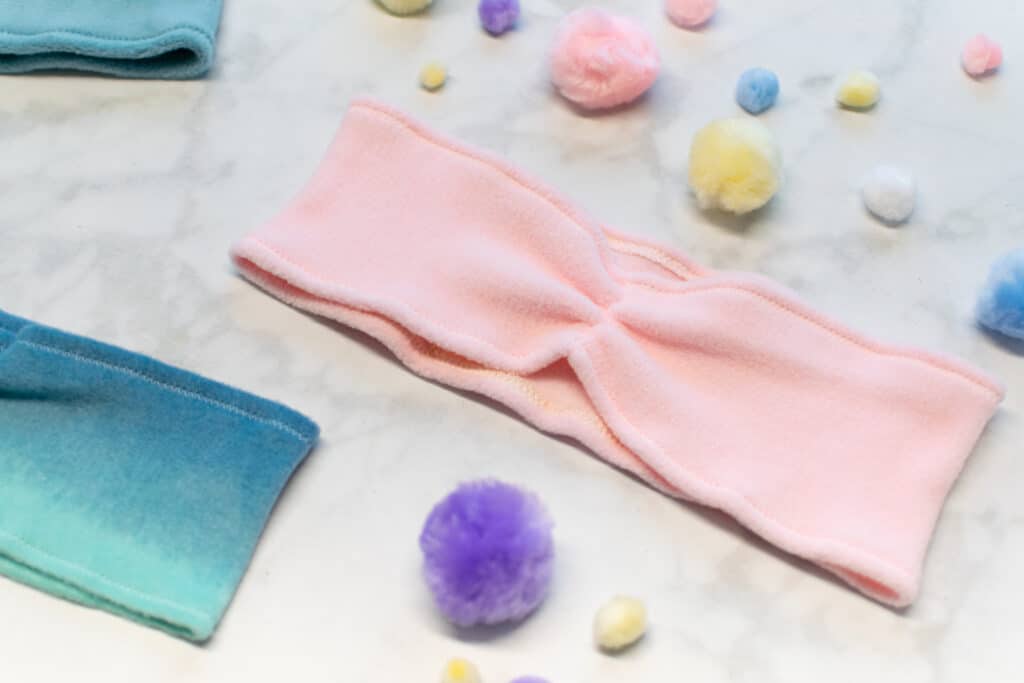
The ear warmer has a stylish gathered seam at the center front. The gathered front is not only cute, but it also helps to pull the front of the headband up out of the way of your eyes and eyebrows. The top and bottom of the ear warmer are finished with a zigzag stitch.
The best part about this pattern is how wonderfully simple it is. It comes together uber-quick, in less than an hour! And in this case, simple doesn't sacrifice looks. The finished headband is an adorable addition to a winter outfit!
Fabric Recommendations for the Ear Warmer Headband
To make this ear warmer headband, you'll need to select a fabric that has at least 15% stretch. I highly recommend fleece fabric. Fleece has the right amount of stretch, the perfect weight, and is wonderfully cozy and warm! If you're not sure what type of fleece to choose, check out my blog post all about fleece fabric HERE.
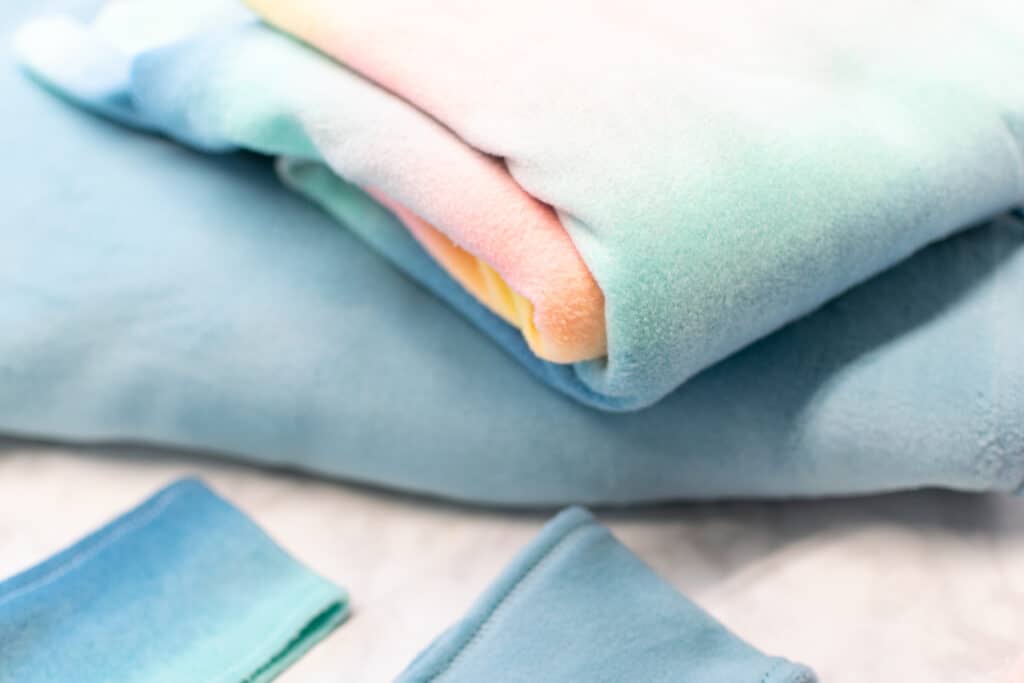
However, if you live somewhere that doesn't get all that cold, you may prefer to choose a lighter-weight knit fabric. Just make sure to choose something with a bit of stretch and you'll be good to go.
*NOTE: If you choose a fabric with a lot of stretch (think 50% or more), you may want to size down 1 size. This will help the uber-stretchy headband to fit snuggly around your head.
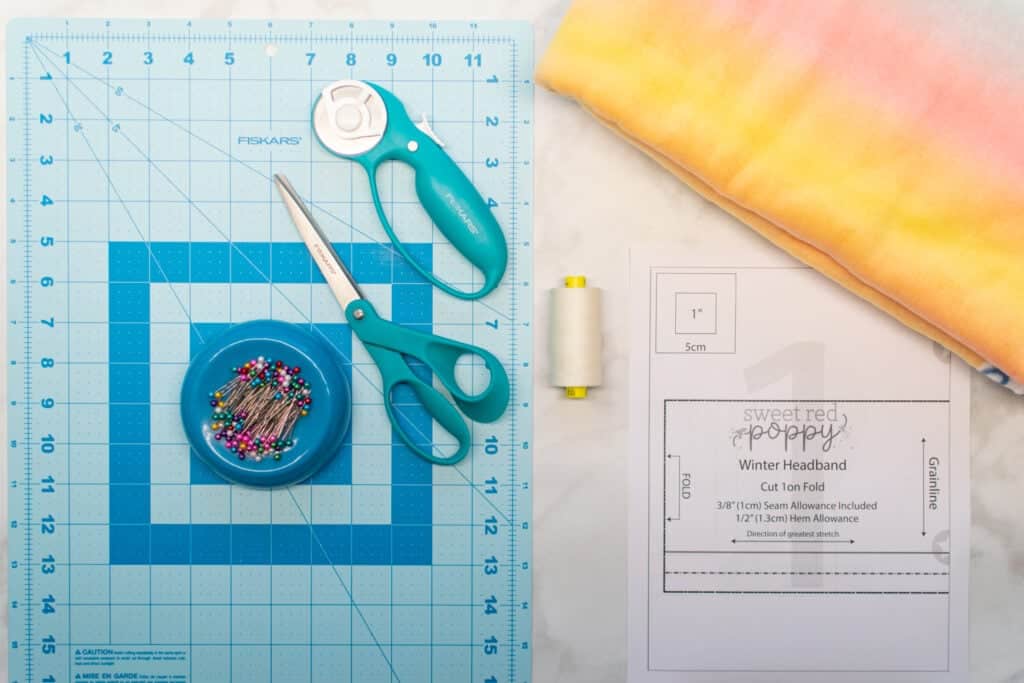
Supplies to Sew an Ear Warmer Headband
Here are the supplies you'll need to sew your ear warmer headband:
- Free Ear Warmer Headband Pattern
- 1/4 Yard Fleece or Other Stretch Fabric
- Scissors
- Rotary Cutter
- Rotary Cutting Mat
- Thread
- Sewing Pins or Clips
- Sewing Machine
- Sewing Machine Needle
- Tape
- Printer
- Printing Paper
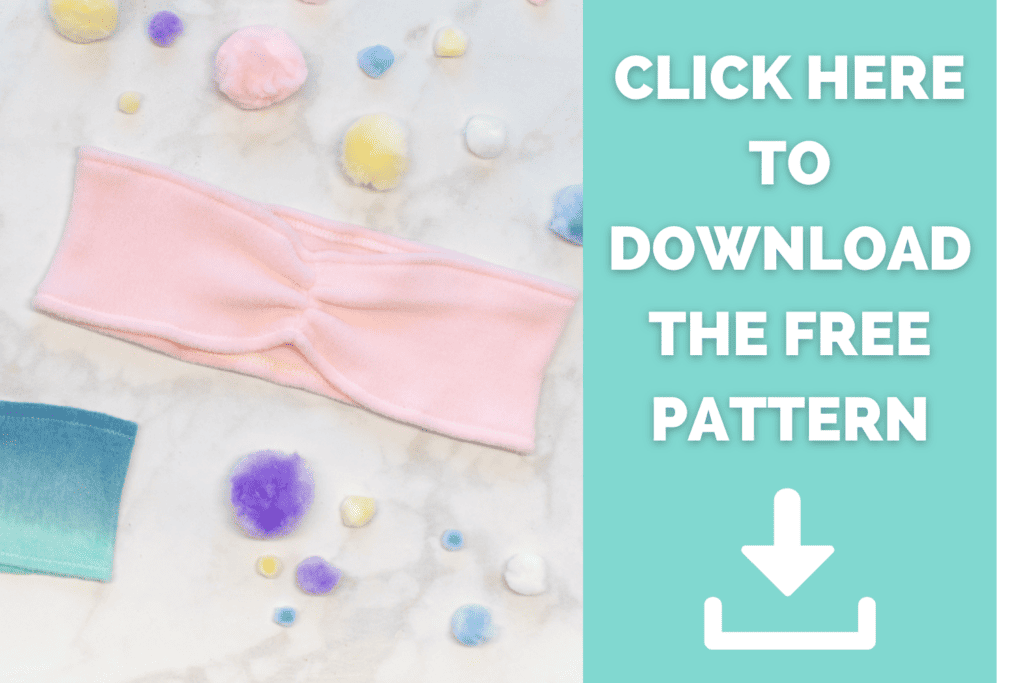
Click Here to Download the Free Ear Warmer Headband Pattern
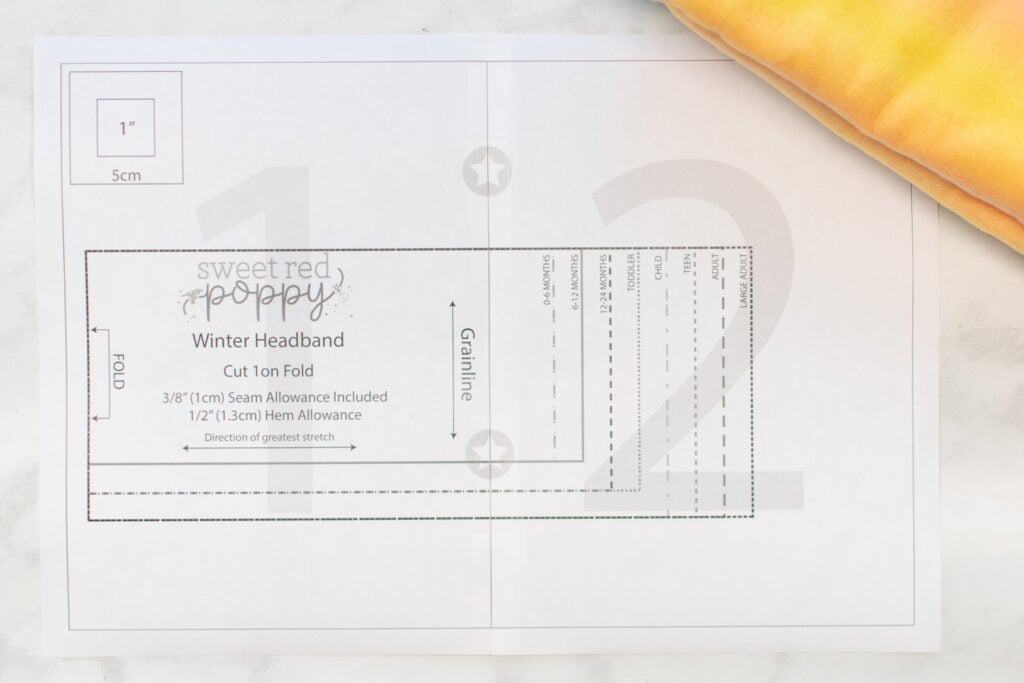
Step One: Download and Cut Out the Ear Warmer Pattern
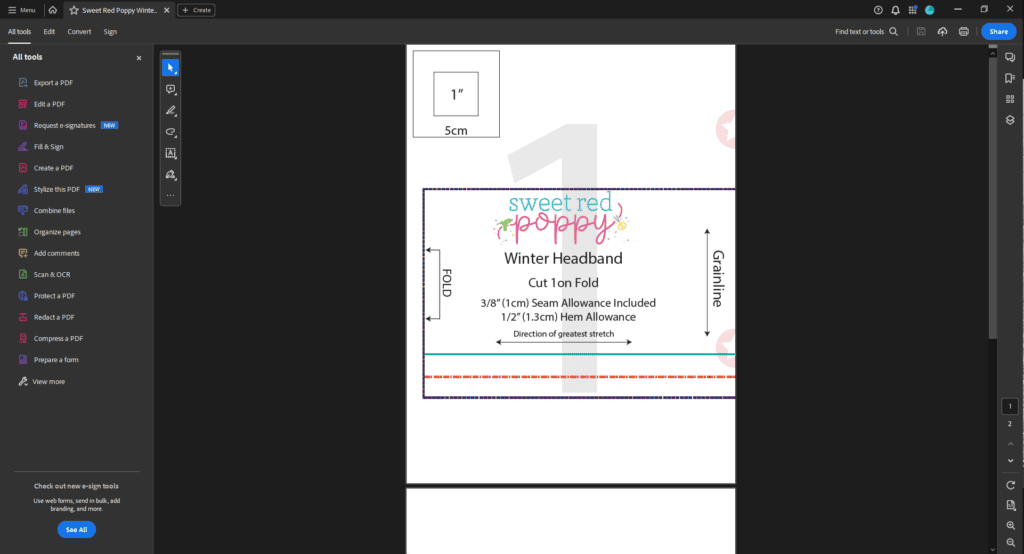
First, download the free ear warmer headband pattern to your computer. Open the pattern in your PDF reader. I highly recommend using Adobe Acrobat.
Make sure not to print the pattern directly from your browser. This is because it may print with incorrect scaling and border lines if not printed from a PDF reader.
Once the pattern is opened, click on the "Print" icon. In the print settings dialog box, change the scaling to "Actual Size" or "Custom Scaling: 100%".
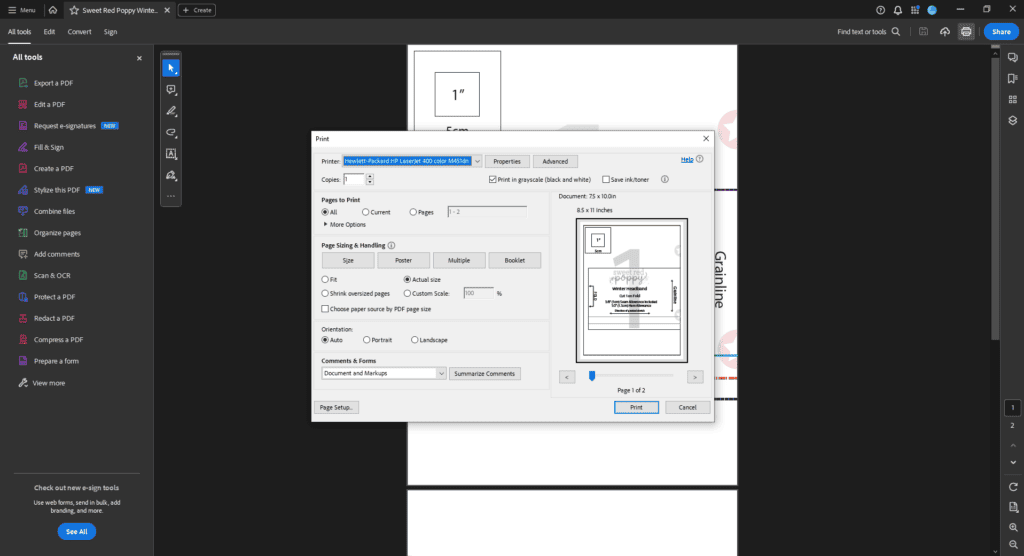
Next, print Page One of the pattern. Measure the 1" x 1" test square on this page.
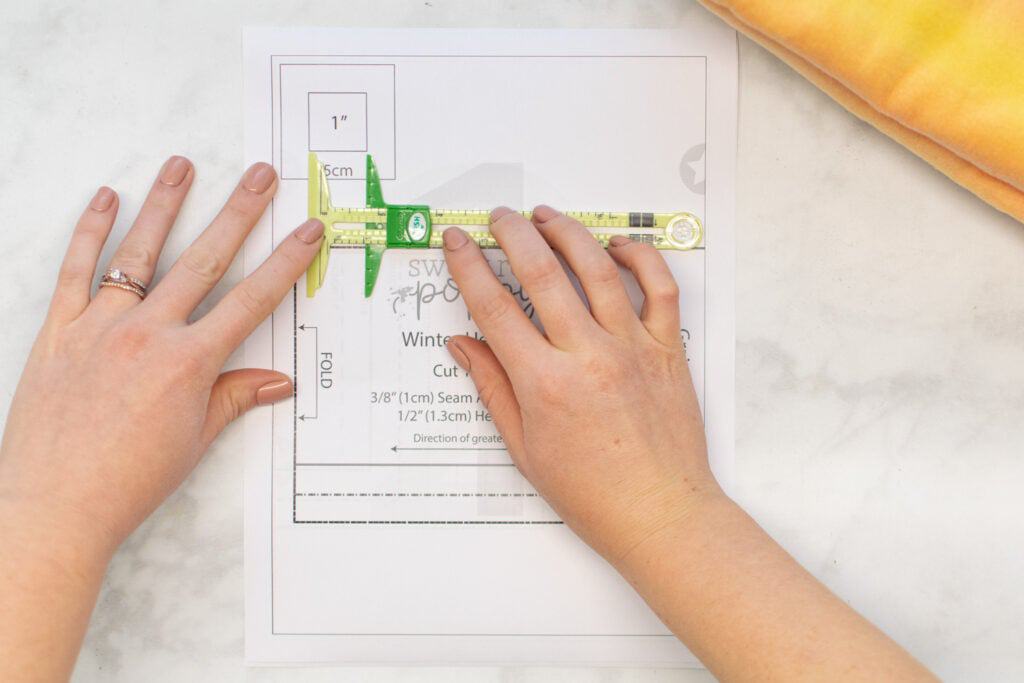
If it measures 1" x 1", go ahead and print the second page of the pattern. If it does not measure 1" x 1", you'll need to check your scaling before reprinting the pattern.
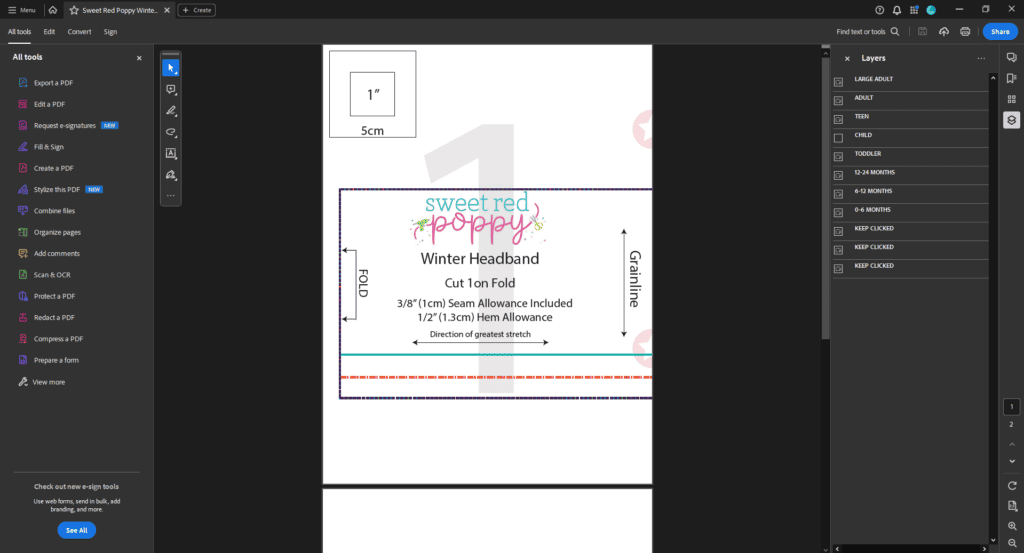
This headband pattern also includes layers for the different sizes to make printing easier. This means that if you only want to use one size - you can print only that size!
To use the layers option, click on the icon that looks like 3 stacked papers. Then, deselect the "eye" icon next to the sizes you don't want to print.
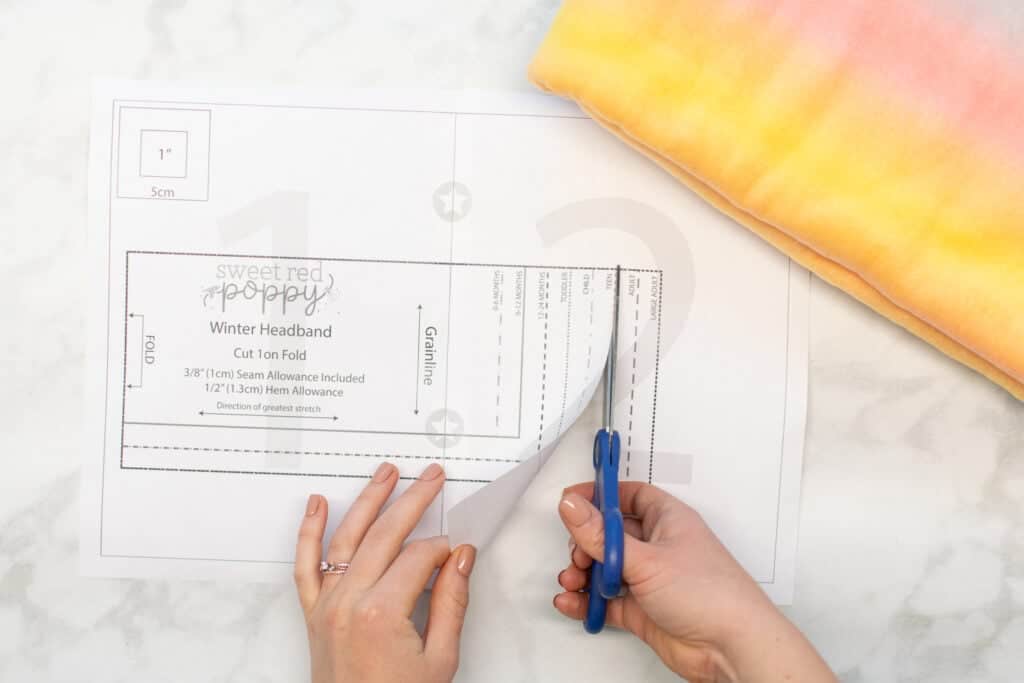
After printing, assemble and tape together the two pages according to the layout chart below. Each page has a large number printed at the center, as well as pink stars along the edges, to help you keep the papers in the correct order.
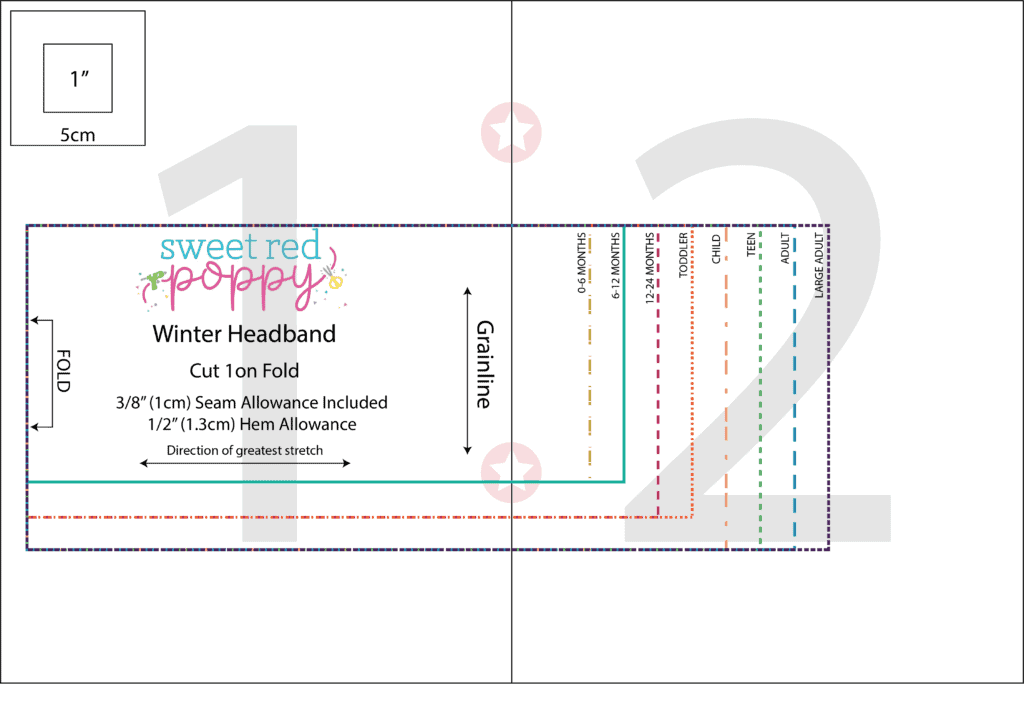
If you like, you can trim away the excess paper along the border lines of the pattern before taping the pages together. Or, simply overlap the margins. If you decide to overlap the edges, holding the pages up to a light can help you see through the paper and align the pattern lines correctly.
Once the two pages have been taped together, cut out the pattern piece along the lines corresponding to the size you want to sew. For the ear warmer headband pattern, there is only 1 pattern piece.
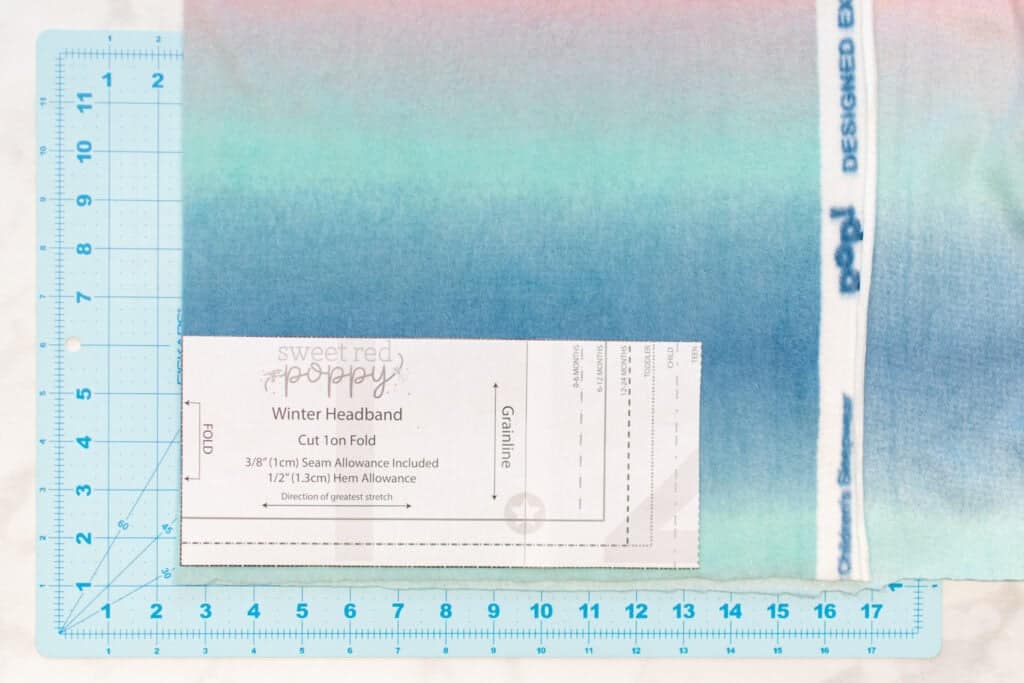
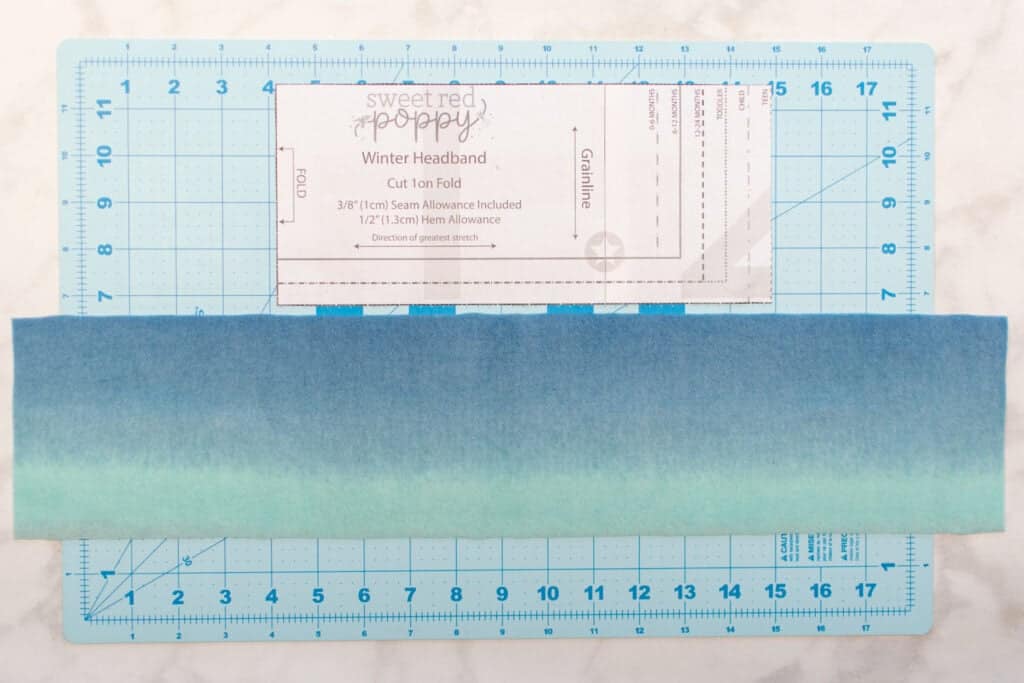
Step Two: Cut the Materials
Next, let's cut the fabric for this ear warmer!
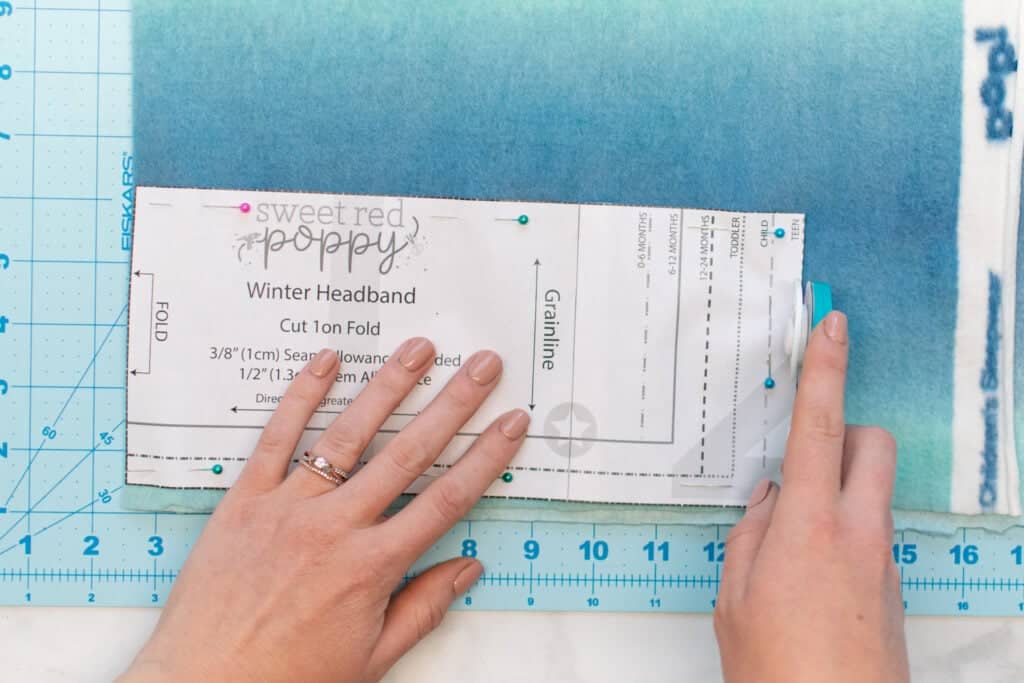
Cut out 1 Headband piece from your fleece, cutting with the fold of the fabric lined up with "Fold" marking on the pattern piece. Make sure that the pattern piece is laid out on the fabric so that the direction of greatest stretch is running lengthwise down the pattern piece.
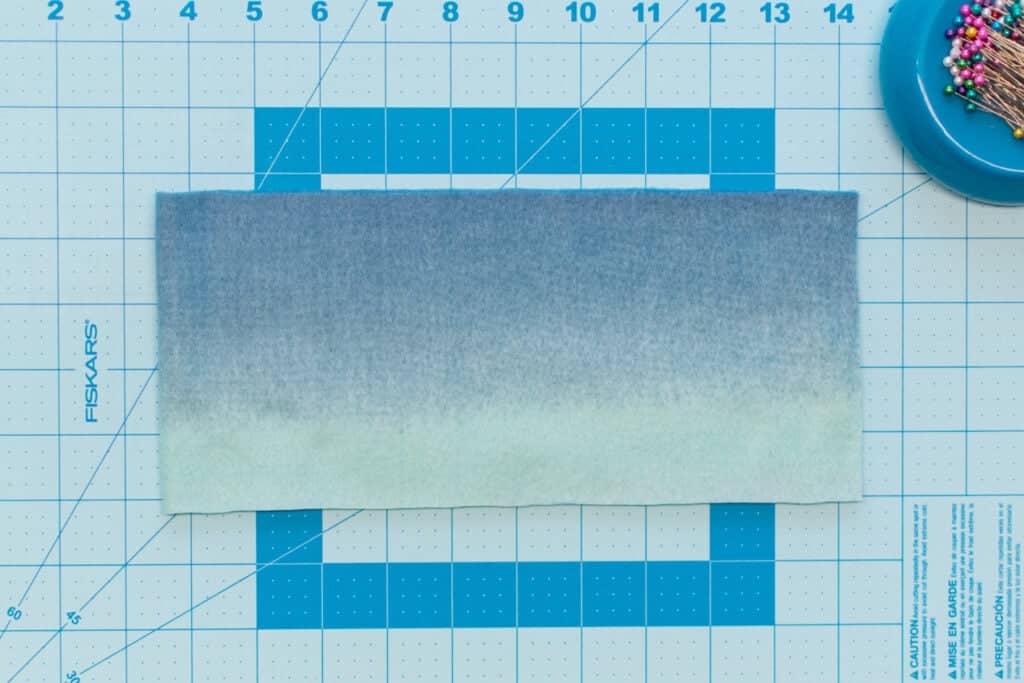
After cutting the piece out, you can unfold it and will have 1 long rectangular piece of fleece.
You're ready to sew this thing up!
Step Three: Gather the Headband Front
Fold the headband in half with right sides together, lining up the two short edges along one side.
Pin the short edges together.
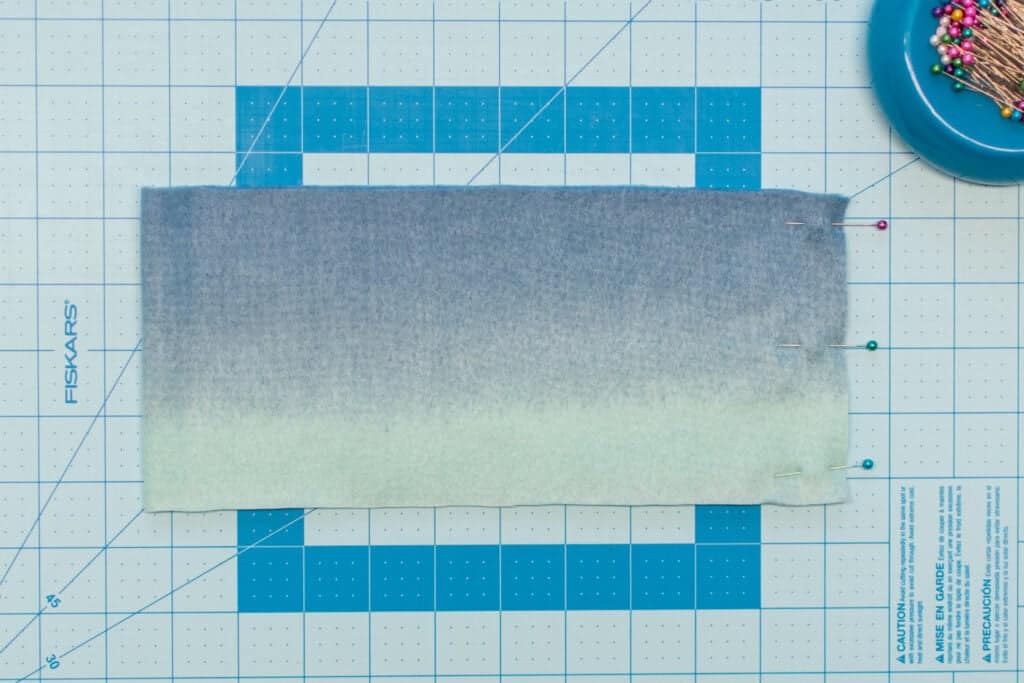
Next, stitch the short edges together with a 3/8" seam allowance using a long basting stitch. I like to use a stitch length of 4.0mm or longer. Make sure not to backstitch - and leave long thread tails that can be used for gathering.
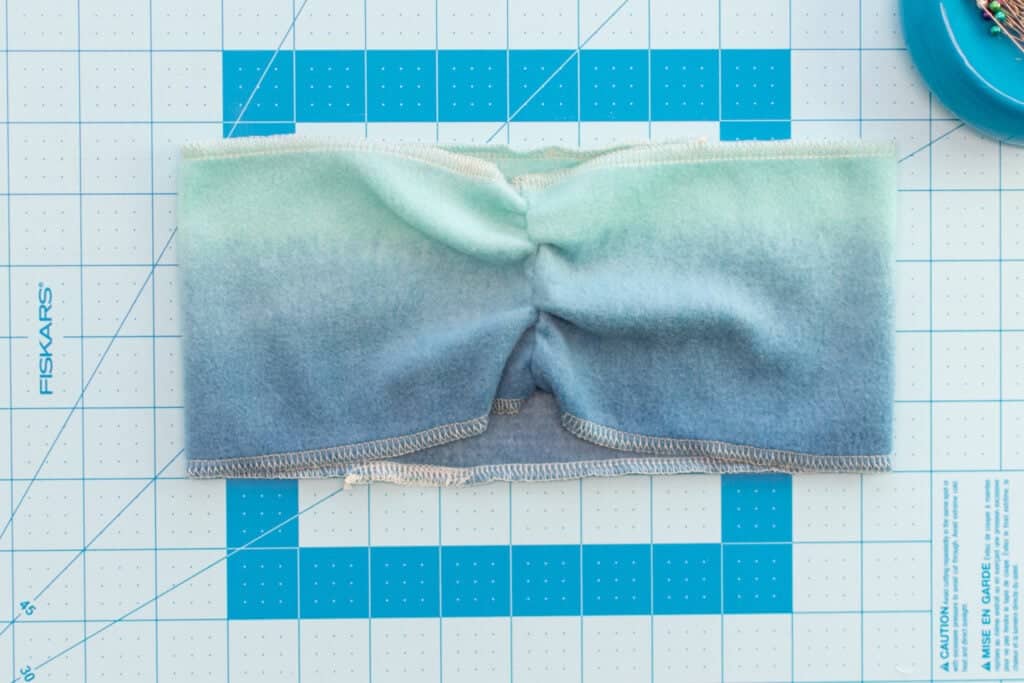
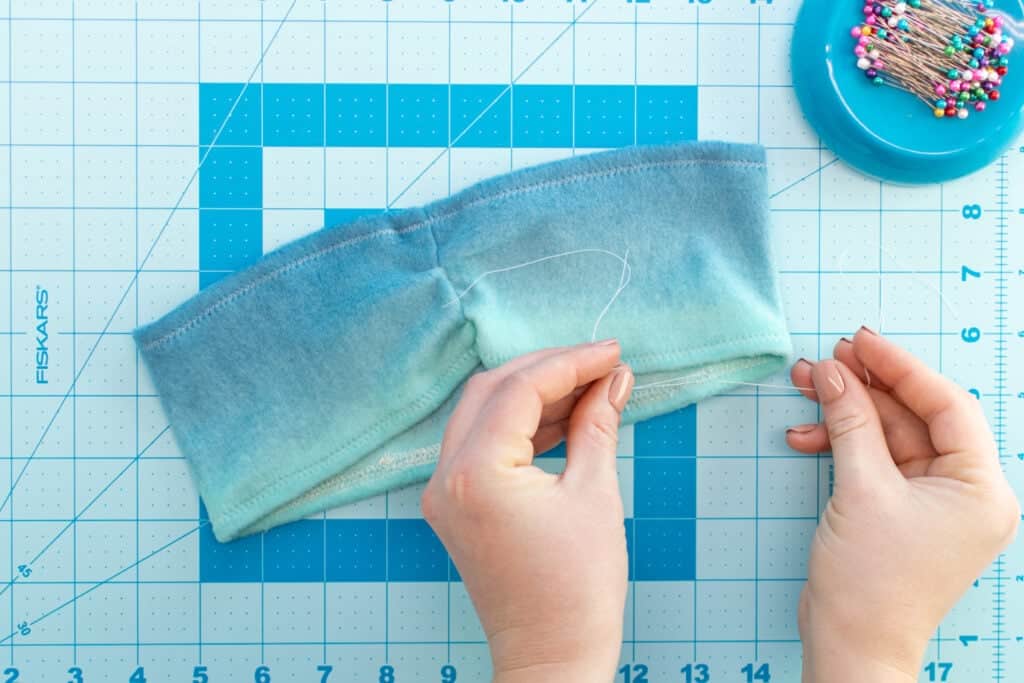
After stitching, pull on the upper thread tails on either end and push gathers into the seam.
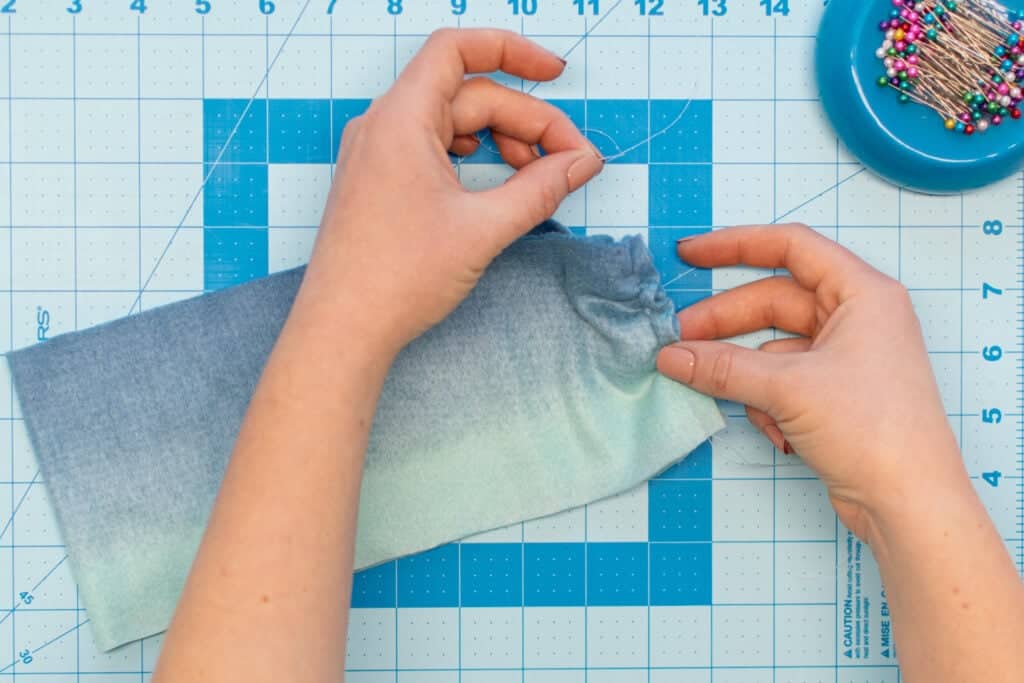
Gather the seam until it measures 2.25 inches. Tie the thread tails together on either end to keep the gathers from getting pushed off the seam.
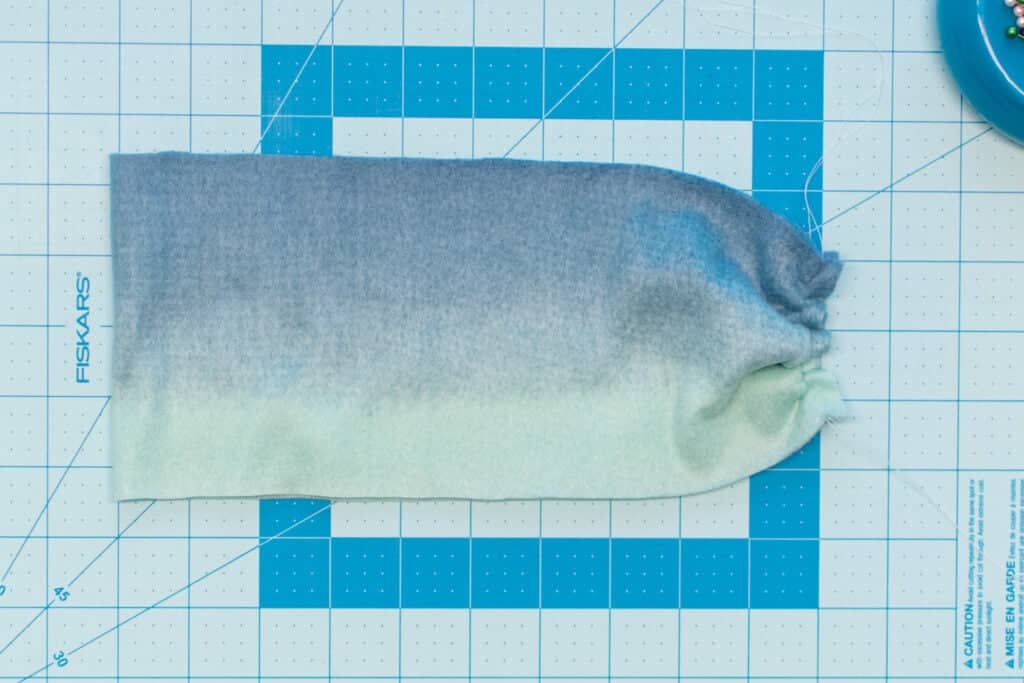
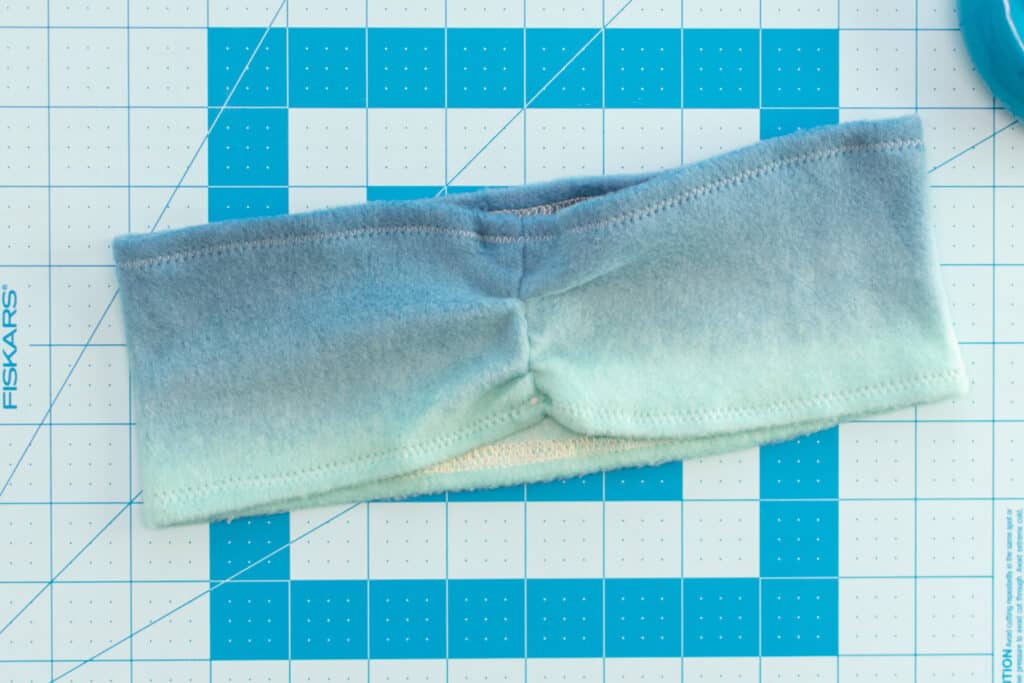
Next, go back over the seam with a zigzag stitch, backstitching at the beginning and end. This will hold the gathers in place permanently.
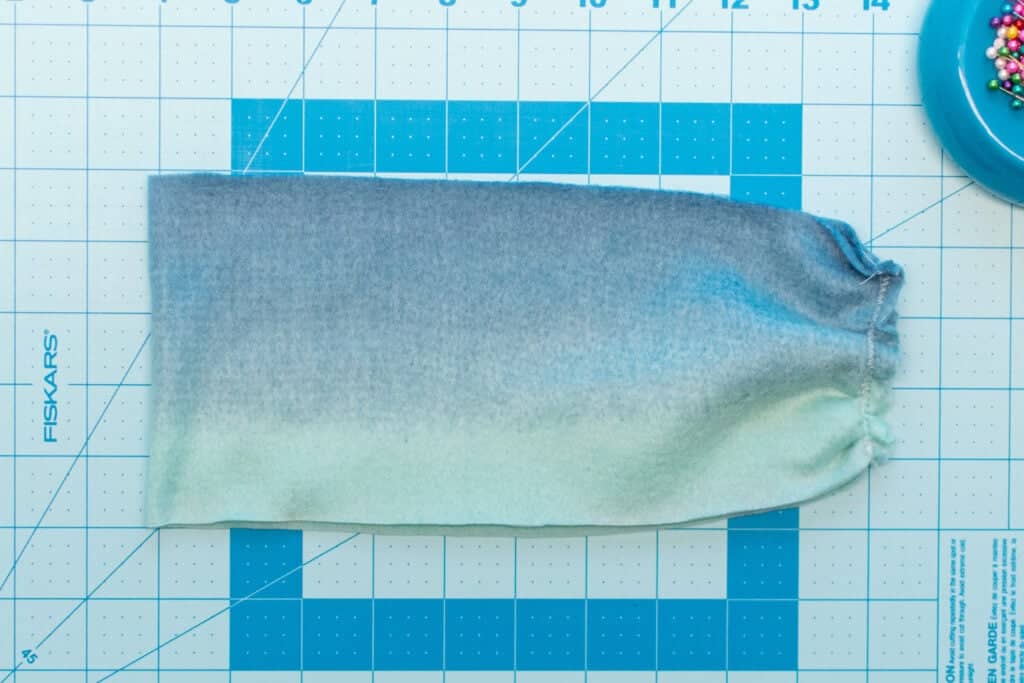
Finally, finish the raw short edges on your serger or with a zigzag stitch on your sewing machine.
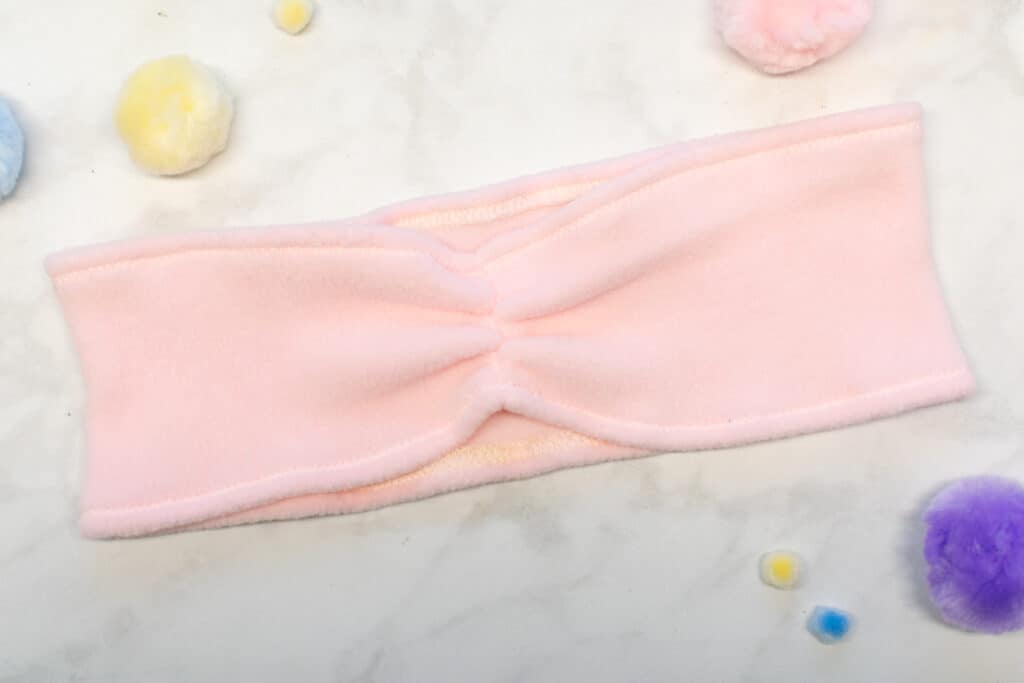
This gathered seam is now the center front of the headband. Gathering the front of the headband helps to keep the fabric out of your eyes while you wear it.
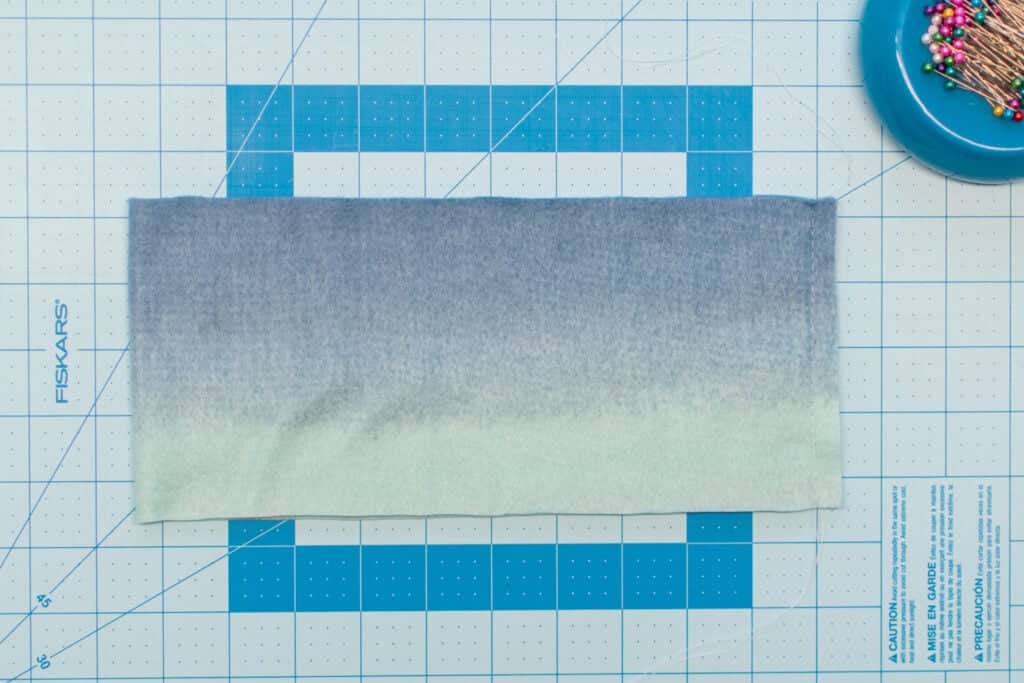
Step Four: Hem the Top and Bottom Edges
The final step to finishing this headband off is hemming the top and bottom edges.
First, finish the raw edges along the top and bottom of the headband with your serger or zigzag stitch.
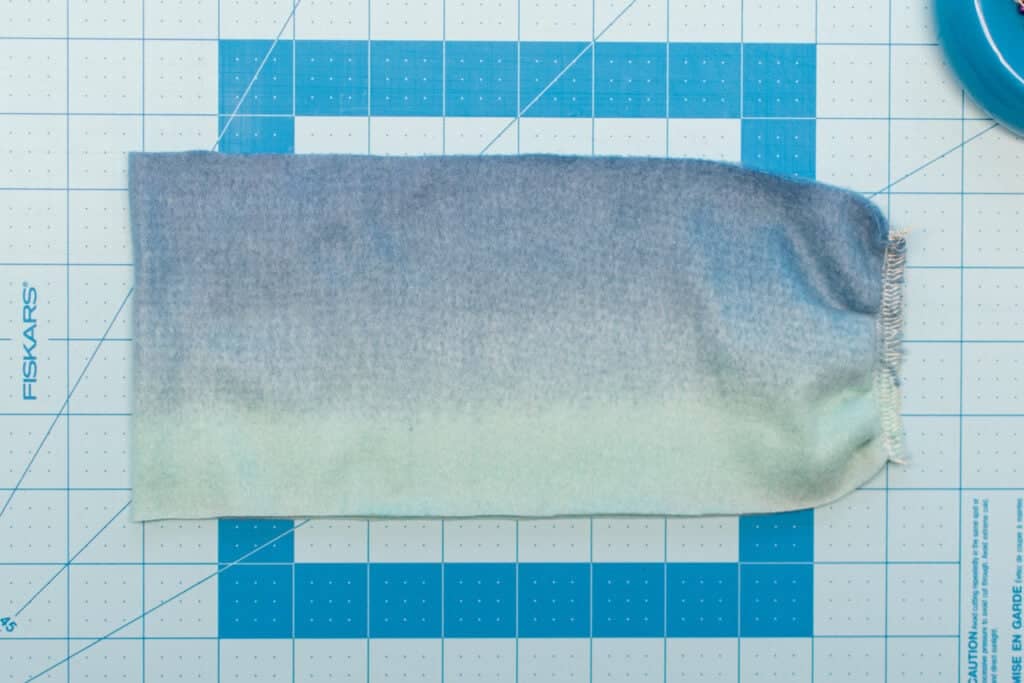
Next, fold the upper edge to the wrong side by 1/2 inch. Pin it in place.
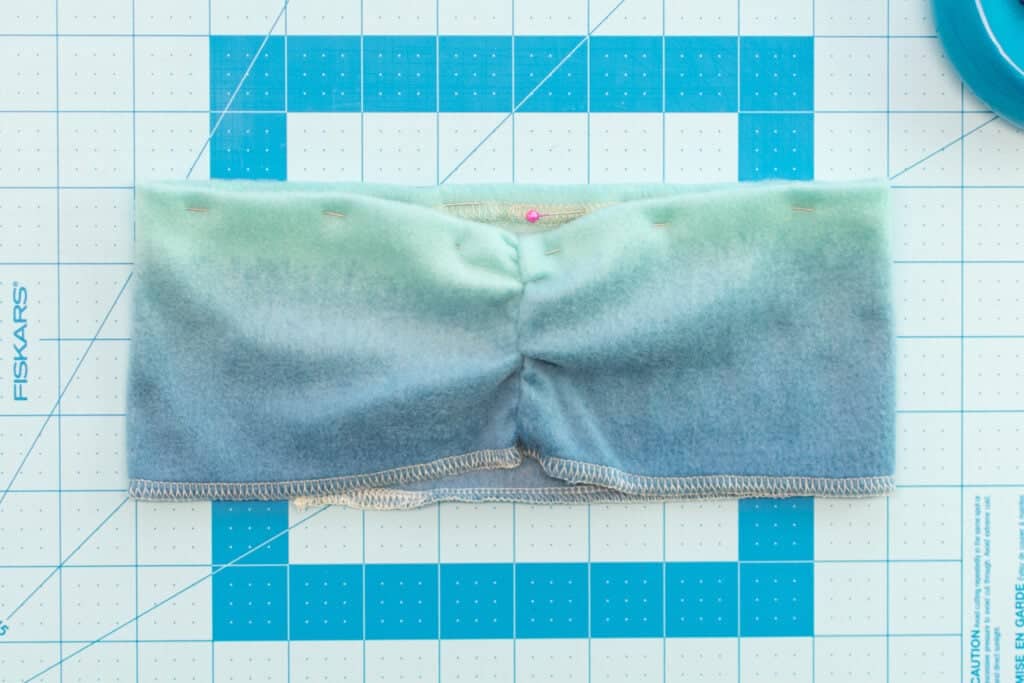
Repeat this process to fold under and pin the lower edge of the headband in place.
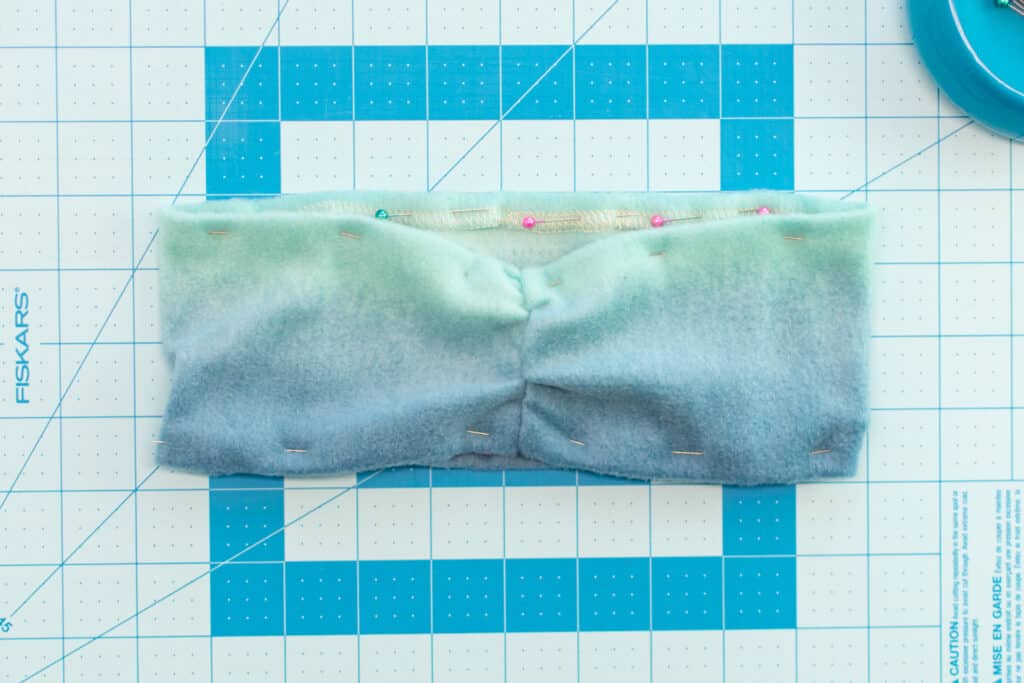
Finally, topstitch along the top and bottom edges of the headband with a zigzag stitch.
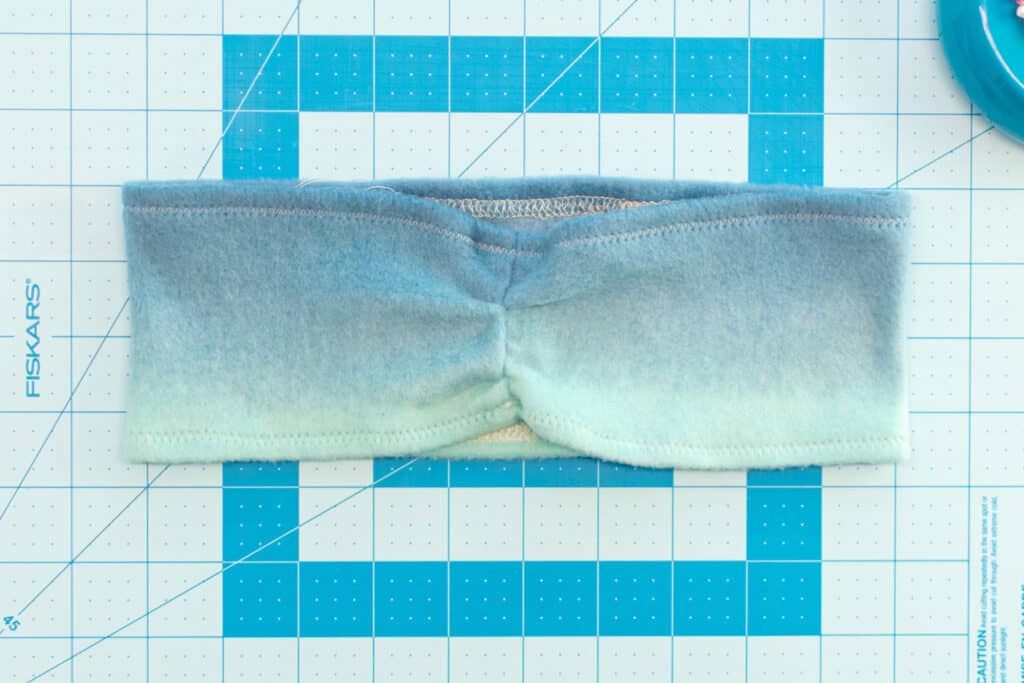
PRO TIP: For a neater, cleaner look I like to leave long thread tails instead of backstitching when I do my topstitching. Then, use a hand sewing needle to bring the upper threads to the inside of the headband and tie the thread tails together. Trim the thread tails close to the knots.
Woo hoo! Your adorable winter ear warmer headband is finished!
Want to remember this post? Share it to your favorite board on Pinterest here.
What does SVG mean?
scalable vector graphics -- This is a file format that is compatible with the Silhouette Design software and other graphics processing software.
I want to learn this. So pretty.
My grandchildren live out of state, and I would love to make them ear warmers. I’m not sure what the size of their head would be. I could ask my daughter-in-law to measure their head along where you wear the head warmer. If I took that number and divided by two (since it’s cut on the fold), would that be the size that I would start with when cutting out the fleece pattern? they seem allowances would make it a little snug to stay on. Am I thinking, right?
The seam allowances, not they seem. Spell check ……
The seam allowances, not they seem. Spell check …… My DIL doesn’t sew and would just give them away if I they don’t fit. I don’t want to disappoint my grandkids, if possible.
Aww so cute
awesome!
Oh, so cute!
I'm not great at sewing,but I think even I can try this!
I love this. My ears are always cold.
Such an easy design and pattern! Thank you for being so clear and descriptive!
I can't wait to try this!
I'm going to make one for my pug!
Adorable!
cute!
This looks so cozy. I'd love to surprise my friend' little granddaughter with this.
How cute
this
So ADORABLE and it looks like it would be easy to make thanks for sharing it!
Great idea of a fun gift to make for friends. Thanks for sharing!
Beautiful tutorial! Thank you
My daughter would love this!
It'll keep little ears toasty warm!!!
This would be great in winter time.
I love this!
Love it so much
My granddaughters would love this!
Great for kids! What about some for adults?
Always love you stuff!!!
These are awesome projects and very nice for festive holidays!
Great stocking stuffers!
So cute, I’ve been looking for a way to use up some leftover fleece.
This is something I could make.
So obsessed
So cute
too cute
I always lose mine, guess this is a sign haha
such a cute idea!
So cute.
I like this project
so cool!
I wanna make one for myself
I am going to make a bunch of these today. Thanks for the inspiration!
Keep those ears warm!
So cute!
Great way to add that extra matching finishing touch to a little girls outfits. Cute.
Love this
These are adorable! I’ve actually been shopping for a headband ear warmer for myself. But my noggin’ is so big I’m having a difficult time finding one that fits. This is the perfect solution! Thank you!
Looks warm.
amazing work!!
Cute!!
awesome