• Skip to primary navigation
  • Skip to main content
  • Skip to primary sidebar
Sweet Red Poppy logo
  • Cricut
    • Free SVG Files
    • Paper Flowers
    • Mandala
    • Iron-On
    • Vinyl
    • Maker
    • Explore Air 2
    • Joy
  • Sewing
    • Baby
    • Kids
    • Accessories
    • Christmas
    • Blankets
    • Womens
    • Learn to Sew Tips & Tricks
    • Face Masks
  • DIY Crafting
    • Paint
    • Paper
    • Food
    • Kids
  • Holiday Crafts
    • Valentine’s Day
    • Easter
    • 4th of July
    • Halloween
    • Thanksgiving
    • Christmas
  • Books
    • Cricut Printed Book
    • Cricut E-Book
    • Cricut Joy Printed Book
    • Cricut Joy E-Book
    • Sewing Printed Book
    • Sewing E-Book
    • Face Mask E-Book
    • Mandala E-Book Bundle
    • Mandala E-Book - Inkscape
    • Mandala E-Book - Adobe Illustrator
    • Mandala Printed Book - Inkscape
    • Mandala Printed Book - Adobe Illustrator
    • Baby Pattern E-Book
  • Courses
    • Cricut Course
    • Sewing Course
    • Serger Course
  • Shop
    • E-Books
    • Printed Books
    • Sewing Patterns
    • SVG Files
    • Baby Patterns
    • Subscribe to Emails
  • Search

DIY Felt Ball Letters

Written by Kimberly Coffin · This post may contain affiliate links · 2 Comments

354 shares

Create These Easy DIY Felt Ball Letters for Your Craft Room, Playroom, Nursery, and More With This Step-by-Step Tutorial Featuring Beacon's Power-Tac!

Create These Easy DIY Felt Ball Letters for Your Craft Room, Playroom, Nursery, and More With This Step-by-Step Tutorial Featuring Beacon's Power-Tac! | Felt Ball Letters by popular US craft blog, Sweet Red Poppy: image of rainbow felt ball letters.

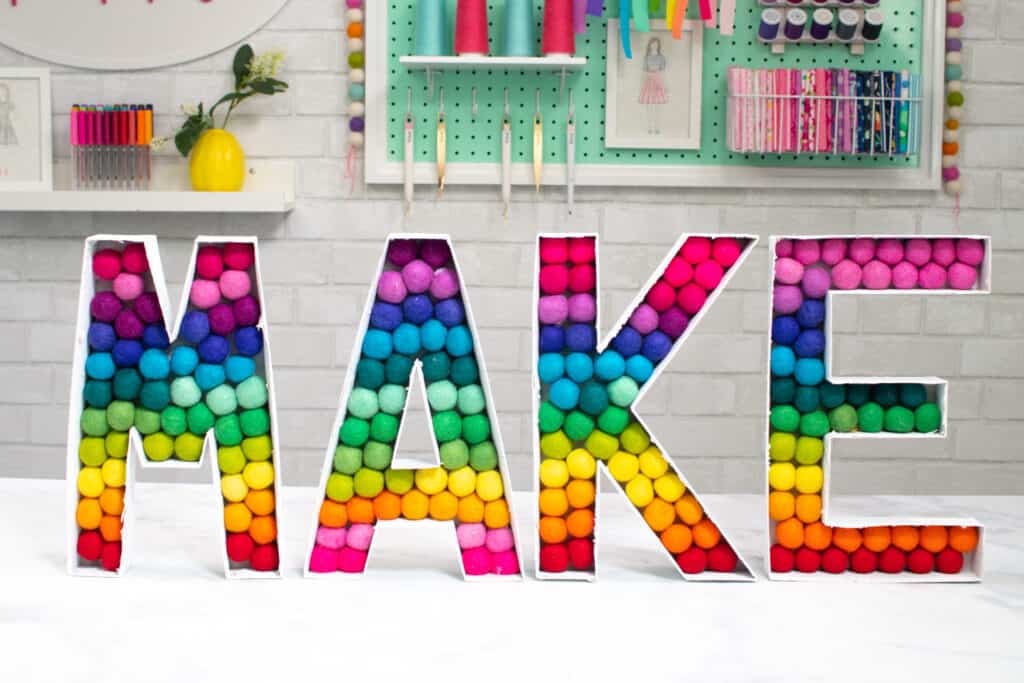
When I first saw these felt ball letters, I fell in love. I love the pop of color that they add to any room!

DIY Felt Ball Letters

Felt Ball Letters by popular US craft blog, Sweet Red Poppy: image of rainbow felt balls.

After trial and error, I found the perfect way to create professional-looking felt ball letters on a DIY budget. 

In this step-by-step tutorial, learn how to create your very own customized DIY felt ball letters in 3 easy steps. 

Felt Ball Letters by popular US craft blog, Sweet Red Poppy: image of a letter A filled with rainbow felt balls next to a tube of Power Tac.

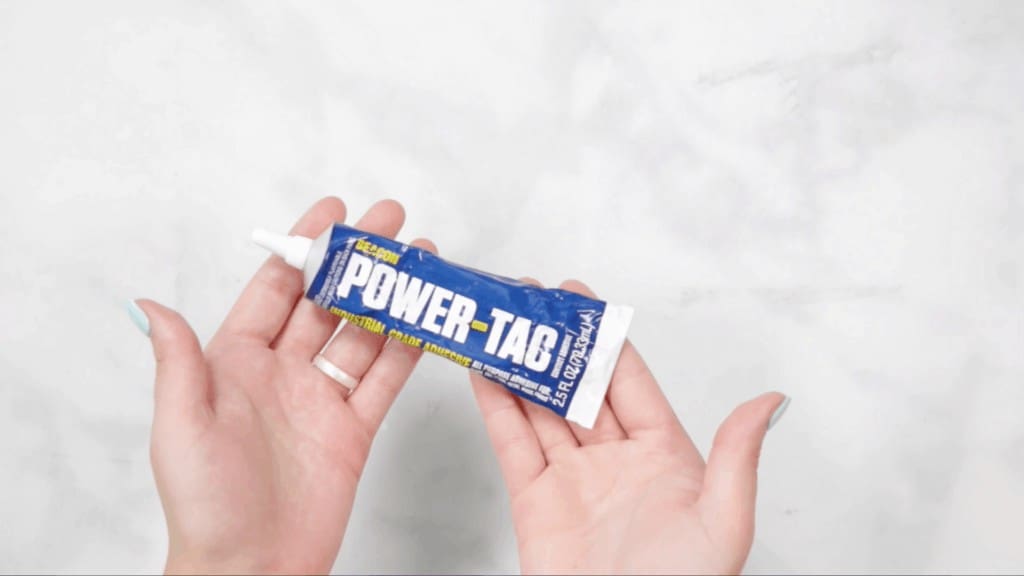
Before you begin, let’s talk about glue. You can use hot glue or craft glue, but I’d recommend using Beacon’s Power-Tac Glue. Power-Tac is a powerful, all-purpose glue that is perfect for crafts. You can find some online or at your local craft store. 

Felt Ball Letters by popular US craft blog, Sweet Red Poppy: image of a woman holding a tube of Power Tac.

For this project, you need:

  • Paper Mache Letter (I got mine at JOANN)
  • Felt Balls
  • Spray Paint
  • Beacon Power-Tac Glue
  • Craft Knife

Get 20% off ALL craft glues at www.beaconadhesives.com using code “SWEETREDPOPPY20” at checkout.  Exclusions apply.

Felt Ball Letters by popular US craft blog, Sweet Red Poppy: image of a white letter A filled with rainbow felt balls next to a tube of Power Tac and Rust Oleum.

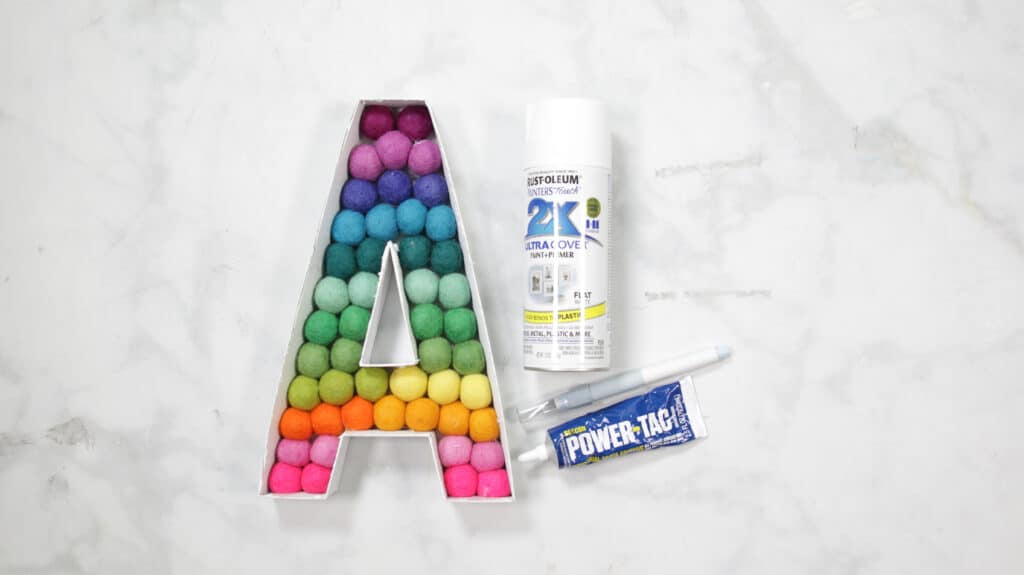
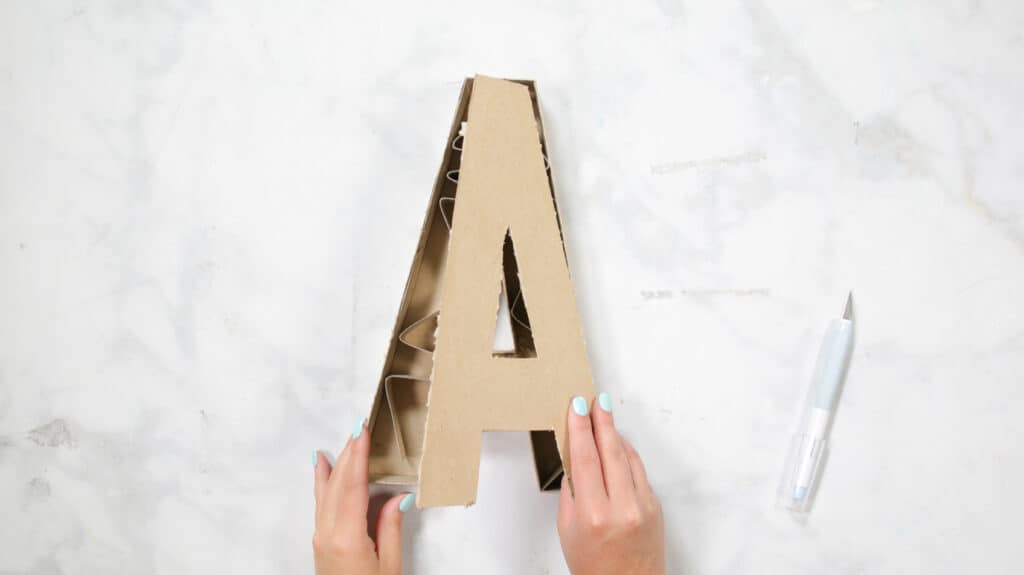
Step 1 - Prepare Letter 

To begin, carefully cut off the top of your letter using a craft knife. 

Felt Ball Letters by popular US craft blog, Sweet Red Poppy: image of a woman putting together a cardboard letter A.

Remove the top and inside support. You may need to use your craft knife to clean up the inside of the letter.

Felt Ball Letters by popular US craft blog, Sweet Red Poppy: image of a woman taking apart a cardboard letter A.

Next, spray paint your letter. I’m going to use white, but feel free to use whatever color matches your style! You could spray paint your letter with a bold color so it really pops against a white wall.

Felt Ball Letters by popular US craft blog, Sweet Red Poppy: image of a white cardboard letter A next to a pile of rainbow felt balls.

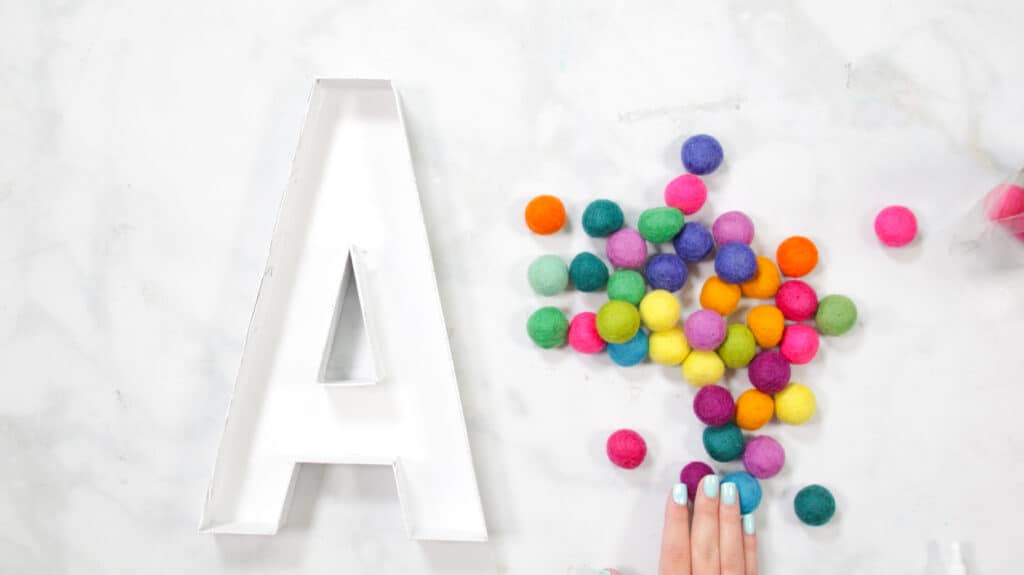
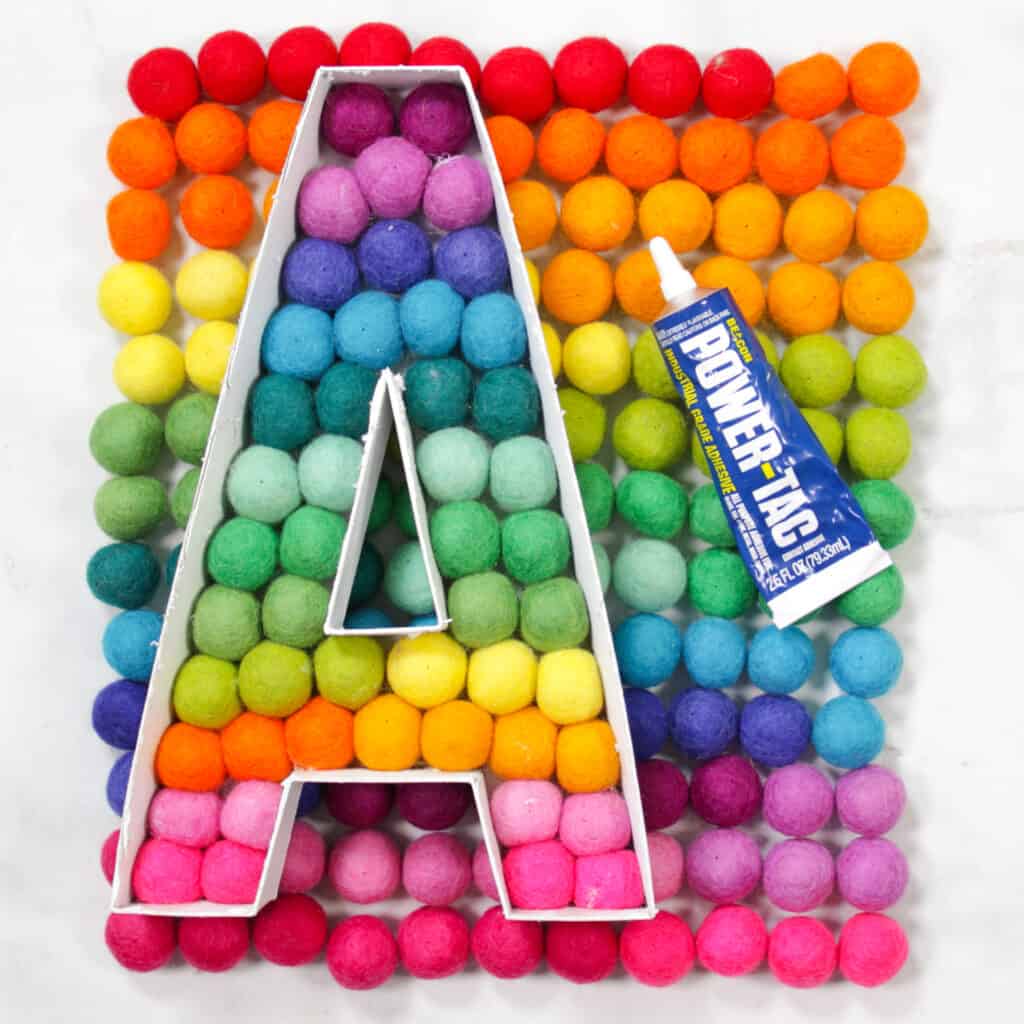
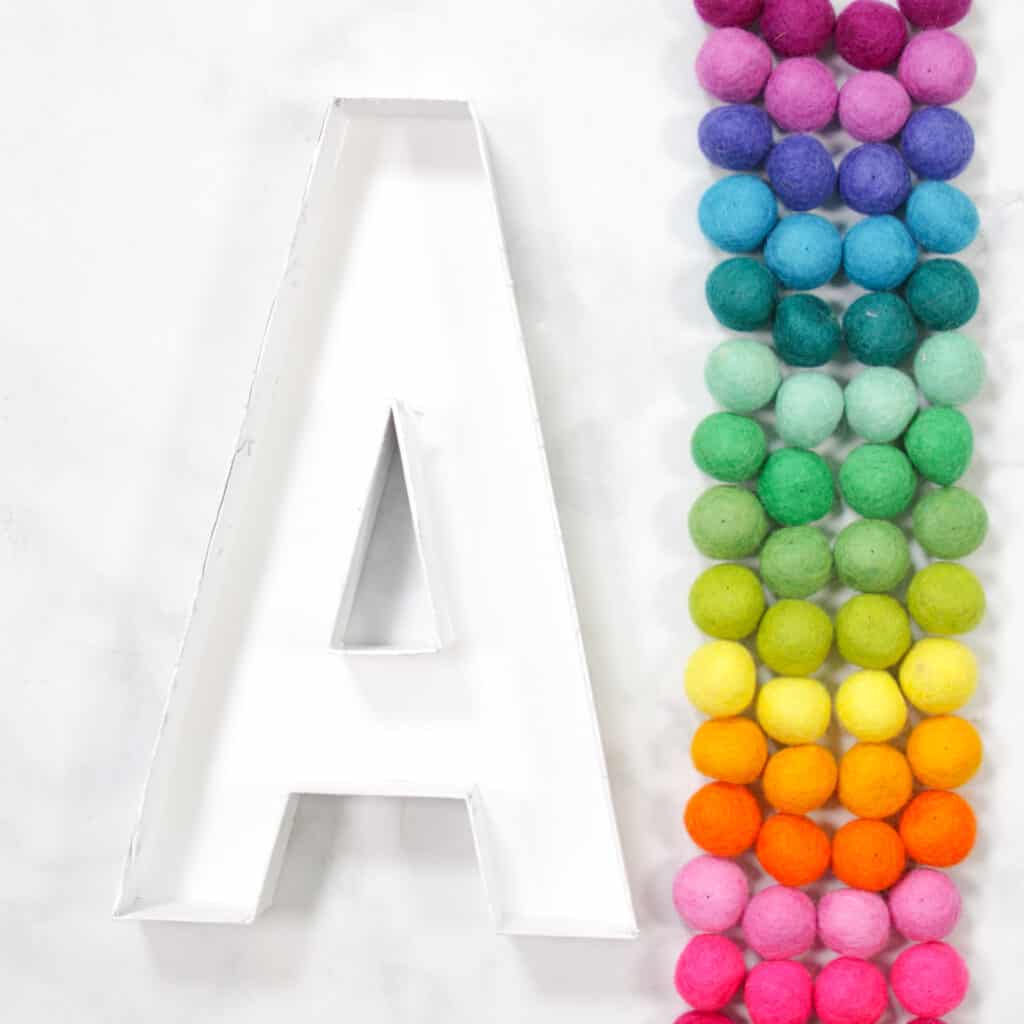
Step 2 - Lay Out Felt Balls

Before you begin gluing on your felt balls, take some time to lay out the design you want. 

Felt Ball Letters by popular US craft blog, Sweet Red Poppy: image of a white cardboard letter A next to a row  of rainbow felt balls.

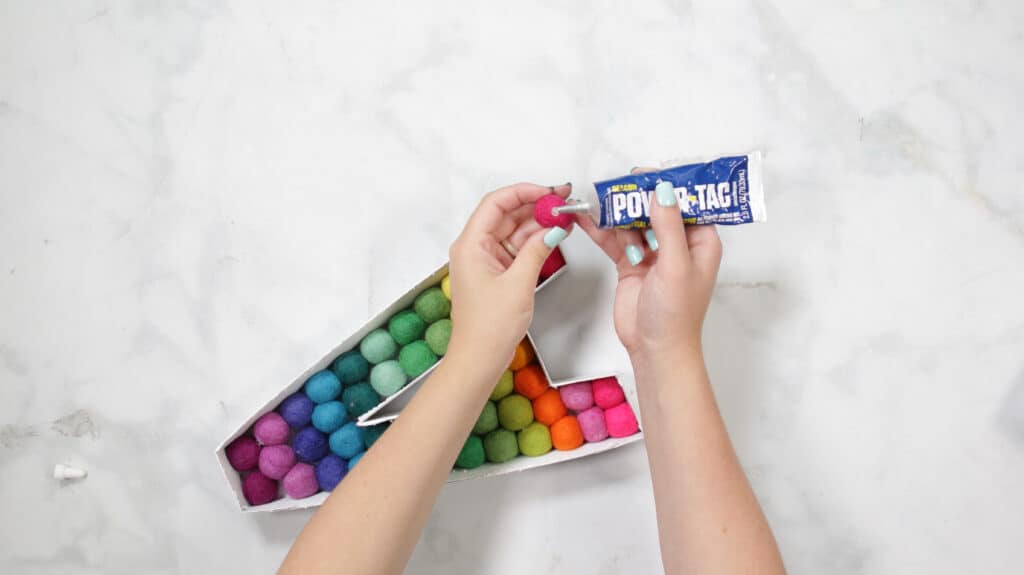
Step 3 - Glue on Felt Balls

Once everything is planned out, it’s time to glue your felt balls in place. 

Felt Ball Letters by popular US craft blog, Sweet Red Poppy: image of a white cardboard letter A next to a row  of rainbow felt balls.

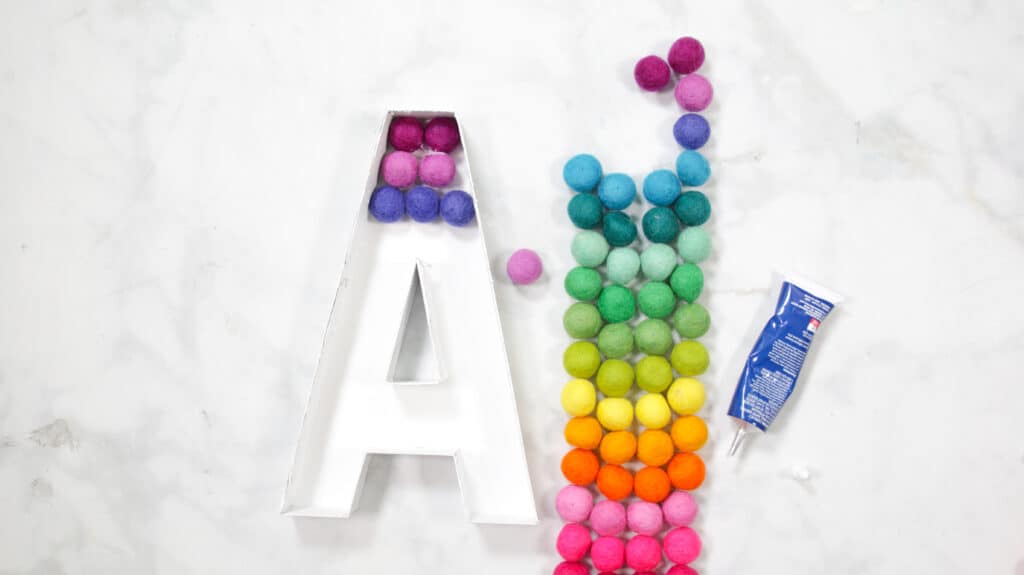
Dab a small amount of Beacon Power-Tac Glue on each felt ball and place it in your letter. 

This glue is super strong, so you shouldn’t need to hold it in place while it dries. 

Felt Ball Letters by popular US craft blog, Sweet Red Poppy: image of a white cardboard letter A filled with rainbow felt balls.

After all of your felt balls are in place, let it dry for 10-30 minutes before standing upright. 

Now you have an adorable DIY Felt Ball Letter. Wasn't that easy? Now you can repeat this process to create any word or phrase you'd like to make!

Felt Ball Letters by popular US craft blog, Sweet Red Poppy: image of a white cardboard letter A filled with rainbow felt balls.

Let me know how your letters turned out. Be sure to post a picture on Instagram or Facebook and tag me so I can see it!

Looking for more felt ball crafts? Be sure to check out my blog post HERE.

Felt Ball Letters by popular US craft blog, Sweet Red Poppy: Pinterest image of a white cardboard letter A filled with rainbow felt balls.

Would you try this DIY felt ball letters project? Let me know in a comment below!

« Unboxing the New Cricut Explore 3
Easy Oven Mitt & Pot Holder Sewing Pattern and Tutorial »

Reader Interactions

Comments

  1. Laila says

    July 06, 2021 at 2:46 pm

    What size felt ball did you use?

    Reply
  2. Elaine says

    June 13, 2022 at 10:09 am

    Yes. My granddaughter’s christening is in July. This looks like it would be good to make. How big are the letters?

    Reply

Leave a Reply Cancel reply

Your email address will not be published. Required fields are marked *

This site uses Akismet to reduce spam. Learn how your comment data is processed.

Primary Sidebar

Ready, Set, Sew! An online sewing course for beginners by top US sewing blogger, Sweet Red Poppy.

Hello, I’m Kimberly, the creator of Sweet Red Poppy!

I’m a wife, mother to 3, seamstress, and lover of all things crafty! Sweet Red Poppy is my creative outlet where I find and create inspiration. It’s a place where I can share my never-ending sewing projects and my love of learning!

Read more about me →

The Latest

  • How to Sew Half Square Triangles Eight at a Time
    How to Sew a Half Square Triangle - Eight at a Time
  • Computer that says, Where to find fonts online
    Where to Find Fonts Online
  • Kim holding ipad talking about fonts
    How to Add Fonts to Adobe Illustrator on iPad
  • Rolled Paper Flower Wreath
    Free Rolled Paper Flower Wreath Template
  • 5 Useful Tools to Help You Organize After the Holidays with JOANN
  • How to Make Christmas Gift Tags with Your Cricut Machine

Footer

↑ back to top

Legal

  • Privacy Policy
  • Disclosure

Newsletter

  • Sign Up! For Emails and Updates

About

  • Contact
  • About
  • Home

Copyright © 2022 Sweet Red Poppy