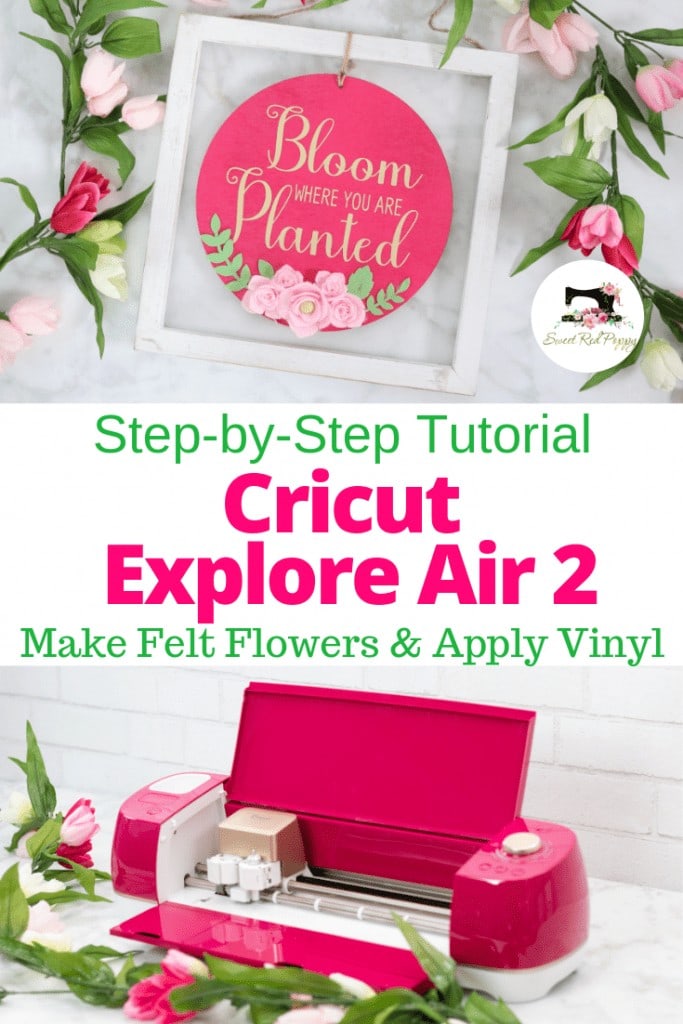
Create an Adorable Spring Frame and Learn How to Cut and Apply Vinyl with This Step-by-Step Photo and Video Tutorial using the Cricut Explore Air 2 Wild Rose Bundle Available exclusively from Joann.
Did you hear the news?!? The Cricut Explore Air 2 Wild Rose Bundle just released and it's available exclusively from JOANN.
This post is sponsored by JOANN. All thoughts and opinions are my own.
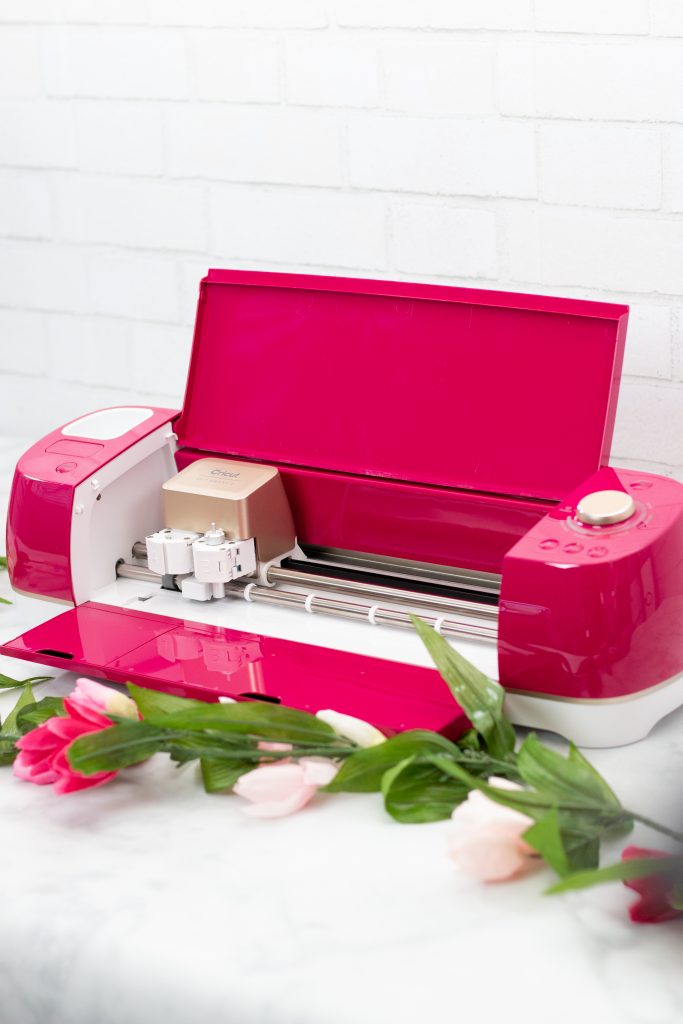
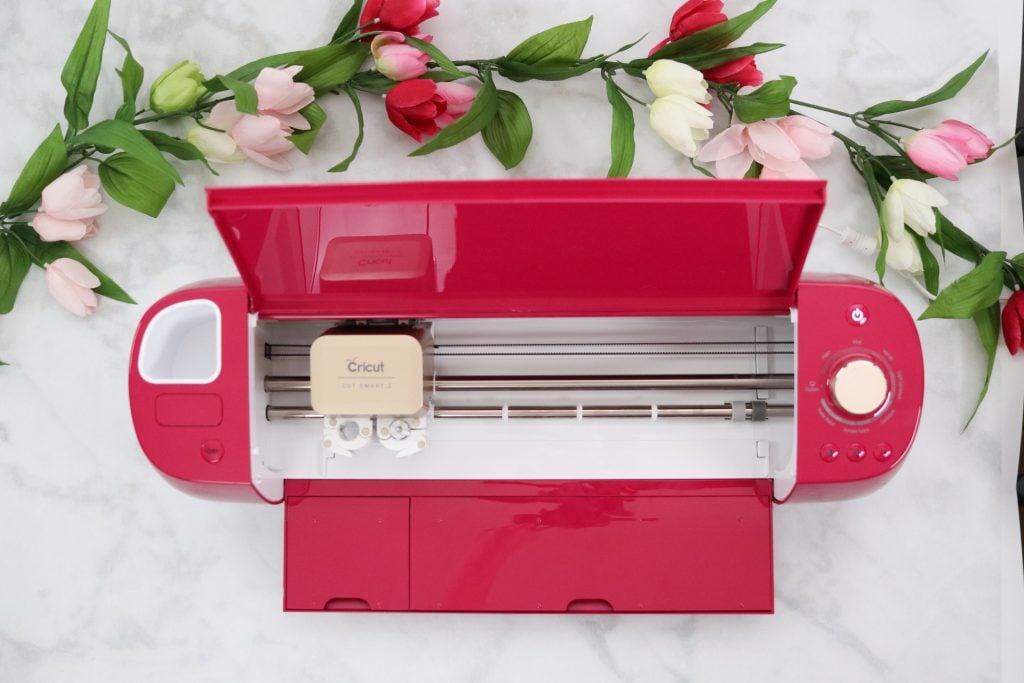
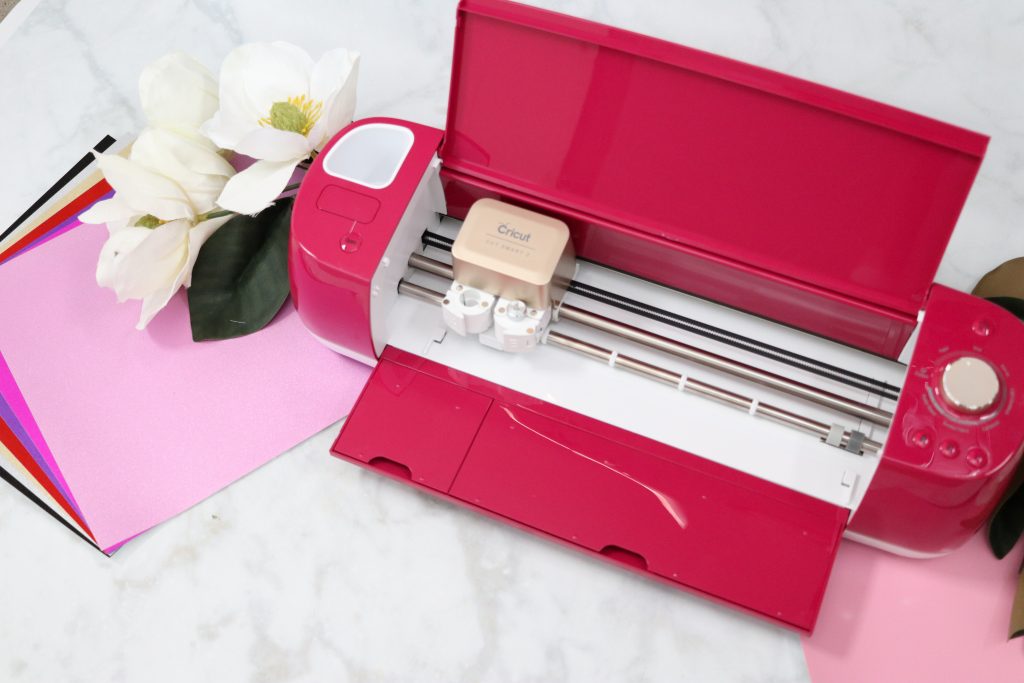
Not only is it the most gorgeous color, (who else is obsessed with this new shade?) but it's also jam-packed with amazing goodies! I'm so excited to share this bundle with you and a fun spring-inspired tutorial!
I'm obsessed with the gold details on this machine! Aren't they beautiful?
Watch the replay of my live Facebook video where I unbox this bundle here.
Are you wondering what's included in this bundle? There's over $100 worth of extra Cricut materials!
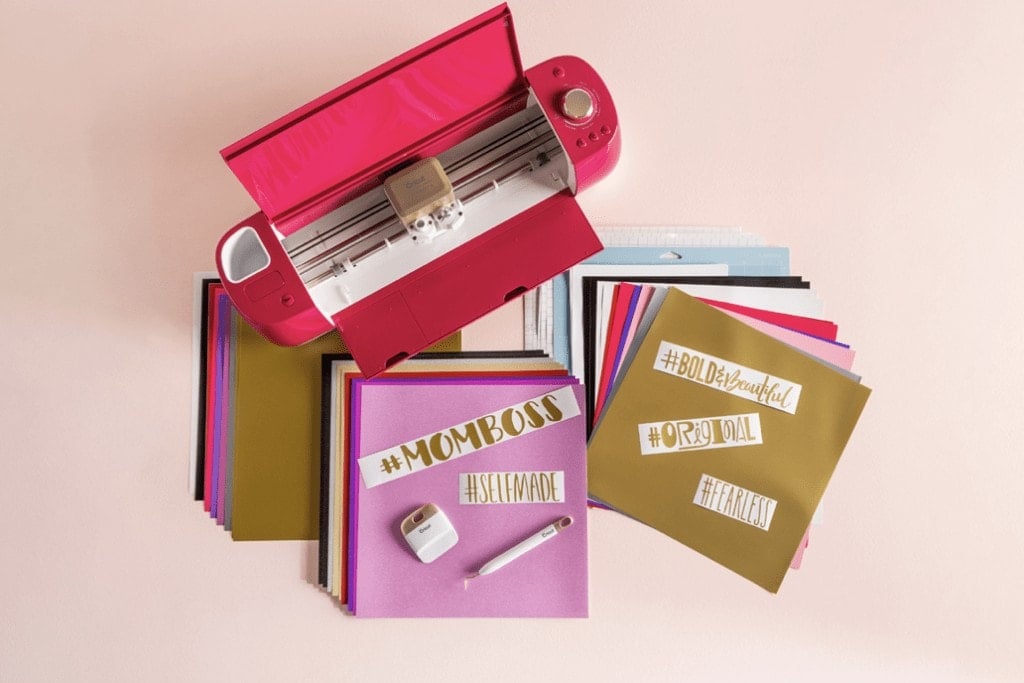
Table of Contents
Cricut Explore Air 2 Wild Rose Bundle Available Exclusively at JOANN
- Cricut Explore Air 2 in an Exclusive Wild Rose Color
- 1 Gold Scraper
- 1 Gold Weeder
- 10 Sheets Permanent Vinyl
- 10 Sheets Premium Removable Vinyl
- 10 Sheets Shimmer Permanent Vinyl
- 5 Precut Vinyl Designs
- Printable Vinyl Sheets
- Transfer Tape and Strong Grip Tape
- Premium Fine-Point Blade
- Fine Point Pen in Black
- 12 x 12 Light Grip Mat
- Welcome Book
- USB Cable and Power Adapter
- Free Trial Membership to Cricut Access
This bundle is currently available for $329, which is
Let's get started on our tutorial!! You can get all of the supplies for this project from JOANN.
Supplies
- Cricut Explore Air 2 Bundle
- Wooden Frame
- Wooden Circle
- Hot Glue Gun
- Cricut Felt Sampler Pack
- Cricut Design Space
- Cricut Gold Shimmer Permanent Vinyl
Here's a helpful tip! Did you know there are multiple ways to get JOANN coupons? Make sure that you've subscribed for coupons via email, text, the JOANN app, mailers and hold onto the coupons they give you with your receipt when you shop in-store. I always shop with a coupon in hand!
Prepare The Mat & Cut The Design
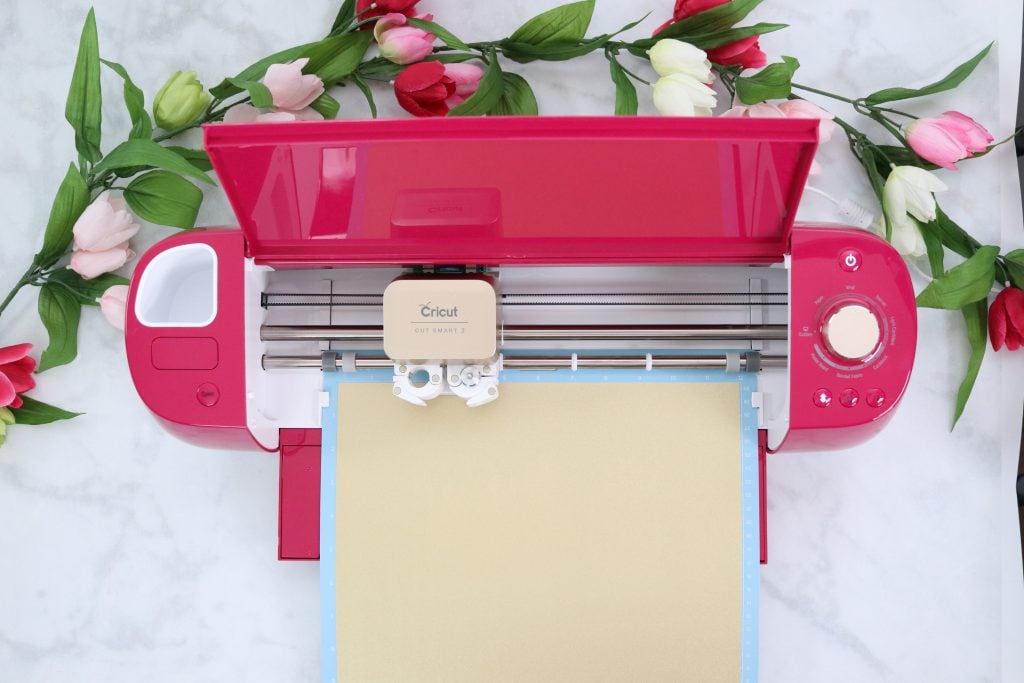
Place the Gold Shimmer Vinyl with the paper liner facing downwards onto a Cricut Strong Grip cutting mat.
Select the images within Design Space (or design your own) and load the mat into the Cricut machine to begin cutting.
Turn the dial to "Custom" and select "Shimmer Vinyl" within Design Space. Load the mat and begin cutting, o
Weed & Apply Vinyl Design with Transfer Tape
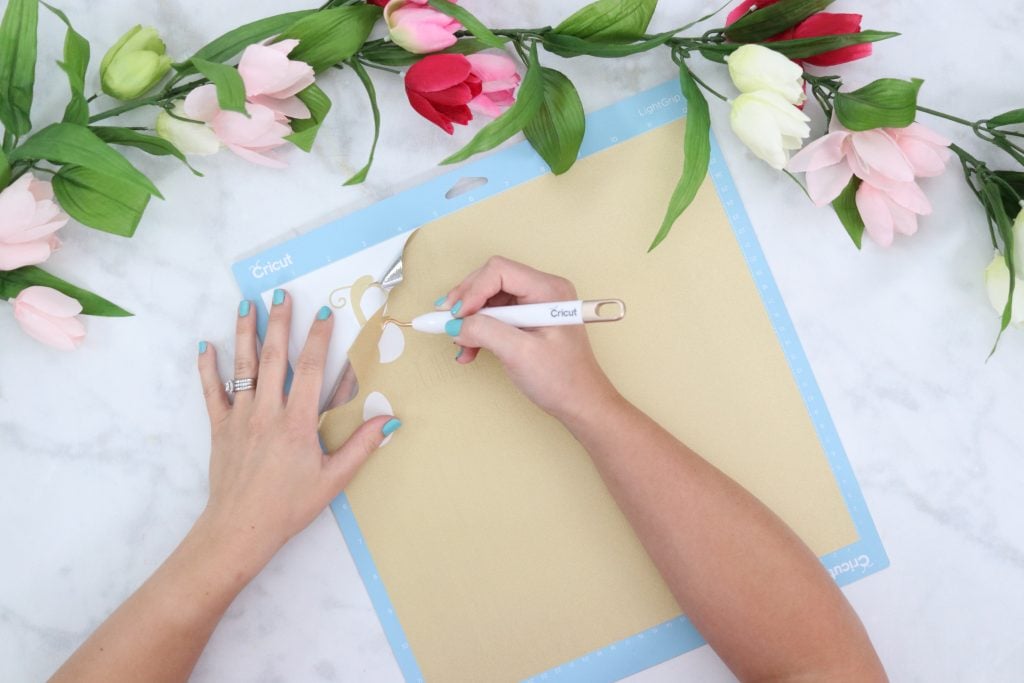
Remove the excess pieces surrounding the design using a weeding tool leaving the paper backing liner intact.
The Wild Rose Bundle comes with a beautiful gold weeder as well as a scraper which is perfect for this project!
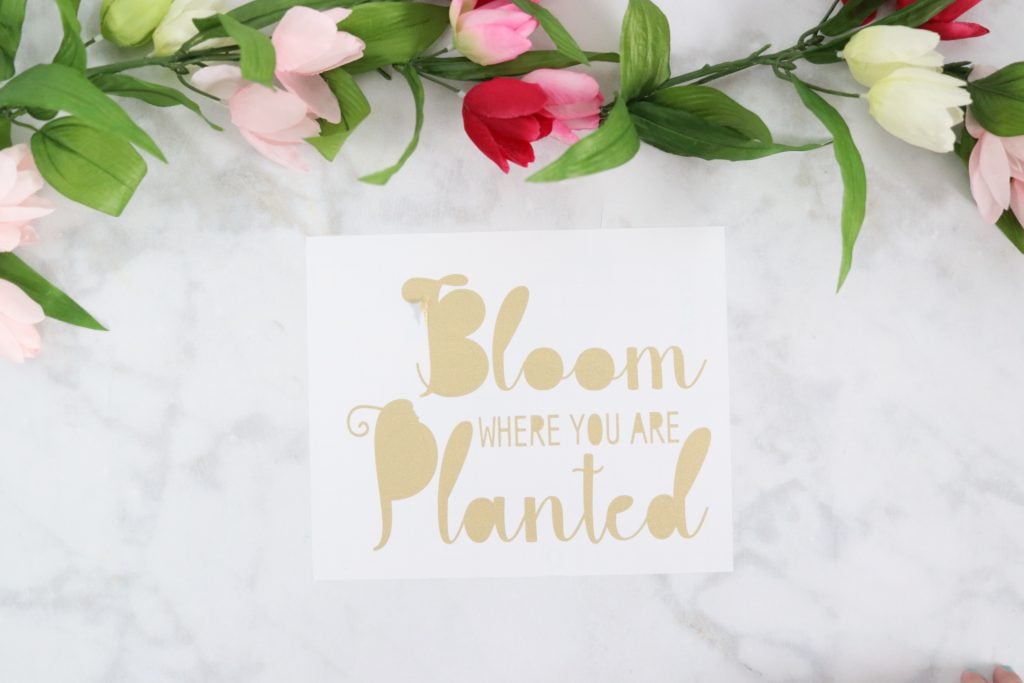
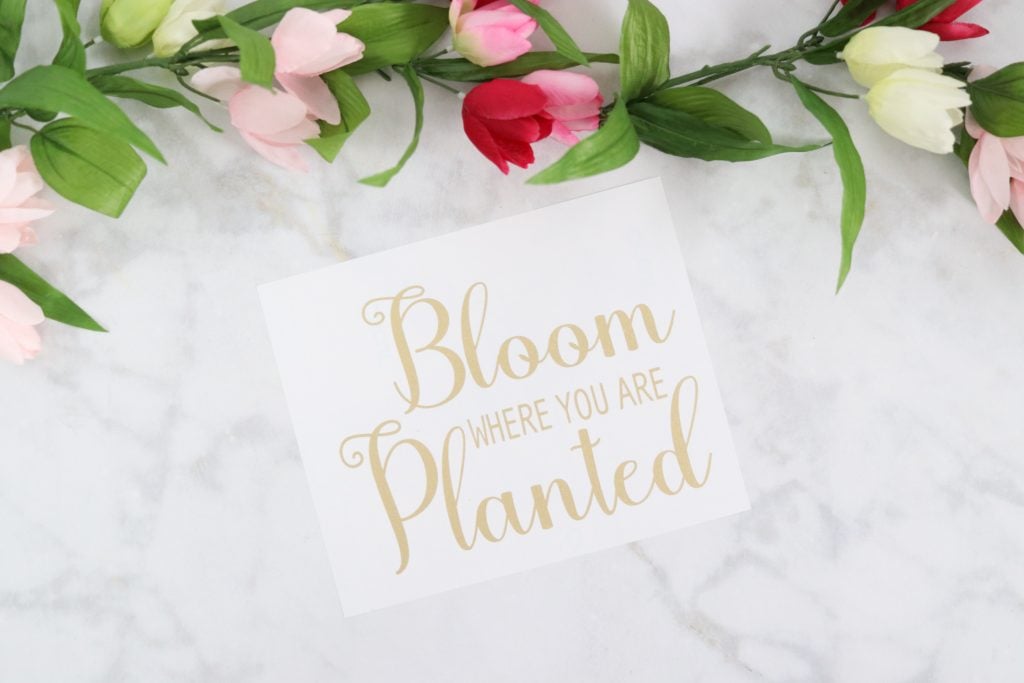
Cut a piece of transfer tape slightly larger than the design. Remove the transfer tape liner and apply the transfer tape with the sticky side facing downwards over the design.
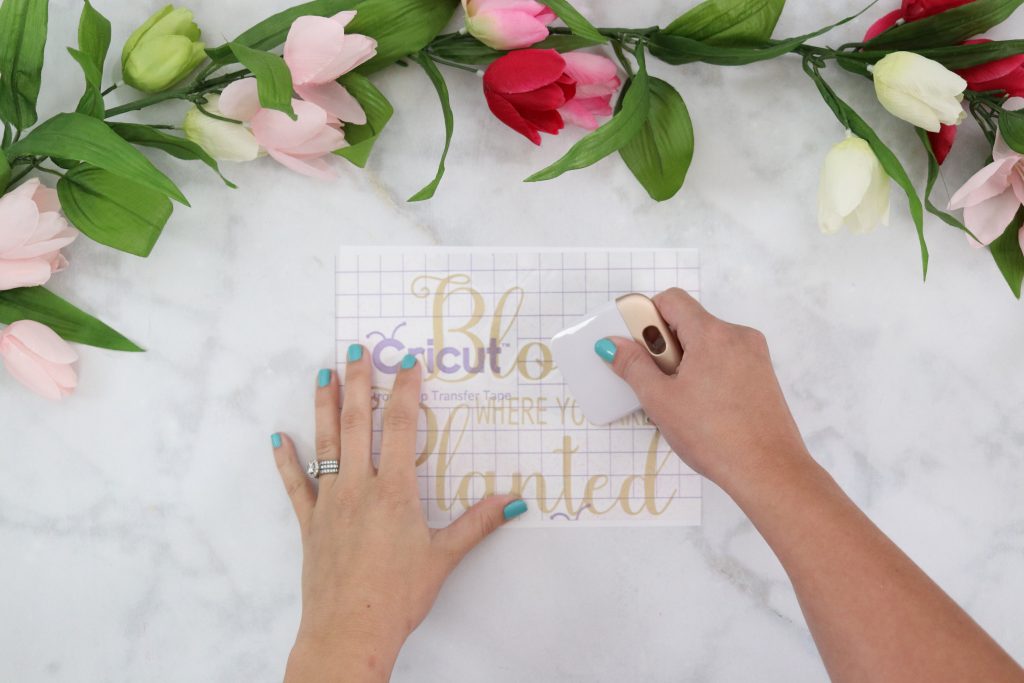
Using a scraper, rub the tape onto the vinyl. To prevent bubbling begin in the center of the design and move outwards.
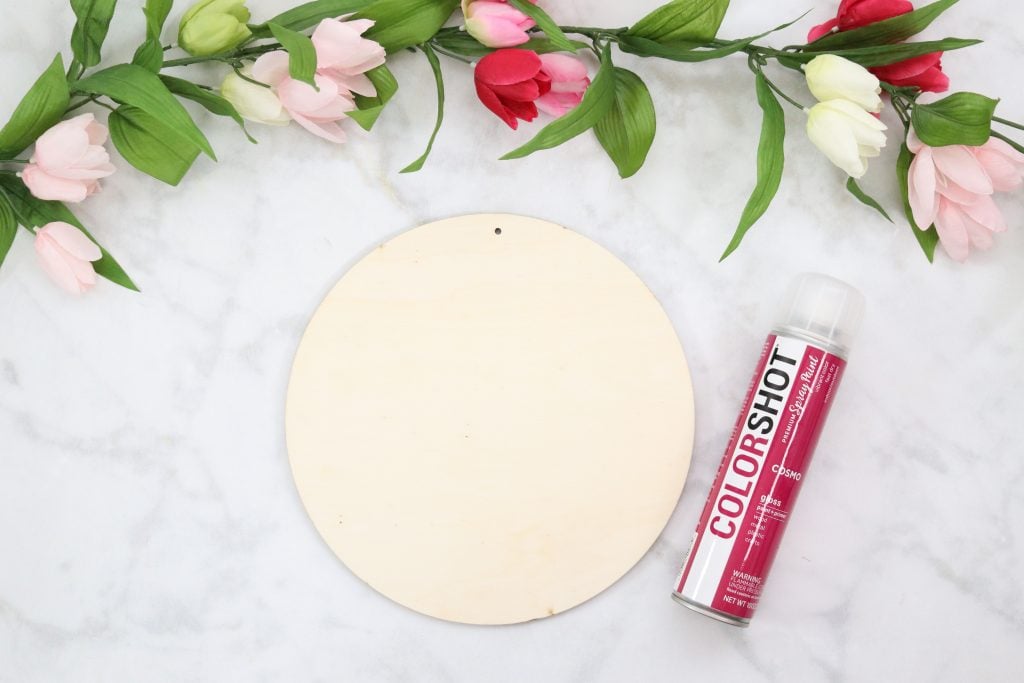
Spray paint a round wooden circle. I love the Color Shot brand of spray paint that's found exclusively at JOANN.
It's highly pigmented and only requires a small amount of paint for coverage. Just make sure to shake it for 1 full minute before using it!
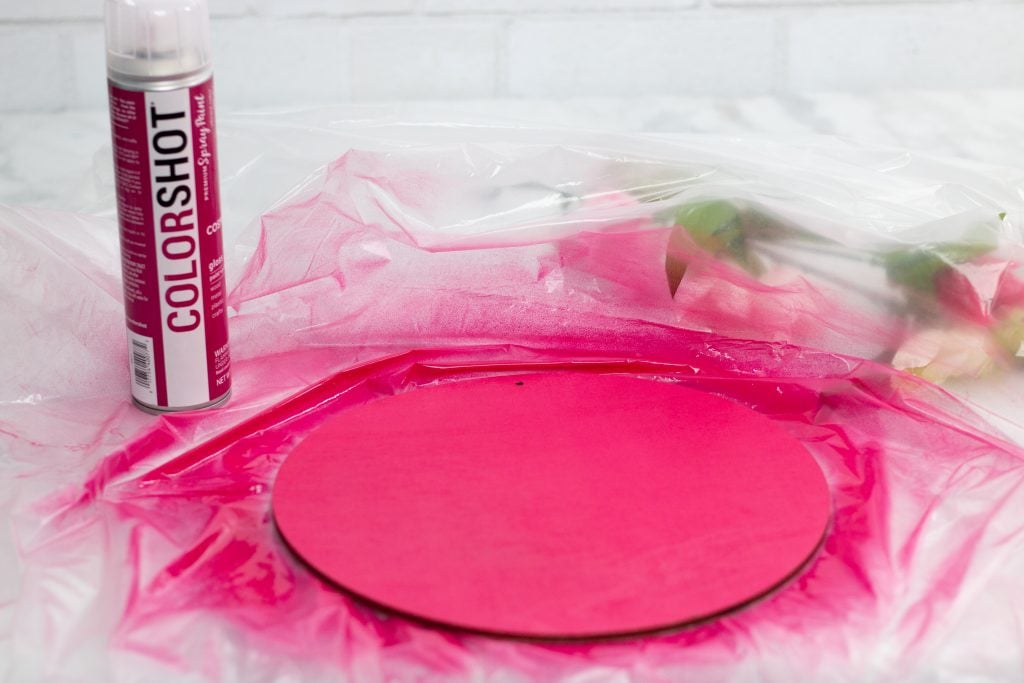
This spray paint is quick drying so you can apply your vinyl to it after 10 minutes of drying time. Which is great for those of us who are less than patient. 😉
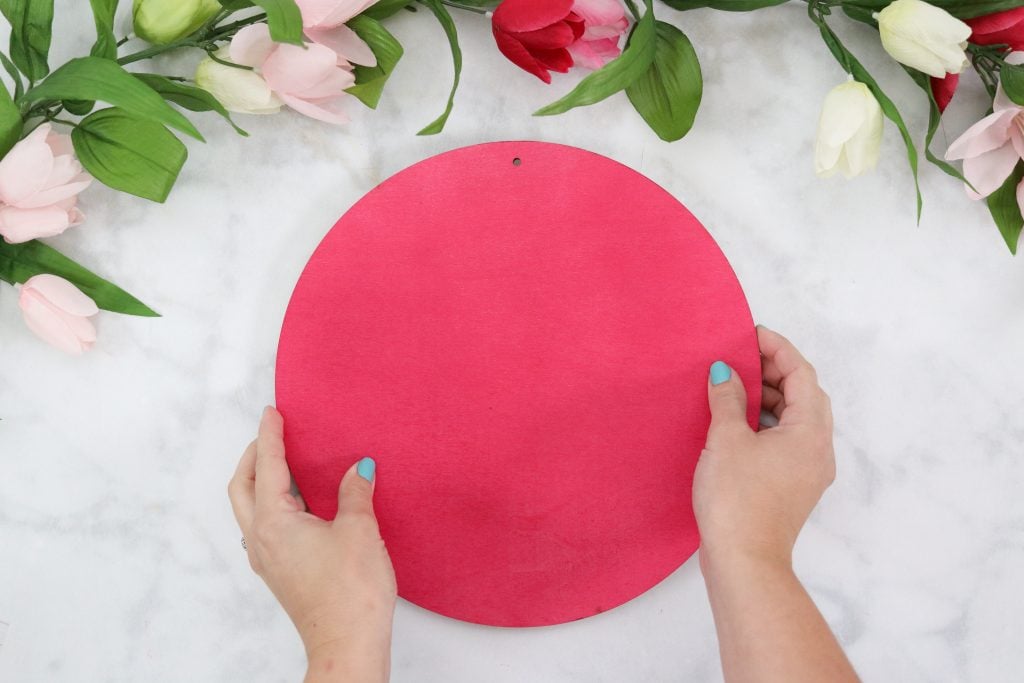
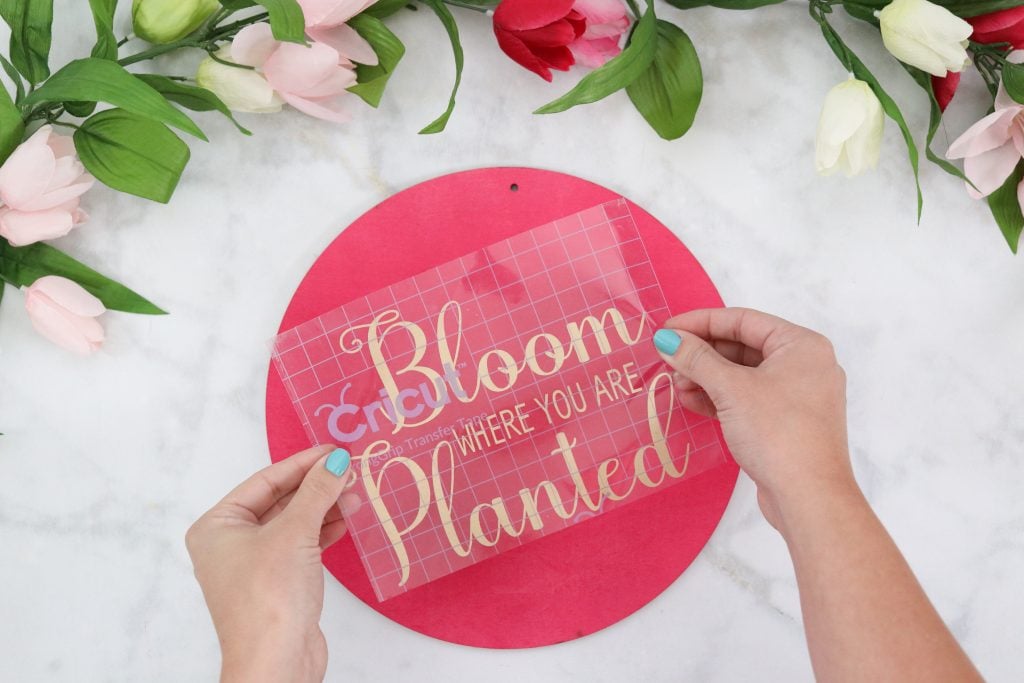
Center the design and apply the transfer tape to the wood. Use a scraper tool to burnish the vinyl to adhere it to the wood.
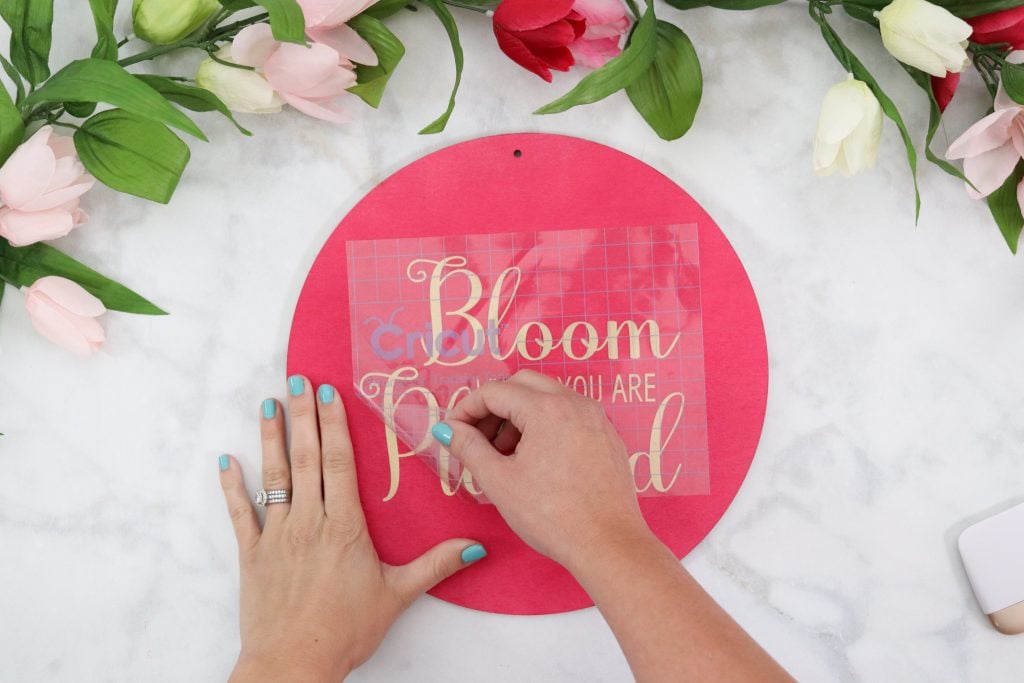
Peel away the transfer tape away from the wood at a 45-degree angle.
If the design is sticking to the transfer tape and not the wood, use the scraper to burnish the vinyl and peel away the tape.
Create Felt Flowers
Cut out the felt flowers and leaves using a Cricut Felt Sampler Pack.
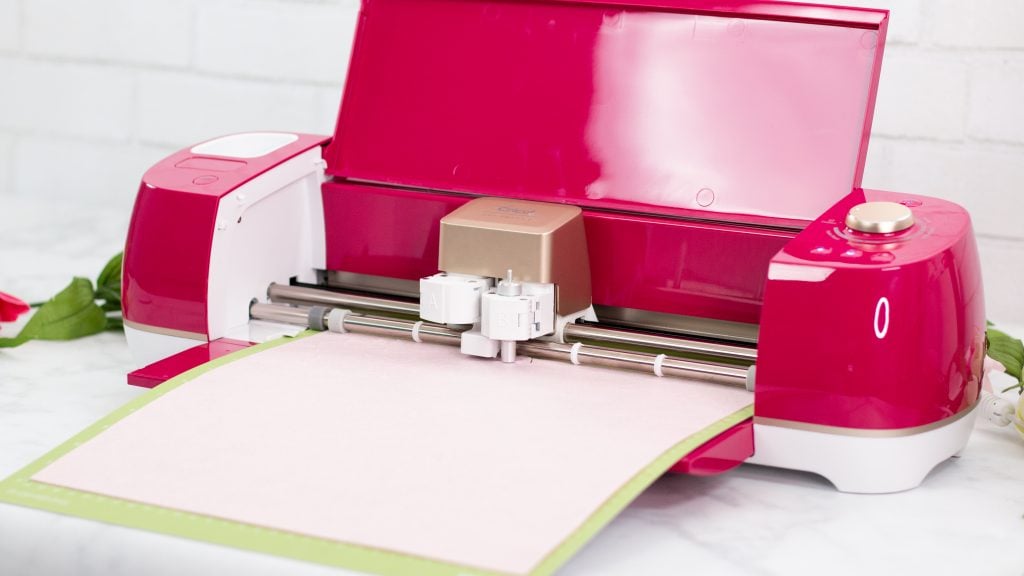
This line of felt is stiff enough that it can be cut out on the Cricut Explore Air 2 without needing a deep-cut blade or a backing.
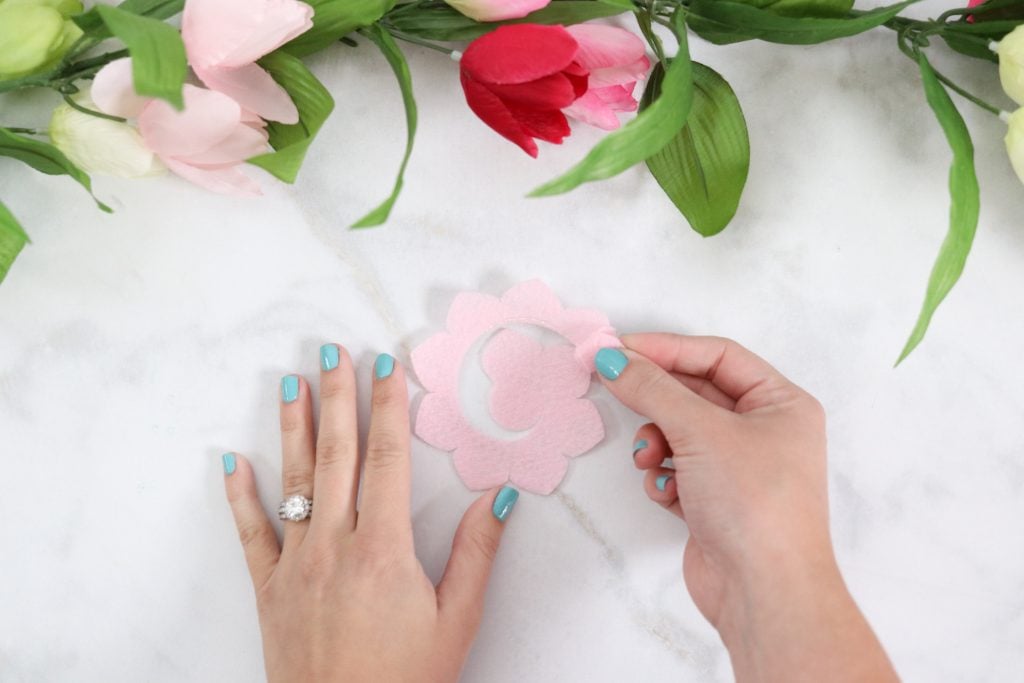
Beginning from the outside of the circle gently fold the petals around and around until you reach the center. You can see this more clearly in the video.
Once you reach the end, place a dot of hot glue around the circle to secure the petals in place.
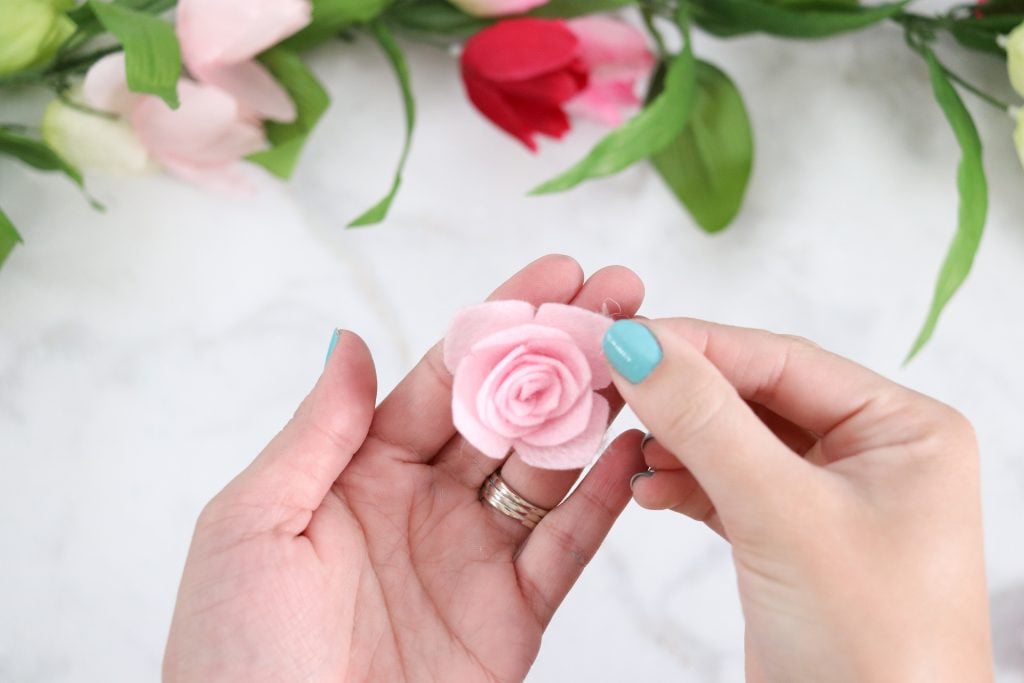
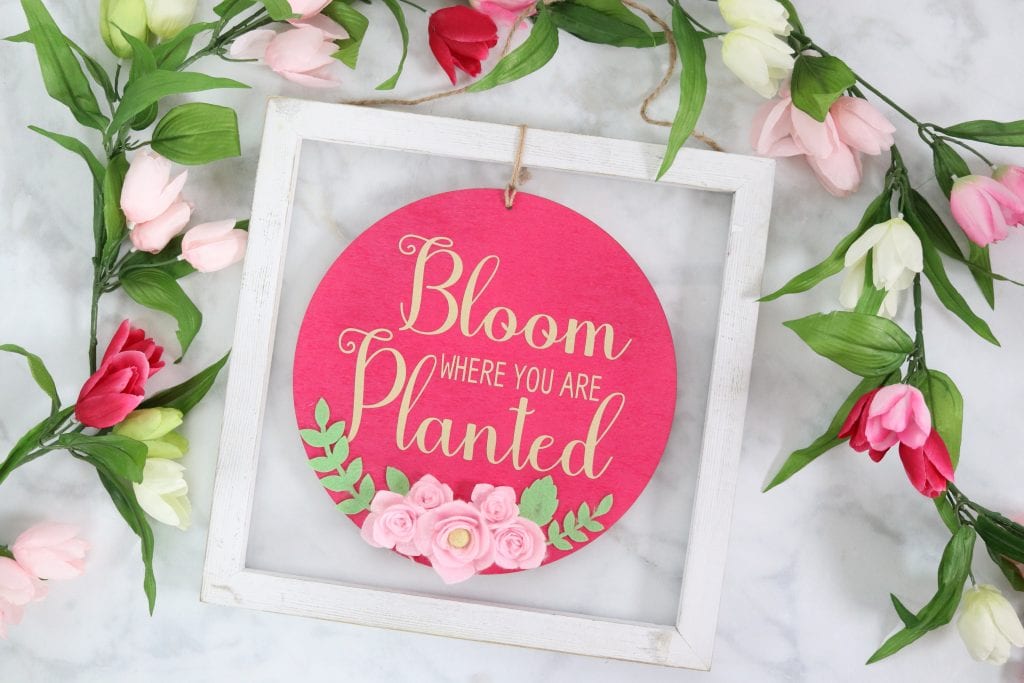
Attach the felt flowers and leaves to the wooden circle with hot glue. I used a total of five felt flowers and added a few leaves.
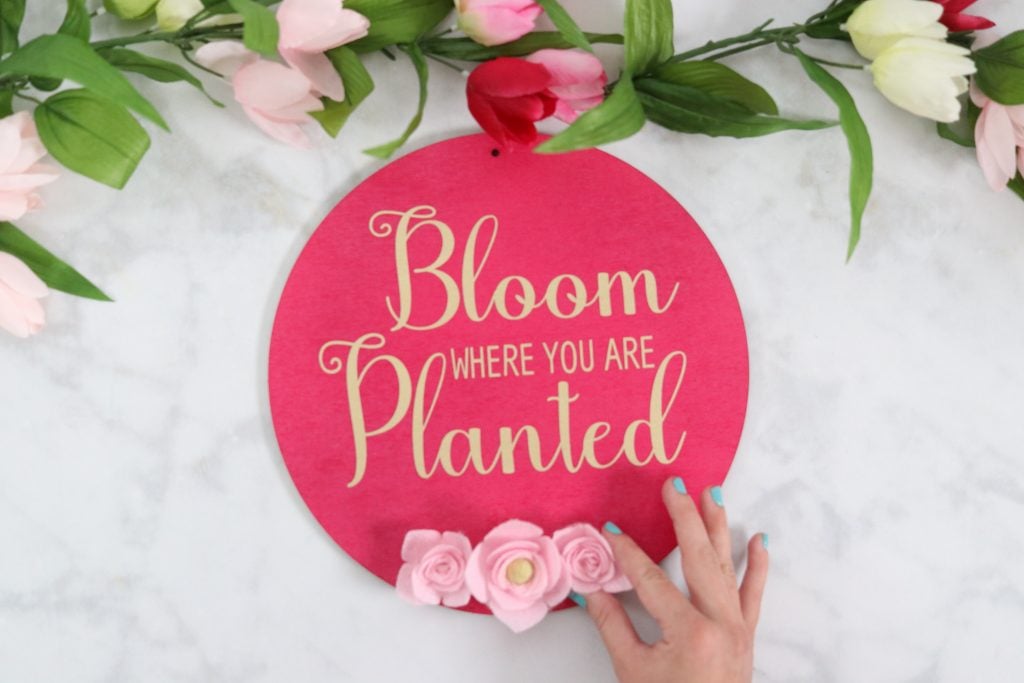
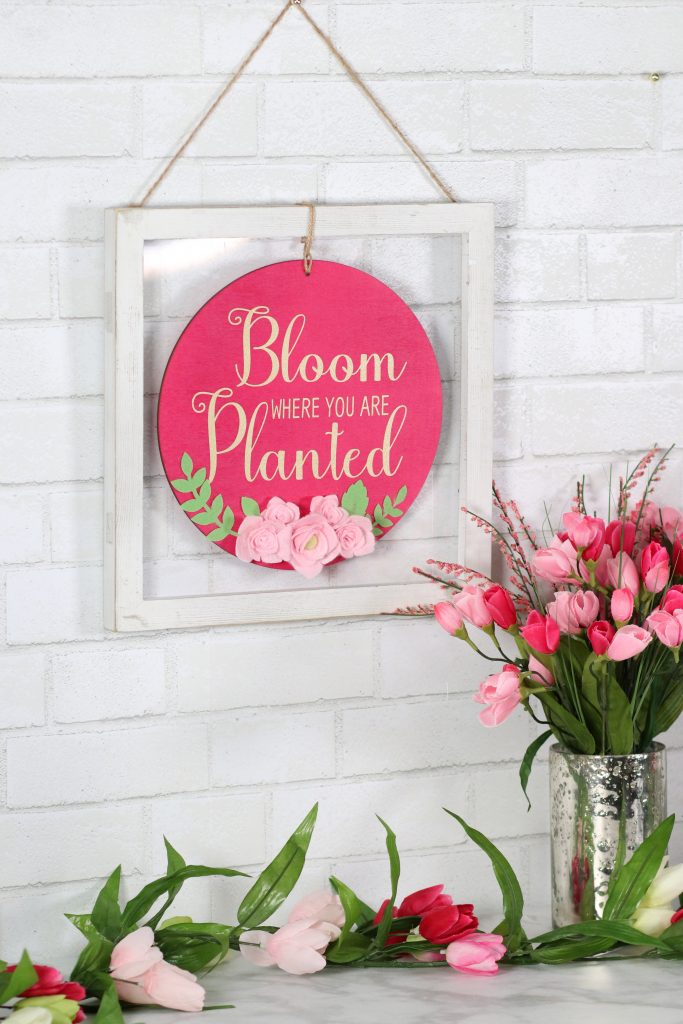
Secure the wooden circle to the square frame.

Hang your new spring frame and enjoy your handmade artwork!
You can find the Cricut Wild Rose Bundle exclusively at JOANN.

So very pretty!! LVE the colors you chose!! So happy and vibrant!! Thank you for the tutorial!!
Where did you get the frame? And what did you put in the middle of the flower? I LOVE this project. You did a great job.
Thank you so much for this amazing Tutorial.
Is there a link to the project in Design Space?
Hi, i can’t seem to find the svg to download anywhere above? Where can i download this file or can u send to me please?
AlissaFink@yahoo.com.
Thanks!
Where can I get this beautiful svg?
Thank you