Organize Your Pantry in Just a Few Simple Steps with Your Cricut Machine and a Roll of Vinyl! Learn How to Easily Cut and Apply Vinyl Labels to Glass Jars with Step-by-Step Photo Instructions and Video.
This is a sponsored conversation written by me on behalf of Cricut. The opinions and text are all
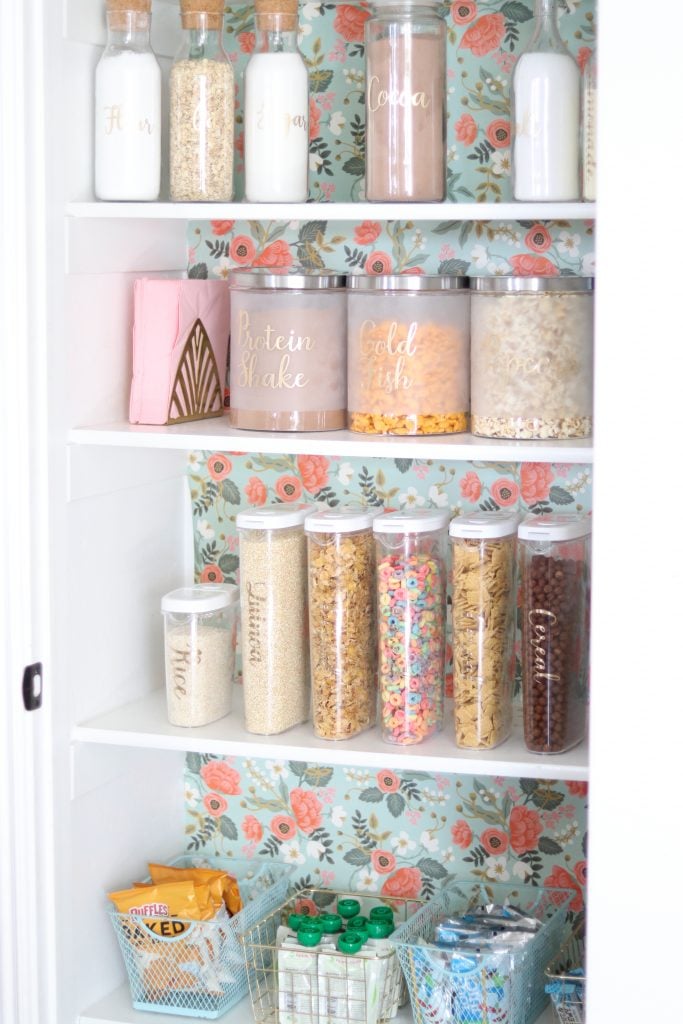
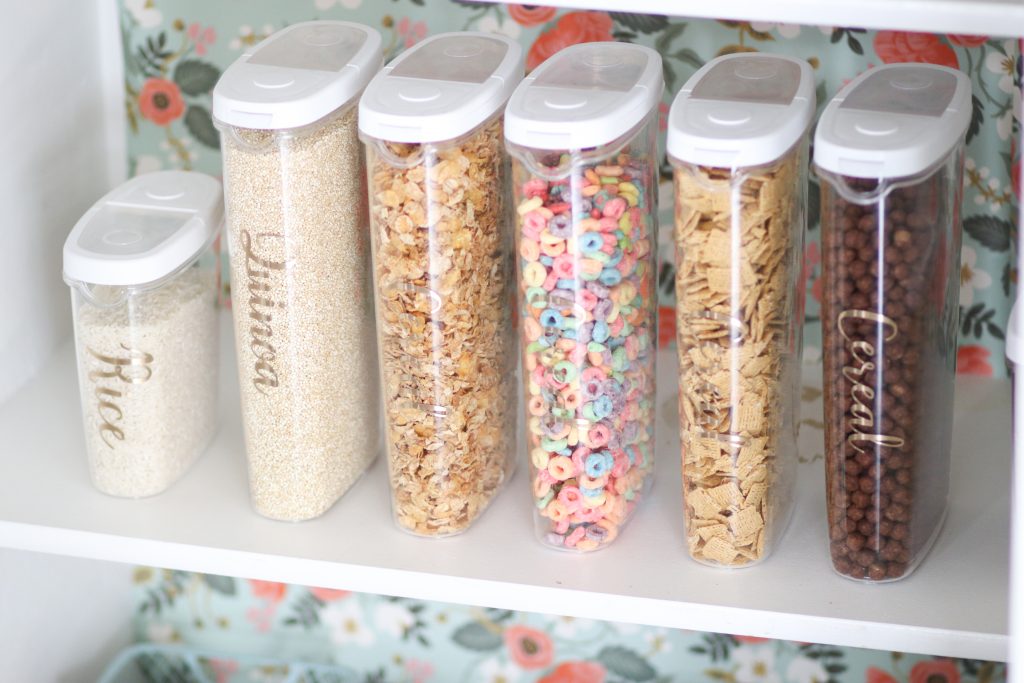
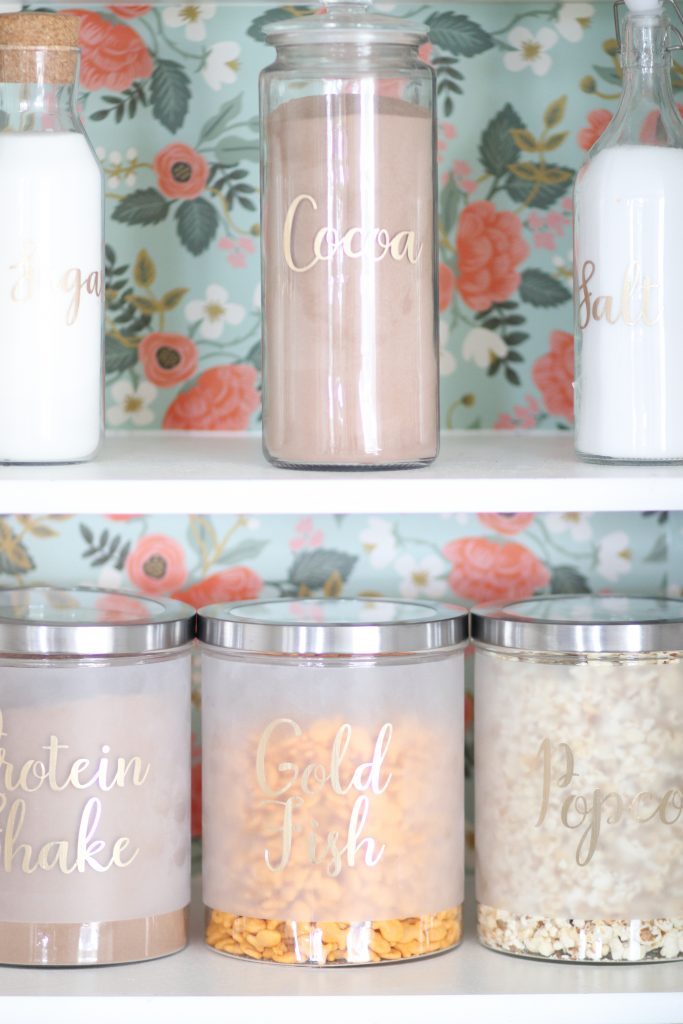
If you are new to using Vinyl, this project is the perfect beginner-friendly tutorial to get you started! I'll walk you through every step and even share some helpful tips and tricks along the way.
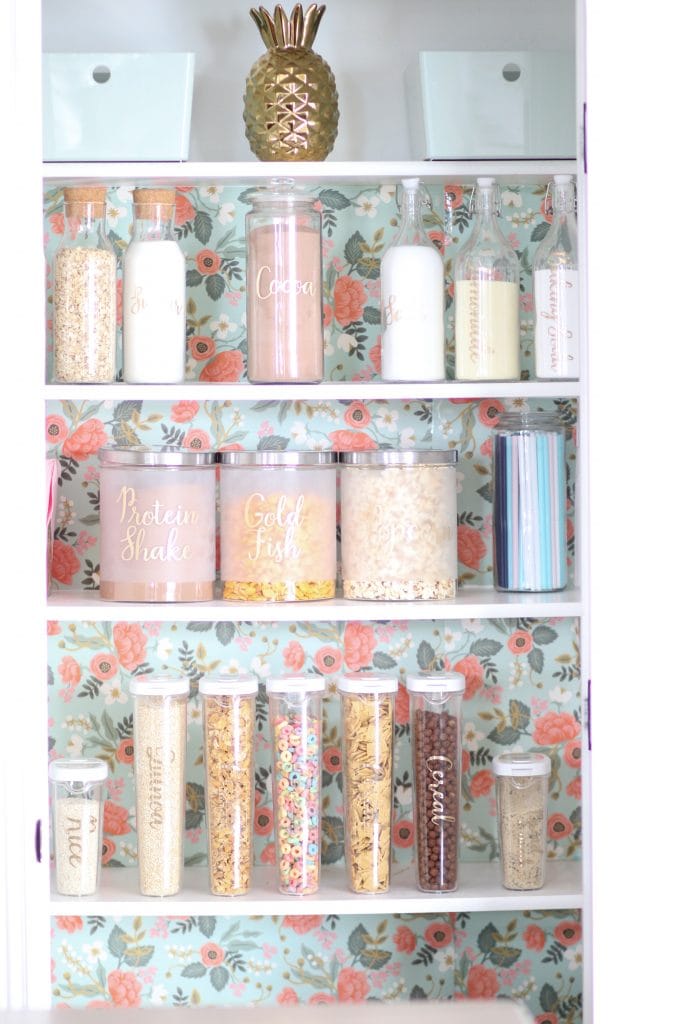
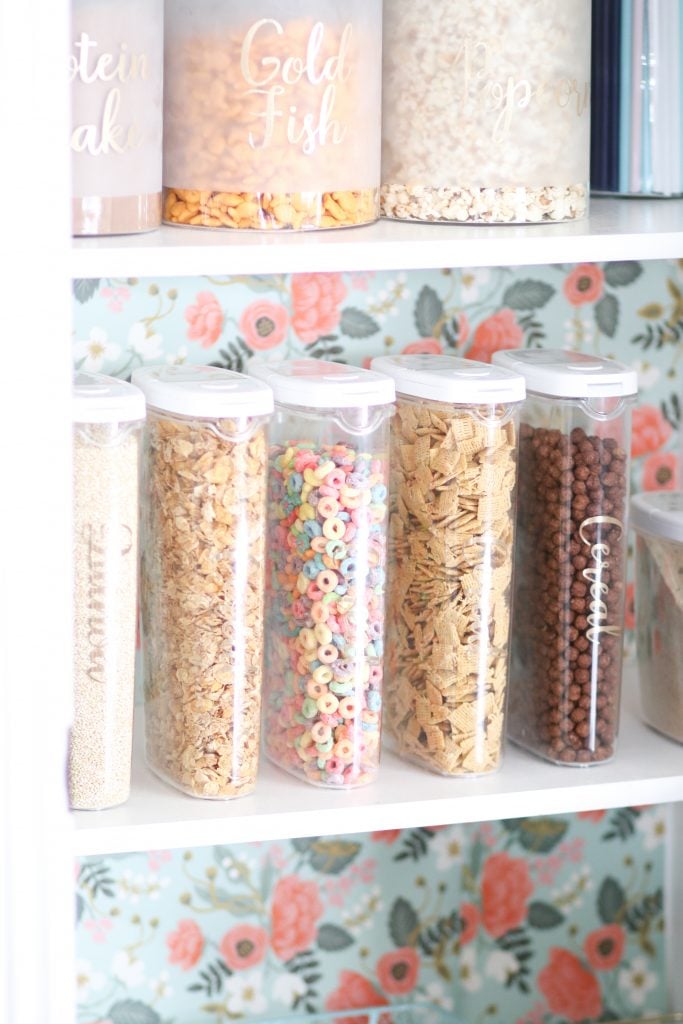

I LOVE finding different ways to use my Cricut Maker to organize different areas of my house and I knew my pantry needed a serious overhaul after a year of neglecting it!
My Cricut was perfect for creating customized labels to help me sort and organize every shelf of my pantry!
Let's get started! Below are the supplies that you will need for this project.
Supplies
- Cricut Maker Machine
- Cricut Vinyl
- Cricut Mat
- Cricut Transfer Tape
- Cricut Weeding Tool
- Cricut Scraper
- Glass Jars
- Clear Canisters
- Cricut Portable Paper Trimmer
- Design Space
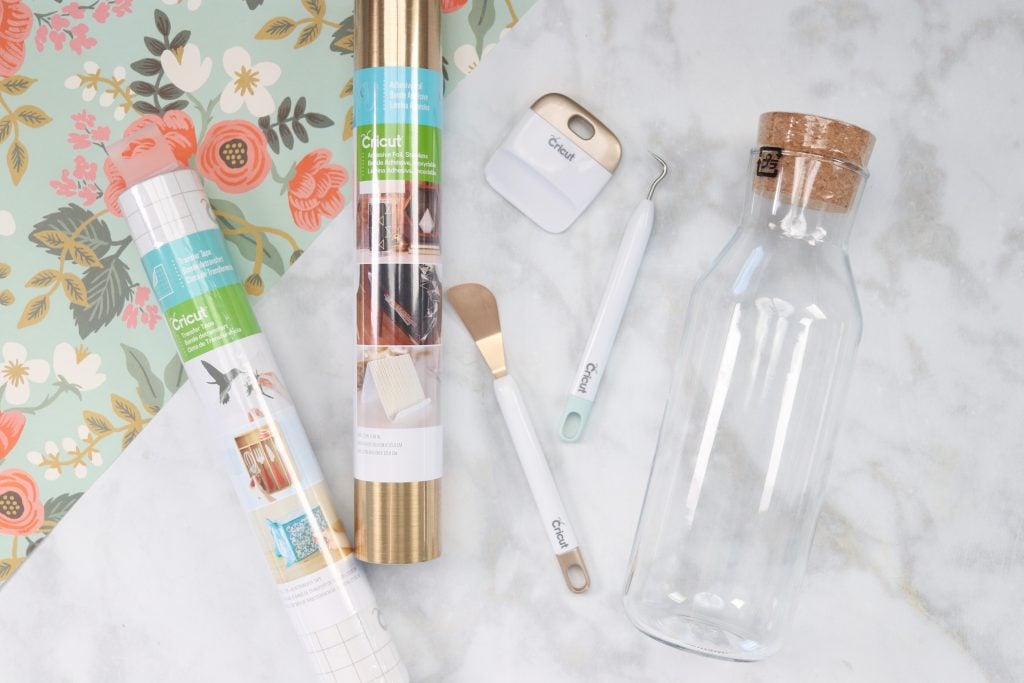
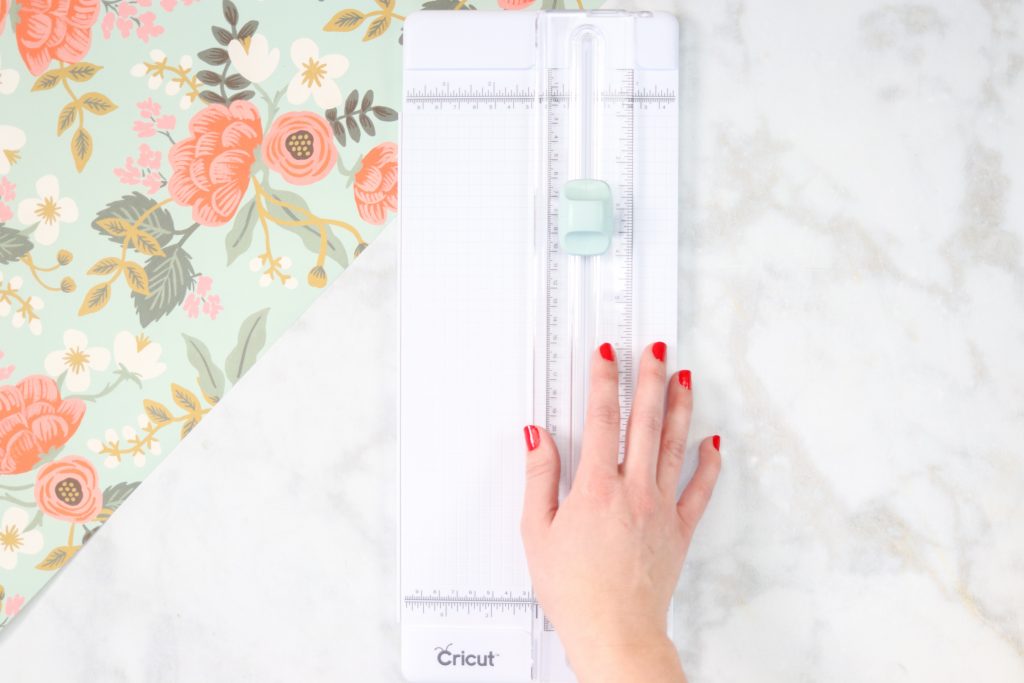
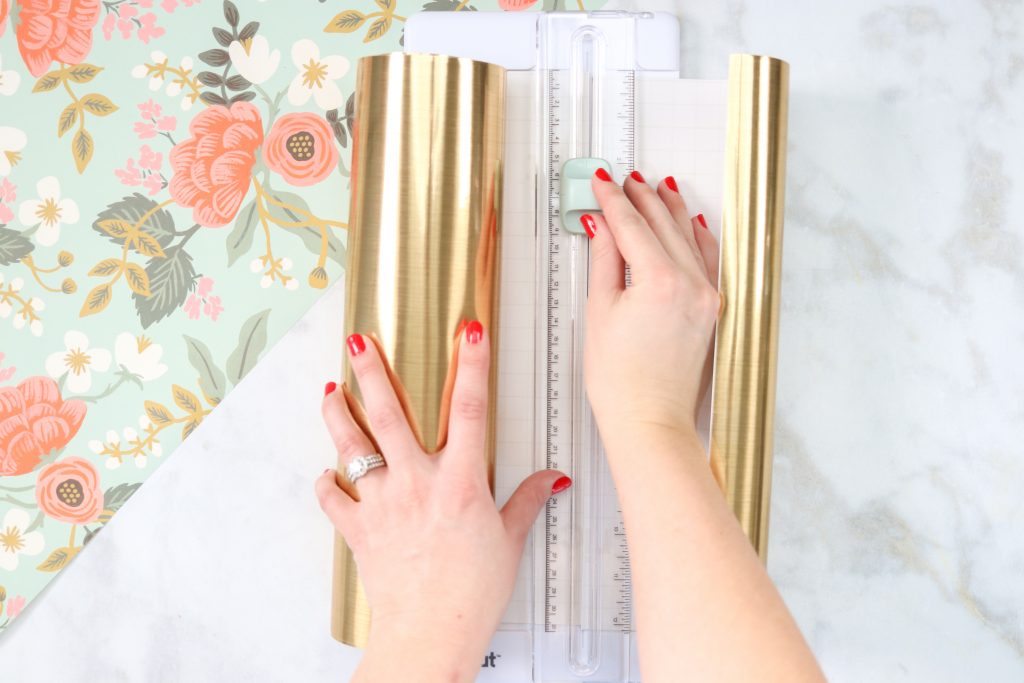
Precut Vinyl To Size
Use the Portable Cricut Trimmer to cut the vinyl down to a size slightly larger than the design you will be cutting out.
Prepare The Mat & Cut The Design
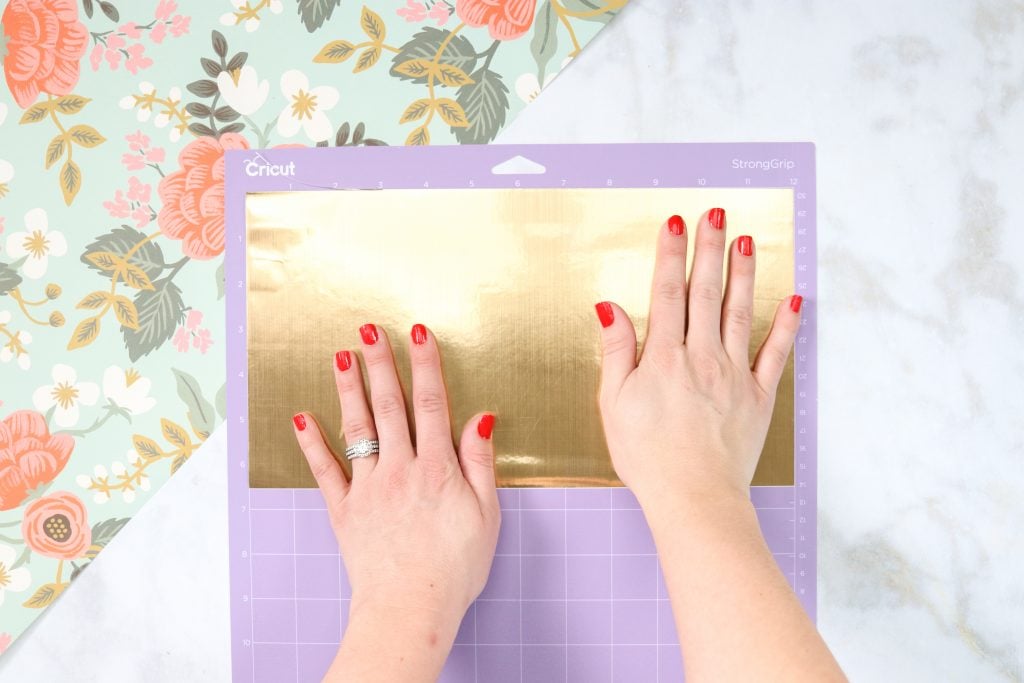
Place the vinyl with the paper liner facing downwards onto a Cricut Strong Grip cutting mat.
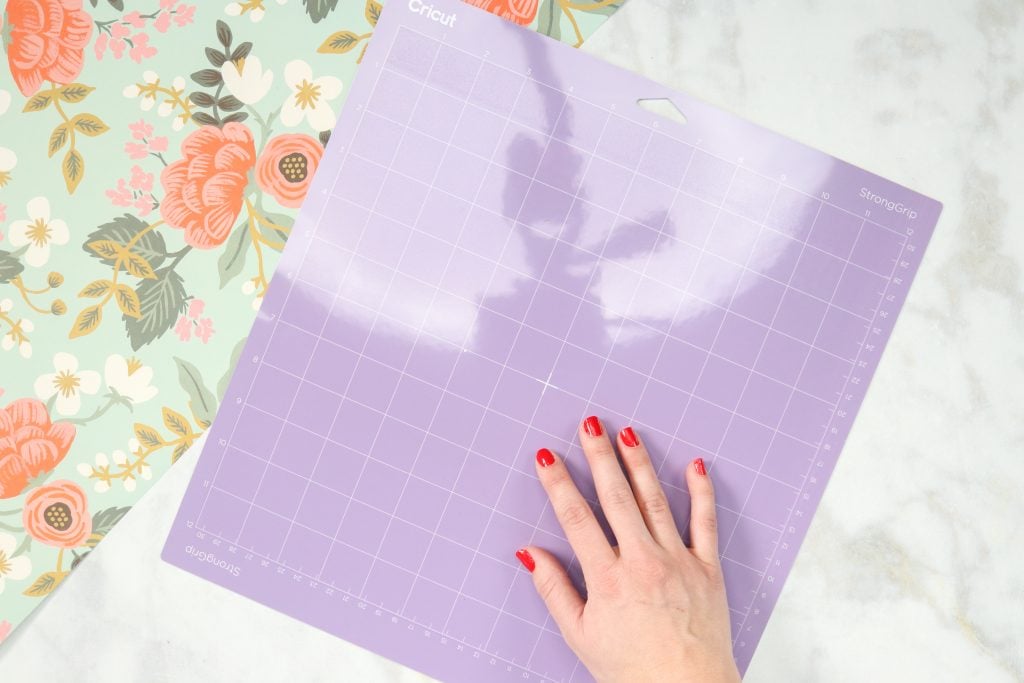
Use your hands to smooth out any bubbles.
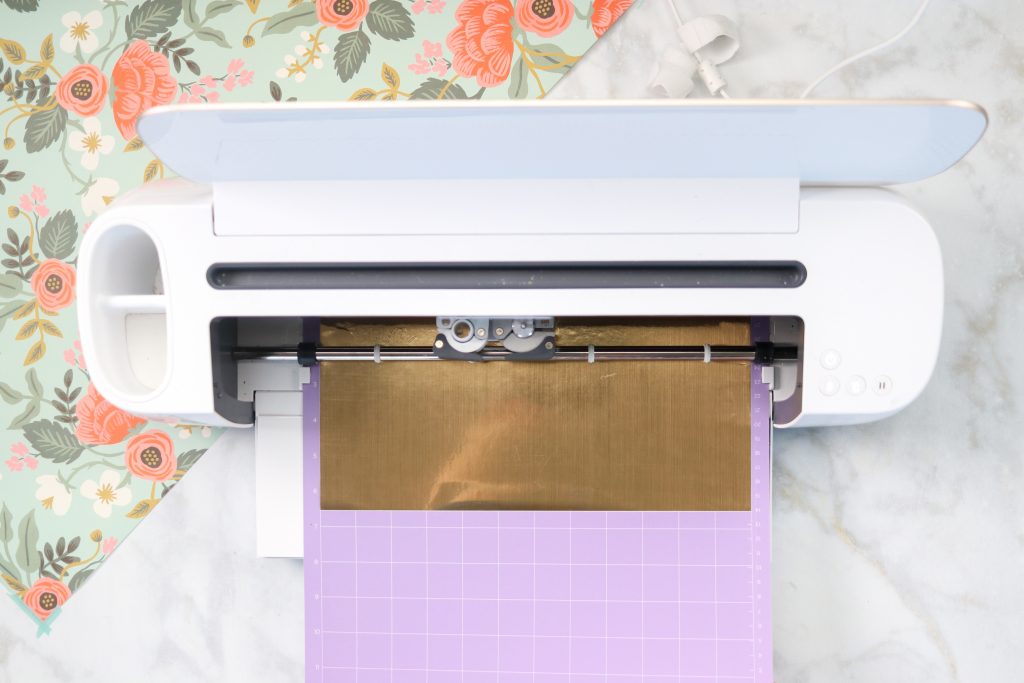
Select the images within Design Space (or design your own) and load the mat into the Cricut machine to begin cutting. Once the design is complete, unload the mat.
Apply Vinyl Design with Transfer Tape
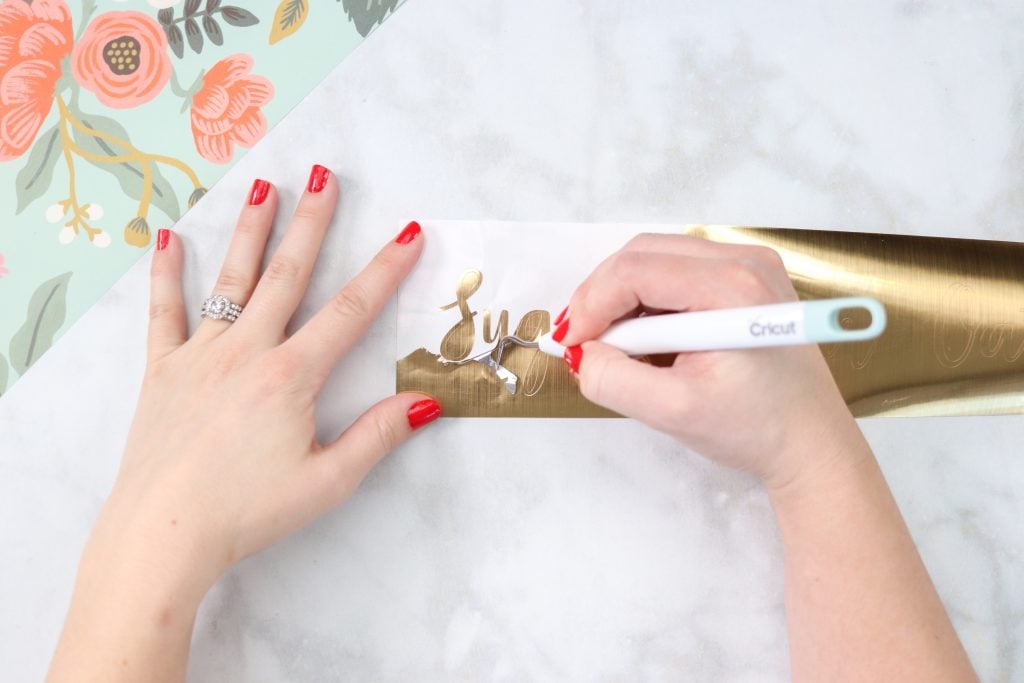
Remove the excess pieces surrounding the design using a weeding tool leaving the paper backing liner intact.
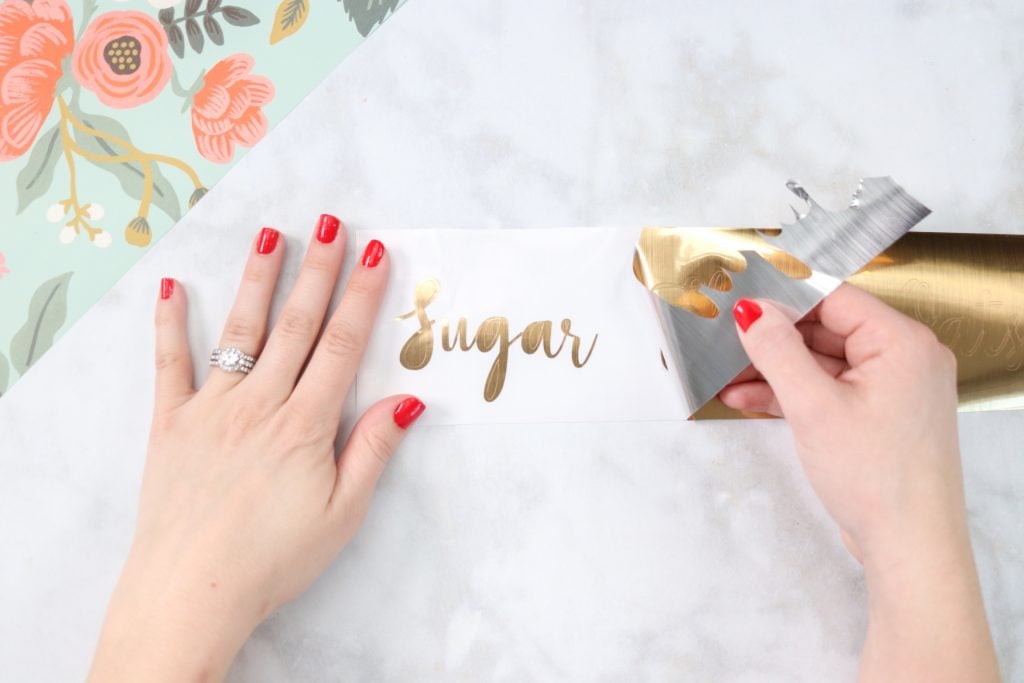
Cut a piece of transfer tape slightly larger than the design. Remove the transfer tape liner and apply the transfer tape with the sticky side facing downwards over the design.
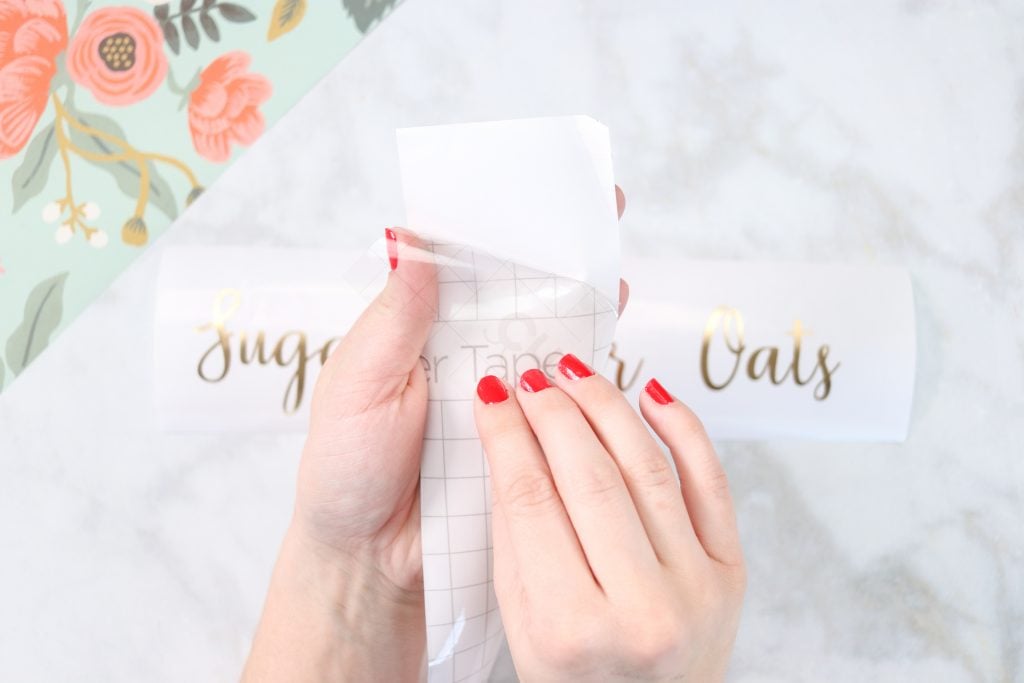
Using a scraper, rub the tape onto the vinyl. To prevent bubbling begin in the center of the design and move outwards.
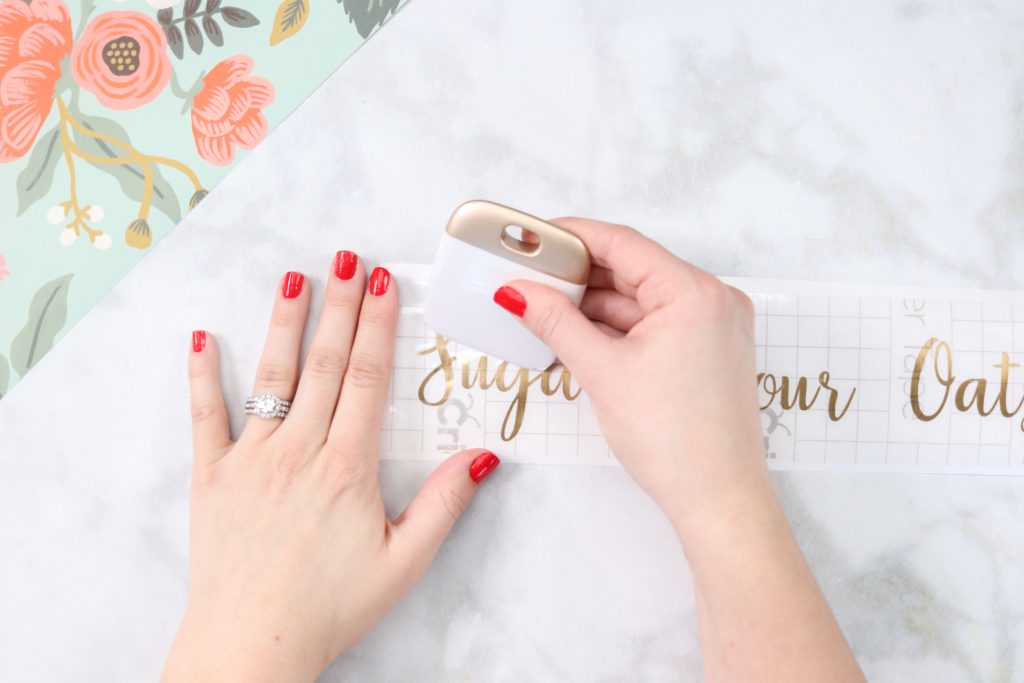
At a 45-degree angle gently pull the paper vinyl lining away from the transfer tape and vinyl design.
If the design is not sticking to the transfer tape completely use the scraper to burnish the vinyl and peel away again.
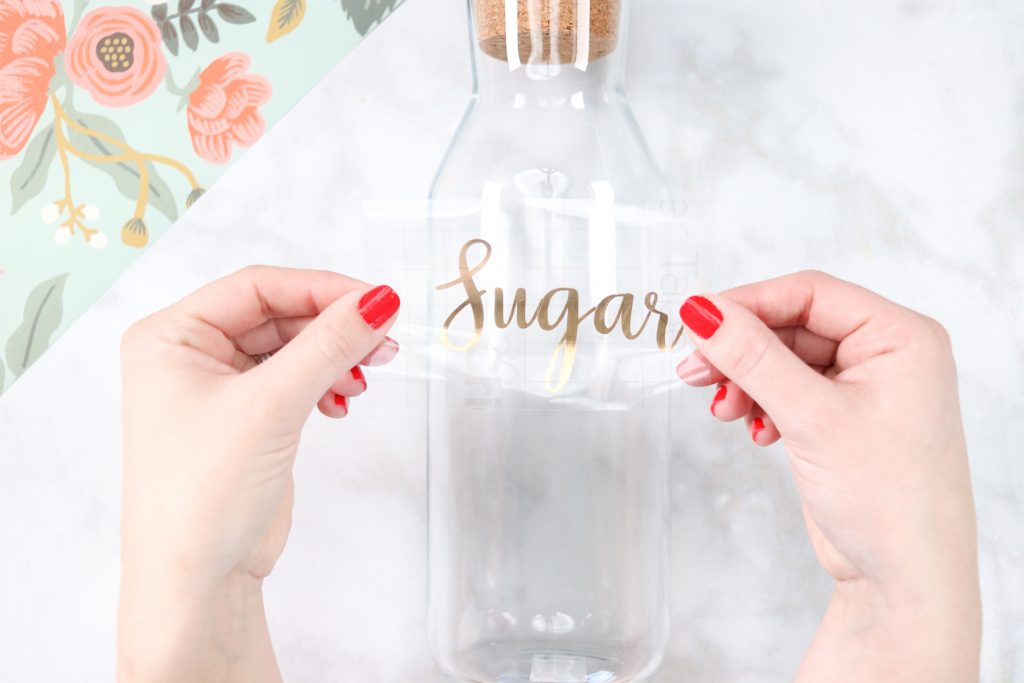
*Before placing the Vinyl on the glass make sure the surface is clean. Rubbing Alcohol works perfectly for this!
Place the vinyl and transfer tape on top of the glass jar and use the scraper to burnish the design adhering it to the glass completely.
Peel away the transfer tape away from the jar at a 45-degree angle.
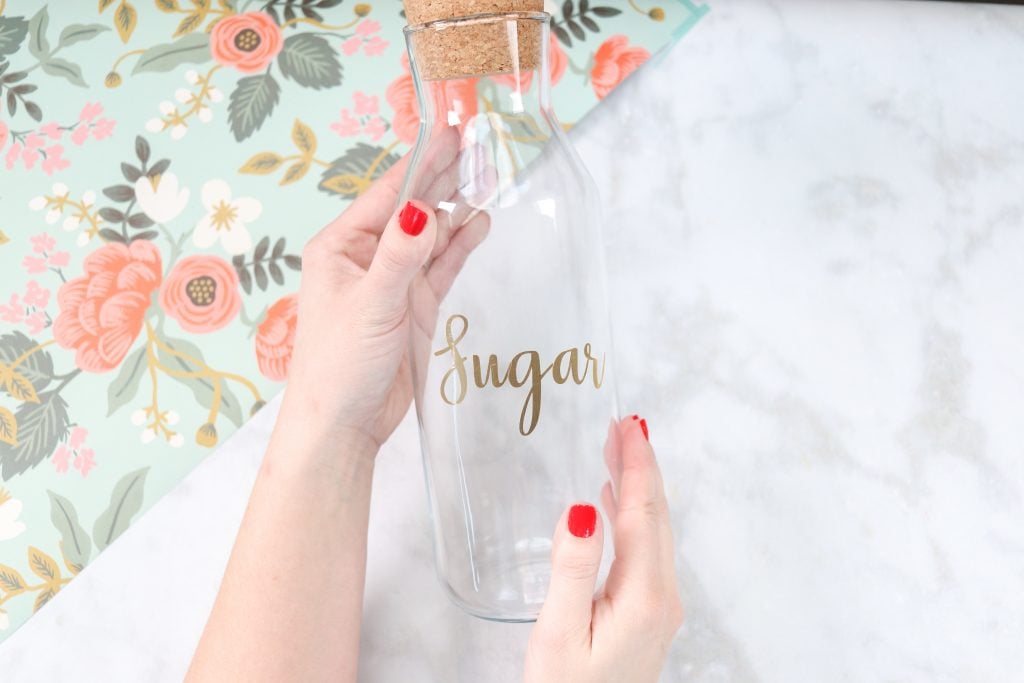
Repeat this process on a variety of different sized jars and containers to create a beautifully labeled pantry!
I can't wait to see what you make with this simple tutorial! I had so much fun redoing this pantry.
Labeling all of the items in our pantry has made it so much easier to find exactly what we need and now everything has a specific spot that it belongs in!


This is a sponsored conversation written by me on behalf of Cricut. The opinions and text are all mine.

What font are your labels? Is it in design space?
What is the floral pattern..is thay contact pPer or vinyl?
I would love to have Crichton pantry organized machine.