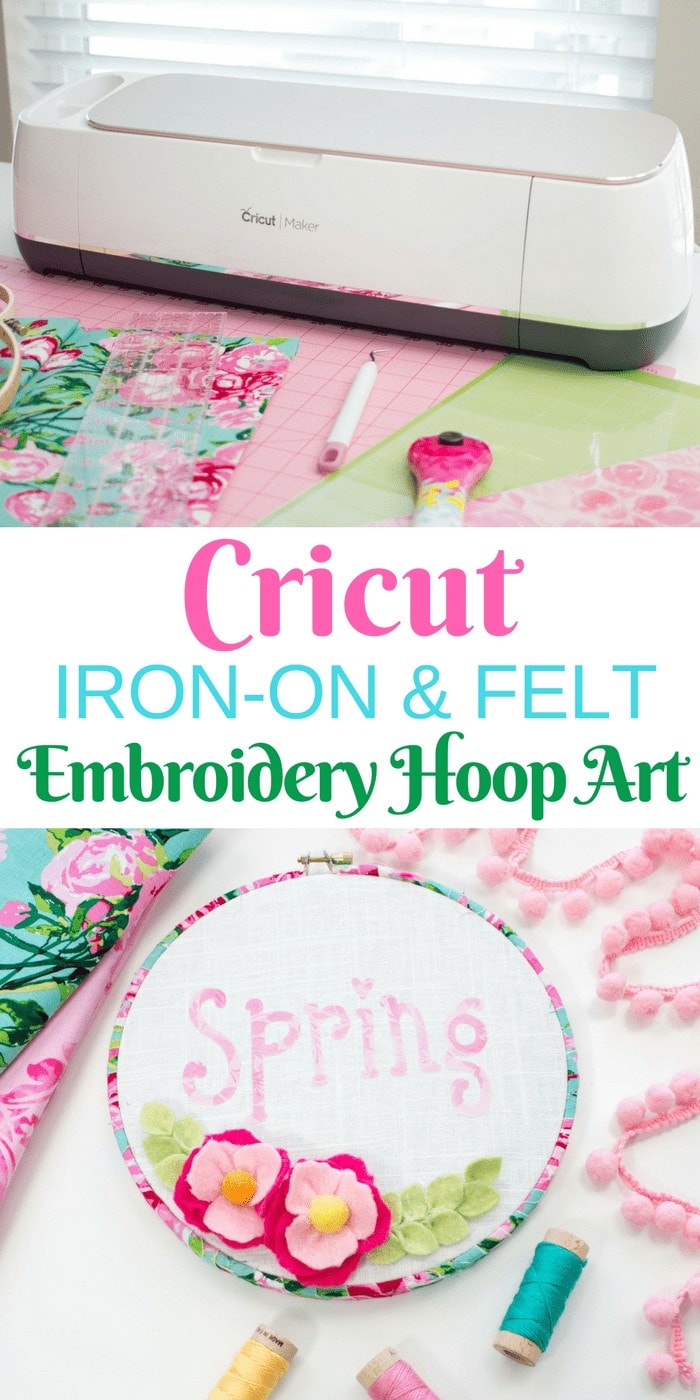
How to Use Cricut Patterned Iron On and EasyPress
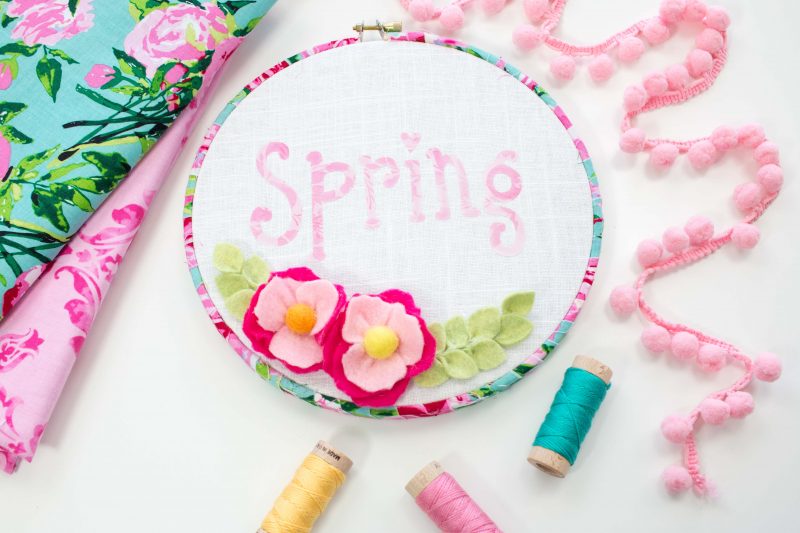
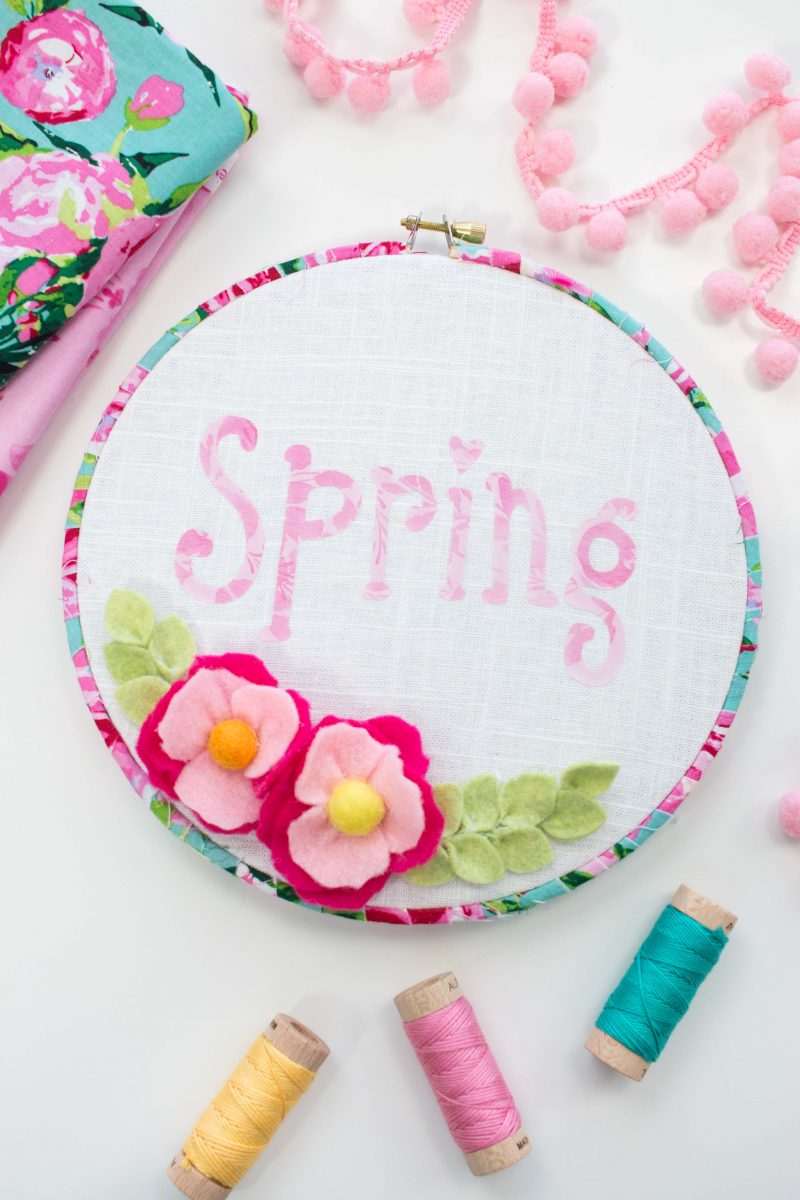
Learn how to use Cricut Patterned Iron On with an EasyPress to get perfect results!
This is a sponsored conversation written by me on behalf of Cricut. The opinions and text are all mine.
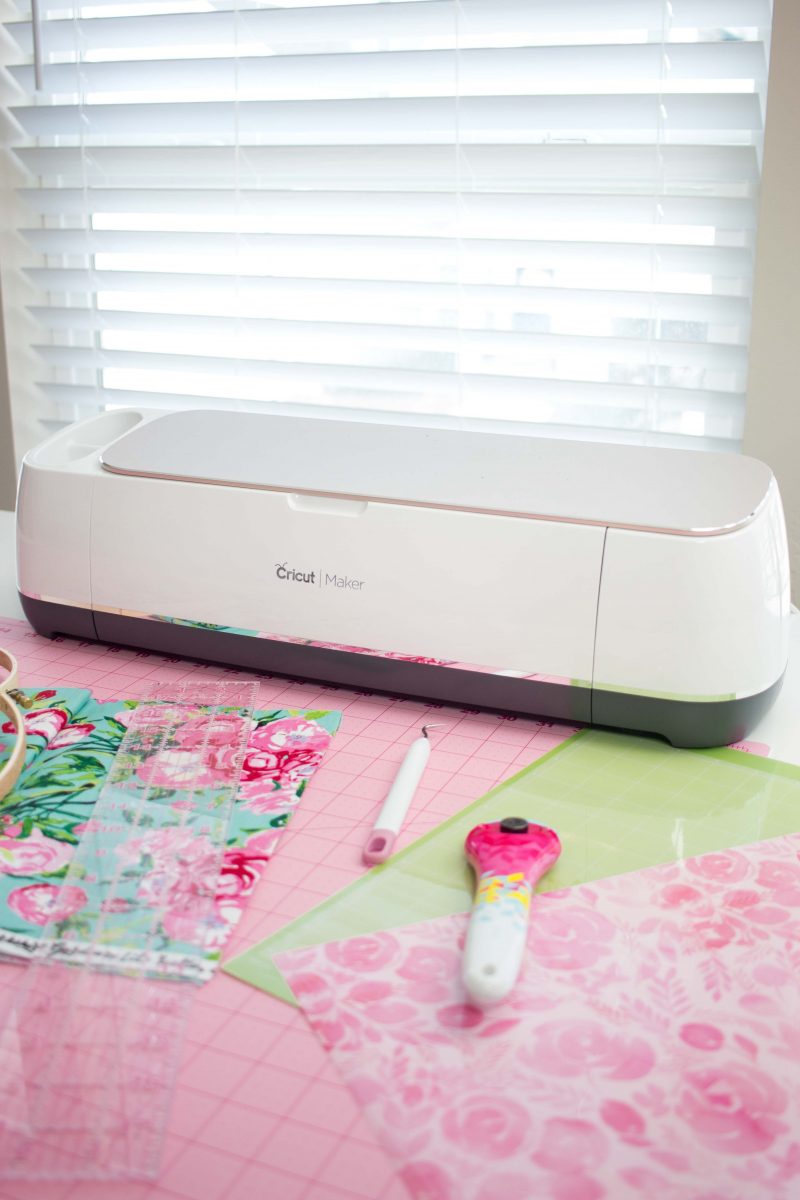
If you haven't read all about the brand new Maker cutting machine from Cricut be sure to view this post! The Maker is truly a game-changer!
Supplies
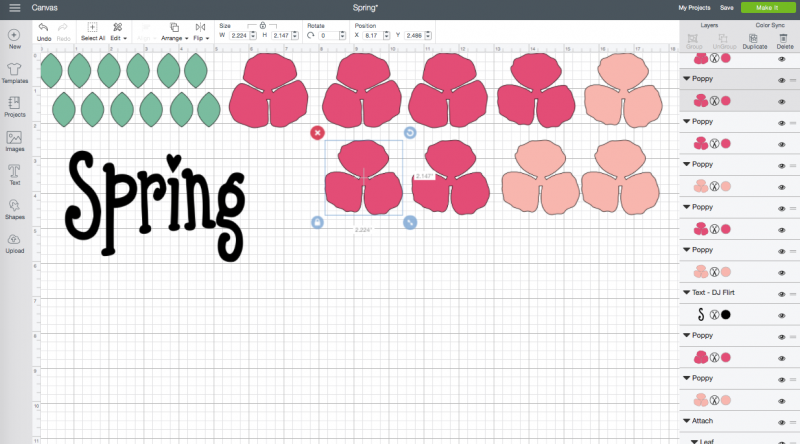
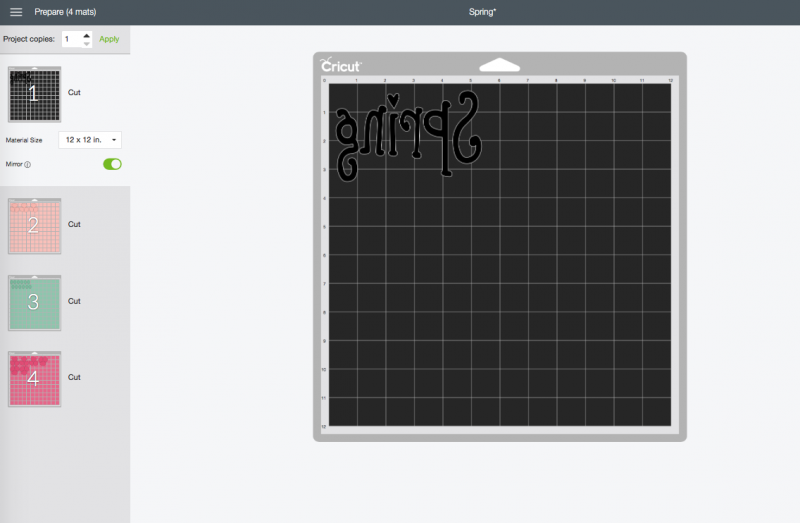
DESIGN SPACE
Step 1. Open Design Space using this link.
Step 2. Resize image if you would like it larger or smaller than the example.
Step 3. Click “Make It.”


CUT PROJECT
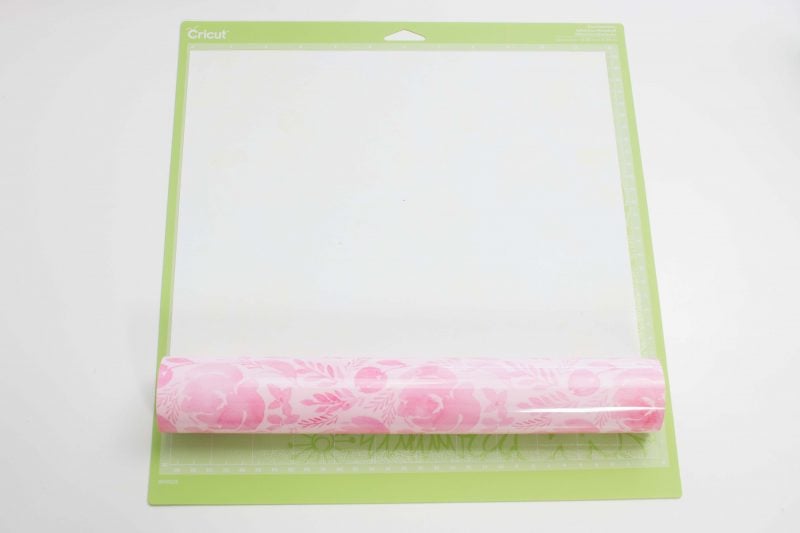
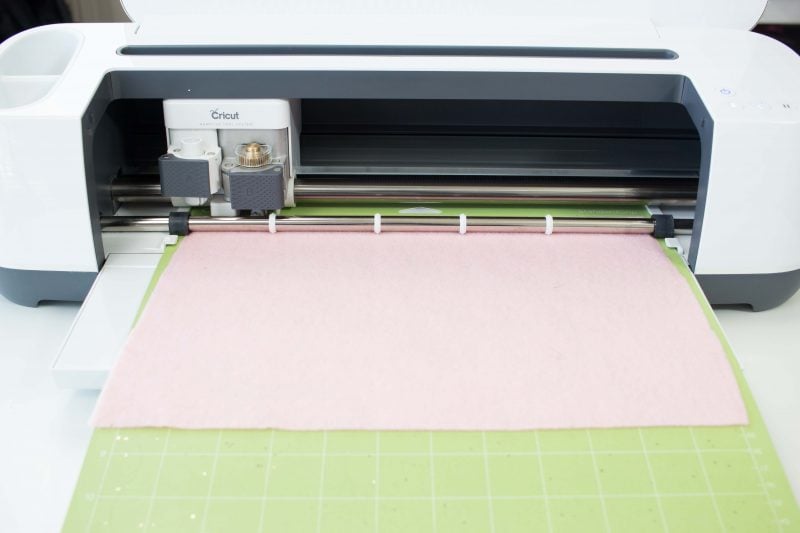
Step 1. Prepare Patterned Iron On™. Unroll and cut a piece larger than the design you will be cutting.
Step 2. Place the Iron On with the pretty side down, facing the mat.
Step 3. Select Iron On on the screen if using a Maker.
Step 4. It’s very important to click “Mirror Image” for all Iron On projects! Otherwise, the words will be cut out backward.
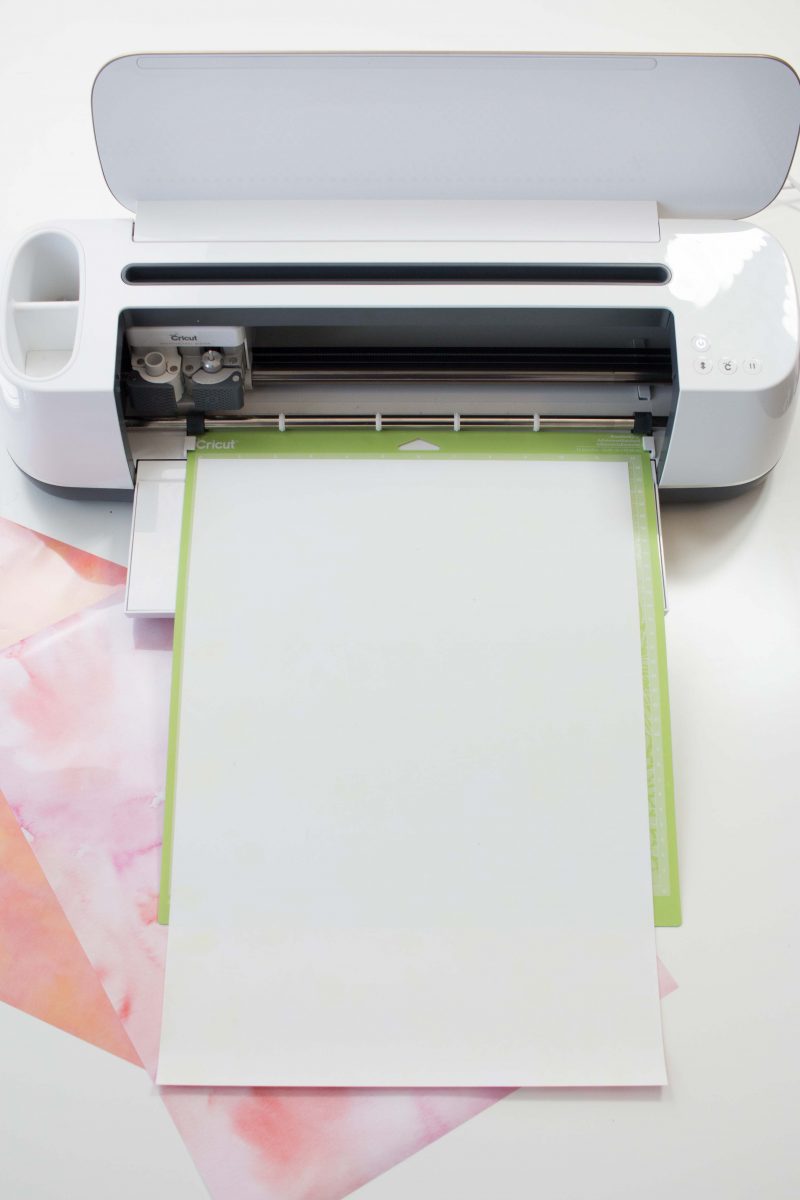
Step 5. Load the mat and click the flashing Cricut button.
Step 6. Remove the mat from the cutting machine once it finishes cutting the design.
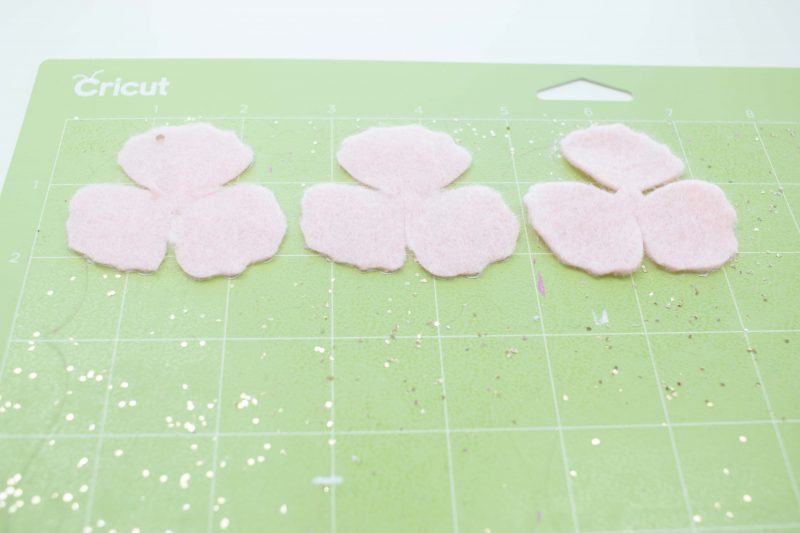
Step 7. Load the felt onto a mat and repeat this process until all three colors have been cut.
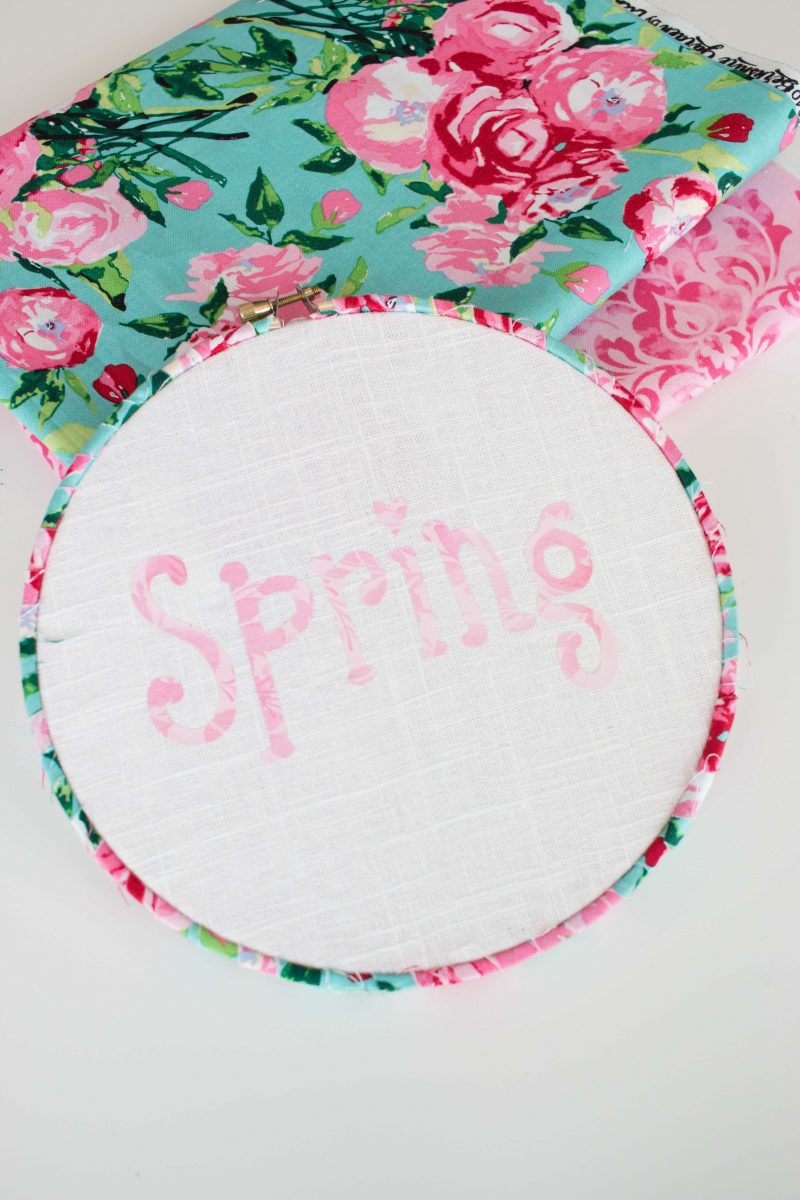
Isn't that Floral Iron-On just gorgeous?!?
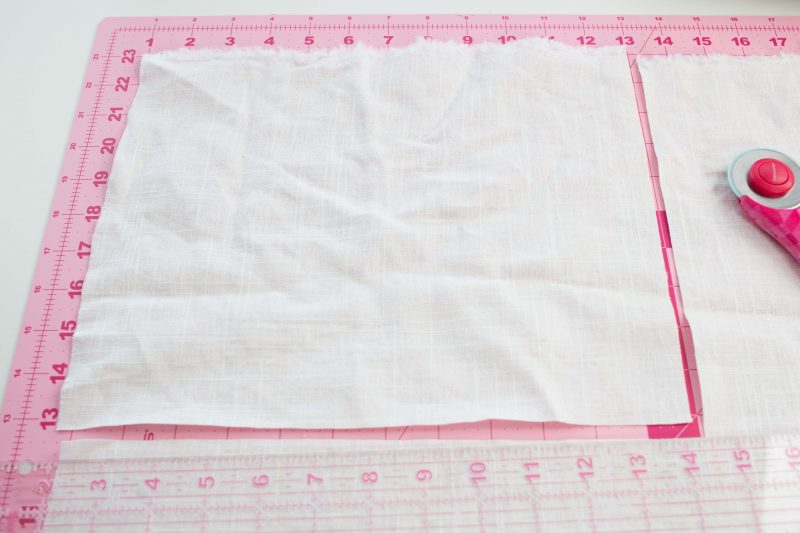
CUT FABRIC
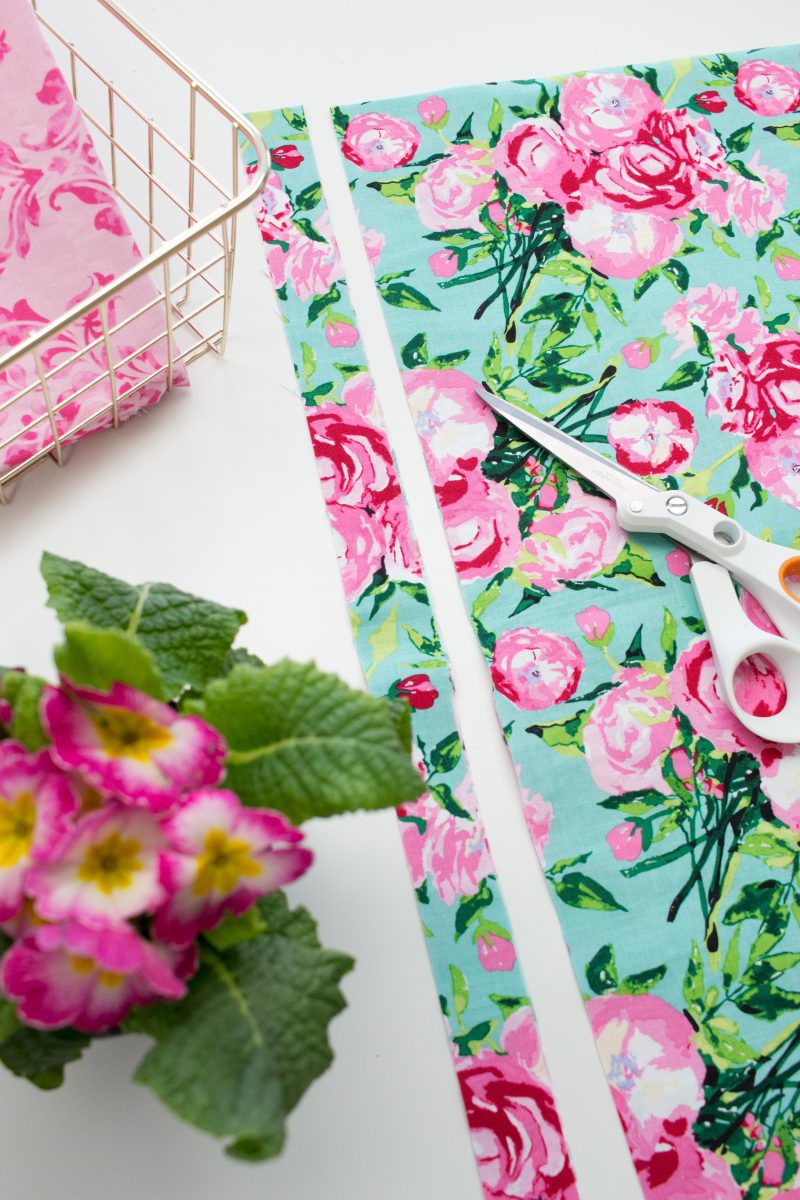
Step 4. Cut out a square piece of white fabric 13 inches by 13 inches.
IRON-ON
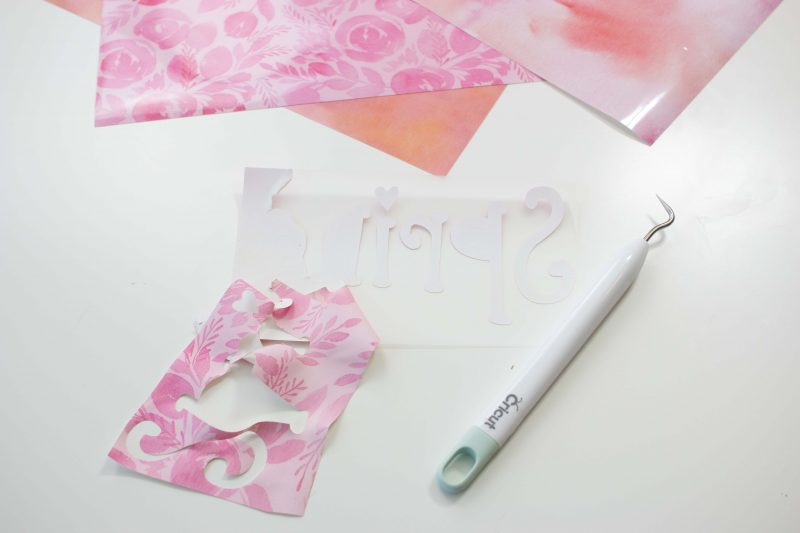
Step 1. Carefully weed the design and remove the extra Iron On.
Step 2. Prepare the fabric by ironing with the EasyPress to remove any wrinkles and preheating the area that the Iron On will be applied to for 5-10 seconds.
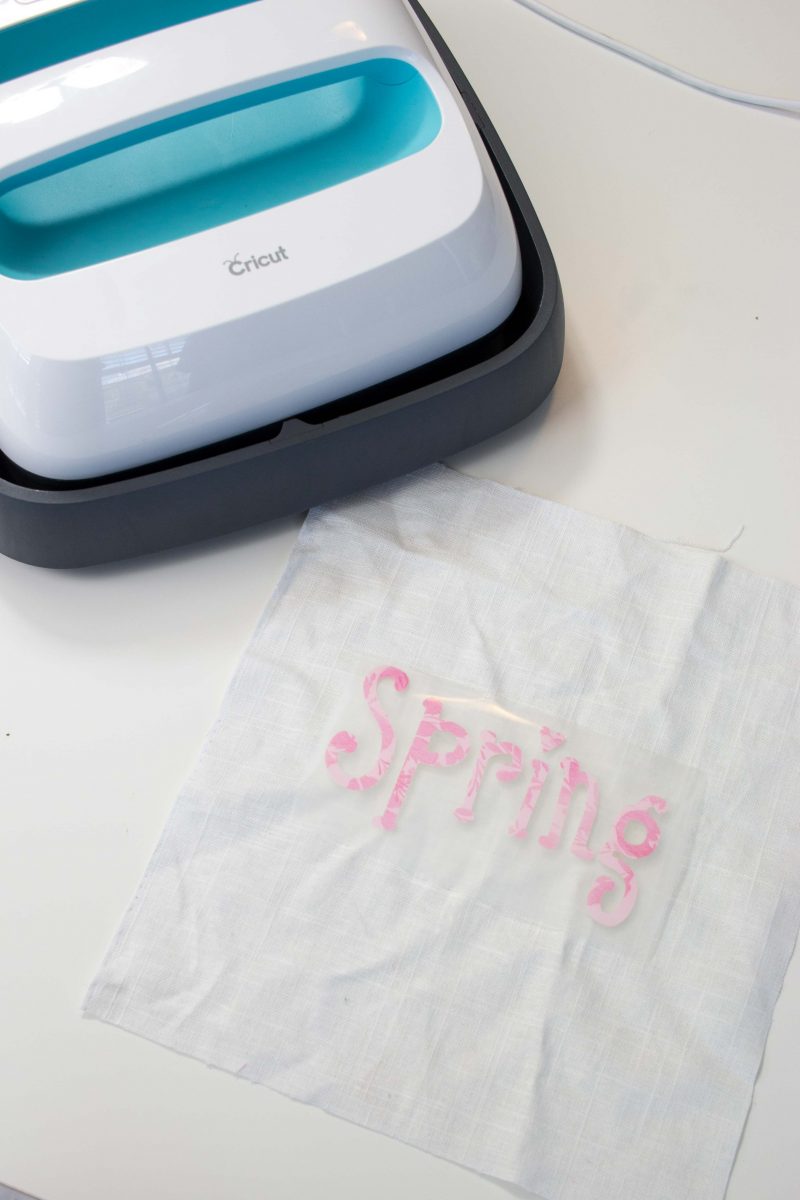
Step 3. Position weeded image on the fabric square with the Iron On against the fabric.
Step 4. Set the EasyPress to 340 F and apply for 50 seconds to the front of the fabric and 15 seconds to the back.
I find my EasyPress and EasyPress mat make the application of Iron-On perfect!
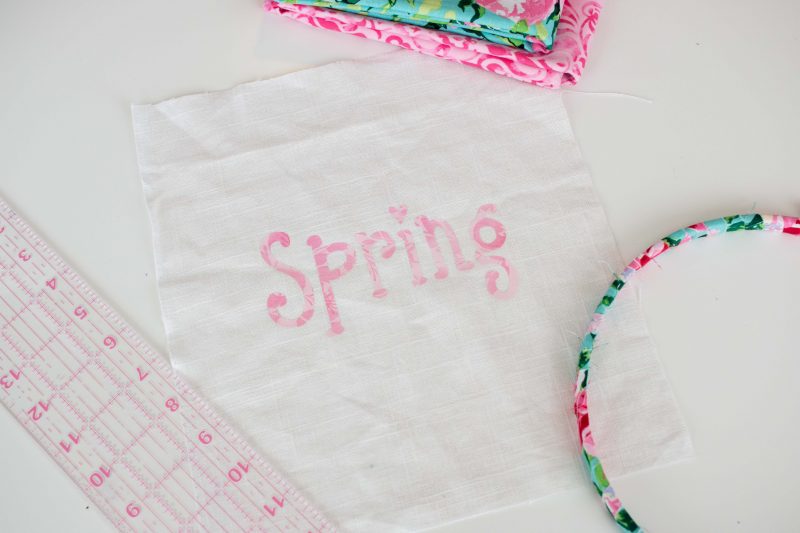
Step 5. Allow fabric and Iron On to cool completely and carefully peel away the clear lining.
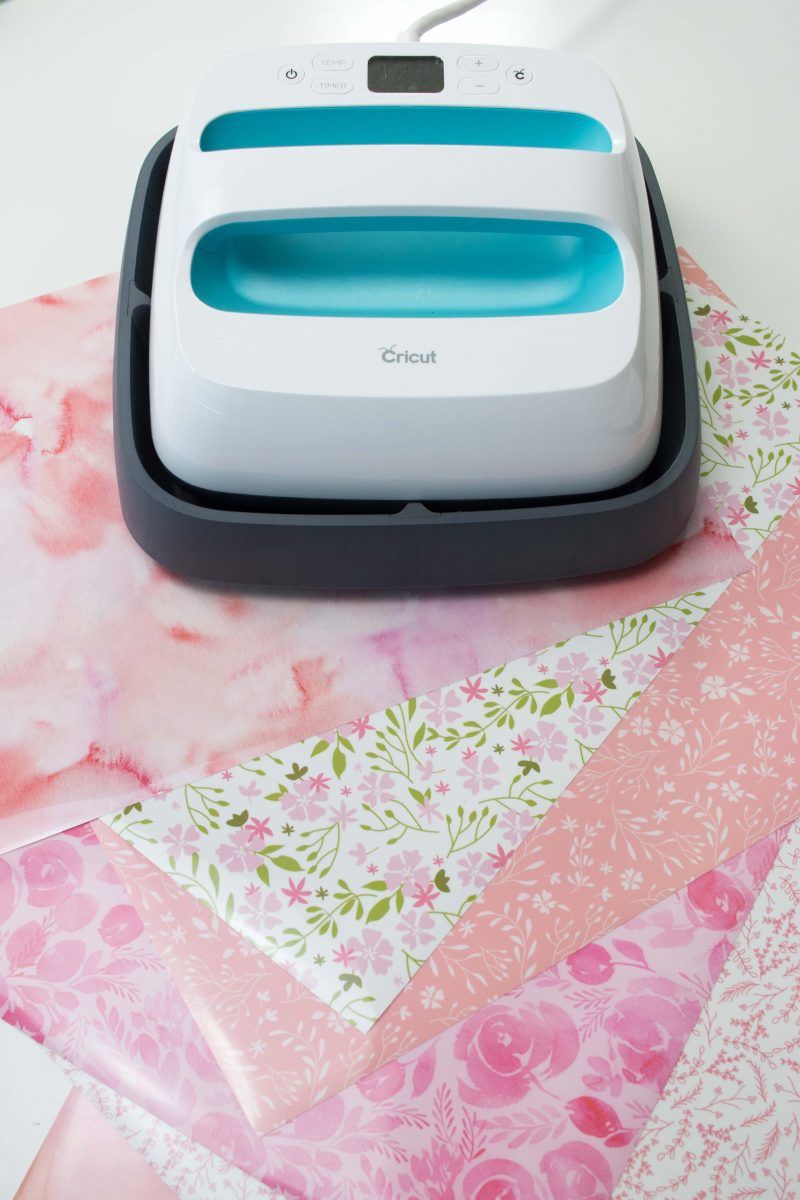
Here's a peek at a few of the new Iron-On sheets I got from Cricut. Aren't they all so pretty? You can find them here.
I was so excited that the brand new EasyPress mat arrived just in time for my project. This mat allows you to press your design wherever you are and it directs the heat to your Iron On designs while eliminating moisture.
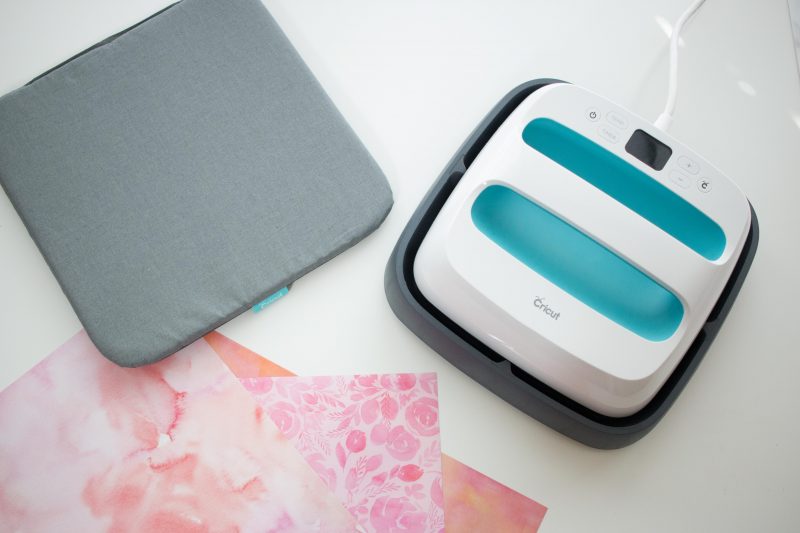
Cricut EasyPress
I can’t wait to use this easy press on quilting blocks and even on sewing projects! It features a square plate which heats evenly throughout the entire plate, unlike an iron which can have hot or cold spots that can lead to your iron-on burning or not adhering completely. It also has a comfortable grip that allows you to firmly press down without worry of burning your hands. I don’t even want to admit how many times I’ve burned my hands on my current iron.
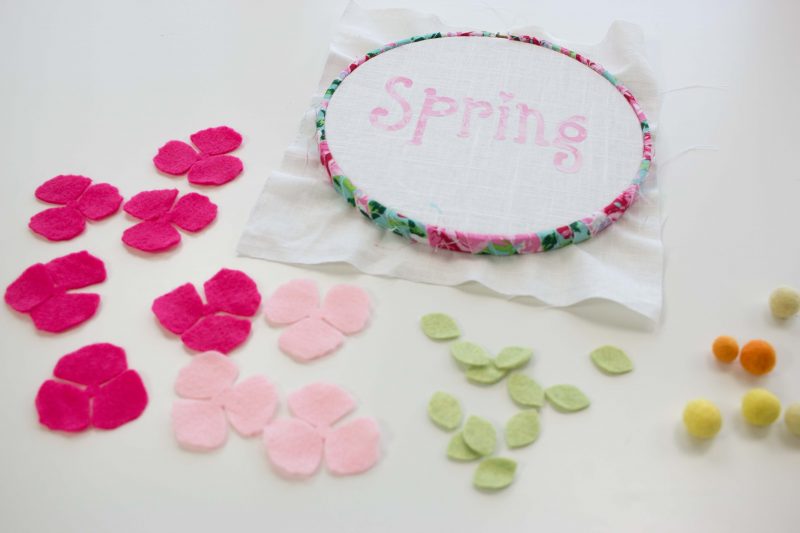
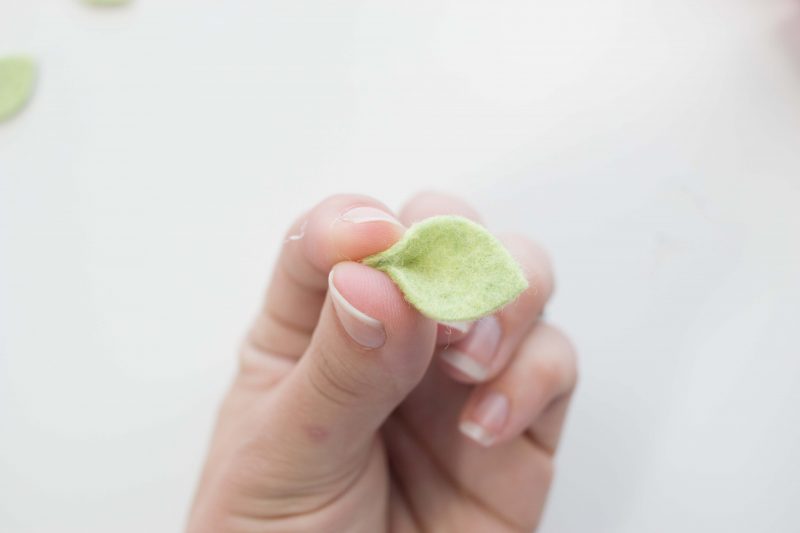
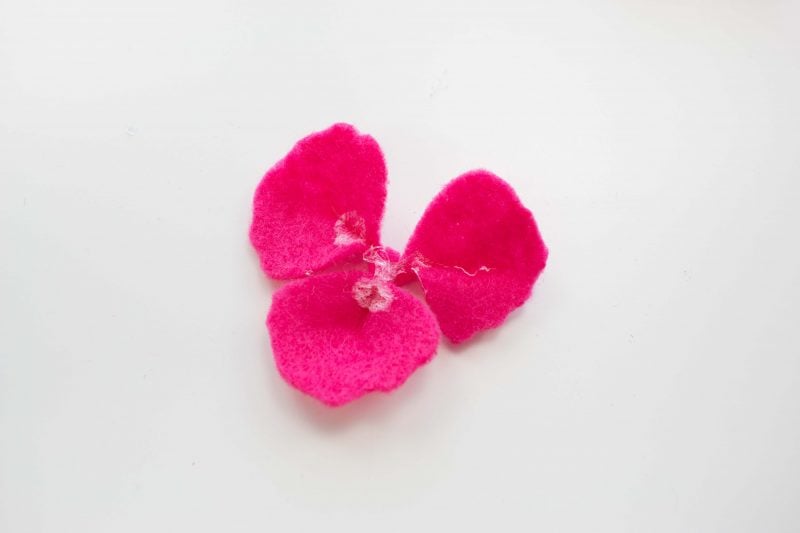
FELT FLOWERS
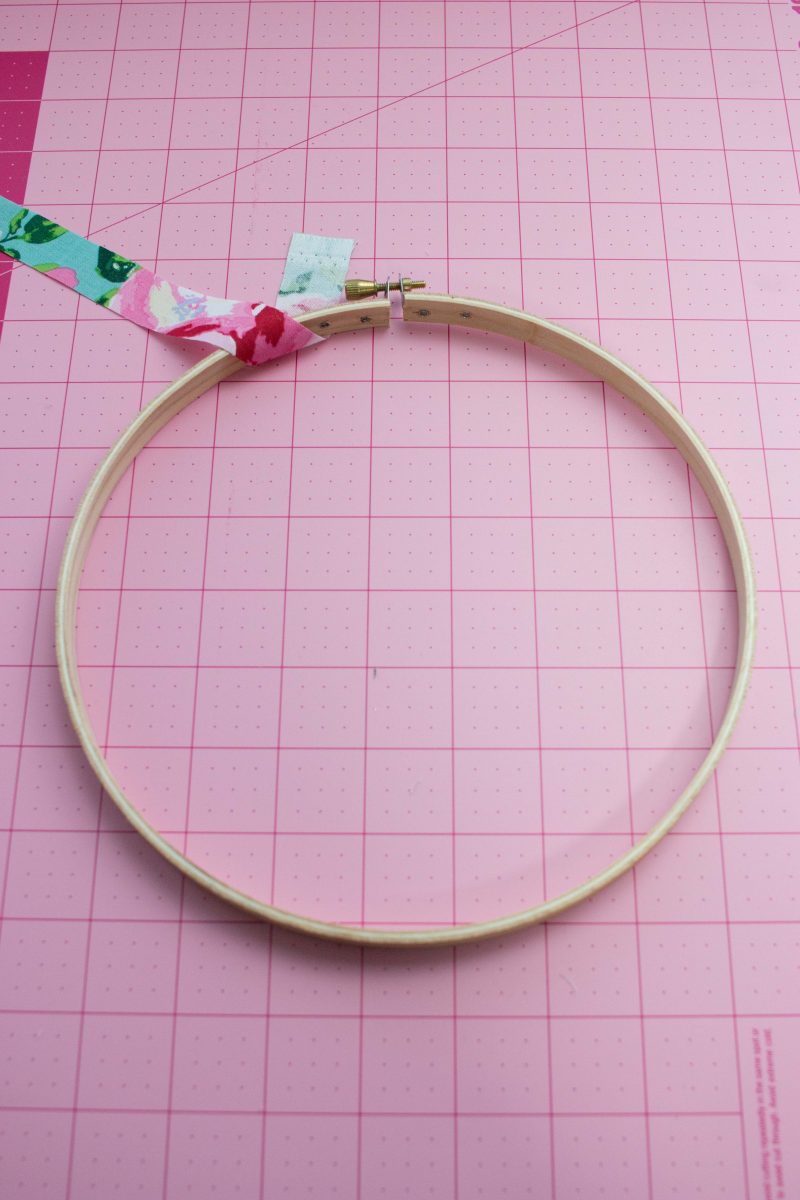
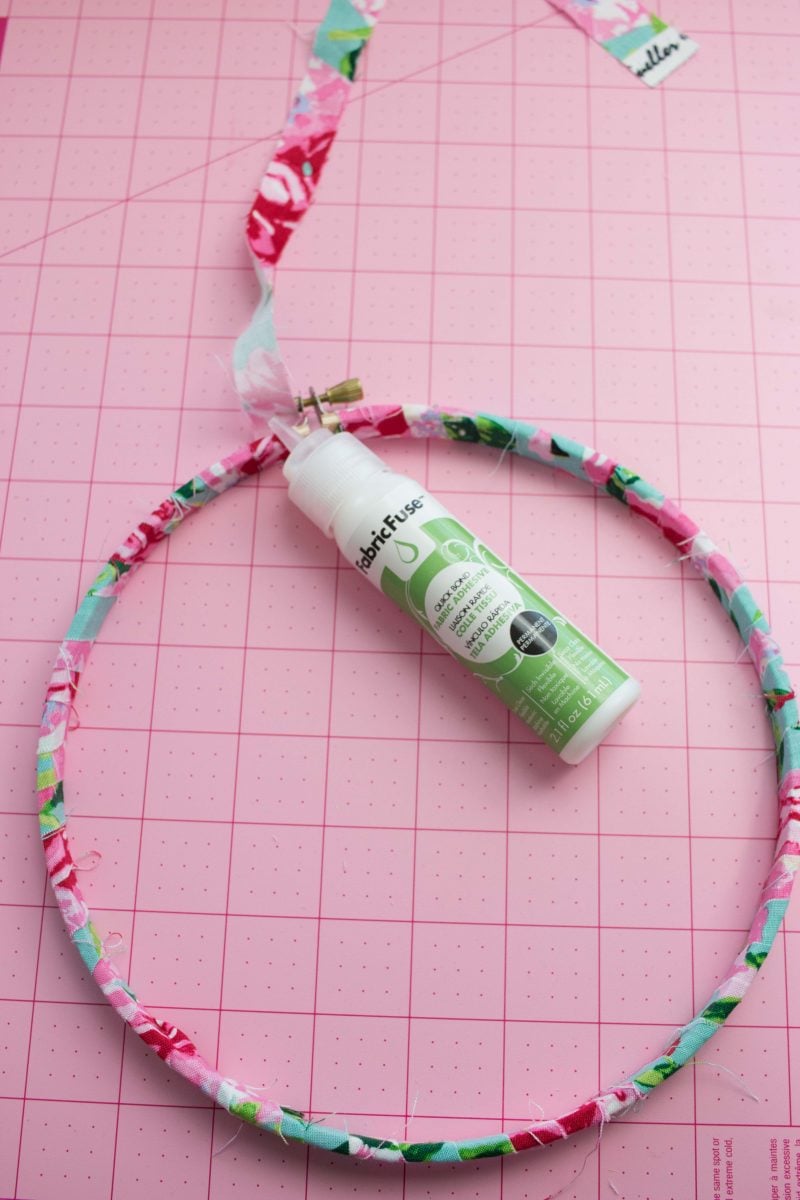
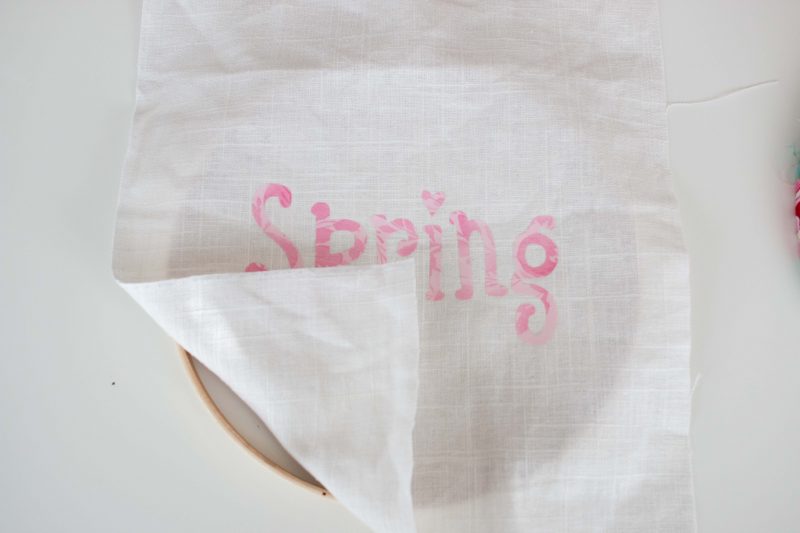
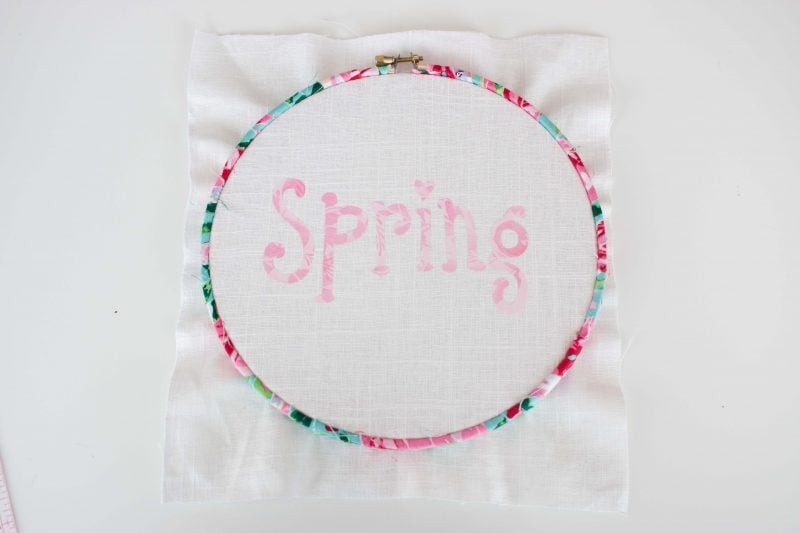
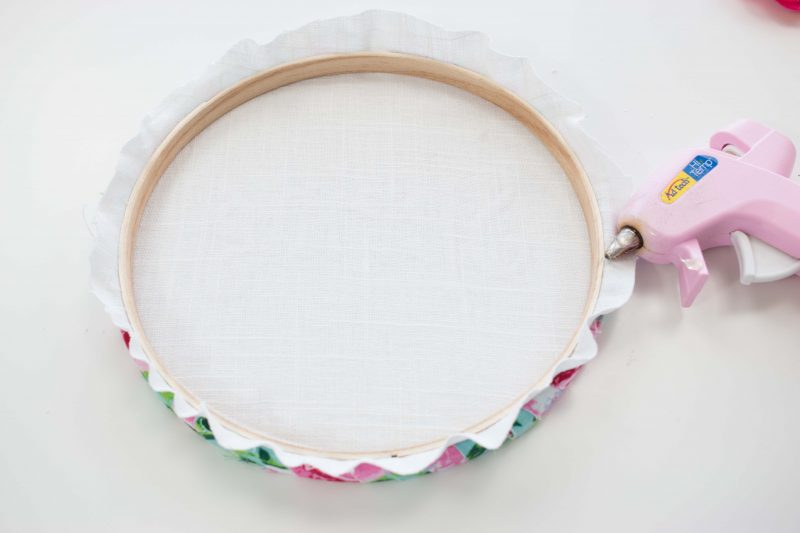
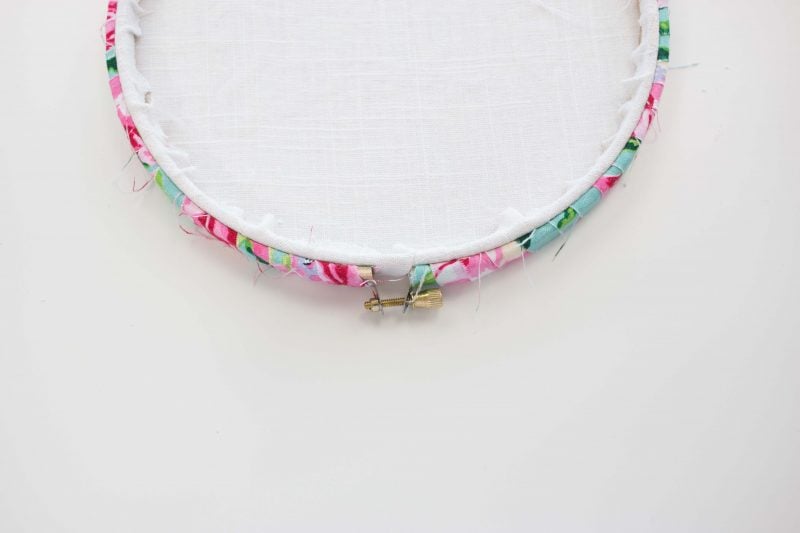
Step 6. Trim the white fabric and glue it to the hoop.
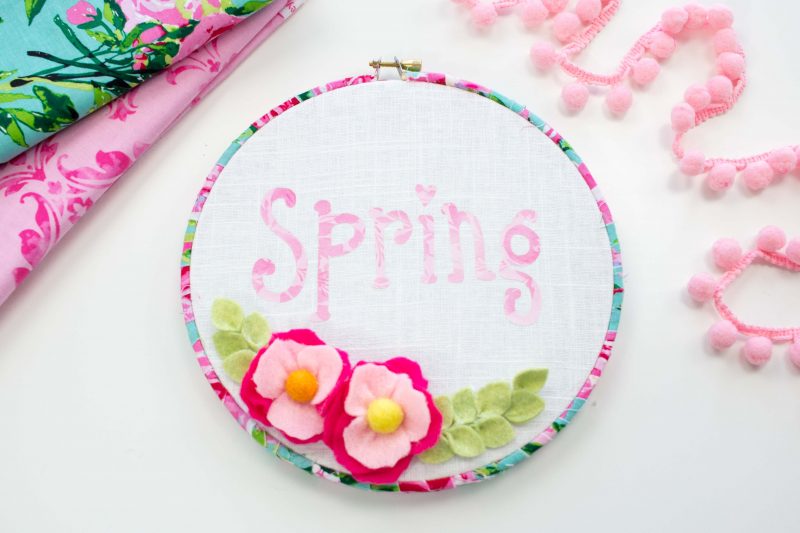
Now I need to make a few more of these fun embroidery hoops to decorate my house with!
This is a sponsored conversation written by me on behalf of Cricut. The opinions and text are all mine.
Leave a Reply