Learn How to Make A Santa Sack Using this SVG File and Step-By-Step Blog Post Tutorial.
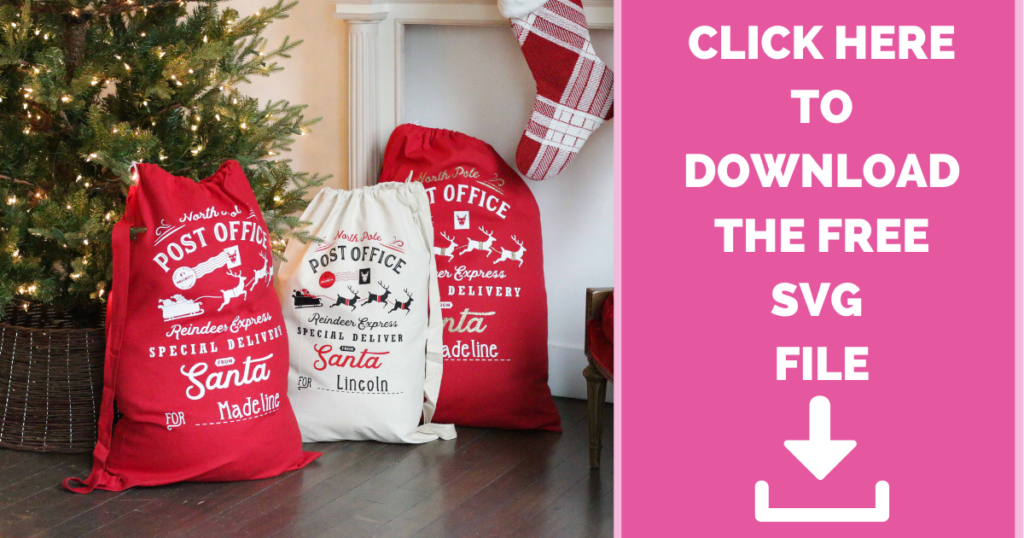
Santa Clause is coming to town! In this tutorial I'll show you how create this Santa Sack for a special delivery of gifts this Christmas.
My kids have loved having personalized Santa Sacks over the past few years, and I've loved creating a new tradition to share with my kids on Christmas Day.
Today, I'm finally sharing a tutorial and free SVG file to help you make your own Special Delivery Santa Sack.
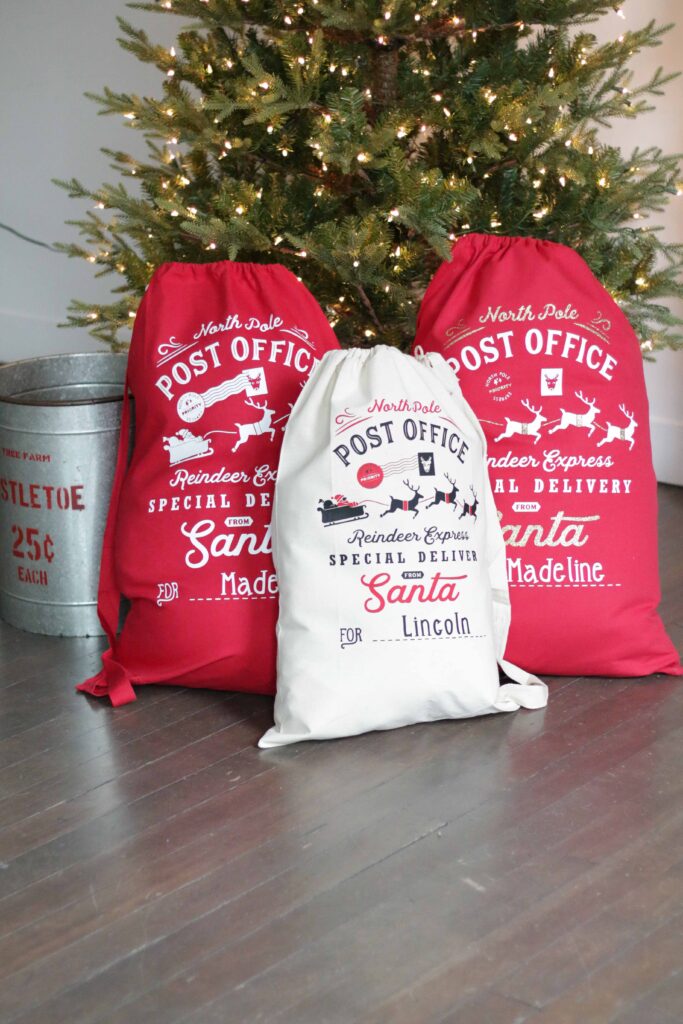
What's nice about this project is it can be paired with an oversized laundry tote for a sturdy and durable Santa Sack that's sure to last for many Christmases to come.
Laundry totes come in a variety of different sizes, and colors, so you can personalize your bag to meet your preferences.
Be sure to look for a laundry tote that's made of canvas, as it will be able to withstand the heat needed for applying Iron-on. It will also be able to hold up against sharp corners of presents being placed inside without ripping or deteriorating.
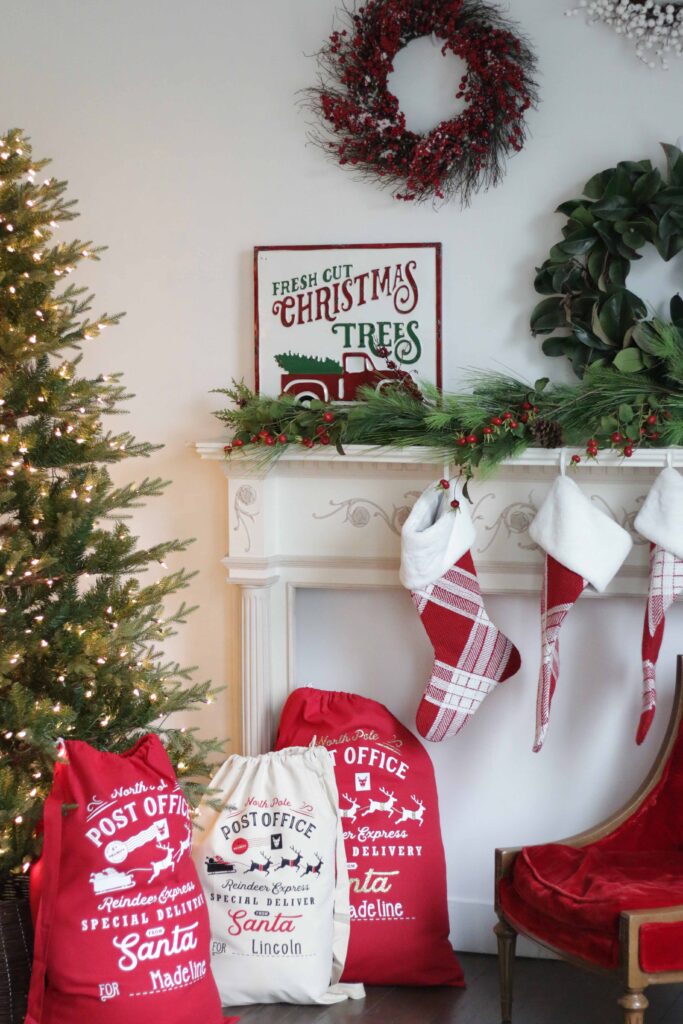
To make this project, grab a cutting machine, an EasyPress or iron, Cricut Iron-On, and a large bag to hold Santa's presents.
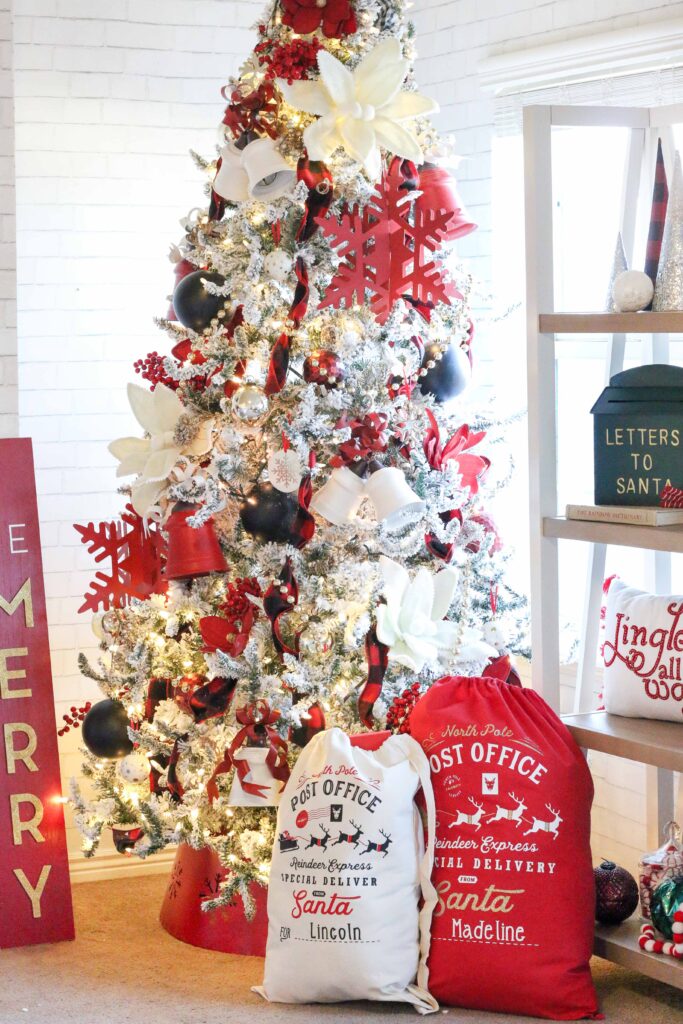
I decorated my Santa Sacks to match the theme of my Christmas tree. You can get creative with the types of Iron-On or the colors you use to customize your design for its recipient.
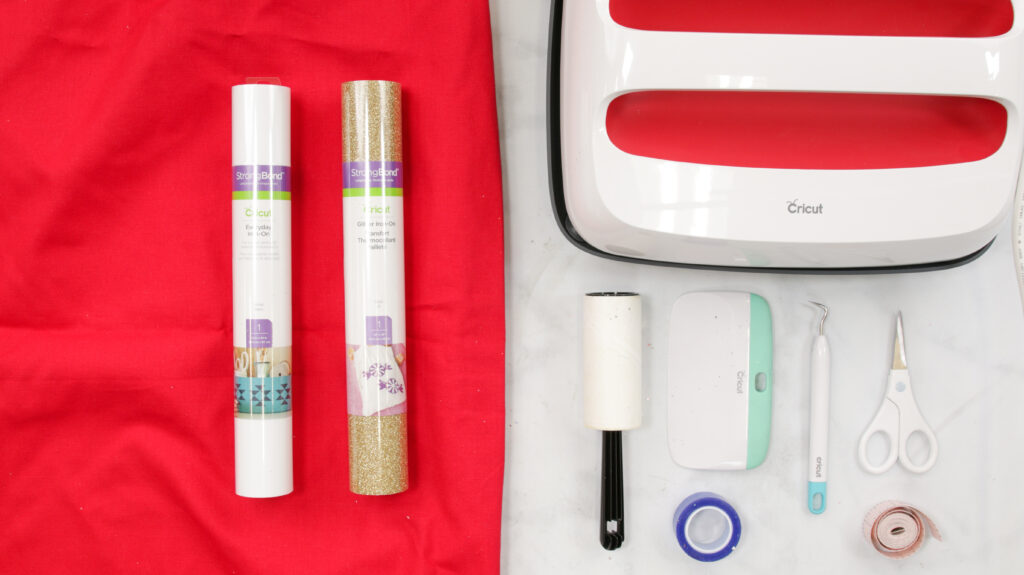
Supplies Needed:
- Cricut Maker, Cricut Explore, or Other Cutting Machine
- StandardGrip Mat
- Fine-Point Blade
- Cricut Easy Press or iron
- Iron-On- I used Gold Glitter and White Everyday Iron-On
- The amount of Iron-On you need will depend on the size of your bag.
- Weeder Tool
- Ruler or Measuring Tape- Used to measure bag and design.
- Scissors or Paper Trimmer- Used to cut the Iron-On
- Oversized Canvas Laundry Bag
Click here to shop my AMAZON SHOPPING LIST for this project!
Want to learn how to use Cricut Iron-On? Click here.
Table of Contents
Download the FREE SVG Files Here
Prepare Your File
First, download the SVG file to your computer by clicking the link above.
Then, pull up Cricut Design Space and Create A New Project. Click Upload and select the image, and Add to Canvas.
Once the design has been added to your Canvas in Design Space, ungroup it in the layers panel.
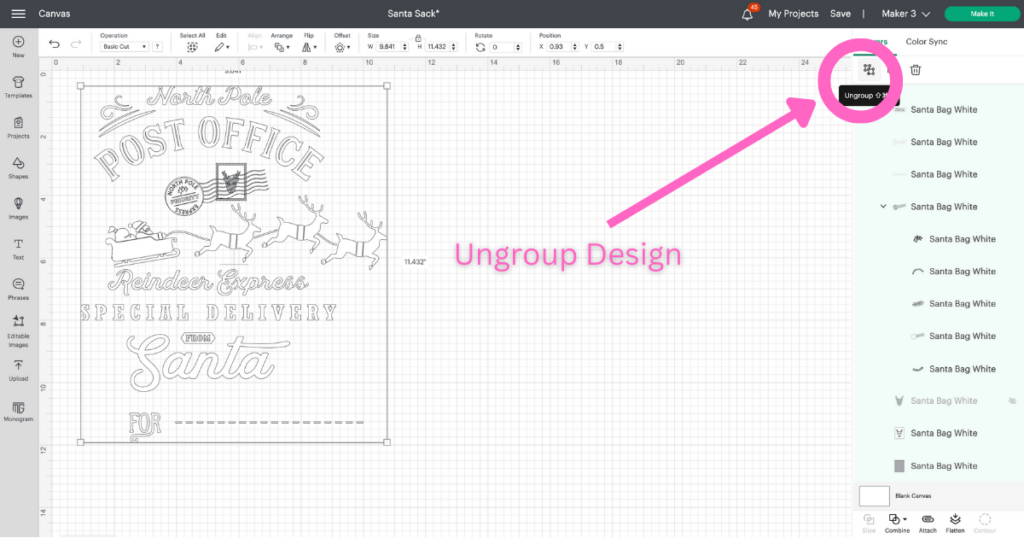
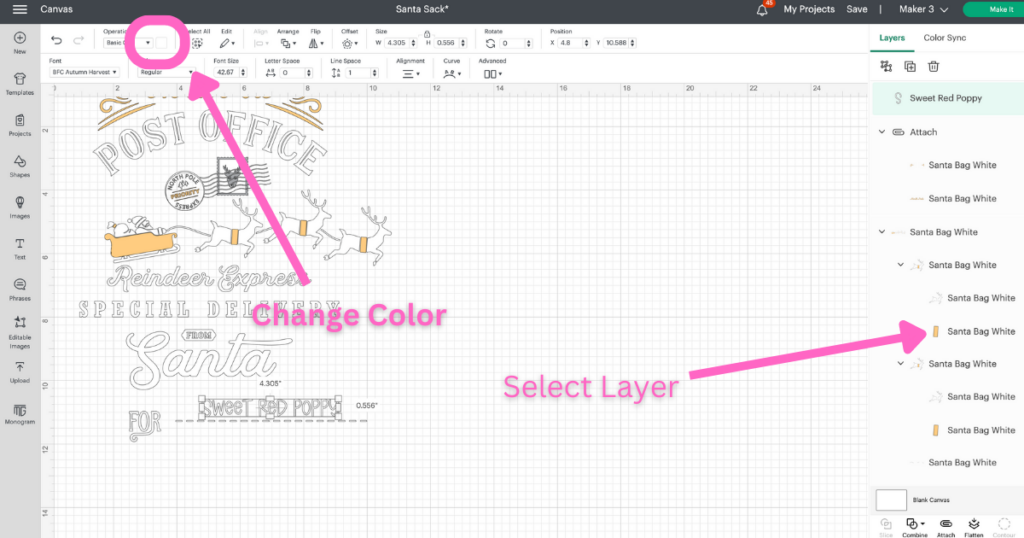
I’m using the “Santa Bag White” SVG file because I think it contrasts with the red bag I will be using for this project, but I want to add some glitter iron-on, so I changed some of the text colors to gold.
You can do this by selecting the text or shapes in the layers panel and changing the color in Operations. Or you can leave the design as is.
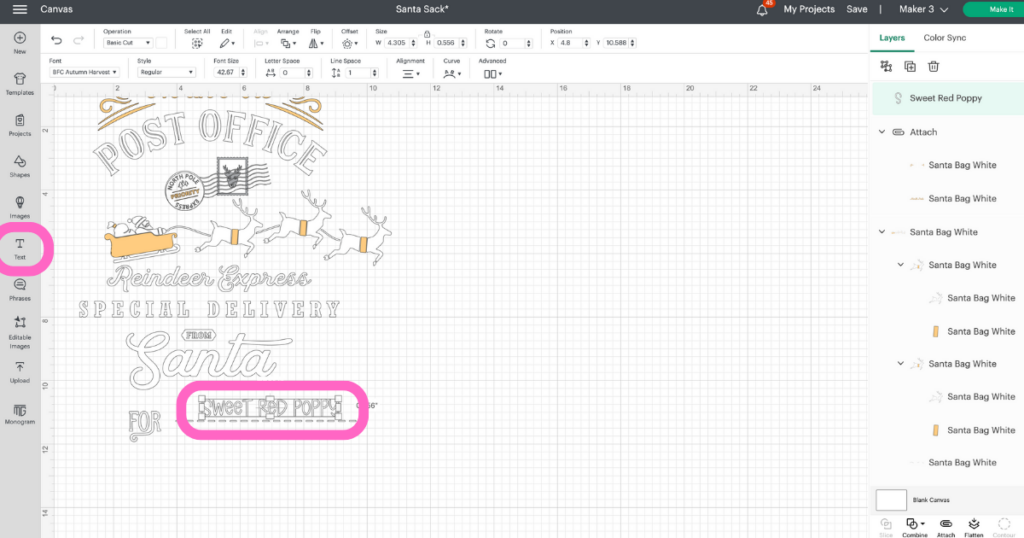
Once you’ve ungrouped the design and changed some of the colors, you can personalize it by clicking on “Text” to the left of the canvas and typing a name on the dotted line.
Afterward, change the measurements to your liking by clicking and dragging across the whole design and adjusting the measurements in the Size column above.
Then, I like to attach colors and smaller designs within the image. Doing this will “glue” the pieces together and prevent them from separating on the mat, making it easier to transfer your design to your bag.
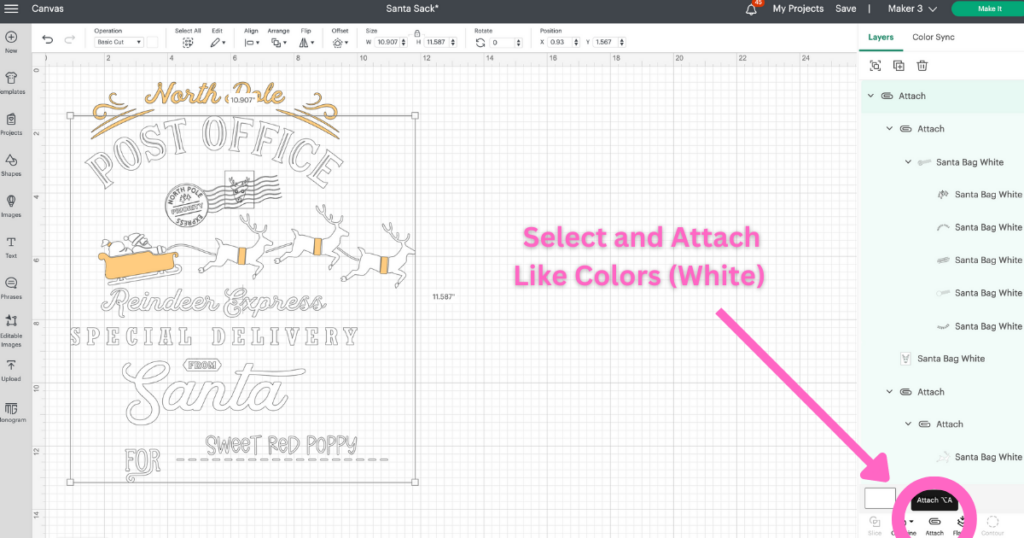
For example, I selected all the white text and shapes and clicked Attach.
Before attaching, make sure to ungroup everything.
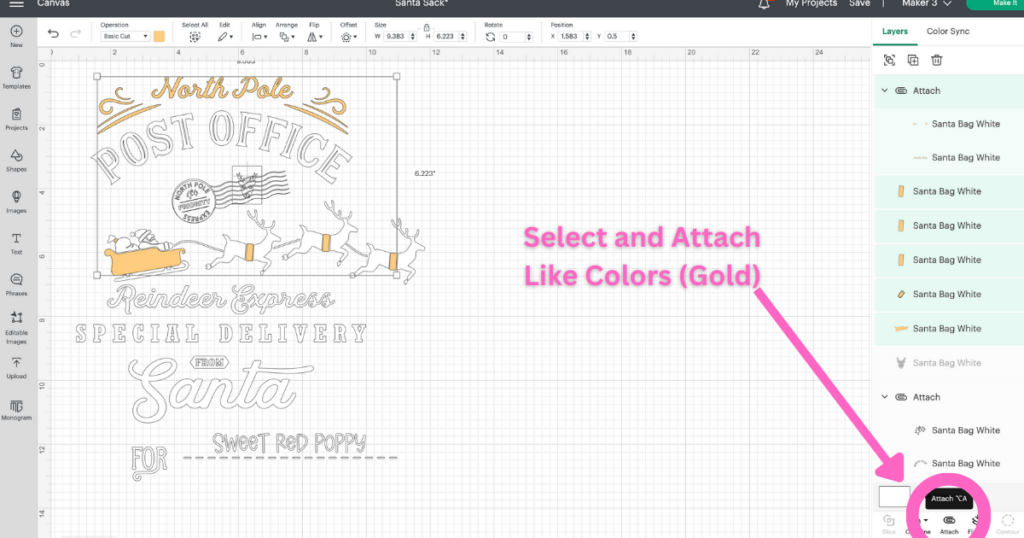
Cut Design
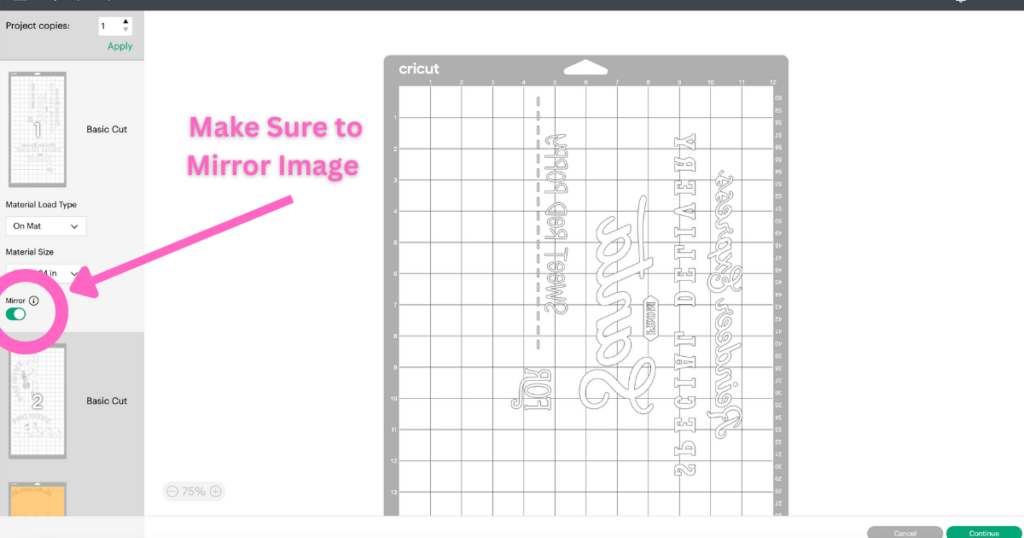
Once like colors have been attached, click Make It. Before you continue, it’s important to mirror the image because you're placing the iron-on shiny side down on the mat. This way, when you place the design on your bag the shiny side faces up.
Turn on Mirror to the left of the mat template. Then, click continue in Design Space, select the device you will be using and the material.
Now, get your iron-on ready. I’m going to start by cutting my white every-day iron-on mesh first because it’s the first layer and can take the most heat.
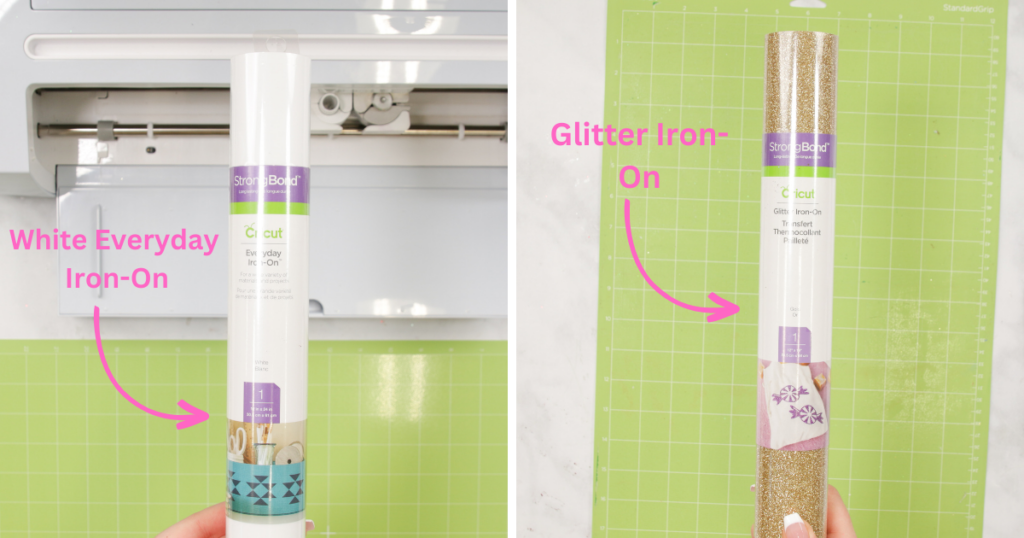
Place your iron-on shiny side down onto your Cricut mat and place into your cutting machine and let your machine do the work!
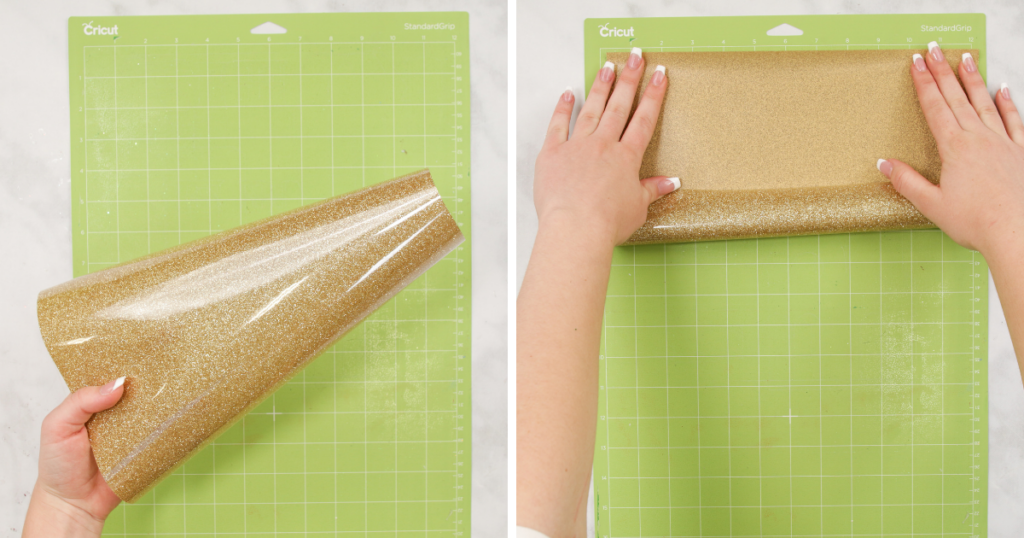
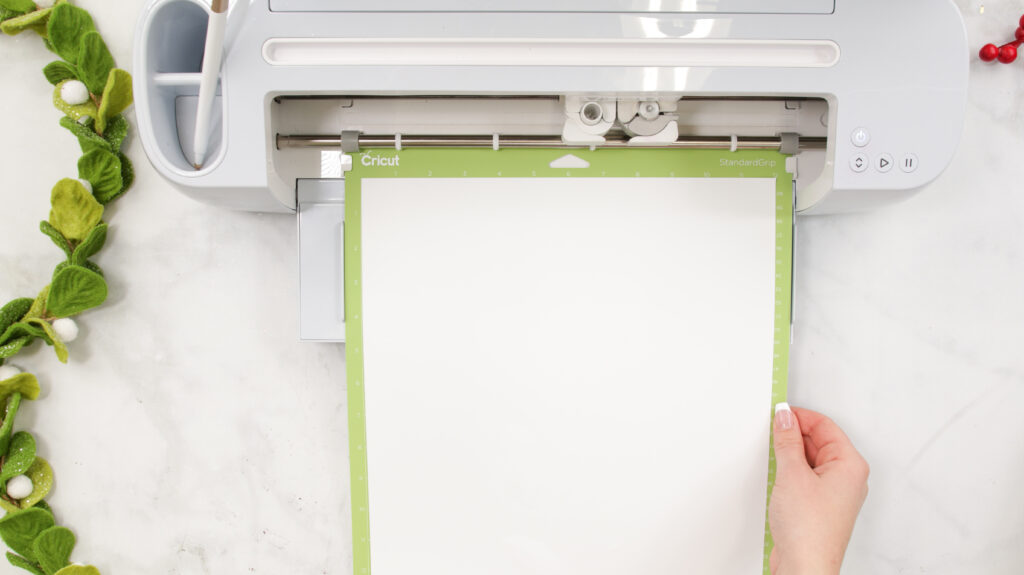
Once the cut is finished, unload your mat.
Weed Designs
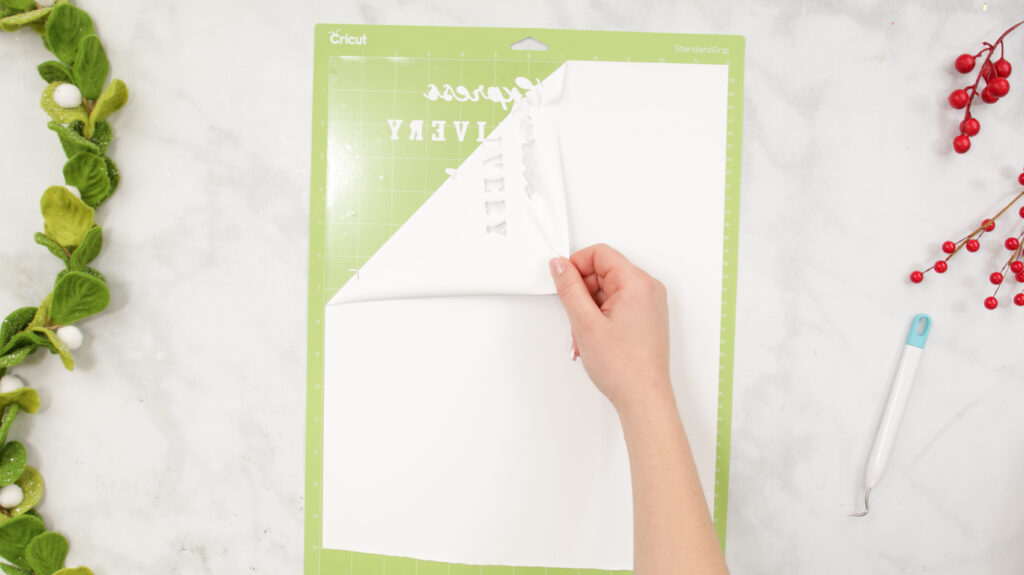
Next, remove all of the vinyl that you do not want to transfer by slowly pulling the excess iron-on away at a 45 degree angle.
Use a weeder tool to remove smaller pieces of vinyl you don't want transferred over.
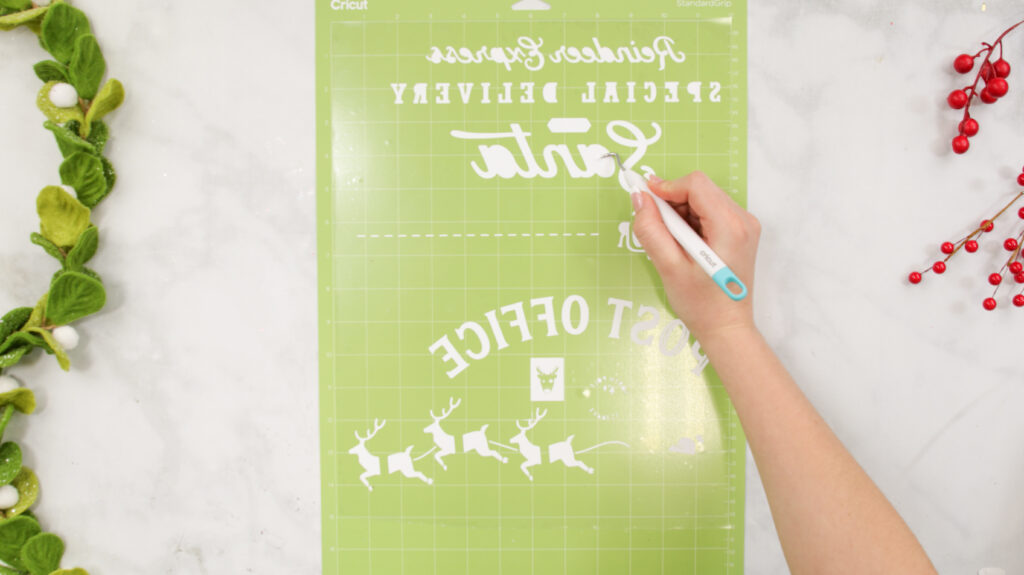
Once you've removed all the excess vinyl, go ahead and flip your Cricut mat over and peel the mat away from the Iron-On.
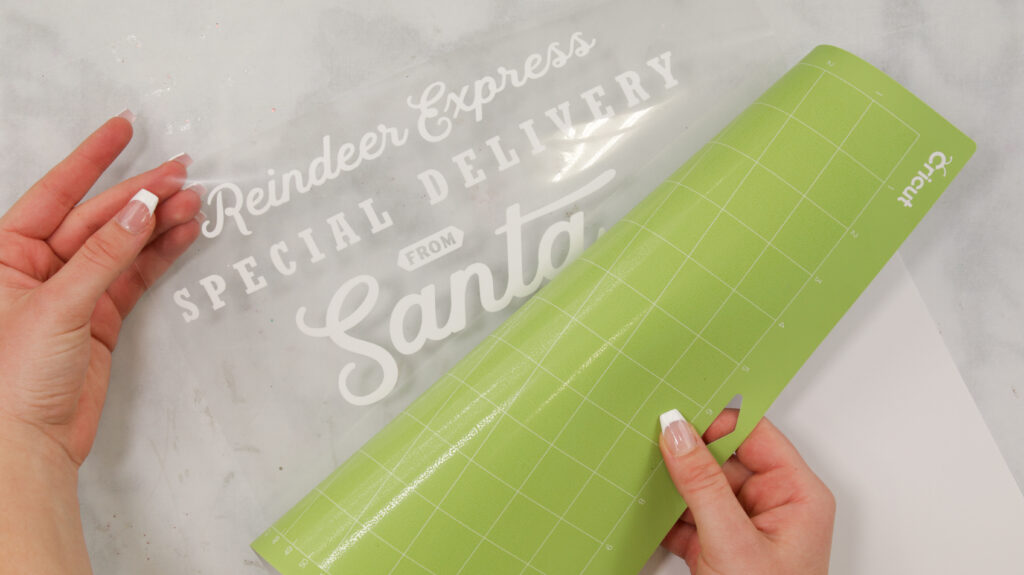
Place Design on Bag
Heat your EasyPress to 340 degrees. The temperature changes depending on what iron-on and surface material you are using.
While your EasyPress heats up, grab your bag and use a lint roller to take off any debris. If debris is left on the bag, it may ruin the design.
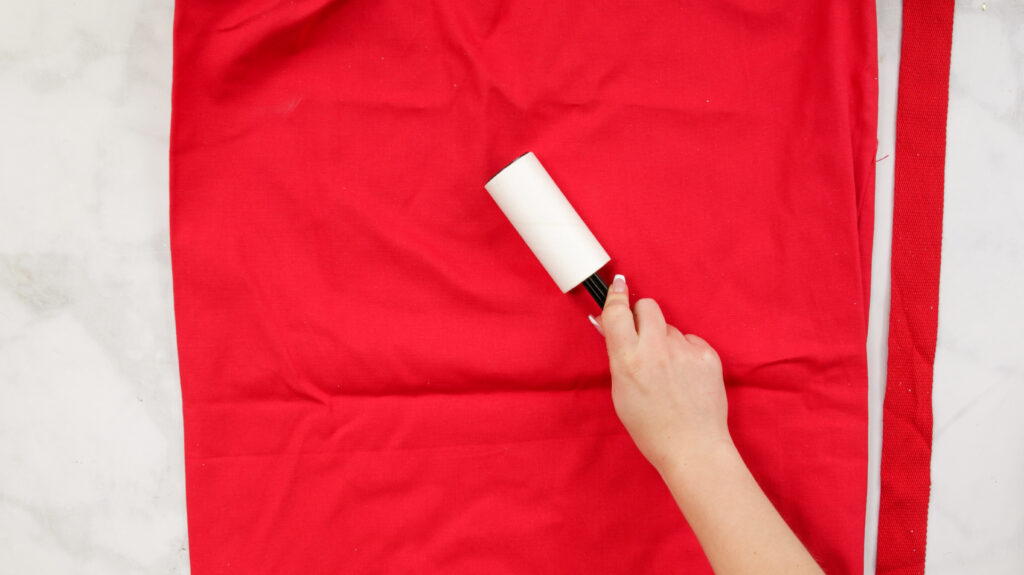
Next, preheat your bag. Find the center of the bag and design and place the Iron-On sticky side down.
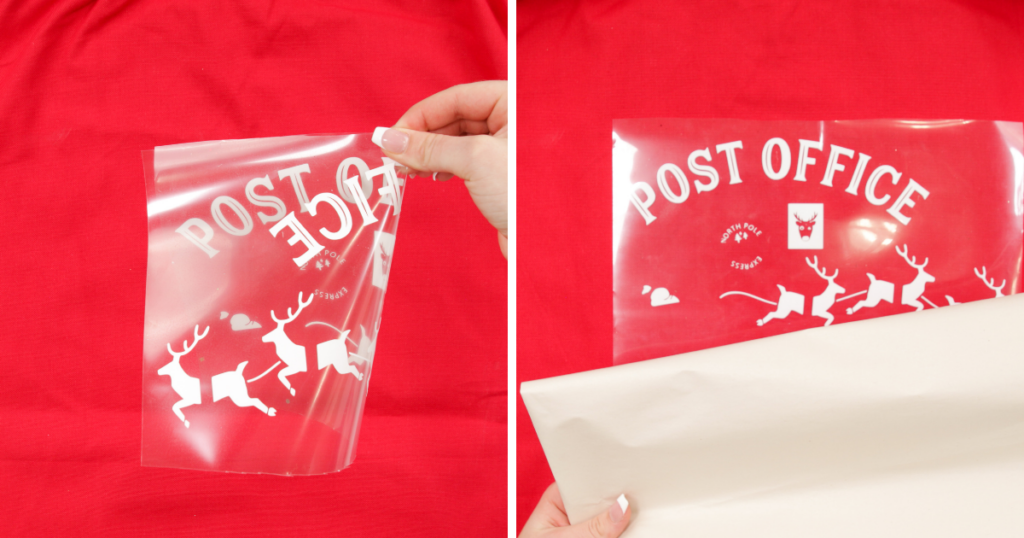
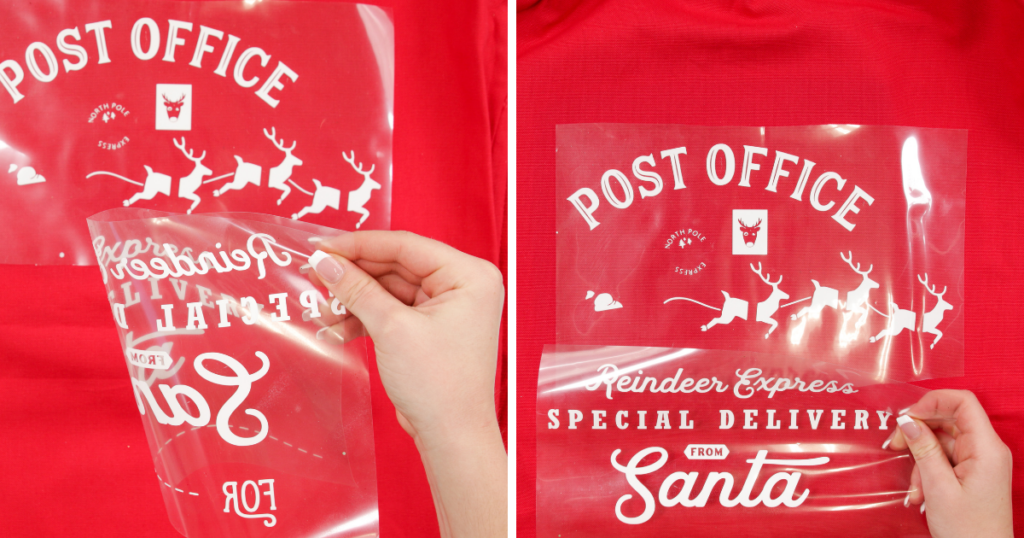
If you’re not happy with the placement, feel free to move the design around until you are, then press the design in place.
Press Bag
Set your EasyPress to 15 seconds and position it onto your design. Then, click the C and let it countdown.
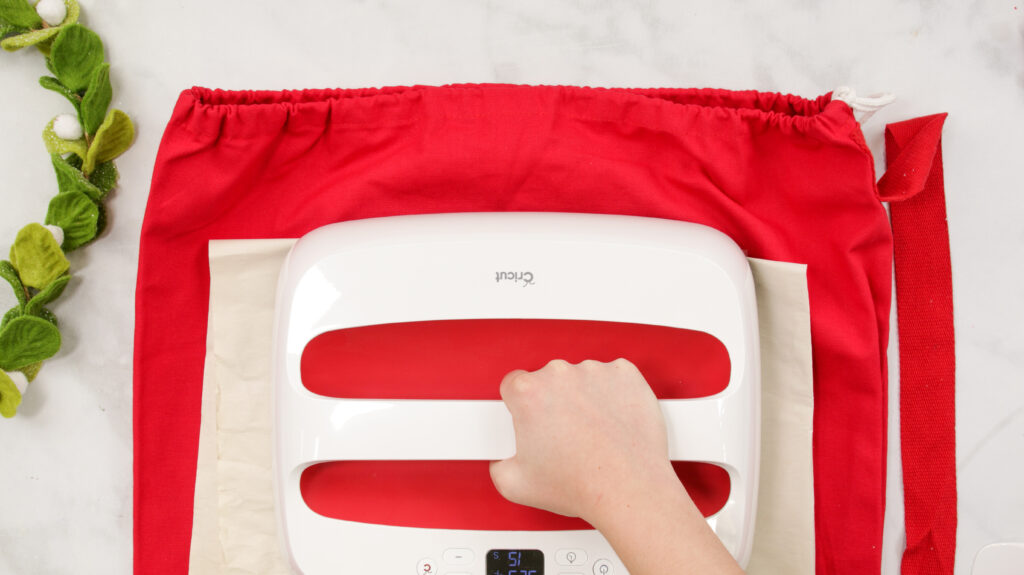
Only set it to 15 seconds when you are layering vinyl. You don't want to overheat one layer because it will start to bubble up.
Peel
Once 15 seconds pass, allow your iron-on to cool before peeling it away. If your Iron-On is a warm peel, allow it to cool for about 10-15 seconds before peeling off the backing. If it is a cool peel, wait about 1-2 minutes or until the design is completely cool.
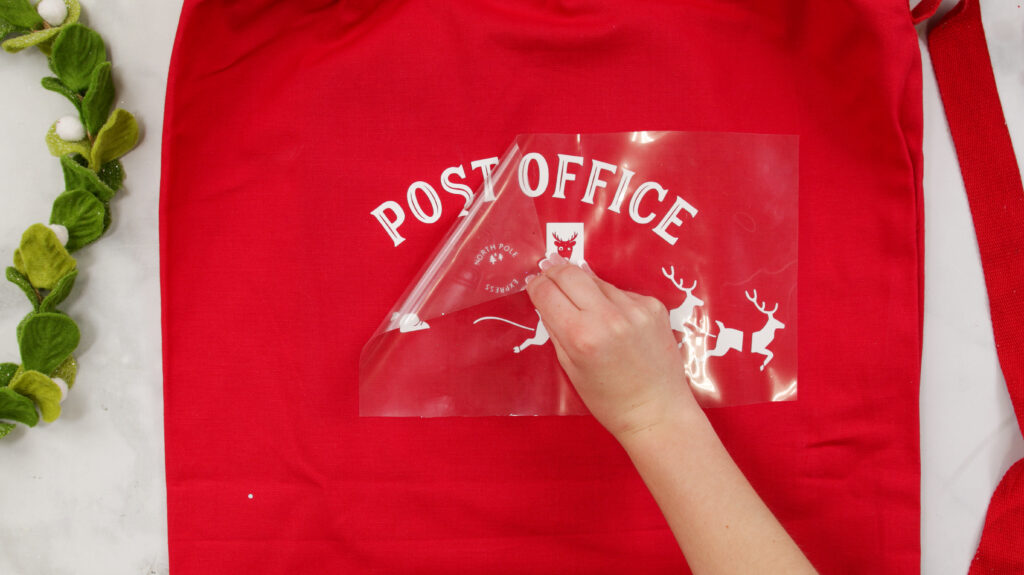
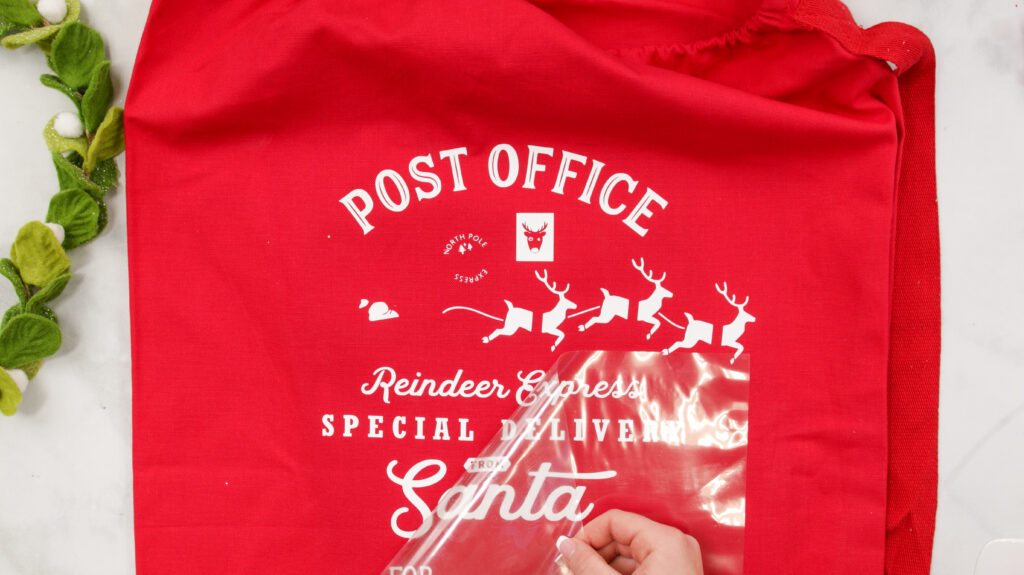
Next Layer
Once you’ve peeled the backing of the first layer, align your gold layer over top, and repeat the last two steps.
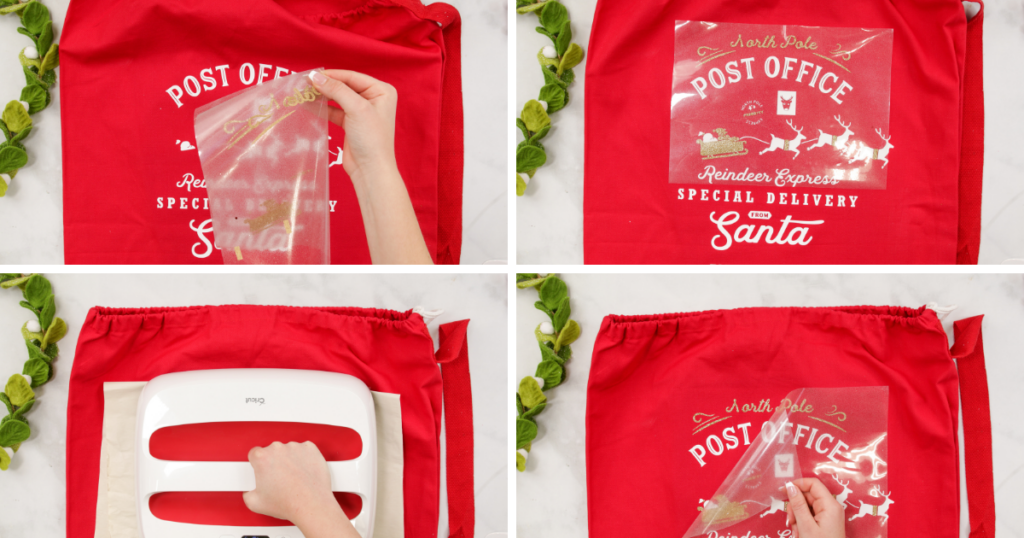
Finished Santa Sack!
Finally, allow the design to cool, then peel the backing away.
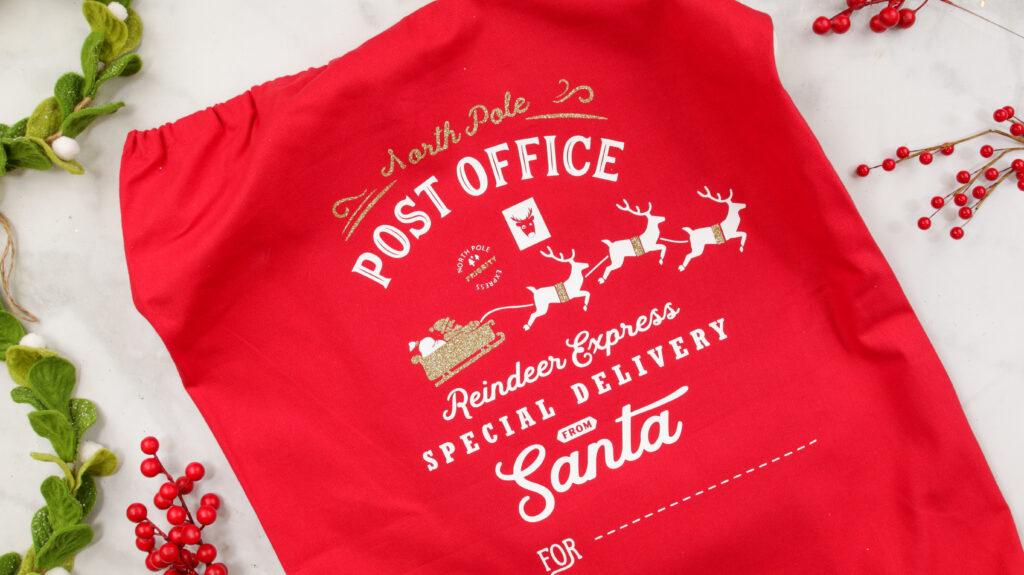
Now you have a finished Christmas Santa bag ready to be put out under the tree!
You can customize your Santa sack by adding a name along the dotted line.

Fill up your Santa sack with presents from Santa and set it out early on Christmas Day. Your little ones are sure to squeal with delight as they see a bag filled with presents from Santa addressed to them!
Be sure to hide the Santa Sack after Christmas Day and keep it hidden until next year to keep the magic alive!
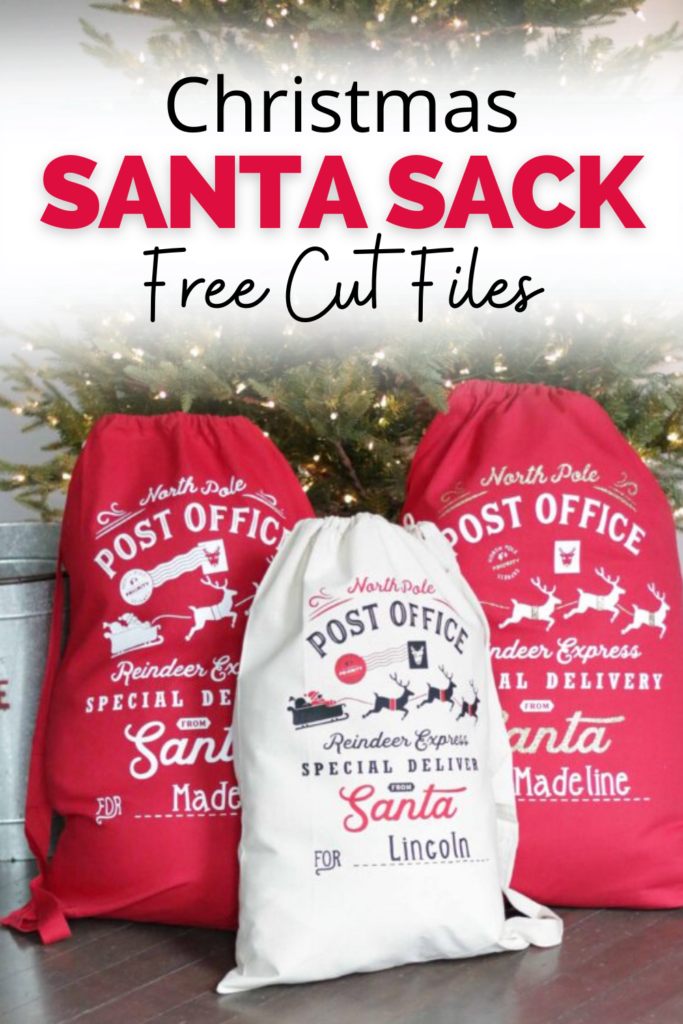
Don't want to forget about this project? Be sure to pin it on Pinterest by clicking HERE!
Click here if you want to make more Christmas crafts.
Join my crafting Facebook group where you can show us what you’re making, ask questions, and learn from others!

I am not the most savvy when it comes to techy stuff. How can I print this post without all the advertisements?
I was super excited about this idea - downloaded the svg - bought the canvas bags and htv colors, followed your directions to a T but I can't figure something out - how in the world do I do multiple colors without so many tiny pieces to have to 'guess' to put them in place? I have a Cricut Explore Air 2 - any advice is appreciated - thank you!
Hi, I know the smaller pieces are the hardest to figure out where to go, but I find if I put the finished picture from Sweet Red Poppy on my screen, that helps me figure out where they go. The tutorial on this page is also very helpful. Start with the bigger pieces and work your way to smaller ones. Hope this helps and I cant wait to see your finished project.
just might have to make these...