Create a 3D Birthday Cake Explosion Box With This Step-By-Step Photo and Video Tutorial, Plus Free SVG File Template.
Birthday explosion boxes are all the rage right now in the Cricut community so of course, I had to try my hand at this fun new trend and put my own Sweet Red Poppy spin on it!
I teamed up with JOANN, to bring you this file for free! JOANN is my one-stop shop for all of my crafting needs. This is a sponsored post written in partnership with JOANN.
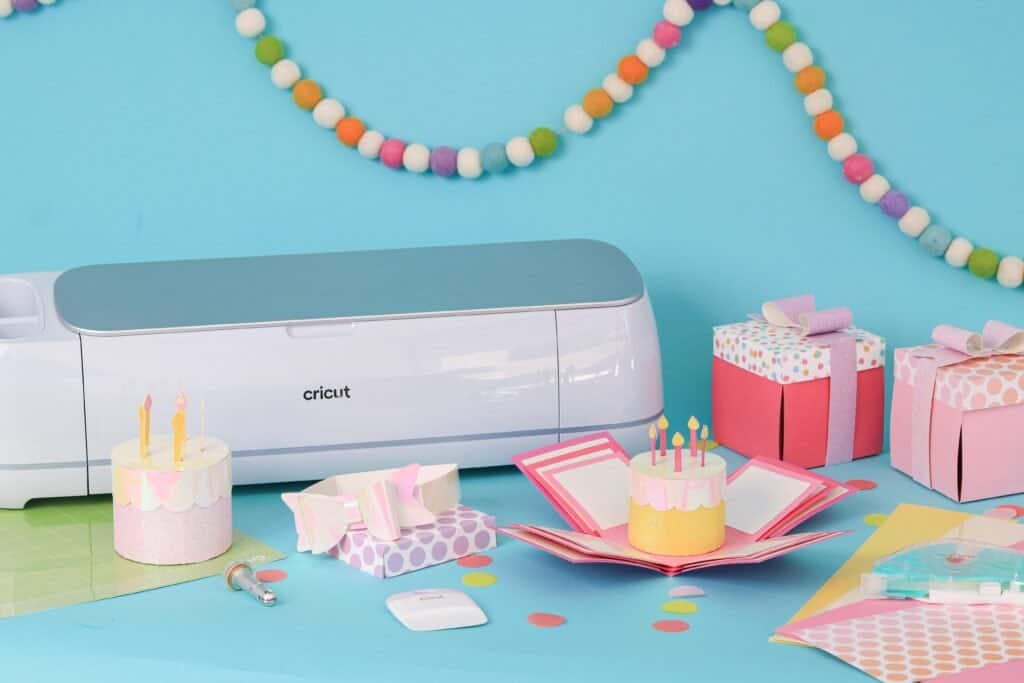
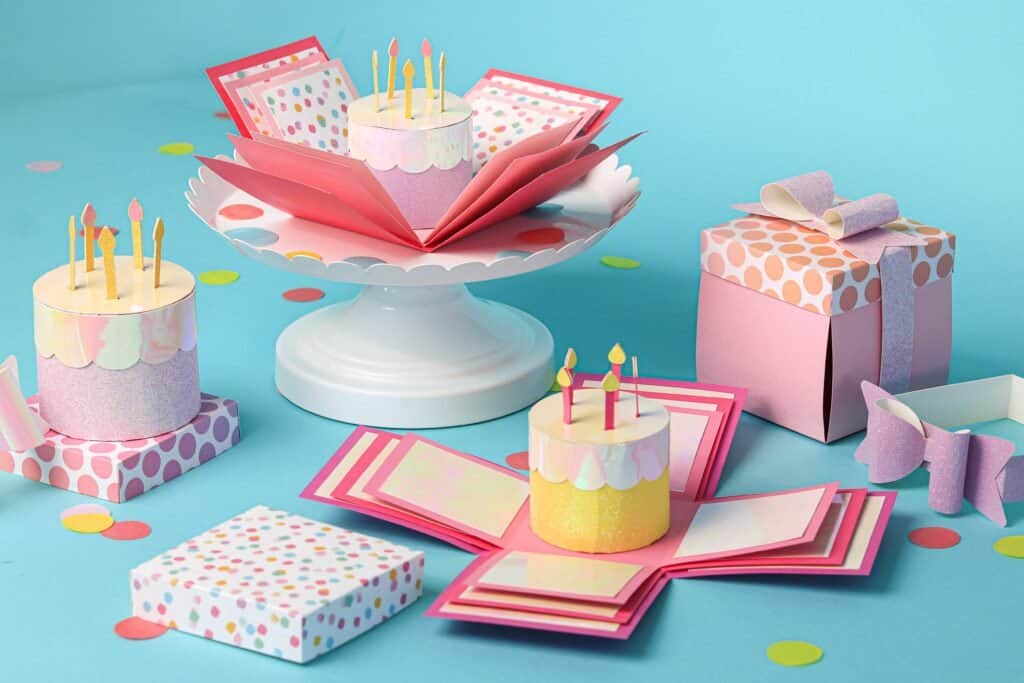
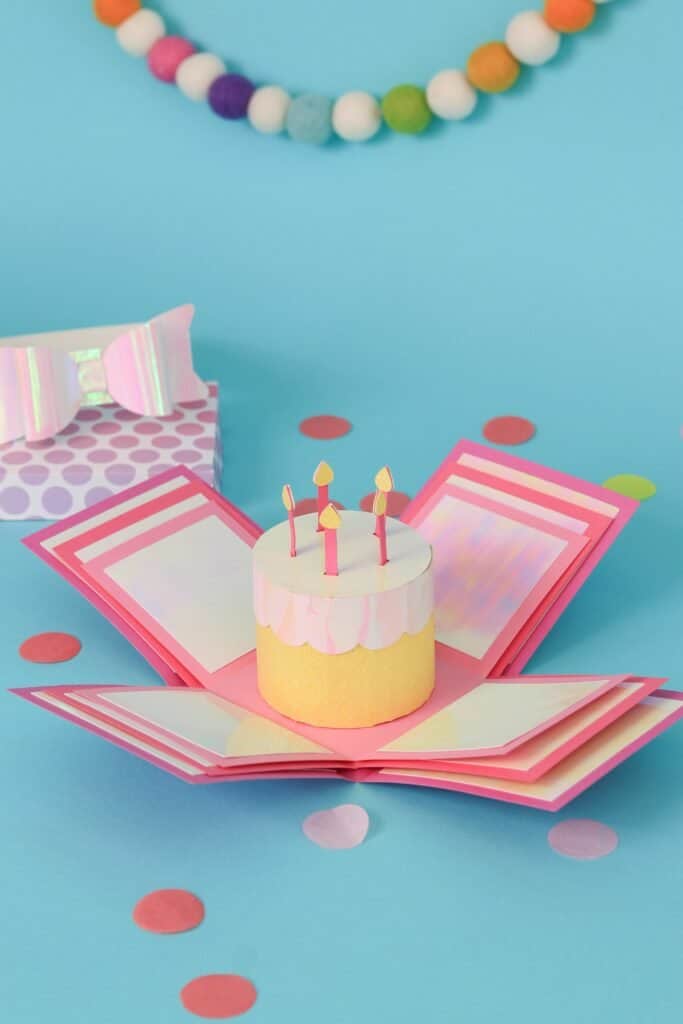
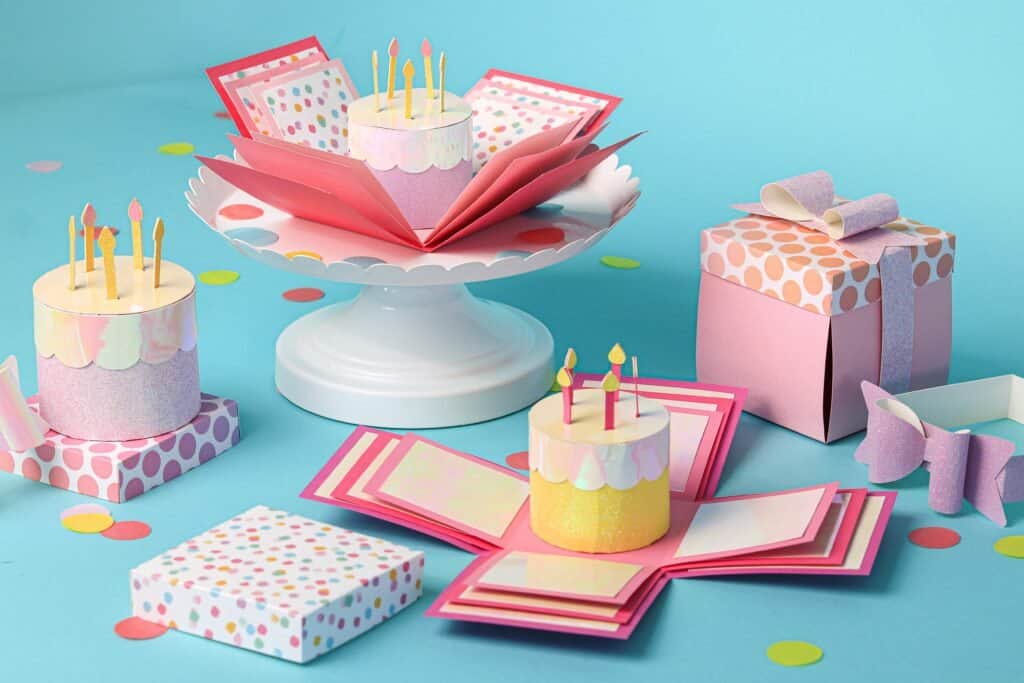
This Birthday explosion box features three layers that can be customized to your liking. Add in photos or notes to create a sentimental gift that's sure to be treasured.
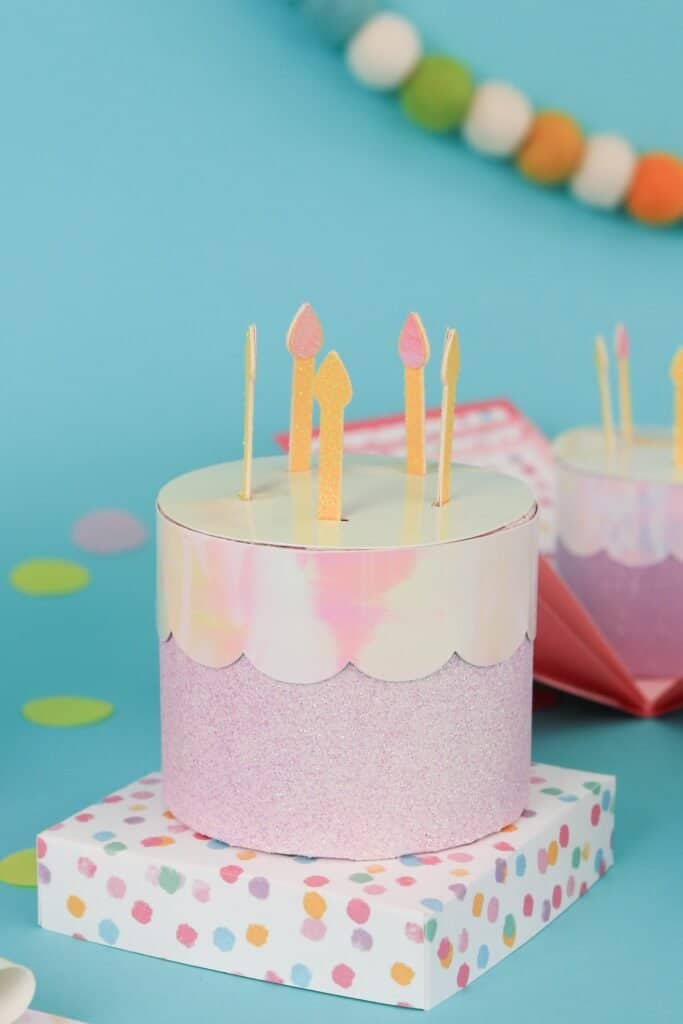
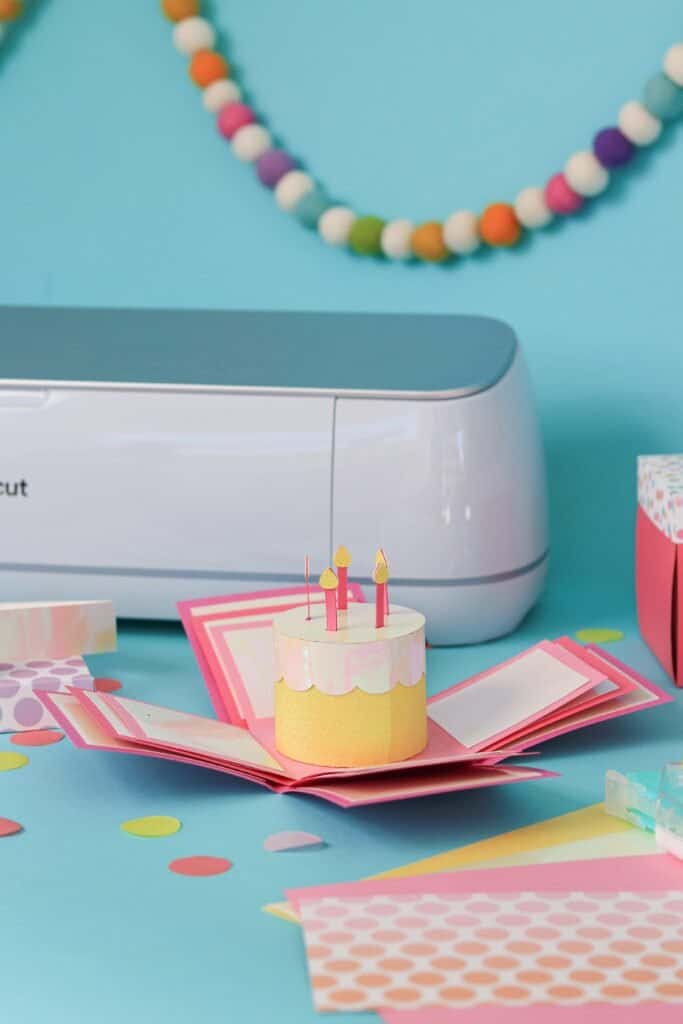
No birthday is complete without a cake, and what's better than a cake that stays good forever?
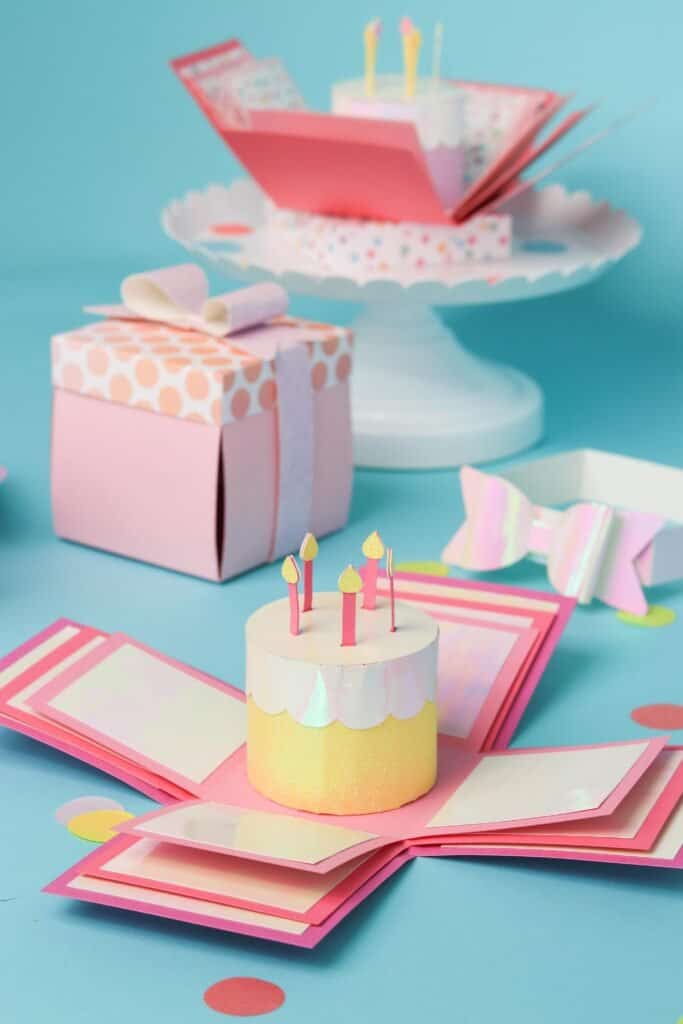
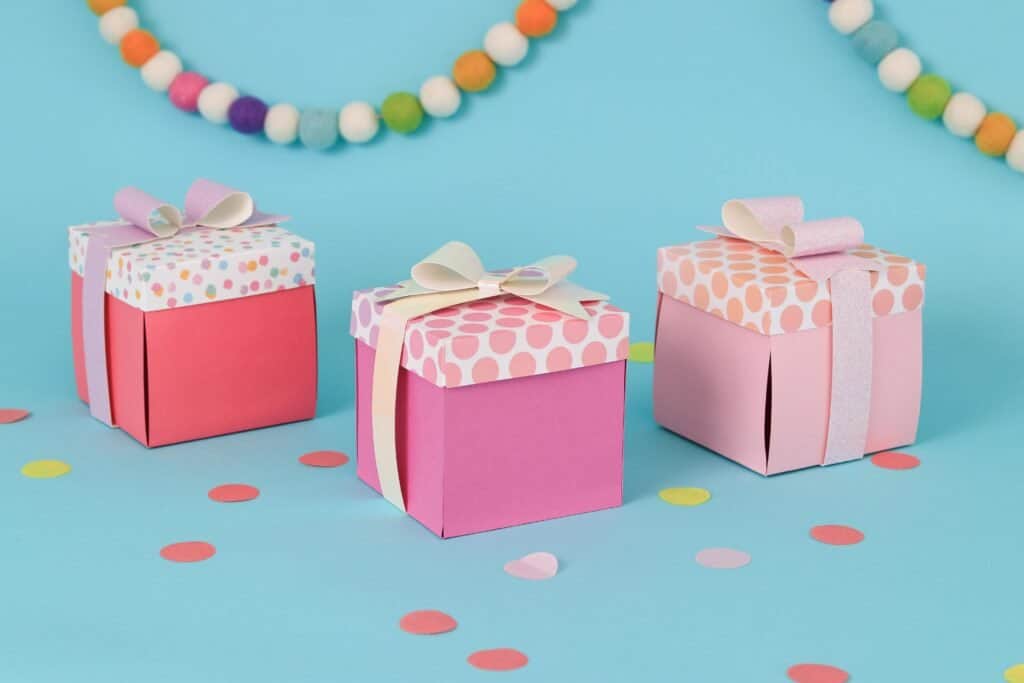
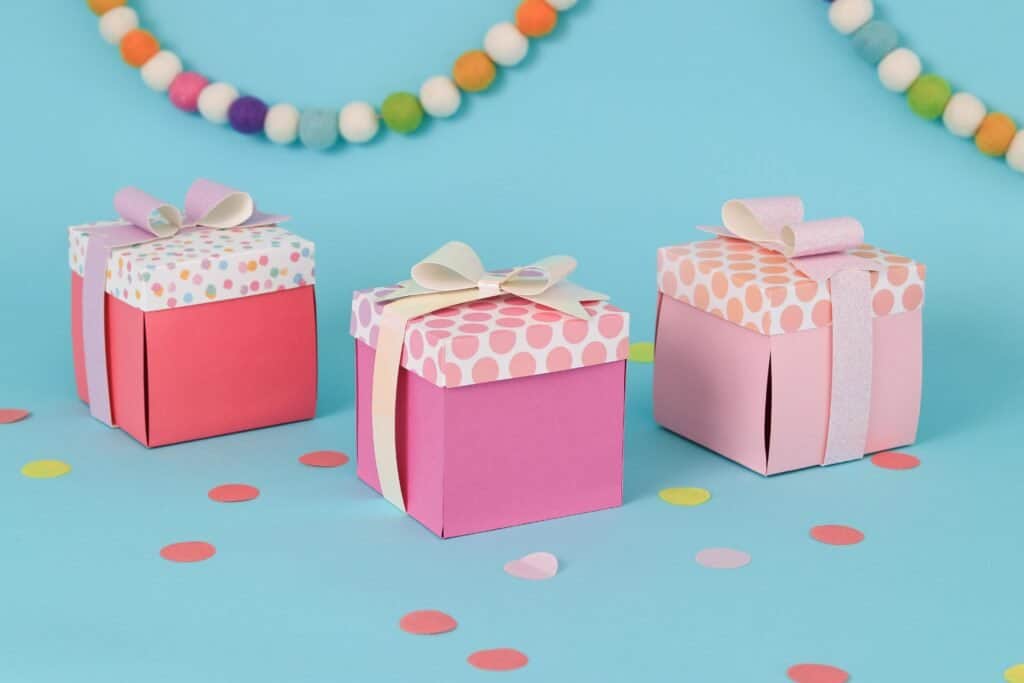
The finishing touch is the adorable ribbon and bow that makes your birthday explosion box look oh so pretty!
You can even personalize this birthday explosion box by adding photos to each layer for an unforgettable gift.
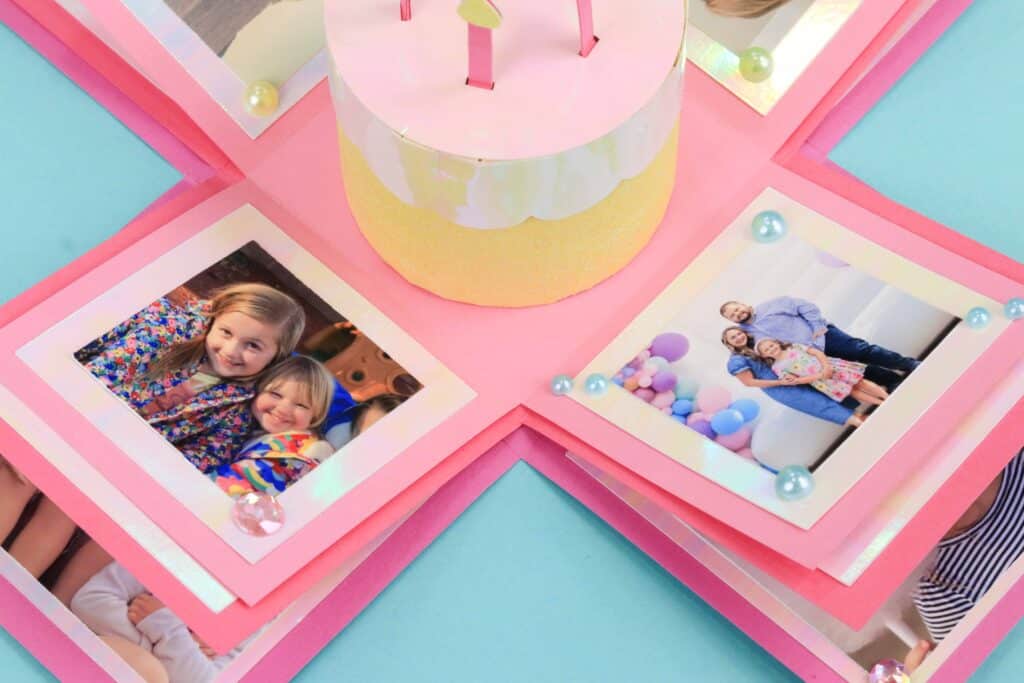
Table of Contents
Does the Box Need to Be Scored?
Scoring the pieces in this box makes this project much easier! You can use a scoring stylus which is compatible with the Explore and Maker series of Cricut machines or you can use the single or double scoring wheel with the Maker series of machines. My personal favorites are the single and double scoring wheel because they apply more pressure and give a cleaner scoring line.
Place the scoring line on the side of the paper that the flaps will be folded towards. All of the pieces in this tutorial should have the scoring line placed on the back or wrong side of the paper with the exception of the candles.
Before you cut out this project, don’t forget to change the cut lines to scoring lines. This is really important!!
If you don't have a scoring stylus or wheel you can skip this step and manually fold the tabs along the sides of the cake and box but it will take a bit more time!
What Size is the 3D Birthday Cake Explosion Box?
The Birthday Explosion box measures 3" tall by 3" wide. The Birthday cake is 2.25" tall. This is as large as the explosion box can be while using Cricut mat.
You can decrease the size to make it smaller.
Birthday Cake Explosion Box Tutorial
Follow these step-by-step instructions to make a layered Birthday Explosion Box with a Birthday Cake.
Supplies:
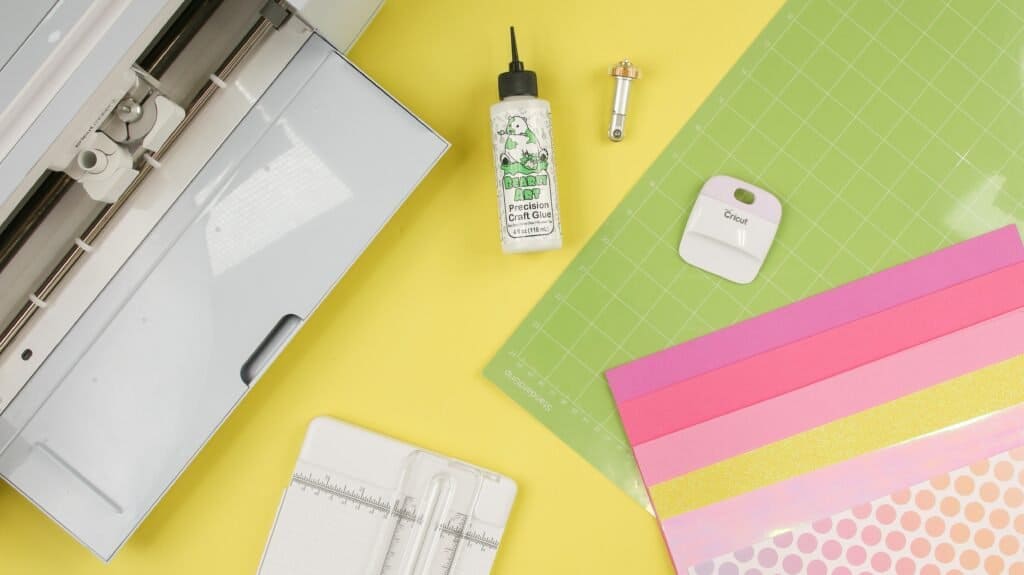
- Free Birthday Cake Explosion Box Cut Files (link below)
- Cricut Explore, Cricut Joy, or Cricut Maker 3
- Fine-Point Blade
- Scoring Wheel or Scoring Stylus
- StandardGrip Mat
- 5 Pieces of Cardstock
- Craft Glue
- Adhesive Tape Runner
- Cricut Scraper (for removing small pieces of cardstock from the mat and shaping pieces.)
- Photos
JOANN is my one-stop shop for all of my crafting needs. You can find all of the supplies for this tutorial in-store or online.
Click Here to Download the Free Birthday Explosion Box Cut Files!
Step 1: Upload the SVG Design File to Cricut Design Space
Open Cricut Design Space and click the + to create a new project.
In the Design Panel on the left, select "Upload."
Click "Upload Image" and then click "Browse."
Navigate to the file on your device to upload it to Cricut Design Space.
Here you can change the name and add tags. Click "Upload."
Once you have the file uploaded, select it and click "Insert Images" to bring it onto your canvas.
This is a large design so I've broken the files into three separate files. Repeat this process until all three files have been uploaded.
Step 2: Edit the Design
Begin by ungrouping all three sets of SVG files.
Starting with the cake, select the cut lines along the top and bottom of the cake.
Select “Operation” at the top of the Canvas, then select “Score” from the drop-down menu.
This switches the function from cutting to scoring. Scoring will give you a clear guide making it easier to fold these pieces in the next step.
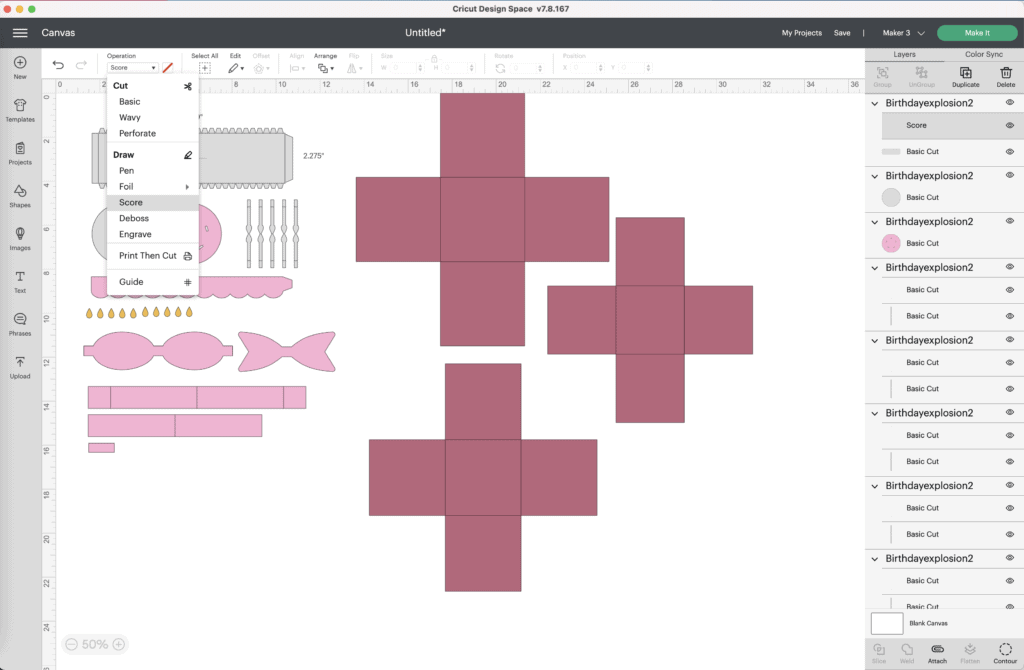
From the Layers Panel select both the cut line of the cake as well as the scoreline. Select “Attach” from the bottom of the Layers Panel.
Attach keeps the cut line and the scoring line together so they don’t shift when you proceed to the next step.
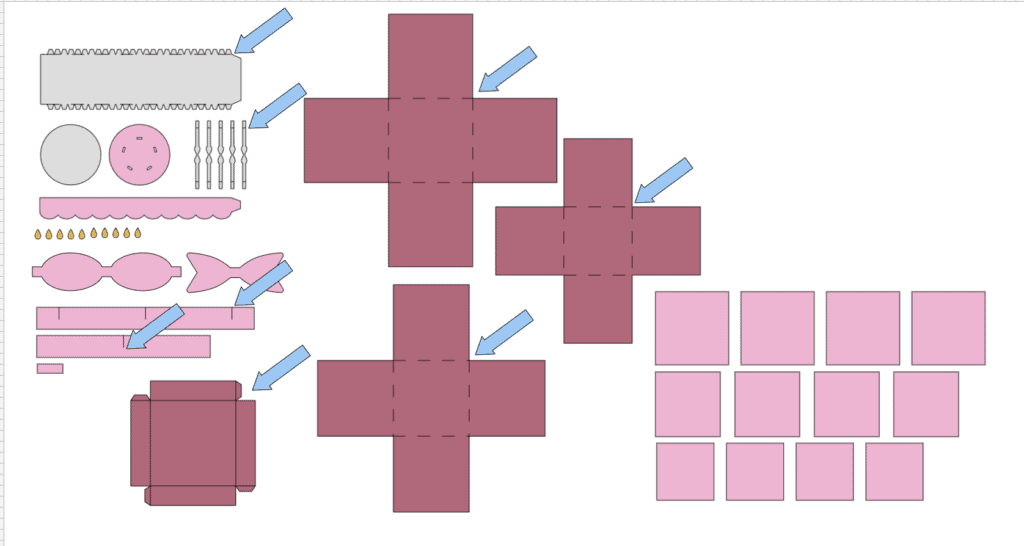
Repeat this same process with the cut lines along the base of the candles, the cut lines along both of the ribbons, and all three of the boxes.
I've marked each cut line that needs to be switched to a scoreline with a blue arrow in the photo below.
Be sure to "Attach" the scoreline to the associated cut line!!
If desired, you can now increase or decrease the design. Make sure to select all the pieces at once and size them together or the pieces will not fit together properly.
Now you're ready to cut the design! Click “Make It” in the upper right-hand corner of the screen.
This brings you to the preview screen. Click "Continue."
Make sure your machine is connected and select your material.
Ensure your Scoring Stylus or Scoring Wheel is loaded into your machine.
Step 3: Cut Out Your Design
Peel the clear liner away from your Cricut cutting mat.
Following Design Space’s prompts, place your first color of cardstock on your mat.
Pro Tip - I like to switch all of my pieces to the same color or the same mat so I can place them all on the same mat. This saves me time and decreases the amount of time I have to spend preparing and sending mats through the machine.
Press the load button to load the mat into your machine. Begin the cut.
Unload your mat, and repeat this process until you have all of the elements cut out.
Pro Tip - Peel your mat away from the cardstock to avoid tearing or rolling your cardstock.
Step 4: Assemble the Box and Lid
Let's start our project by assembling the box and the lid.
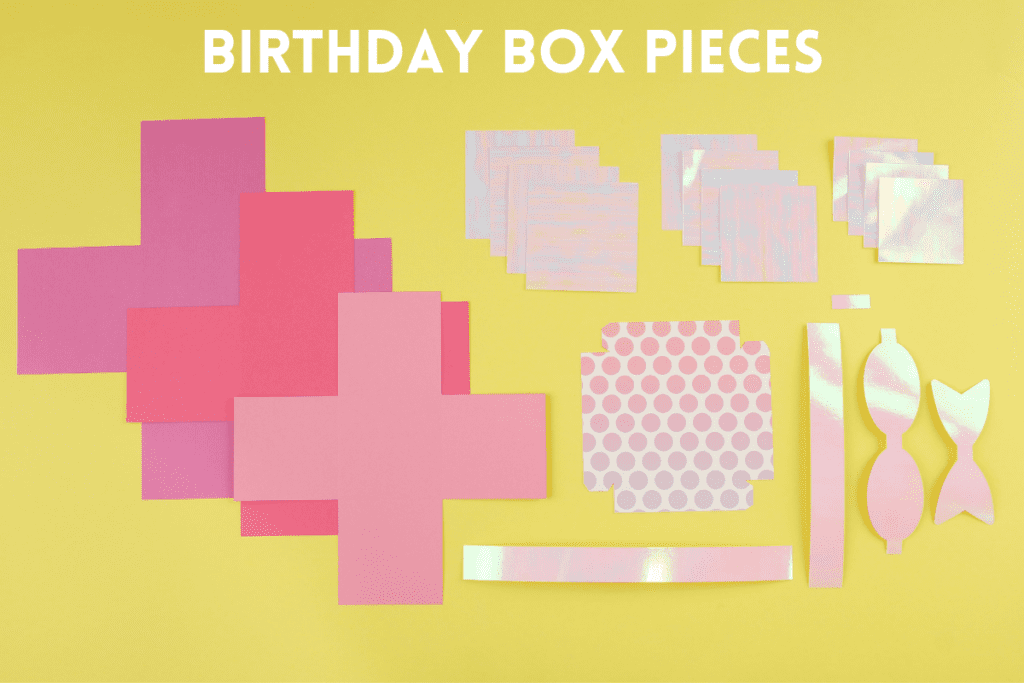
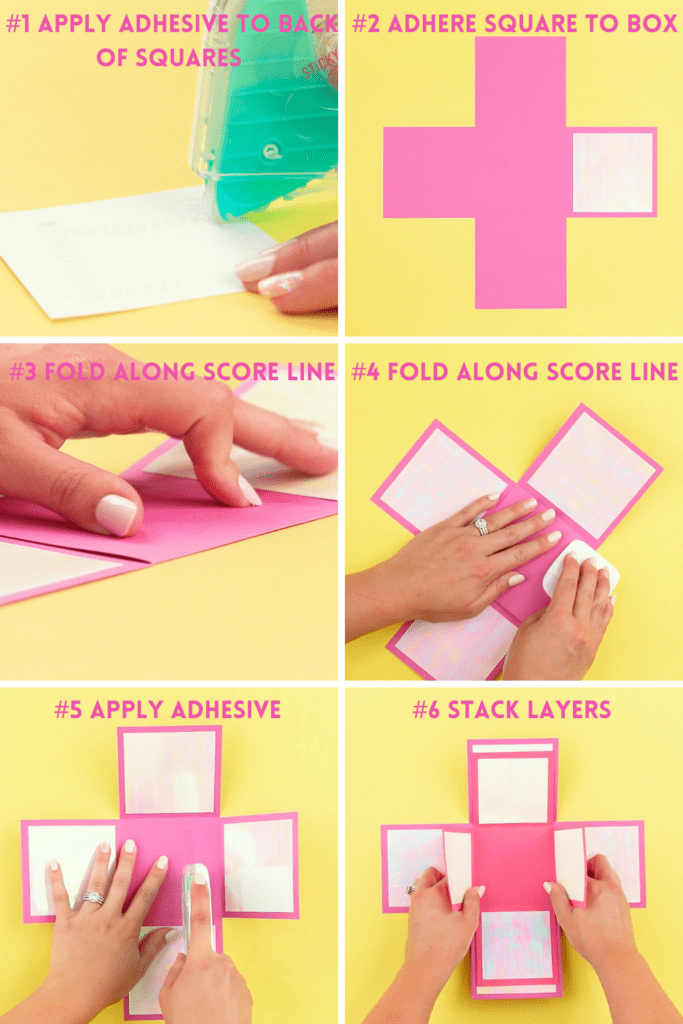
#1 Apply adhesive to the back of the squares.
#2 Adhere the square to the box flap, taking care to center it. Repeat with remaining squares.
#3 Fold the box flaps inward along the score lines.
#4 Use a Cricut scraper to create nice, sharp creases.
#5 Apply adhesive to the center of the box.
#6 Stack and adhere the smaller layers into place.
If desired, you can add photos to your layers to customize the birthday box.
Cut the photos to be 1" smaller than the size of the square you are applying it to. Apply adhesive to the back of the photos and center it on the square

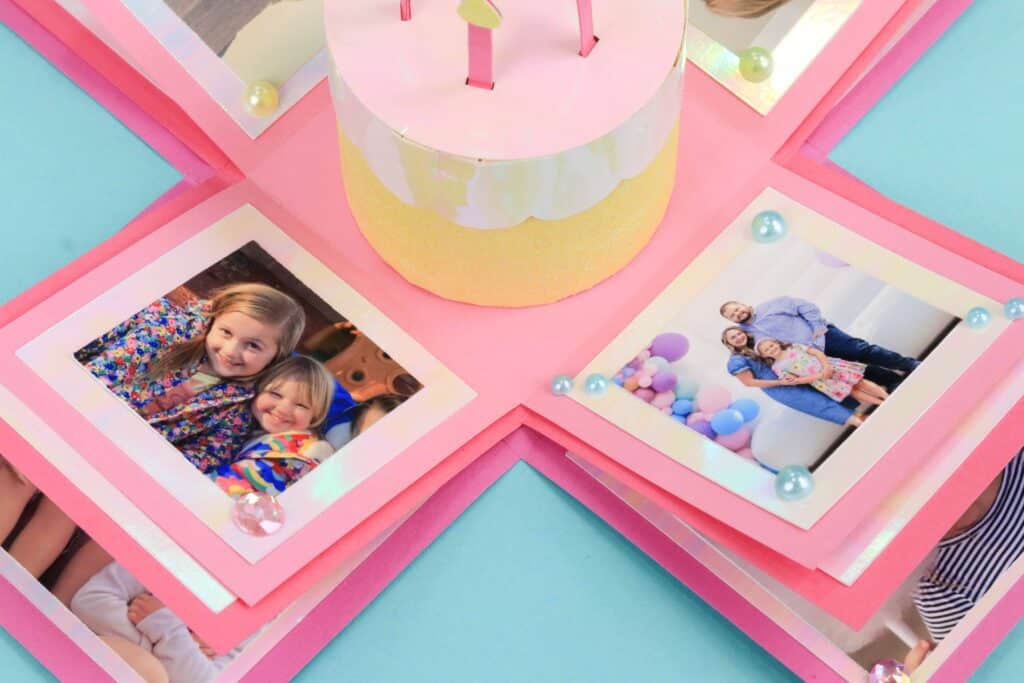
Now, let's move on to creating the lid.
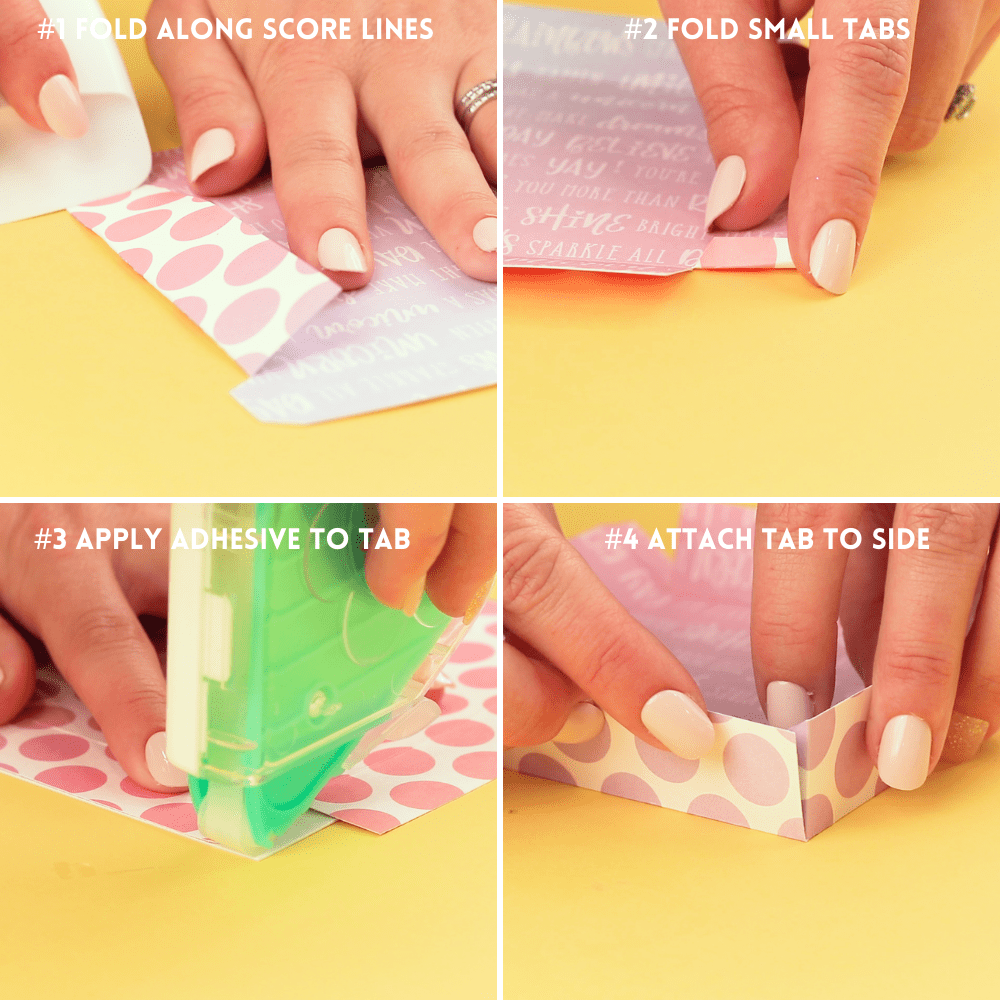
#1 Fold the box sides along the score lines towards the wrong side of the paper.
#2 Fold the small tabs towards the wrong side of the paper.
#3 Apply adhesive to the wrong side of the small tab.
#4 Bring the tab and side together to create the box lid.
Step 5: Assemble the Bow
Next up, it's time to assemble the box and the ribbon that goes around the box.
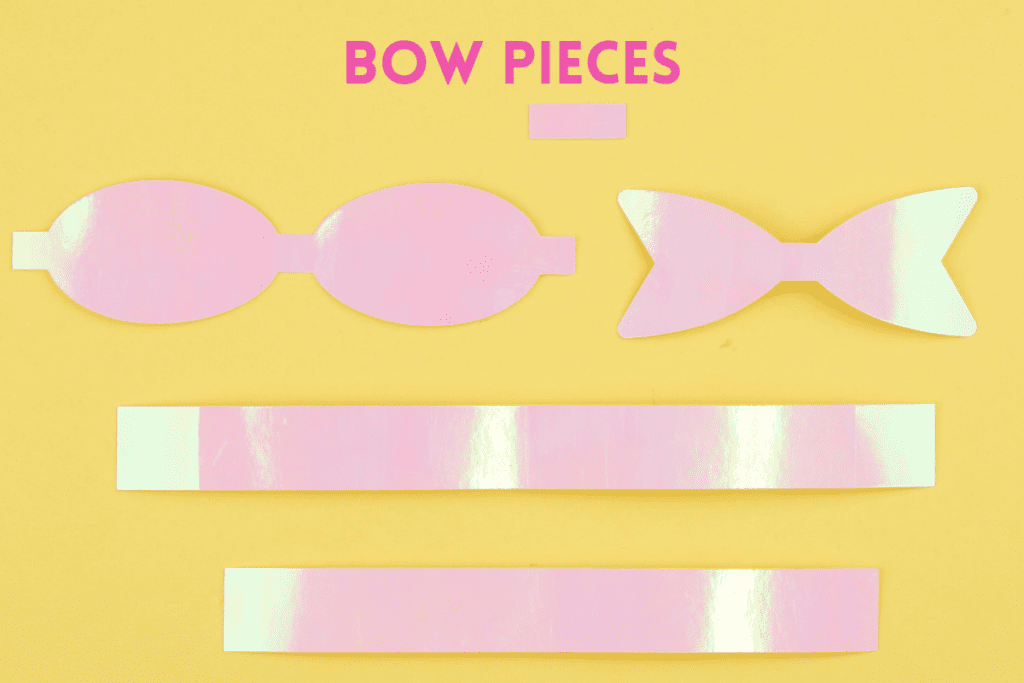
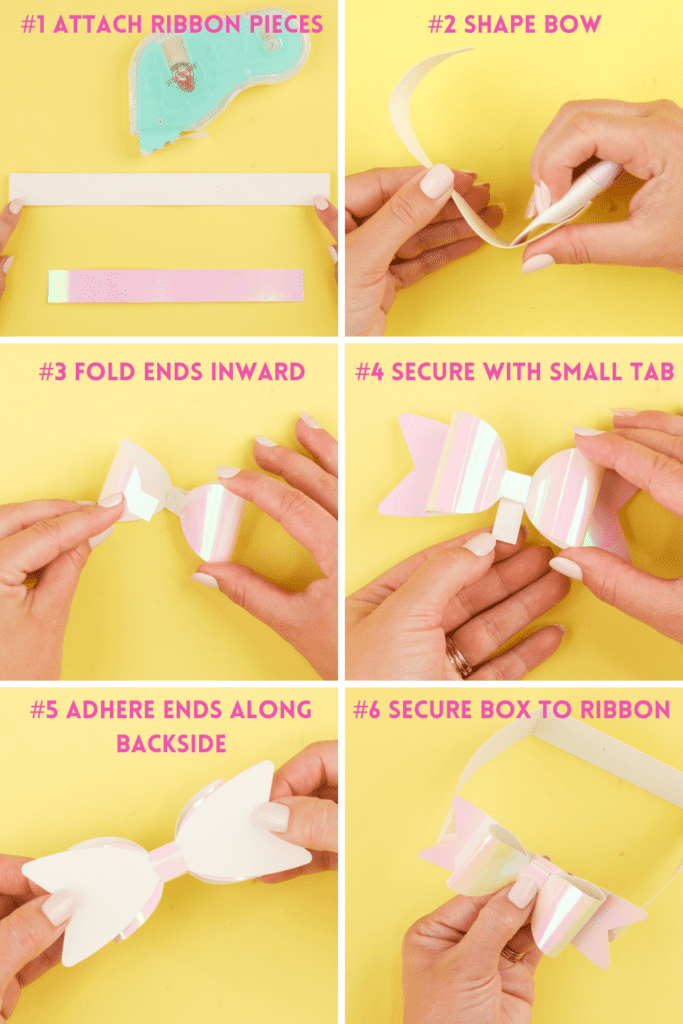
#1 Fold the ribbon along all score lines. The folds should be towards the wrong side of the paper. Take the larger ribbon and place it face down. Apply adhesive along the small folded portion of the ribbon. Secure the larger ribbon piece to the smaller piece to form a square.
#2 Shape the bow by using a Cricut scraper to gently bend the bow. This will prevent the cardstock from cracking and helps to achieve a bow with plenty of volume.
#3 Bend the ends of the bow inward towards the center of the bow. The ends should overlap each other.
#4 Stack the bow on top of the tails. Secure the bow in place by wrapping the small tab around the bow and tails.
#5 Use adhesive to secure the small tab along the backside of the bow.
#6 Place adhesive along the backside of the bow. Stack the finished bow on top of the ribbon making sure to center it.
Step 6: Assemble the Cake
Let's move on to creating the cake and the candles.
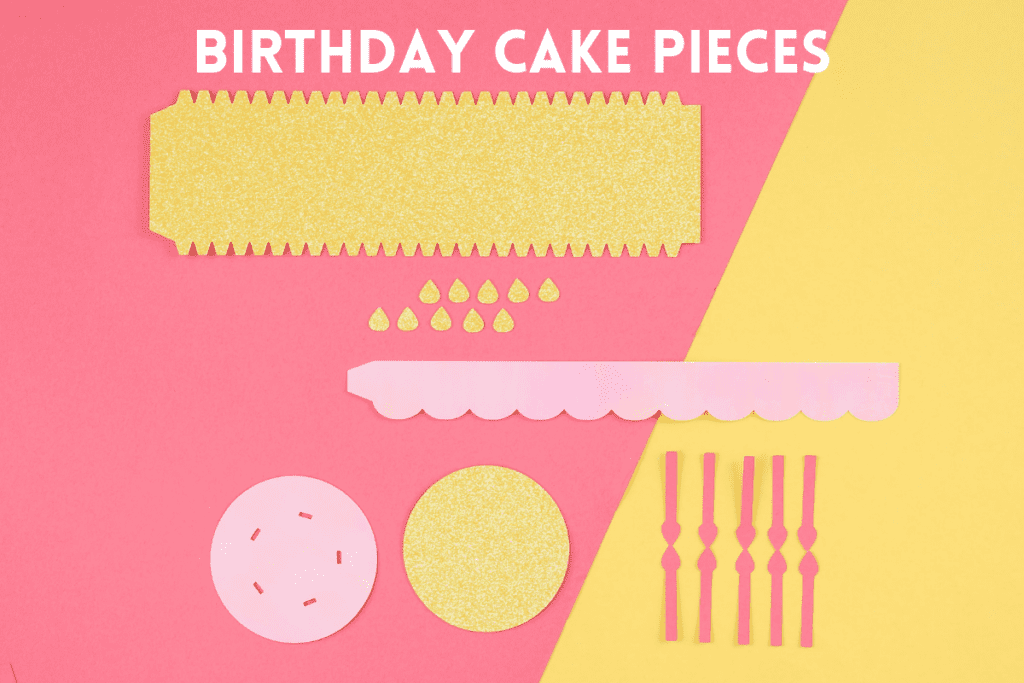
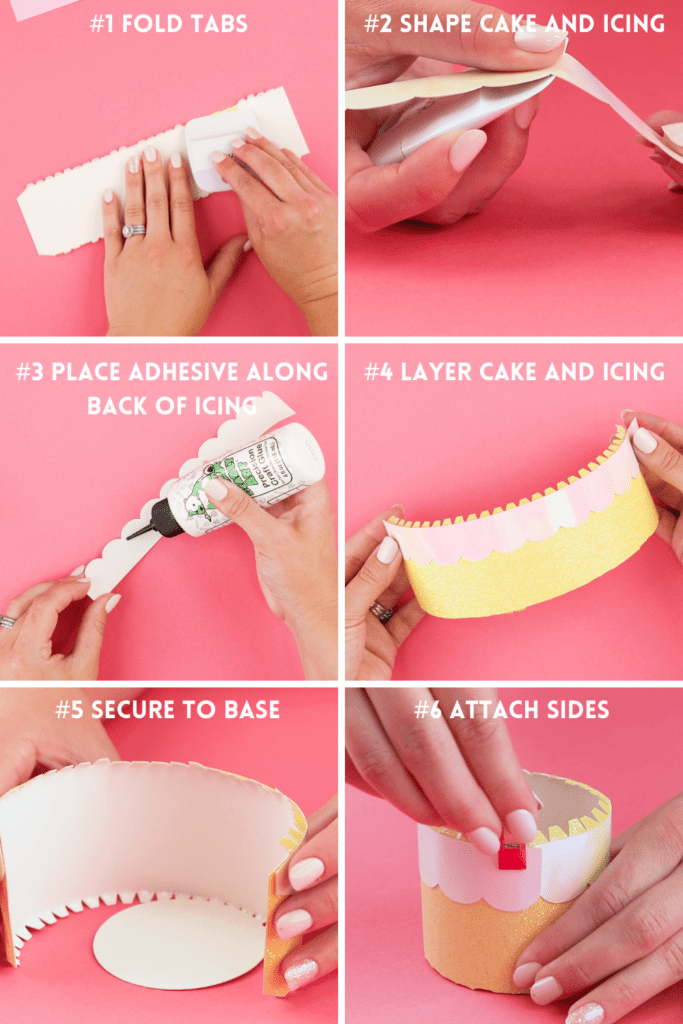
Start by creating the base of the cake.
#1 Fold the tabs on the cake towards the wrong side.
#2 using a Cricut scraper, shape the cake and the icing to give it a rounded form.
#3 Place adhesive along the back side of the icing.
#4 Layer the cake and icing. The top of the icing should just barely overlap the fold lines of the cake tabs.
#5 Place adhesive along the cake tabs and secure it to the bottom of the cake base.
#6 Place a line of adhesive along the short edges of the cake. Overlap the cake edges until it perfectly forms to the cake base. Use a craft clip to secure the edges until they dry completely.
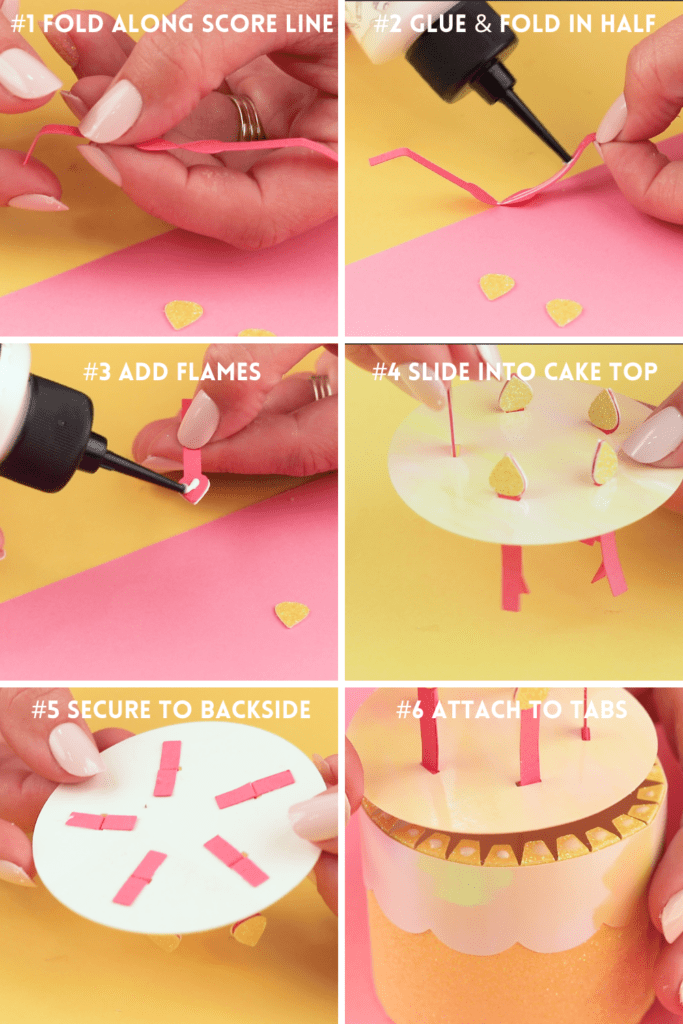
Now it’s time to move on to the birthday cake candles
#1 Fold the candles along the scoring lines. The candle should be folded towards the right side of the paper.
#2 Place a line of adhesive along the unfolded portion and fold the candle in half.
#3 Draw a small dot of adhesive and layer the flame on top of the candle. Repeat this on the opposite side.
#4 Slide the candles into the cake top.
#5 Flip the cake top over and secure the tabs with adhesive to the backside of the cake top.
#6 Draw small dots of adhesive on each of the cake tabs. Attach the cake top to the cake tabs.
Draw a line of adhesive along the bottom of the birthday cake and secure it to the center of the birthday box. Allow it to dry completely.
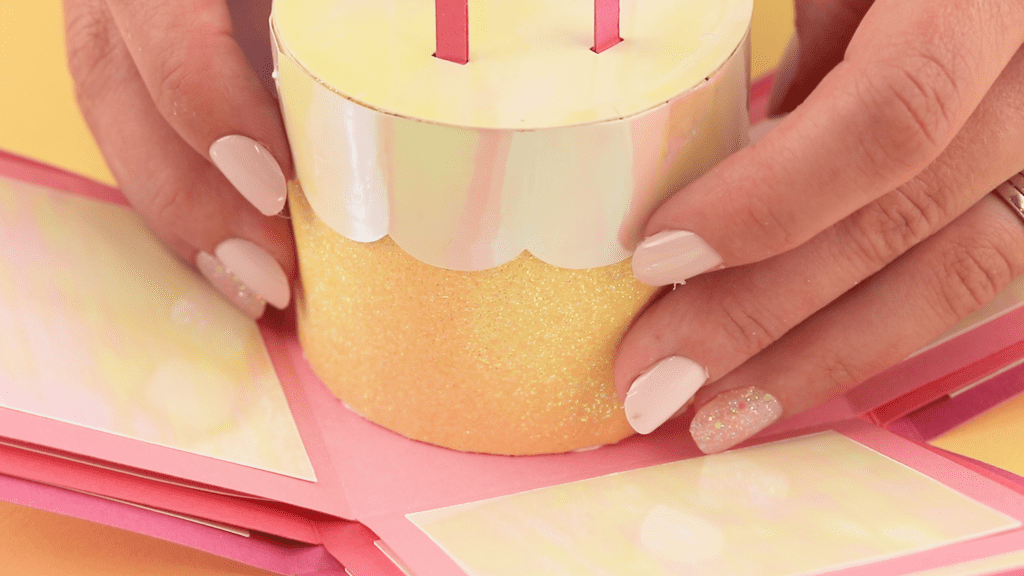
Close up your box, slide on the ribbon and box and you're finished!

What is this amazing iridescent card stock you used? So pretty!!!