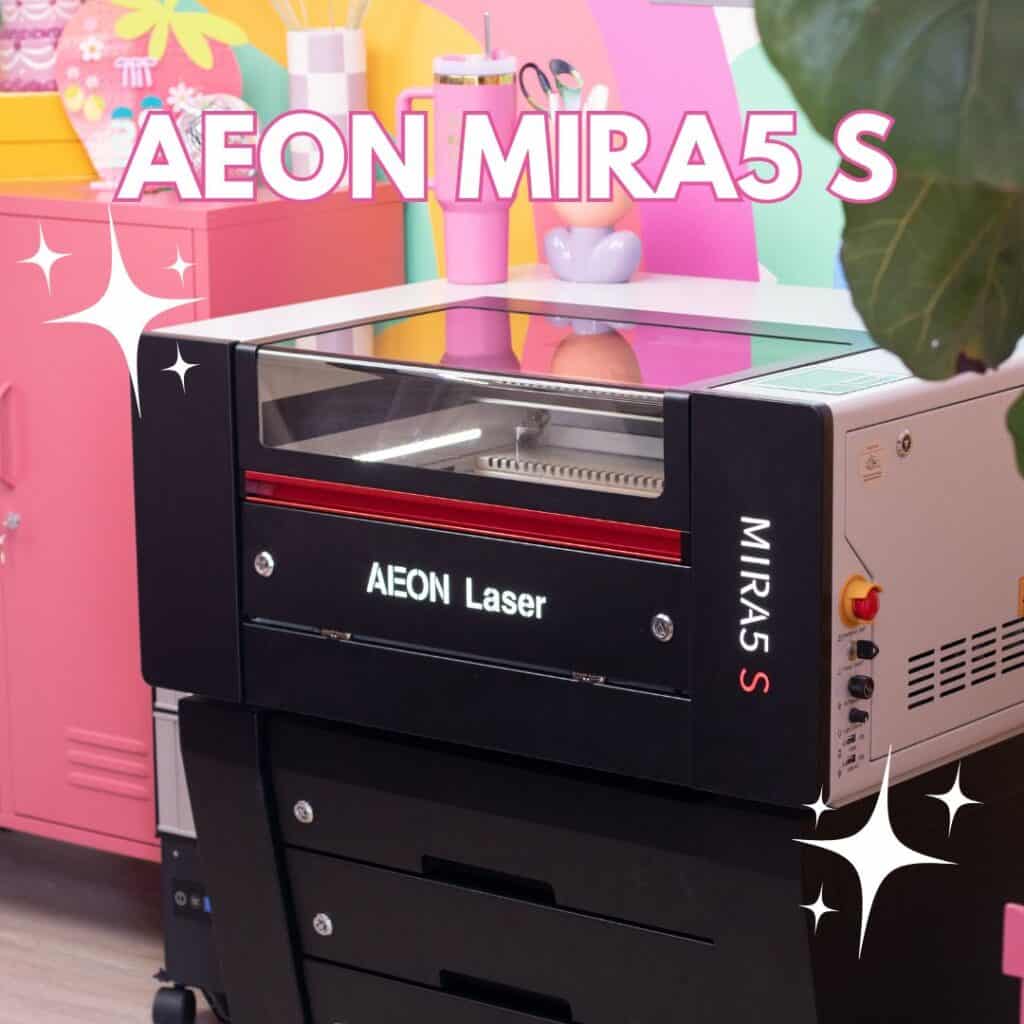
In this post, I’m sharing everything I’ve learned about the Aeon Mira 5 S, what it can do, the features that stand out, and why it’s such a great fit for small business owners.
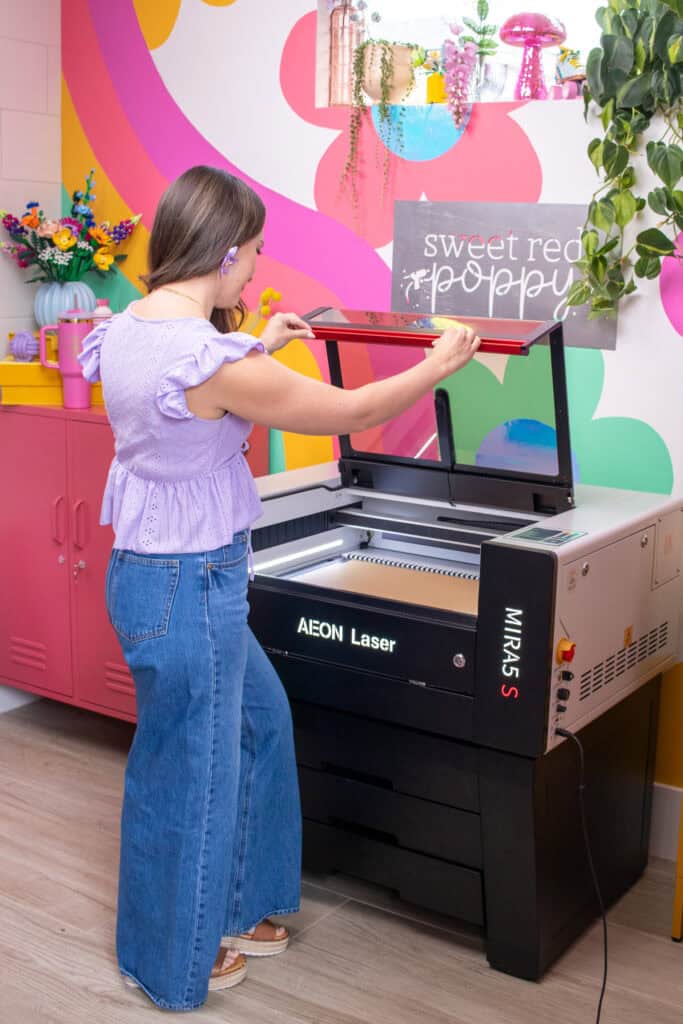
Over the past few months, I’ve been testing out the brand new Mira5 S Redline CO2 laser from Aeon. I’ve been cutting, engraving, and experimenting with tons of different materials to learn this machine's ins and outs. After tons of testing, I’m ready to share my honest thoughts with you and help you decide if it’s the right fit for you and your small business.
If you’ve been curious about what this machine can do or whether it’s the right size for your space, then buckle up because we’re covering everything you need to know to make an informed decision.
This is a sponsored post written in partnership with Aeon. Aeon provided me with this machine to review. All thoughts and opinions are my own.
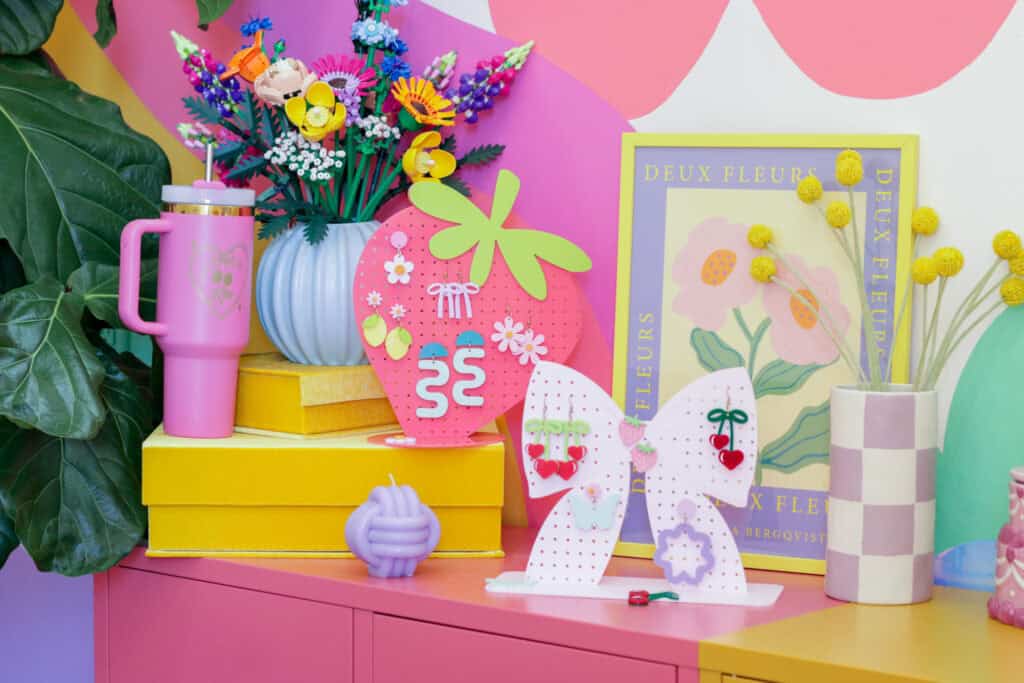
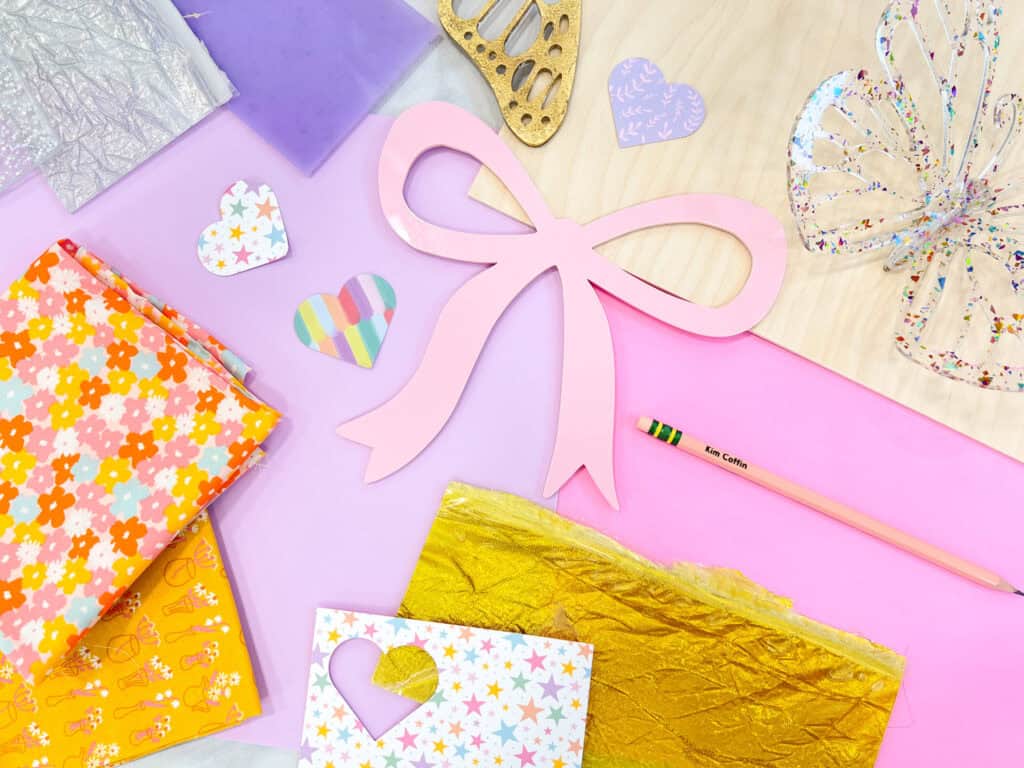
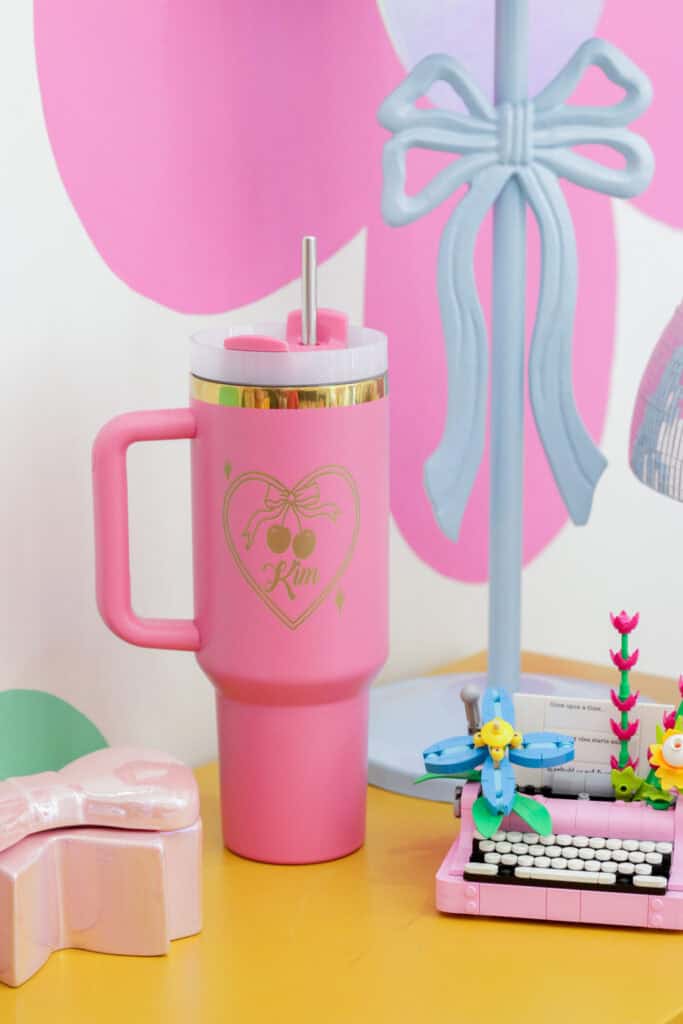
Make sure to read all the way to the end of this post where I’m sharing my very first project with the Mira5 S! I even engraved my first 40 oz tumbler using the Piburn Grip Rotary, and I’m seriously obsessed with how it turned out! Here’s a little sneak peek at a few of the projects I’ve made so far. 👀 You’ll find the free SVG file downloads for everything at the bottom of this post!
What Is a Laser Cutting Machine?
Let's start with the basics! A laser cutting machine can emit a beam of light that burns the material you place inside the machine. You can adjust the speed and power of lasers to cut, engrave, and score onto your material. It's compatible with various materials such as wood, acrylic, leather, fabric, paper, and more!
The most well-known lasers are Diode, CO2, and Fiber laser cutters. You may be wondering about the differences between these types of lasers.
What's the Difference Between a Diode Laser and a CO2 Laser?
A diode laser emits blue light at a higher frequency. While it moves at slower speeds, it's great for engraving. However, because of the blue light emitted, it can't travel through translucent materials.
A CO2 laser is more powerful than a Diode laser because it emits light at lower frequencies using gas, air, and electricity. This lower frequency allows for faster cutting and engraving. It can also cut through all colors of acrylic, making it a game-changer for small business owners and hobbyists alike who are looking for a laser machine equipped with more power and possibilities.
Table of Contents
What's Included with the Machine?
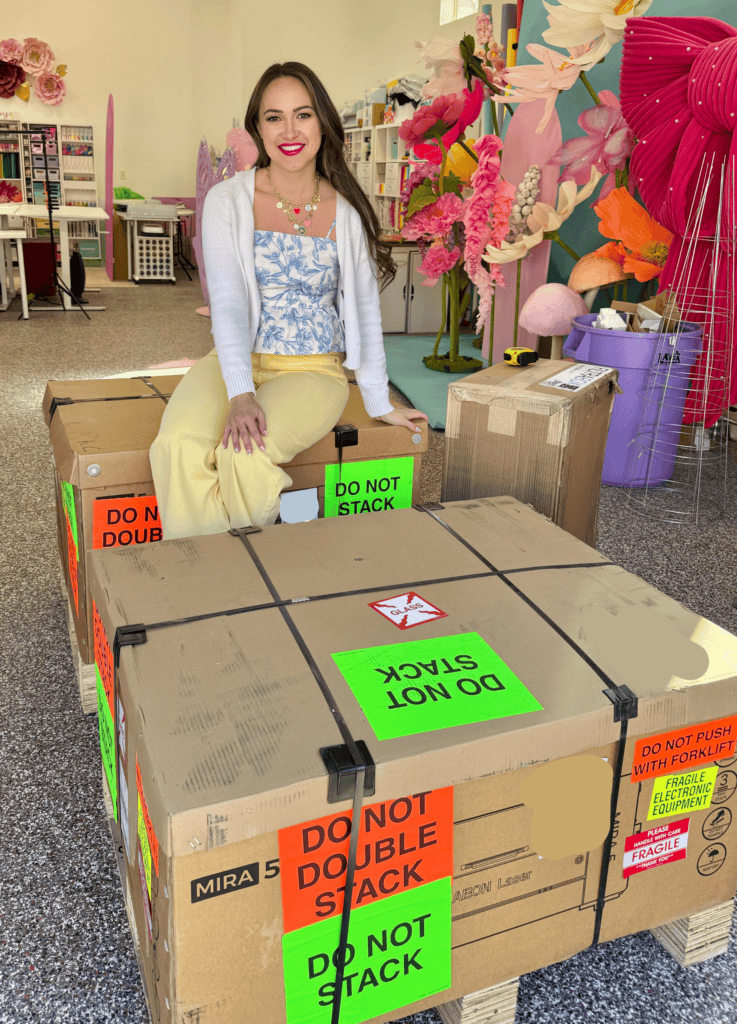
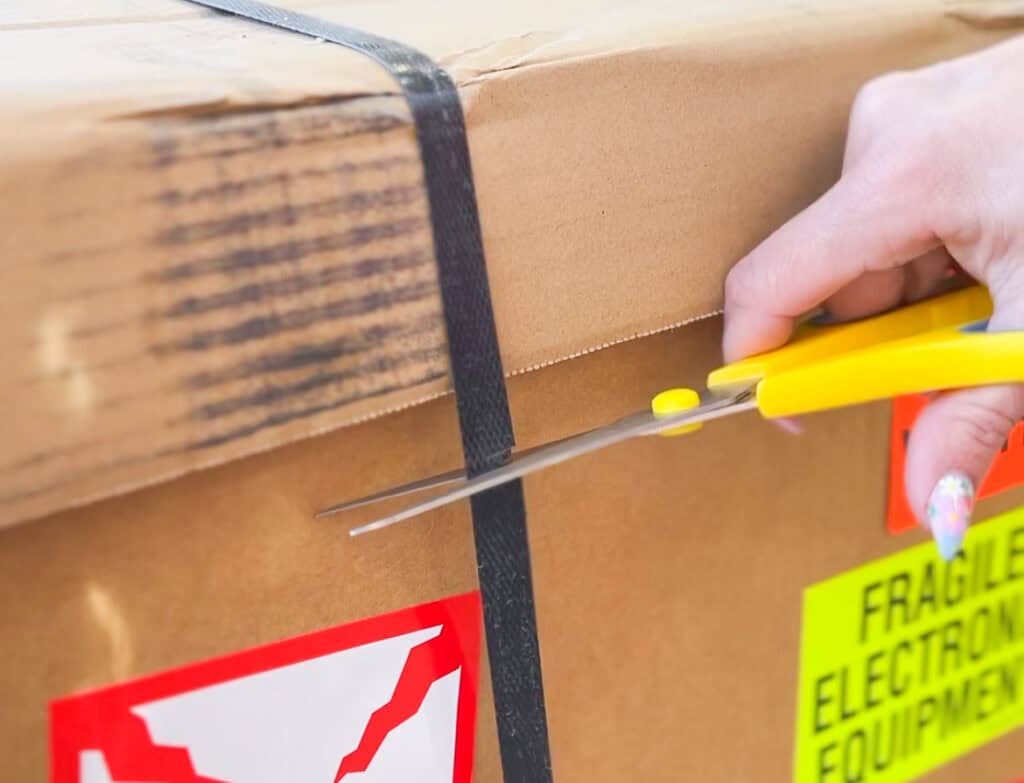
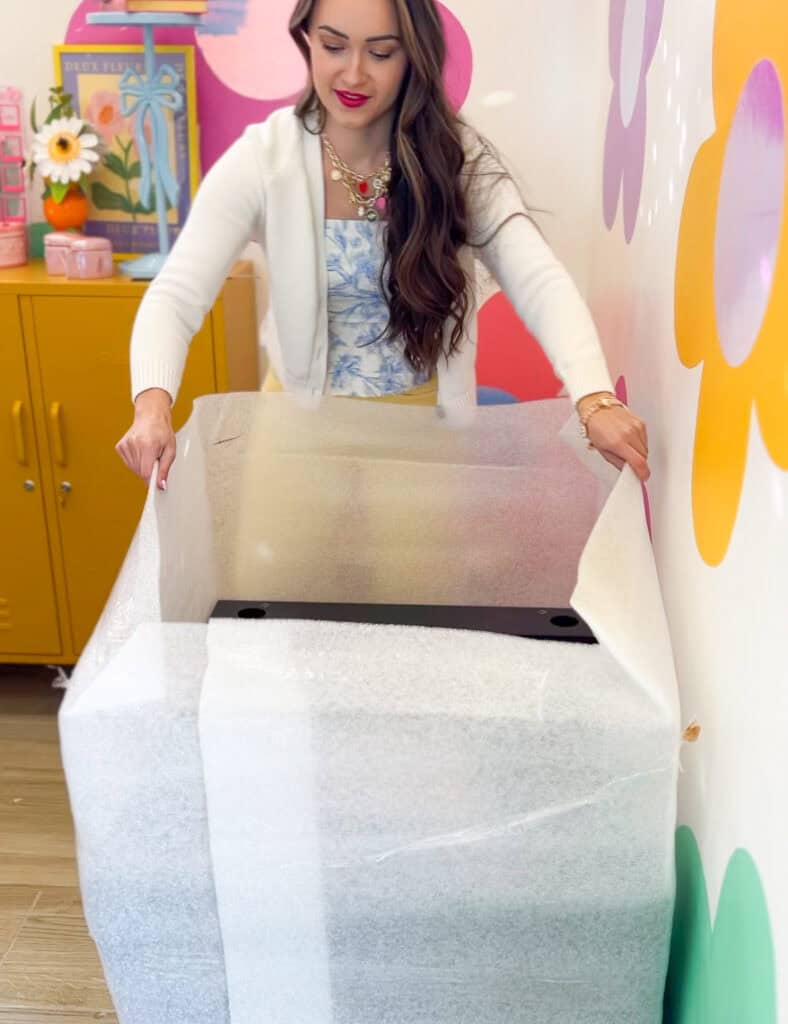
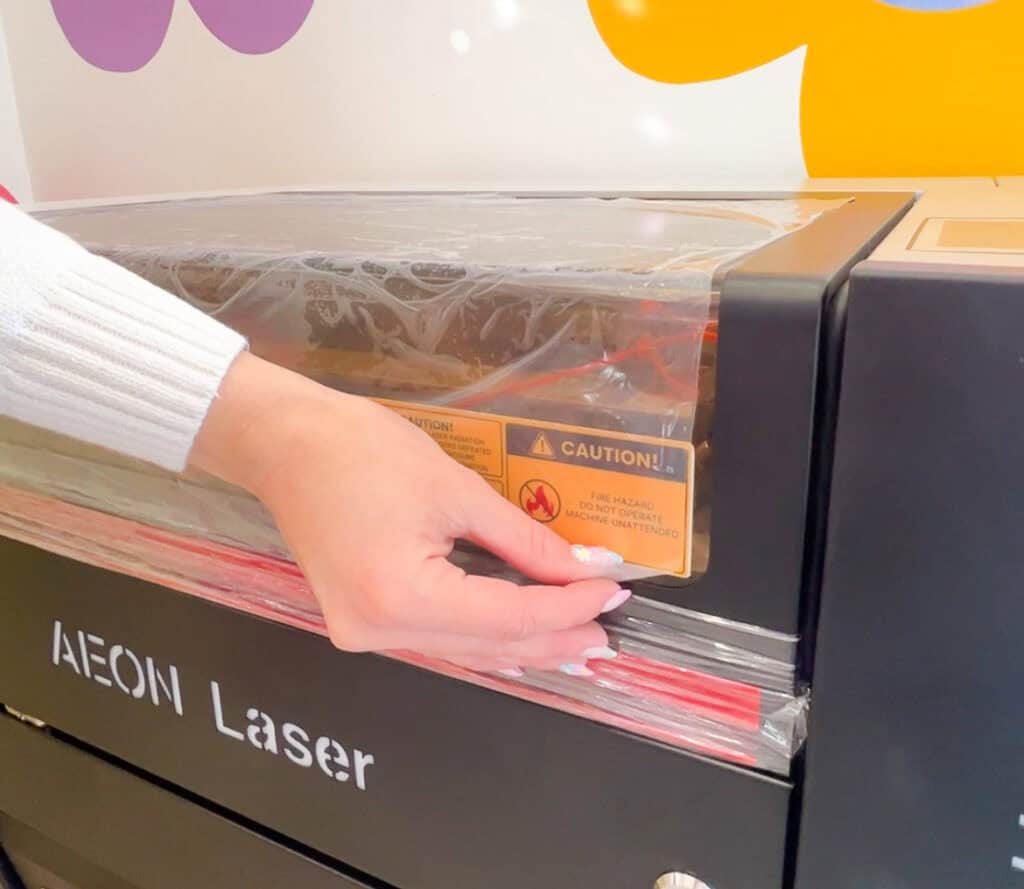
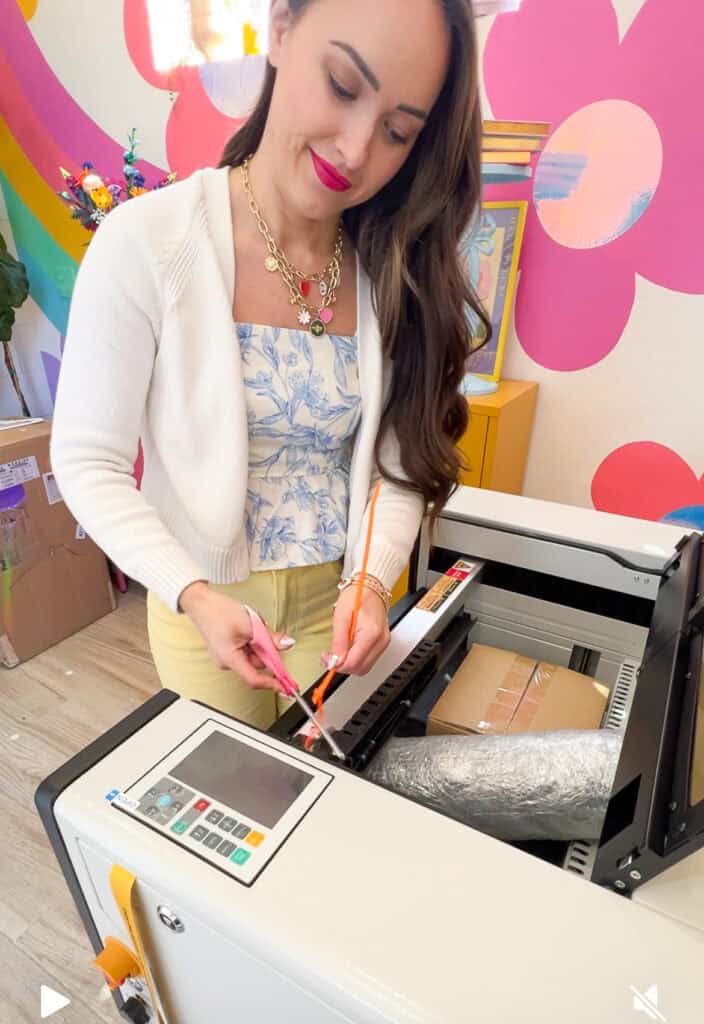
Before I share all of the characteristics and features, let's unbox my machine and list out everything that I purchased for this exact set-up.
- Mira5 S
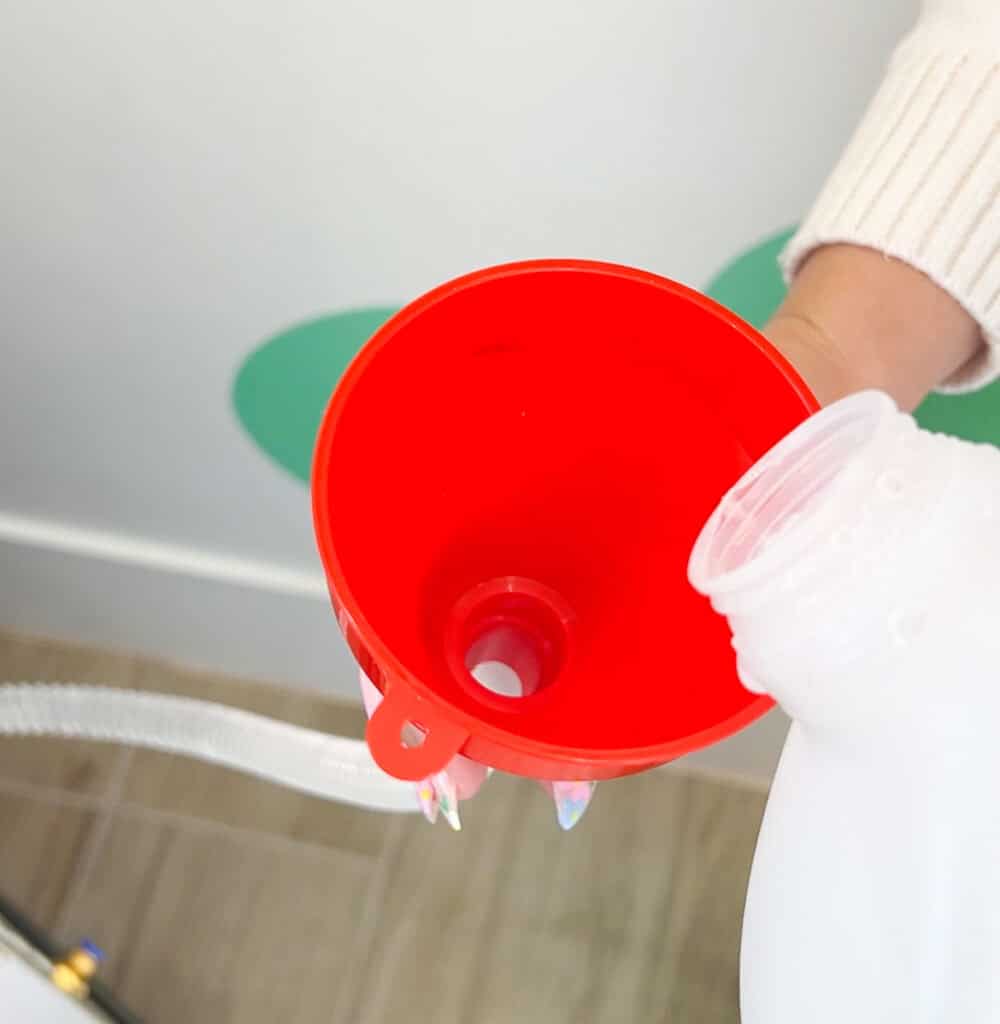
- Allen Wrenches, ignition key, funnel, and leveling gauge
- All the tools needed to set up the machine
- Onboard memory
- Motorized honeycomb Z table
- Front access for oversized items
- Wifi
- USB
- Offline flash drive
- Aeon Shirt
Sold Separately:
- Rotary device
- Standalone fume filter
- Wireless remote
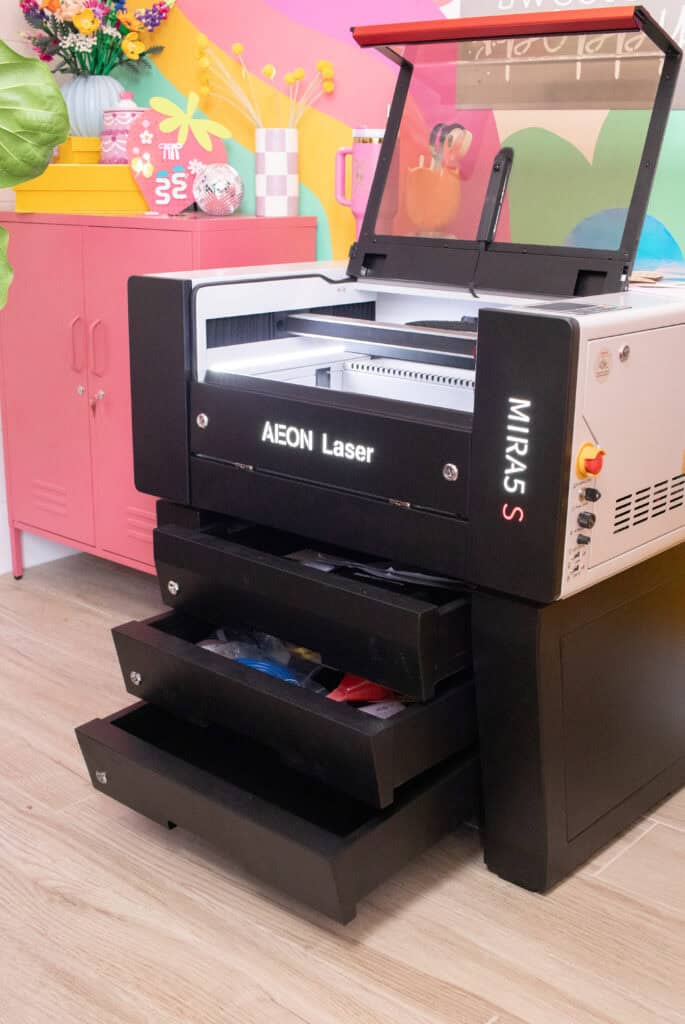
- Matching Stand- The stand features 3 pull-out drawers to store all your laser supplies.
Setting Up Aeon Mira5 S
To set up this machine, I recommend following the instructions and resources Aeon provides on their website and YouTube channel. Click here to read through their step-by-step instruction to set up the Mira 5.
What Can this Machine Do?
This machine runs 3-5 times faster than a hobby laser and can cut materials up to 10mm thick.
It can Engrave, Ablate, Etch, Cut, and Score. And if you love personalizing tumblers, this machine can engrave on cylindrical items with the help of a compatible Smart Rotary (sold separately). It can also cut materials larger than the cutting tray with the help of the passthrough slot!

How Does A Laser Machine Work?
The Mira 5 S is a CO2 laser machine powered by a 45w premium glass tube. It uses electricity to excite CO2 gas inside the tube, which creates a concentrated beam of light. That beam is what cuts or engraves your material, it literally vaporizes it right in its path. Pretty neat, right?
While it’s working, the air assist and exhaust system kicks in to clear away debris and smoke, which helps to keep your cuts clean and your workspace safe.
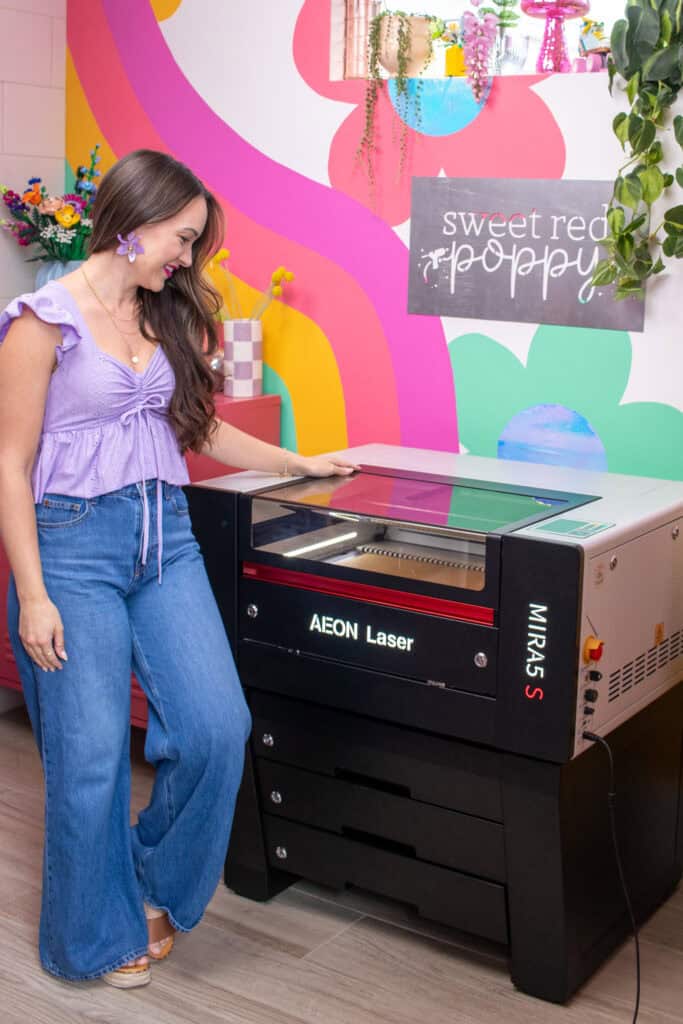
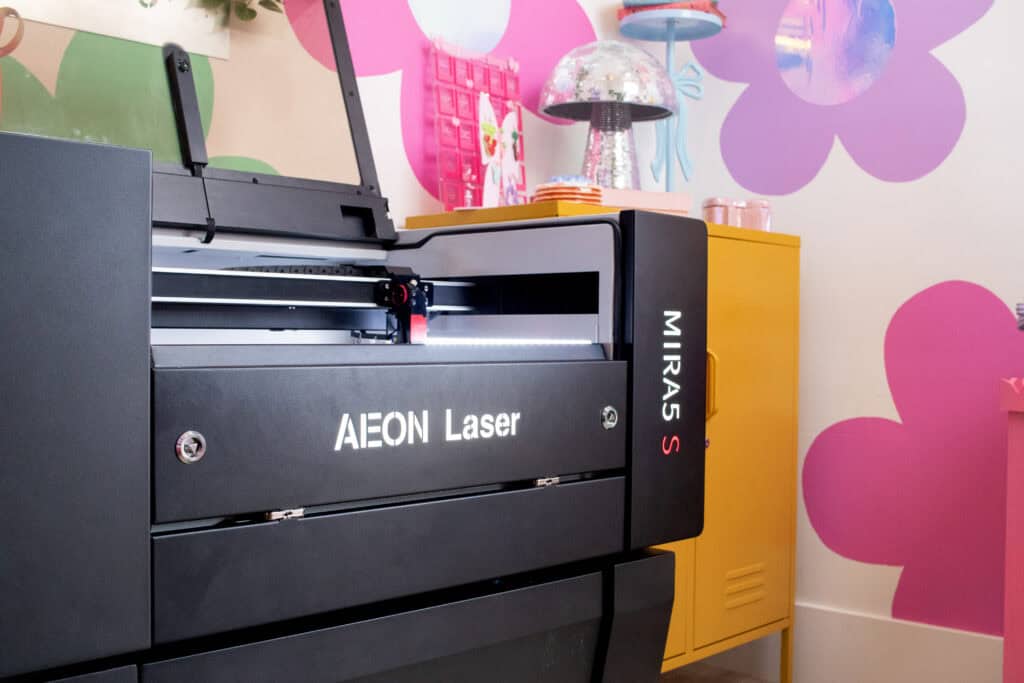
Aeon Mira5 S Characteristics
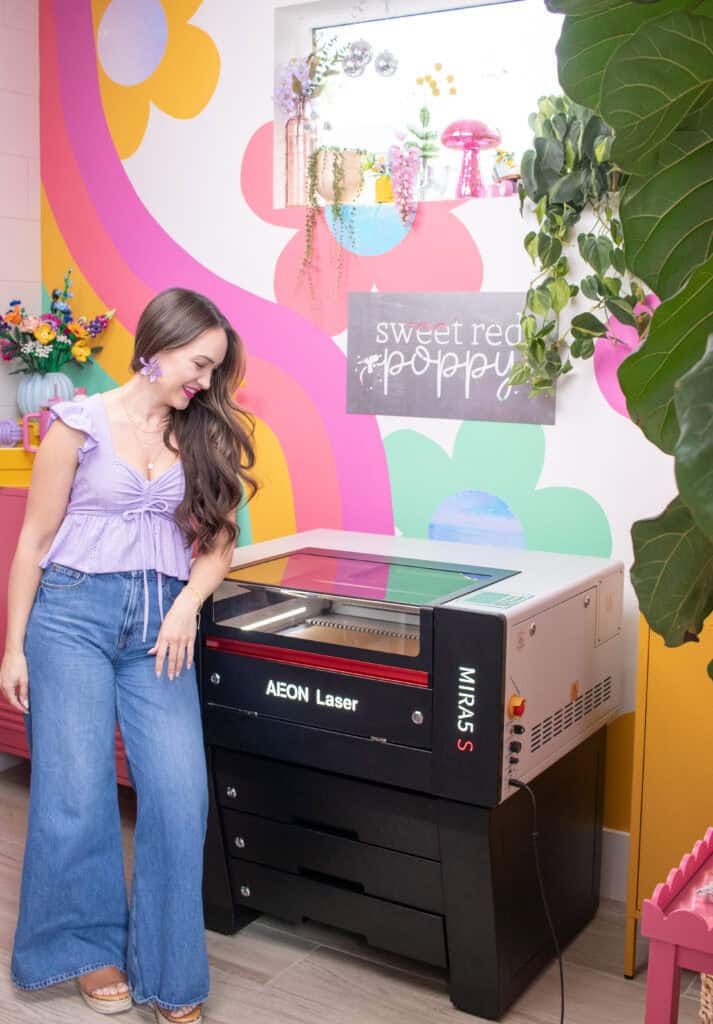
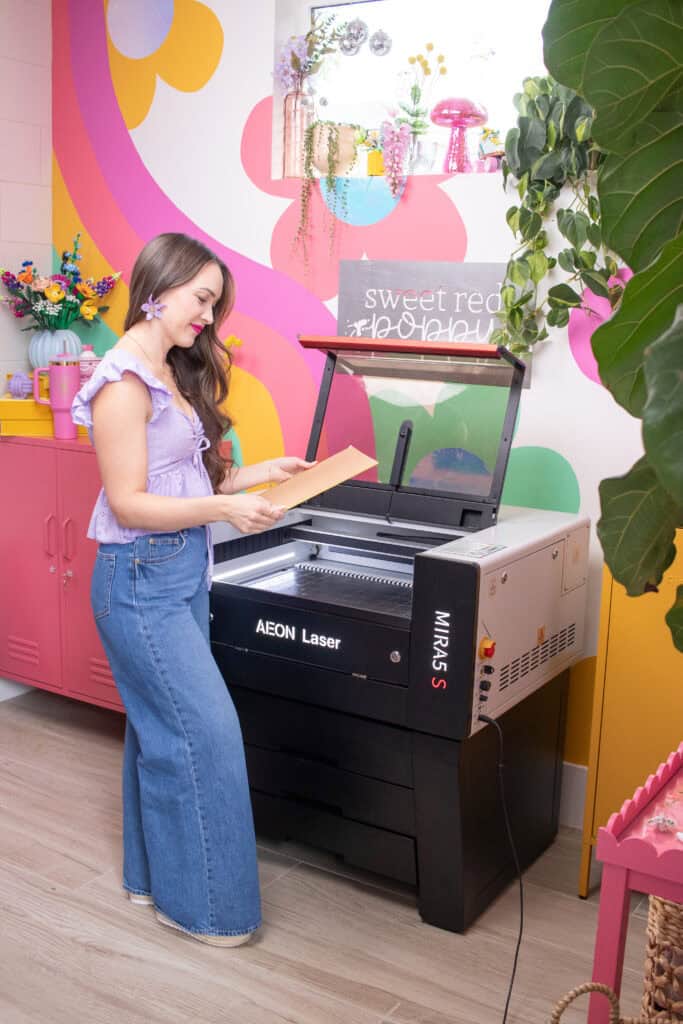
The casing of this machine is made of thick steel, making it a clean and sturdy design. It measures 36.75 x 16.75 inches, weighing around 220 lbs.
Though this machine is smaller than the other Aeon machines, it's still really powerful! I have experience with other laser machines, and I was really impressed with how quickly it engraved and cut my designs.
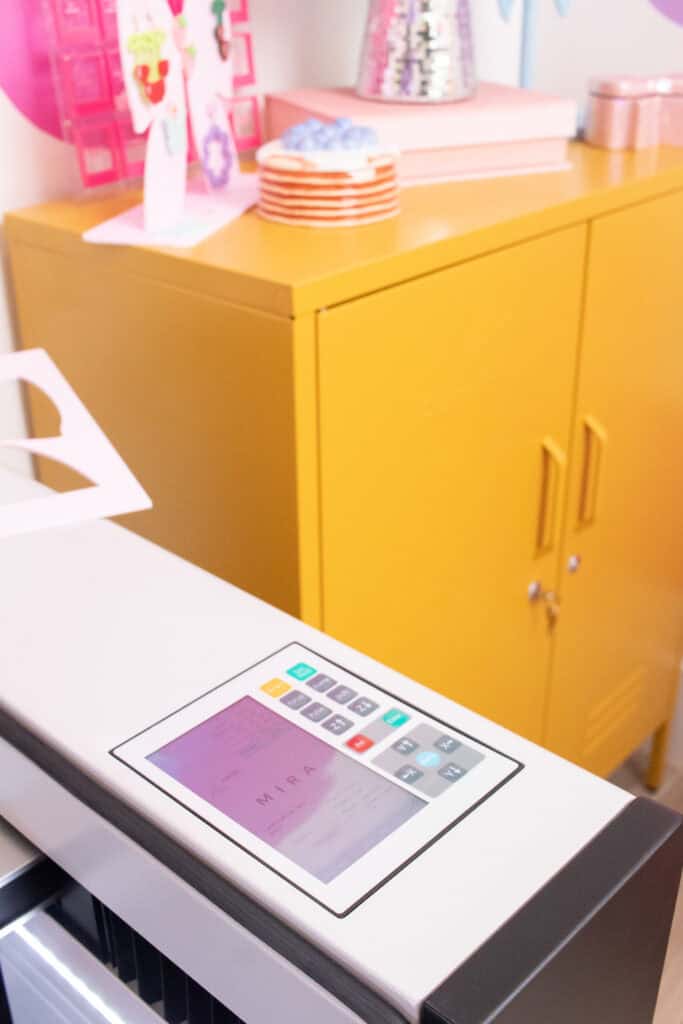
The control panel is located on the right-hand side of this machine. This control panel lets you move the laser head manually on an X, Y, and Z-axis. Plus, it features buttons to start/pause, Auto-Focus, frame, pulse, and shift, as well as an origin, and a menu button. You can also check machine temperatures at the bottom of this screen.
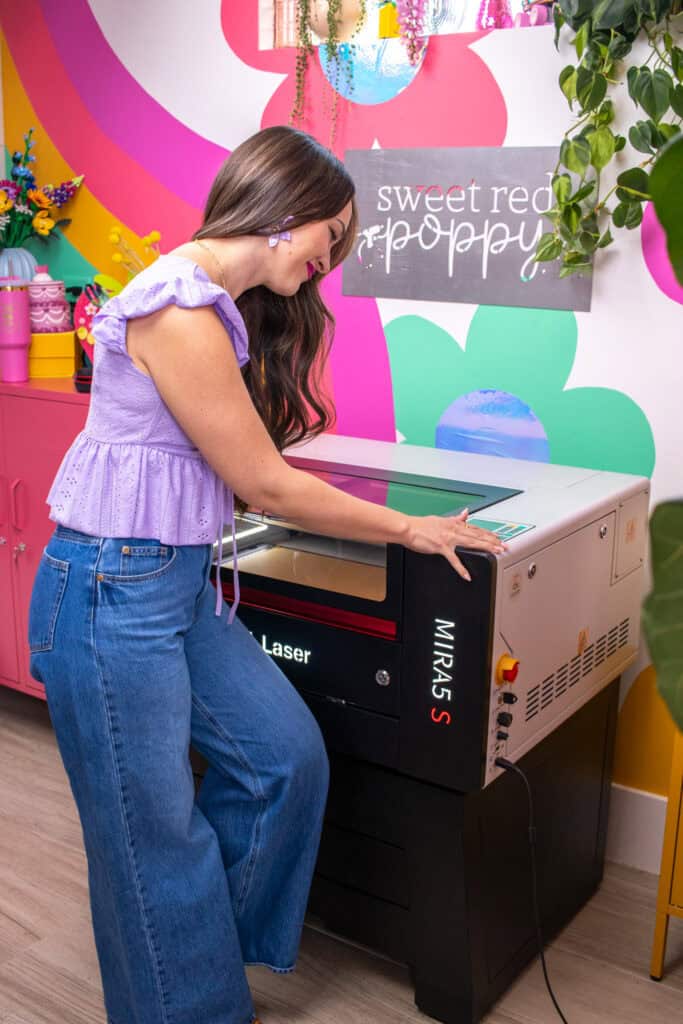
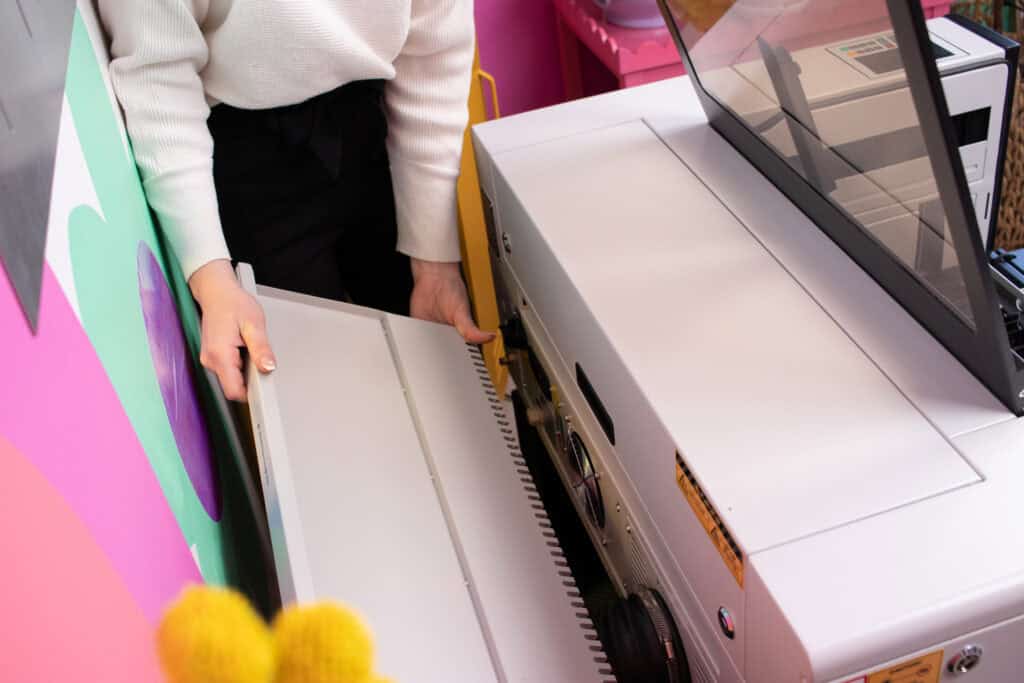
Looking at the front is the door with the Aeon logo. This door opens up and becomes a pass-through slot for large materials. The front-to-back pass-through slot is one of my favorite parts of this machine because it allows you to expand the limitations of your workspace.
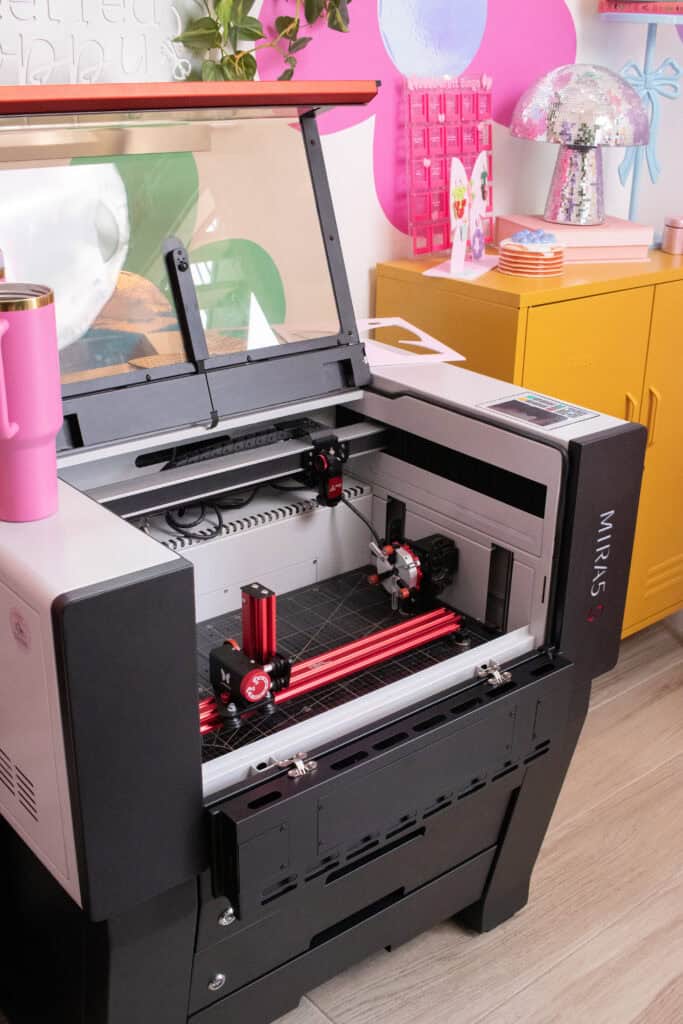
Mira5 S Workspace
The workspace measures about 12 inches by 20 inches (300mm by 500mm), but when editing your design in the Lightburn workspace, make sure it's within 11.75 inches by 19.75 inches, or you'll get an XY Slop Error if the design is too large for the machine to frame or cut.

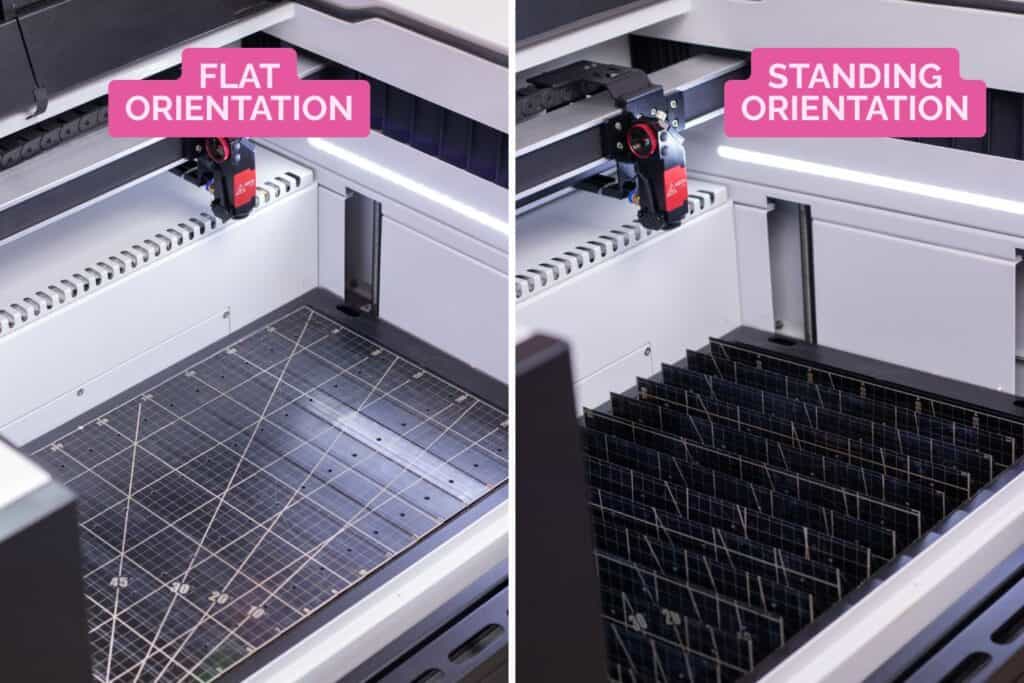
Inside the machine is a standard honeycomb tray. Underneath the honeycomb tray is a blade table made up of individual blades that can be left in a flat orientation or manually flipped upwards to the standing orientation.
The flat orientation catches small pieces and is best for intricate cuts.
Shifting the blades manually into a standing orientation is best for large-scale cutting.
What I like about the bed is that it can be raised or lowered on the Z-axis. This is helpful if you want to manually focus your laser to your material with a focus gauge.
Honeycomb Tray vs. Blades – What’s the Difference?
The answer really depends on what you’re cutting! The honeycomb tray is perfect for lightweight or flexible materials like paper, leather, fabric, and even thinner acrylic. It gives your material full support so nothing droops or shifts while cutting, and it helps airflow move underneath, which can give you cleaner results with less scorching.
If you’re working with thicker materials like wood or MDF, blades are usually the better option. Since they make less contact with the back of your material, you get fewer marks or flashbacks. They're also easier to clean if you’re cutting something messy.
I switch between both depending on the project, but if I’m doing something detailed or delicate, I almost always go for the honeycomb.
Aeon Mira5 S Features
This machine has so many features, including an exhaust fan, cooling system, and a built-in air assist pump!
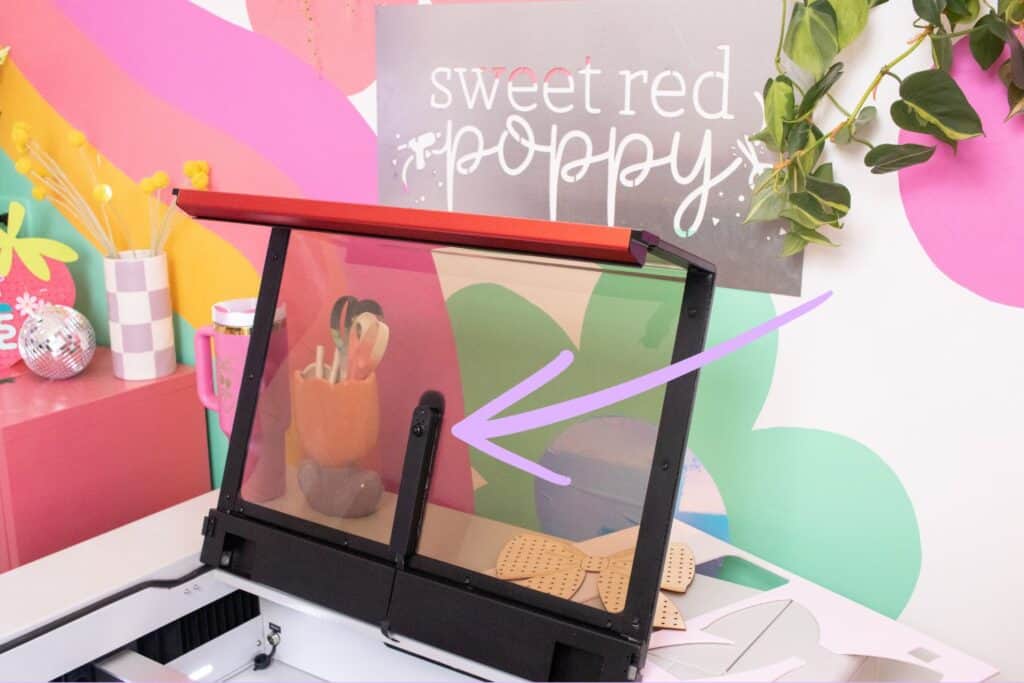
Passthrough Slot
The pass-through door enables you to cut or engrave on longer materials up to 4.75 inches in thickness. To use the passthrough slot, pull the passthrough slot out from the back of the machine, open the front passthrough door, adjust the z-axis until it aligns with the passthrough, and carefully slide the material through the passthrough slot.
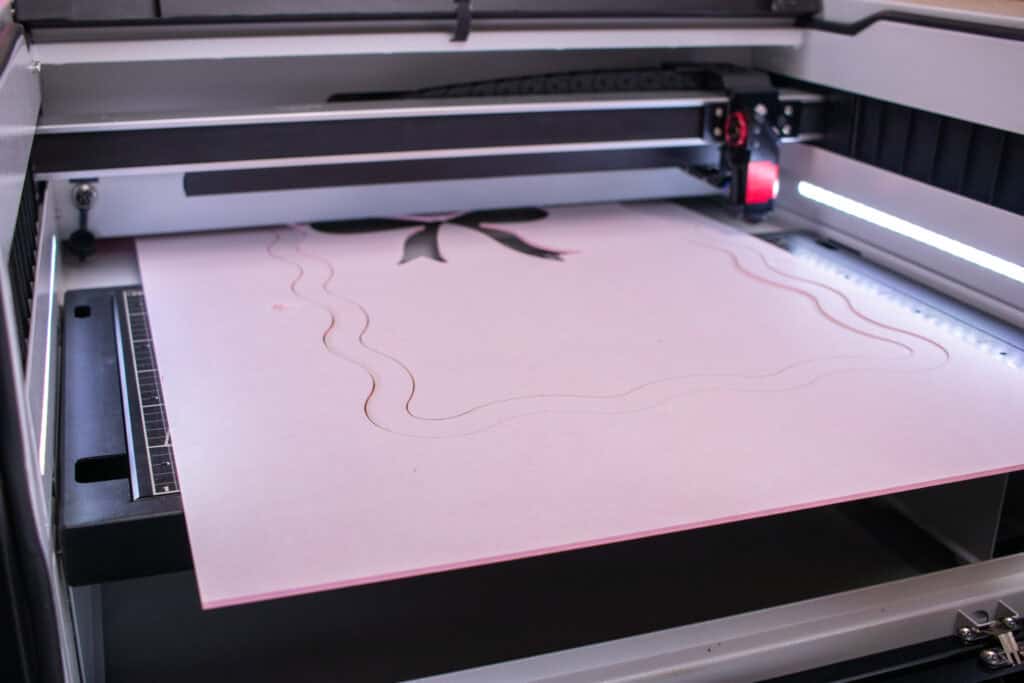
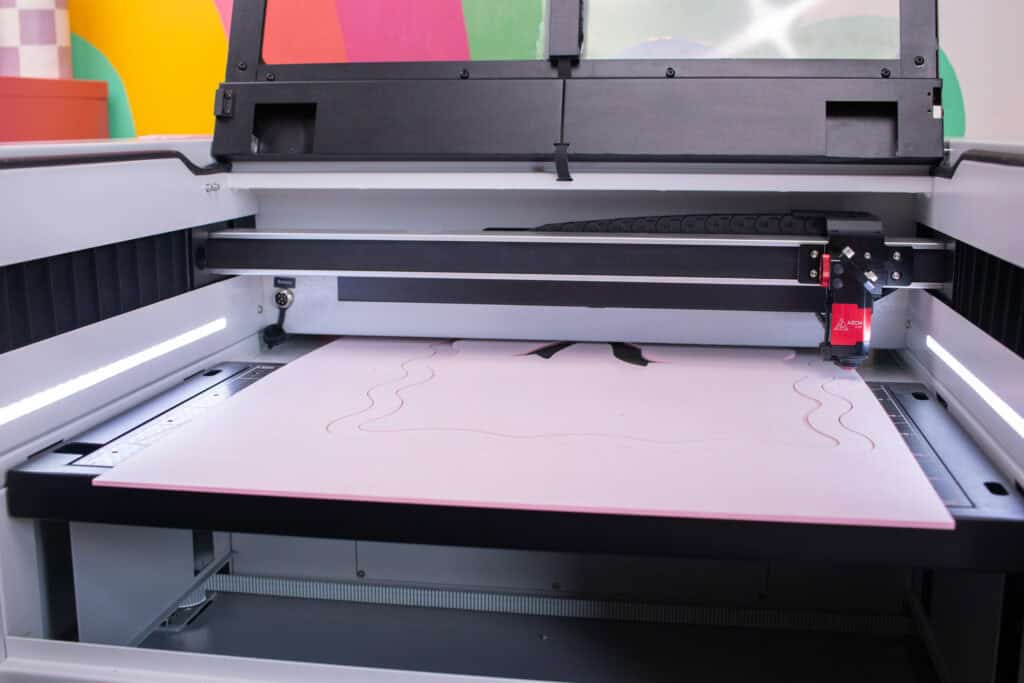
Using the passthrough slot, I cut out a squiggly frame and a bow that I plan to use as a pinboard for my daughter's room.
My design measured around 19 inches in length so the passthrough slot was super handy to shift the material up to finish the bottom half of my design.
AutoFocus
Another great feature is the autofocus feature on the control panel that can automatically focus on your material. You can also adjust the focus manually by using the focus gauge Aeon provides.
It also has a built-in camera on the lid that can be calibrated to be overlayed in your design software which helps with the placement of your designs. And the smart monitoring system is also another helpful feature that alerts you when the lens needs cleaning!
Plus built-in wifi, which means this machine can operate offline if projects are saved in its memory. Alternatively, you can connect the USB flash disk if you have saved projects from compatible editing and control software, such as Lightburn, into the machine and start a job.
What's so nice about this machine is the engraving speeds. It can engrave at speeds up to 1200mm/s, but this can result in a lot of heat. This is why the machine has all the built-in features to help prevent any overheating.
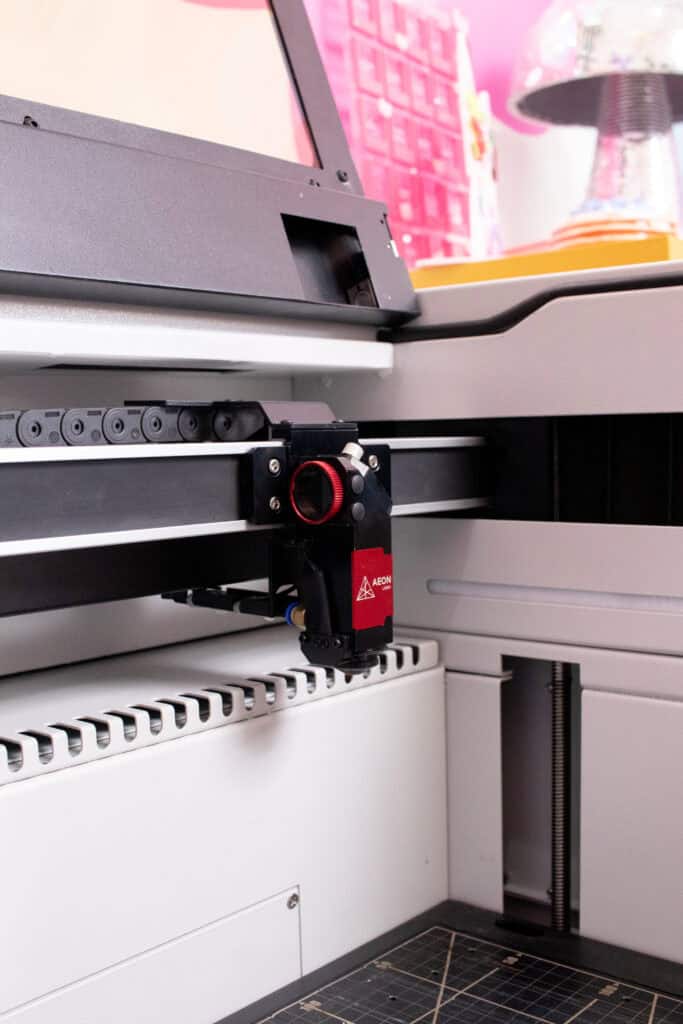
Laser Head and Lens Cartridges
The machine comes with a 2-inch lens cartridge that's been preinstalled in the laser head. This lens is great for the majority of your projects because of it's focal length. When I use this lens, I usually focus my material at 8.5mm between the laser head and the material on the cutting bed using a focus gauge.
Say you want to swap the lens with a 1.5 or 2.5-inch lens. The Mira5 S lens cartridges are magnetic so they can easily snap back into place. No wrenches or screws needed!
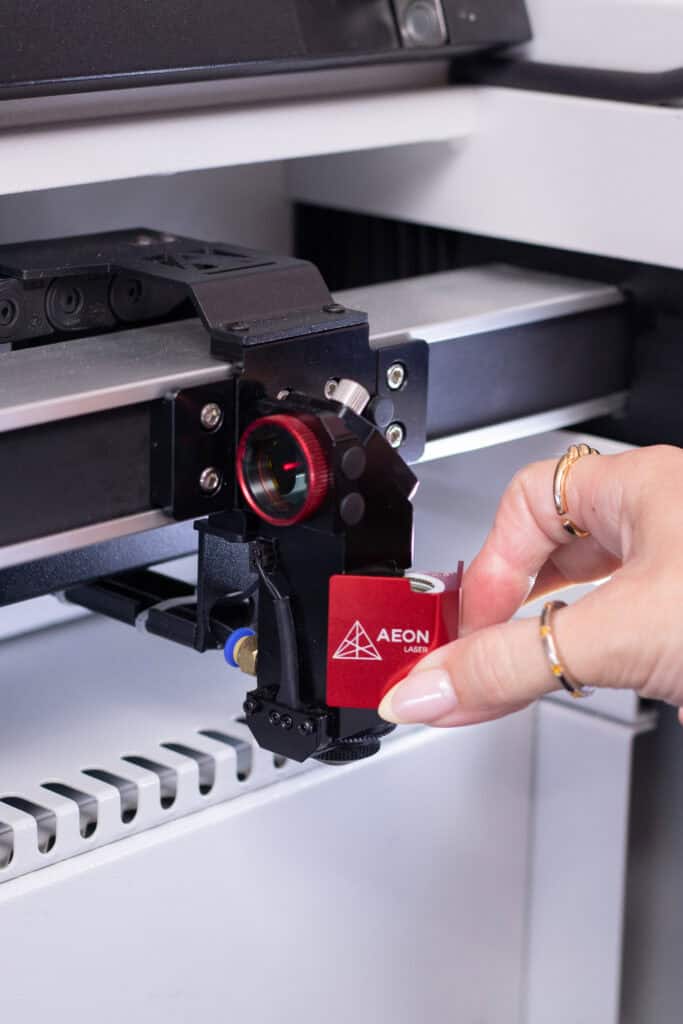
All you have to do is gently pull out the 2-inch lens cartridge and place it somewhere safe from debris. Take the 2.5-inch lens and gently push it back into place until it is flush with the laser head. And done! I recommend doing a 5-point test to make sure everything's aligned or running a test file. (Extra lenses sold separately).
If you plan on engraving full wraps on tumblers with a rotary, I recommend switching to a 2.5-inch lens. This lens has a longer focal length, so you can lower the cutting bed and manually focus the laser to around 10.5mm- 21mm to give your machine more clearance to engrave the tumbler without any collisions.
To learn more about all of Aeon lens kits, click here!
Which Software Is the Aeon MIRA5 S Compatible With?
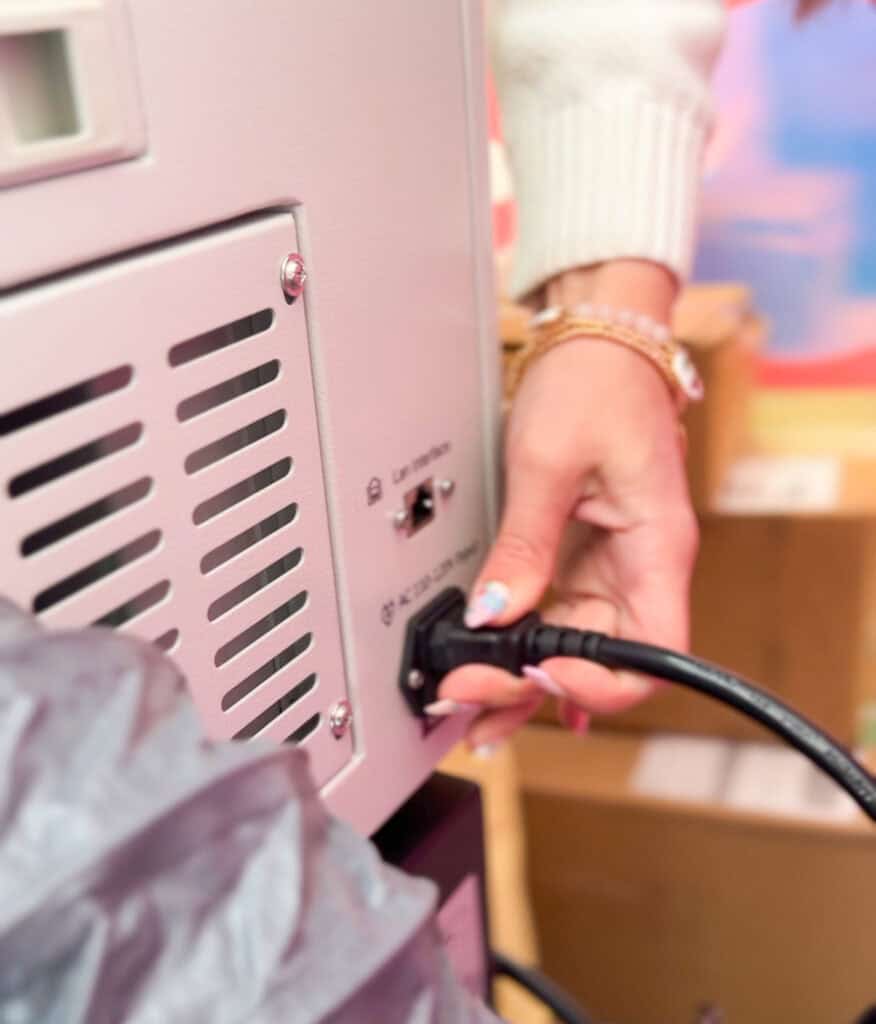
You can connect to your machine by Wi-Fi, USB cable, or LAN network cable, and transfer your data by USB Flash disk Aeon provides. I prefer connecting my machine to my computer via USB cable in case I need to make any last-minute design or setting changes.
The machine is compatible with the software Lightburn and RDWorks.
Lightburn is a more advanced software that can create intricate designs, big or small with a variety of tools. If you're an Adobe Illustrator user this app has a similar interface and will become second nature to you.
*A Lightburn software license is included with every Aeon Laser purchase.

RDWorks software is great if you want to design and create simple projects.
This machine is also compatible with Smart Rotaries that can be used to engrave designs on cylindrical objects such as tumblers!
What Materials are Compatible?
This machine can cut many materials but it can engrave even more. I suggest looking at the list of what materials can be cut vs what can be engraved here.
It can cut up to 1/4 inch thick acrylic, wood, leather, plastics, fabrics, and much more!
Keep in mind, that this machine cannot cut hardwoods like mahogany. And, if you want to work with metals, the metal material needs to be treated or anodized such as a tumbler.
How to Get the Most Out of Your Aeon Machine
I’m the first to admit I’m a total nerd when it comes to researching! I want to know everything about how something works, and Aeon totally gets that. They have an entire knowledge base packed with step-by-step guides and documents that walk you through literally everything you could ever need to know about your laser. From getting started, regular maintenance, and troubleshooting, to working with different materials and accessories, even using LightBurn. It’s all there, and it’s made learning this machine feel way less overwhelming and a lot more exciting.
And if reading step-by-step tutorials isn’t really your thing, they also have a YouTube channel with super clear video instructions that walk you through everything visually. So no matter how you learn best, you’re covered.

Is the MIRA5 S Redline Series CO2 Desktop Laser Cutting Machine Right for You?
- Best for hobbyists and small business owners
- Space-saving size with big-machine power and features
- Ideal for acrylic projects, tumbler engraving, and personalized gifts
- Great for anyone who wants fast engraving speeds without upgrading to a giant industrial setup
- Perfect if you’re short on space but want pro-level results
- Designed for makers who want a clean, modern machine with minimal setup hassle
- Compatible with a wide range of materials and accessories for maximum versatility
- Supported by an active community and tons of learning resources
💬 Not sure which Aeon laser is right for you? A great place to start is by joining the Aeon Facebook group. You can see real projects from other users, get a feel for different machine sizes, and ask questions. You can also reach out directly to Aeon’s team through their website. They're super helpful and quick to respond!
What's the Cost?
This specific machine starts at $6995.00. You can purchase the machine on Aeon's website here.
One of the neatest things about ordering from Aeon is that you can completely customize your machine to fit precisely what you need. On their website, you can choose everything from the size and power of your laser to whether you want a rotary attachment, fume extractor, stand, remote control, lens options, and more. It’s super helpful to be able to build out your setup from the start so it’s ready to go for the type of projects you want to make.
Click here to learn more about the cost of this machine.
How to Pay for an Aeon Laser Machine
If the price tag of an Aeon laser feels a little intimidating, don’t worry, you don't have to pay for it all upfront! Aeon offers flexible financing options through their website, making it easier than ever to get started with the machine of your dreams! With affordable monthly payments and fast approval, you can begin creating (and selling!) right away without the financial stress of paying for everything upfront. Whether you're just getting your small business off the ground or ready to scale up, financing can be a smart way to invest in your growth.
In fact, a recent poll in the Aeon Laser USA Facebook community showed that nearly 40% of buyers paid off or were on track to pay off their lasers within the first 90 days, and a staggering 90% hit that goal within the first year! It’s seriously inspiring to see what people are creating and selling with their machines; this investment can absolutely pay for itself.
How to Connect Your Machine to LightBurn Software
Now that we’ve covered the specs, features, and everything that comes with the Mira5 S, let’s talk about actually getting it up and running. The first step to creating with your new laser is connecting it to LightBurn, the design software that brings your ideas to life.
When you receive your machine, Aeon provides a USB thumb drive. Go ahead and connect this to your computer and power on the machine.
If you haven't already, download Lightburn. After downloading the app, open it, and activate your account.
I followed the instructions provided by Aeon to connect my machine to the Lightburn Software.
Download Free Laser Files Here!
The files included are:
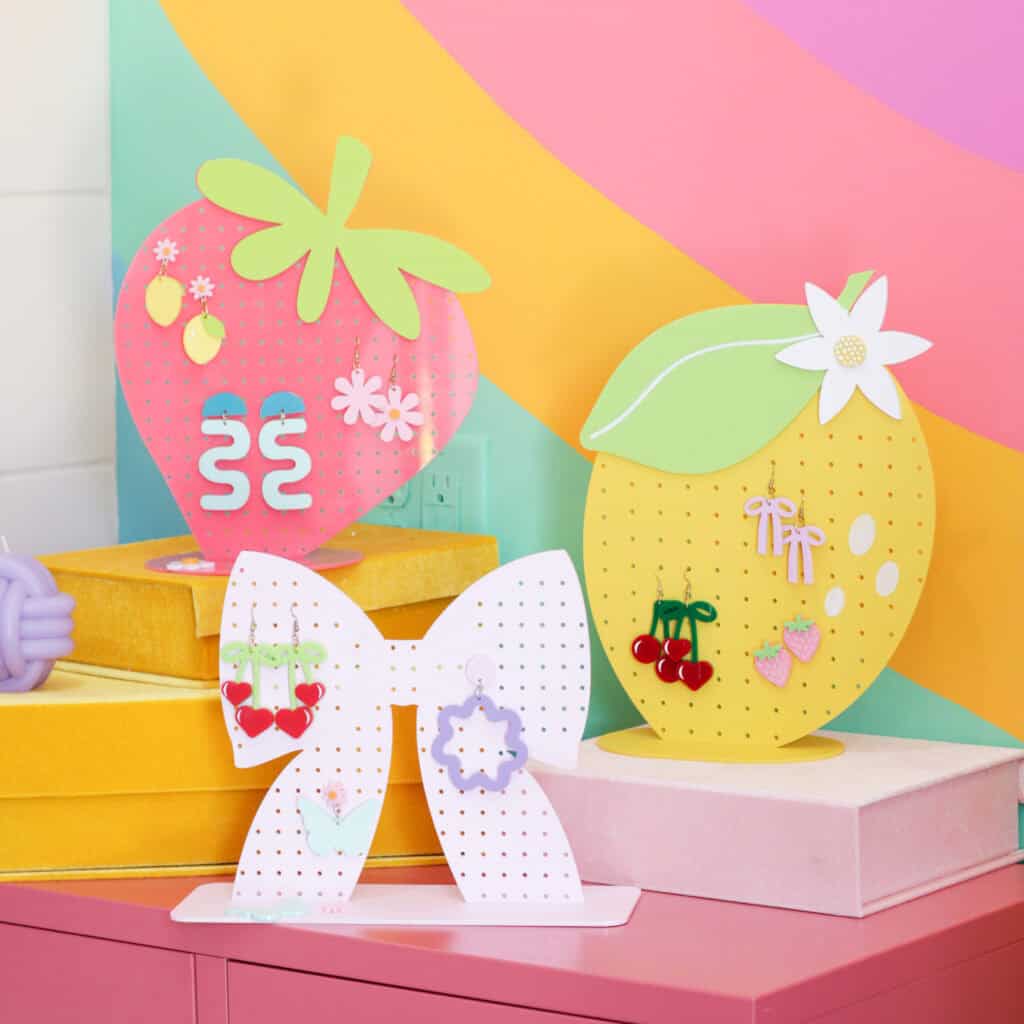
- A strawberry earring holder that measures 9.98 inches by 11.18 inches, a separate stem piece, and base with slots that fit 1/8-inch materials.
- A bow earring holder measuring 9 inches by 8.6 inches and includes a base with slots that fit 1/8-inch materials.
- A lemon earring holder measuring 9.75 inches by 11.54 inches and includes separate leaf and flower pieces and base that fits 1/8-inch materials.
- Earring files that include 13 pairs of earrings.
The designs are made up of red, blue, and black lines. These colors are to separate the design into layers to let software like Lightburn know that the layers are going to run different jobs. Each design has a color key in the top left corner, above a 1-inch square.
Red= Cut lines
Blue= Score Lines
Black= Engrave Lines
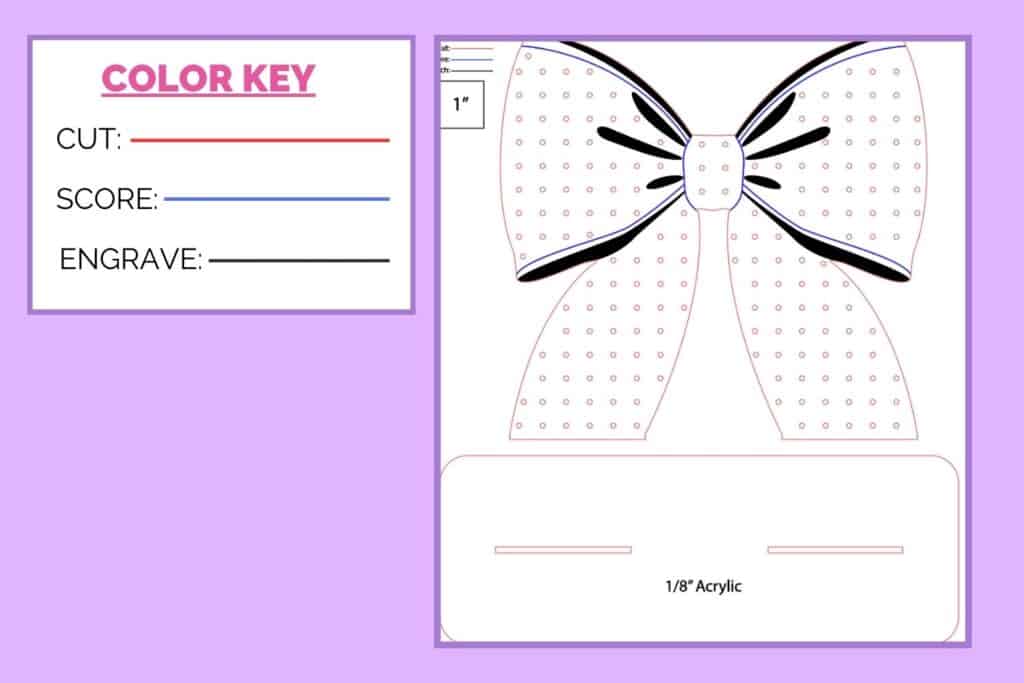
When you import the designs into your editing and control software, make sure the square measures one inch before ungrouping the design.
These files are SVG files that are compatible with Lightburn, RDWorks, Cricut, Glowforge, and more!
Making My First Project
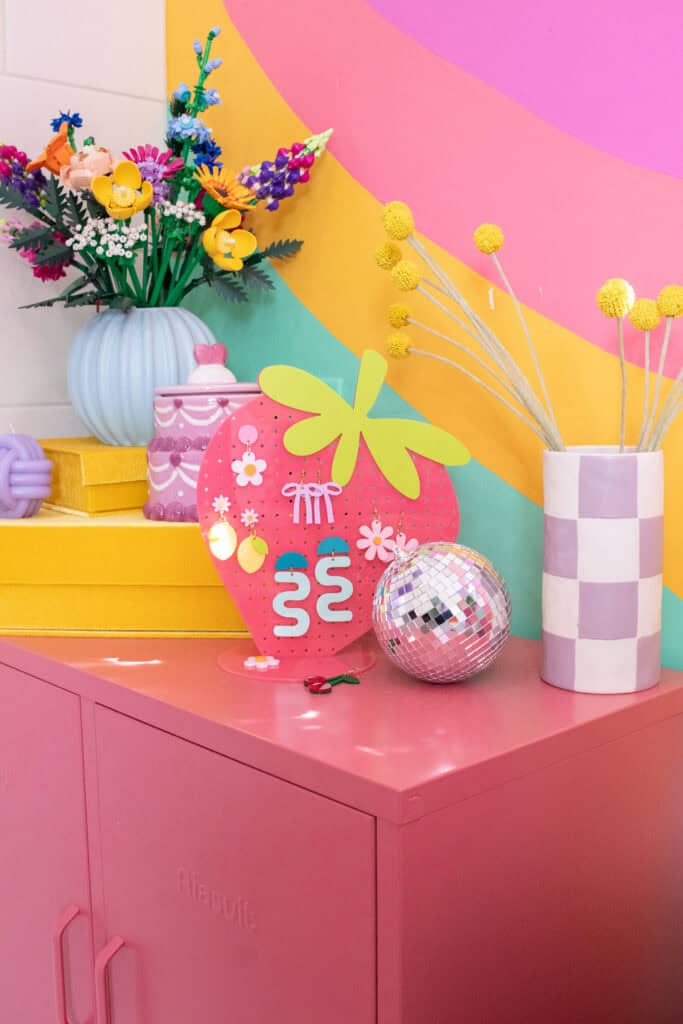
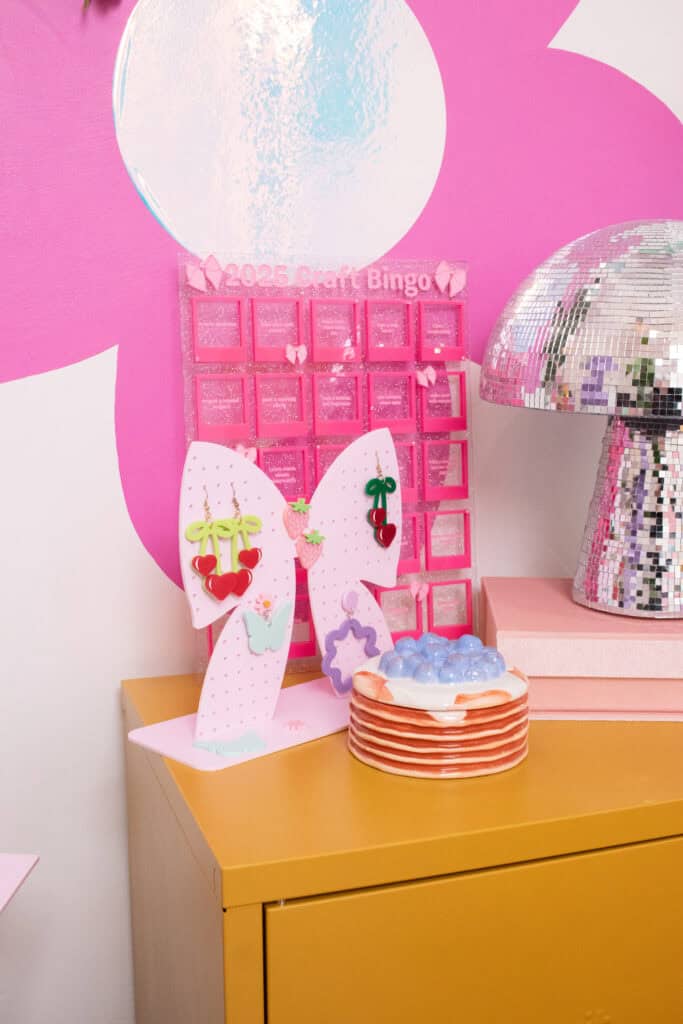
For my first project using the Mira5 S, I created these two adorable bow and strawberry-shaped earring holders. I made these designs in Adobe Illustrator and exported them as SVG files and imported them into Lightburn.
I also engraved my first tumbler with my Piburn Grip Rotary from Lens Digital!
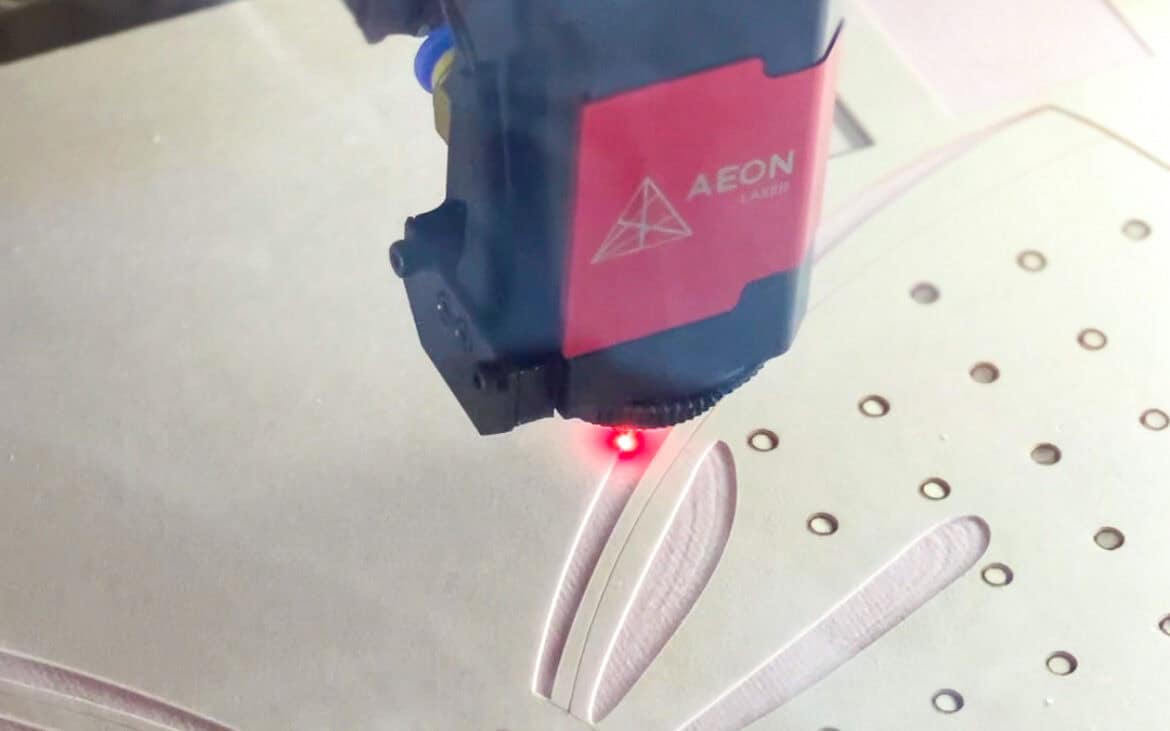
Aeon provides many resources to help you set up your machine and determine the settings to use for certain materials. Below is a photo of their Material Rapid Test on a thin piece of plywood that my machine engraved. Download the Material Rapid Test here.
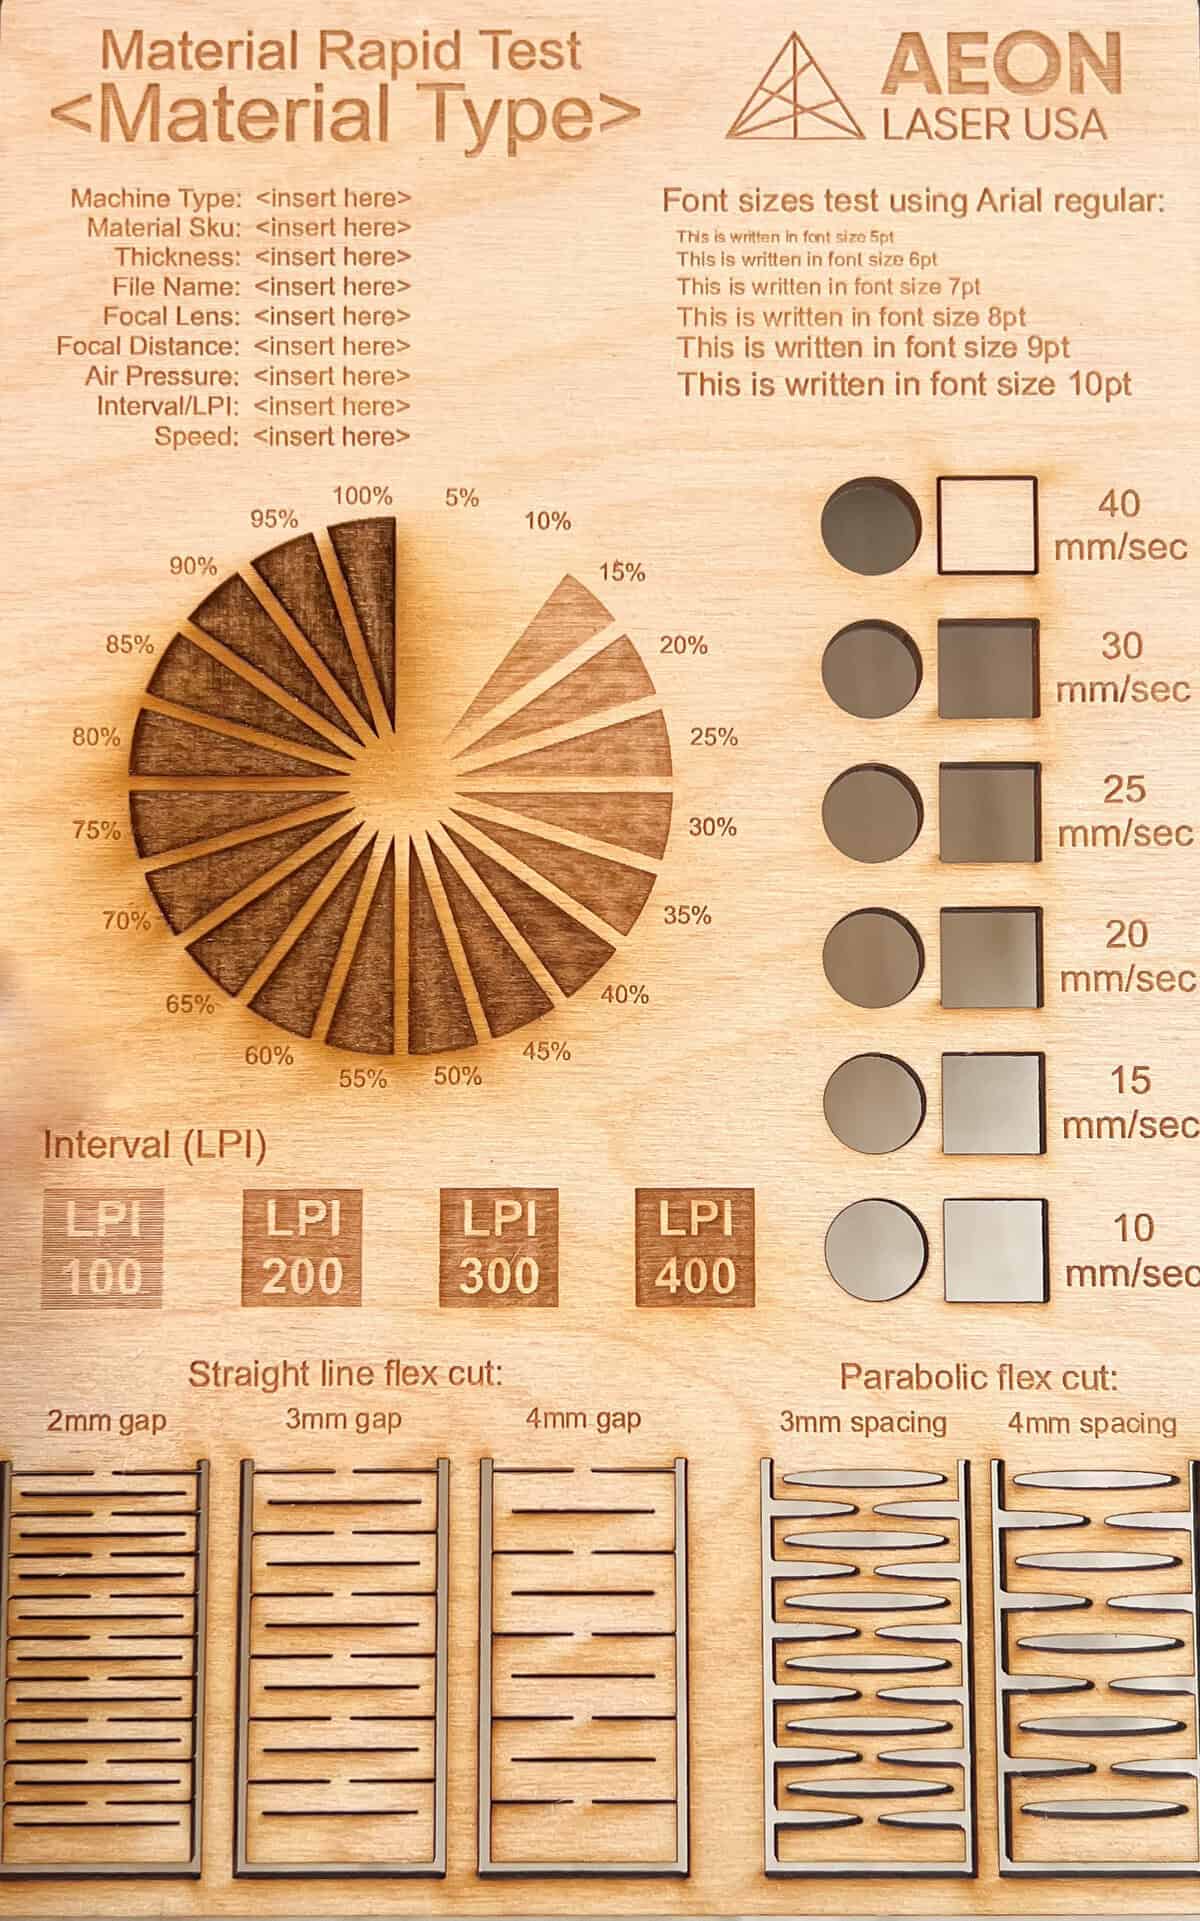
Tip: I recommend doing the Material Rapid Test on all the materials you plan on using frequently. Materials like wood and acrylic are going to have different settings, so doing a test on each material to use it as a future reference is super helpful!
- Changing the mode in the cutting software to "Fill" and adjusting the cut settings to high speed and low power will tell the machine to Engrave. Engrave will make deep marks on the material.
- Removing the surface of painted or treated layers is called ablating. A good example of ablating is engraving on a tumbler.
- Etching leaves the material rough and grainy. This process is commonly used on glass or metal.
- Scoring doesn't cut the material but leaves small markings similar to writing or drawing on paper but with a laser beam. If you want to score a material, set the mode to "Line" and increase the speed and decrease the power.
- Finally, cutting cuts through the material with high power and lower speeds.
Step 1: Import Designs
Once I exported them, I imported my files into Lightburn. Starting with my strawberry-shaped design, I selected all the shapes I wanted to cut and created a single layer for them by selecting one of the colors that are located along the bottom of the software.

Then, set the mode to "Line" in the layers panel to tell my laser that I want to cut.
Step 2: Adjust Cut Settings
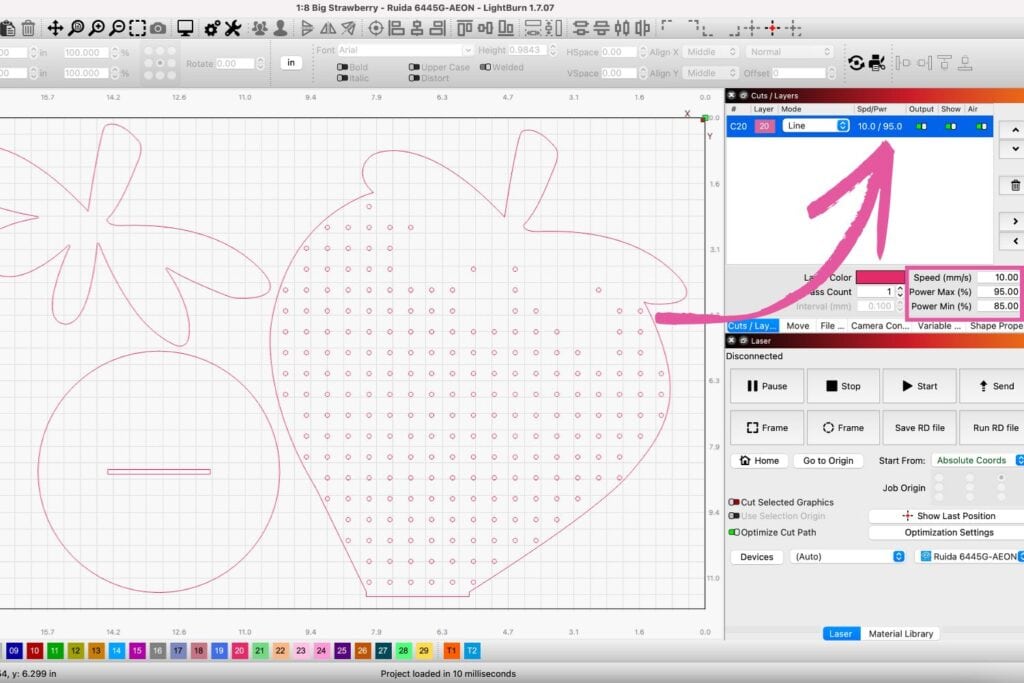
For these projects, I'm cutting them on 1/8-inch sheets of acrylic.
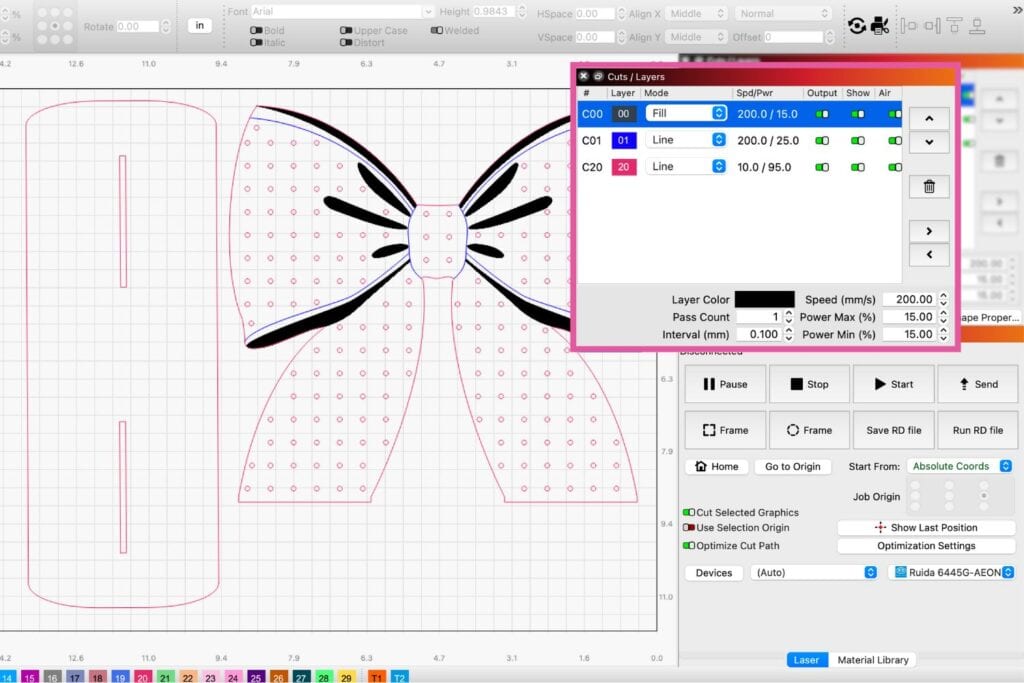
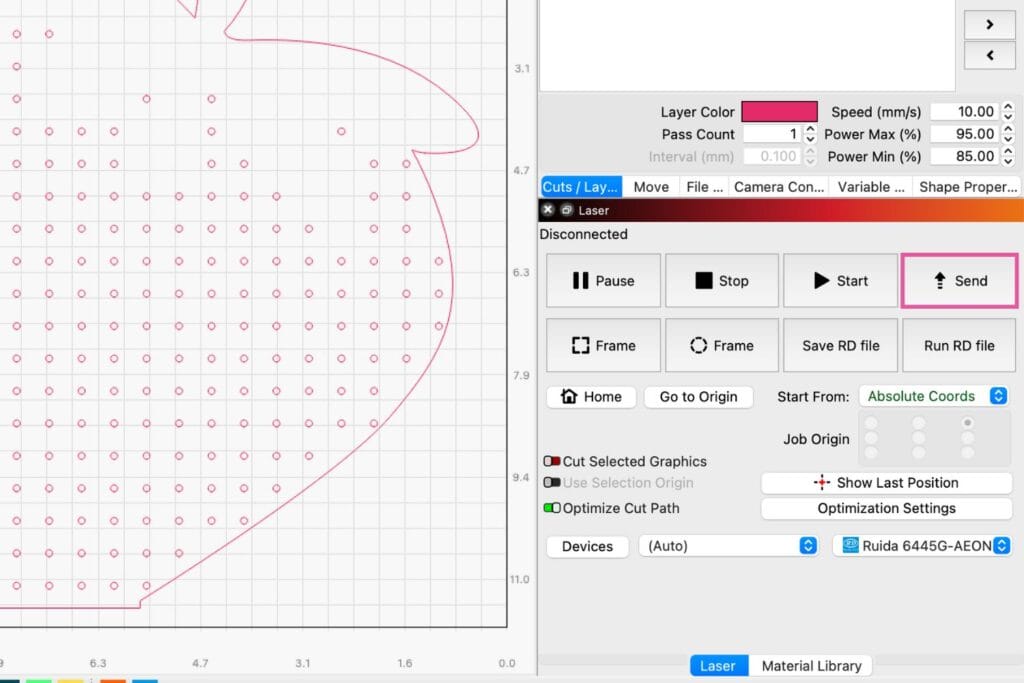
To cut my designs through the acrylic, I set the speed to 15.00mm/s, 85% for max power, and 75% for minimum power.
For scoring, I set the speed to 200.00mm/s and the max power to 20%.
For engraving, I changed the mode to fill and set my speed to 200mm/s and 15% max power.
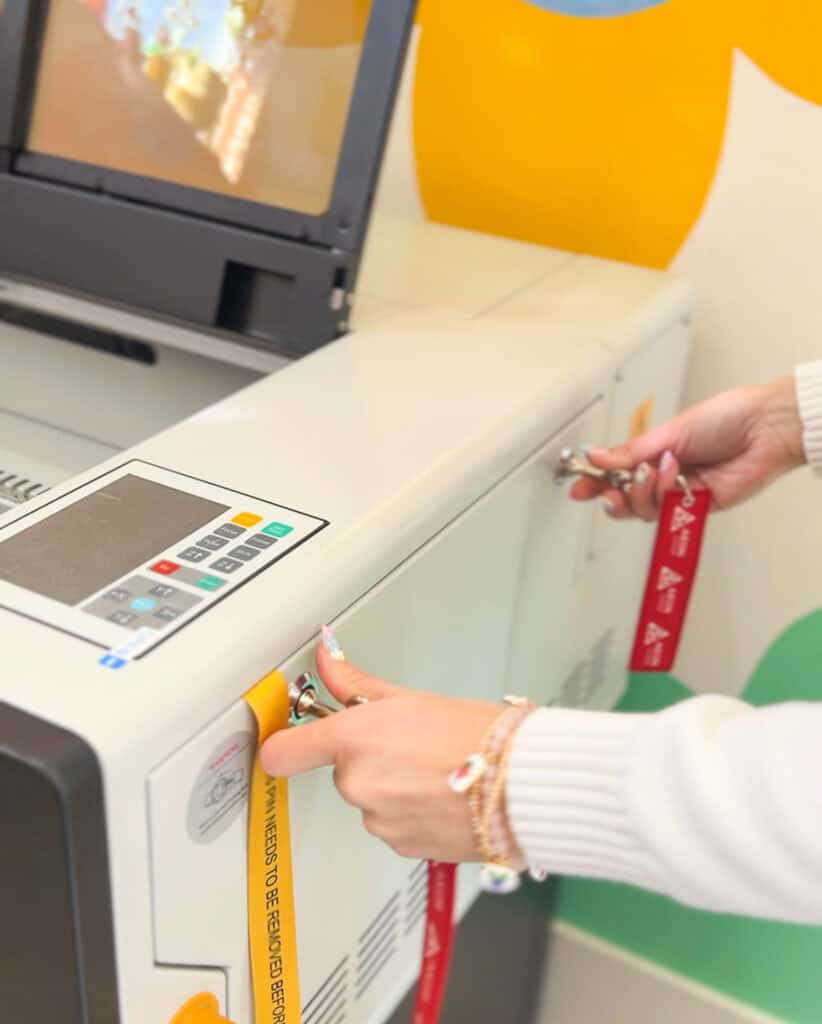
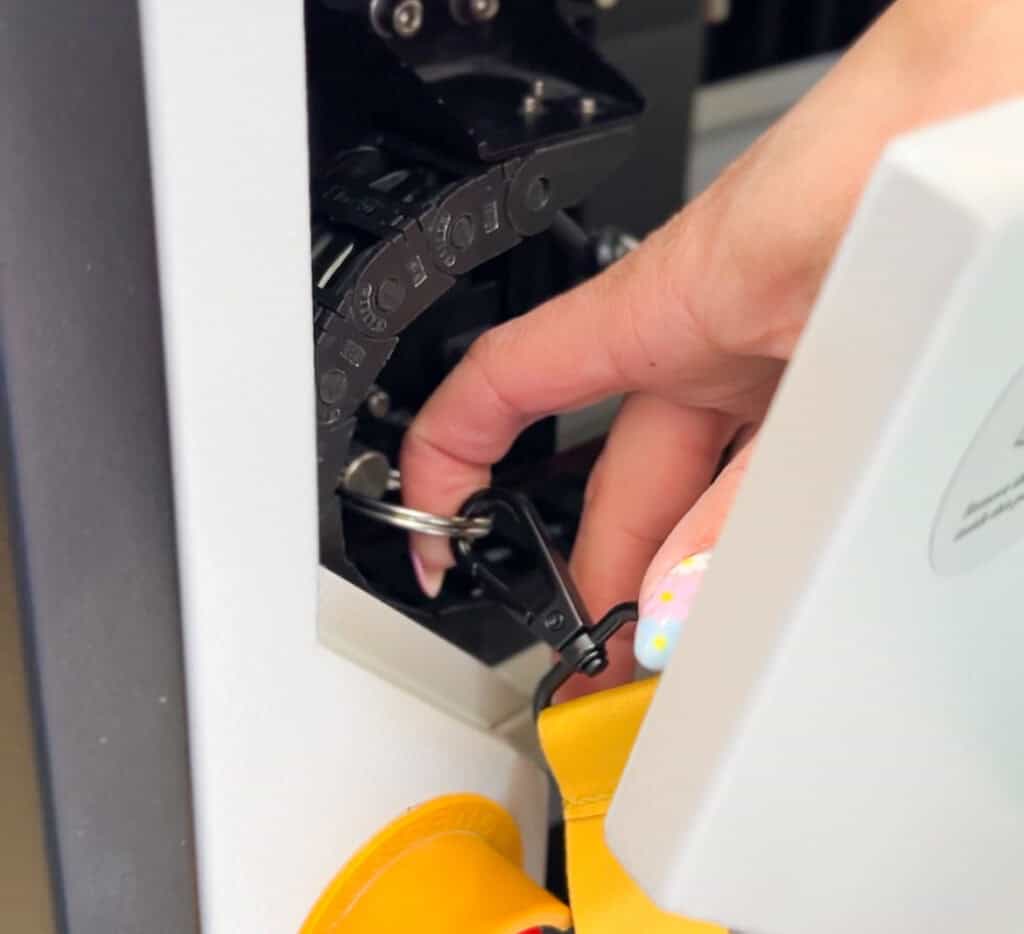
Step 3: Power on Aeon Mira5 S
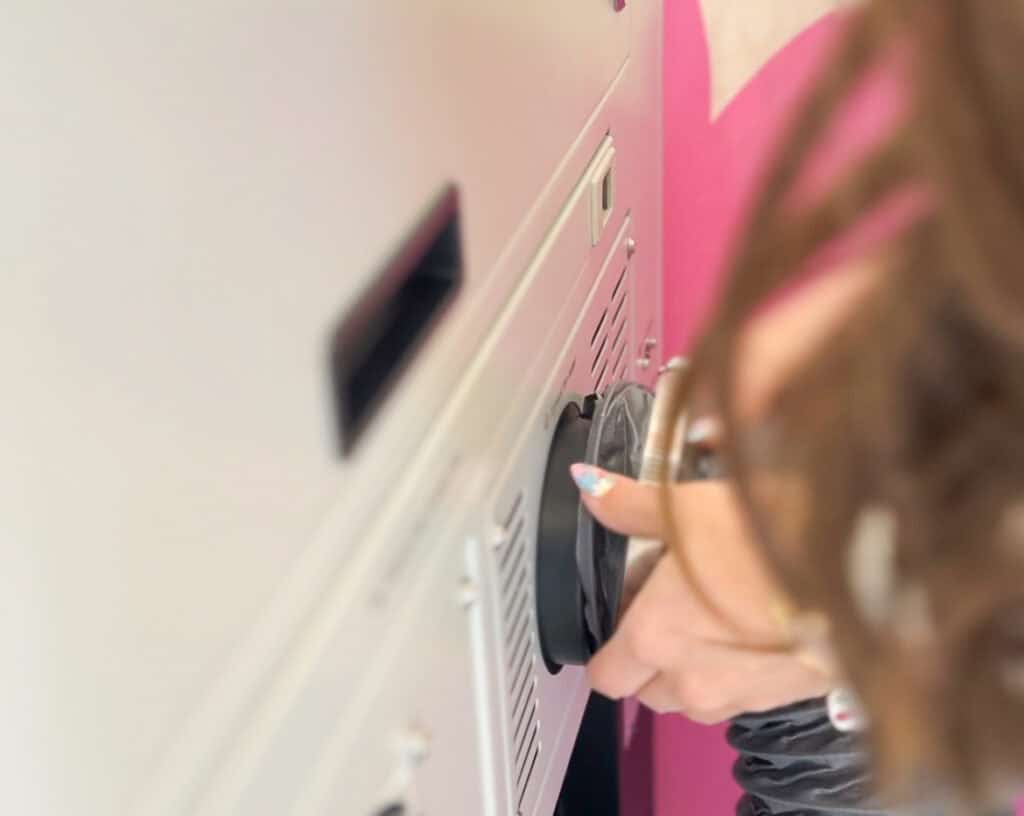
I twisted the emergency stop button to the right until it popped out, then used the ignition key (provided by Aeon) to power on the machine and start up the exhaust system.
Next, I placed my material into my machine.
Step 4: Start From Position
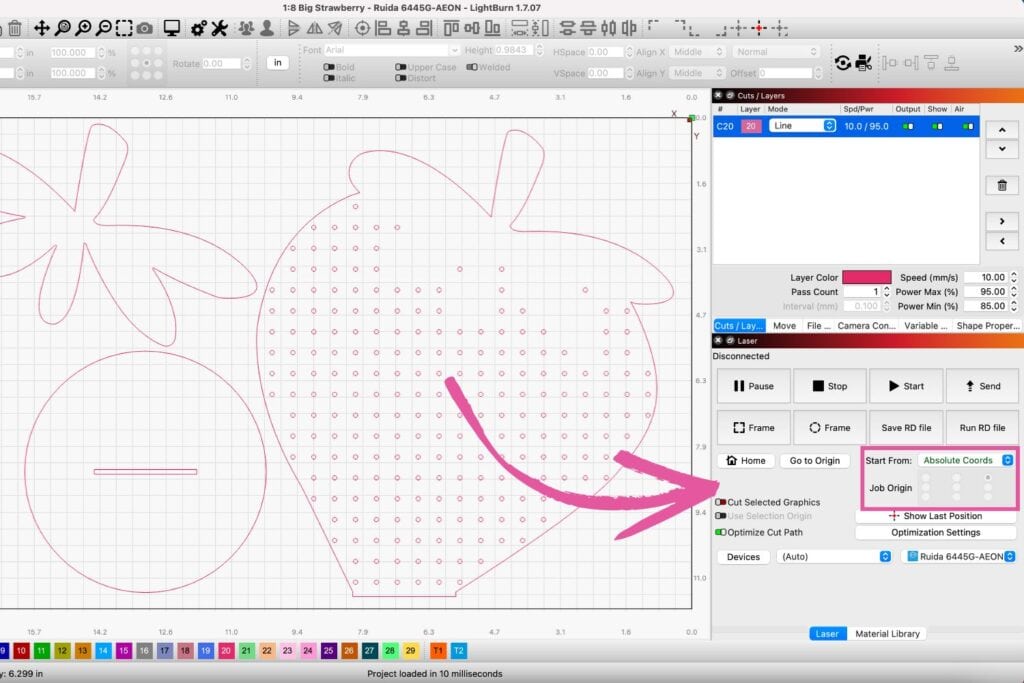
I set my "Start From" in the laser window to "Absolute Coordinates" so the machine cuts precisely where I place my design within the Lightburn workspace. For example, if I put my design in the center of the software workspace, that is where the laser will cut on the machine bed.
Step 5: Frame and Focus
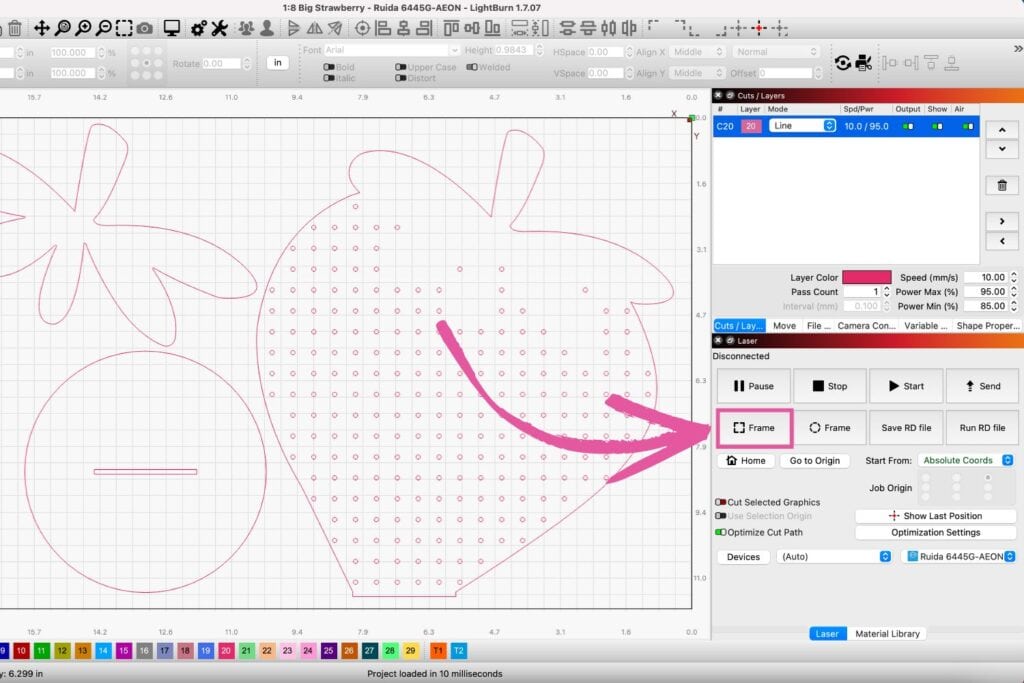
Once I was happy with my settings and placement, I clicked "Frame" in the Laser window below pause.
The laser traces around your design on your material with a visible red dot without marking the material. This is really helpful to make sure your design fits within the material. If not, you may need to move the material on your laser bed or within Lightburn.
Then, I sent the design over to my machine by clicking "Send."
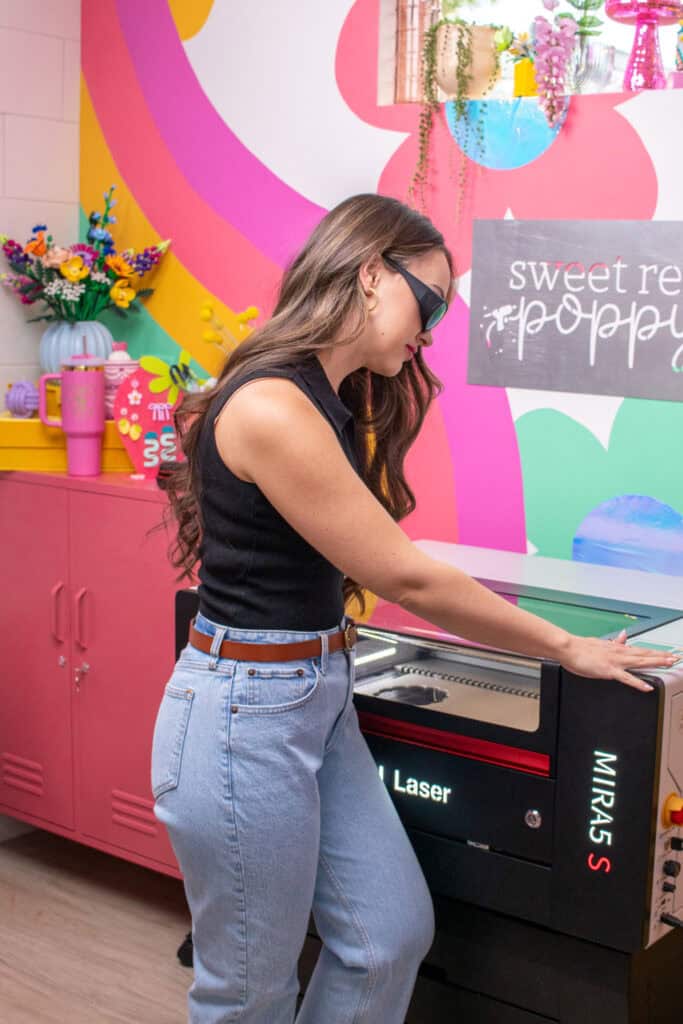
Make sure to put on your safety glasses that came with the machine! Not only do they protect your eyes, they’ll instantly transform you into a very fashionable laser cutting professional. Trust me, it’s a look. 🤣
On my machine, I pressed Focus. Once it was in focus, I pressed "Start" and it began to cut. You’ll also need to turn on your fume extractor before cutting or engraving.
Step 6: Cut Out Project with Mira5 S
As the machine was cutting, the control panel showed the process as it was cutting and the amount of time it was taking. I love knowing exactly how long each cut is going to take!
Once the cut was finished, the machine made a beep sound, and the red Aeon Laser logo on the front of the machine turned green, signaling that it had finished doing its job.
The strawberry design took around 8 minutes to cut out. The bow design that included score lines, engravings, and cut lines took around 20 minutes.
I waited a few minutes, opened the lid, and carefully removed my materials.
Step 7: Assemble Design
Now, it was time to assemble my strawberry! I cut the separate leaf piece out of green acrylic and glued it to the top of my strawberry.
Then, I placed my strawberry into the slot of the circular base to stand the strawberry upright.
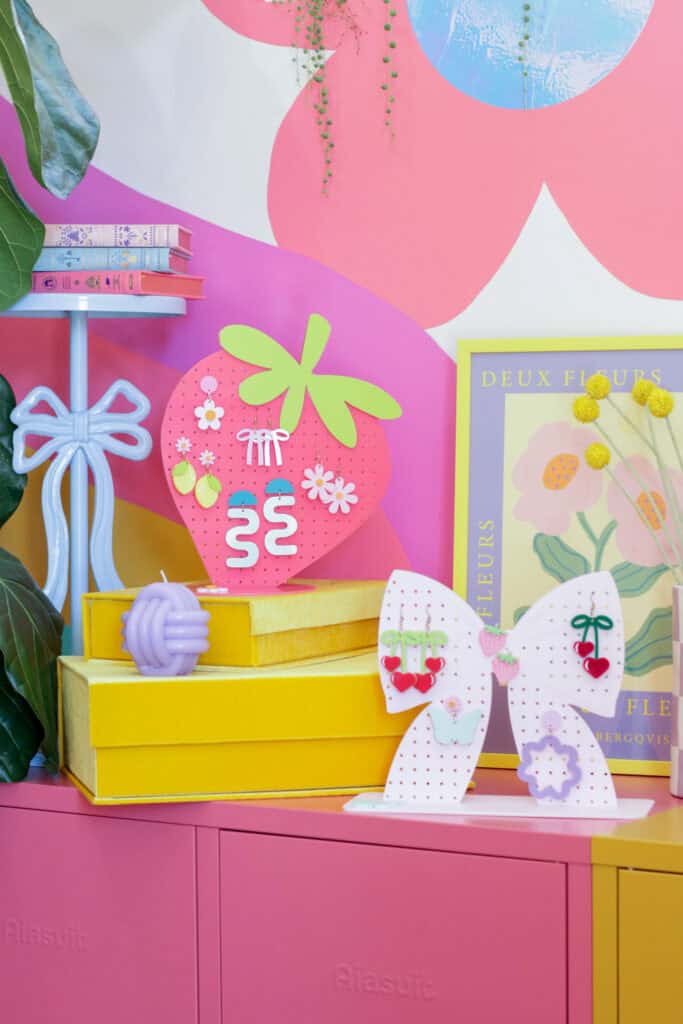
Here's how my projects turned out! I made a few DIY earrings to display on my new earrings holders as well, and I'm obsessed! My Aeon Mira5 S cut through every part of this project so smoothly, accurately, and quickly. It was honestly mesmerizing to watch it work with that level of precision.
Thoughts
After plenty of test cuts, a few mistakes, and lots of trial and error (shoutout to the scientific method and Aeon’s super helpful resources 🙌), I finally got my designs just right. There’s definitely a learning curve with the Mira5 S and the software, but I’ve picked up so much already, and I’m so excited to keep creating with this powerful little machine!
Ready to start your laser journey? Click here to learn more or order your own Mira5 S. Trust me, you’re going to love it!!
Thanks again to Aeon for providing me with this machine! I can't wait to keep creating with my Aeon Mira5 S!
Also, don't forget to tag me when sharing all your creations using this machine! I want to see what you're creating! 😃
Looking for more crafts to create? Click here to find more Sewing, Crafting & DIY Tutorials!
Join my crafting Facebook group where you can show us what you’re making, ask questions, and learn from others!
Don’t want to forget about this free template? Save this project for later! Click here to save this project on Pinterest.
Leave a Reply