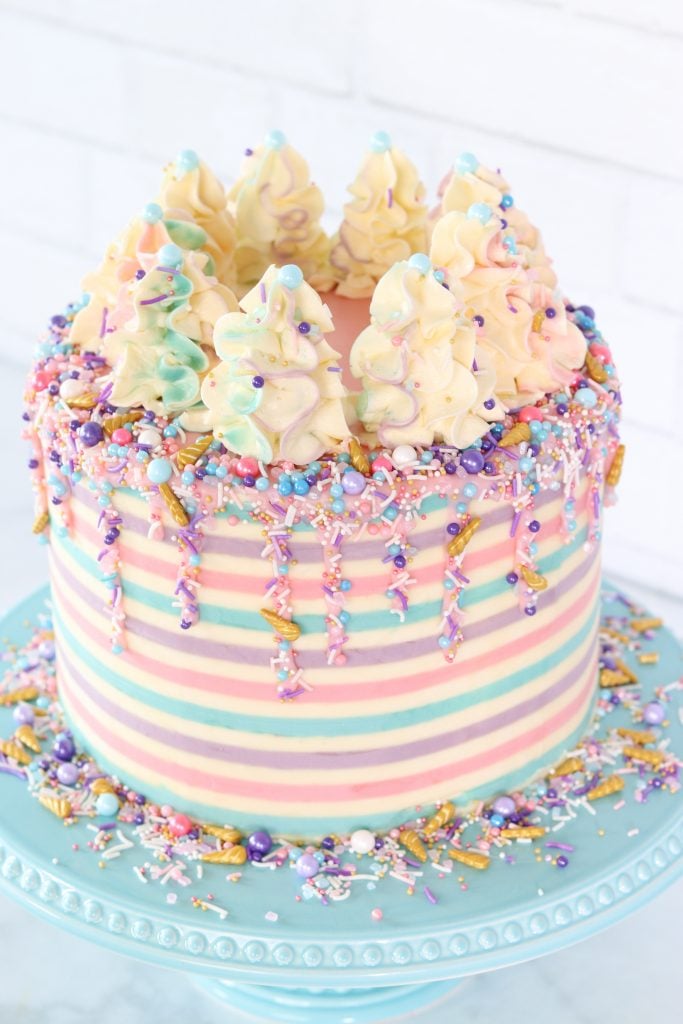
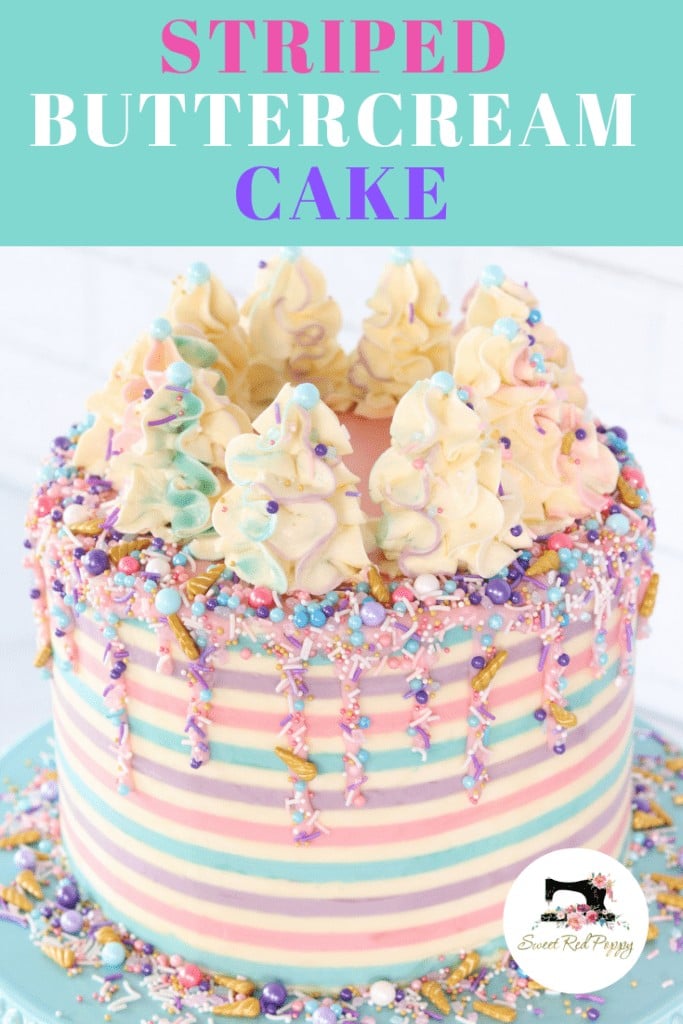
Create a Beautiful Stripped Buttercream Cake with Chocolate Ganache Drip with this Step By Step Tutorial.
This post is sponsored by JOANN. All thoughts and opinions are my own.
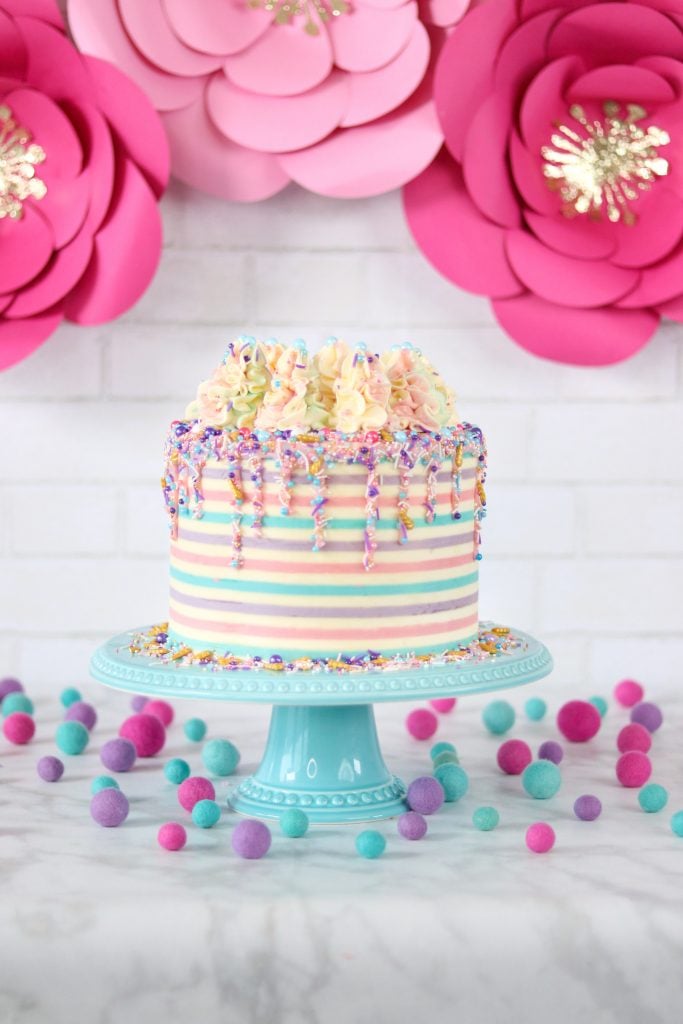
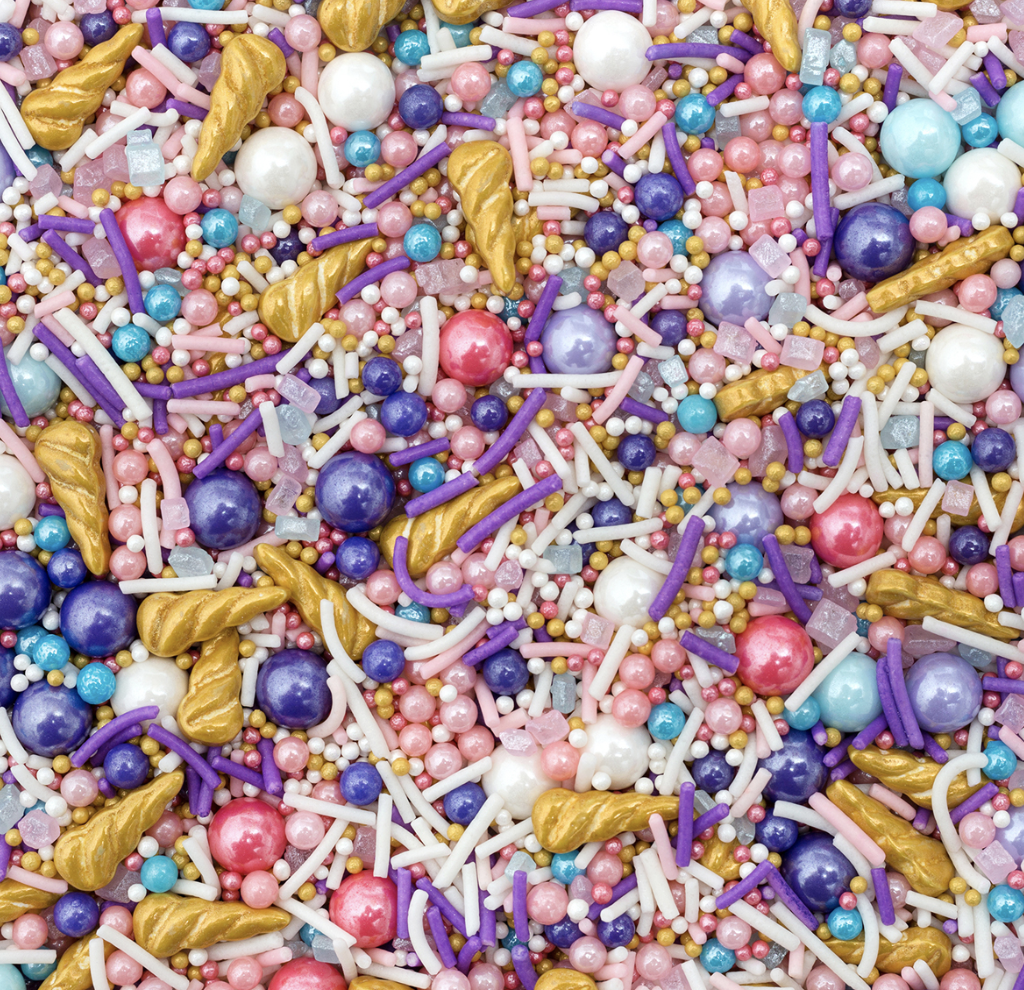
On one of my recent visits to JOANN, I fell in love with the most gorgeous Unicorn Sprinkle Mix from Sweet Tooth Fairy!
It's filled with a beautiful assortment of Nonpareils, Jimmies, Dragees, Crystal Sugar, and Golden Unicorn Horns. They instantly jumped right into my cart and served as the inspiration for the entire cake!
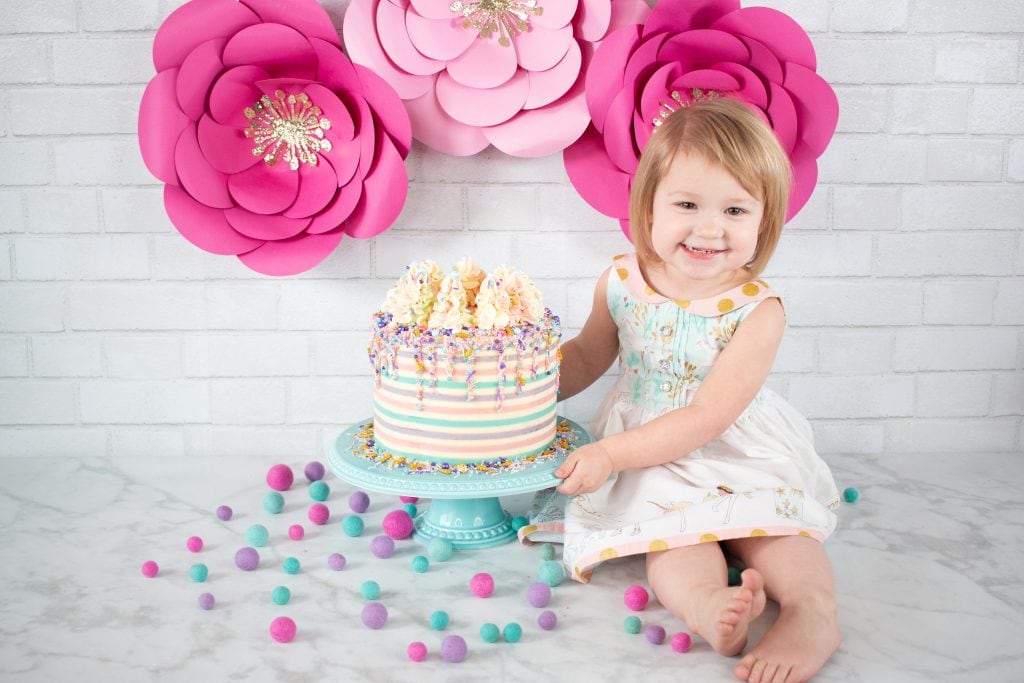
My daughter has been begging for a unicorn birthday party and I've been wanting to try my hand at cake decorating so this was the perfect opportunity to try it out!
Striped buttercream cakes and chocolate ganache drips are so on trend right now in the world of cakes and JOANN had everything I needed to make my vision come to life! I walked over to the Wilton aisle to grab all of the cake supplies I needed.
Cake Decorating Supplies
- Sweet Tooth Fairy Unicorn Mix Sprinkles
- Wilton Icing Comb
- Wilton Icing Smoother
- Disposable Icing Bags
- 1M Decorating Tip
- 10 Inch Cake Circle
- Cake Turn Table
- Angled Spatula
- Gel Food Dye
- Squirt Bottle
Wanna know a secret? I'm a bit of a cheater and I picked up four premade cake rounds from my local grocery store to save time! 😉 Just call ahead and check to see if they have any cake layers that haven't been frosted yet. It saved me extra time in the kitchen so I could work on making a beautiful cake design!
I also whipped up a double batch of Easy Buttercream Frosting using SugarHero's recipe.
Table of Contents
How to Create a Crumb Coat & Frost a Cake
To get started you'll want to lay out all of your supplies and find a nice level surface to work on.
Place a cardboard cake round on top of the rotating cake stand. Gently lift the first cake layer on top of it. Using a long serrated knife, start from the outside of the cake and cut inwards towards the center as you turn the rotating cake base.
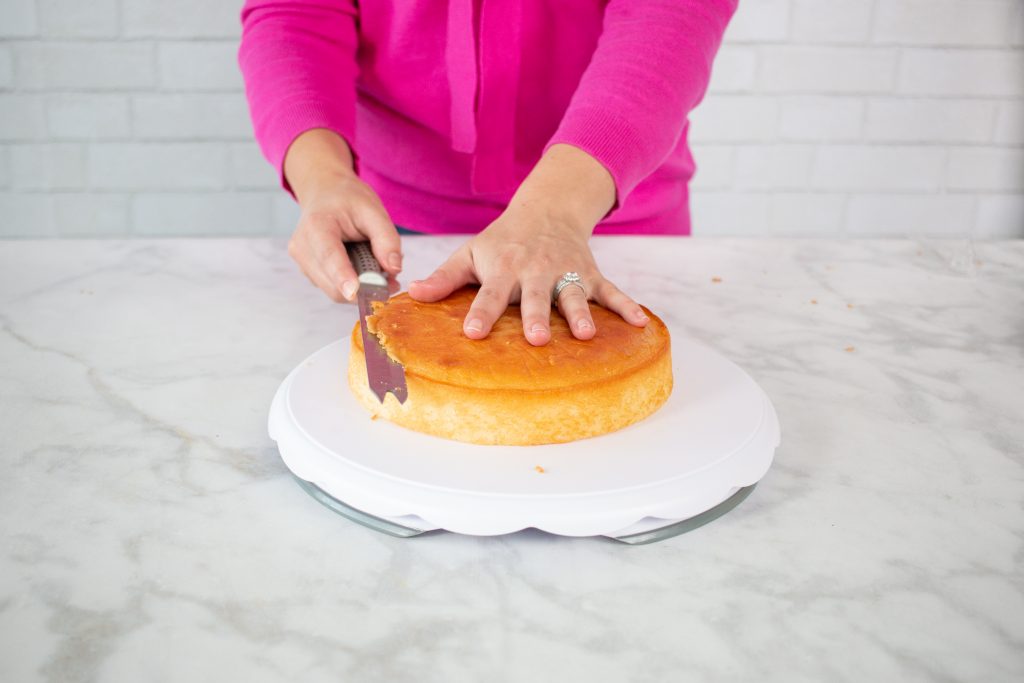
It's important to make sure that each cake layer is straight across to ensure a level cake. Once you've leveled each cake layer it's time to start assembling the cake.
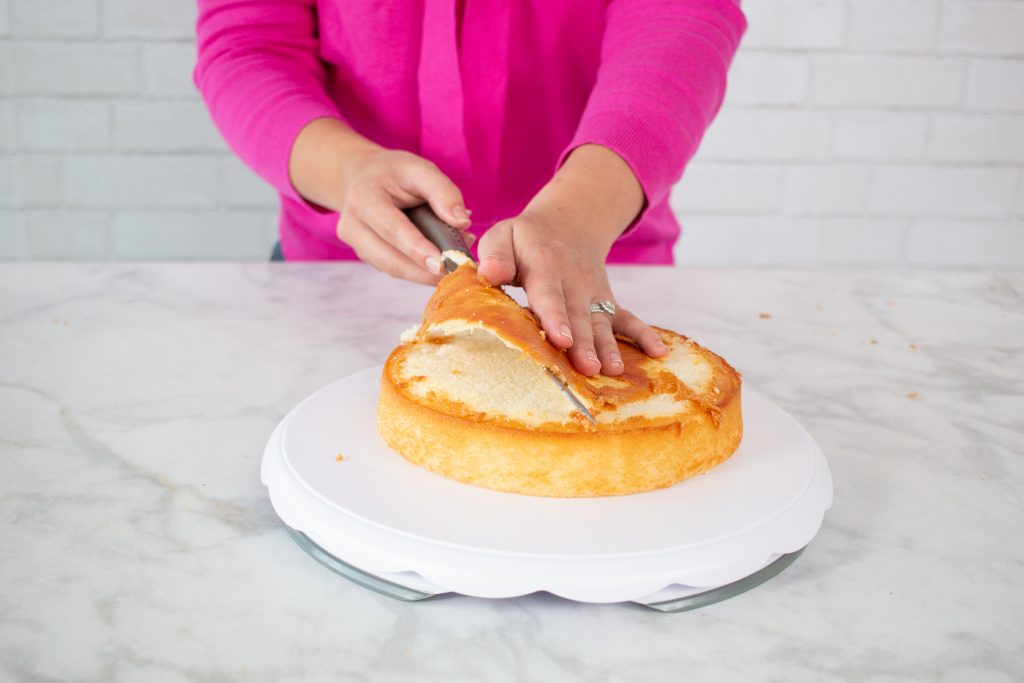
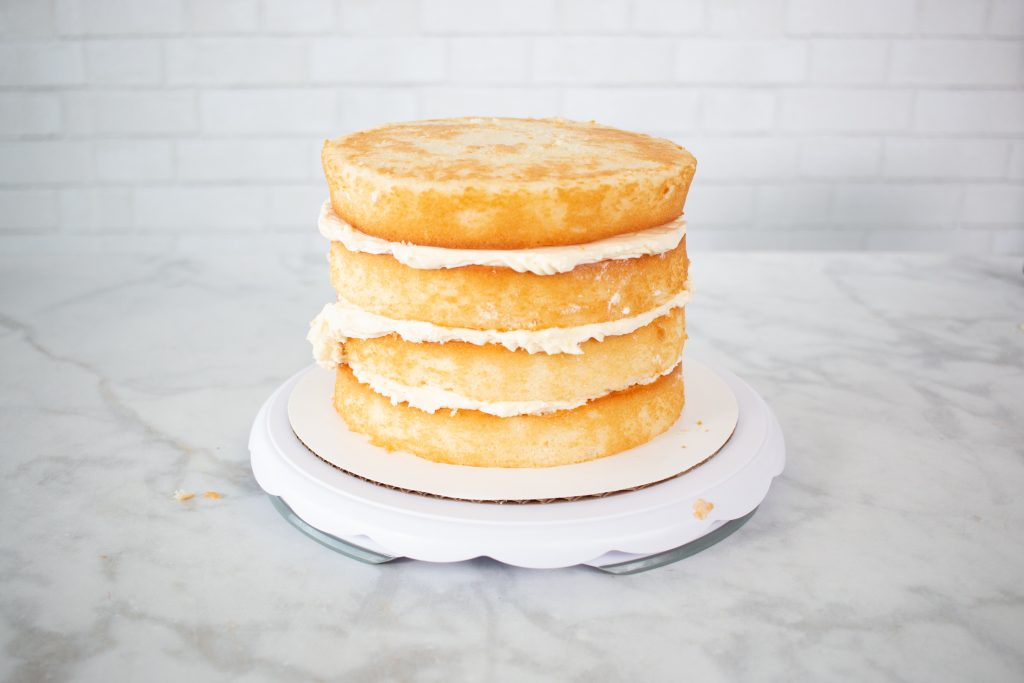
Fill an icing bag with a generous amount of buttercream frosting. Spread a layer of frosting onto the cake and smooth it using an angled spatula. Repeat this process until you reach the top layer.
It's time to create your crumb coat! If you aren't familiar with this step, the crumb coat is a thin layer of icing that's spread around the entire cake. It creates a barrier so that crumbs don't end up in the outer layer of frosting and also gives the cake extra stability.
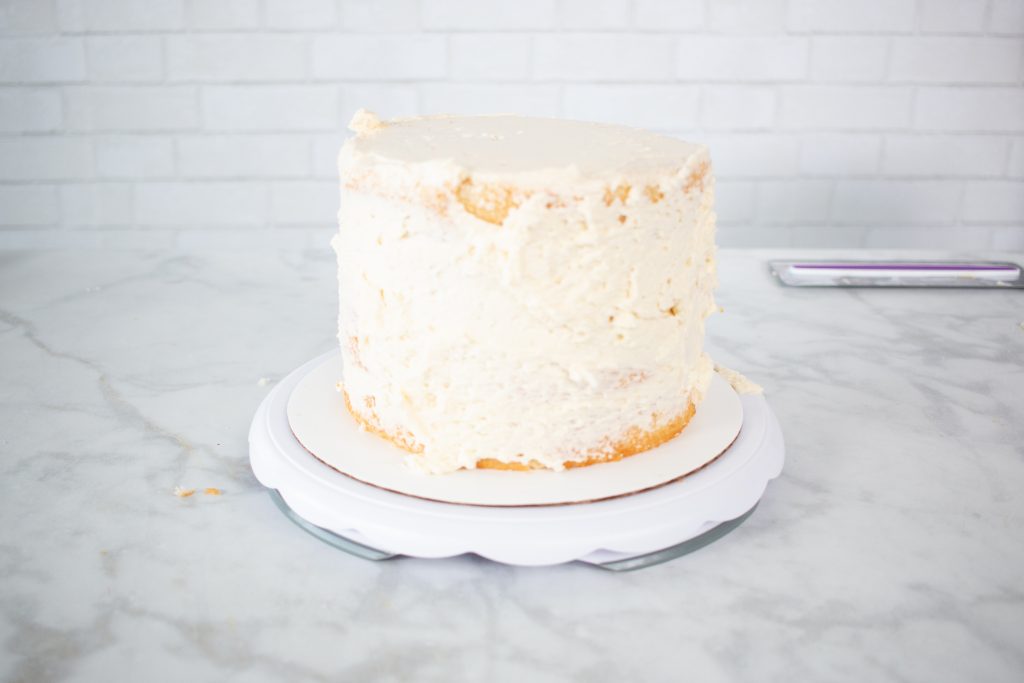
Separate a bowl of frosting for the crumb coat. Scoop a generous amount of frosting onto the top and sides of the cake and smooth it out using an offset spatula.
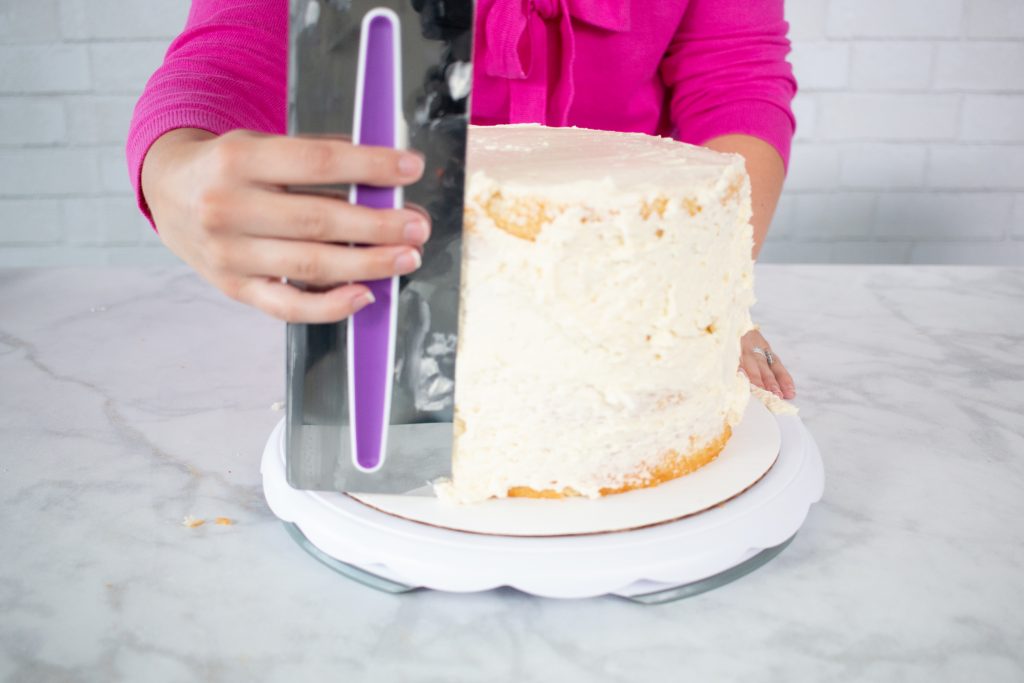
The layer of frosting should be thin enough that you can still see the cake. Place the cake in the fridge for 30 minutes to allow the icing to harden.
If you have an area of the cake that's uneven you can add
How To Ice a Layer Cake
It's time to ice your cake! Keep in mind that you will be using an icing comb in the next step. It's important that you add more icing to this cake than normal because you will be scraping away a large chunk of icing. About 1/2 inch depth is a great measurement to aim for.
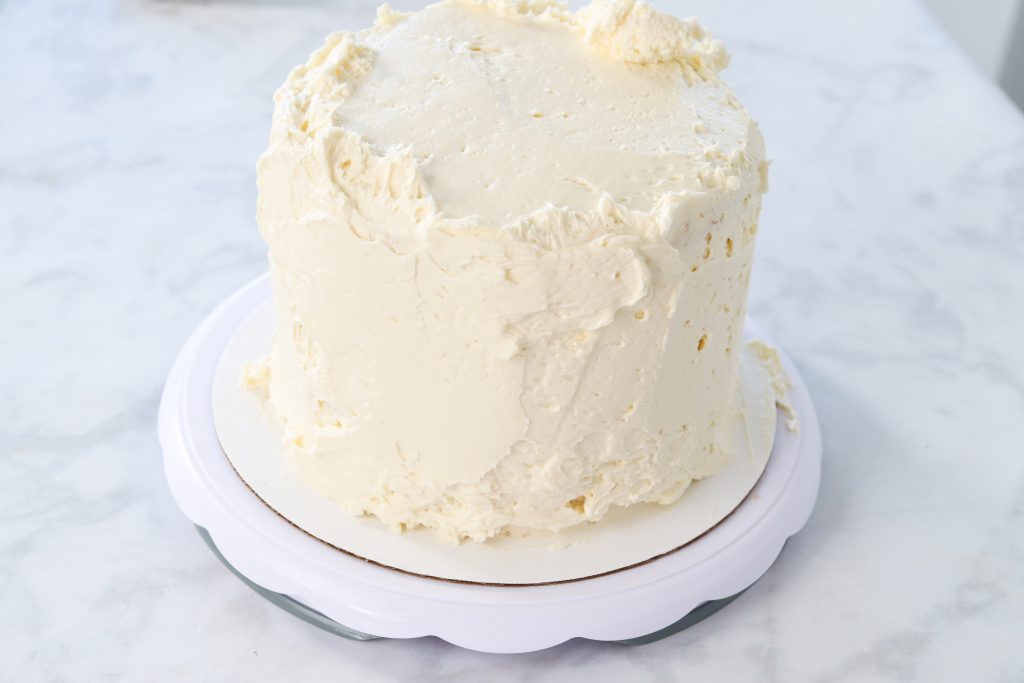
Apply a generous amount of frosting to the sides of the cake. Using a bench knife in one hand, spread the frosting around the sides of the cake while you slowly turn the cake base with the other hand. I really love this tool because it gives the frosting such a smooth finish.
*Pro Tip Warm the bench knife in hot water to get an extra smooth icing finish.
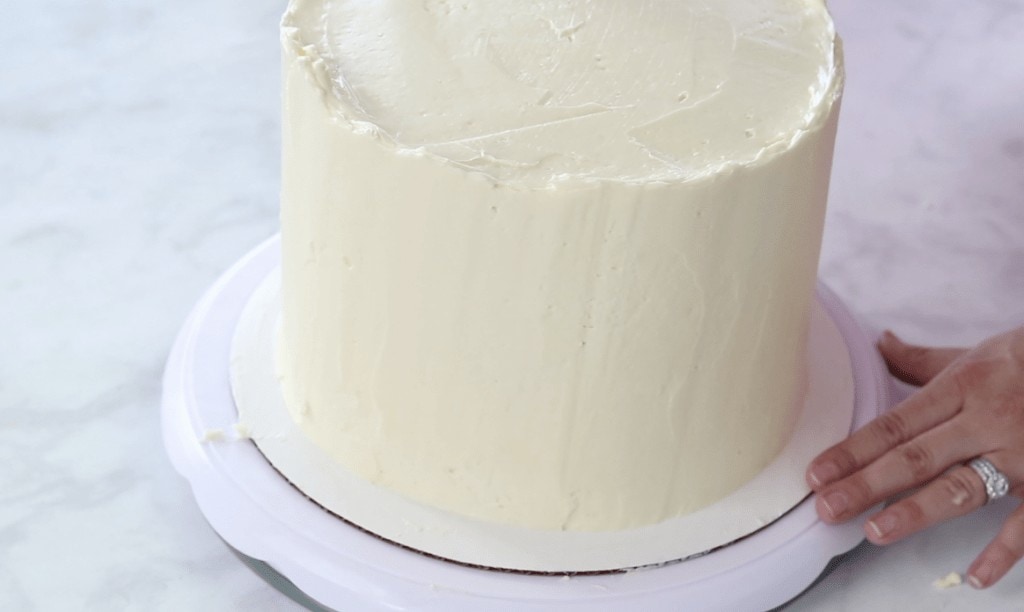
Make sure you have an even layer of frosting all the way around the cake. Use the angled spatula to smooth the top of the cake using small strokes.
How to Create Buttercream Stripes
Are you ready to comb the cake? We will be using the icing comb with square ridges for this next step.
I like to prepare a bowl of warm water to dip the comb in between scrapes to create smooth ridges.
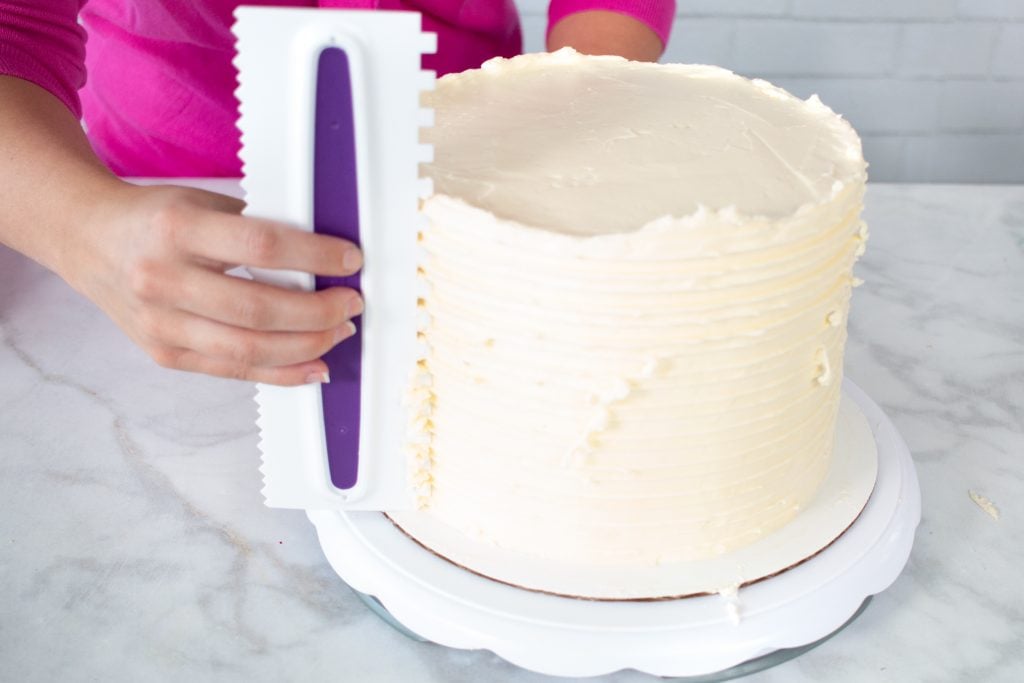
Hold the comb parallel to the cake and angled slightly backward as you slowly pull it towards yourself. Once the comb begins to fill with icing, pull it away from the cake and scrape the icing off of the comb.
I found my icing comb needed to be scrapped and cleaned every 2 inches.
I like to dip the comb in a warm water bath each time as I find it combs through the icing a bit easier this way.
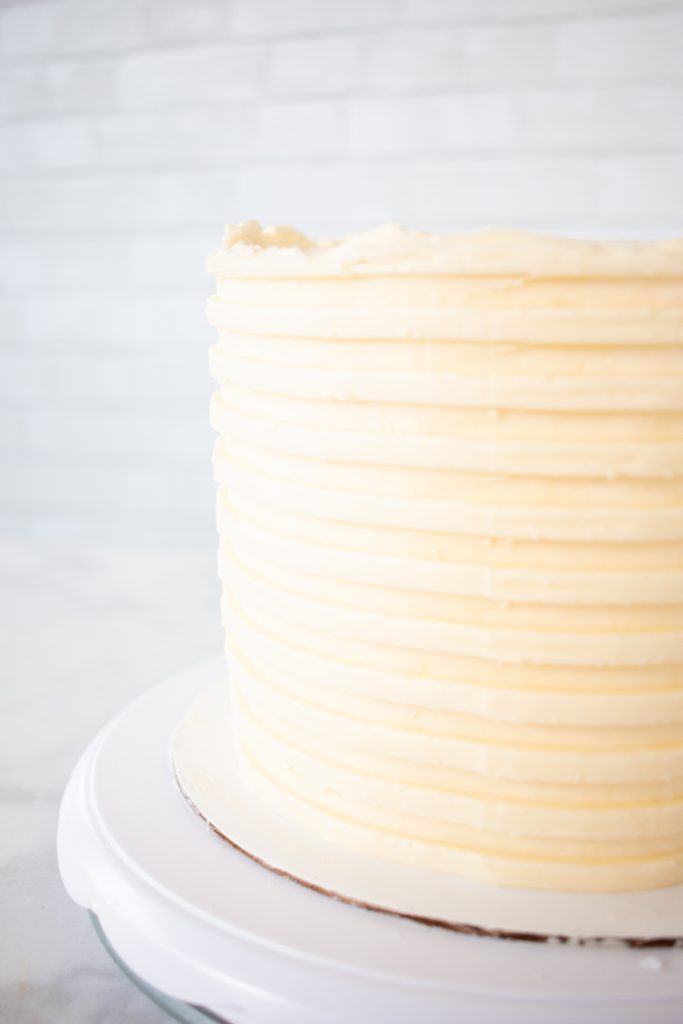
Repeat this process until you've created smooth ridges around the entire cake with no holes. Place the cake in the fridge for 30 minutes to allow it to harden. This step is crucial! It will make sure that your stripes are nice and clean in the following stage.
How to Dye Buttercream Frosting
While the cake is cooling, separate half of the buttercream icing into three bowls. Create a bowl of pink, aqua and purple icing for the next step. I like to use gel food coloring because it's highly pigmented and doesn't change the consistency of the icing.
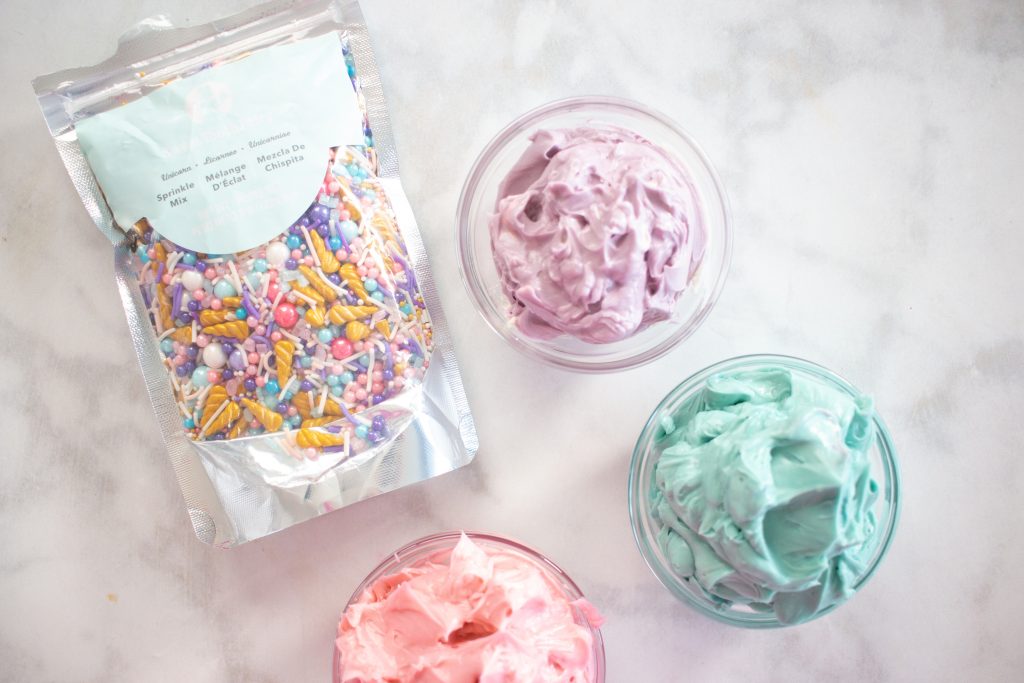
Dip a toothpick into the gel and add a tiny bit of food coloring into the frosting. You can always add more color to the icing but start out with a small amount.
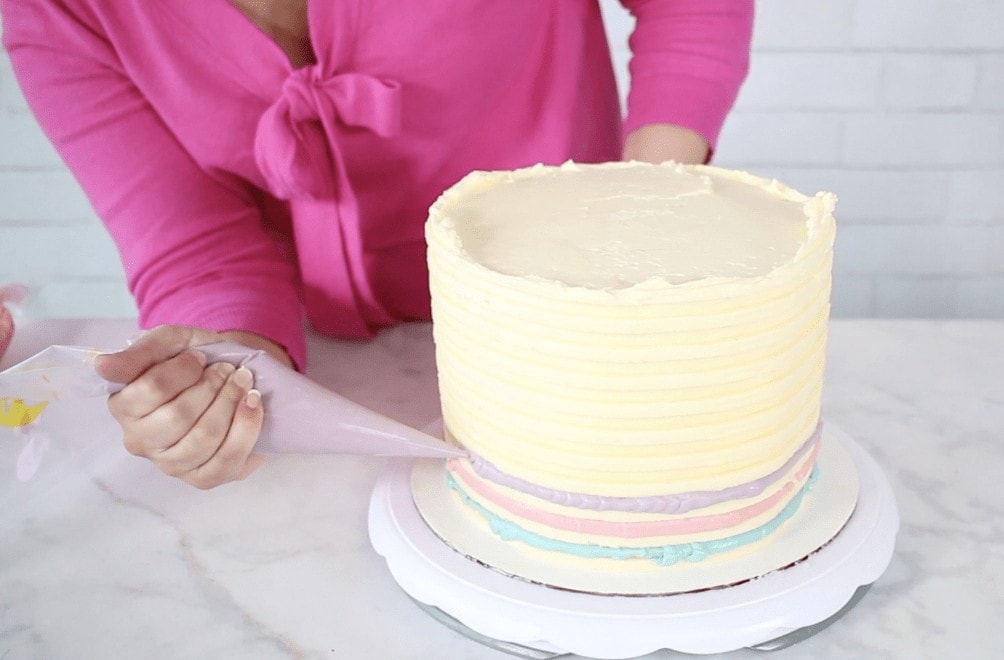
If the color ends up too dark add more white frosting to lighten the color.
Fill three icing bags with the three different shades of icing. Cut off the tip of the icing bag with a pair of scissors. Pipe the frosting into the grooves of the cake. Make sure to add enough icing to overfill the groove, you want to be generous!
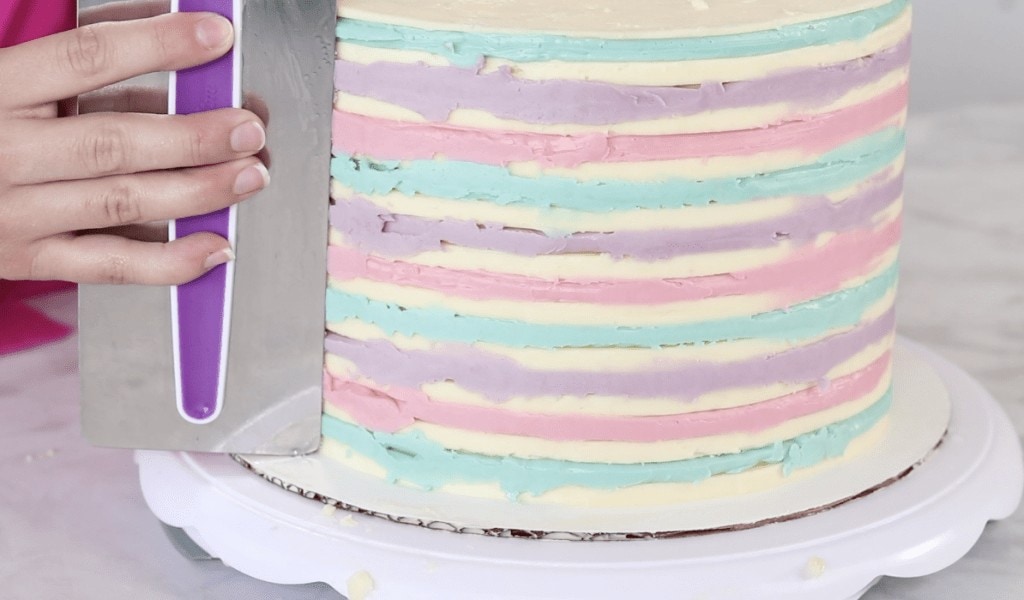
Once all of the grooves have been filled it's time to scrape the cake. Using a warm bench scraper, scrape away the excess icing by going around the entire cake. If you find you have any holes in your colored icing go ahead and fill them and scrape the cake a second time.
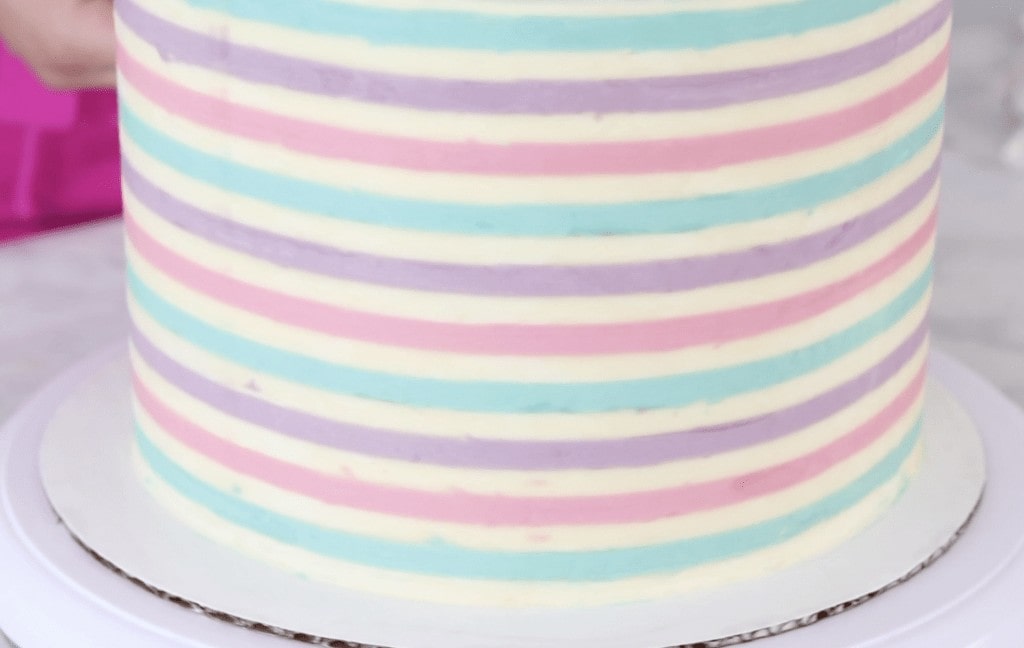
I like to scrape away all of the excess colored icing plus a bit of the white icing to get a nice clean finish.
How to Create Chocolate Cake Drips
To create chocolate ganache mix together 3 parts white chocolate and 1 part cream. Heat the mixture in 30-second increments in the microwave, stirring the mixture between each increment.
Once it's completely smooth add a small amount of pink gel food coloring, Allow the mixture to cool to 90 degrees before adding it into a squeeze bottle.
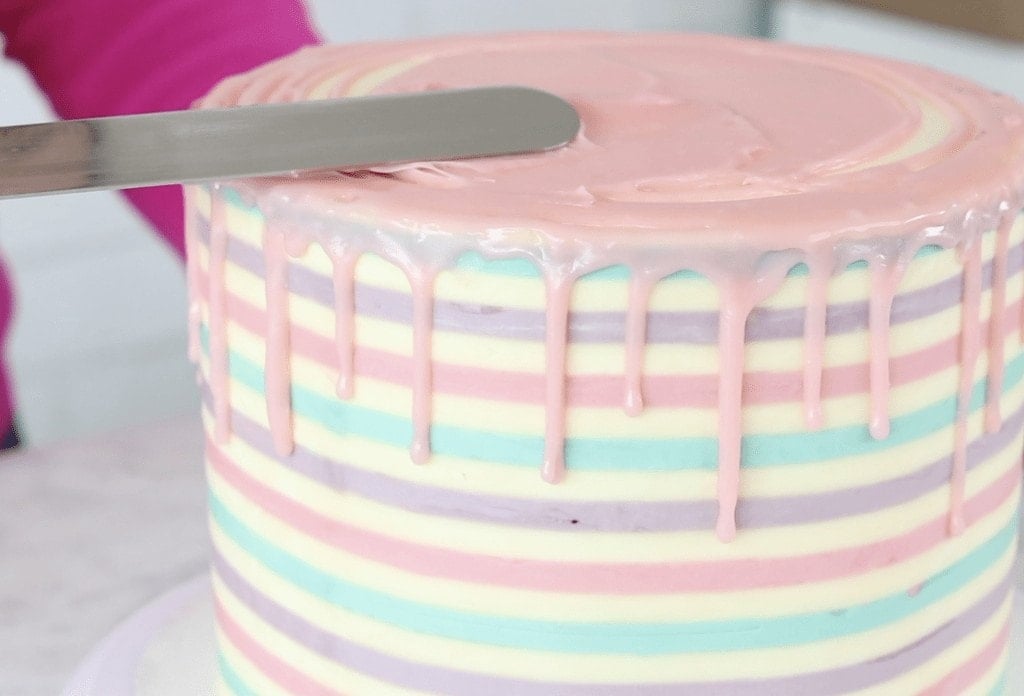
Slowly drizzle the chocolate ganache along the outer edge of the cake, stopping to add extra ganache where you want a large drip to occur.
I found it helpful to practice this technique on the top of a tall upside down glass.
Spread and smooth the remaining ganache around the top of the cake.
Cover the Chocolate with Sprinkles
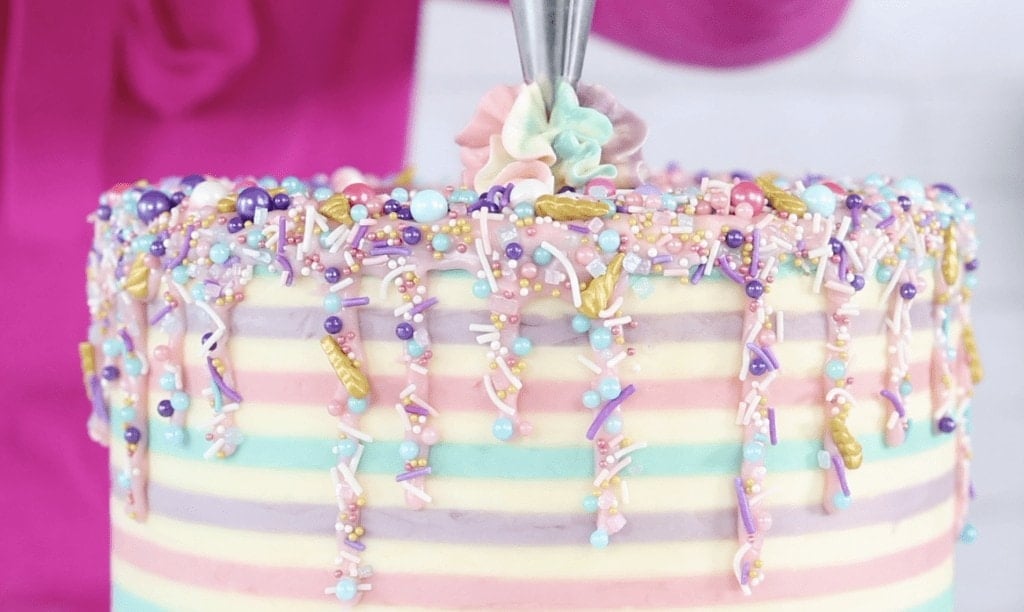
While the ganache is still warm, carefully place sprinkles on the drips.
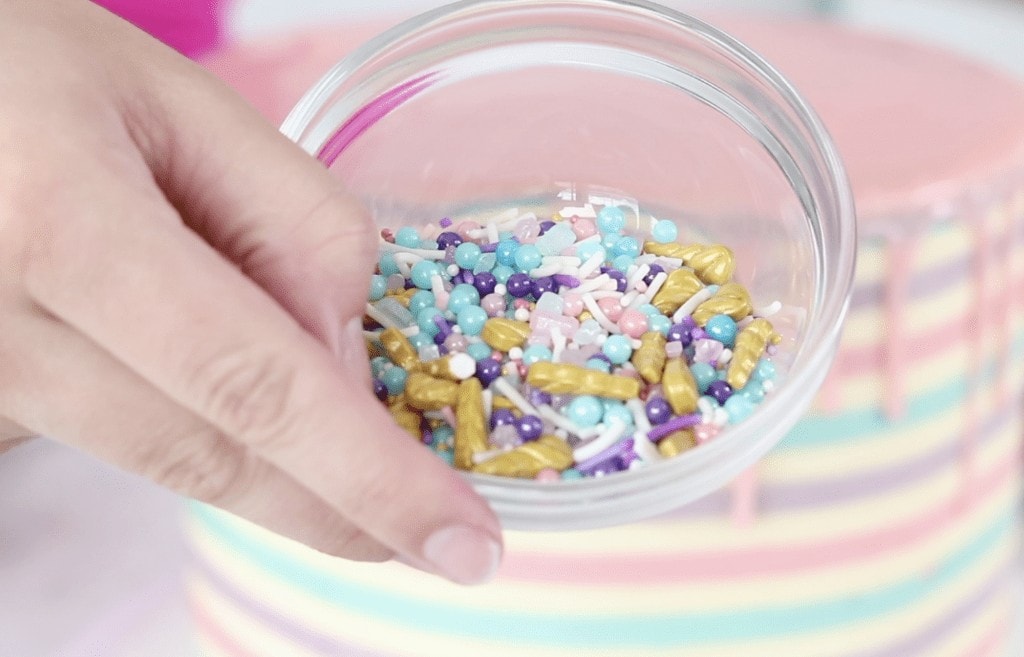
I like to wet my finger in a small bowl of water, dip my finger into the sprinkles and transfer them to the drips. This process takes about 20 minutes, go ahead and pull up a chair and get comfy! You might find it helpful to use a pair of tweezers as well!
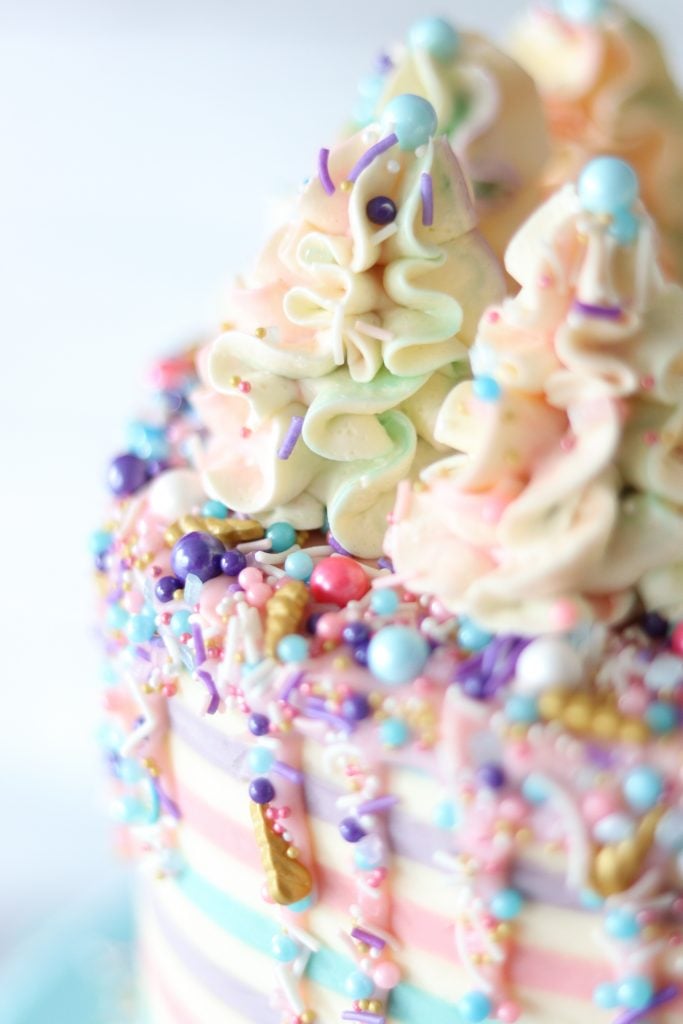
Using the remaining icing pipe a straight line of each color into an icing bag and fill the remaining space with icing. This will create a fun multicolored icing effect. Refer to the picture.
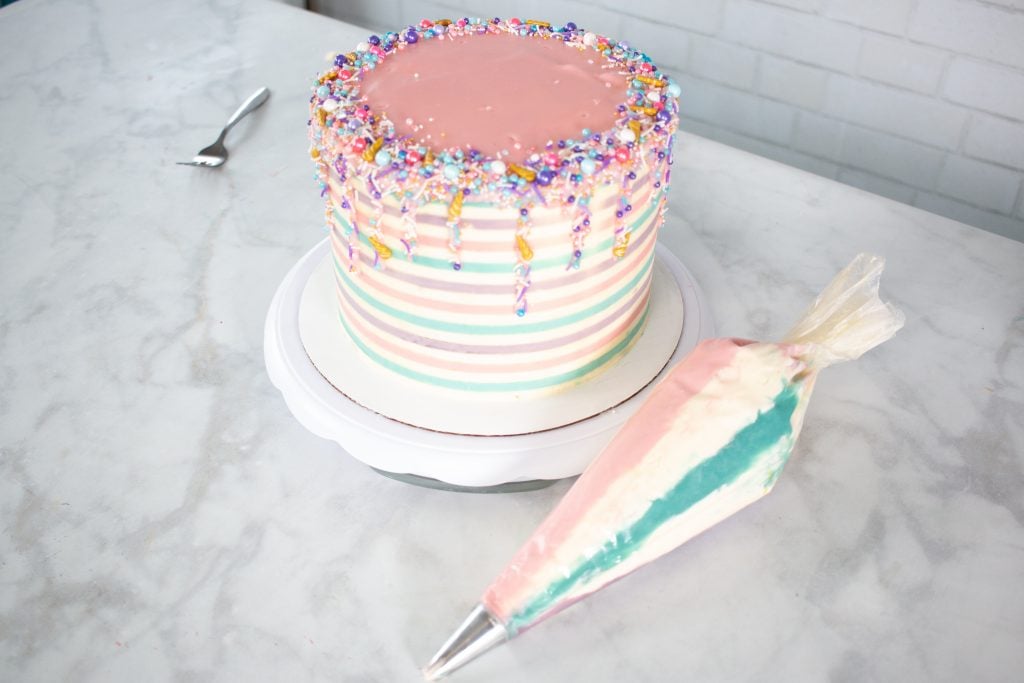
Pipe swirls onto the top of the cake. Once you have finished the cake place it in the fridge until you are ready to eat it!
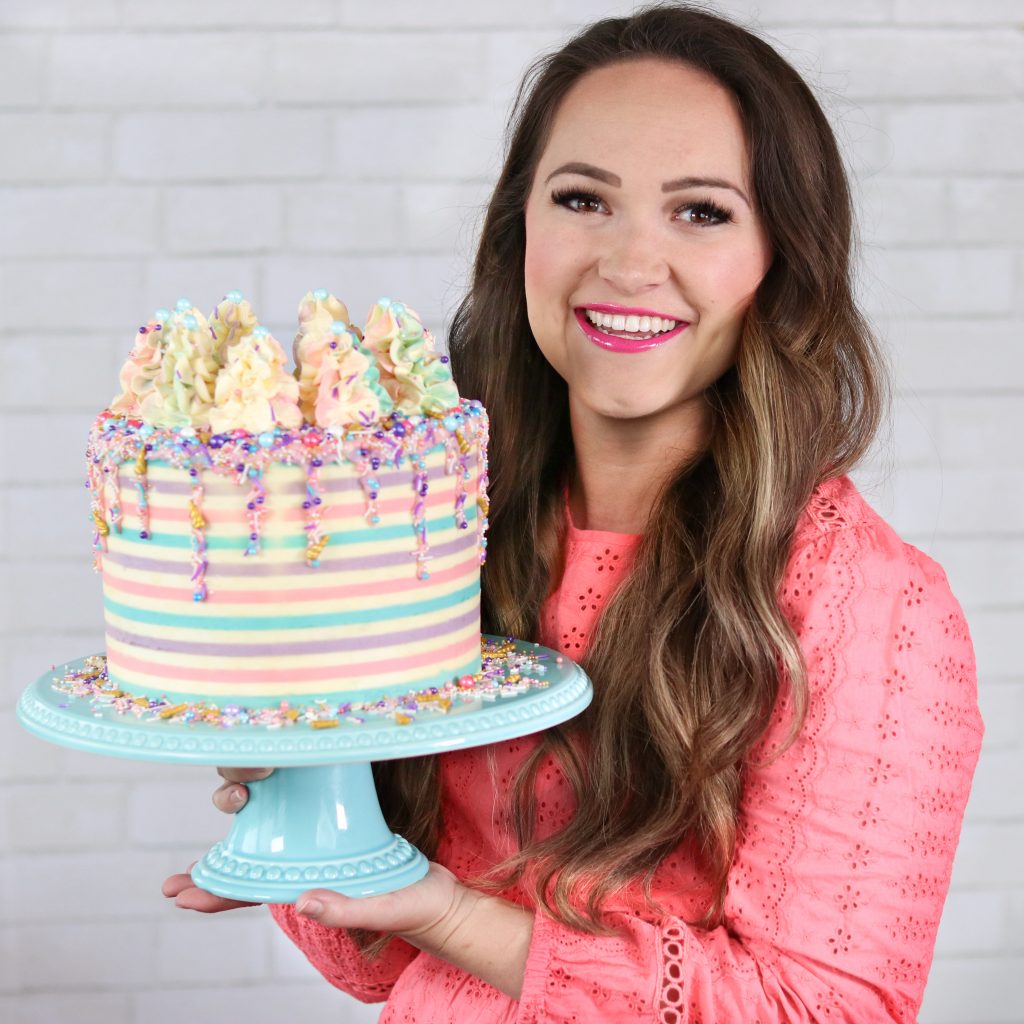
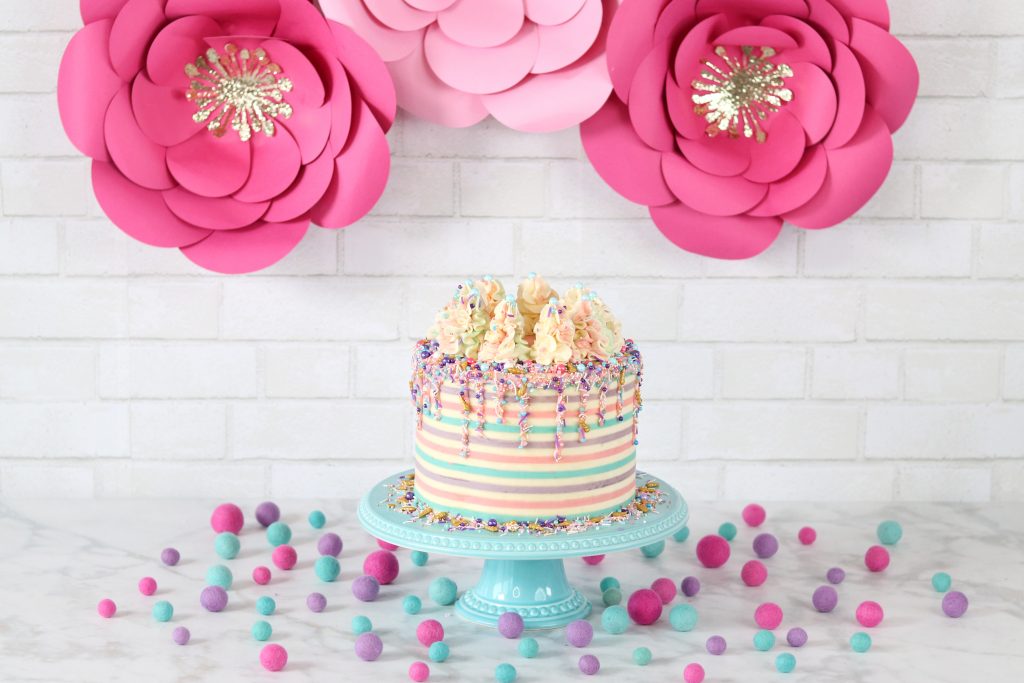
Now you have a beautiful striped buttercream drip cake!!
I can't wait to see what you make with this tutorial!
Want to make more food tutorials? Click here to check out all of these step-by-step tutorials and ideas!


hermoso