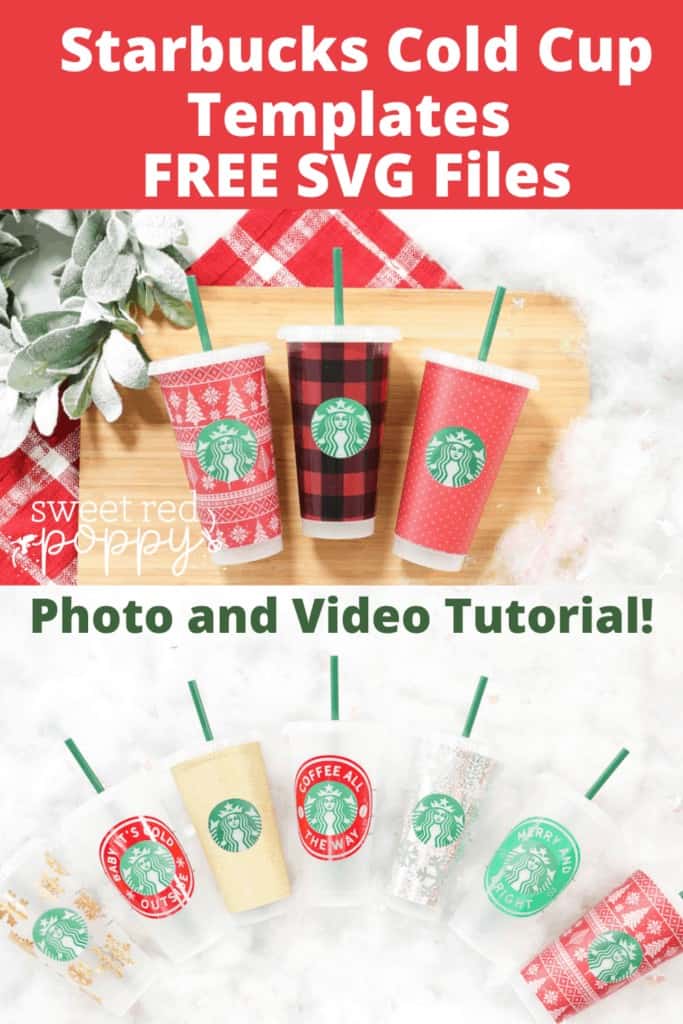
Learn How to Apply a Perfect Fit Full Starbucks Cup Wrap and Find Out How to Customize the Template for Any Design.
Affiliate Links are used throughout this post. Thanks for shopping through my affiliate links and supporting Sweet Red Poppy!
I've had so many requests for a tutorial on how to apply a full wrap template to a Starbucks cup, as well as a tutorial on how to customize the template with any design. I'm going to be showing you both of these today, and I'm SO excited to share this tutorial with you!
THIS POST IS PART 3 OF 3. CLICK HERE TO READ PART ONE AND TO DOWNLOAD ALL HOLIDAY BORDER LOGOS. CLICK HERE TO READ PART TWO TO CUSTOMIZE LOGO BORDERS.
I ordered a few Starbucks cold cups recently and went to try out some free designs online to make them. I downloaded four different files and even purchased one on Etsy only to find out that none of them fit! I was pretty frustrated that I had wasted my time and vinyl on files that weren’t quite right.
So, in typical Sweet Red Poppy fashion, I measured about a million times and drafted and redrafted a pattern until it was perfect without any fit issues. And of course, I’m sharing it with you today along with all of my tips and tricks for getting a great result!
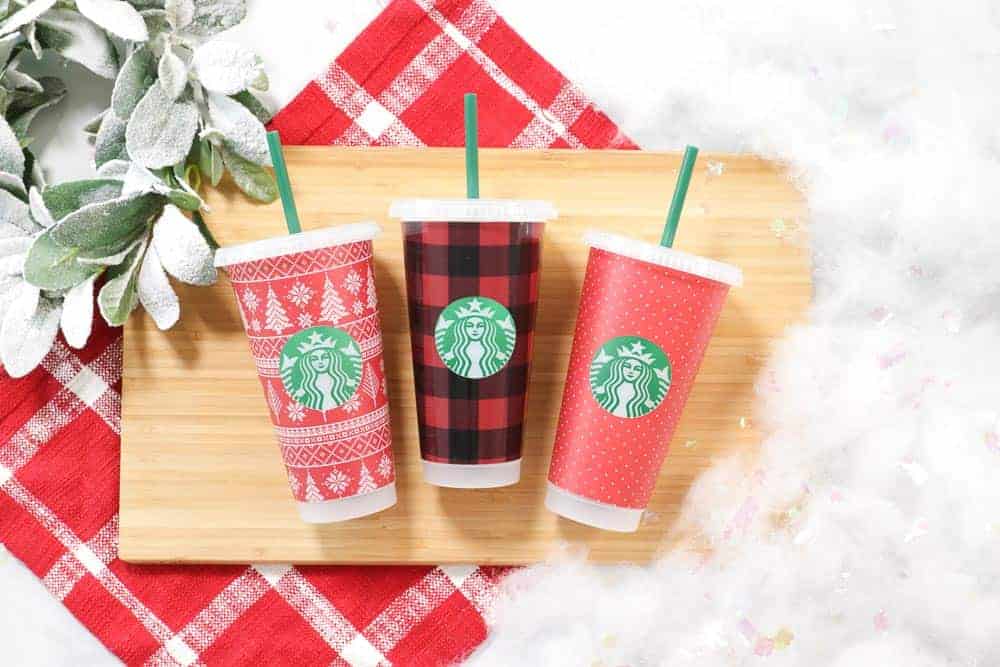
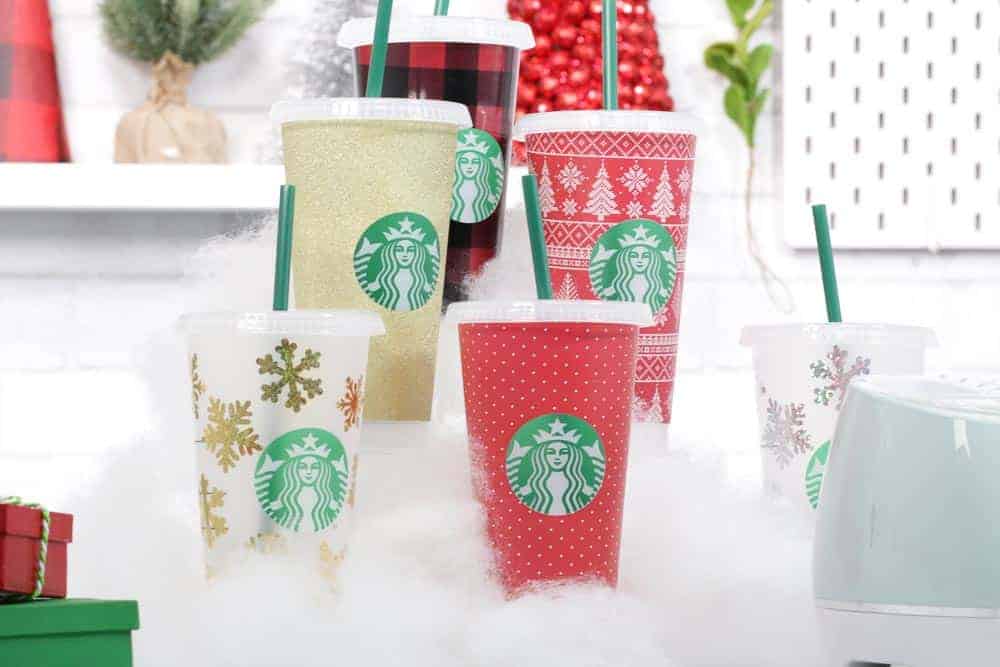
I’ve included a variety of free designs to help you make your own personalized Starbucks cup for Venti cold 24 oz reusable Starbucks cups.
These Starbucks cups are available online or in your local Starbucks. Since they’ve been so popular lately, they can be a bit hard to find. I was told recently that you can ask your local Starbucks to order them for you, if you’re having a hard time finding them!
The best part about these cups is they can be made and reused over and over!
In this tutorial, I’m going to show you how to use my designs, but the possibilities with these files are endless, and I’m only touching the surface of what’s possible, so be sure to get creative and make them reflect your own style!
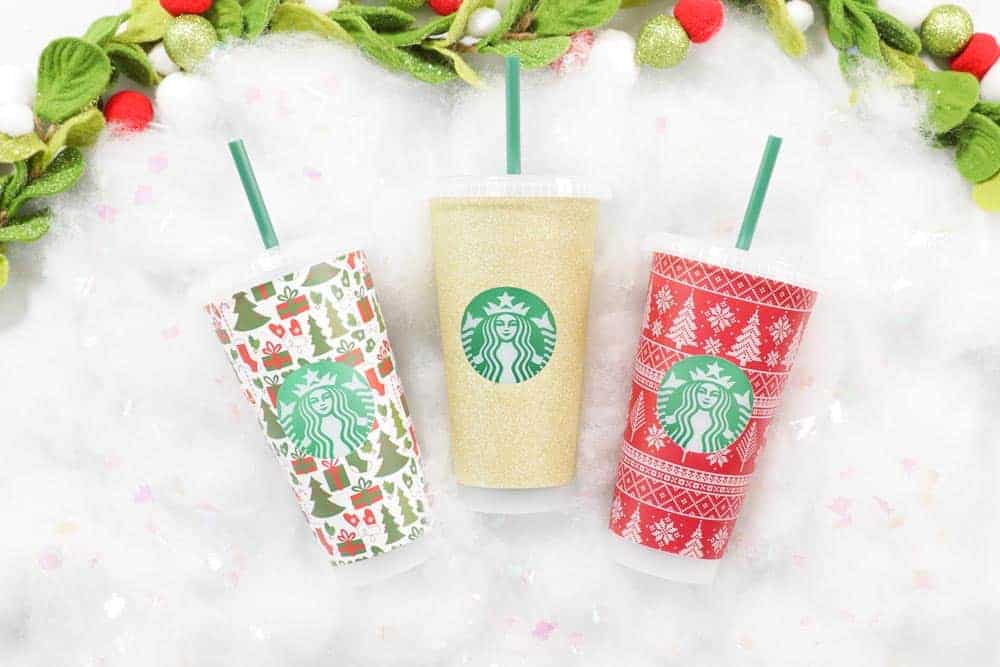
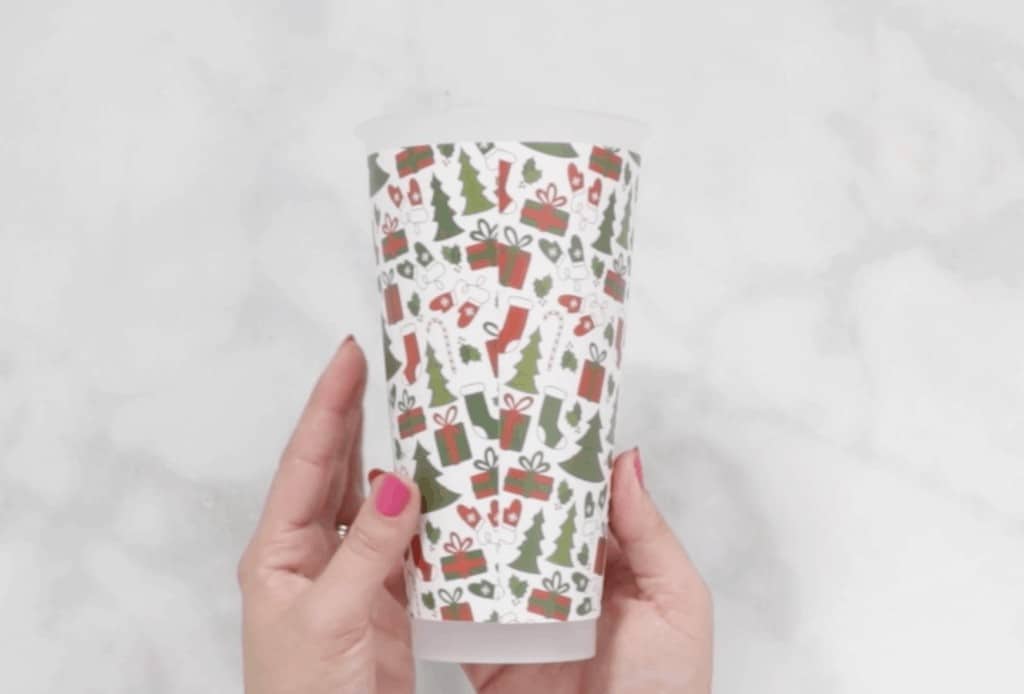
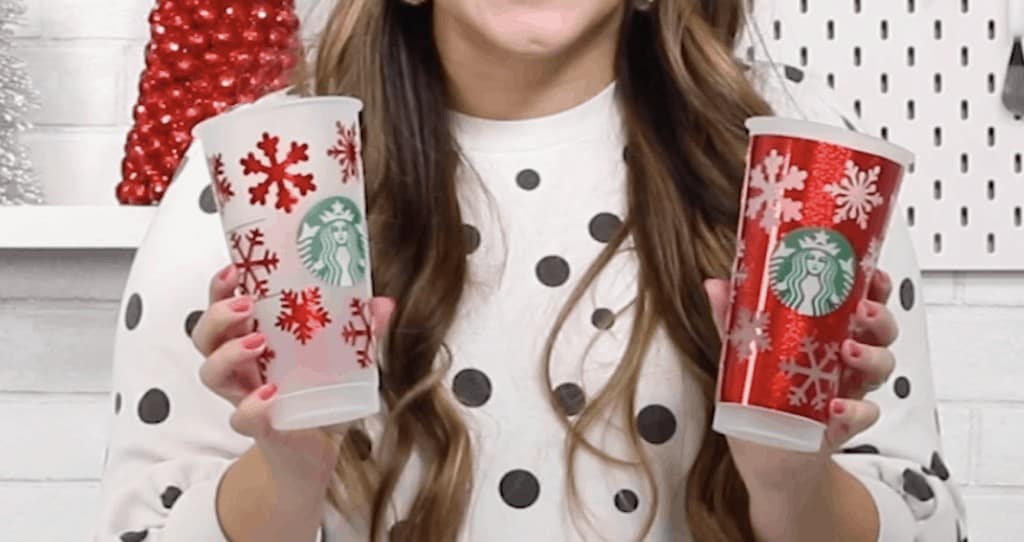
Aren't these cups just gorgeous? I can't get enough of these fun patterned vinyls.
Table of Contents
DIY How to Make Customized Starbucks Cup Wrap Designs
Supplies Needed for your Customized Starbucks Cup Wrap
- Permanent Adhesive Vinyl
- Transfer Tape
- Cricut
- Scissors
- Soft Measuring Tape
- Starbucks Cup (Venti 24 Oz Cold Cup)
- Paper Towel and Rubbing Alcohol
- Optional - Clear Vinyl
- SVG FILES
DOWNLOAD THE SVG FILES HERE!
Step 1: Measure and Clean the Starbucks Cup
With a soft, flexible measuring tape, measure the width of the logo and the height. Write down these numbers! There tends to be slight variation in Starbucks logos' size based on where the cup was manufactured, so you may notice slightly different measurements on your own cup.
The inside of the Venti Cold 24 oz cup oval should measure 2" tall by 2 ⅛" wide.
Clean the Starbucks with a paper towel and water or alcohol to make sure the vinyl has a clean base to apply it to. This will ensure the best possible seal. Let’s set our cup aside and come back to it in just a minute.
Step 2: Download Starbucks Full Wrap Template SVG Cut Files
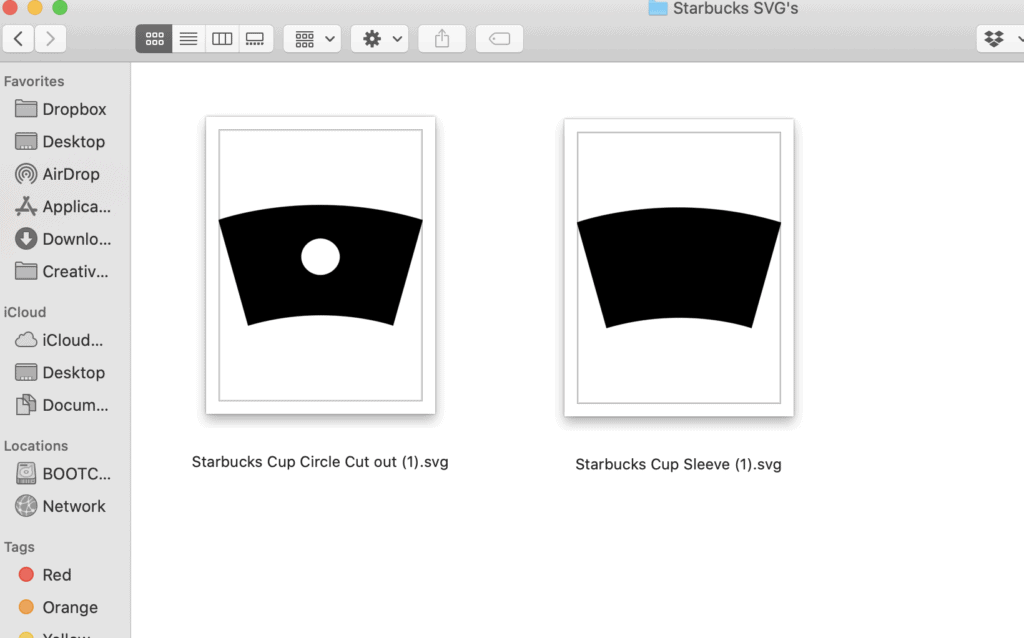
Begin by downloading the Starbucks Full Wrap decal SVG files. They will download as a zipped file. Head to your Downloads to find the file and unzip it. Inside of the folder you will find a full cup wrap, and a full cup wrap with oval cutout. There are also a few bonus files!
Step 3 Upload SVG Files to Design Space and Resize the SVG Cut Files
Upload the Designs into Cricut’s Design Space.
Open Cricut Design Space and select “New Project.” In the bottom left-hand corner click “Upload.”
Select "Upload Image", and find the file under your downloads. You’ll be able to select and import one file at a time.
Click "Save", repeat this process to import your desired designs.
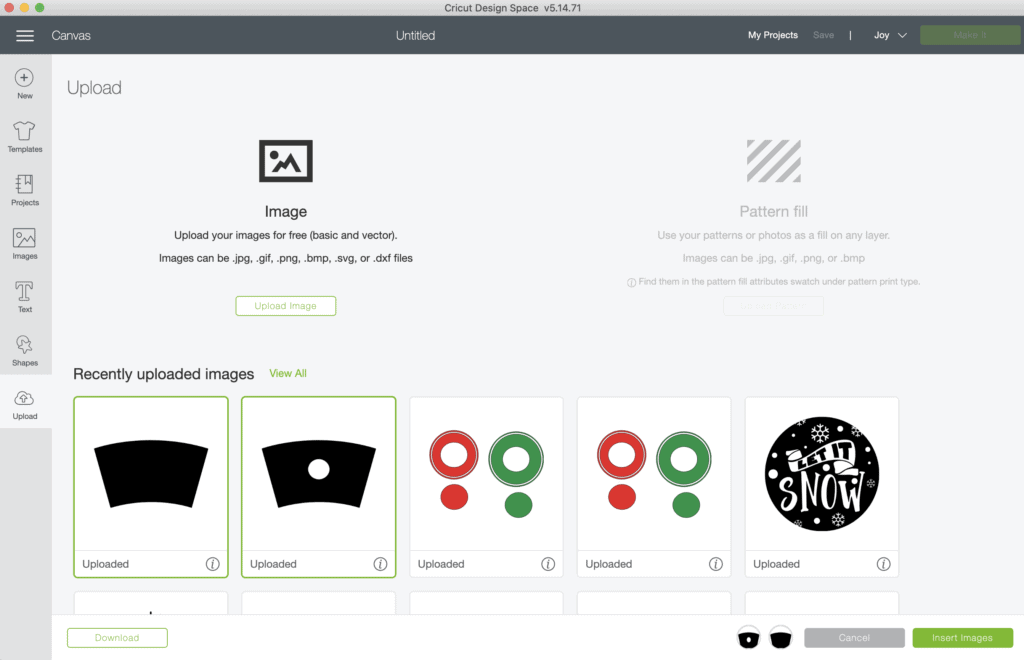
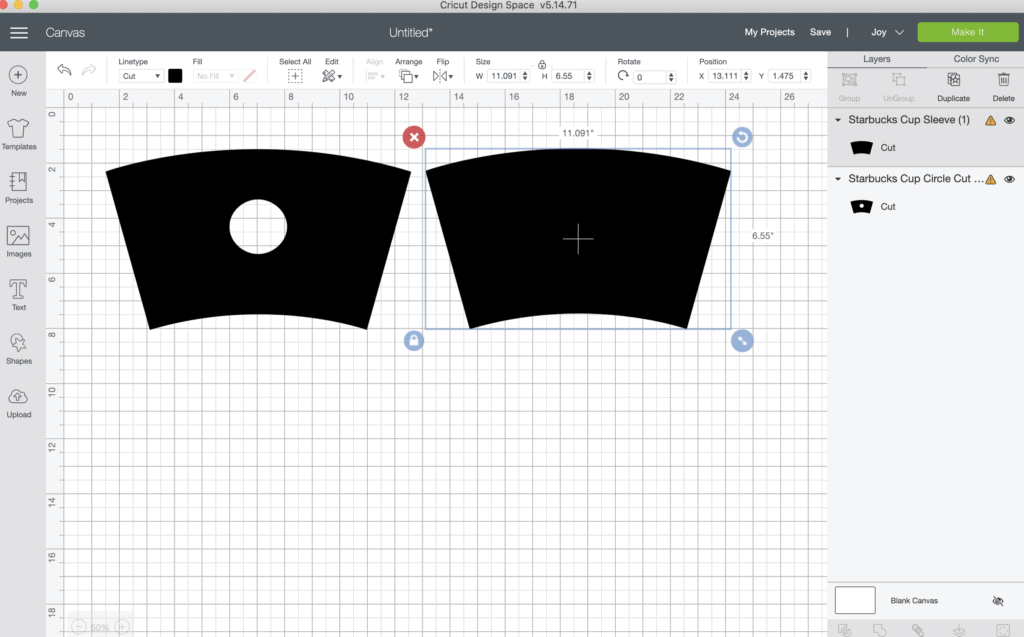
Now click on the image you’d like to bring to your Design Space Canvas under "Recently Uploaded Images" and click "Insert Images."
The full wrap should measure 11.091" wide.
Something to keep in mind when using a full wrap is you want to double-check to ensure that it’s a mirrored image meaning it’s equal on both sides. A lot of Starbucks wrap files that are free online are not equal and this will cause them not to fit which can be really frustrating. You can check to see if it's perfectly equal on both sides by duplicating it and then flipping it and aligning the image. Having a mirrored image will create a beautiful seam along the back that's perfectly aligned.
*If you want to cut out a solid template without customizing it, skip the next customization section and go straight to Step 4.
How To Make Your Own Customized Full Design
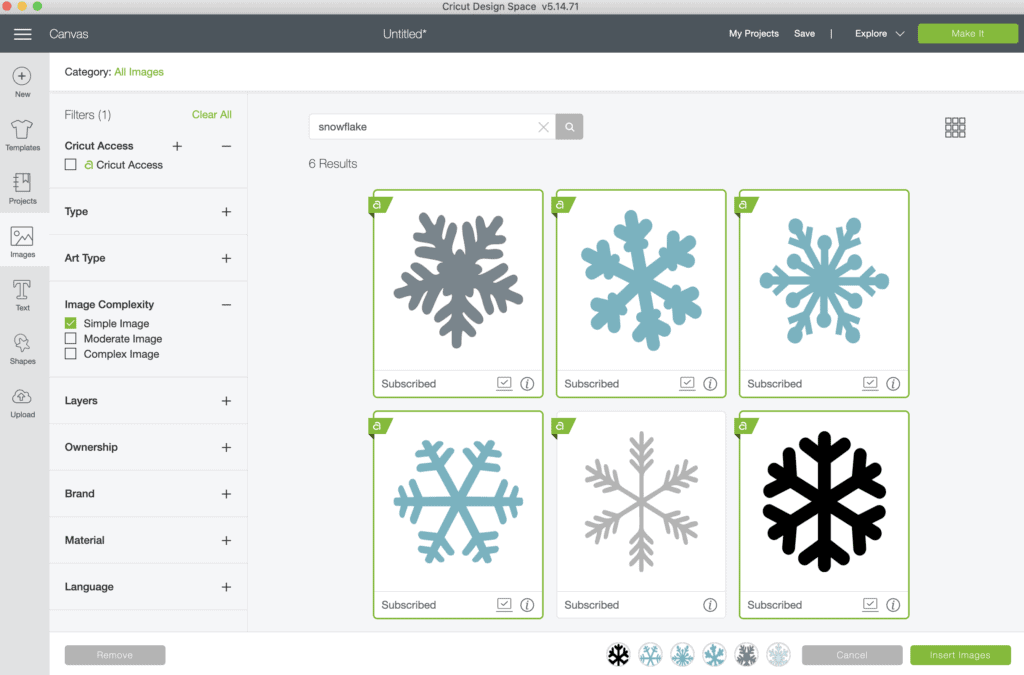
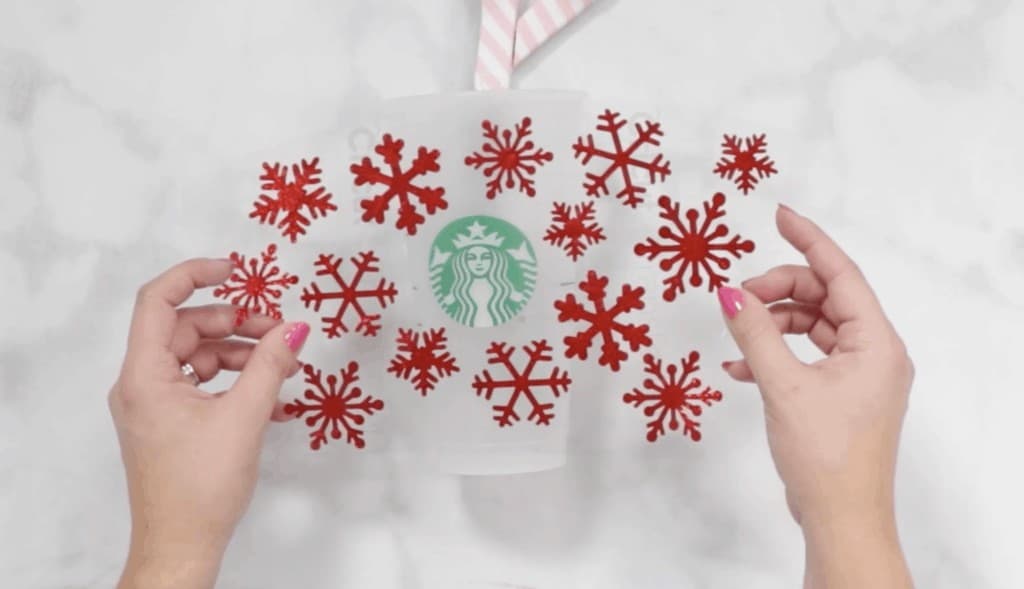
Start with the full wrap with the center cut out. Open "Images" on the left-hand side and "search" for snowflake. I’m going to select a few different snowflakes for this project.
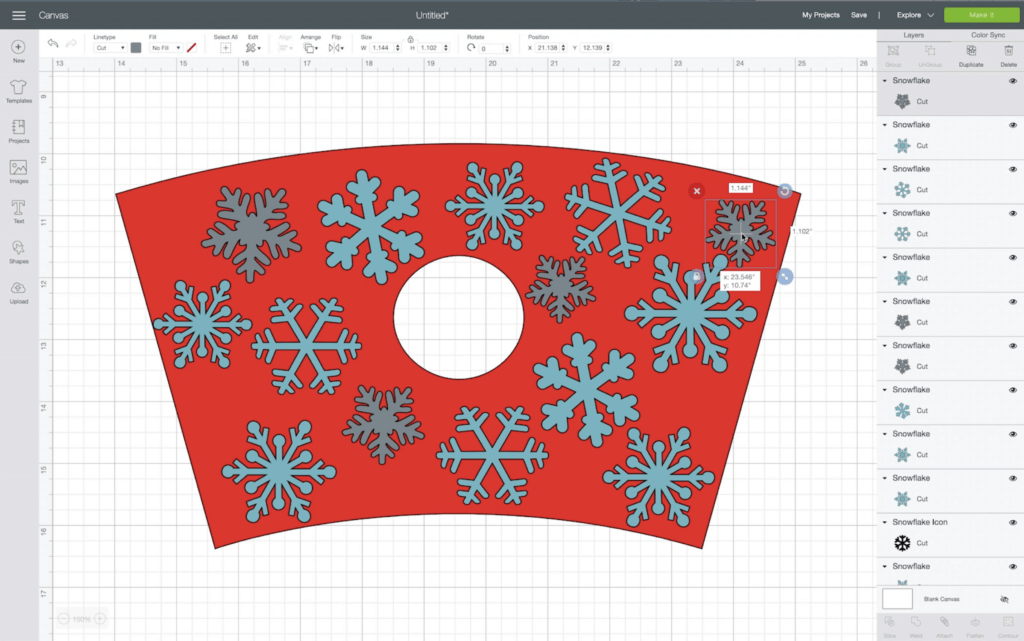
Make sure the snowflakes are slightly different sizes and duplicate them. Start placing them on top of the wrap using it as a guide for placement. You might have to move this around until you get it just right!
You can do this same technique with any type of shape or design.
Select all of the snowflakes and move them off of the wrap and weld them together. At this point you can go ahead and cut them as is or you can place them back on the wrap and select both items, press slice and you’ll end up with two different wraps (the positive and negative designs) that you can use.
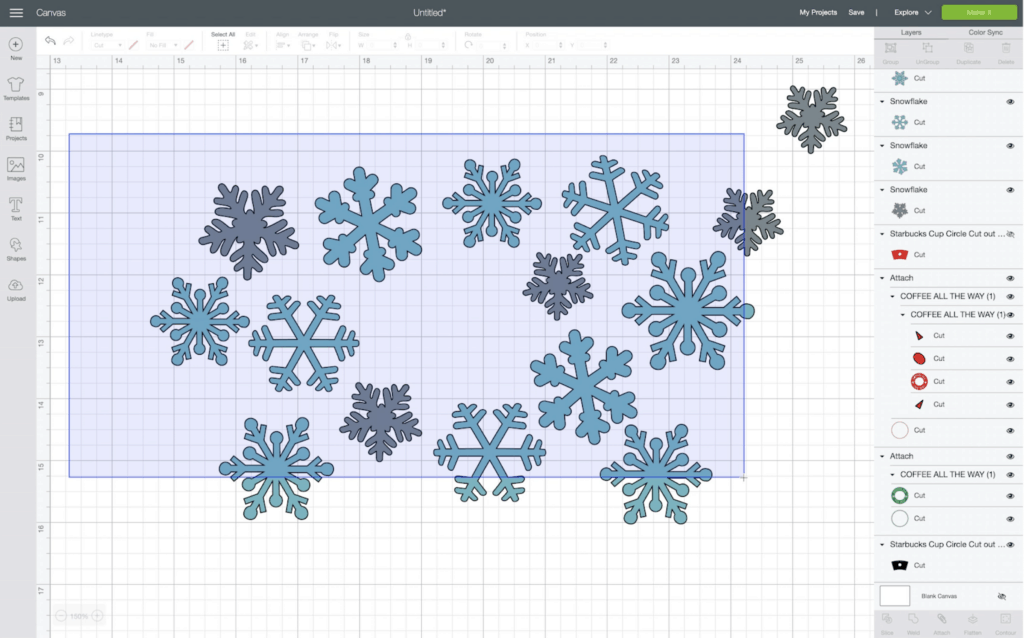
Select the top snowflake layer and delete it. If you cut the sliced images as is, you can maximize your vinyl and get two wraps out of this one cut. Go ahead and press make. For this to work, you’ll need to use a vinyl without any stretch to it. I’m using a holographic vinyl.
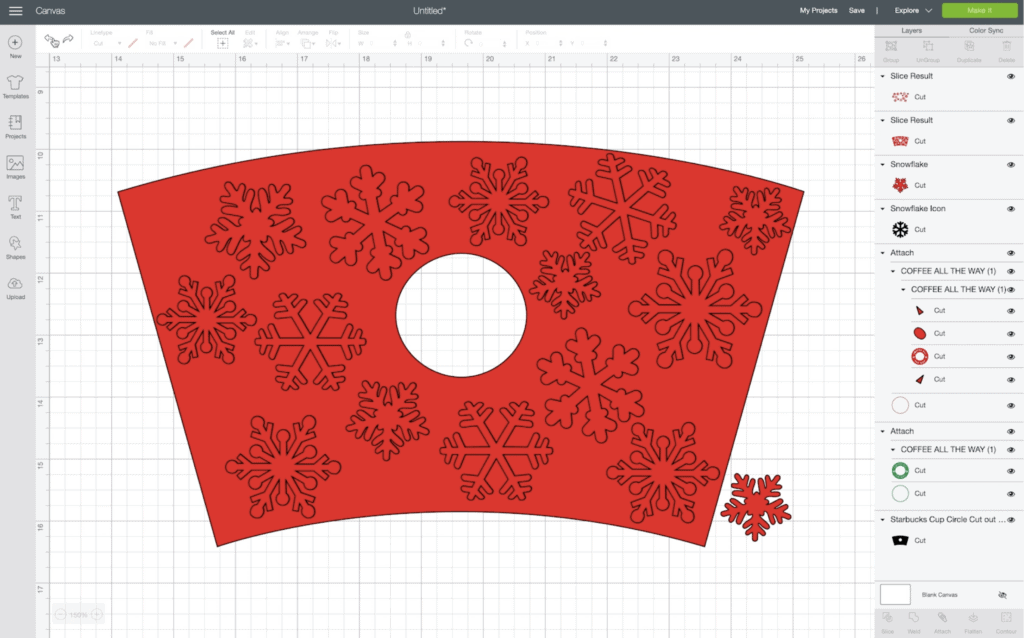
I like to include one extra snowflake on the side just in case I want to hand place a design along the center seam on the back of the cup.
Select "Make it" and "Continue". Choose the correct material type, and pair your machine.
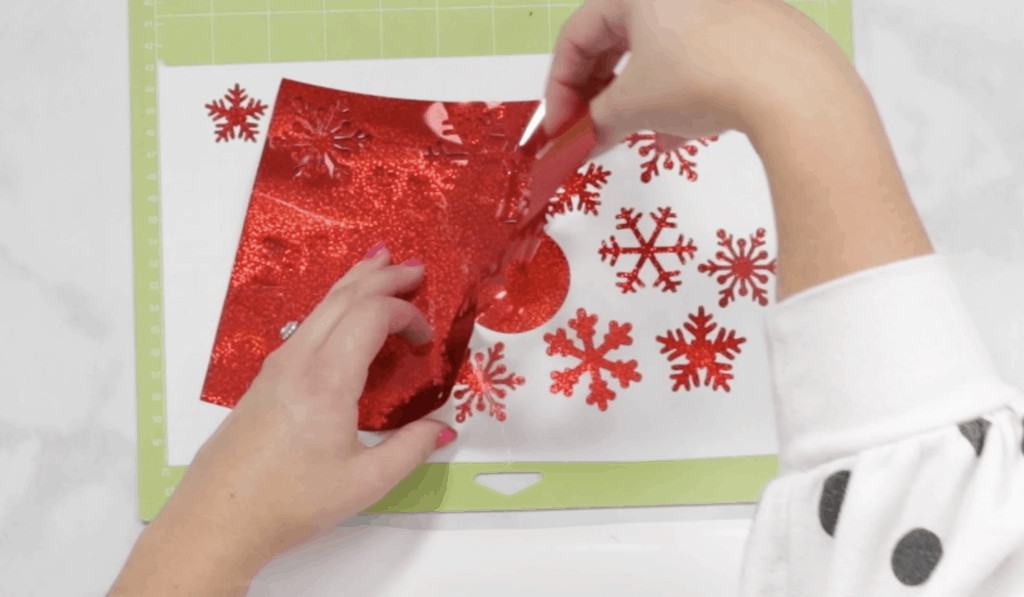
Step 4 Cut Vinyl on Cutting Machine
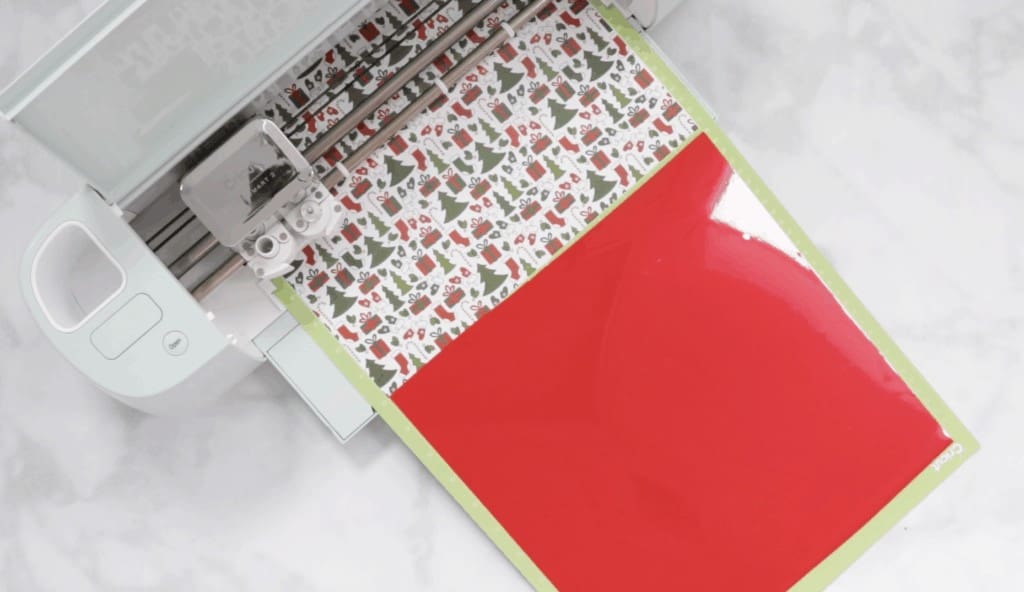
Place the vinyl on a green Standard Grip cutting mat with the liner facing down. Load the mat into the Cricut Machine by pressing the arrow and touch the flashing cricut button to start cutting. Unload the mat once the machine has finished cutting.
Step 5 Weed and Apply Cut Template Design
Let’s start by applying a full wrap that has not been customized.
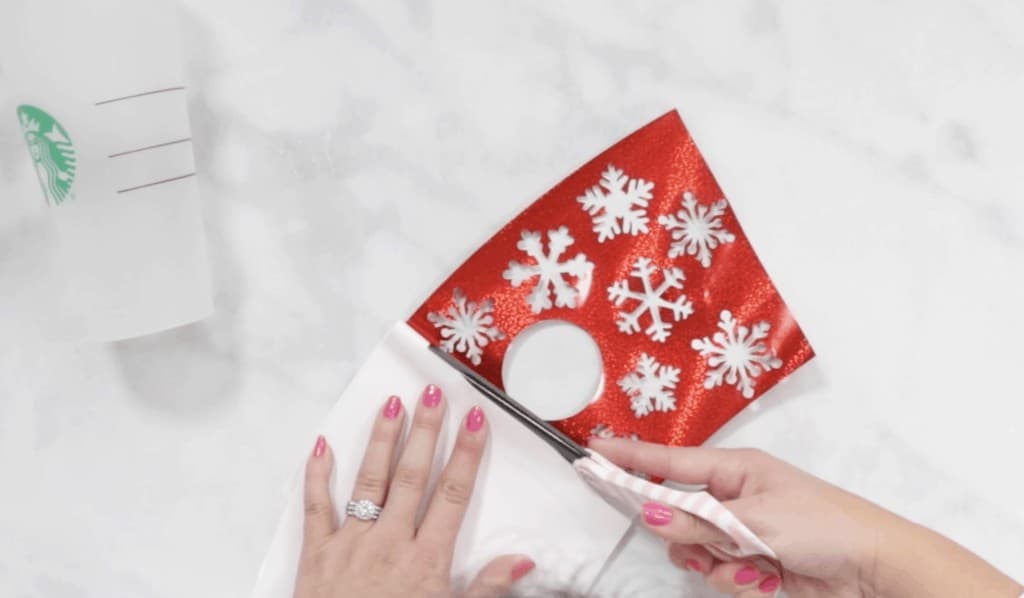
Begin by removing the center of the vinyl and the outside excess piece of vinyl.
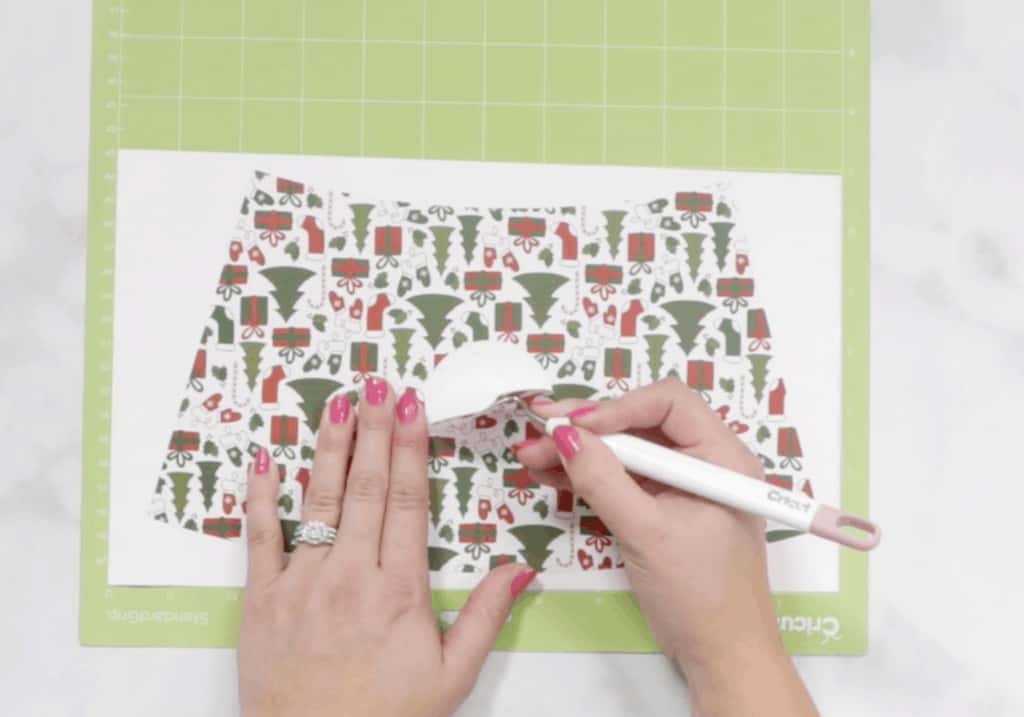
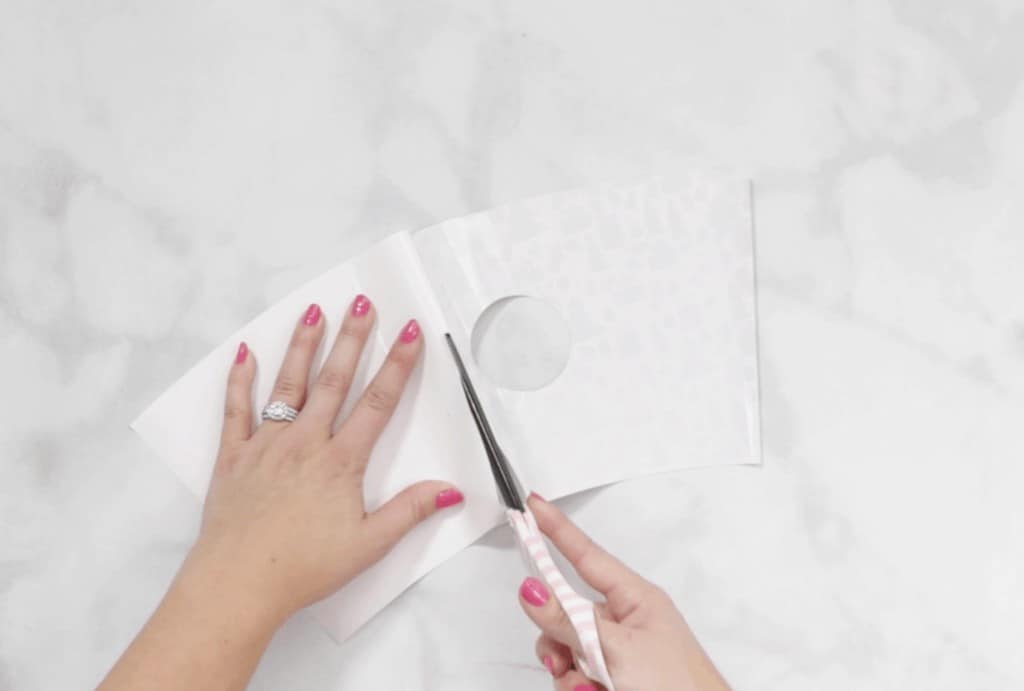
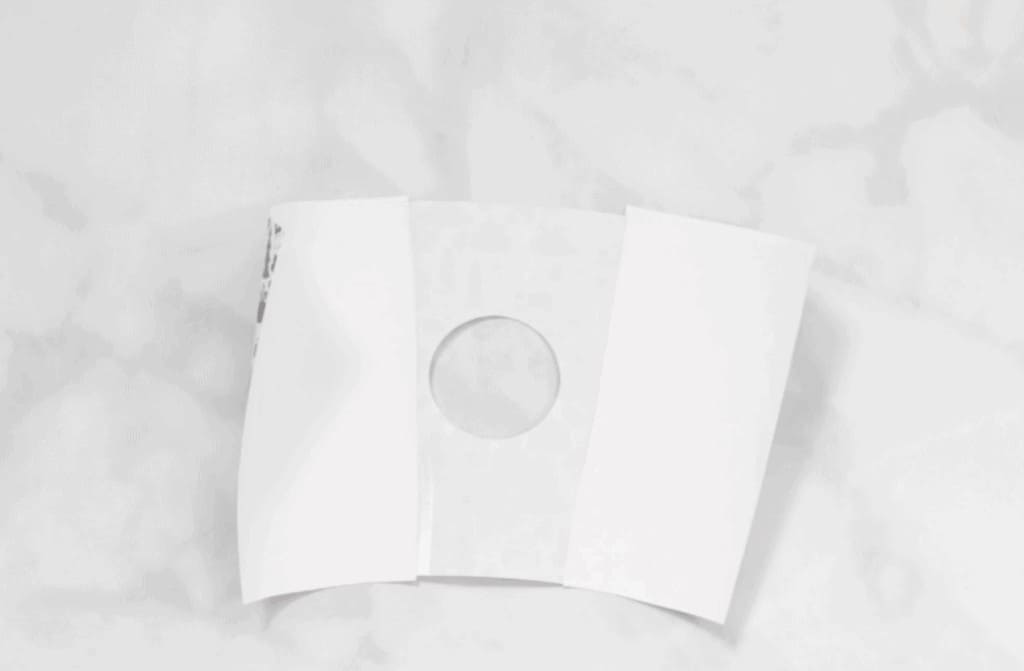
When applying the full wrap, cut the paper backing as close as possible to the vinyl. Peel back the vinyl from the backing until the circle cutout is revealed completely. Cut the paper backing just beyond the circle.
Remove the middle section of the backing and reapply it to the vinyl. This will leave the vinyl above and below the circle exposed with the wrap's sides covered with the backing in place.
The easiest way I’ve found after lots of trial and error to line everything up is to use the star as the center and the middle of the middle as the center.
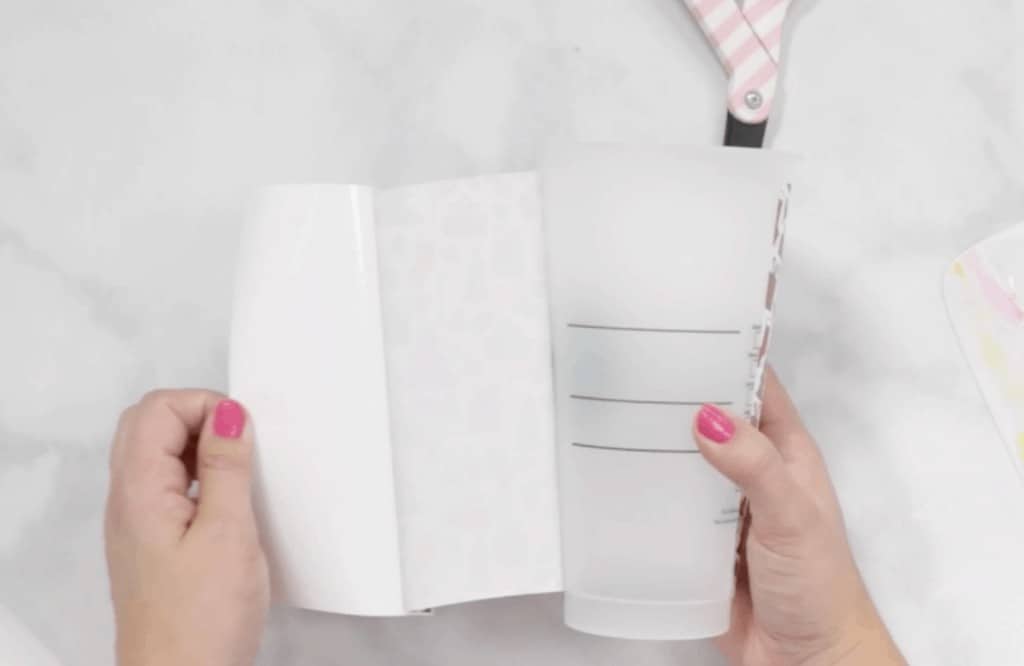
Start by placing the middle of the design and checking to ensure it’s evenly spaced on all sides. Once it looks even, you can begin to adhere the design to the cup.

Place the vinyl on top of the cup by lining up the circle cut out with the logo and the bottom of the vinyl with the lip of the cup. It's importat to make sure the bottom of the wrap is perfectly aligned with the bottom lip of the cup otherwise it won't line up.
Wrap the sides around to the back to make sure they line up. If they are off at all, make a minor adjustment and try again.
This part is the trickiest part. It might require you to apply it a few different times until you get it lines up just right.
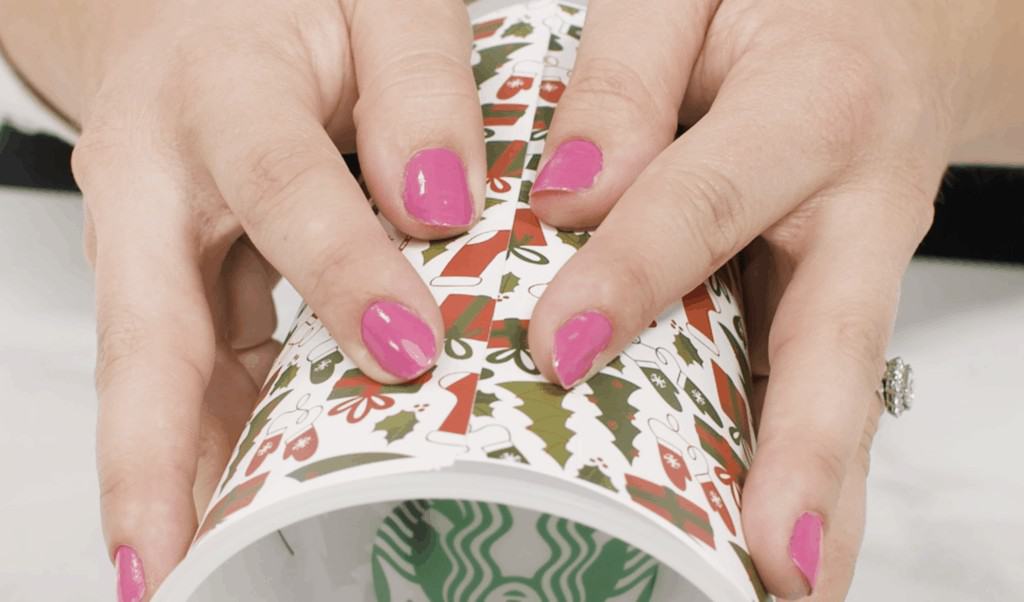
Once it’s perfectly aligned, remove the paper backing. Smooth out the vinyl as you apply it in small sections beginning at the front of the cup to avoid any air bubbles getting trapped beneath.
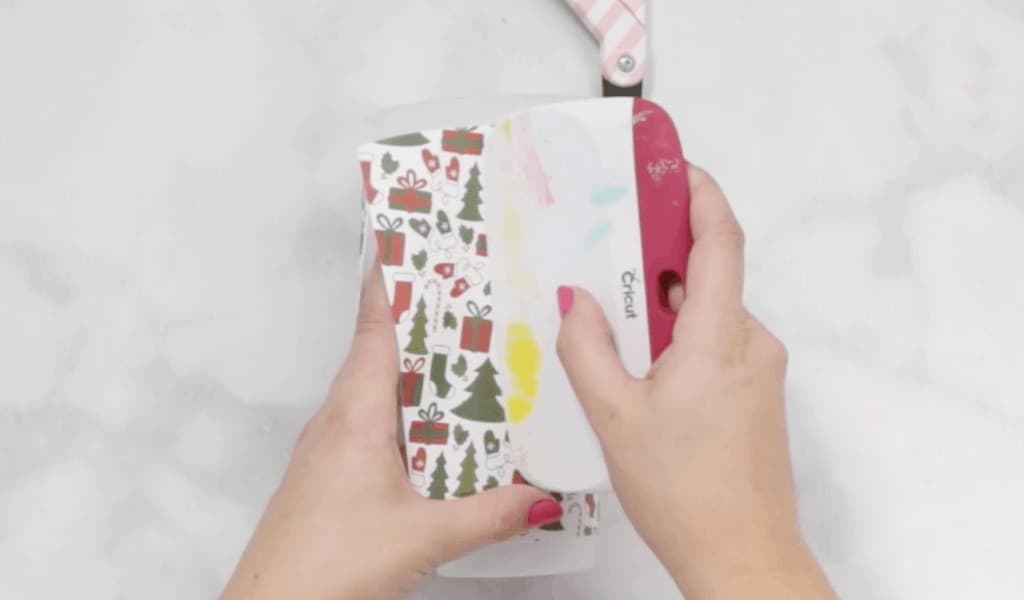
How to Apply your Customized Starbucks Cup Wrap
Start by removing the outside vinyl that we won’t need. Next, gently remove the full cup wrap design from the paper backing. It’s best to do this very slowly and carefully. Remember, this won’t work unless it’s a vinyl without any stretch!
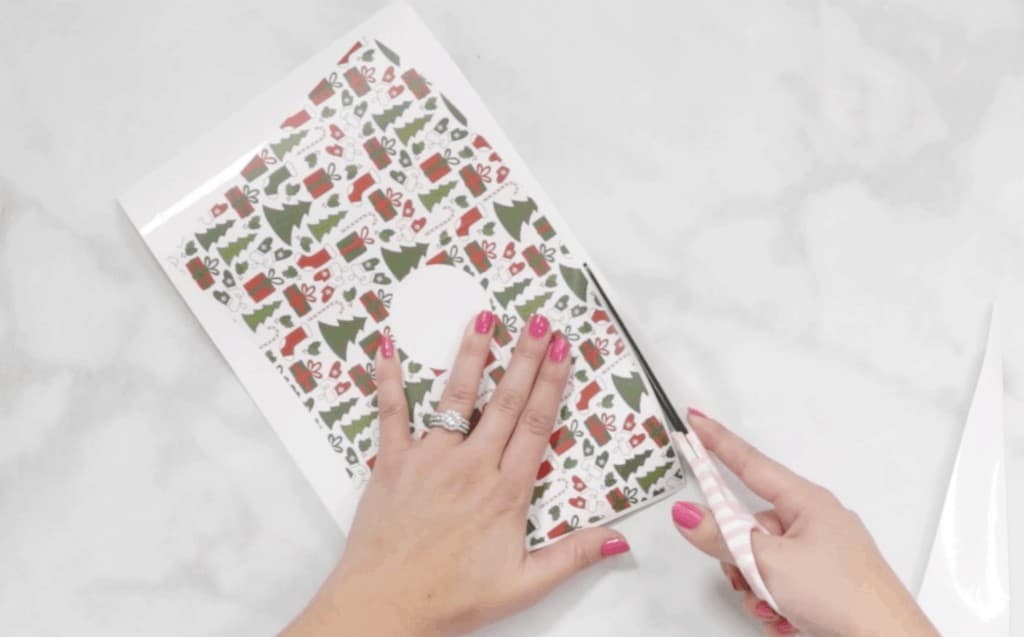
Place it on another piece of backing. If desired, place transfer tape over the design and cut away the excess along the edges.
Peel back the vinyl from the backing until the circle cutout is revealed completely. Cut the paper backing just beyond the circle.
Remove the middle section of the backing and reapply it to the vinyl. Place the vinyl on top of the cup by lining up the logo and the bottom of the vinyl with the lip of the cup.
Wrap the sides around to the back to make sure they line up. This part is the trickiest part. It might require you to apply it a few different times until you get it lines up just right.
Once it’s perfectly aligned, remove the paper backing. Smooth out the vinyl as you apply it in small sections to avoid any air bubbles getting trapped beneath.
How to Apply the Negative Design on your Customized Starbucks Wrap
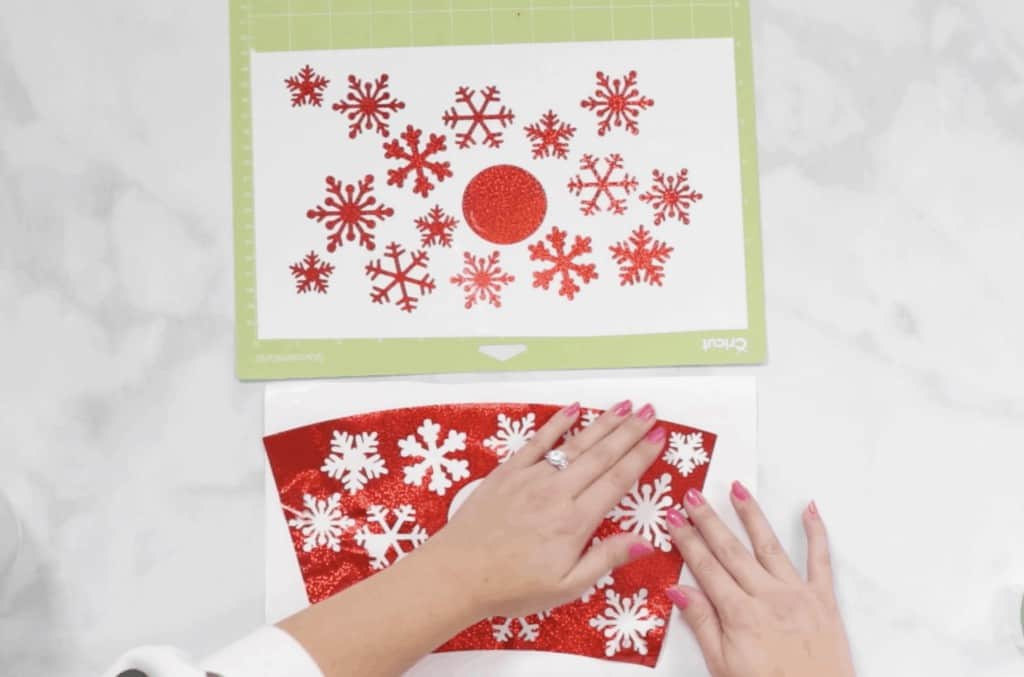
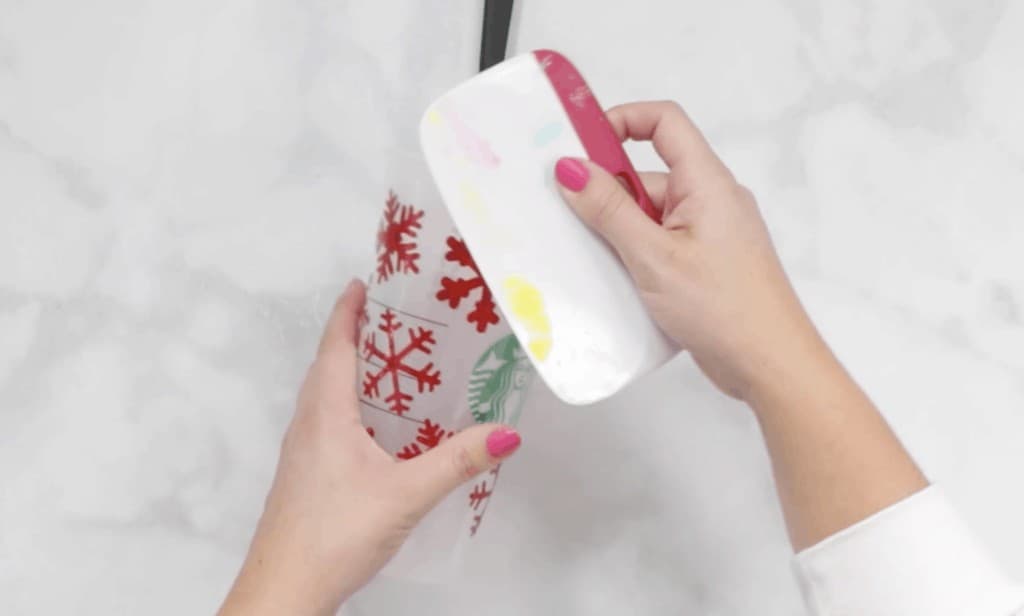
Now let's apply the negative design. Apply transfer tape to the snowflake images and burnish them. Peel away the entire paper backing from the vinyl and transfer tape.
Now it's time to line up the design with the cup. I try to and apply it!
Smooth out the vinyl as you apply it in small sections beginning at the front of the cup to avoid any air bubbles getting trapped beneath. Use a scraper to burnish the design to the cup. Once it's firmly adhered, gently peel away the transfer tape.
Now you have two cups with opposite designs!
How to Care for Your Customized Starbucks Wrap Cup
To care for your Starbucks cup, allow it to completely cure for 48 hours before washing it or using it. This will allow the glue on the back of the vinyl to secure itself permanently to the cup. For extra protection, you can cut a second layer of clear vinyl and increase the size of the design to give it even more protection. Customized cups should be washed by hand and not placed in a dishwasher.
I can’t wait to see what you make with these free Starbucks Cup files!
Don’t forget to join my crafting Facebook group where you can show us what you’re making, ask questions, and learn from others! Come follow me on Instagram for daily crafting inspiration and a look behind the scenes. If you use these files, be sure to tag @sweetredpoppy so I can see what you're making and share your photos in my stories!
Would love to see what you do with the Starbucks hot cups.
This Iced Mocha girl thanks you!
This looks like fun. I will definitely will try. I would like to see hot cup version 🙂
So awesome! Thanks 🙂
Yay so cute can’t wait to use them!! Thank you 🙂
This idea is so cute and awesome. I Love it. ☺️❤️
So thankful you made these for us! This will be perfect for Christmas presents this year!
Omg this is perfect! Cutting the middle to stick is going to help me a lot in placing!!!! Thanks for this step by step!
I am really excited to start creating some starbucks cups my self.! They looks soo cute and fun to make. Thanks you.!
Beautiful designs!
These make a great Xmas gift for the office staff
This would be a wonderful Christmas gift for my daughter.
Love this idea! Thanks for the template.
I really want to try one of these. Since quarantine I haven't been to any public places so will have to wait till things get better.
Your Cricut tutorials are so helpful!
Great tutorial! What about hot cups?
Now I just need a machine! Ha, thanks for sharing!
Love this! Thank you it was so helpful! It actually comes out a lot better then other wrap templates I've tried and it wouldn't meet together correctly! Would you be able to make a hot cup version too?
I cant wait to learn so much ideas with sweetredpoppy..
Thanks for sharing! Now I don't have to do the match 🙂