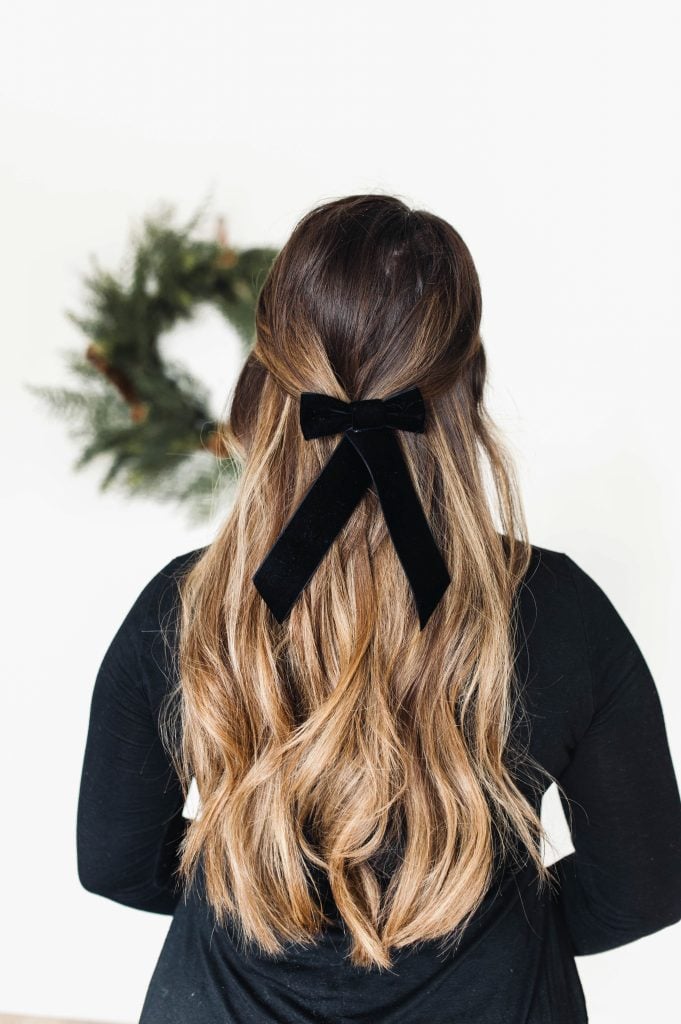
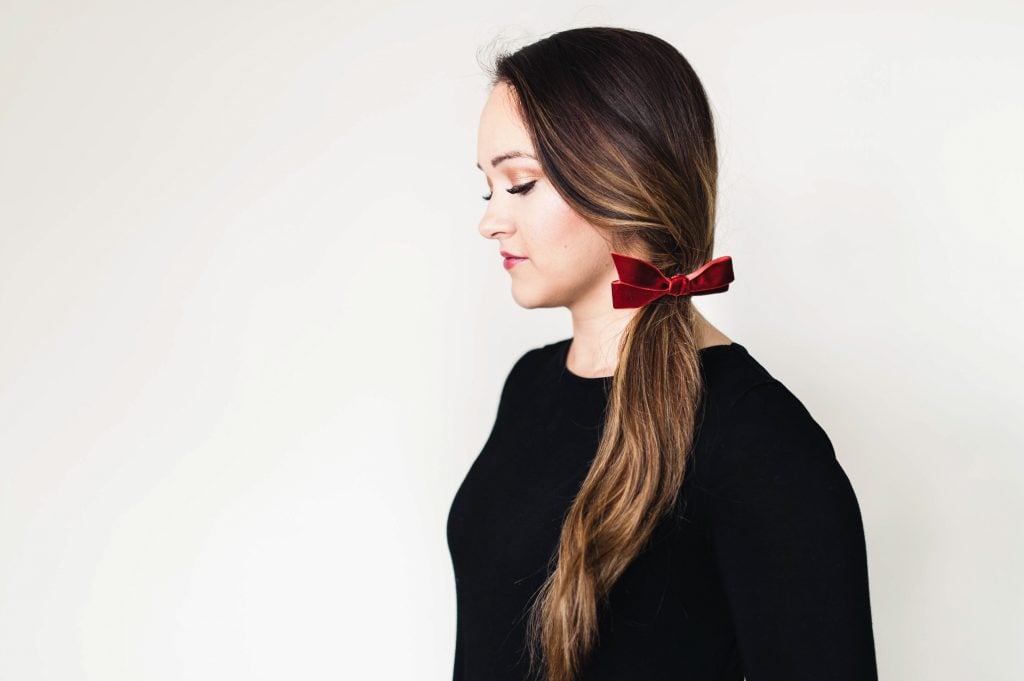
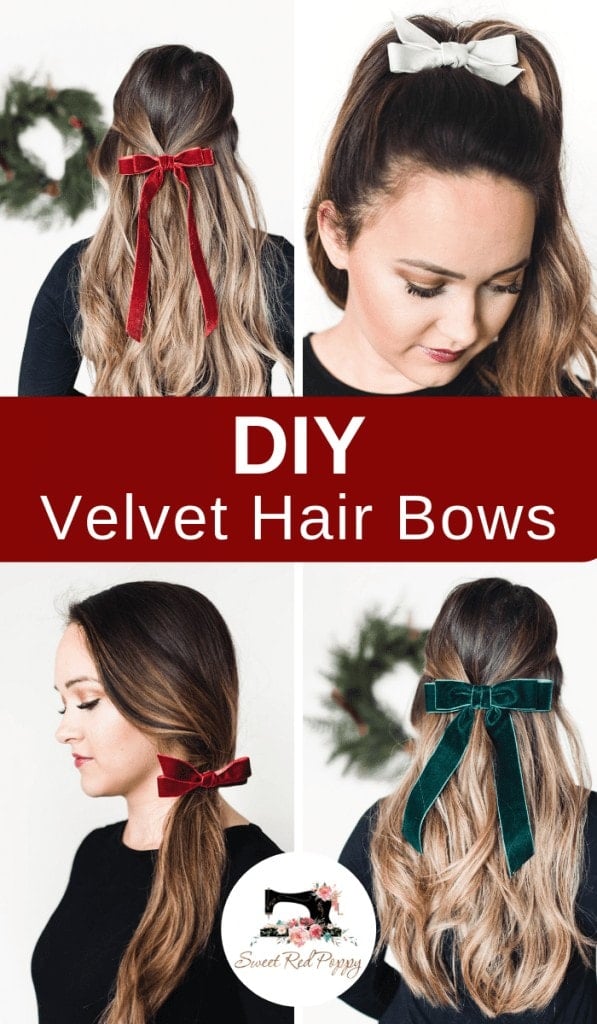
Velvet bows are totally having a moment right now and there was no chance I was going to pass up an opportunity to jump right on this trend!
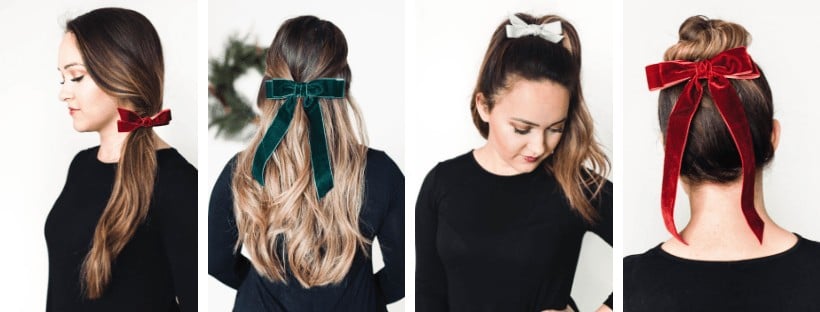
I've spotted them on the red carpet, the runway and even at my favorite department stores.
These simple bows can have a hefty price tag (Neiman Marcus has them for $150 each) so I did what any fashion-obsessed crafter would do and I headed to JOANN to grab all of the supplies to make my own bows for under $5!
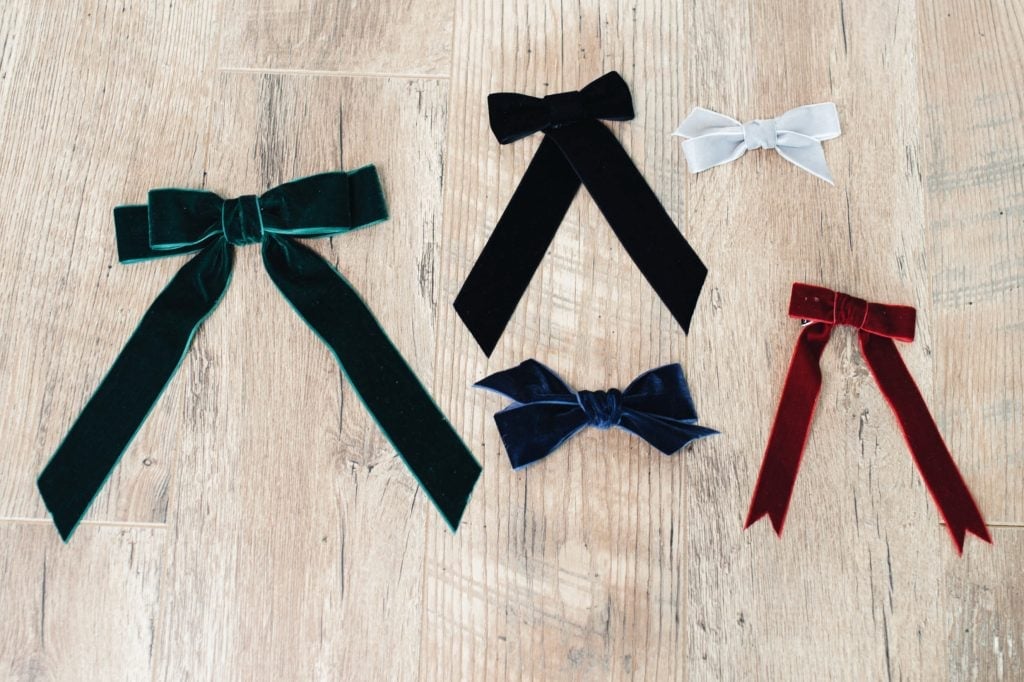
For this project, you will need a roll of velvet ribbon. I found a wide variety of colors and widths at my local craft store right now from their Maker's Holiday line or in the normal ribbon aisle.
Supplies
Shop my favorite sewing supplies here!
- Velvet Ribbon (Similar)
- Hair Clips or Hair Elastic
- Hot Glue Gun and Hot Glue Sticks
- Scissors
- Plastic Elastic Hair Ties
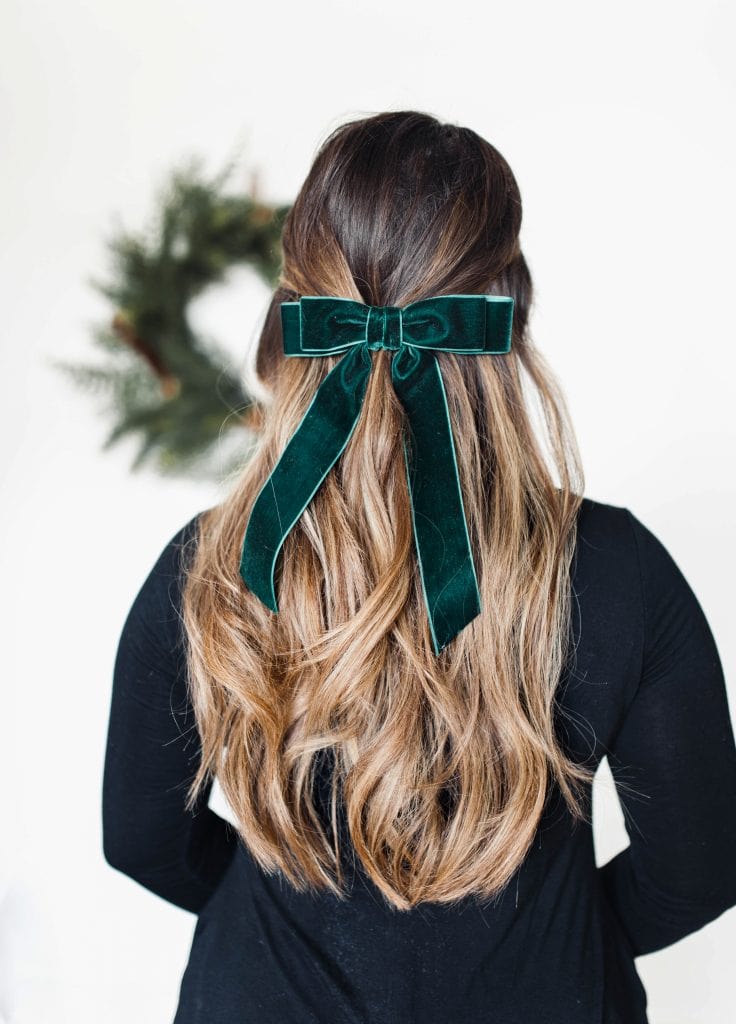
Stacked Bow with Tails
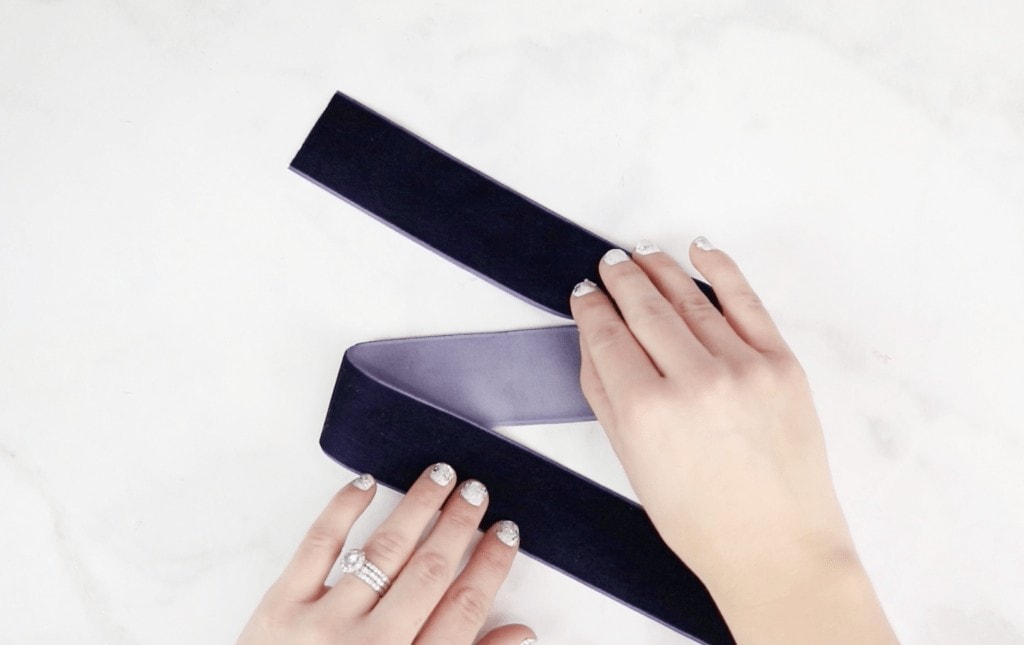
Cut 4 pieces of ribbon to the following measurements 4.5", 10.5", 14" & 21"
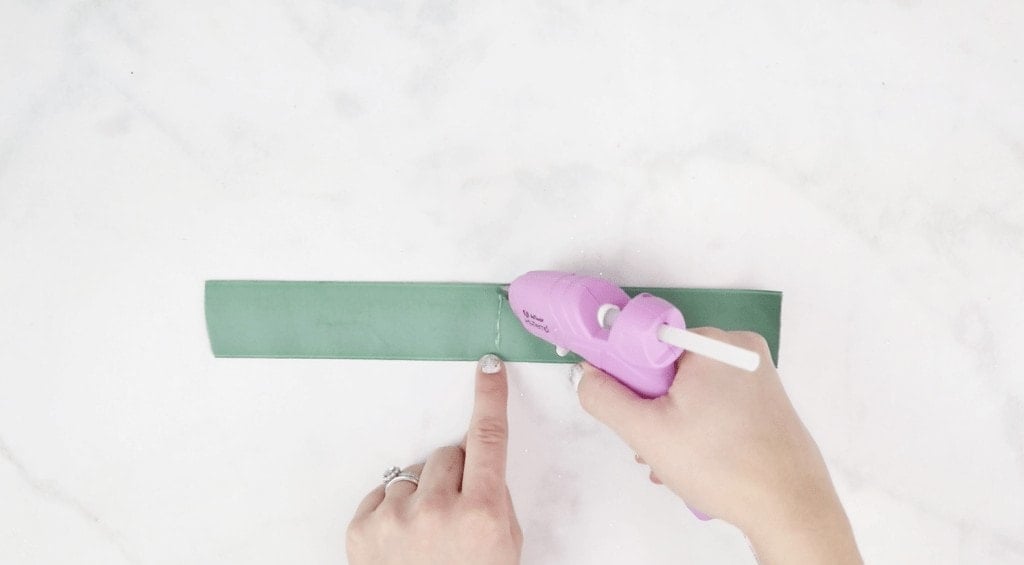
Draw a line of hot glue on the center back of the piece of velvet. Bring both ends of the ribbon to the center and press until the hot glue has cooled completely.

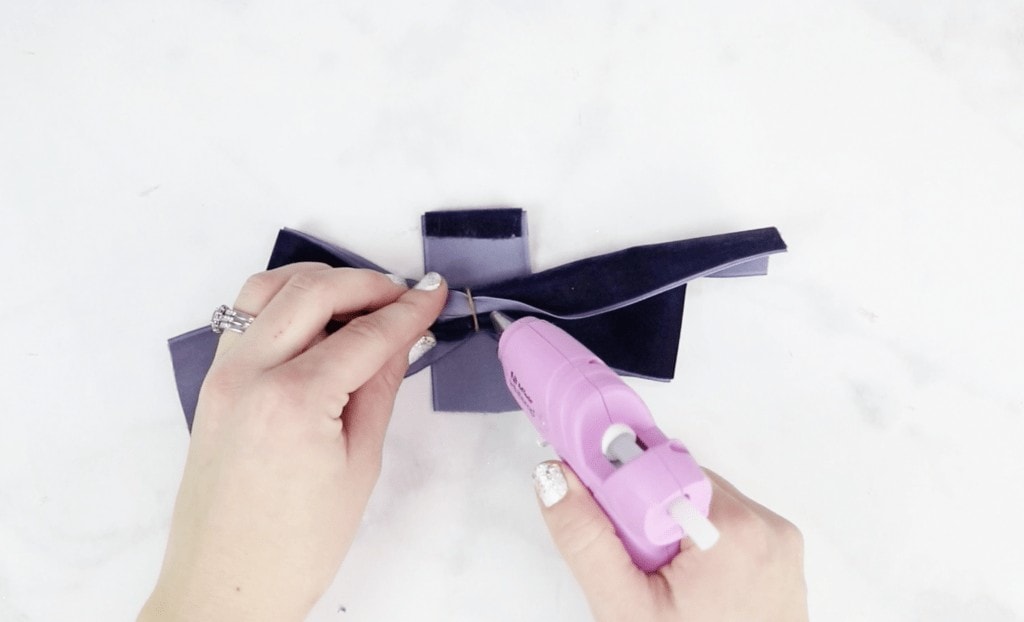
Stack the bows on top of each other securing them together with a small dot of hot glue.

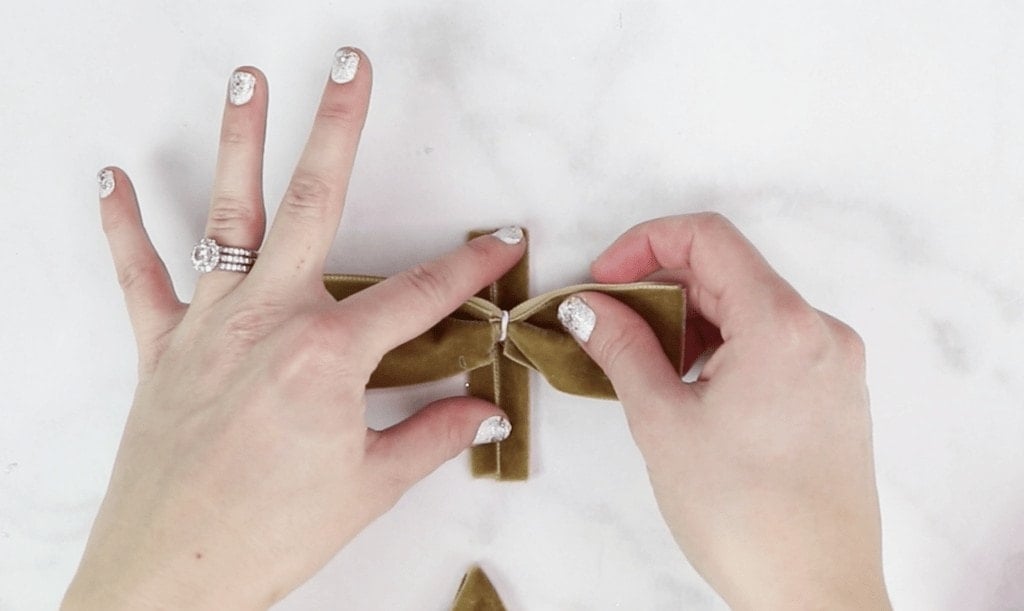
Find the center of the long tails and pinch them together, add a drop of hot glue where you pinched the bow.
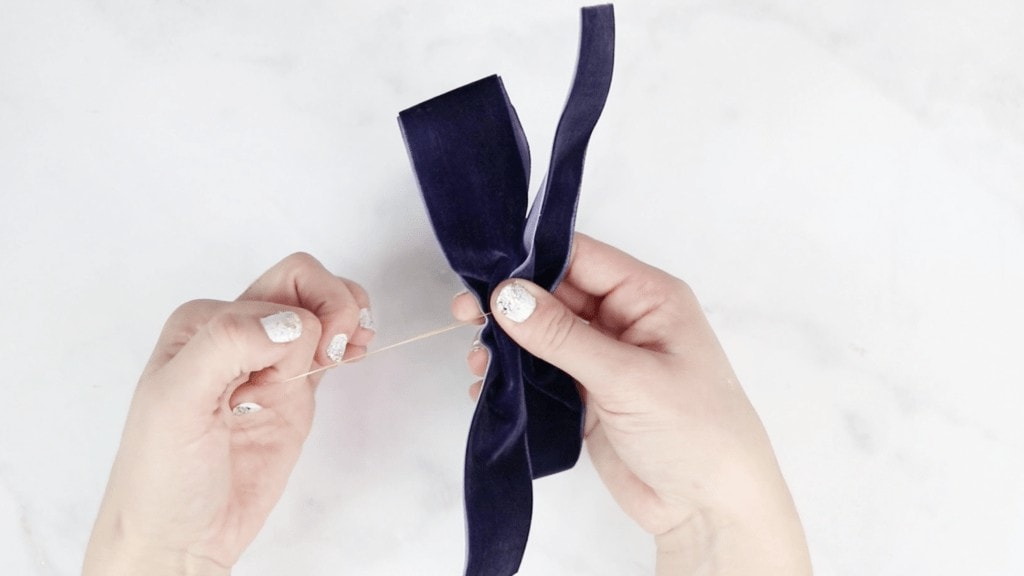
Place the tails directly below the bows and secure the pieces together with a small hair elastic. Now you can readjust the bows until they are even on both sides. I like to pinch the top bow in half to make the center more narrow.

Lay the smallest piece of ribbon on the table with the wrong side facing upwards. Place the bow on top of the ribbon right side down.
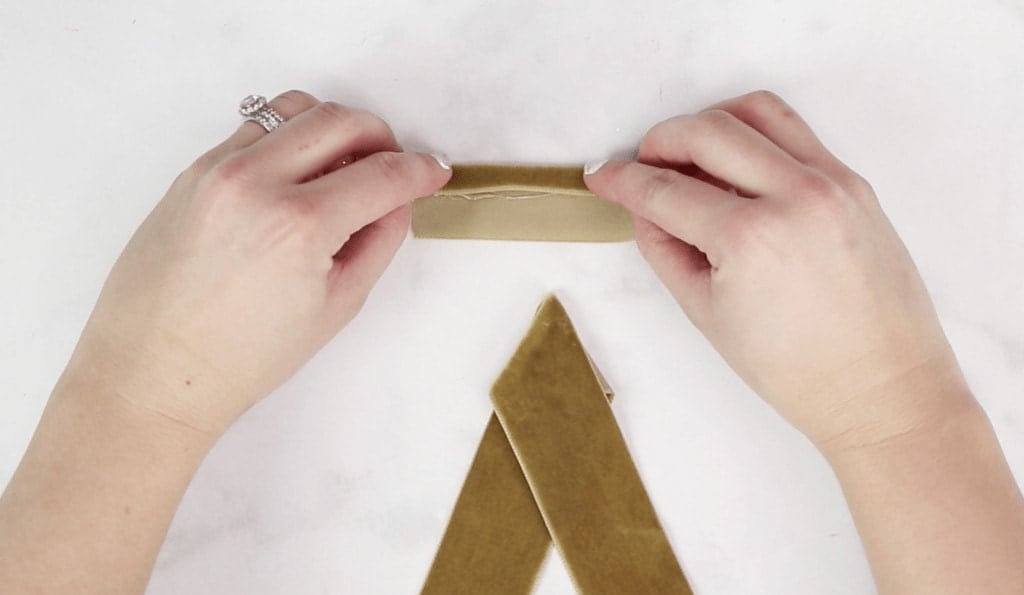
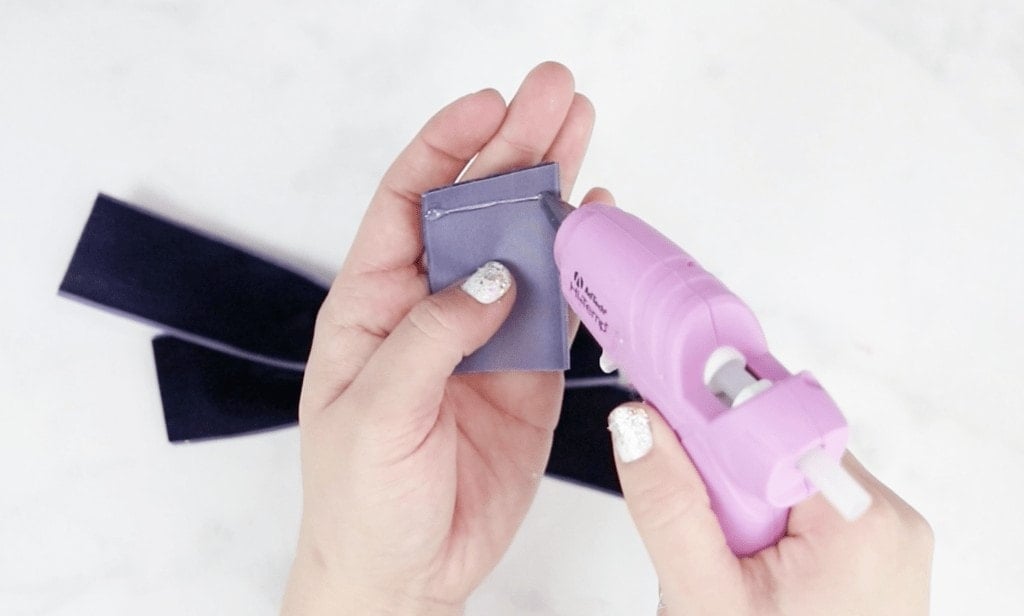
Draw a small line of glue along the top of the middle ribbon and fold the edge of the ribbon under.
Add a hair clip or tie to the opposite side of the ribbon. Fold the middle ribbon upwards and secure it in place with hot glue. Pinch the center of the middle ribbon while the glue is still warm to bring the side inwards.
Now, cover up the raw edge of the velvet with the top piece. Fold it downwards and secure it in place with hot glue. Turn the bow over and pinch the center band inwards.
Simple Velvet Bow
Cut 3 pieces of ribbon to the following measurements 4.5", 10.5", & 18"
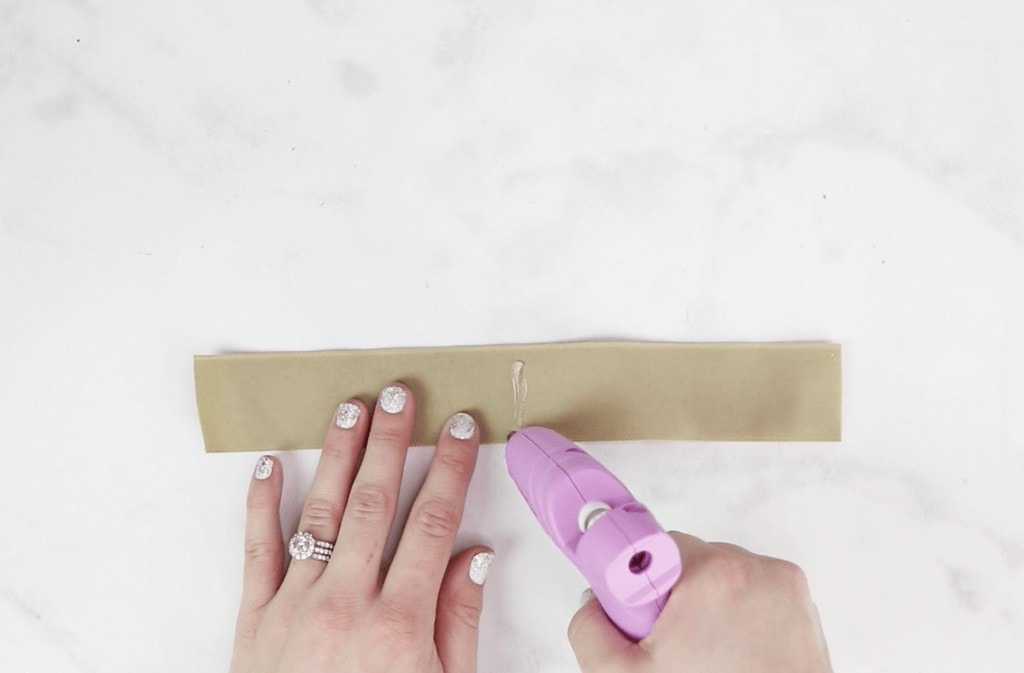
Draw a line of hot glue on the center back of the piece of velvet. Bring both ends of the ribbon to the center and press until the hot glue has cooled completely.
Pinch the bow in half at the center and wrap a hair elastic around the center to keep it in place.
Fold the shortest ribbon in half and wrap it around the bow securing it with glue on the back of the bow.
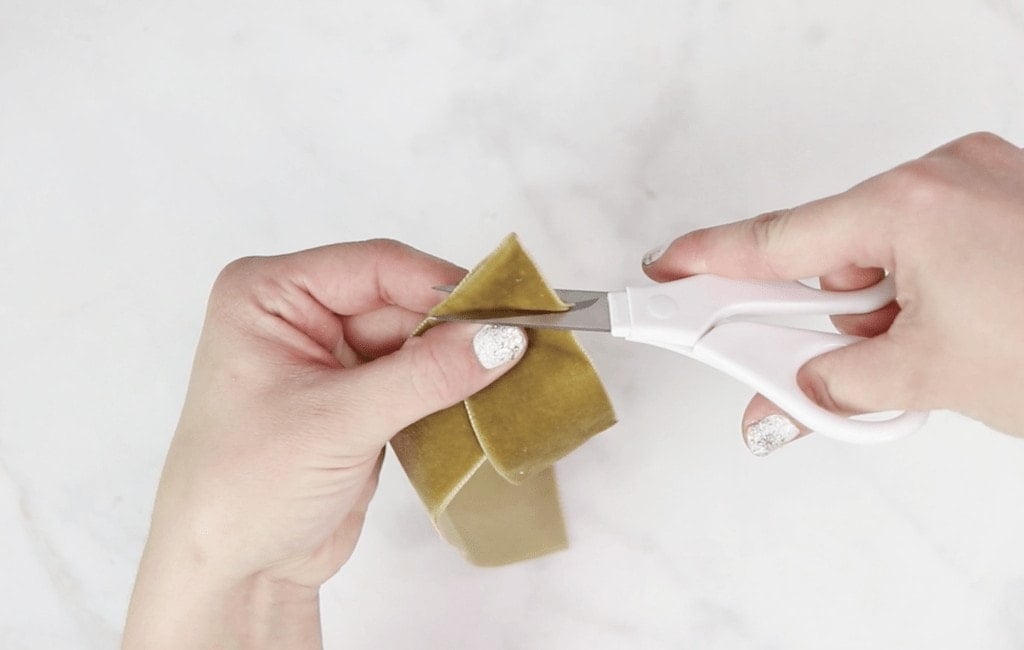
Take the longest ribbon and fold it to resemble the picture, then snip the tip of the ribbon off.
Place the bow on top of the tails and secure it in place with hot glue.
Turn the bow over and add a hair clip with hot glue.
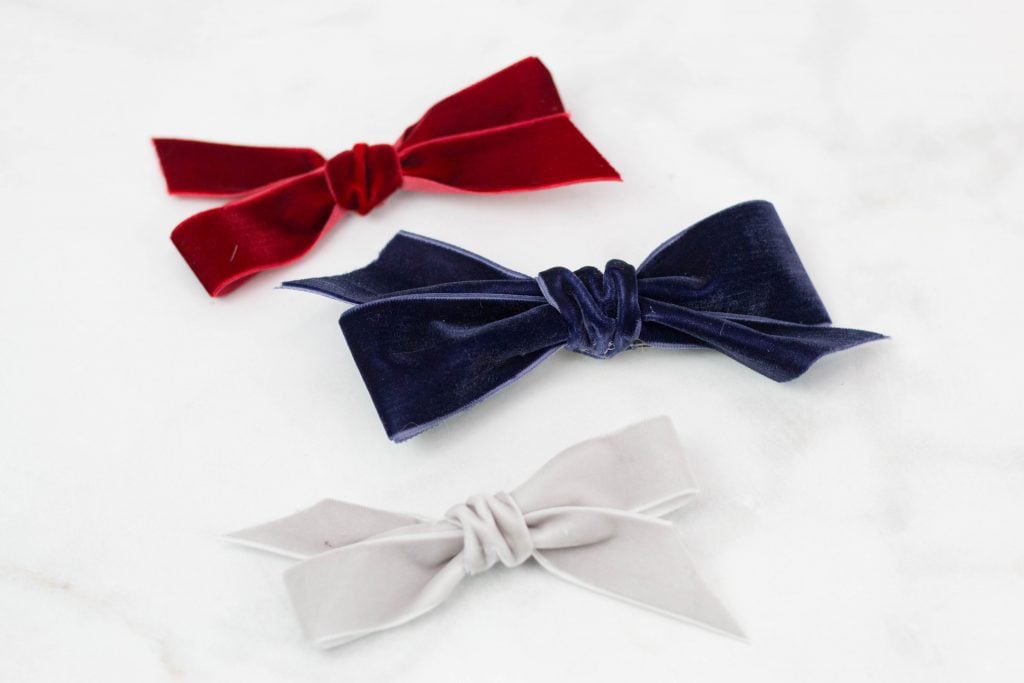
Hand-Tied Velvet Bow
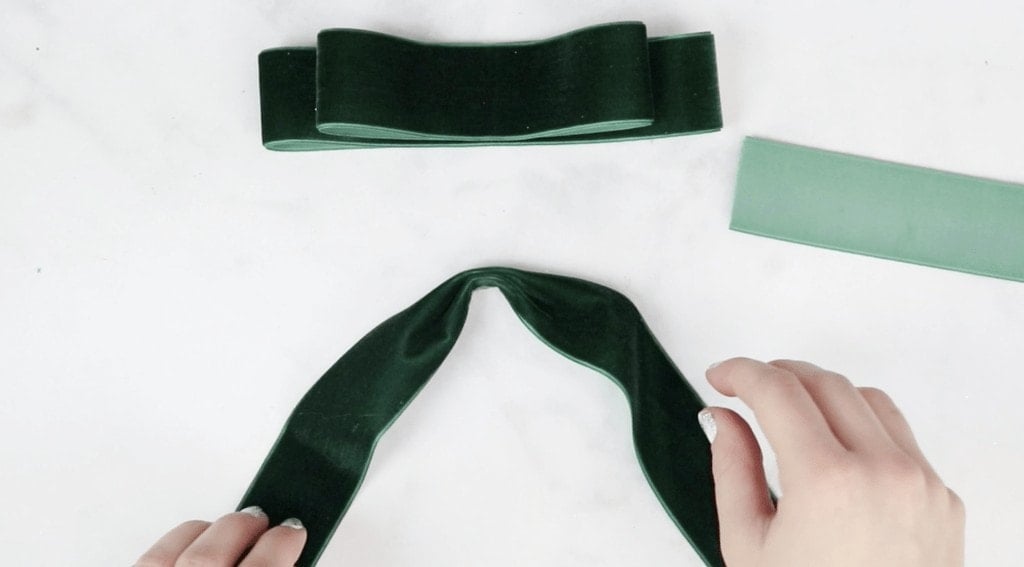
Cut 2 pieces of ribbon to the following measurements: 4.5" & 18".
Fold the ribbon to resemble the photo above.
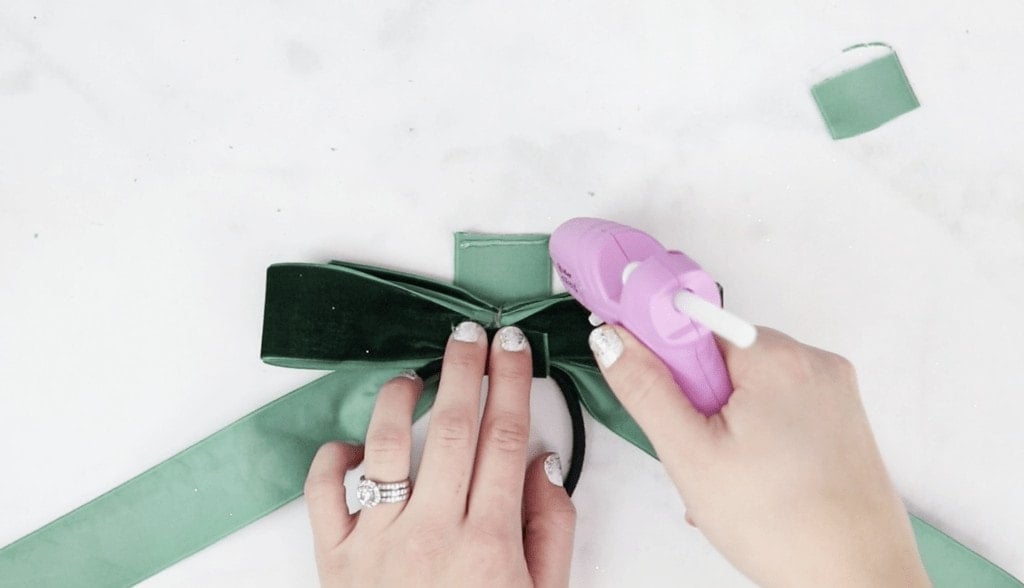
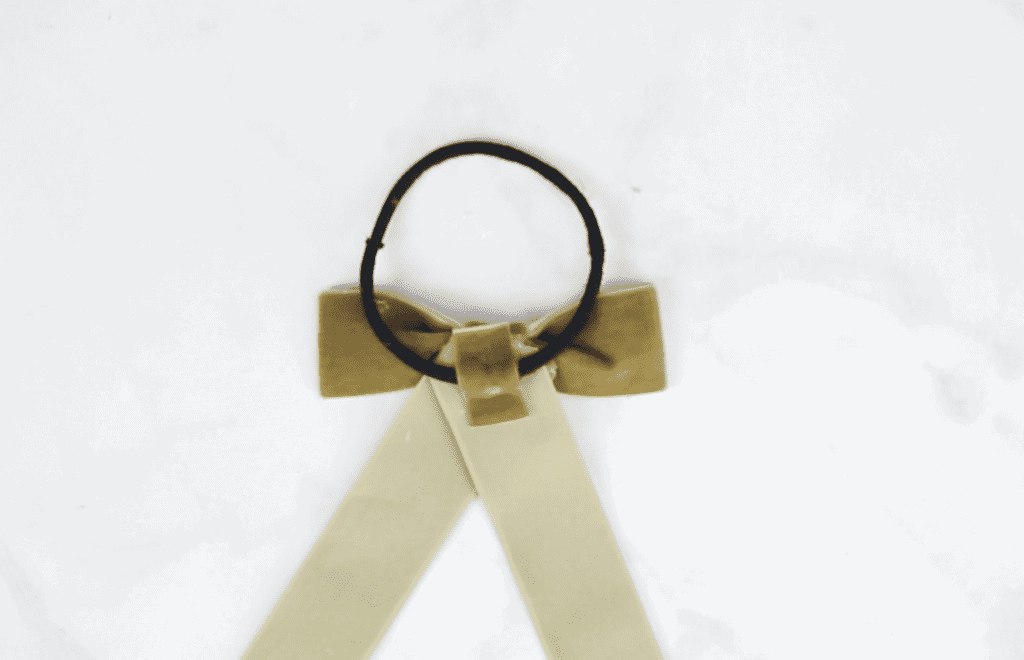
Use an elastic hair tie to pinch the center of the bow together.
Lay the bow on top of the smaller ribbon.
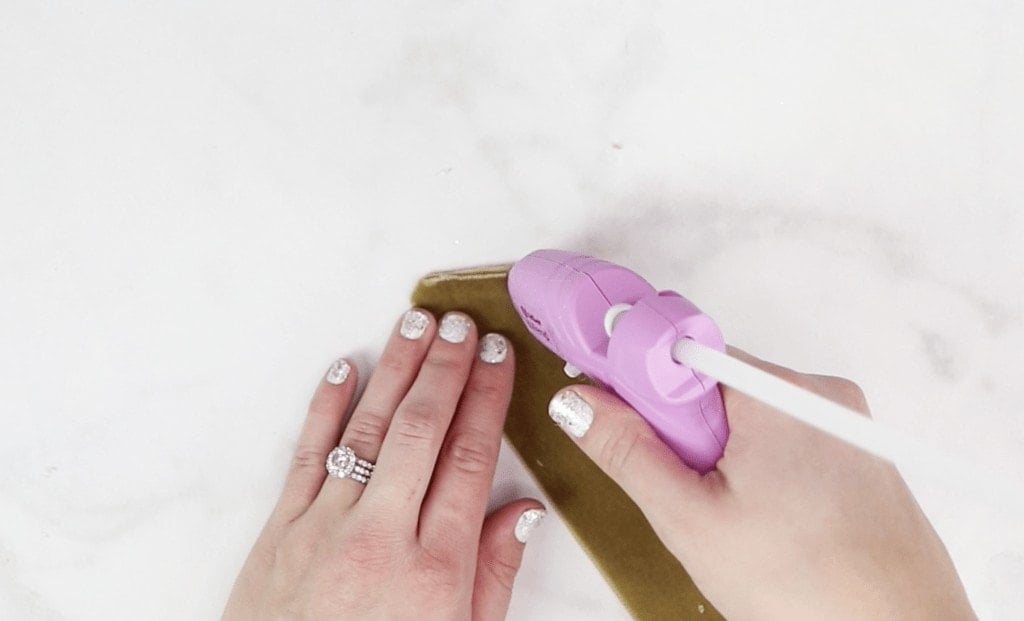
Draw a small line of glue along the top of the middle ribbon and fold the edge underneath.
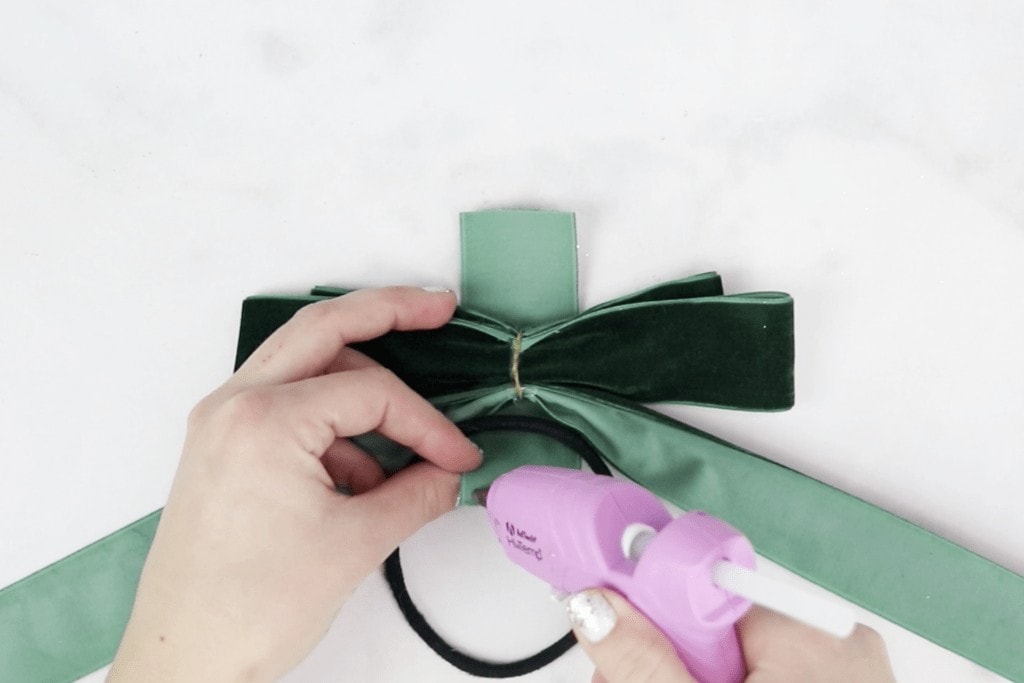
Attach a hair clip or elastic to the opposite edge and fold it upwards towards the bow securing it with hot glue.

Fold the opposite edge over the bow and attach with hot glue.
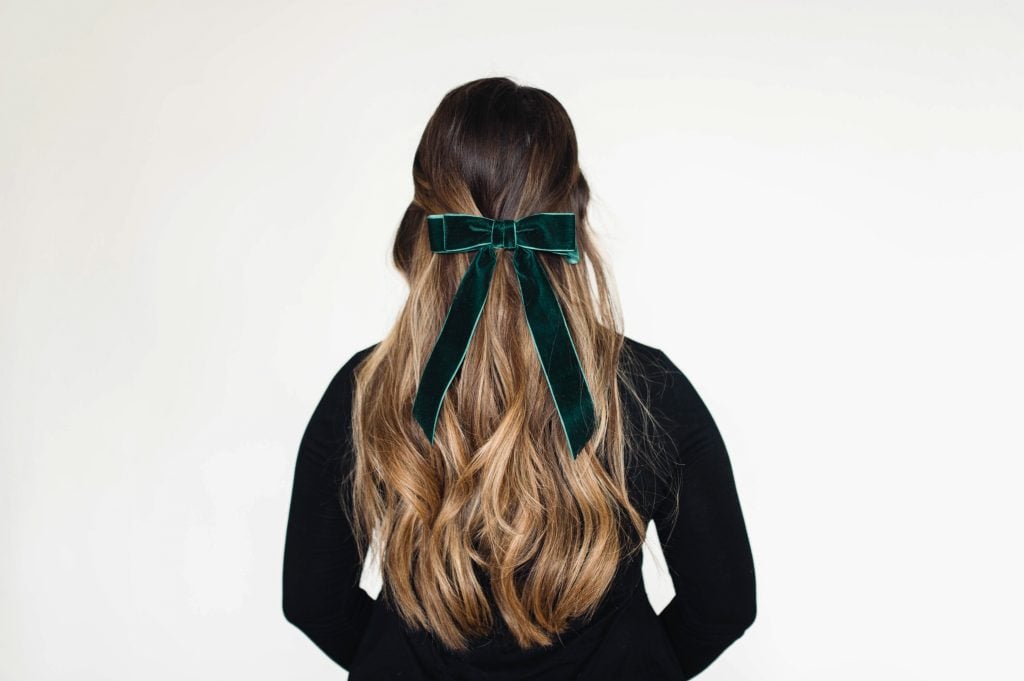
I can't wait to see what you makes with this Velvet Hair Bow tutorial!
Find more of my bow tutorials here!
Don't want to forget about this project? Save it to Pinterest here!
Leave a Reply