Table of Contents
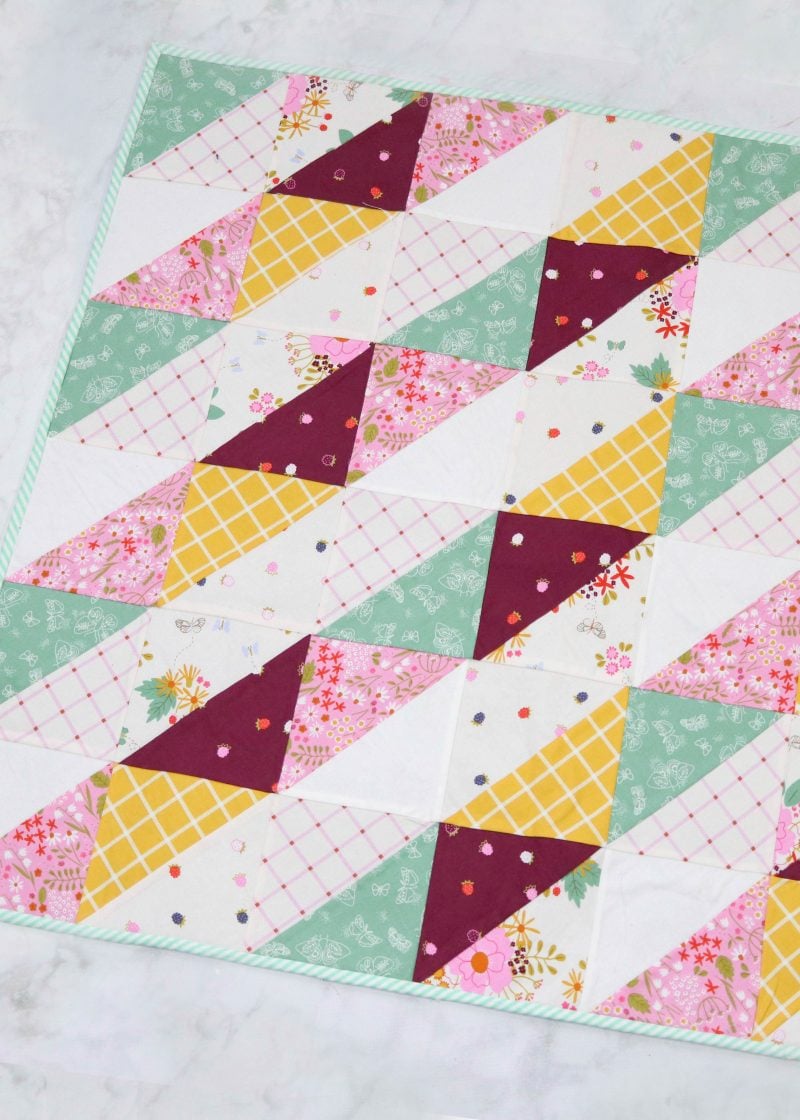
Easy Half Square Triangles Baby Quilt Sewing Tutorial
I love whenever I have the opportunity to sew something special for a baby! There's nothing quite like wrapping up a baby in something handmade that's filled with love! This mini-sized baby quilt is easy enough to make in a day and it the perfect project if you're new to making quilts.
I created this quilt you'll be amazed at how simple their Half Square Triangle Template makes this project!
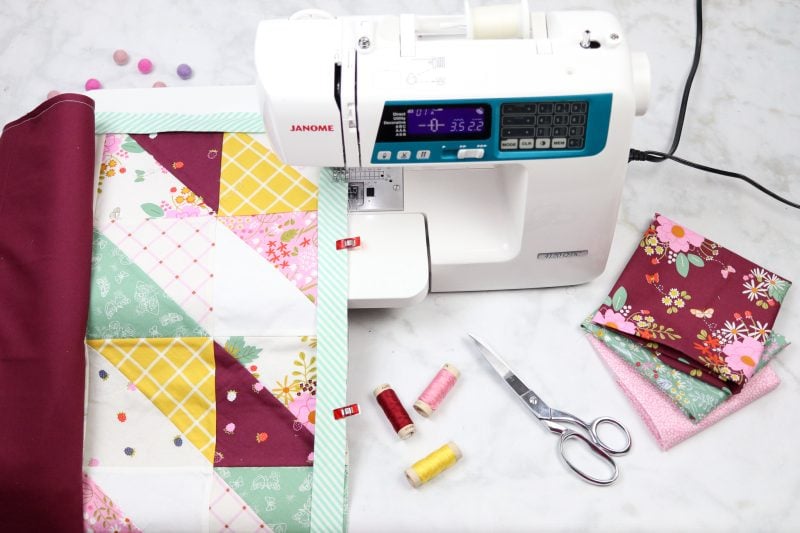
Supplies
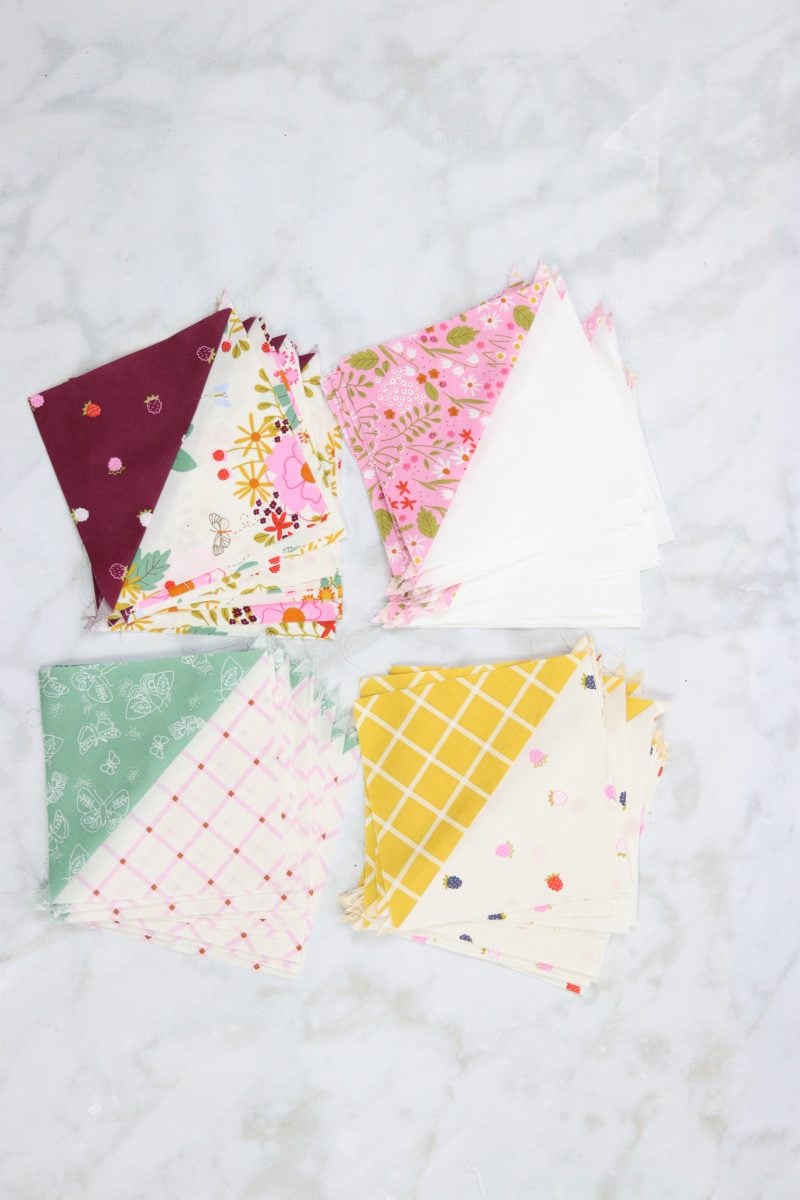
8 Fat Quarters (Riley Blake Wild Bouquet)
1 Backing Fabric
1 Batting
4 Yard Bias Tape
Ruler
Cutting Mat
Rotary Cutter
Sewing Machine
Thread
Clips or Pins
Iron & Ironing Board
Basting Spray
CUT & SEW 9" SQUARES
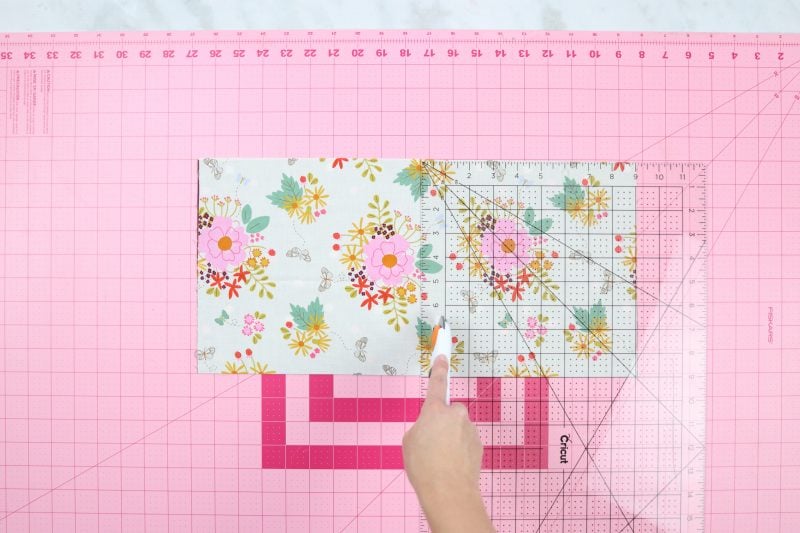
Cut fat quarters into 9" squares.
You will need 3 9" squares of each different fat quarter fabric
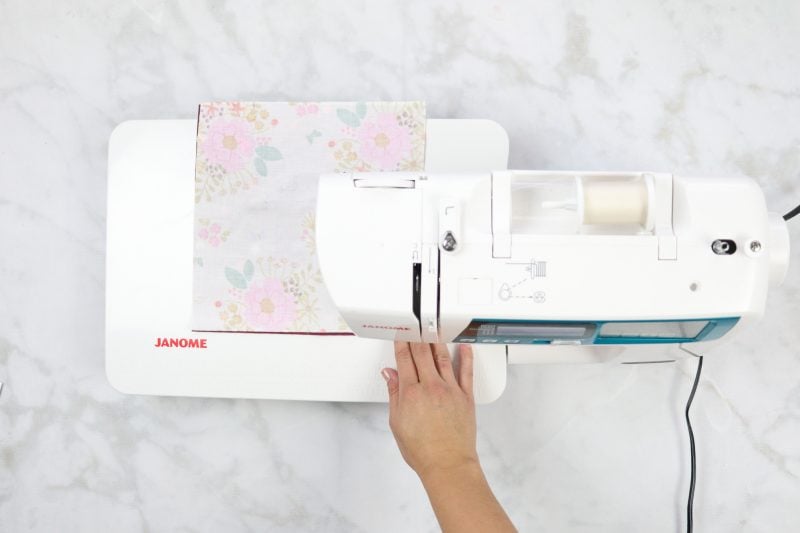
Position the squares with right sides together. I put light colored fabrics with dark colored fabrics for more contrast. Using a 3/8ths-inch seam allowance sew from one edge to the opposite edge. Repeat this process until you have sewn four straight seams.
CREATE HALF SQUARE TRIANGLES
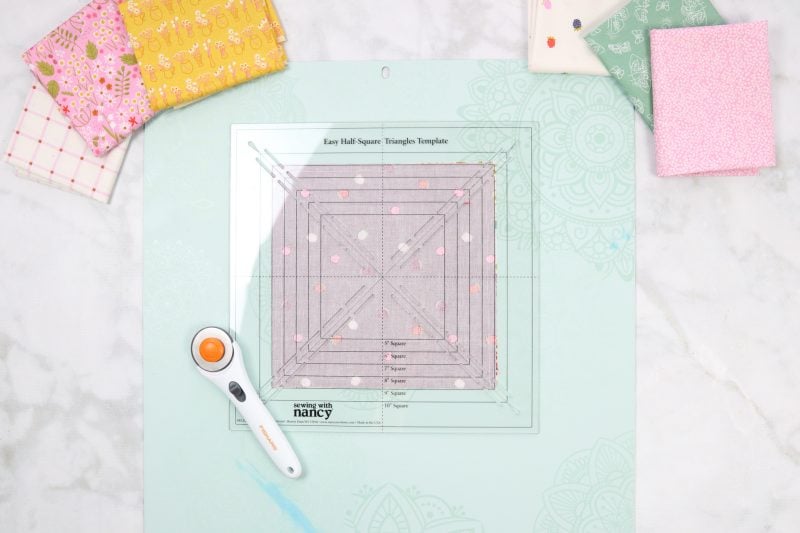
Place the Sewing With Nancy Easy Half Square Triangle Template on top of the square. Line up each edge and use a rotary cutter to cut through the laser cut openings from one corner to the opposite corner. Repeat this on the opposite corner.
Using this template allows you to get the most out of your fabric without any waste, saves time and money!
Remove the template from the fabric.
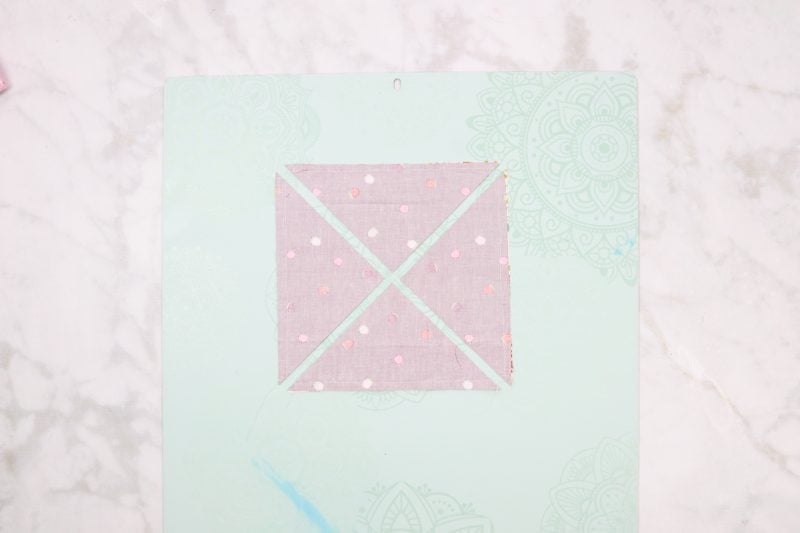
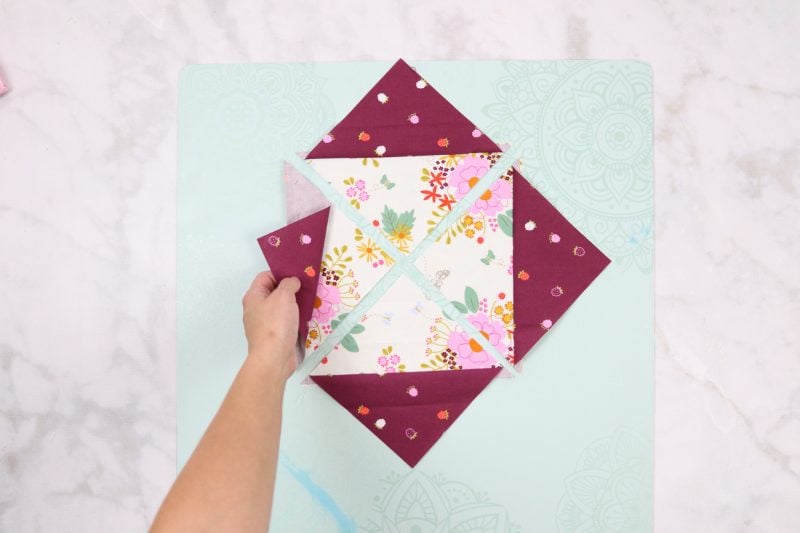
Open up each triangle to reveal a square. Pretty neat, right? You will have a total of 4 squares. Repeat this process until all of your fabric squares have been cut.
You will need a total of 36 squares.
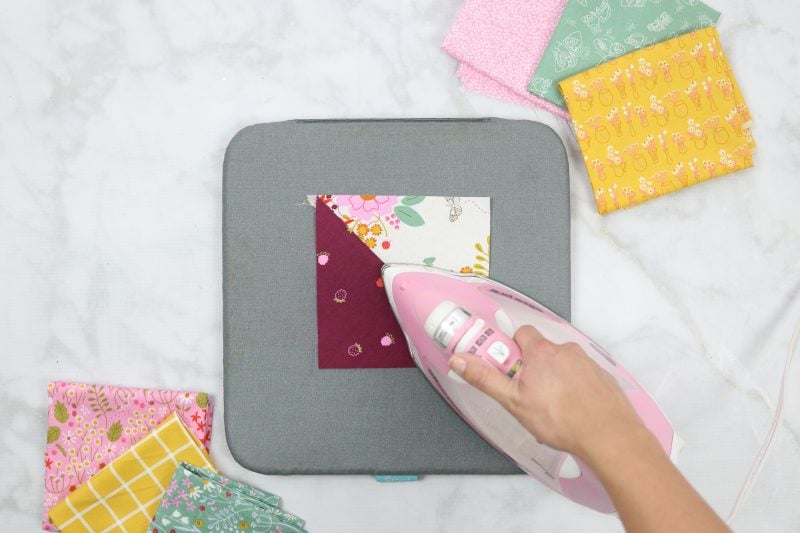
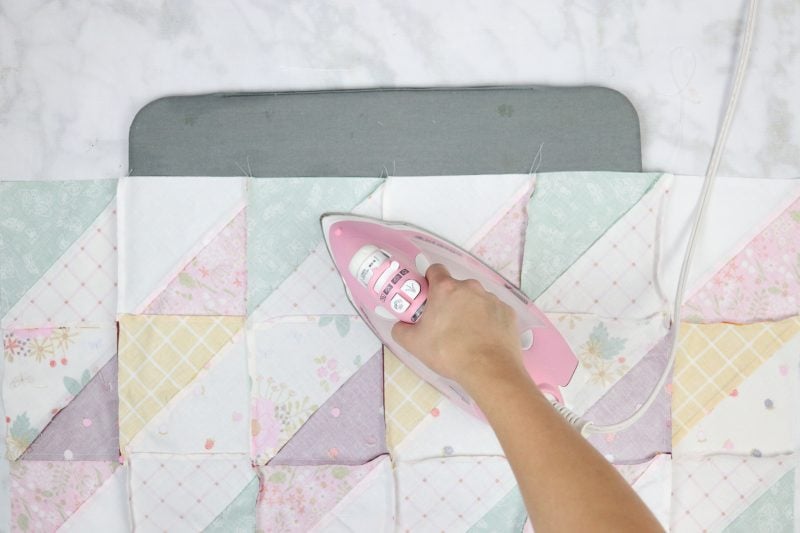
PRESS SEAMS
Press all of the seams on the half-square triangles to one side.

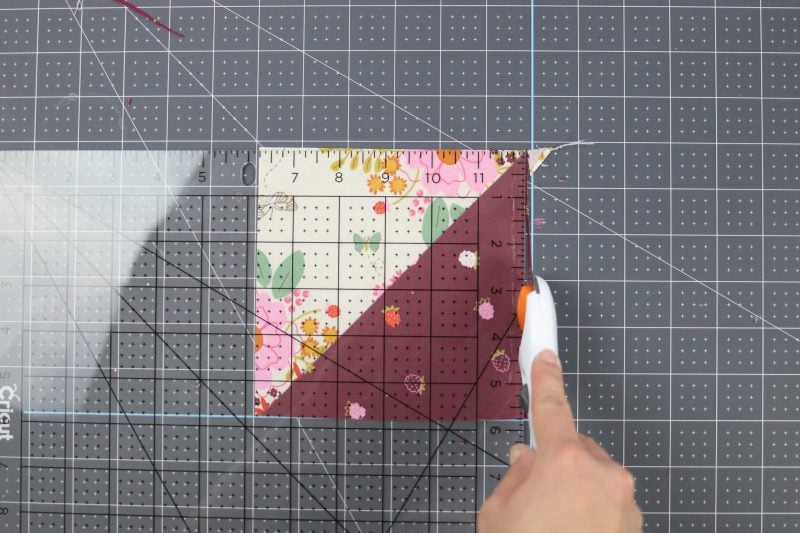
Use a ruler to cut off any excess fabric from the square.
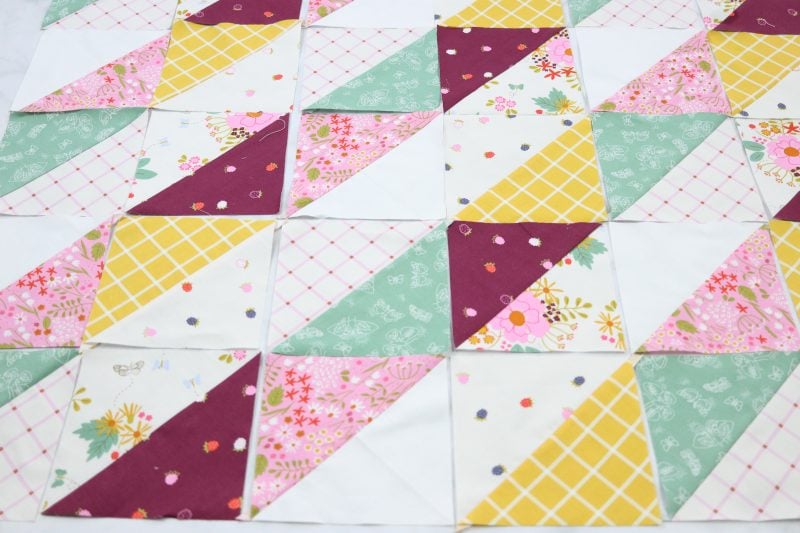
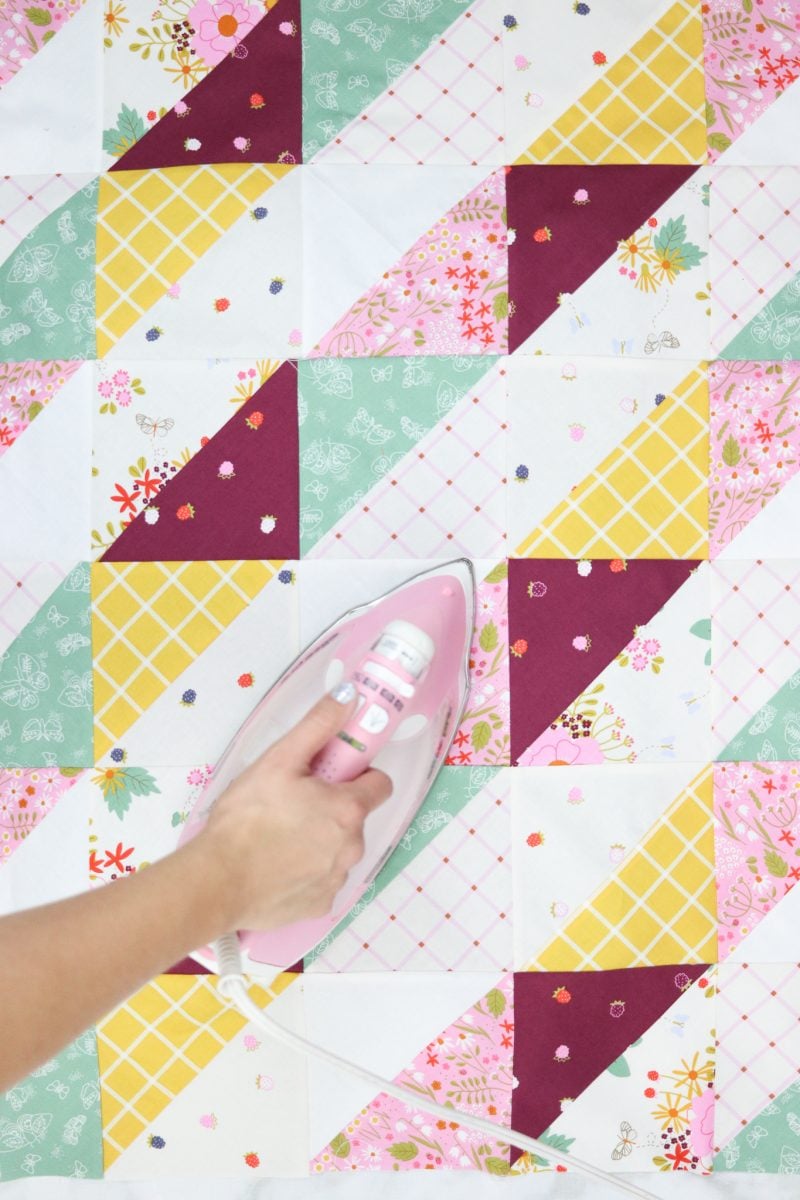
CREATE PATTERN
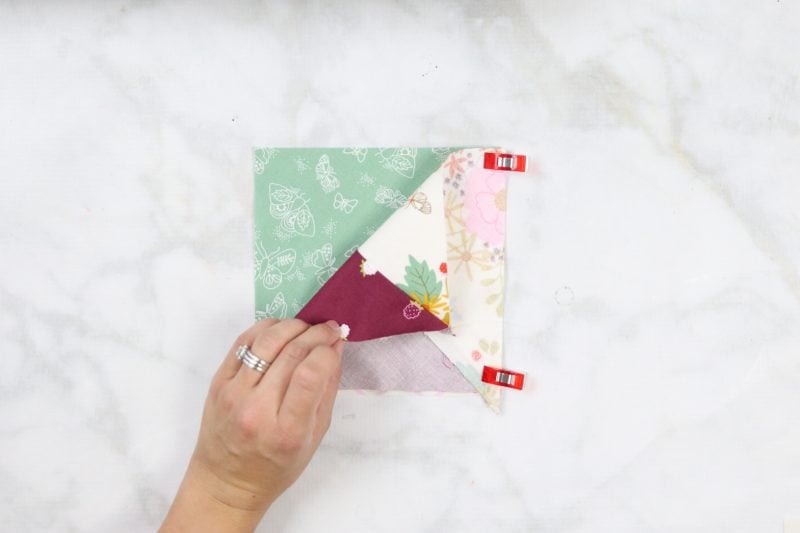
Lay out all of the squares to create your desired pattern. I aligned all of the light and dark colors in rows to create a fun pattern.
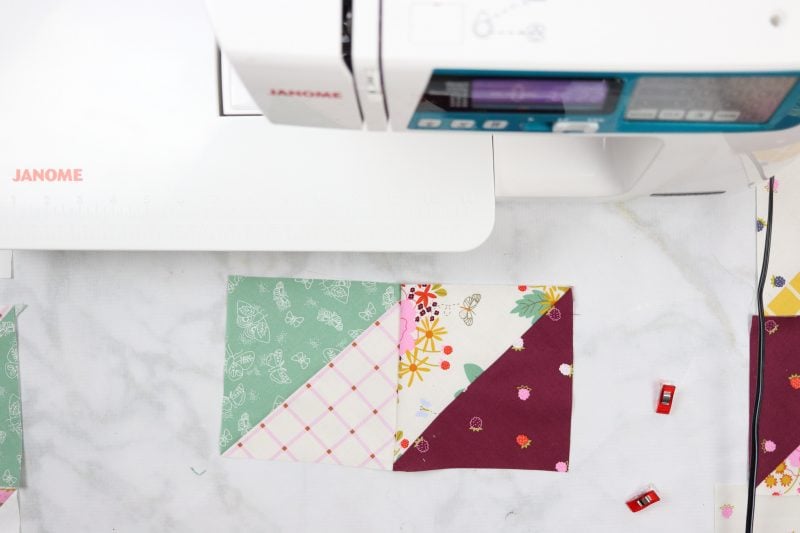
SEW THE BLOCKS TOGETHER
Starting from the top left corner begin sewing the blocks together one row at a time with a 3/8ths-inch seam allowance.
Once you have completed two entire rows you can lay them on top of each other with right sides together and sew a straight stitch down the longest side.
Make sure that the seams on each row have been pressed in opposite directions.

IRON ALL SEAMS
Repeat this process until the entire quilt has been sewn together. Press all of the seams flat.
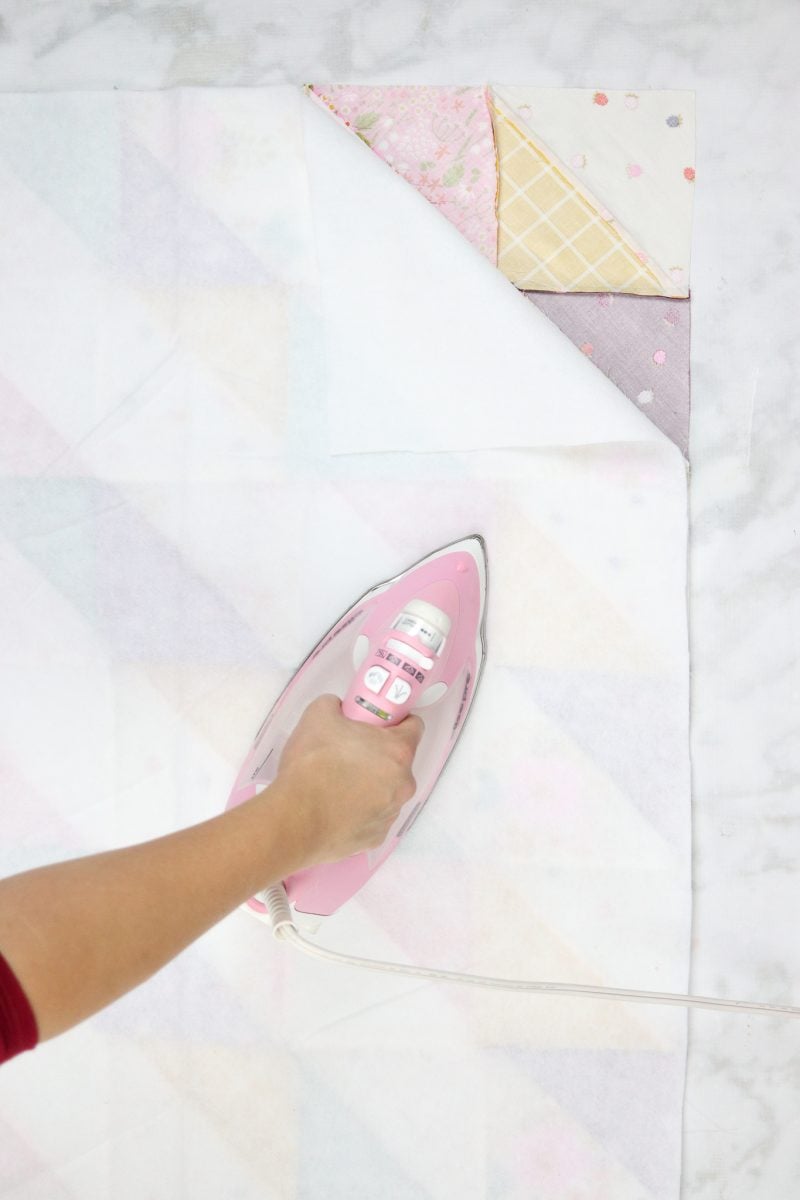
CUT BATTING AND BACKING
Now its time to cut a piece of batting and a backing for the quilt. Cut both fabrics to the same size as the quilt.
I used a fusible batting, adhered it to the back of the quilt top and then sprayed the back of it with a basting spray.

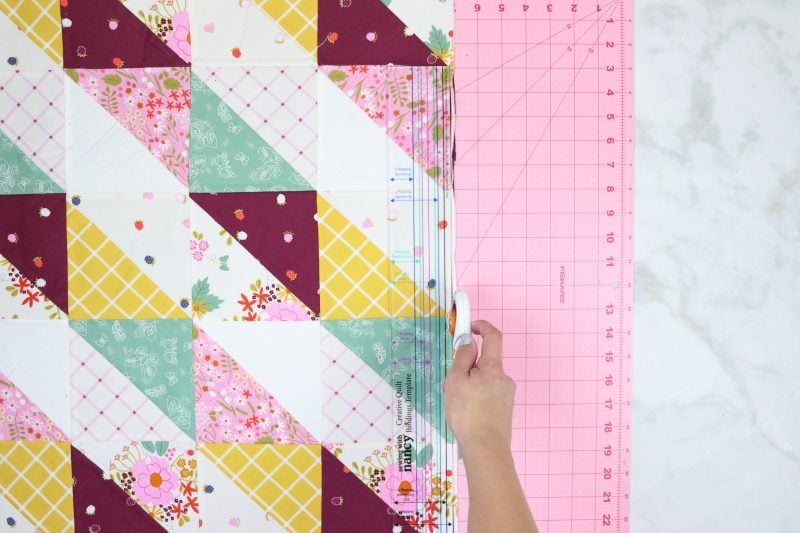
Square up the quilt top with a ruler and a rotary cutter.
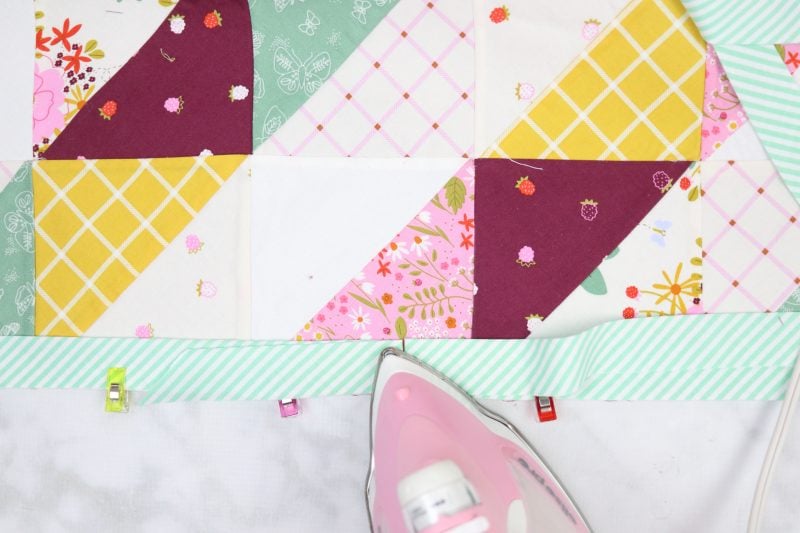
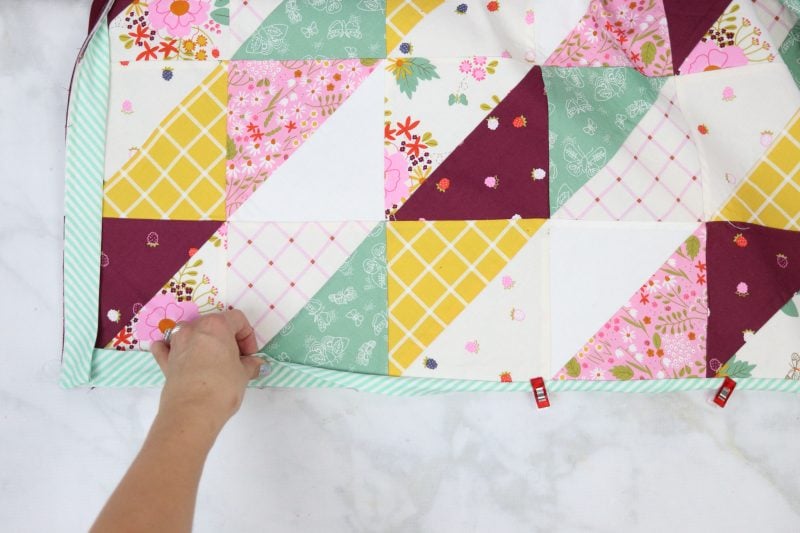
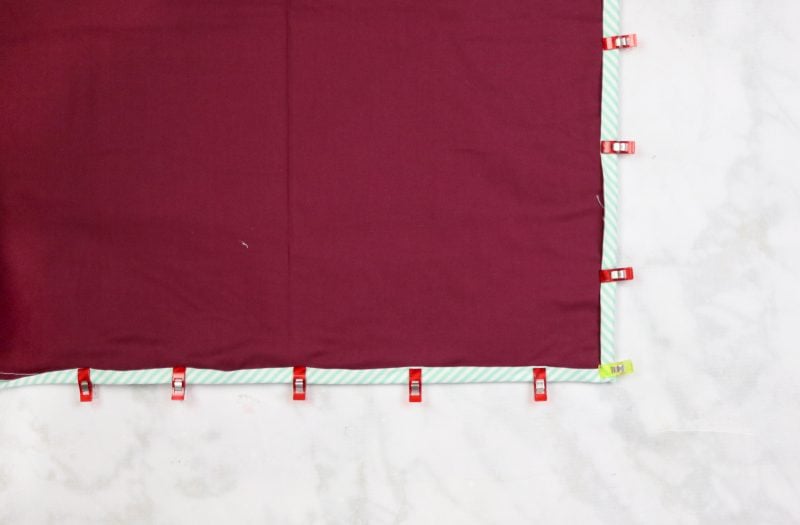
Lay the bias tape on top of the quilt with the raw edges aligned with the raw edges of the quilt. Leave a 5 inch tail of bias tape at the beginning. Use clips or pins to attach the bias tape to the quilt. Stop when you reach the first corner.
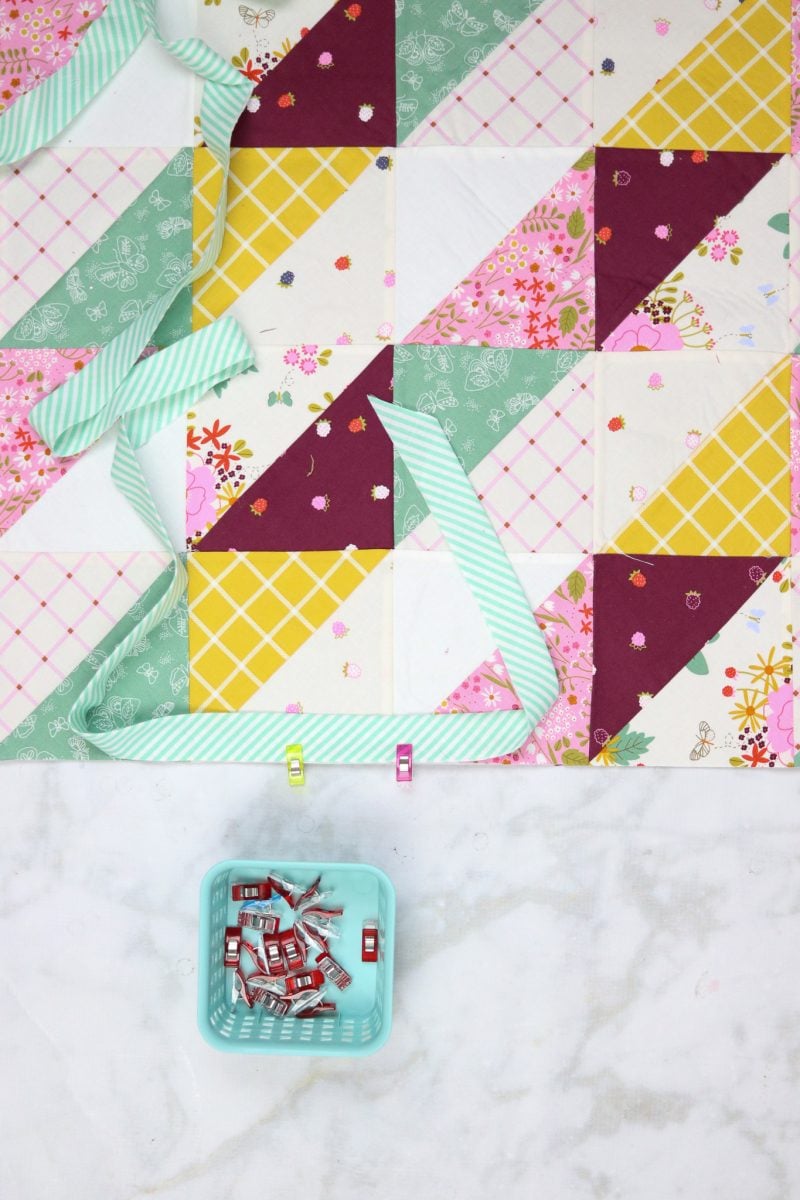
ATTACH BIAS TAPE
This next step is a bit tricky but it is clearly illustrated in the video.
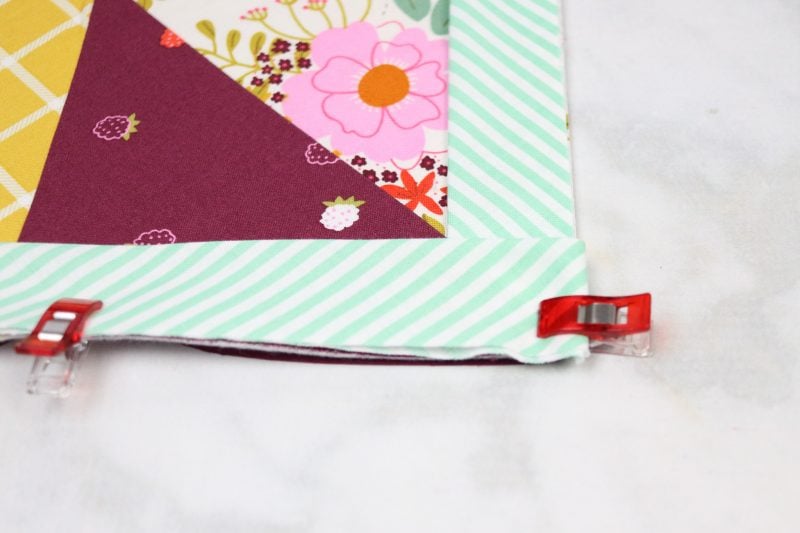
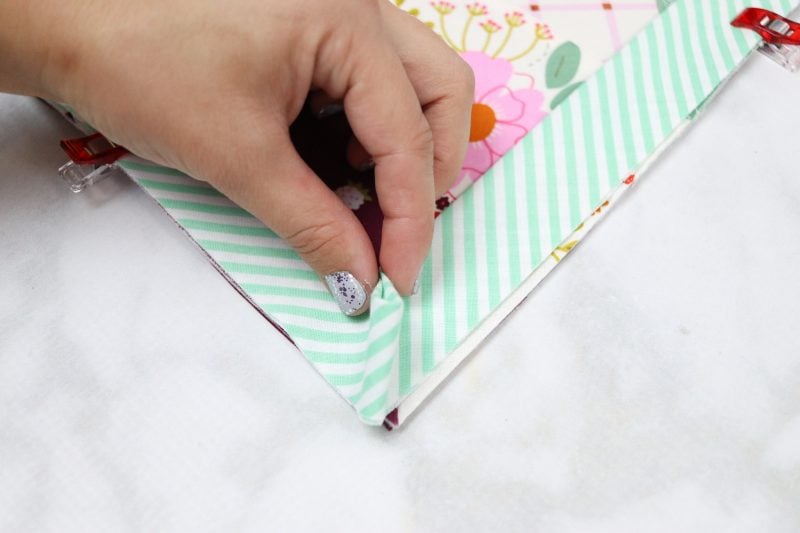
When you reach the corner fold the fabric away from the project at a 90-degree angle and then fold it back down towards the project and begin sewing from the corner of the project.
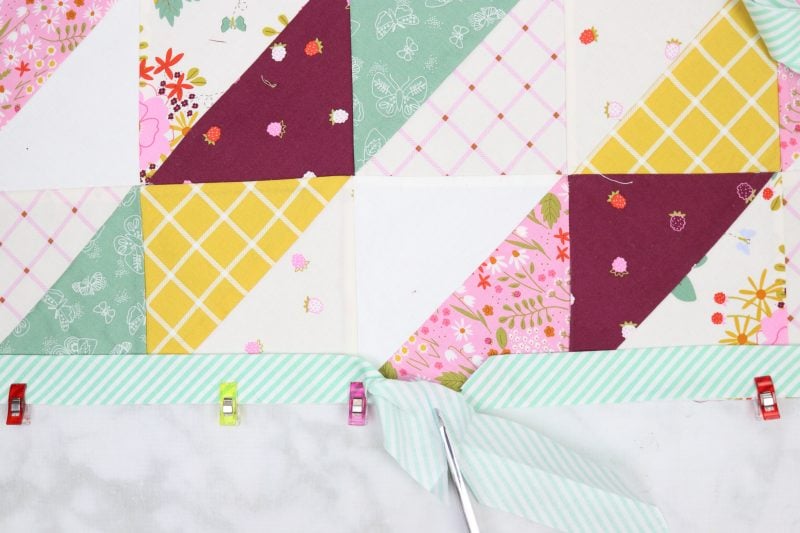
Repeat this around the entire quilt. Once you reach the beginning of the quilt leave a 5 inch tail of bias tape.
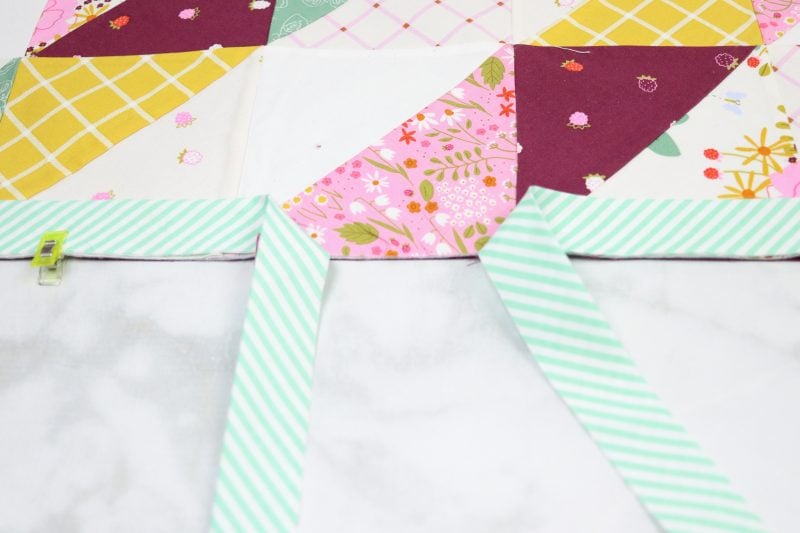
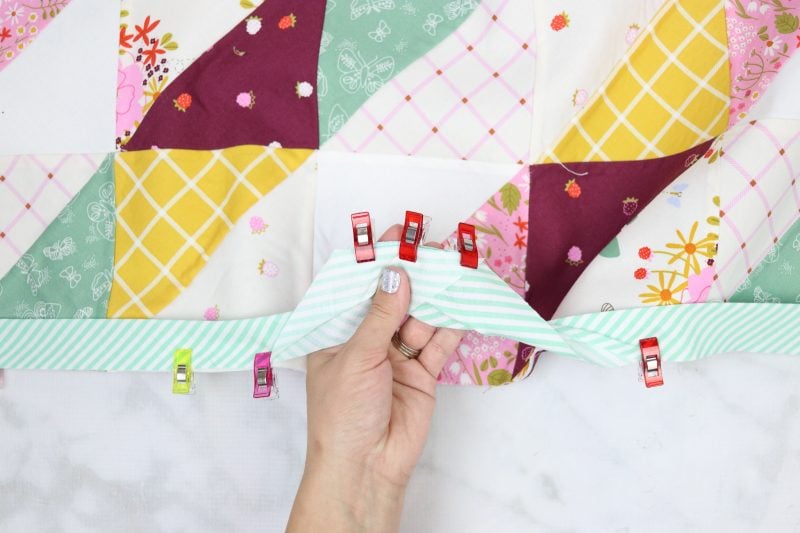
To join the binding strips together you will need to use the Creative Binding Template or a ruler. Fold the bias tape so that each side butts up to the other (this step is demonstrated in the video) and lightly press them. Open the bias tape up and use a marking pen to make a line along the crease.
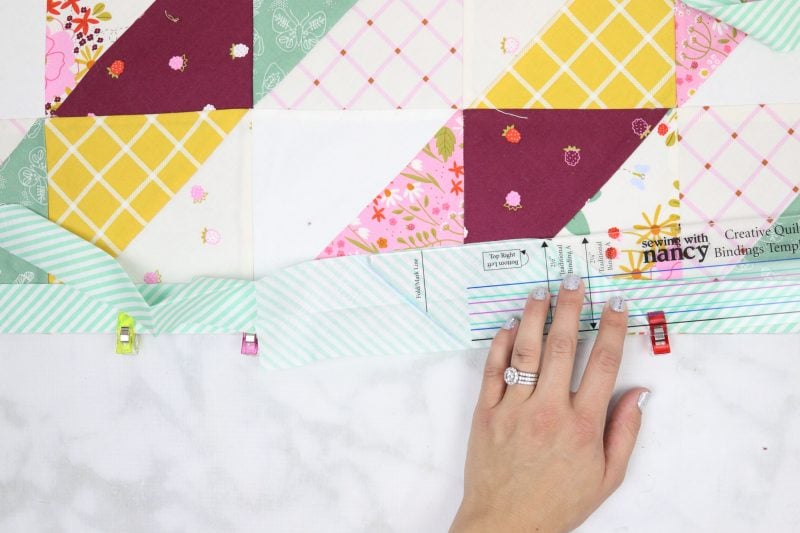
Trim the fabric along the diagonal lines. Join the two bias binding ends together by aligning the pieces of fabric together similar to the photo below. Join the fabrics with a diagonal seam and press the seam allowances open.
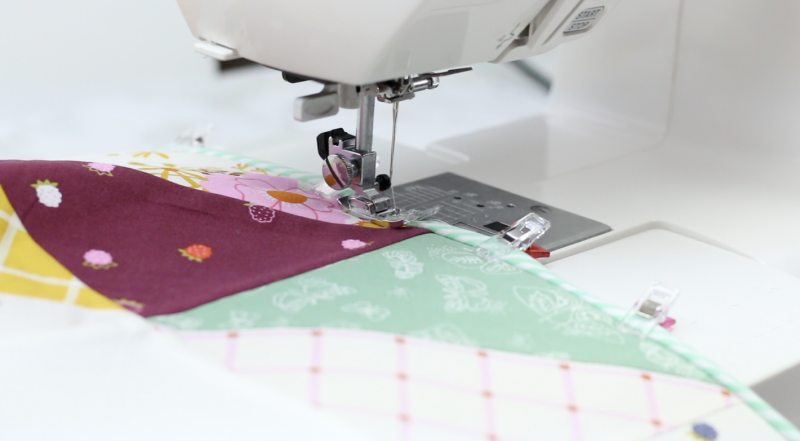
SEW BIAS TAPE
Sew the bias tape to the quilt, once you reach the corner stop 1/4 inch from the edge. Lift the needle and the foot up and turn the quilt. Start sewing from the edge of the fabric and repeat this step at the next corner.
Once the bias tape has been sewn on around the entire quilt, use an iron to press it away from the quilt. This will create a nice crisp edge.
Use clips or pins to position the bias tape along the back of the quilt.
Stitch in the ditch from the front of the quilt to attach the bias tape. Make sure you are catching the bias tape along the back of the quilt as you are sewing it.
Wrap your sweet little baby up in their brand new adorable blanket!

I cannot find this template anywhere. Do you carry it?
Would like to buy template but cant find anywhere
I was also looking for the template. Do you carry it or where can I order it from?
I really want to fine the template wanting to sew a quilt. Can you please tell me where to fine one . Thank you enjoy your website.
I have a new sewer/quilter question. I was thinking about making some of these for my boyfriend's grandbabies I was wondering if I could embroider their names on the quilt so that when they're older they have something to keep and remember as adults. Where would be the best place on this quilt to do that?I would assume the bottom I just don't want to take away from the look of the quilt if you get what I mean. Lol thanks for any and all help!!
I think I would embroider it in one o the corners along a diagonal seams of he half square triangle on the light side. I do not embroider so I don't know how much space you need for the names.