Learn How to Sew a Soft Knit Chemo Cap With This Free Sewing Pattern With Children, Teens, and Adults Sizes. Step-By-Step Photo Tutorial and Video.
In honor of Breast Cancer Awareness month, I wanted to share this chemo cap sewing tutorial and free pattern.
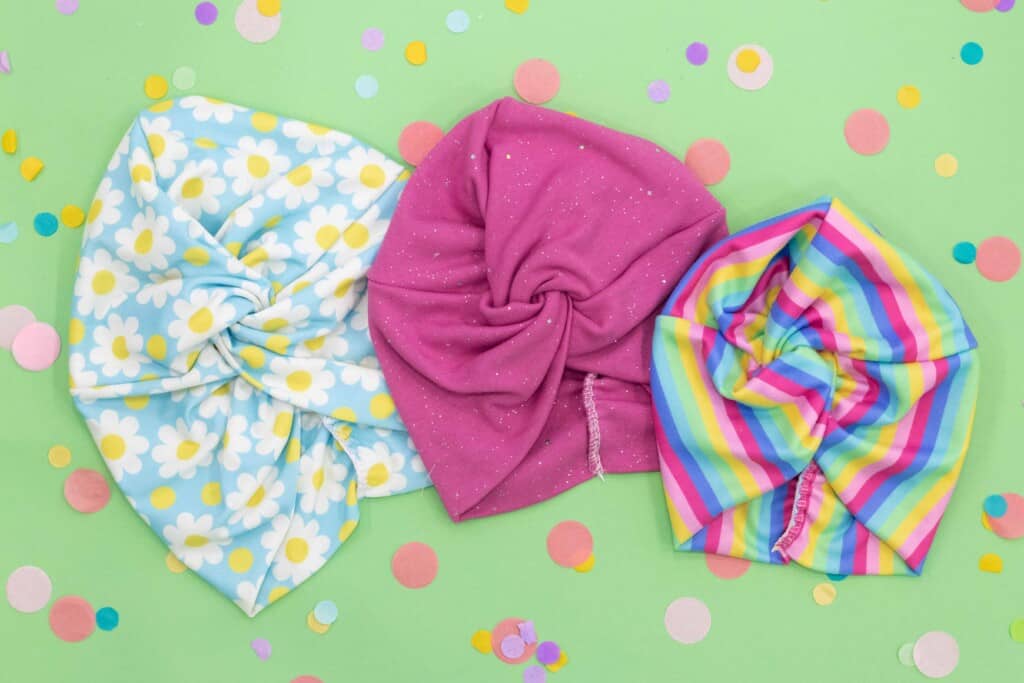
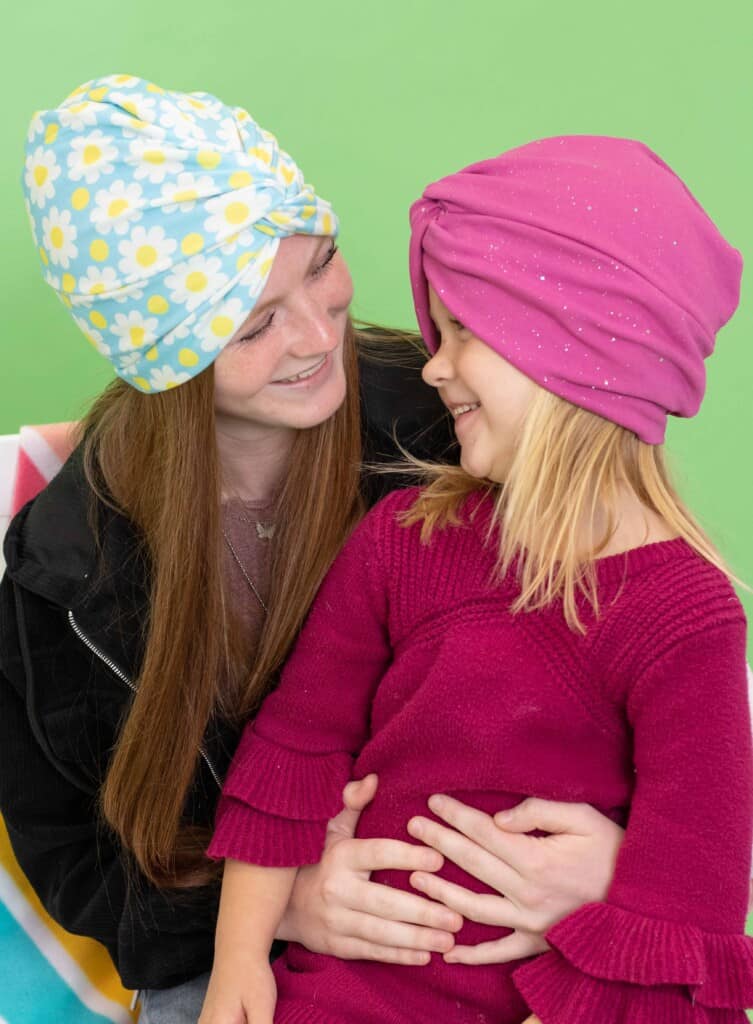
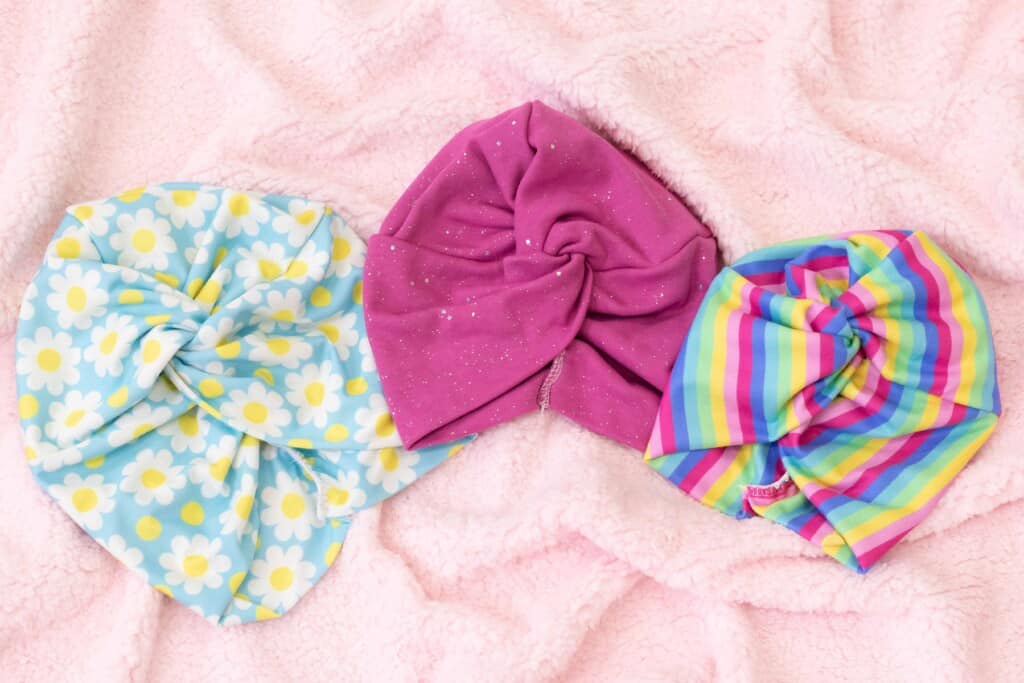
This chemo cap is made of a soft knit fabric for sensitive scalps. It’s comfy enough to sleep in while also being cute enough to wear out and about!
This hat can be used for cancer and chemotherapy patients, those with medical hair loss, or even alopecia.
It can even be worn just to keep your head warm in the winter!
This cap works best with a soft 4-way stretch knit fabric. Joann has a great variety of 4-way stretch knit fabrics. You'll want to look for a knit fabric that has at least 5-10% spandex. The spandex is what helps the fabric to keep its shape without getting stretched out.

This pattern features six different sizes for babies, toddlers, children, teens, adults and large adults.
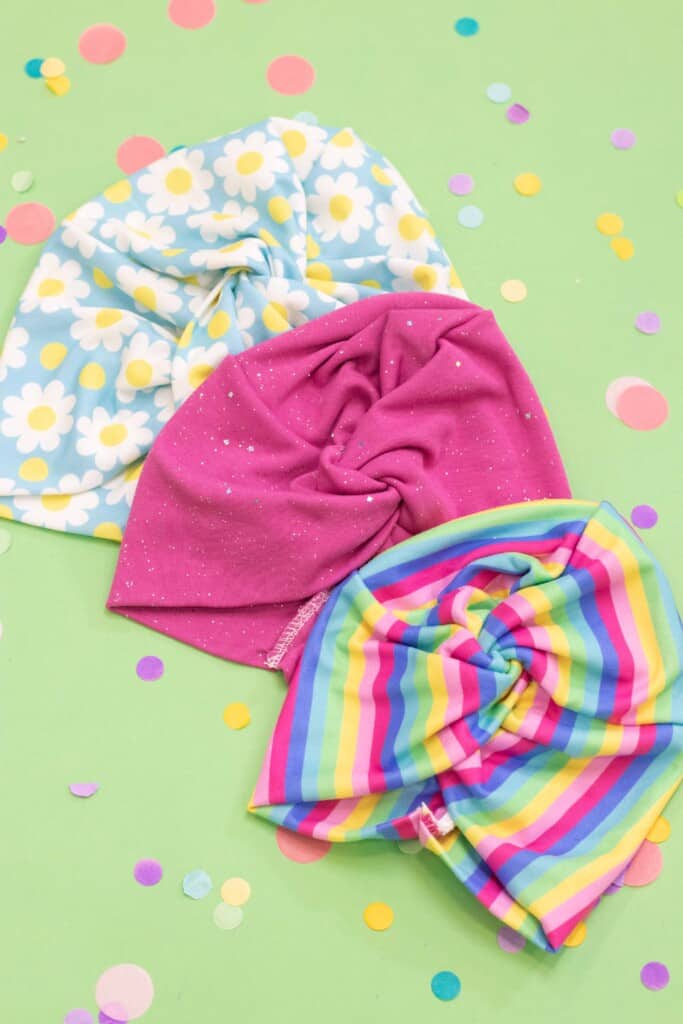
Table of Contents
Click Here to Download the Chemo Cap Sewing Pattern

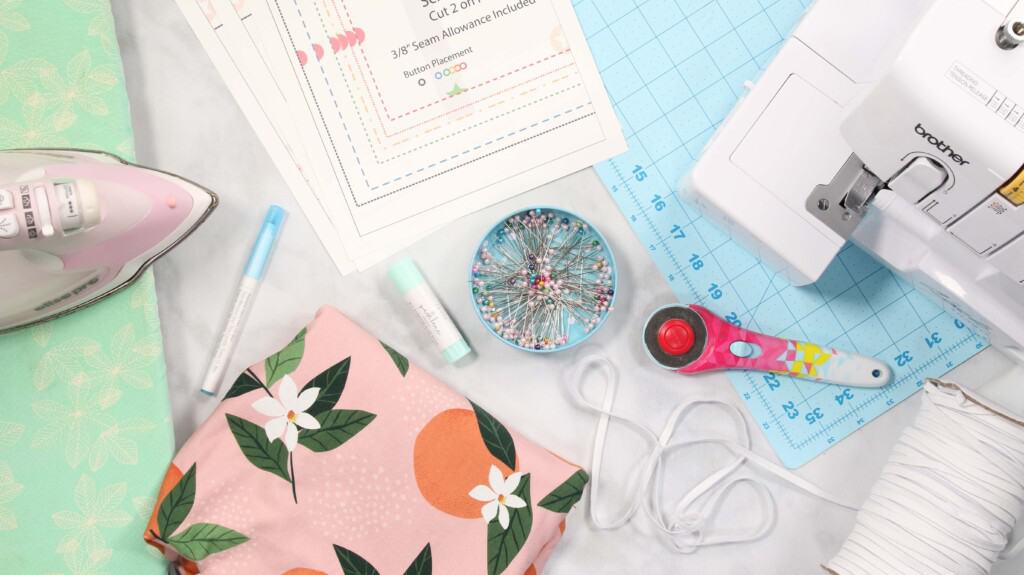
Chemo Cap Supplies
Shop my favorite sewing supplies here!
- 1/2 yard 4 way stretch jersey knit
- Serger
- 1/4" Elastic (.6cm)
- Sewing Machine
- Scissors or Rotary Cutter & Mat
- Thread
- Pins
- Iron & Ironing Board
- Needle
- Pattern
Why Shop Through My Links?
When you shop through my affiliate links, it doesn't cost you anything extra, but it helps me out in a big way! I earn a small commission from those purchases, and that support allows me to continue creating and sharing free tutorials and patterns for you. Thank you so much for helping me keep this creative community going!
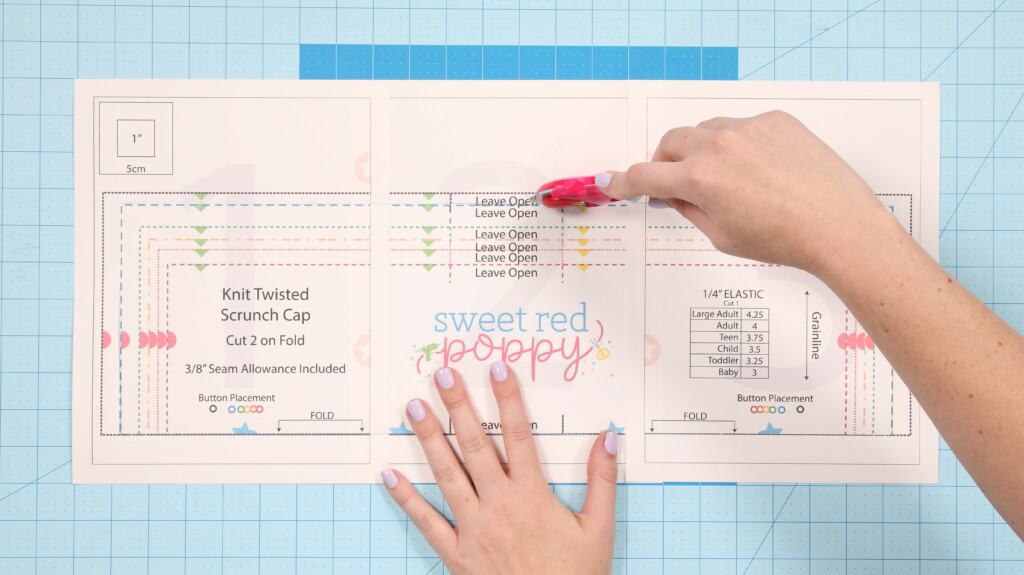
Step 1: Print and Assemble Chemo Cap Pattern
Download the pattern to your computer and print the pattern at 100% with no scaling.
You can print off the pattern on cardstock so that it will last for multiples uses.
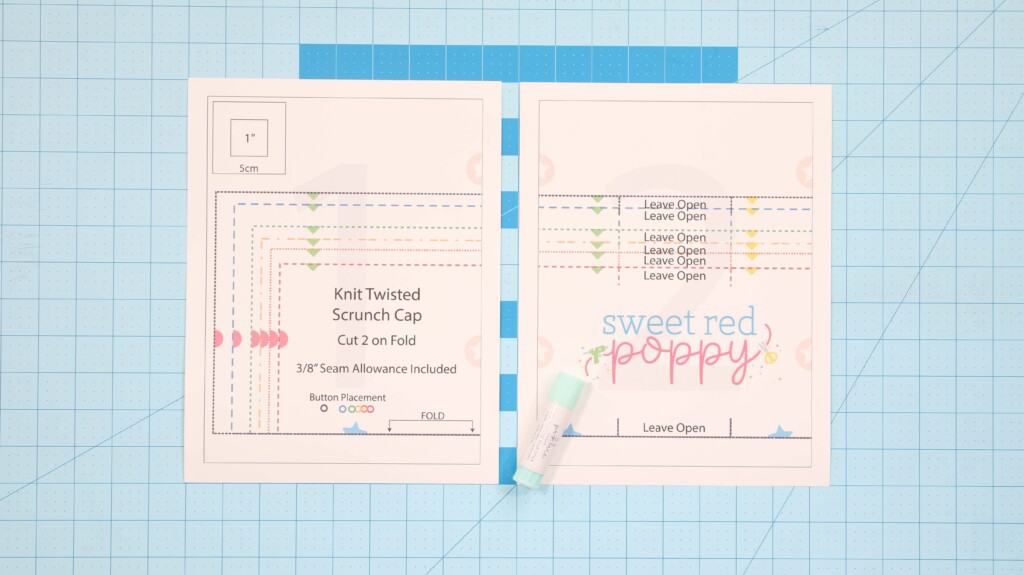
Immediately check the 1” x 1” square to ensure the pattern has printed off correctly. If the 1" square measures larger or smaller the pattern will need to be reprinted for accuracy.
Align stars of each page and tape in place. Then, cut out the pattern in your desired size.
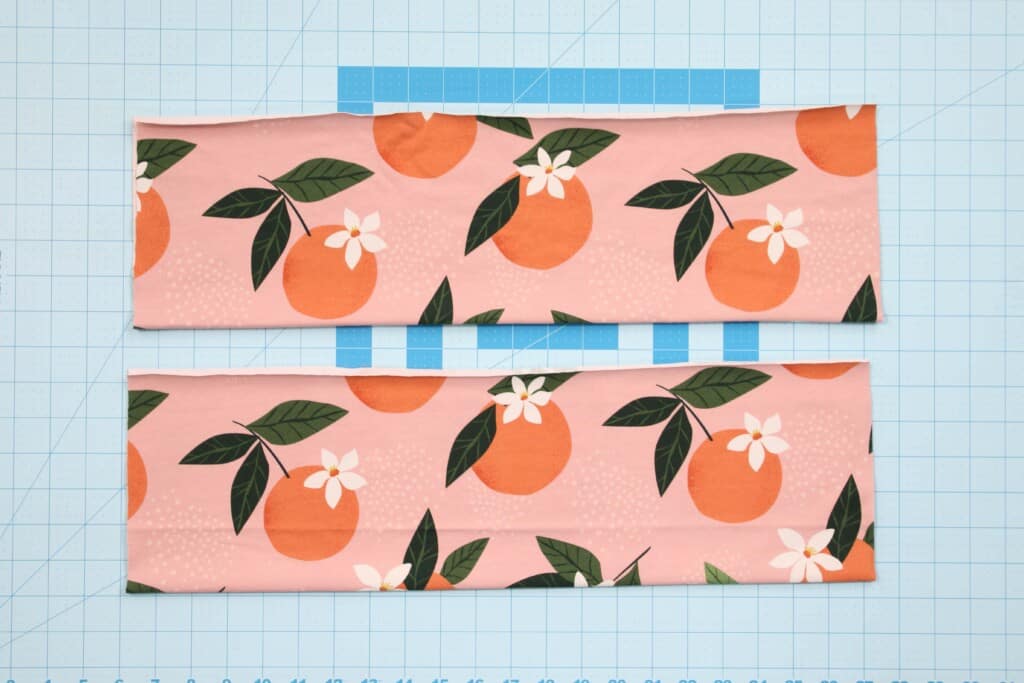
Step 2: Cut out Chemo Cap Fabric
Fold the fabric and align the pattern piece along the fold of the fabric. Cut 2 pieces.
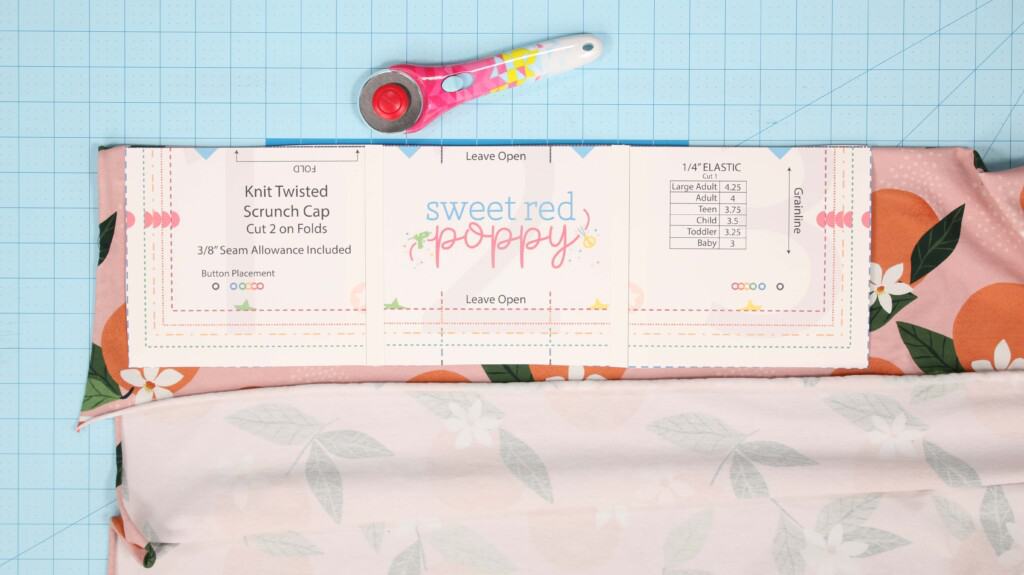
Transfer the pattern markings to the fabric with a washable marker.
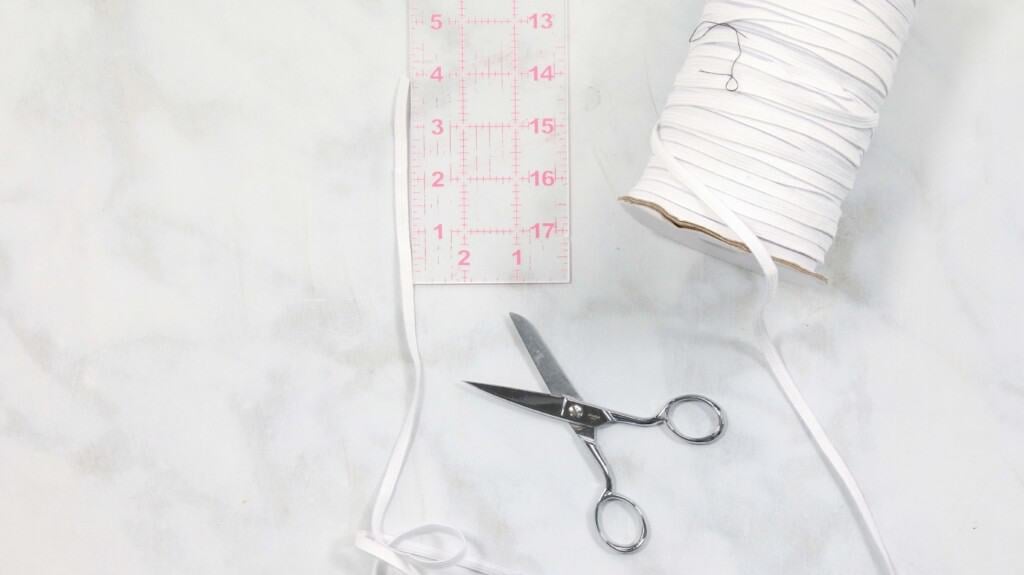
Cut 1 piece of 1/4"(.6cm) elastic
You should now have the following:
- 2 pieces of fabric for the hat
- 1 piece of elastic
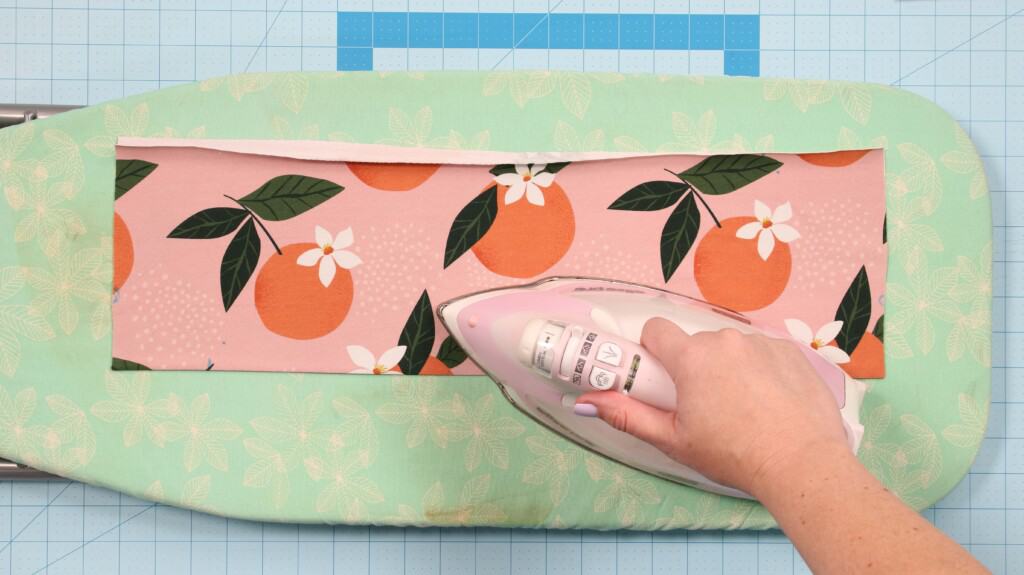
Your fabric pieces should be folded in half (hotdog style). Press them along the fold with an iron.
Step 3: Sew the Hat
Fold one of the hat pieces in half. Sew or serge along the raw edge until reaching the marking.
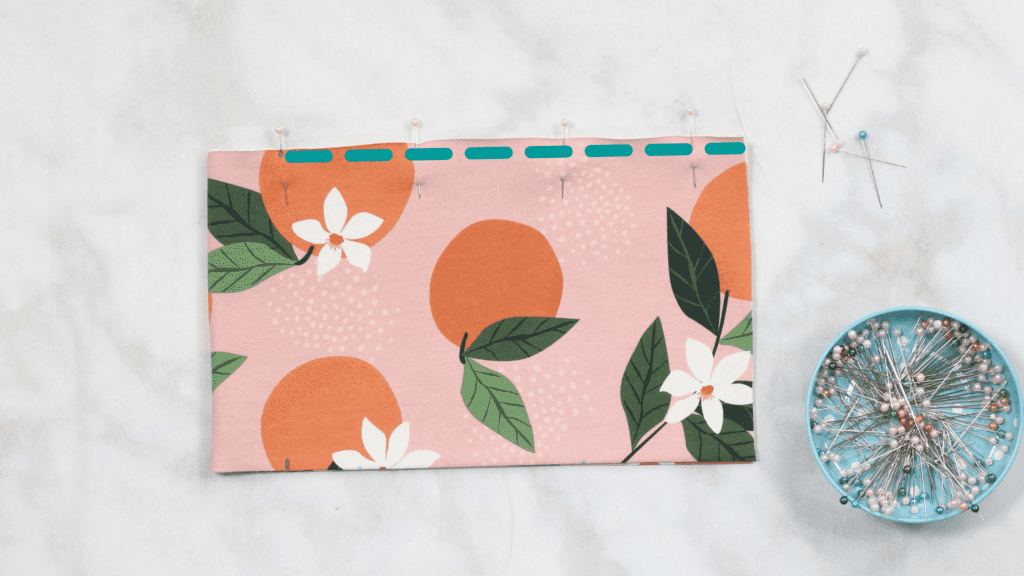
If you are using a serger, leave a tail and thread the tail back into the seam.
Lay the newly sewn half down with serge ends facing up. Lay the other side right next to the first piece, raw edges facing up.
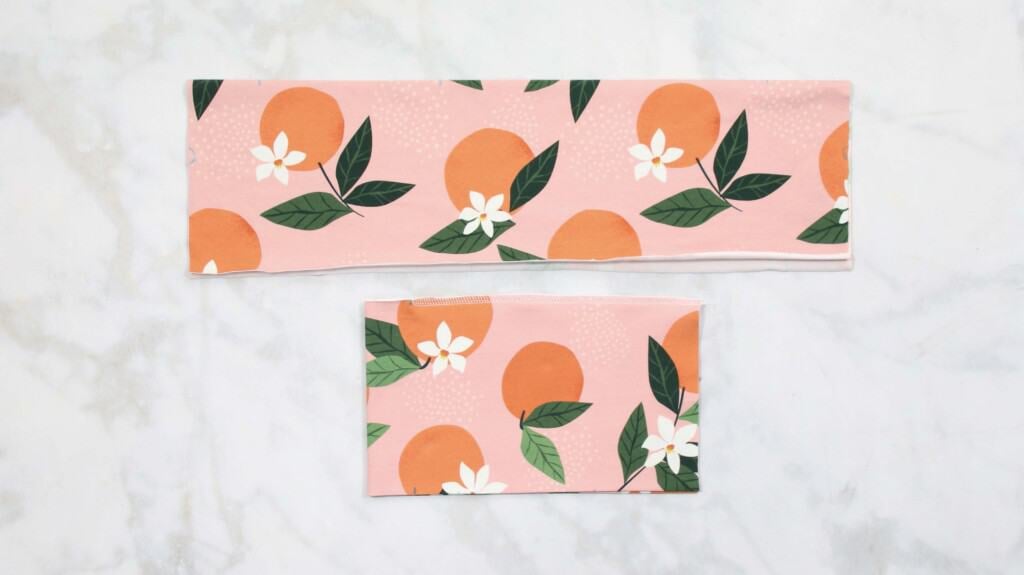
Thread one end of the non folded side in through the little opening of the sewn piece.
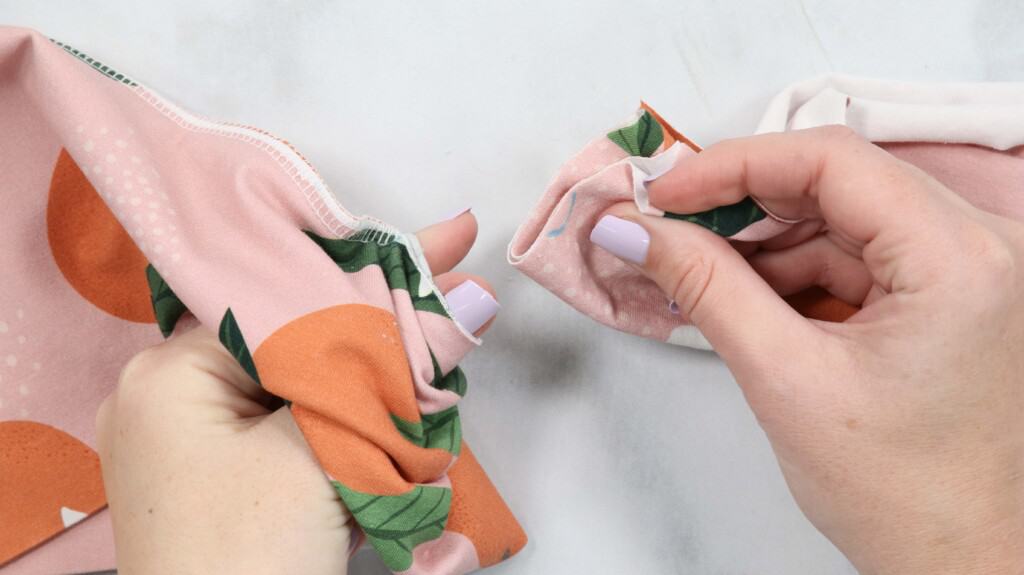
Make sure that the folded edges of both of the fabrics are on the bottom, like the photo shown above.
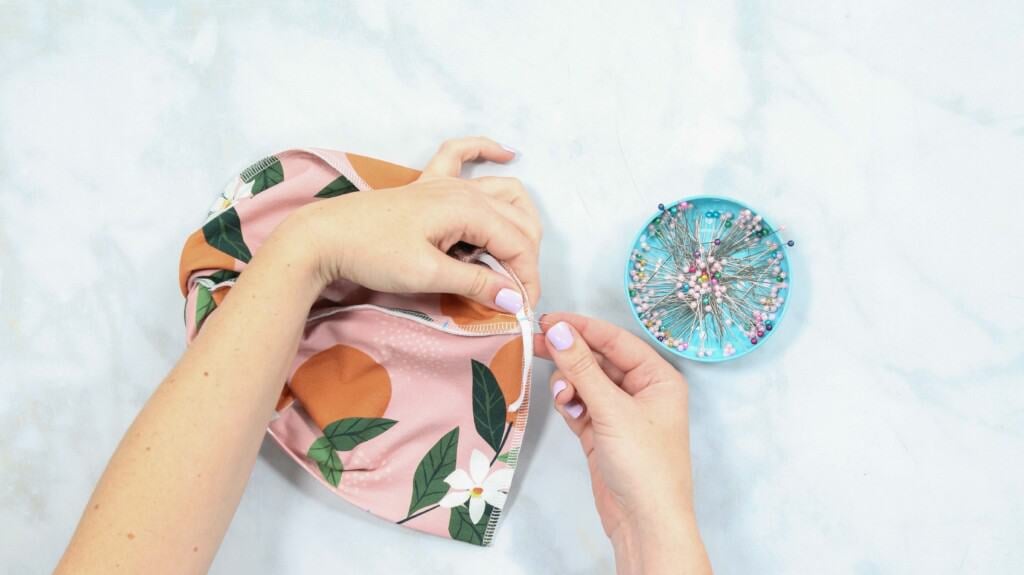
When pulled through, align raw edges, making sure they still face up at the top. Pin in place to mid markings.
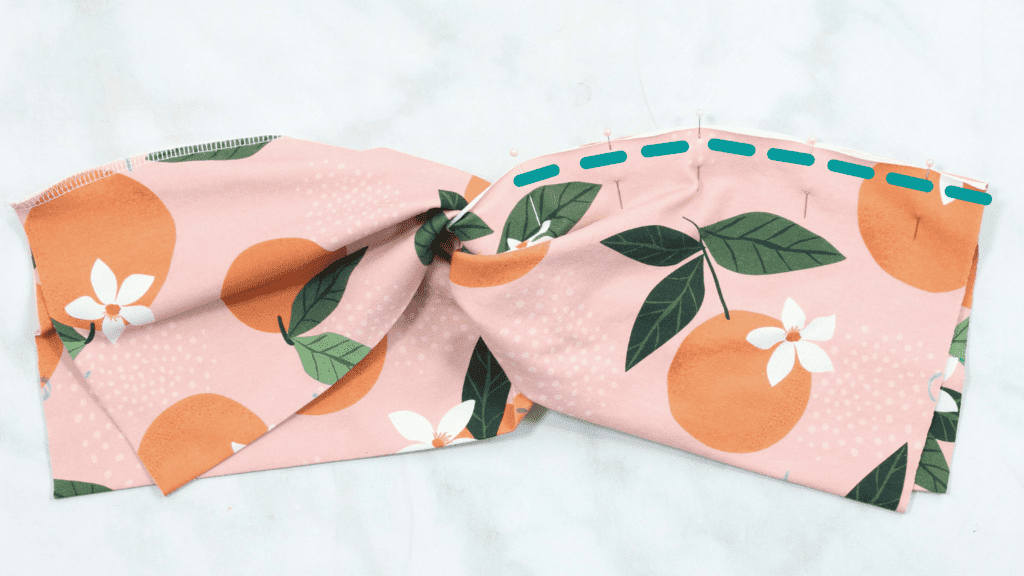
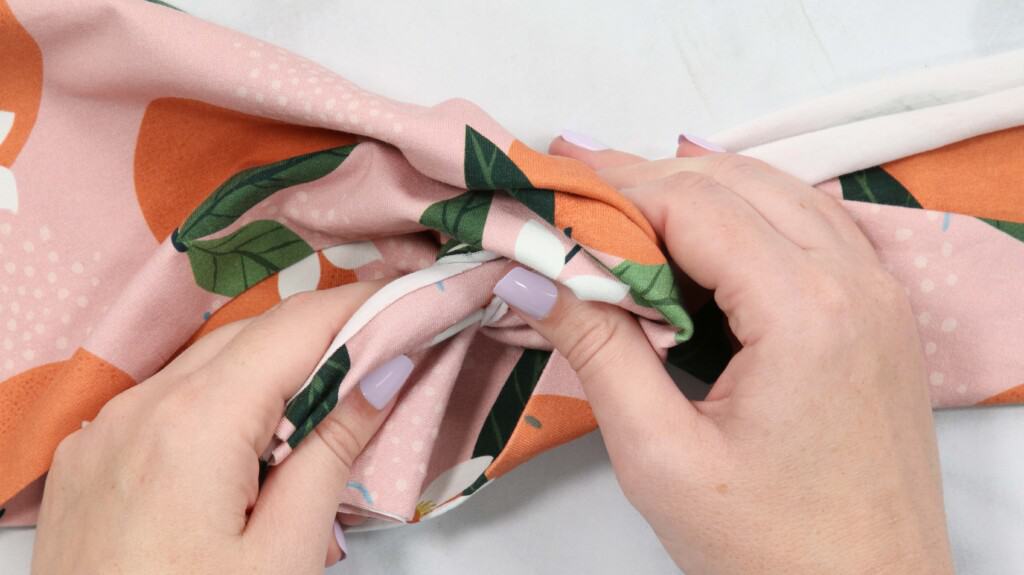
Serge or sew the raw ends together leaving a tail.
Thread the tail into the seam if you are using a serger.
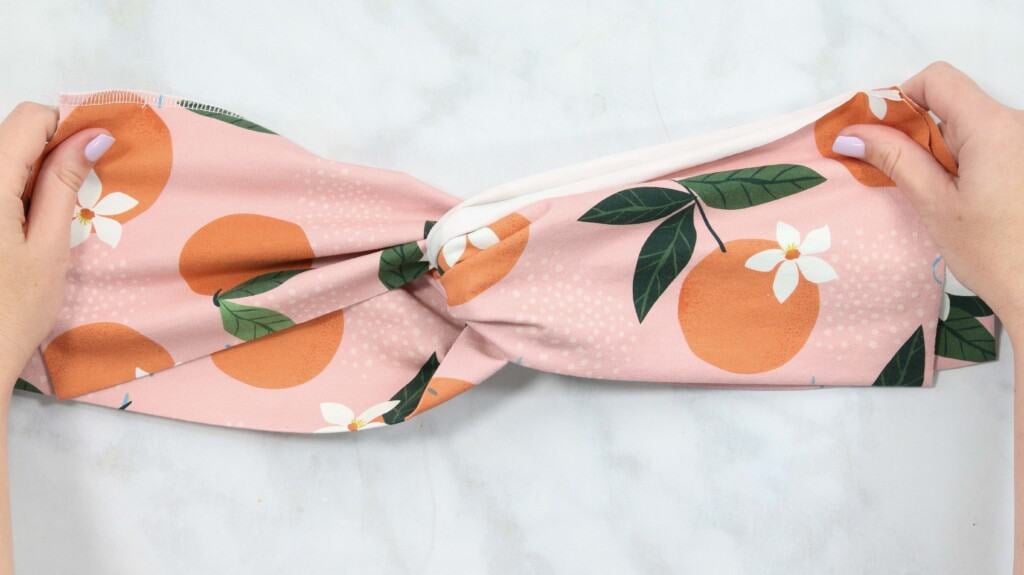
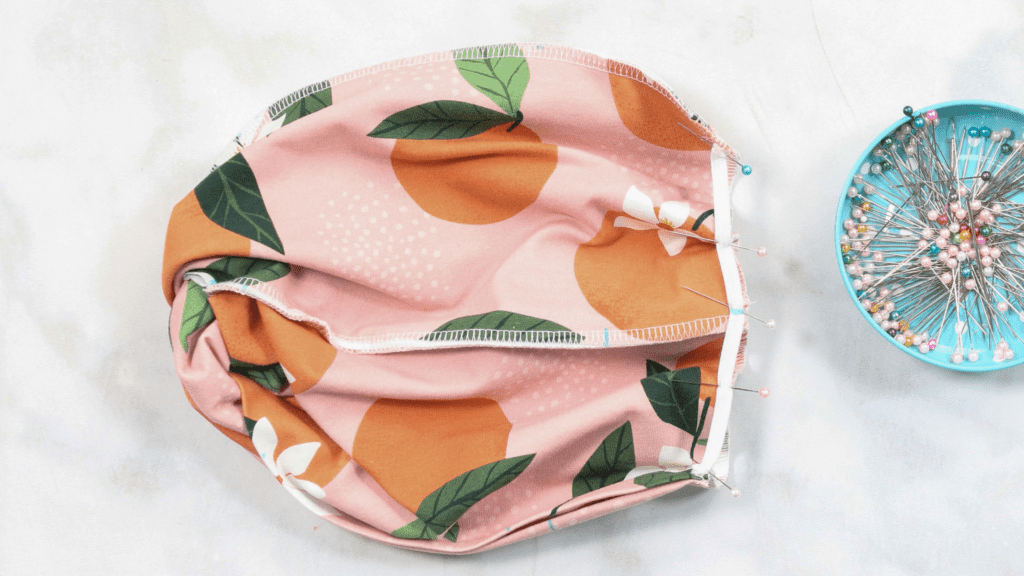
Open the cap up and lay it out flat on the table in front of you. You should have two seam lines facing upwards.
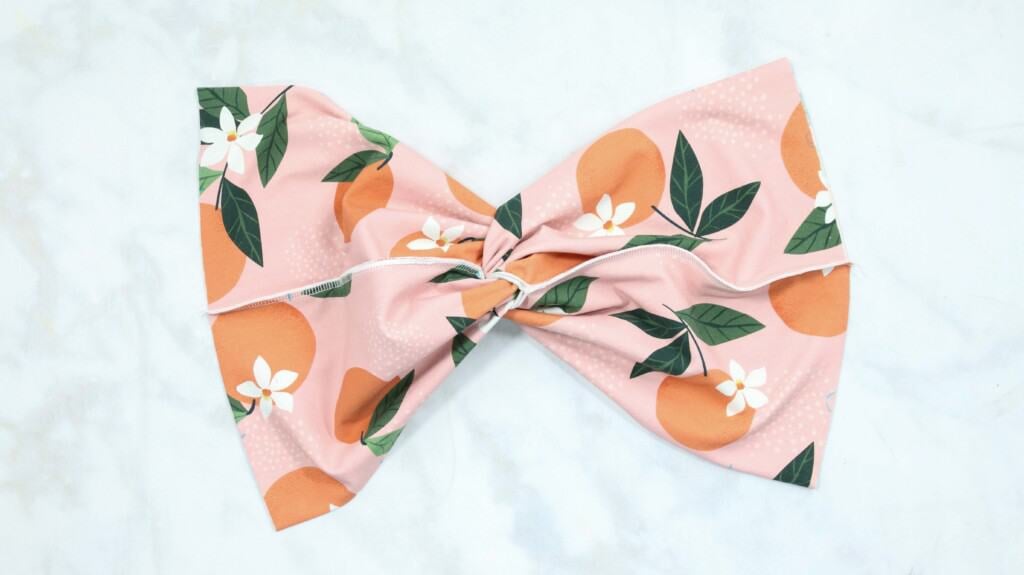
Fold one side over to the other side (right sides together) aligning the folded edges along the bottom of the hat.
The seams should be on the outside of the hat.
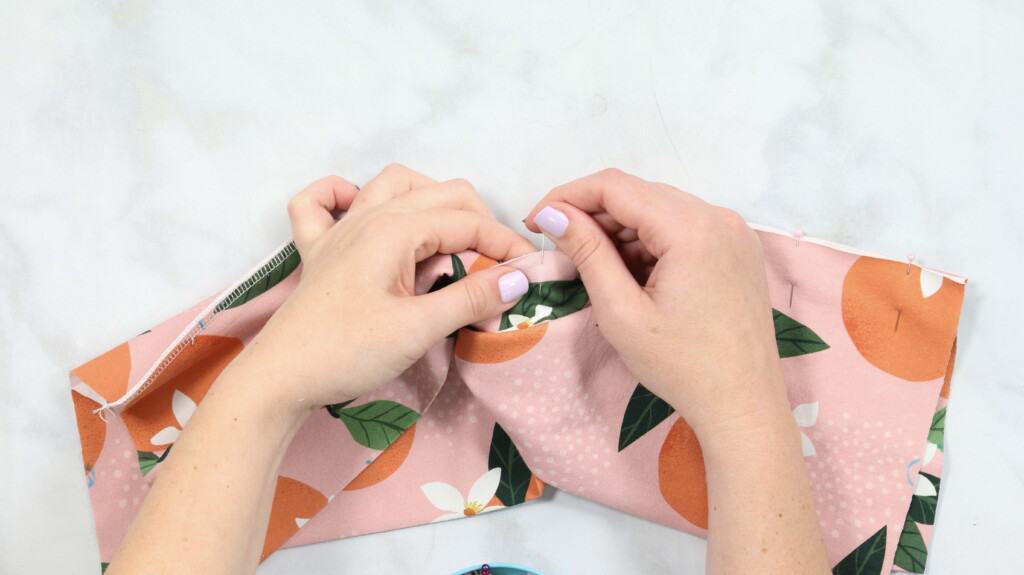
Sew only along the bottom of the hat, leaving the top edge unsewn.

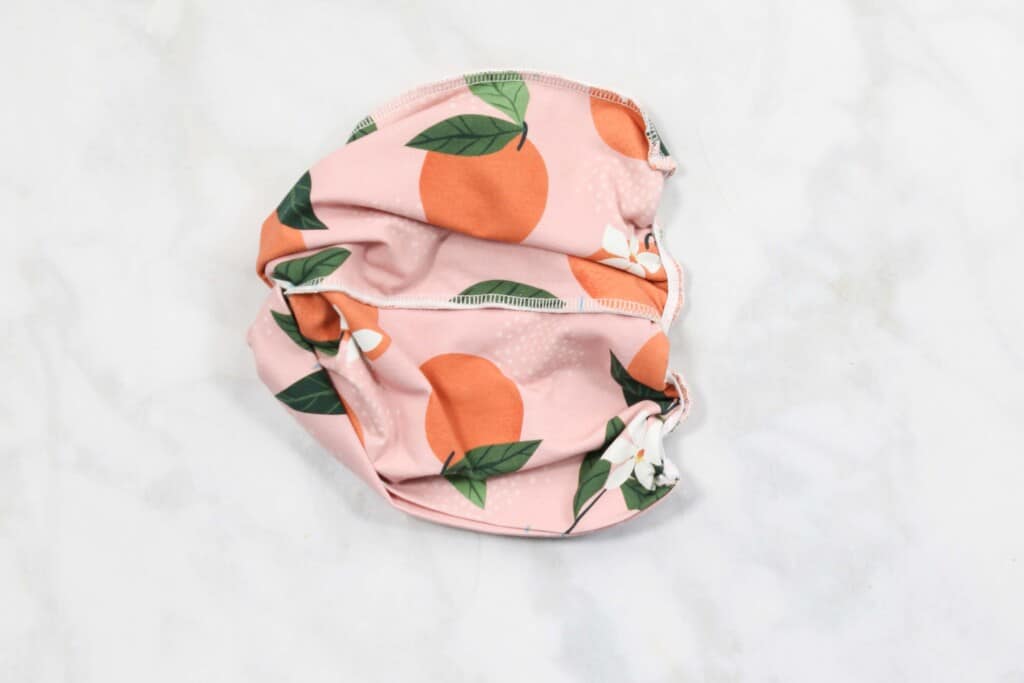
Pin in place and serge along the edge leaving a thread tail.
Weave the thread tail into the seam to secure it.
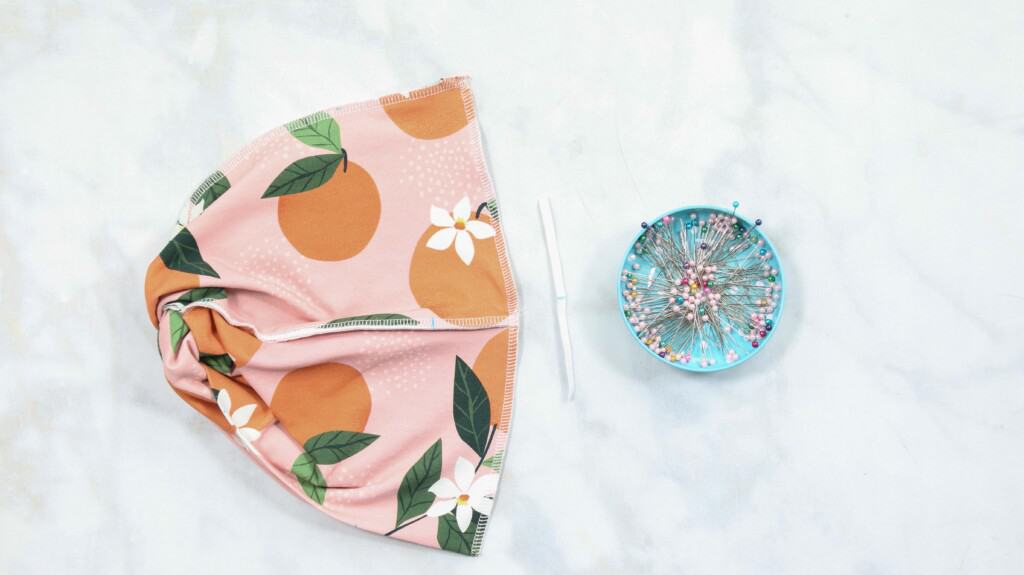
Pin the raw edges together alining the seams and sew along the side of the hat.

Step 4: Add the Elastic
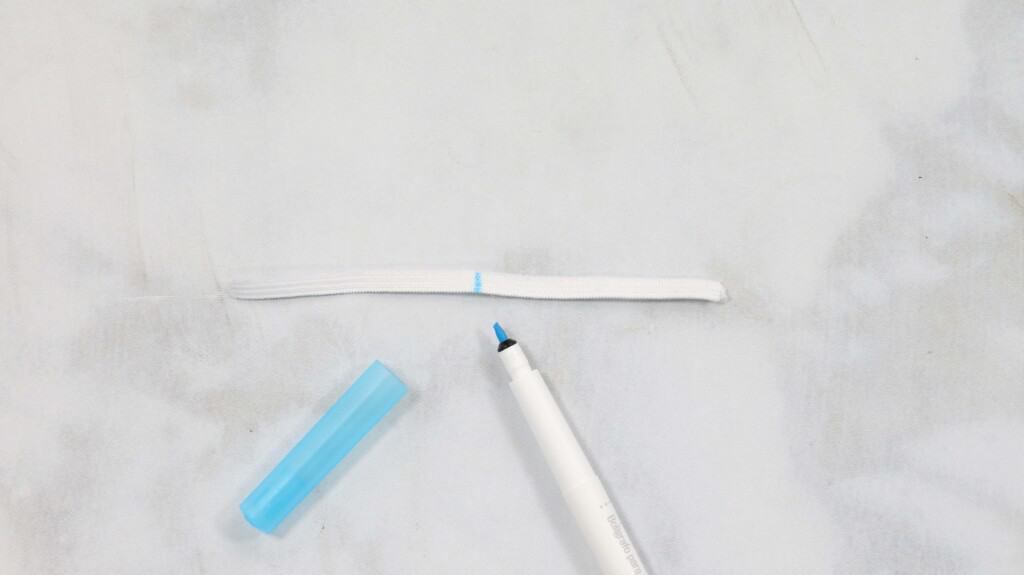
Take the elastic piece and mark the middle with a fabric marker.
Align one end of the elastic with the top of the serged line you just serged.

Align the middle mark to the middle seam.
Align the other end of the elastic to the bottom seam.
Pull slightly on the elastic stretching it to fit the length of the seam and pin in between the top, middle, and bottom.
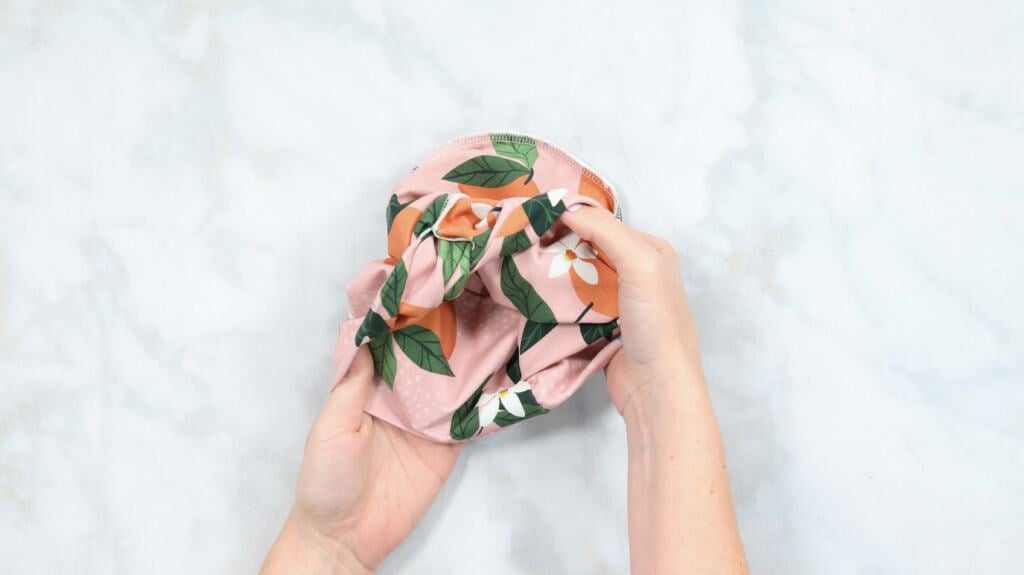
Using a long small zig-zag stitch, sew along one edge of the elastic, sewing it onto the seam of the hat. This will create a bunched look at the front of the cap.
Backstitch at the beginning and end of the elastic and cut any loose threads.
Your elastic should bunch up the fabric, if it doesn't bounce back to its original length, try hovering over the elastic with a warm iron to help it shrink back into its original shape.
Turn the chemo cap right side out.
Give the chemo cap a good pressing and you're finished!

Chemo caps can be donated to your local hospital, oncology unit, or infusion center.

Join my crafting and sewing Facebook group where you can show us what you’re making, ask questions, and learn from others!
Save this sewing pattern to your Pinterest here!
i just made the cap. But got to the elastic piece and 5" doesn't begin stretch from one end to the other end of the cap. i tried to use just 1/4" inch elastic. It doesn't stretch that far.
I am really bad at trying to sew in elastic which requires a lot of stretch. Ended up doing a simple stitch to gather the back of the hat. Not sure if this is helpful to you.
Hi, is this pattern still available... Please.
TIA
I had to trim inside and lengthened the elastic to stretch
Thanks! I made 4 of these today! Happy to find a free pattern, and it works so well!
***I did a switch, and used a 5" piece of elastic cording instead of the ¼ flat elastic! I zig zagged it from end to end and it worked better!!!
What if you don’t have serger?
use a sewing machine. Choose an appropriate needle for knit fabrics ( stretch, microtex) and select a zigzag or other stretch fabric appropriate stitch on your sewing machine (or straight stitch with Maraflex or serraflex thread).
Where can I get the directions & pattern?
I'm confused! It looks like you are sewing the right sides together not the tradition wrong sides together. The reason I am confused is because the sample fabric seems to vivid for the wrong side,
With chemo brain I ploughed through the instructions and watched the video (several times) and managed it. Sewn with wrong sides together, my tip would be to make your markings on the right side of the fabric. I would also add you mark ‘leave open’ notches on the folded edge of the fabric which seems counter intuitive but you need these marks to line up where to sew so I suggest you don’t omit them as it makes sense later. Following the instructions the hat came together well and fits. I used some lighter weight French terry for my wearable toile which is great for cold weather but would be too thick for warmer times. I also used two colours as I only had leftover scraps to use and it looked okay in my opinion.
Thanks for a pattern that is really useful and easy to wear.
I intended to say that the folded fabric is wrong sides together and sewn initially with those wrong sides together and the instructions tell you how to sew the rest of the pattern using the markings, seams and folded edges to guide you.
I’ve tried making this today, mostly for it but I keep getting raw edges poking through the twist scrunch at the front. Is it something I’m doing wrong?
Just ensure you line them up, it’s tricky because you’ve got double layers with a raw edge coming together. I had some raw edges with my first one as well so used quite a few pins the next time and sewed it with a straight stitch first and checked of the edges were all sewn in before going back and serging. Alternatively increase the seam allowance a couple of mm if you can.
Sorry to appear ignorant but what is serging?
Serging/serger is called overlocking/overlocker in some parts of the world. It’s not really necessary with knits if you don’t have one as the edges don’t need finishing like a woven fabric would.