Ready to design your own cut files? This tutorial will show you how to make SVG cut files using Adobe Illustrator for Cricut and Silhouette.

It wasn't long after I started crafting with SVG cut files that I wanted to learn how to design my own. I decided to learn how to use Adobe Illustrator. Since mastering it, I would be willing to say that it is one of my favorite craft tools!
Adobe Illustrator is so fun to use! The design capabilities are far greater than the design software that comes with your cutting machine. In fact, learning how to make my own SVG files using Adobe Illustrator, was one of the best things I could have done for myself.
Follow along as I show you just how easy it is to design a basic text based cut file: I Make Things Pretty.
In order make SVG files using Adobe Illustrator, you'll need to download the software on your computer. If you don't already have it, sign up for a free 7-day trial of Adobe Illustrator for free and follow along.
Table of Contents
Step 1: Open Adobe Illustrator and Create a New Document
Open Adobe Illustrator and click Create New. If you already have Adobe Illustrator open you can also go to File > New.
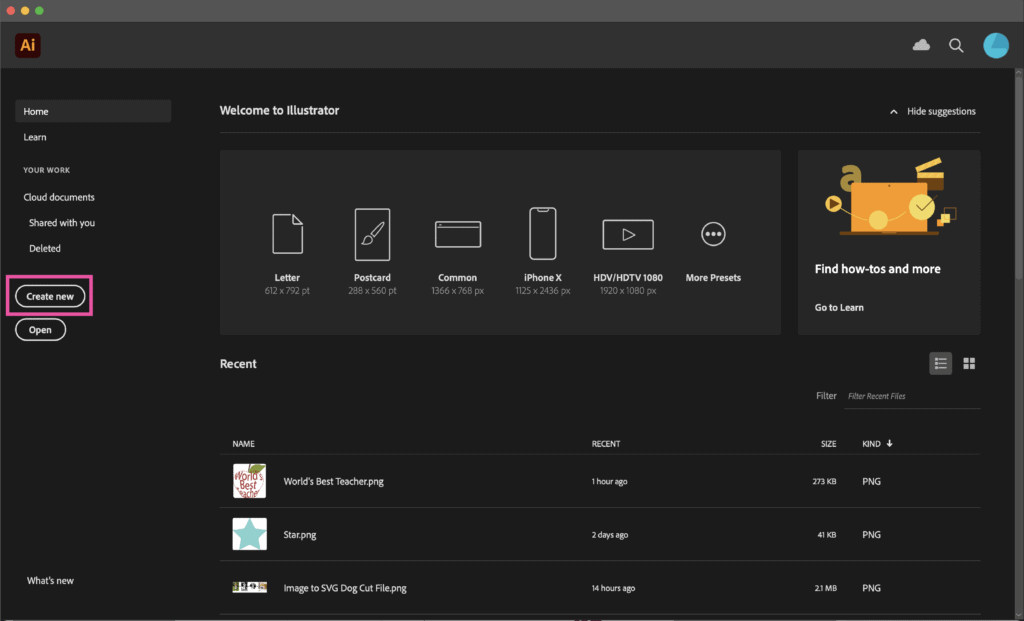
A New Document dialog box will appear.
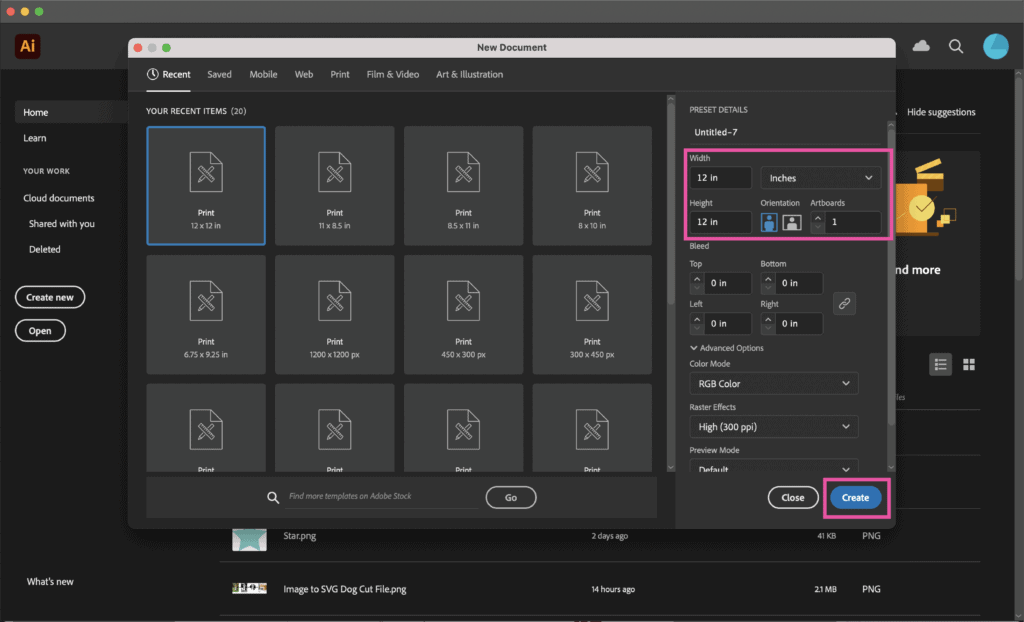
Here you want to choose the size of your Artboard. You can select from a template, a previously used size or in the right panel you can select the Width and Height for your design.
I typically use 12x12 since that's the size of a standard cutting mat.
Leave all of the other options as the default and click Create.
Step 2: Type Out Your Word or Phrase
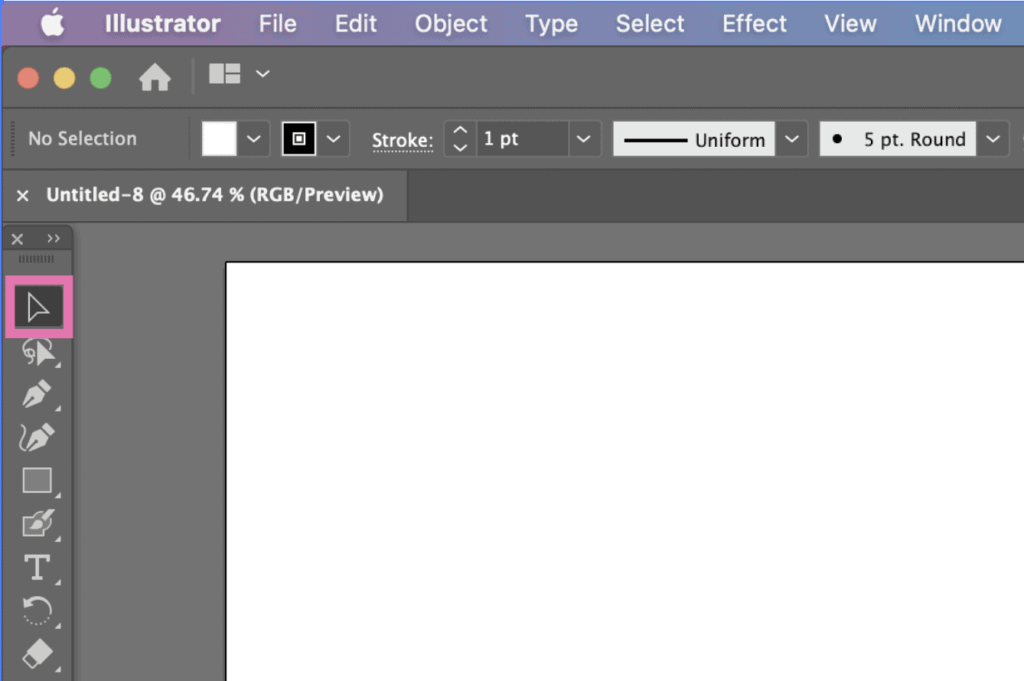
On the left hand side of your workspace is the Toolbar which houses all the wonderful tools that make designing so fun and easy.
Select the Type tool which is the icon with the letter T or use the keyboard shortcut T.

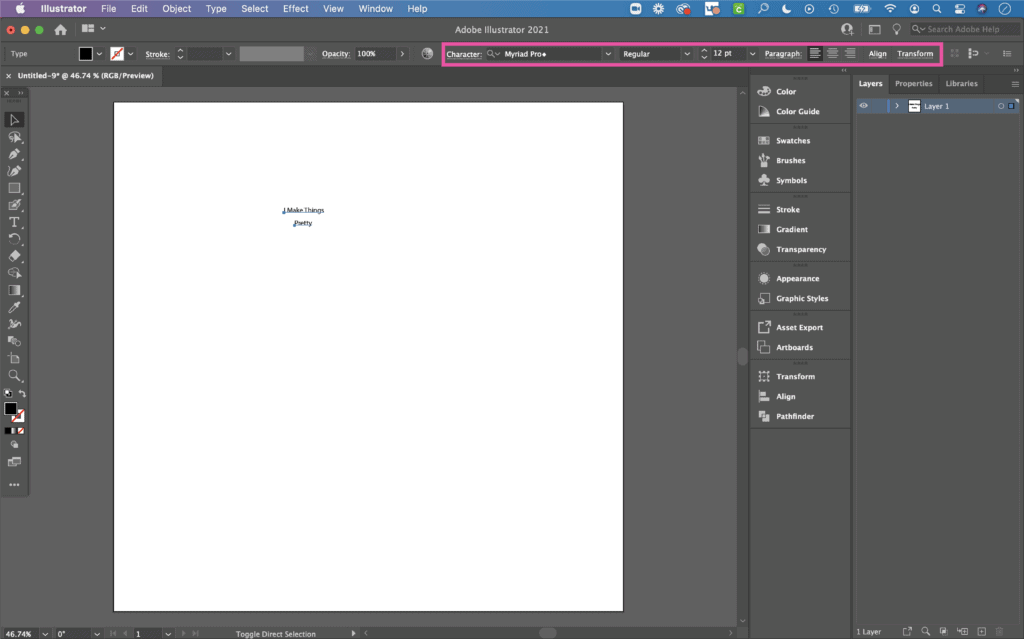
Click once on your Artboard and sample copy will appear. Use your keyboard to type in a word or phrase.
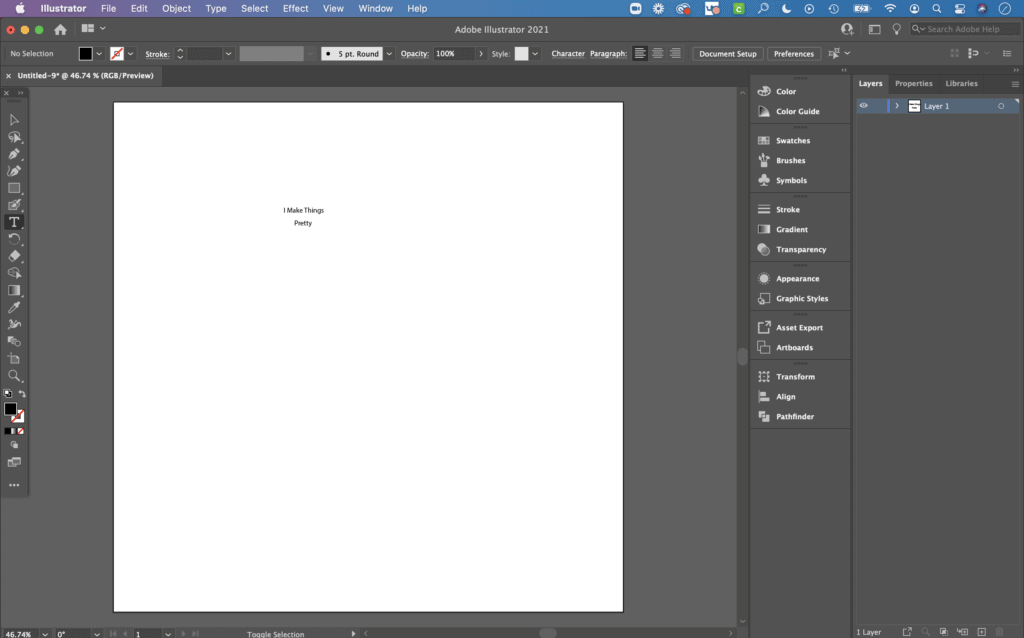
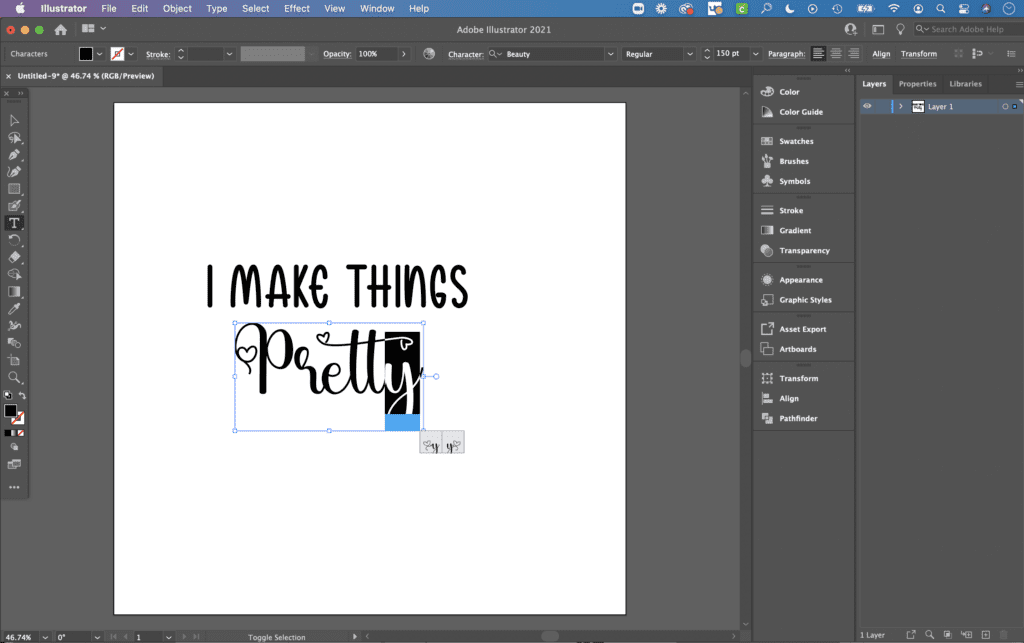
For this project I'm going to separate the phrase into two different lines. So I'm going to type 'I Make Things' on one line.
To create a second linetype click your mouse again on your Artboard and type in the next word or phrase. This time I'll be typing 'Pretty'.
Step 3: Resize the Text
Okay so the first thing you'll notice is how small the font is. Let's make everything a bit bigger and then prettier!
At the top of the Toolbar is a outlined arrow called the Selection Tool. This tool is used to select, move, scale and rotate objects on your Artboard.
Select the Selection Tool or use the keyboard shortcut V.
Click and drag your mouse over all three linetypes to select them. You can also use the keyboard shortcut CTRL + A for Windows or CMD + A for Mac.
Above the Artboard is the Control Panel. The control panel houses different controls based on what is selected.
For example, if a text element is selected, the options in the Control Panel will include font, font size, color, paragraph alignment, and so on.
If a shape is selected, the Control Panel includes control options related to the shape.
Once you have your text selected you'll see an option to change the font family, font style and font size.
Let's first change the font size to 100pt so we can actually see the font options. You can highlight the value that's there and replace it with 100.
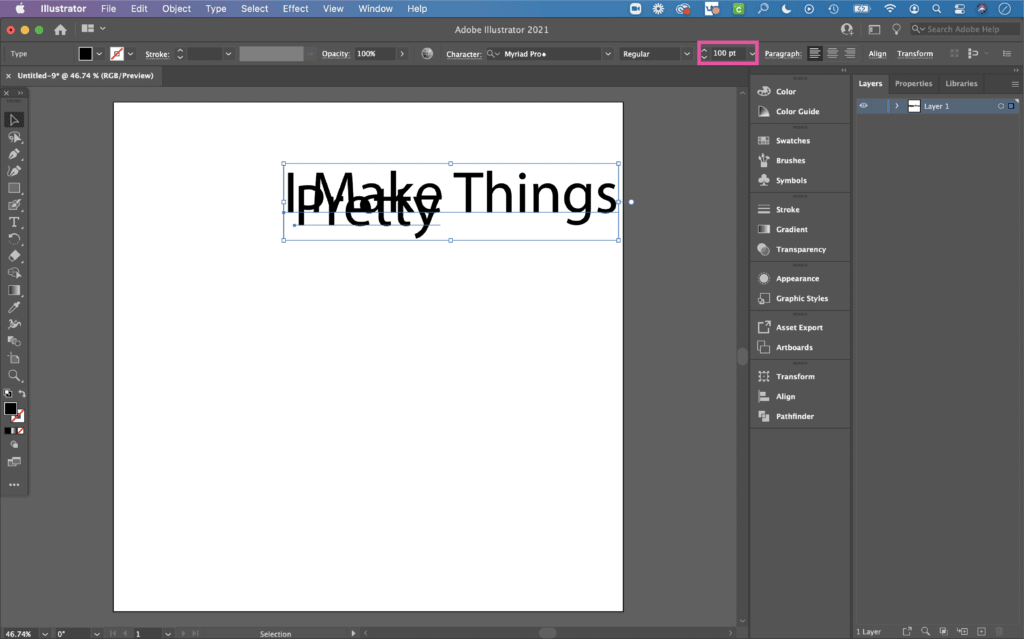
This will most likely overlap your words. Select the Selection Tool (V) from the tool bar and click and drag each linetype to move them into place.
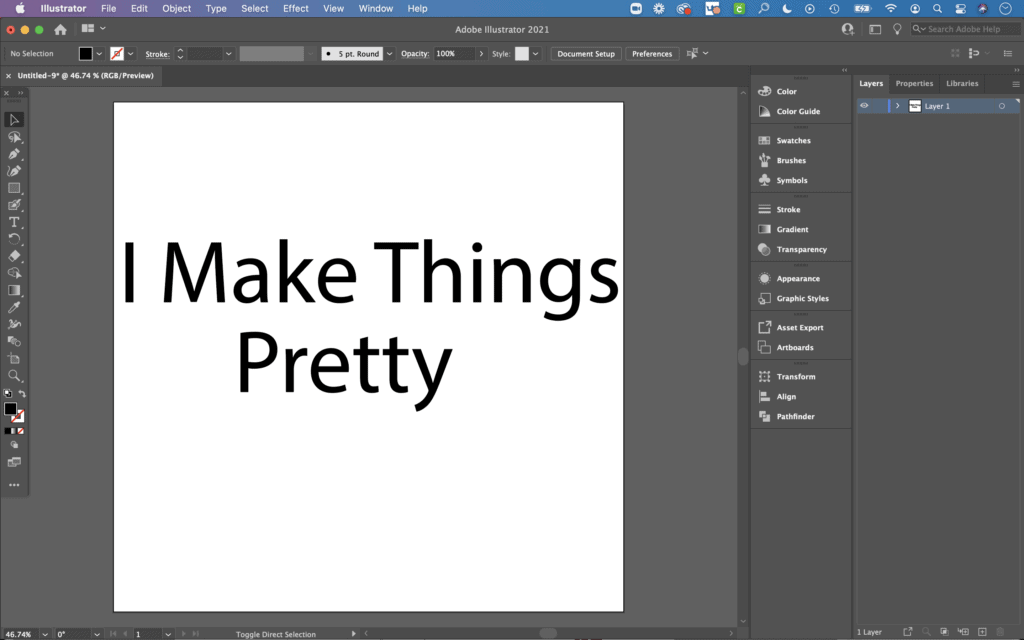
At any point in the design process you can make the text bigger and move the linetypes around using the Selection Tool (V).
Remember the Artboard is the size of the cutting mat so depending on how you want to use the design you can adjust the size accordingly. You can also resize the design once you import it to your cutting machine design software.
Step 4: Changing the Font
One of my favorite parts of designing is playing around with fonts. There are so many amazing fonts out there.
If you would like to use my favorite paid and free font resources, visit this blog post.
Select the first linetype with the Selection Tool (V) and change the font family using the dropdown in the Control Panel.
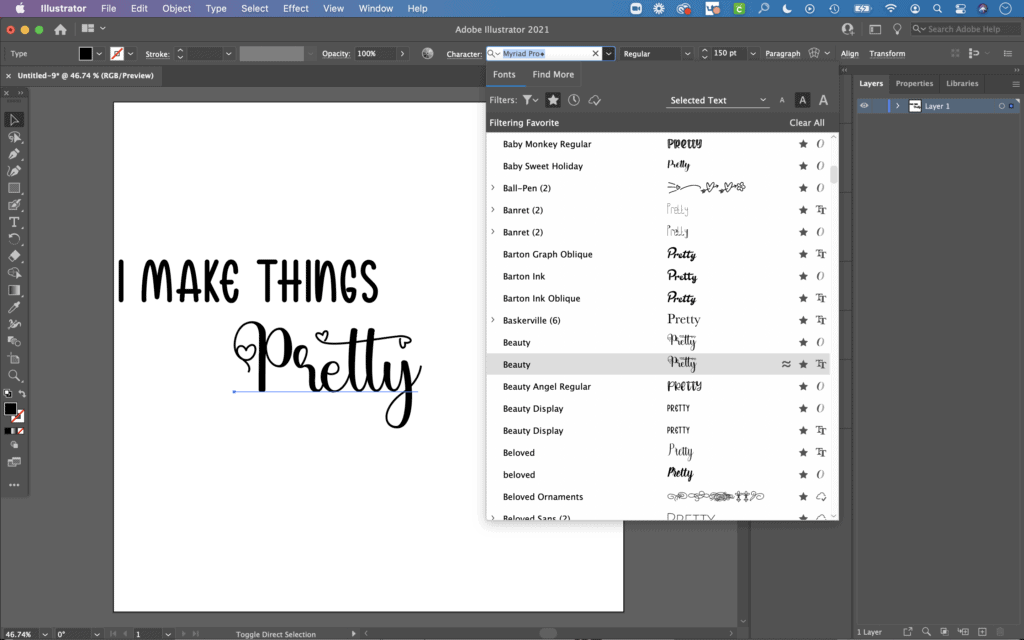
I love Adobe Illustrator because you can see a preview of what the font is going to look like using your selected text. This makes it a lot easier to choose a font.
I'm using a font duo called Woman Beauty you can purchase from Creative Fabrica (one of my favorite places to purchase fonts!).
The top linetype will be the display font and the bottom linetype will be the script font.
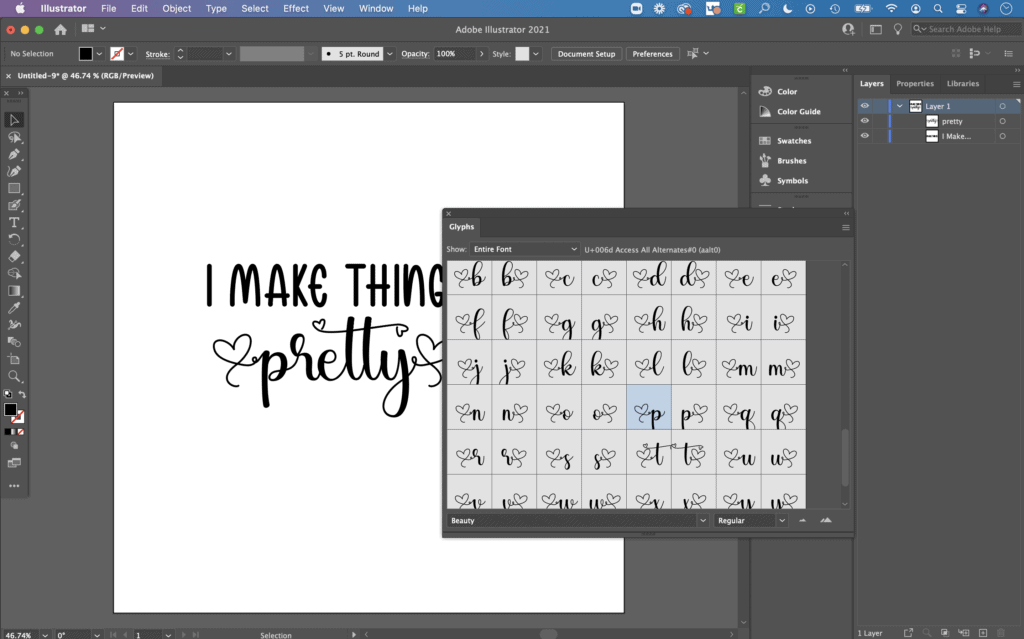
Step 5: Adding Glyphs
Glyphs are special characters or embellishments that are often times included with a font. They are a really fun way to add even more character to your design.
To add glyphs in Adobe Illustrator, select the Type Tool from the toolbar or use the keyboard shortcut T.
Select one of the characters in the word and a small pop up will appear with additional options for that character.
You can also open up the Glyph panel by going to Window > Type > Glyphs.
The Glyph Panel will show you all of the additional characters available with the font you selected. You can add a glyph by double clicking the character in the panel.
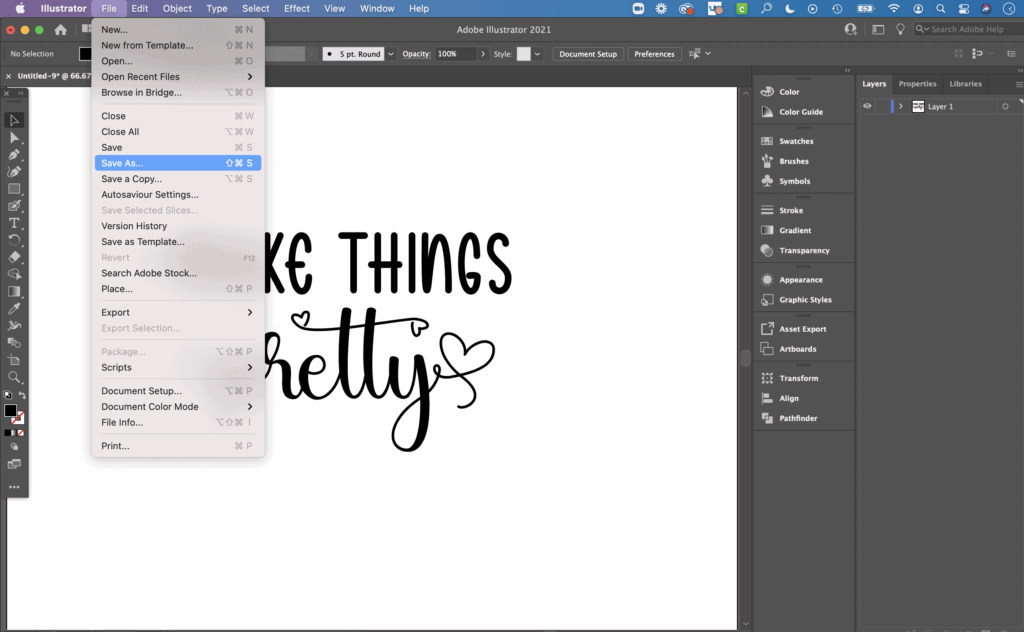
Step 6: Save Your Original Design
Before we move onto the next step of converting your text to an object or path, I always like to save my design as an Adobe Illustrator file first.
Because once you convert your text to a path you won't be able to see what font you used, it will no longer be a text object.
When I first started designing I didn't realize I needed to save an original of my design and when I'd go back to the file to see what font I used, I couldn't tell. I'd have to go through all of my fonts to figure it out again. And I have a lot of fonts!
To save the design, go to File > Save As or use the keyboard shortcut Shift + CTRL + S (Windows) or Shift + CMD + S (Mac).
You may get a popup asking if you want to save the document to your computer or to your cloud documents.
If you want to be able to access this design on other platforms choose Cloud Documents. Otherwise you can just save it to your computer.
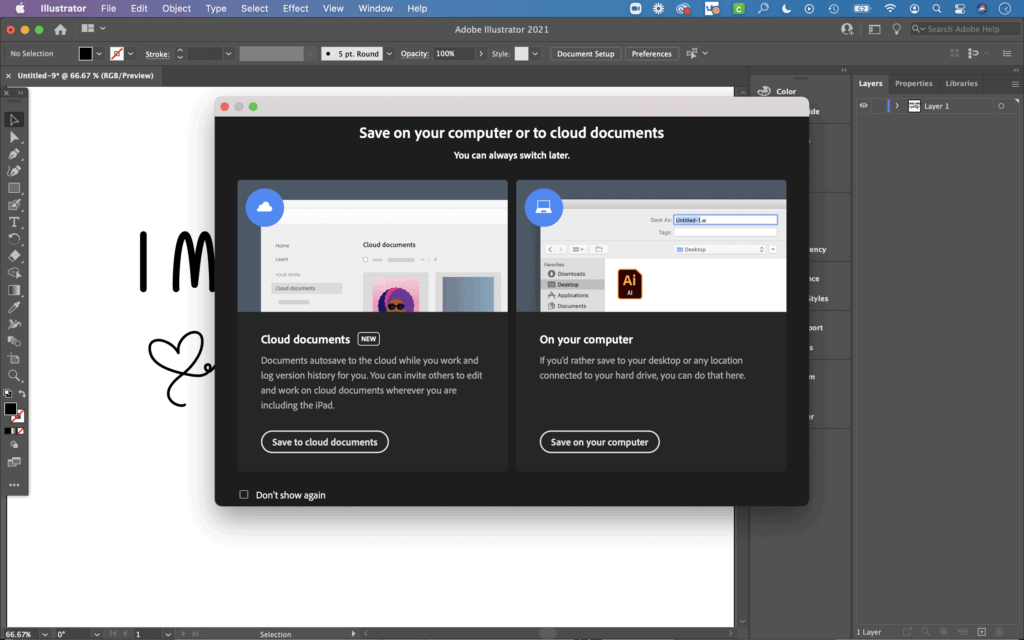
Use the dropdown menu to select the folder you'd like to save the design in.
Then update the name of the file. I like to include the word original in my file name so I know it's the original design before I converted the text to a path.
Keep the file as an Adobe Illustrator file and click Save.
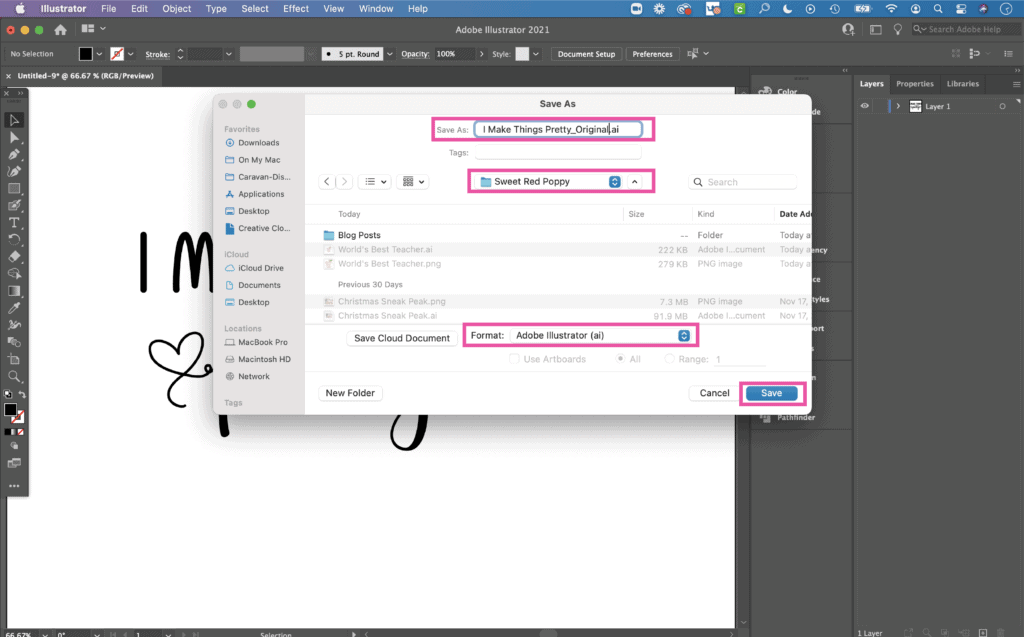
A popup will appear with Illustrator options, click OK.
Step 7: Outlining the Text
Now, in order for your cutting machine to cut this design we need to convert the text to a path by outlining the text. The path around each character tells your cutting machine where to cut.
Using the Selection Tool (V), select the first linetype. Go to Type > Create Outlines or use the keyboard shortcut Shift + CTRL + O (Windows) or Shift + CMD + O (Mac).

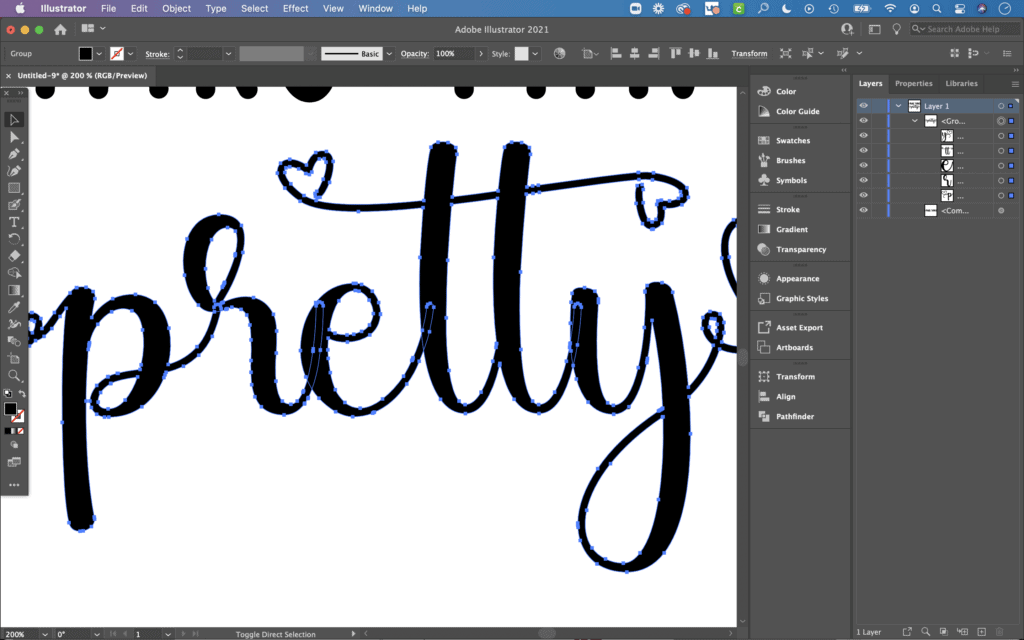
You can see now that the text is made up of anchor points which are points along the path. These anchor points are what the blade of your cutting machine follow to cut out your design.
You can also see in the Layers Panel that each character is now it's own layer. If you don't see the Layers Panel go to Window > Layers or use the keyboard shortcut F7.
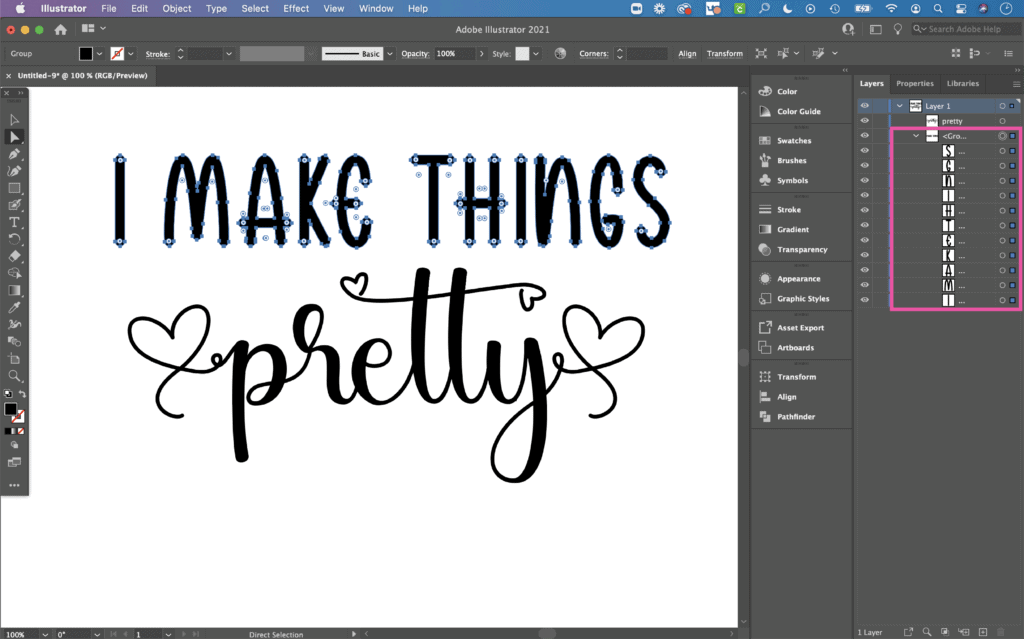
But we don't want the cutting machine to cut out each character on individual layers. We want the cutting machine to see the top text as one layer.
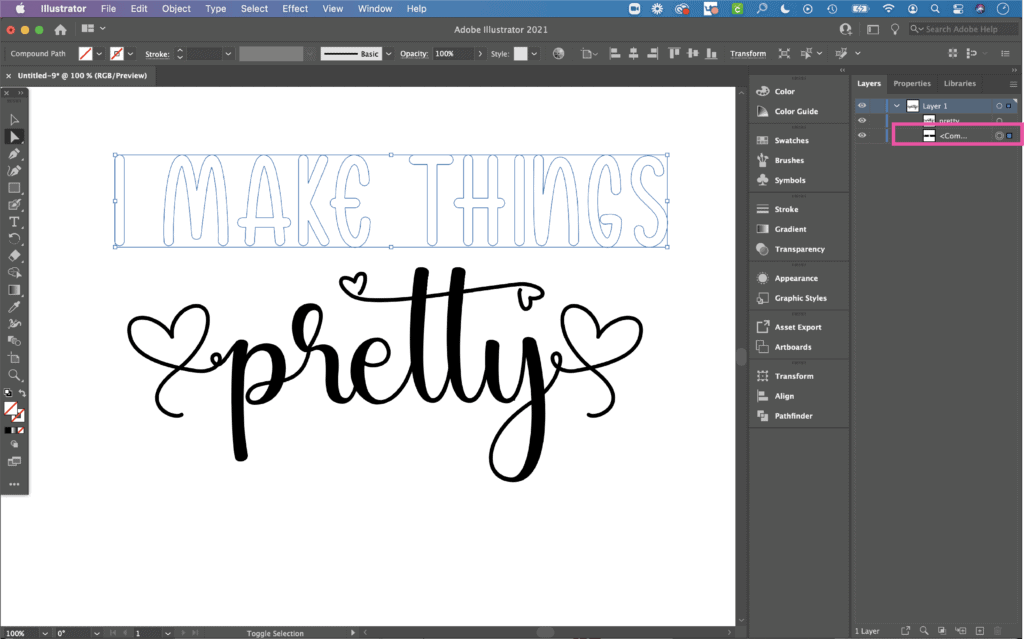
To combine the characters together as one layer go to Object > Compound Path > Make or use the keyboard shortcut CTRL + 8 (Windows) or CMD + 8 (Mac).
You'll now see the text as an outline and in the Layers Panel it'll be only one layer.
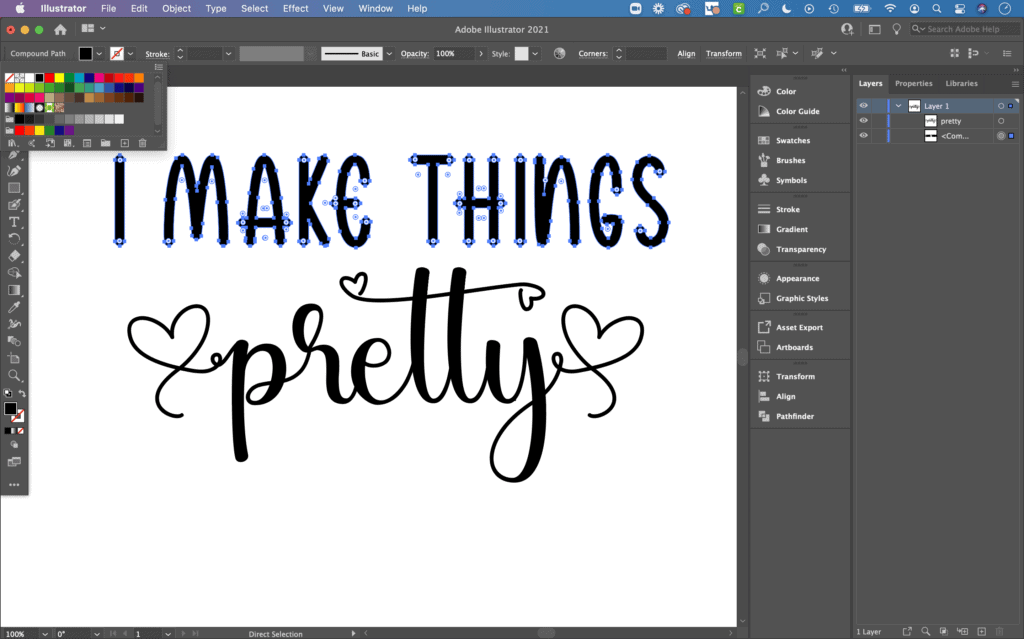
You can also combine the characters from each word into a Compound Path if you want all three words to each have their own layer. You would do this if you wanted them to be different colors.
To add color back to your text, use the Color Panel at the top to select a color.
Now let's outline the second line in our design.
Using the Selection Tool (V), select the bottom linetype with the script font.
Go to Type > Create Outlines or use the keyboard shortcut Shift + CTRL + O (Windows) or Shift + CMD + O (Mac).

Here you can see that each character has been outlined and in the Layers Panel each character is its own layer.

But if you look closely you can also see that the characters are overlapping because this is a script font.
If we make this a compound path, the cutting machine is still going to cut each character out as separate characters.
We need to join the characters together so it cuts them out as one.
Open the Pathfinder Panel by going to Window > Pathfinder or using the keyboard shortcut Shift + CTRL + F9 (Windows) or Shift + CMD + F9 (Mac).
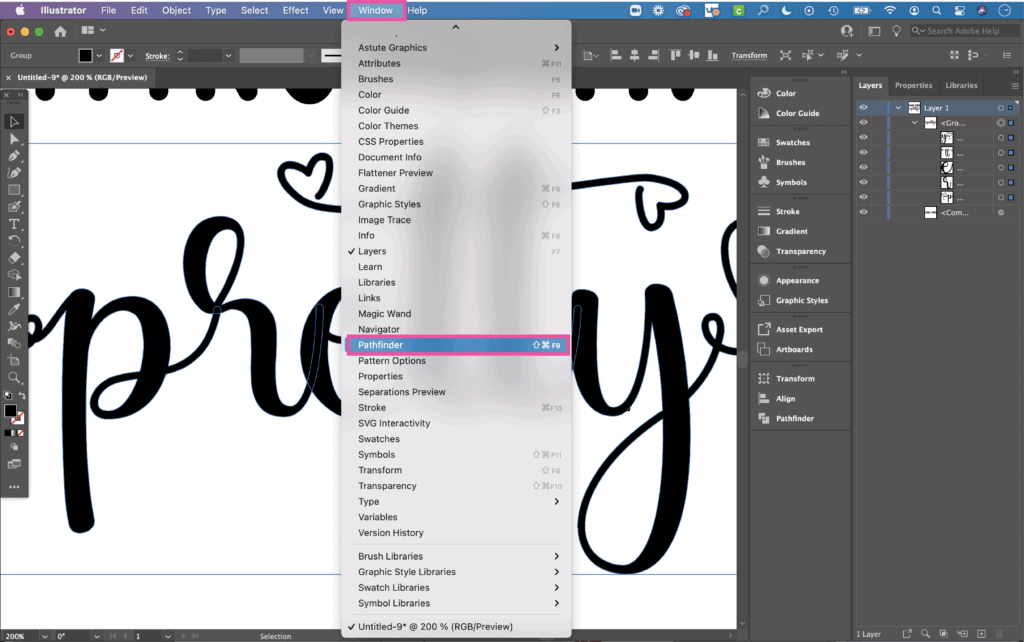
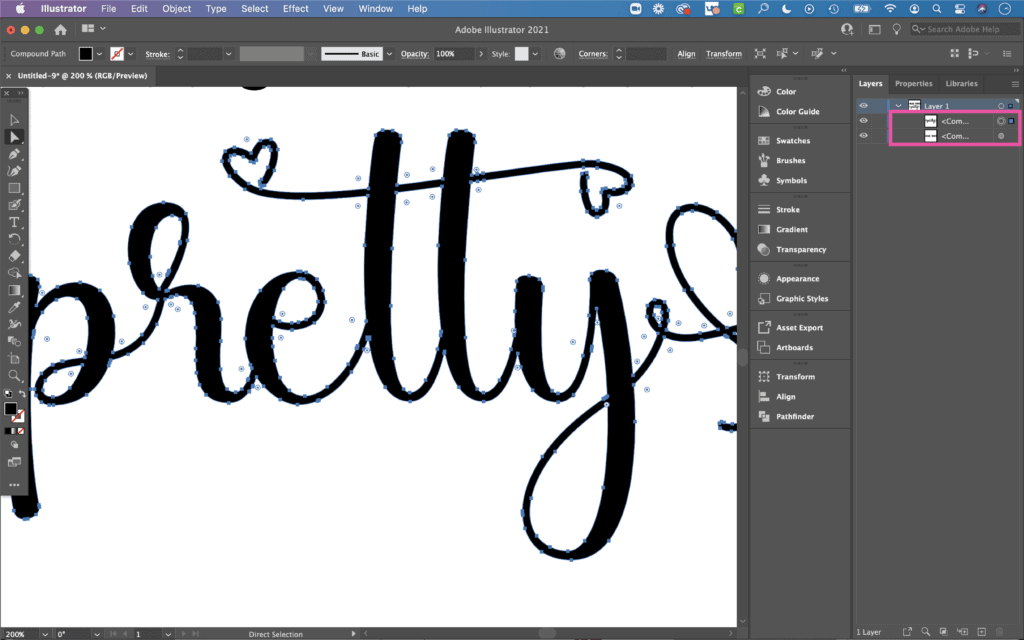
Select the first option under Shape Modes which is the Unite function. This function will join the characters together and automatically make it a Compound Path.
This means it will cut as one. You can see now that the characters have been joined together. You now have two Compound Paths in the Layers Panel; one for the first linetype and another for the second linetype.
Step 8: Save Your Cut File
Before we save this design as an SVG, or another type of cut file, save another Adobe Illustrator version of this design following the same process in Step 6.
Only this time instead of using the word 'Original' in the filename, I like to use the word 'Outlined'.
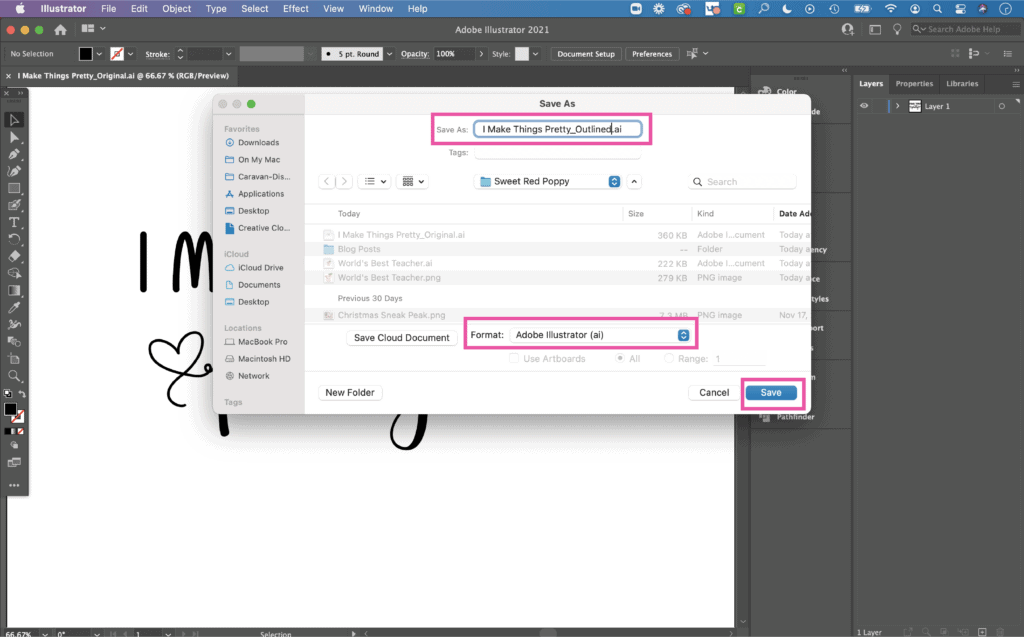
Then I know that this file has the text converted to a path so if I need to make adjustments to the cut file I can do it without having to go back to the original and outline the text again.
Click Save. A popup will appear, click OK.
Step 9: Creating an SVG File
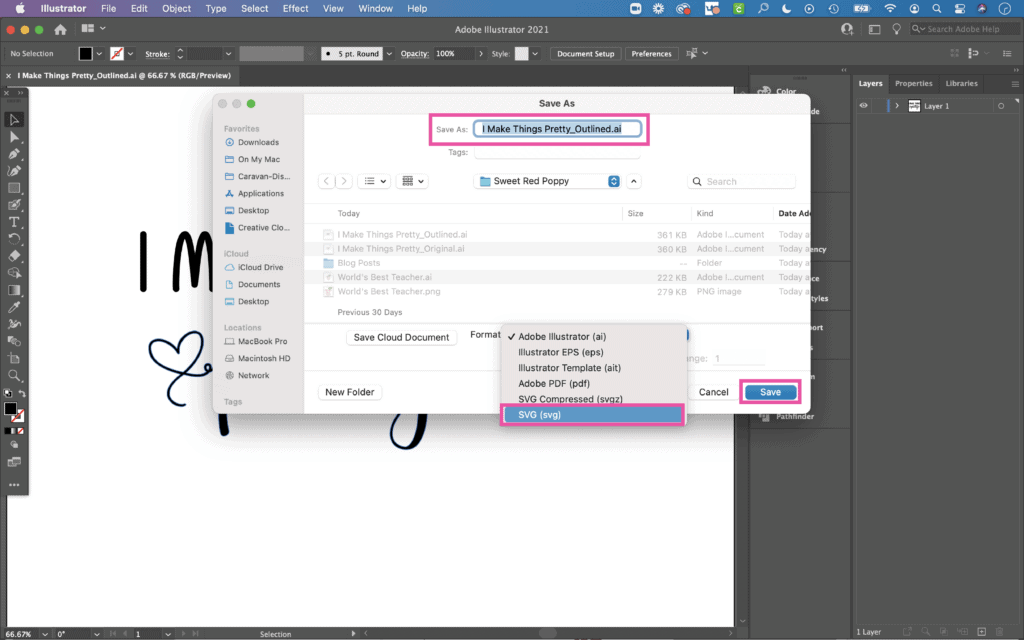
To save your design in an SVG file format go to File > Save As or use the keyboard shortcut Shift + CTRL + S (Windows) or Shift + CMD + S (Mac).
This time use the Format dropdown to select the SVG (svg) file format. You may also want to remove 'Outlined' from the filename.
Click Save.
An SVG Options dialog box will appear. Keep everything as is and select OK.
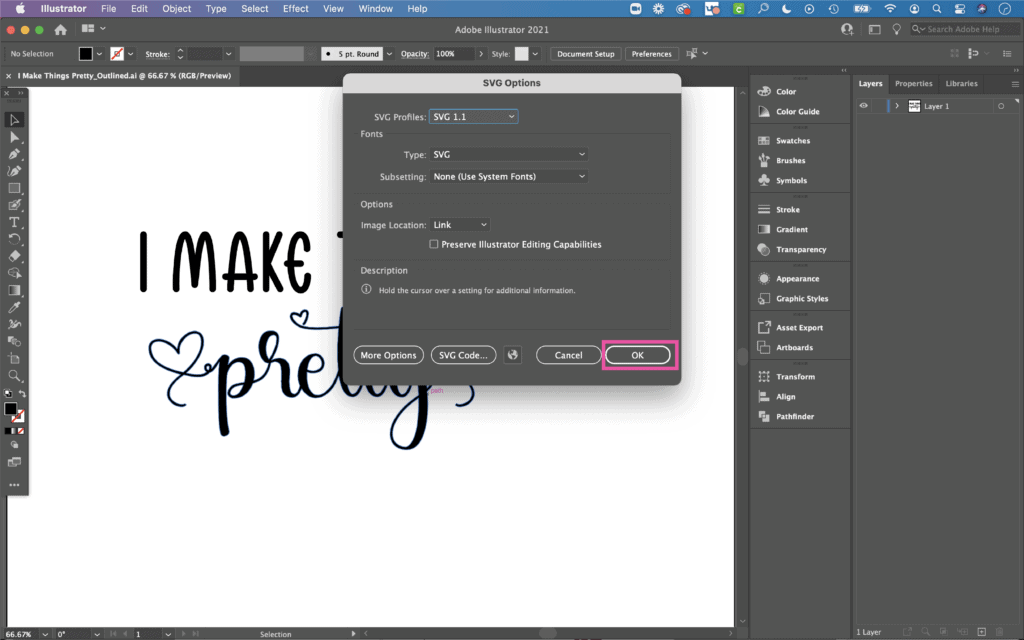
You can now upload your SVG cut file to Cricut Design Space or Silhouette Studio Designer or Business Edition.
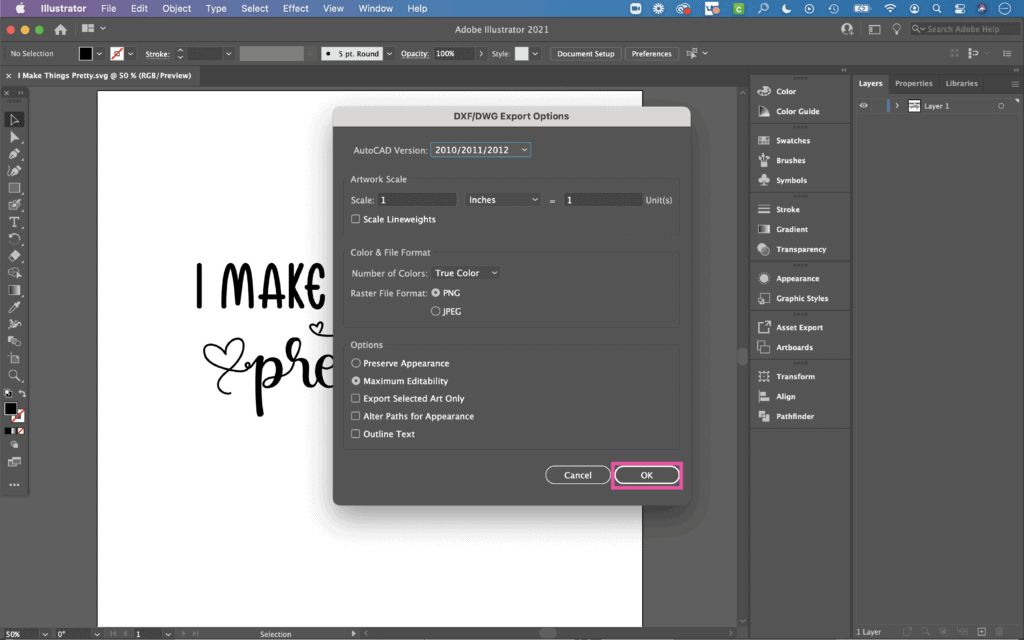
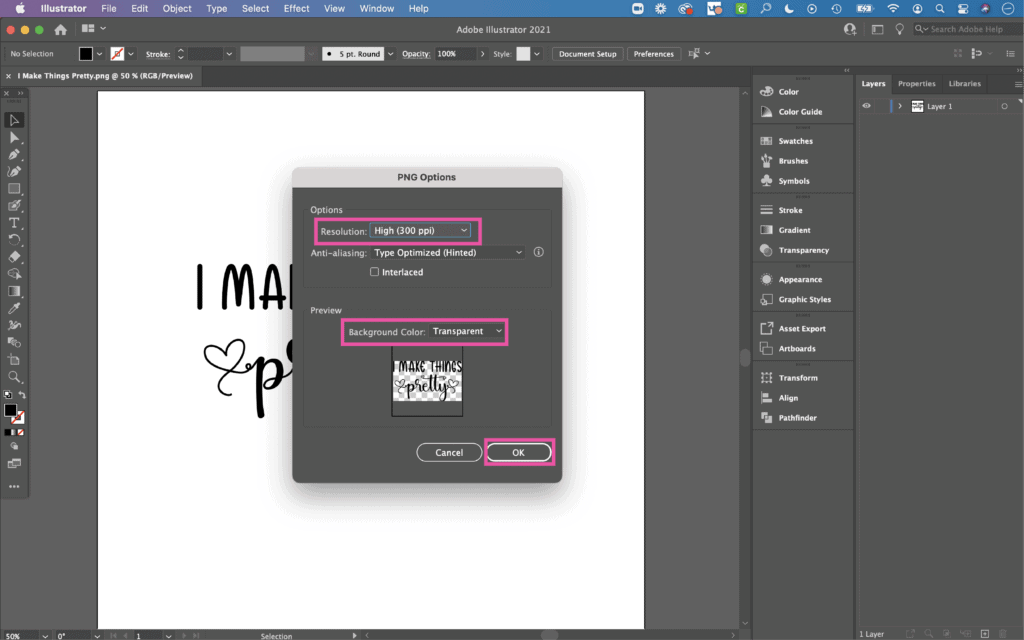
Step 10: Creating a DXF or PNG File
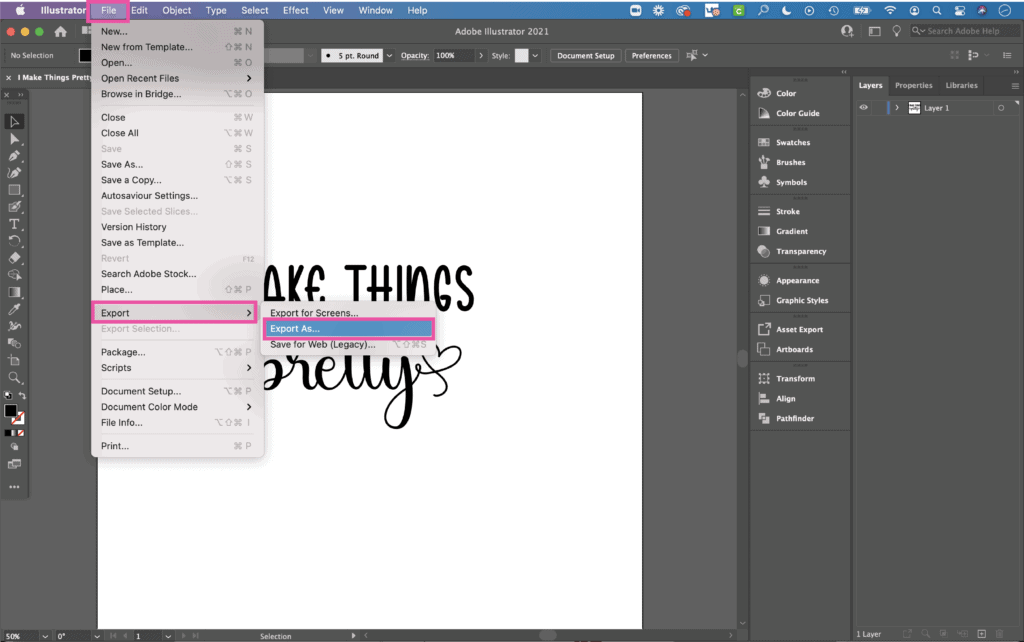
If you're using Silhouette Studio Basic Edition and need a DXF file or need a PNG file to use the Print and Cut feature you'll need to export your design instead of saving it.
Go to File > Export > Export As.
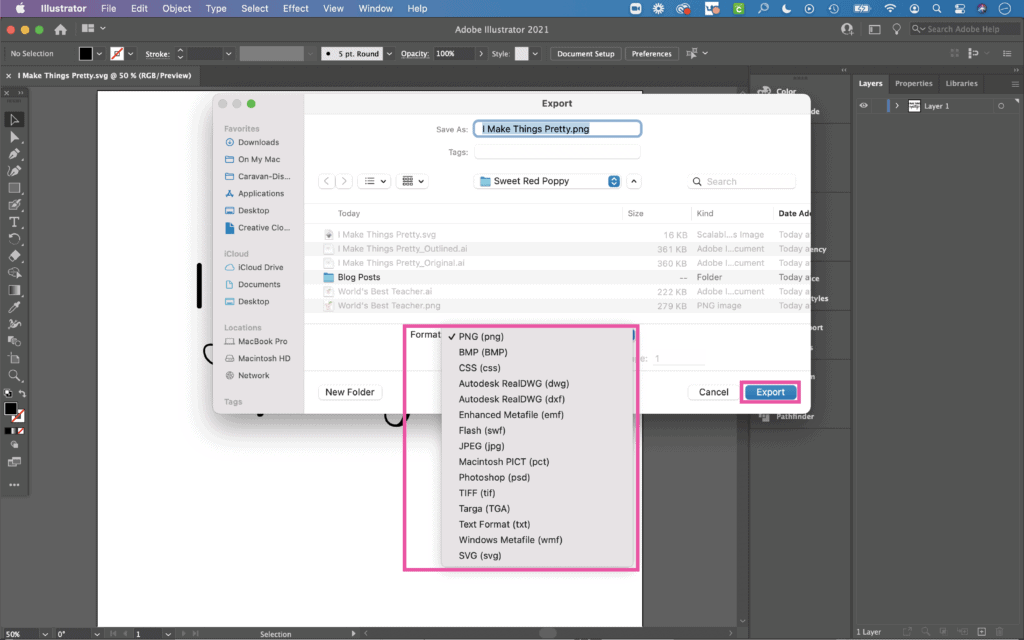
A similar window will appear as when you saved the design but here you'll want to choose what type of file you want to export your design as.
The file will default to the location you have your other files saved but you can choose another location using the dropdown menu at the top.
Then using the Format dropdown menu, select the file format you need and click Export.
For DXF files, leave all of the options in the DXF options popup as their default and click OK.
For PNG images, make sure the Resolution is set to 300 ppi to ensure a high resolution image and keep the background color as transparent.
Step 11: Test Cut Your Design
Once you save a file, be sure to run a test cut or two using inexpensive materials or scraps. Sometimes you will find that there is a portion that doesn't cut correctly, so it's important to test it and adjust the file as needed.
With a little practice and patience, I am certain you will get it down and be making your own amazing SVG files using Adobe Illustrator for Cricut and Silhouette in no time at all!
Did you have fun learning how to make your own cut file using Adobe Illustrator? I can't wait to see what you make utilizing your new skills! I would love for you to share your designs and finished crafts in my Facebook Group. To join, click here.

Want to Learn More About Making Cut Files in Adobe Illustrator?
In my new SVG Design School, that I just launched, I'll teach you everything you need to know to design your own cut files in Adobe Illustrator.
Starting from the basics, I cover editing, text, colors, saving your design. Then I move on to teach you advanced techniques like drawing, creating patterns and so much more!
Throughout the course, I’m including a variety of class projects. These projects are designed to put into practice the skills you'll learn in the course.
I’ve found that the best way to really learn how to design is to do it yourself.
Learn more about SVG Design School Here
Don't want to forget how to make SVG files using Adobe Illustrator? Save this post for later! Click here to save to Pinterest.
Leave a Reply