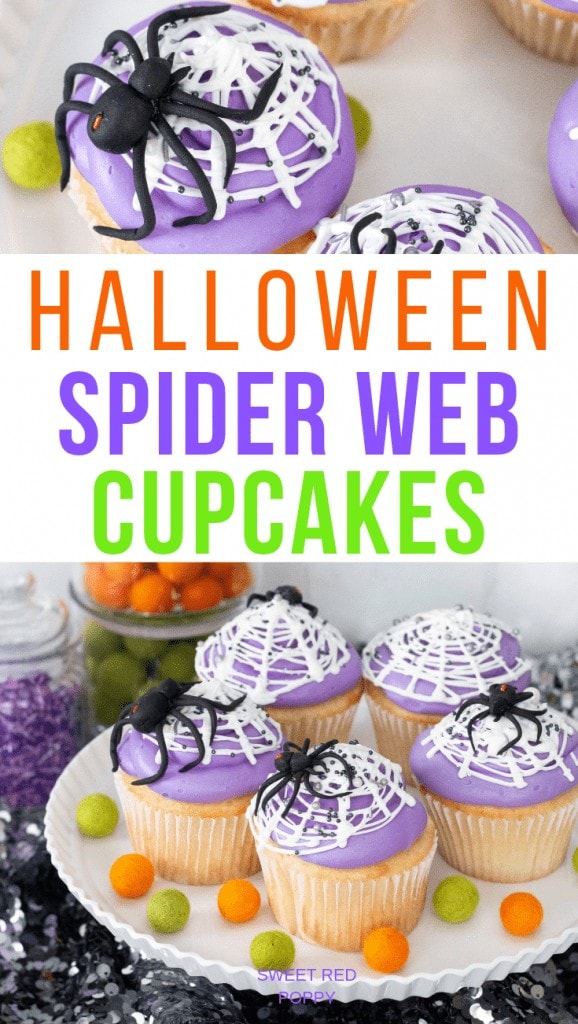
Learn How to Create Black Widow Spider Web Cupcakes for Halloween with This Step by Step Tutorial.
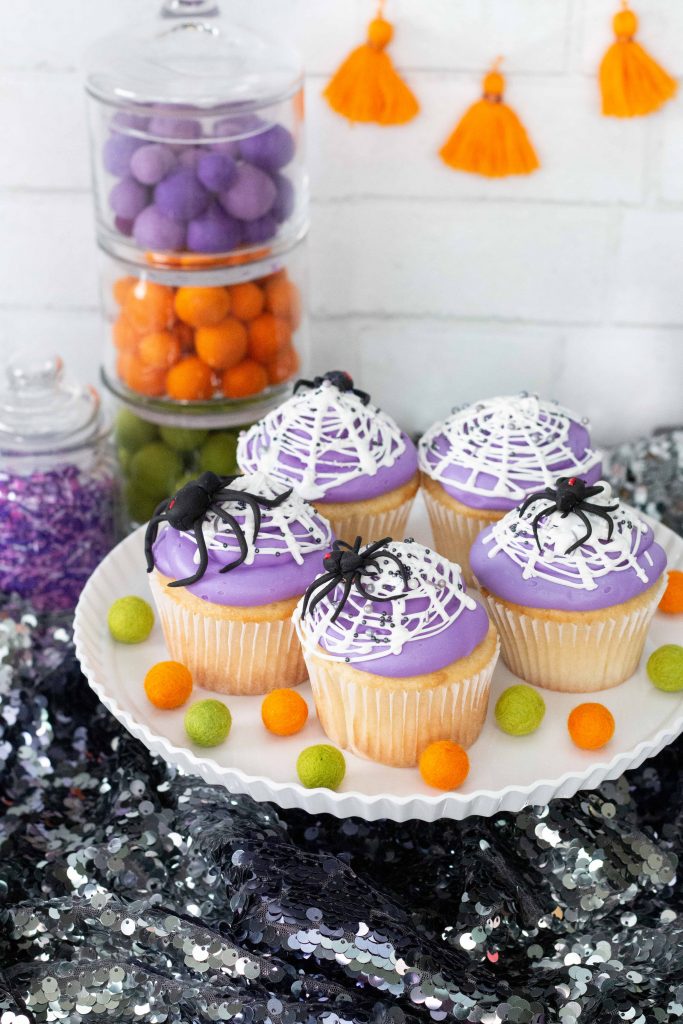
Halloween is coming soon and I always get SO excited about creating fun, yet slightly creepy Halloween treats each year! This year my kids insisted that black widow spiders be incorporated into our decor.
My son has been fixated on spiders lately which means we spend
These cupcakes are fairly easy to make, but they do take a bit of time! The best part is your kids can totally help you with the process!
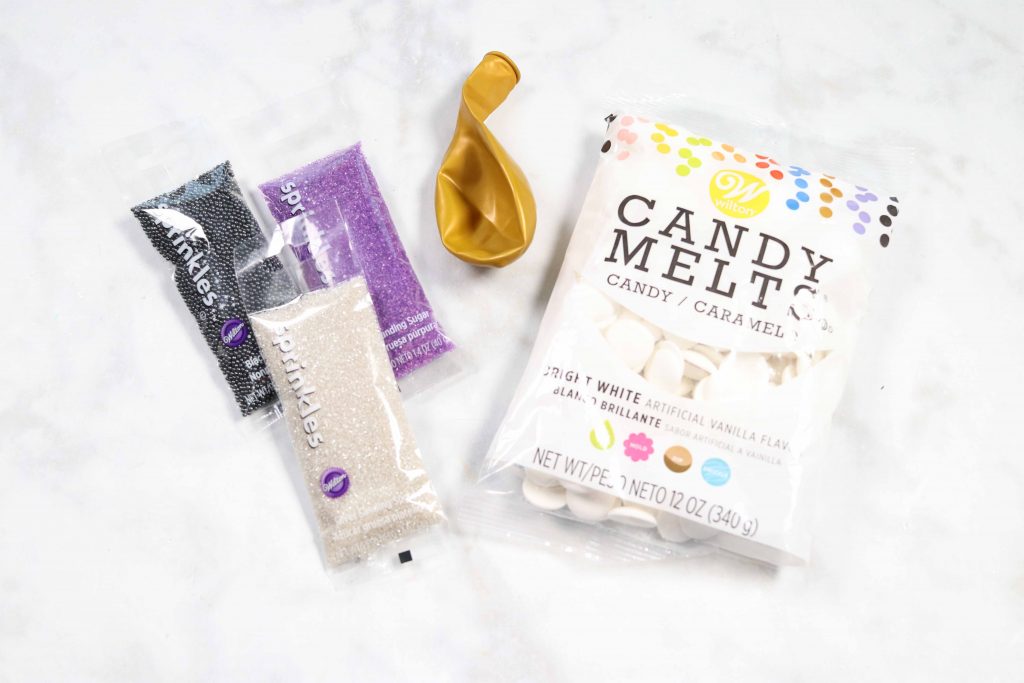
You can find all these black widow spider cupcake supplies at your local craft stores.
Table of Contents
Supplies
- 12 Jumbo cupcakes
- Warm Vanilla Frosting
- Purple Food Coloring
- Disposable Decorating Bag and Tip
- Wilton White Chocolate Melts
- Sprinkles
- Black Fondant
- Edible Food Gel
- Clay Extruder (Optional)
- Red Sprinkles
- Balloons
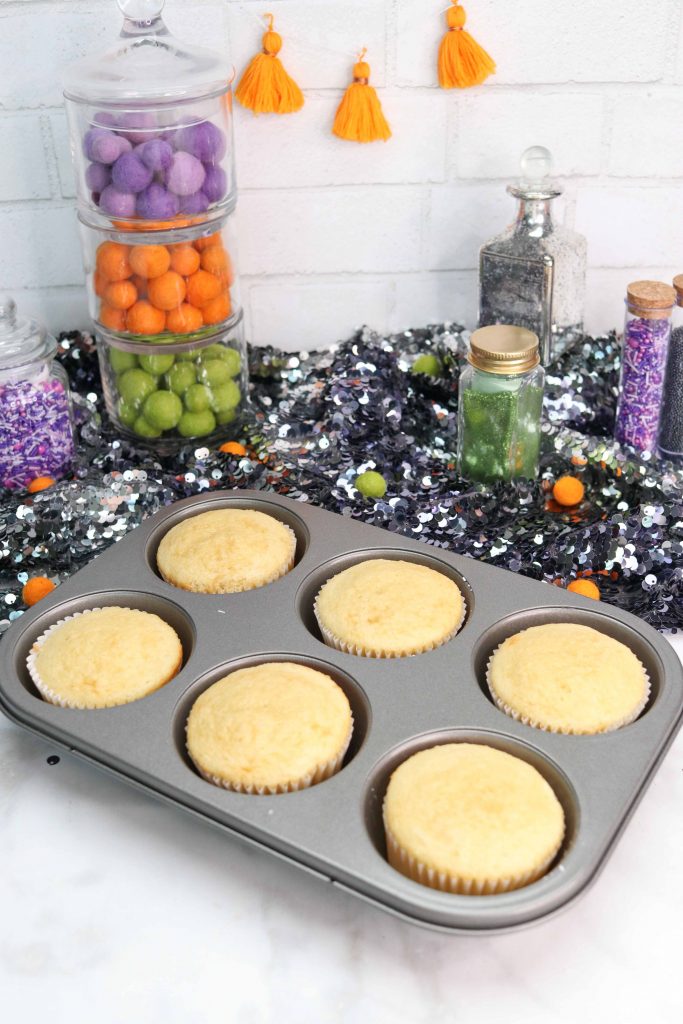
Bake & Frost Cupcakes
Begin by preparing 12 jumbo sized cupcakes in white liners. Once the cupcakes have finished baking, let them cool completely.
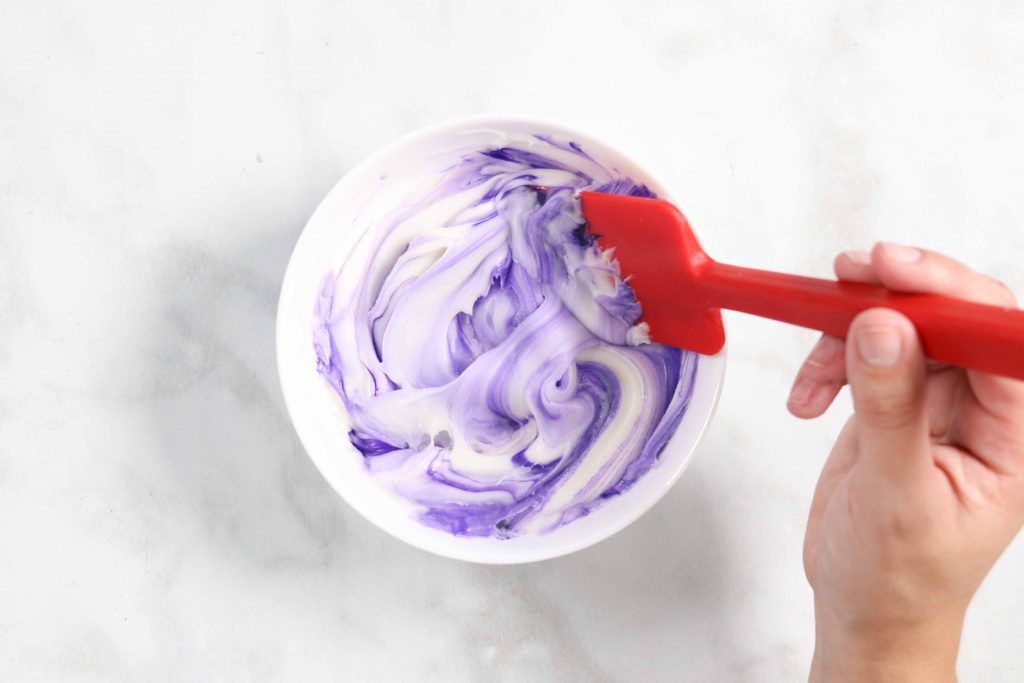
Scoop out the contents of two containers of warm vanilla frosting into a bowl. Using a toothpick or knife add Wilton food coloring to the icing until you achieve the desired color.
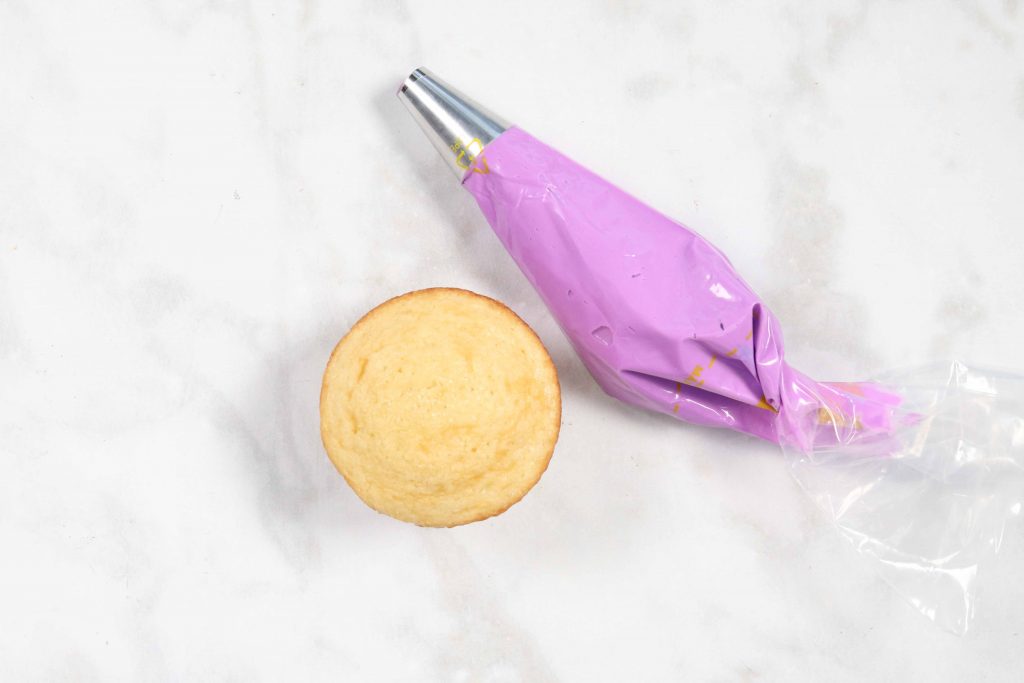
Place a round metal tip inside of an icing bag. Fill the piping bag with purple icing and secure the top closed.
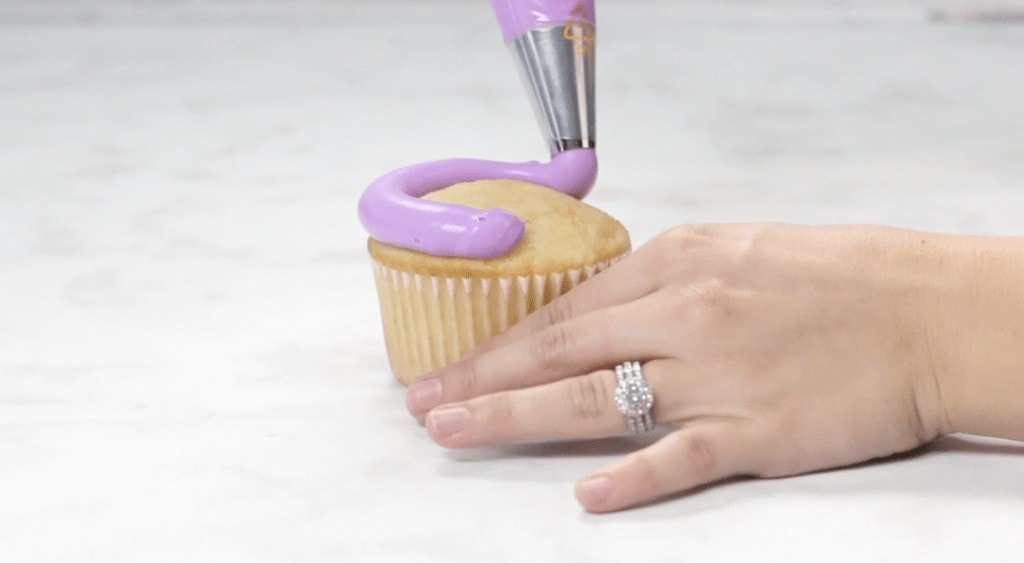
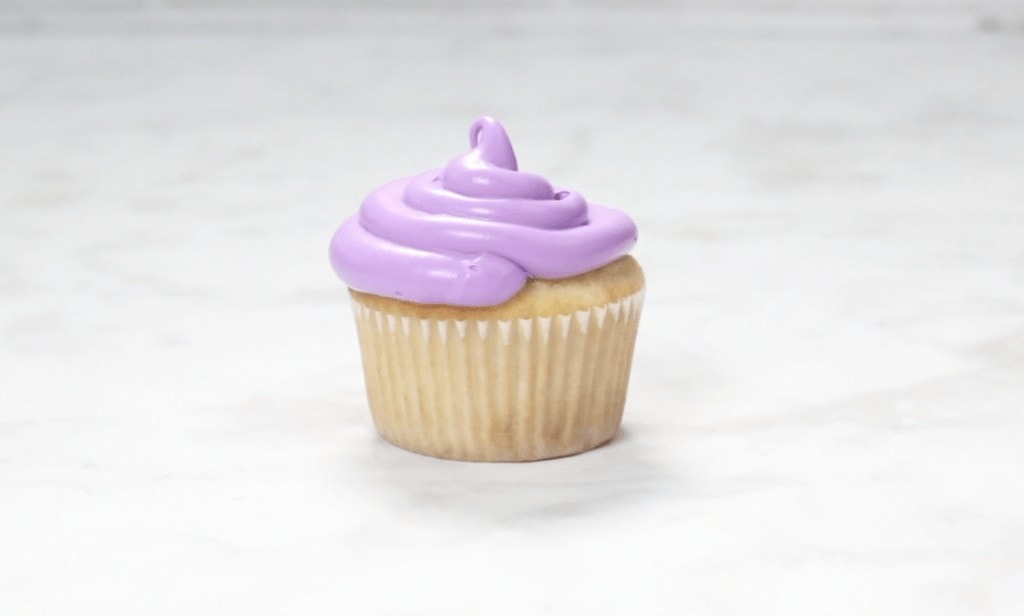
Start from the edge, hugging the outside
Create White Chocolate Spider Webs
Warm a cup of white chocolate Wilton melts in a microwave-safe bowl. The candy melts should be warmed in 15-20 second increments.
I know it might be tempting to use larger increments but this will prevent the chocolate from burning. Heat the melts, remove them from the microwave, stir and then warm them again until they are completely smooth.
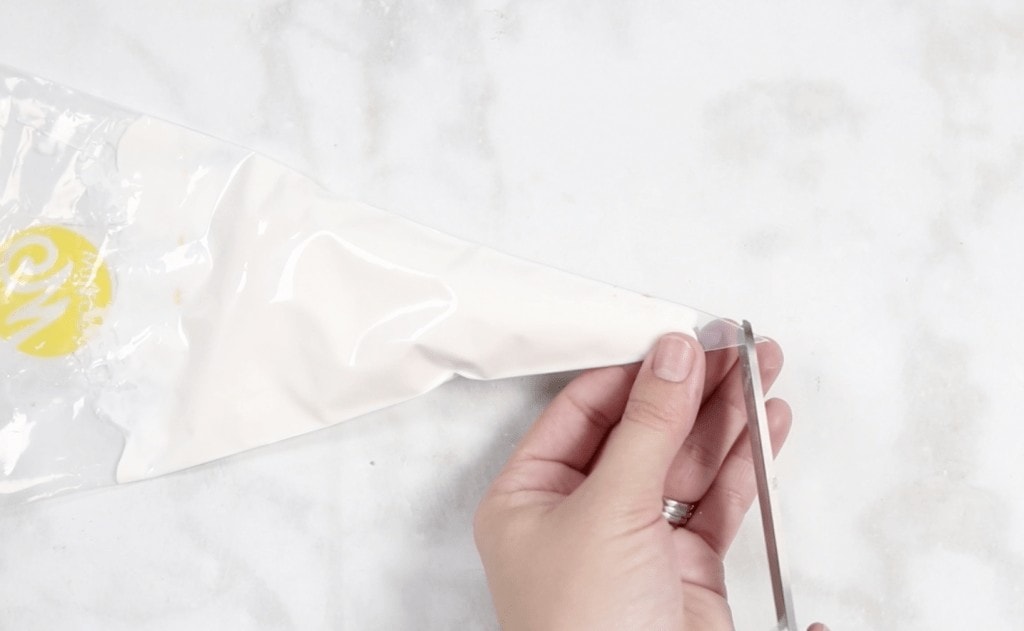
Fill a small piping bag with the warmed chocolate and cut the tip of the bag off.
Inflate 12 balloons so the top of a balloon is close in size to the top of your cupcake. Don’t
Cover the top of the balloon with vegetable oil. This will help the chocolate to separate from the balloon in the next step.
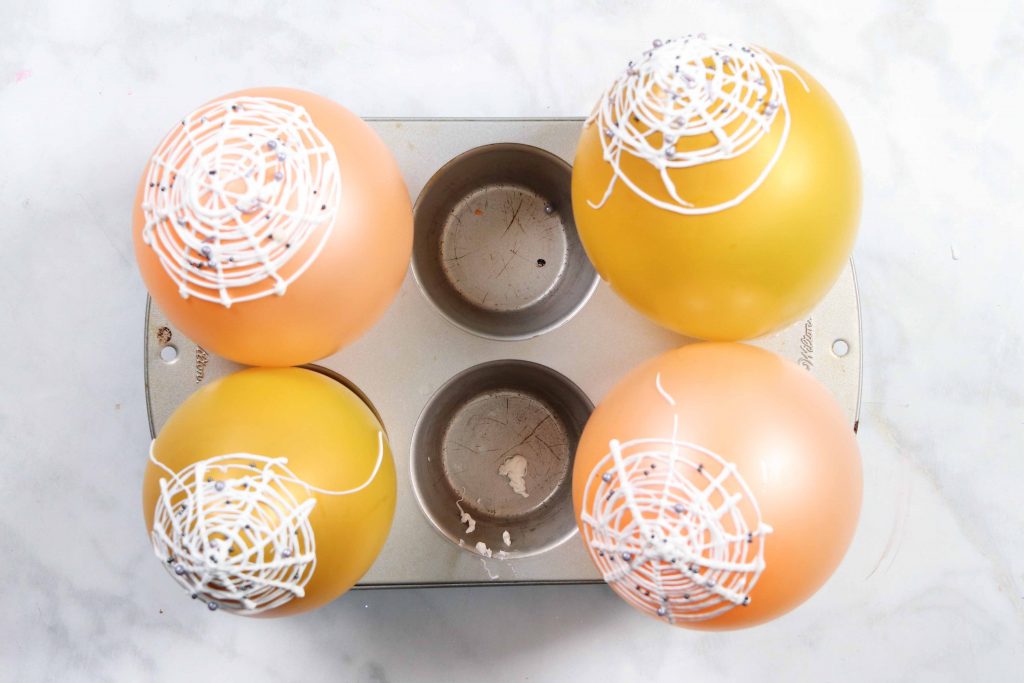
Place the balloons in a jumbo cupcake pan.
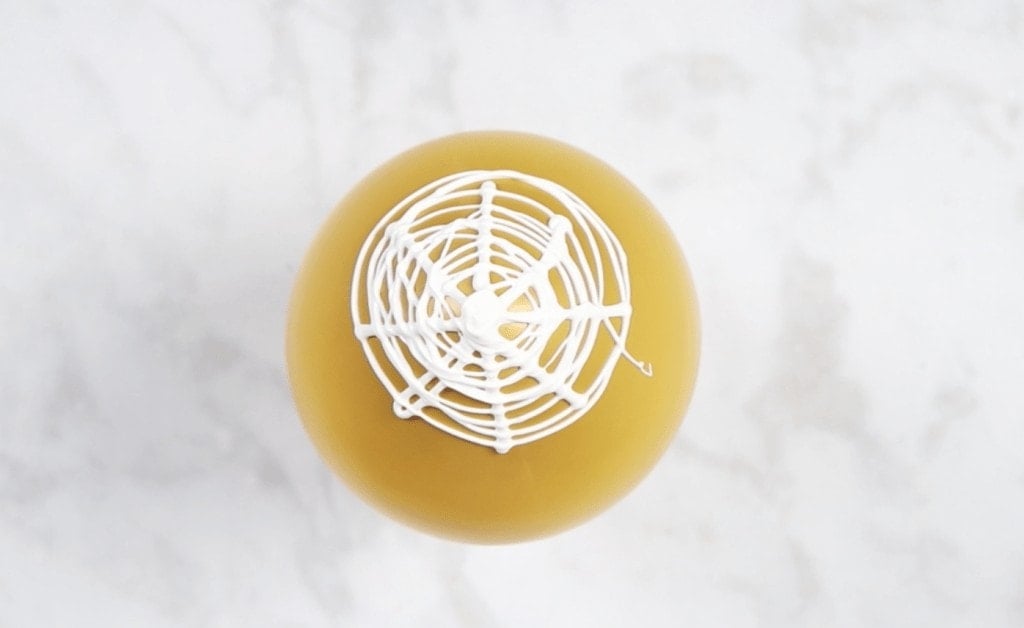
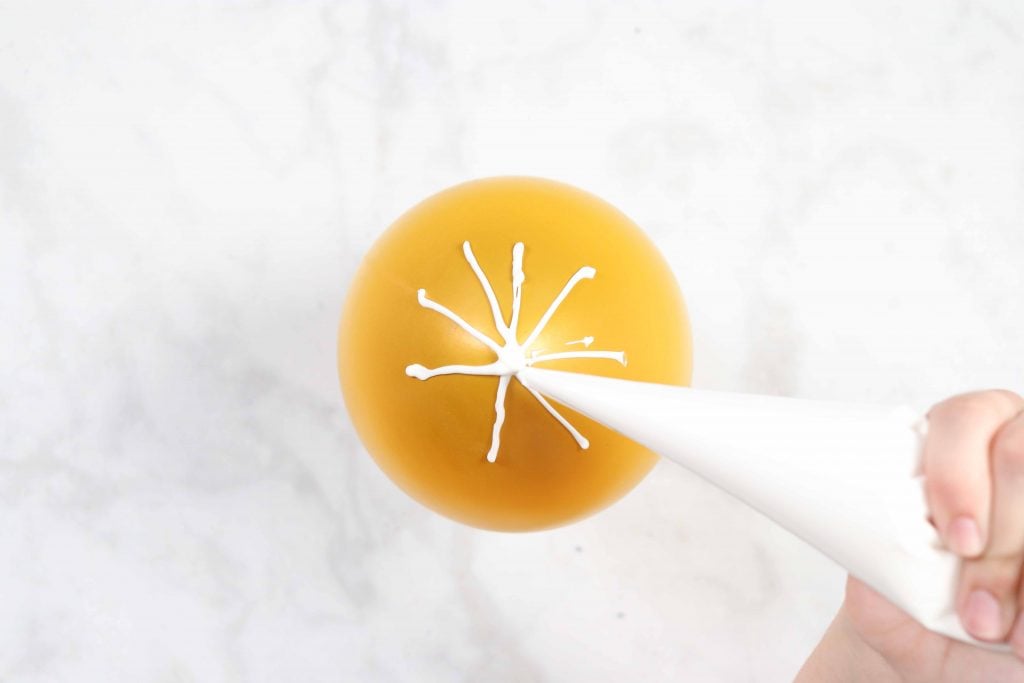
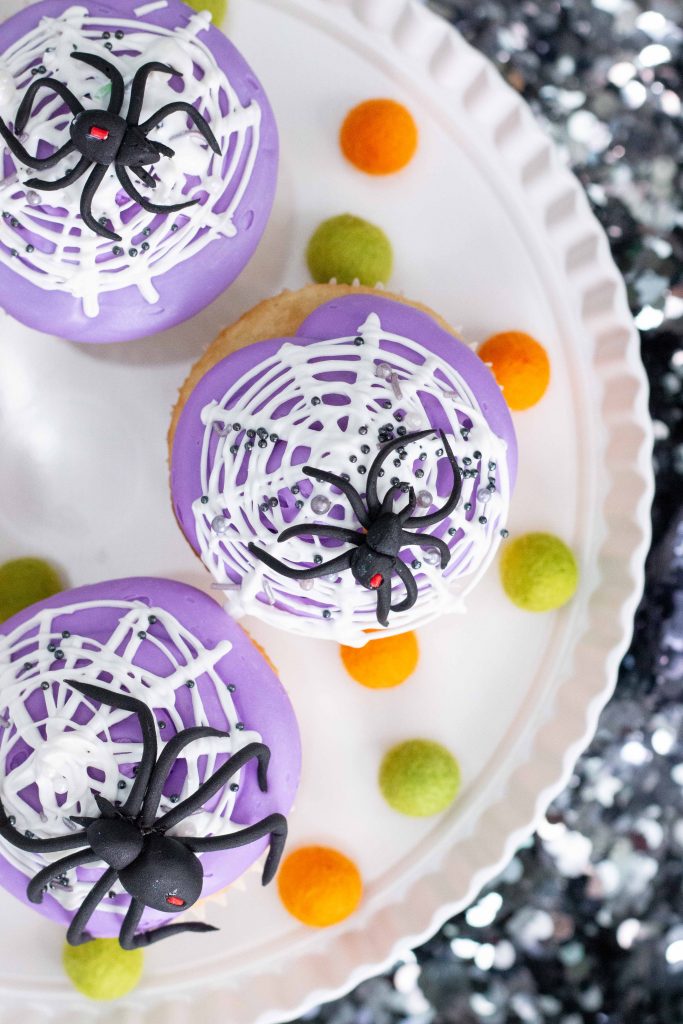
With the warmed chocolate draw an x on the top of the balloon. Rotate slightly and draw another x. Starting from the top drizzle the chocolate into swirls to create a spiderweb.
The first layer I like to make the circles a bit thicker to give the spiderweb a solid base so that it doesn't crack apart in the next step. Then I go over the spider web a
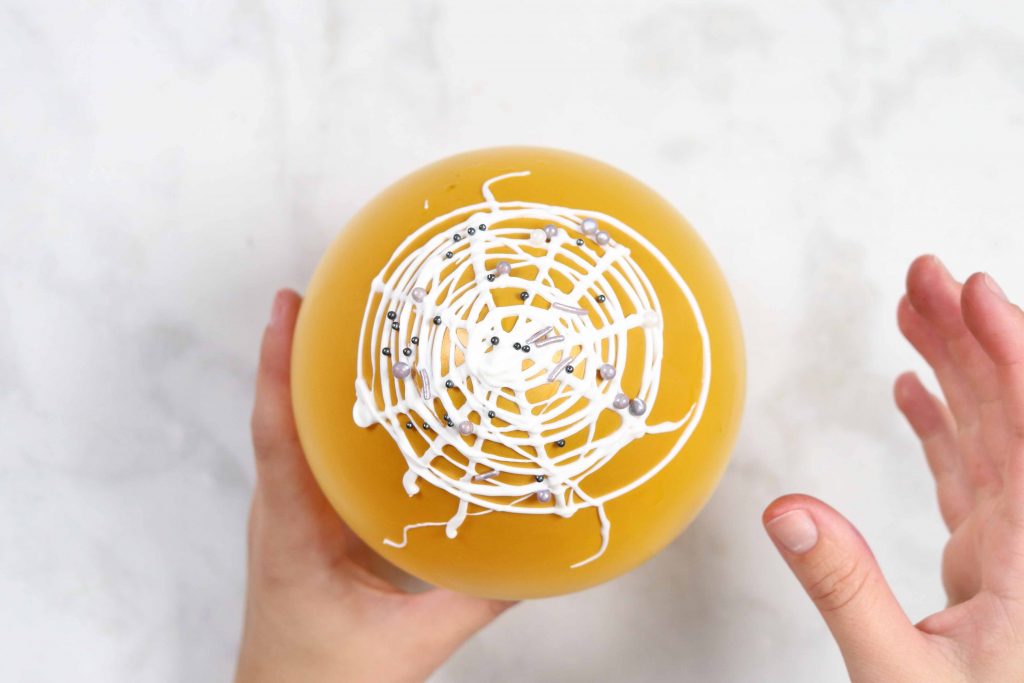
Sprinkle a variety of different sprinkles on the chocolate while it’s still warm.
Place the muffin tin inside of the fridge for 5-10 minutes to allow the chocolate to harden
Pull the muffin tin out of the fridge once the chocolate has hardened and
Once the balloons have deflated completely, gently pull the balloon away from the chocolate if it’s still attached. Go slowly so that you don’t break the spider webs. You’ll likely
Place the spider web on top of a frosted cupcake, pushing it down slightly so attaches to the tip of the frosting.
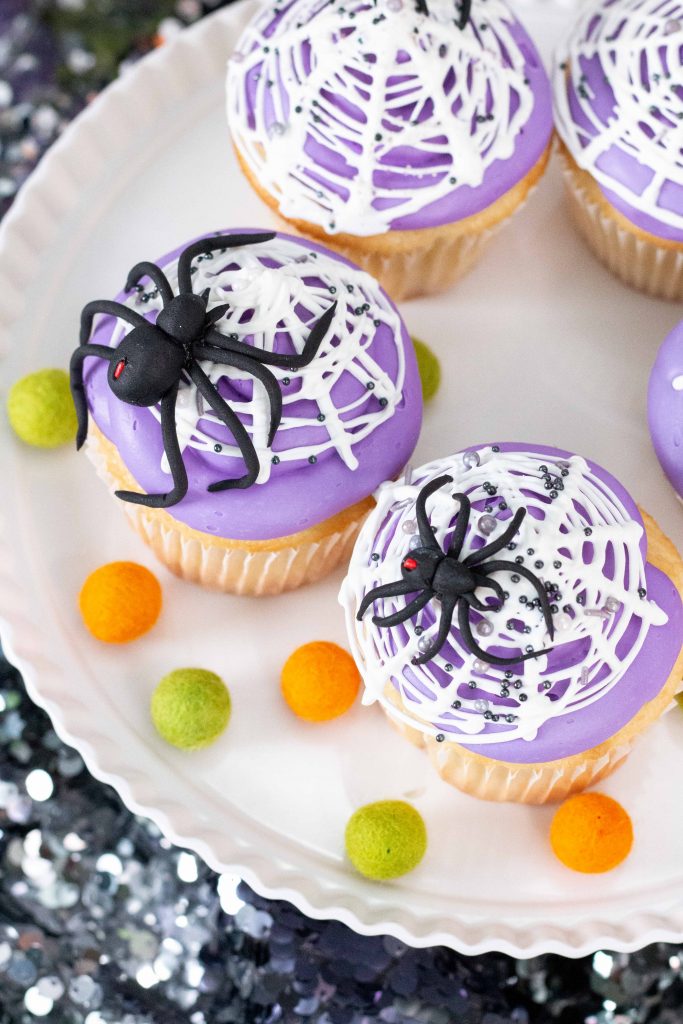
Create Fondant Spiders
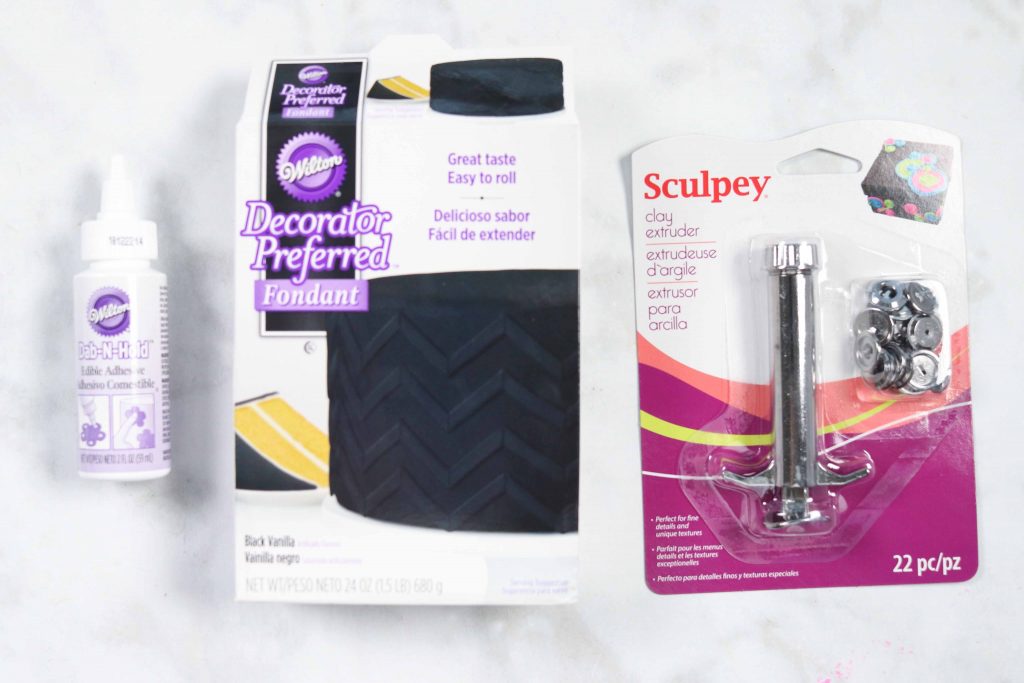
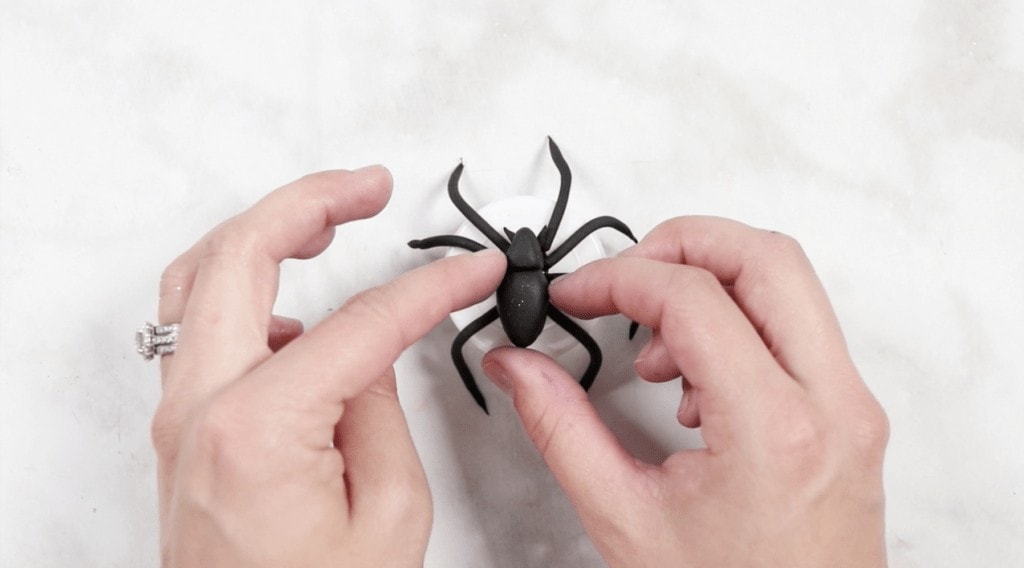
To create a black widow spider, open a package of black Wilton fondant and cut off a small piece.
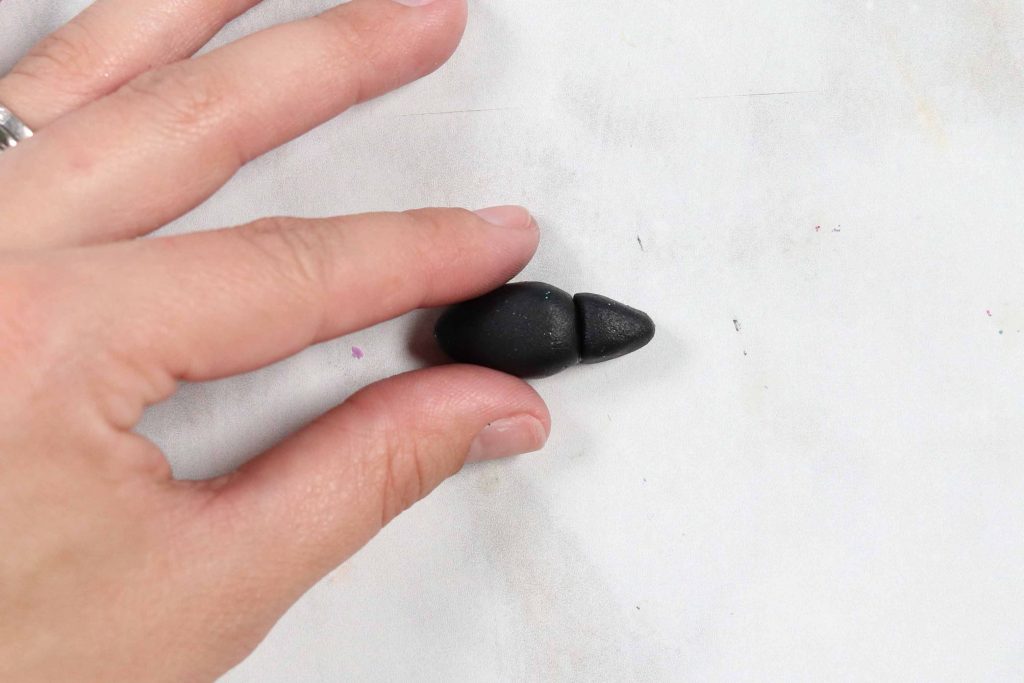
Roll a small piece of fondant into a ball to create the body of the spider. Create a slightly smaller ball for the head of the spider.
Use a dab of Wilton food gel to
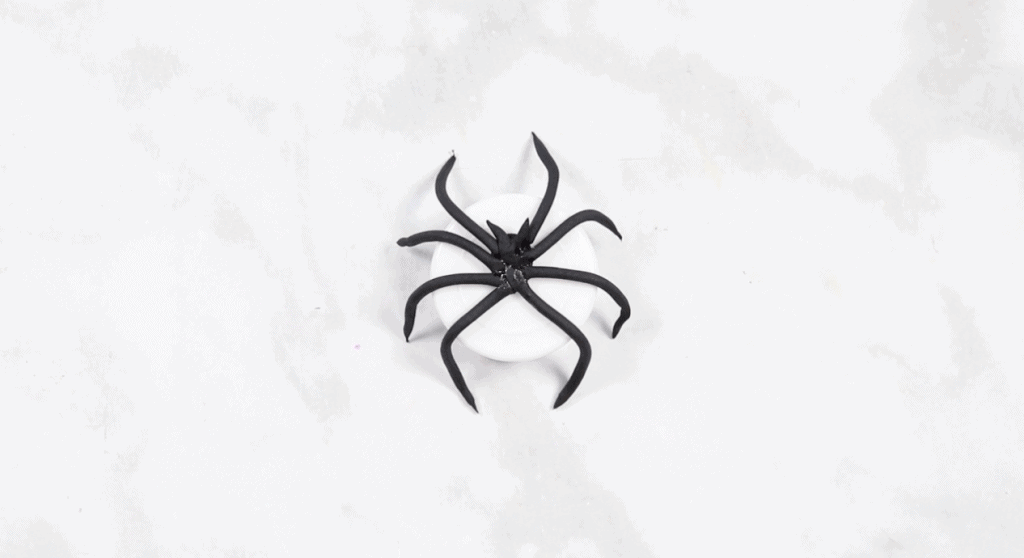
Use a clay extruder to create eight spider legs. I
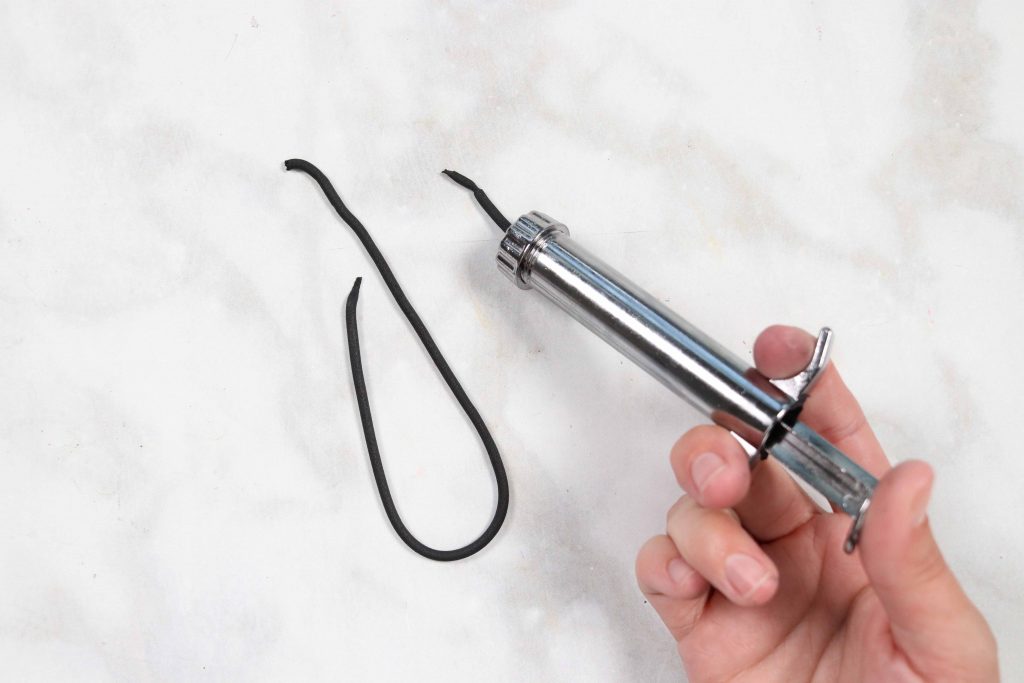
Build the spider on top of something that has a dome shape (like the cap of the sprinkles) to give the spider legs a more realistic look.
Create tiny pinchers and attach them on the front of the spider directly under the head.
With edible
Assemble Cupcakes
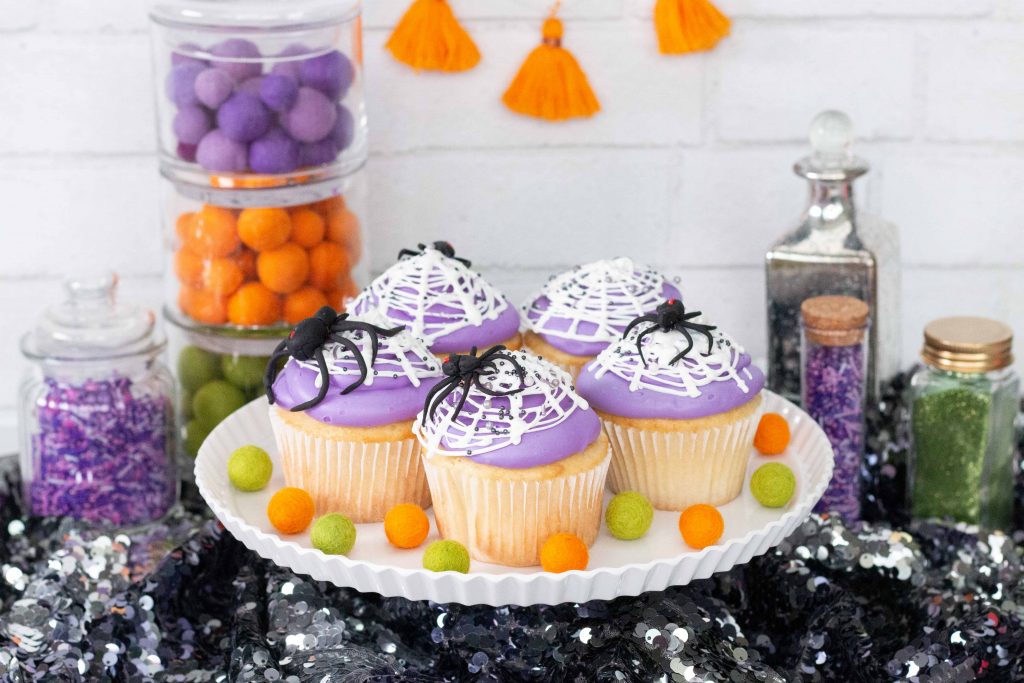
Gently place the chocolate spider web on top of the frosted cupcake. If your spider web falls apart, don't worry you can piece it back together on top of the cupcake with a bit of food gel.
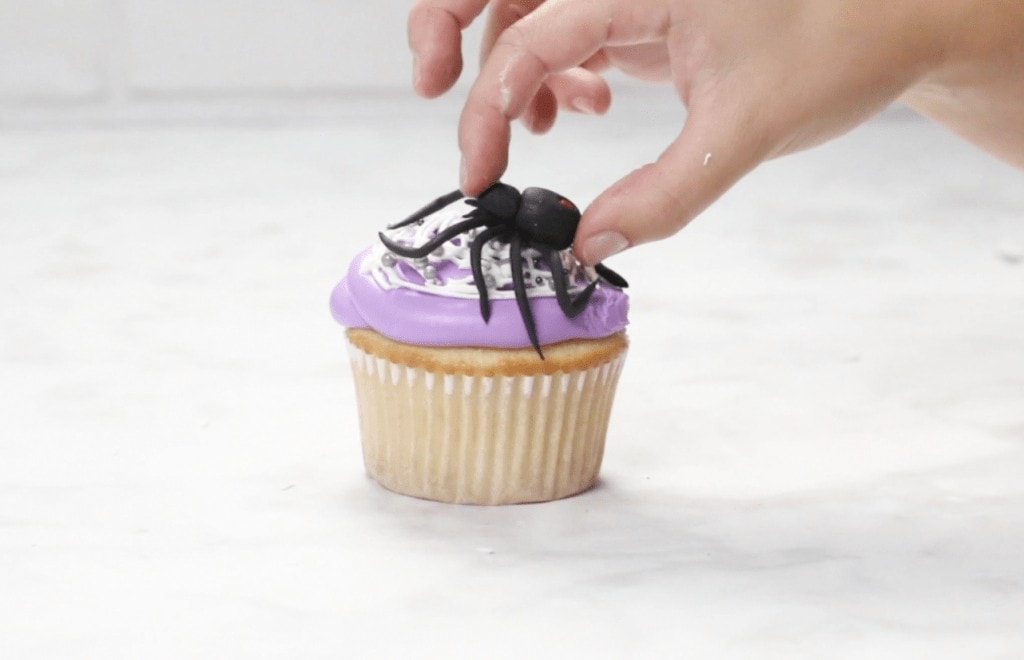
Once the spider web has been positioned, attach the spider with a dab of gel underneath its belly on top of the spider web. I varied the sizes and positions of the spiders to make it look more realistic.
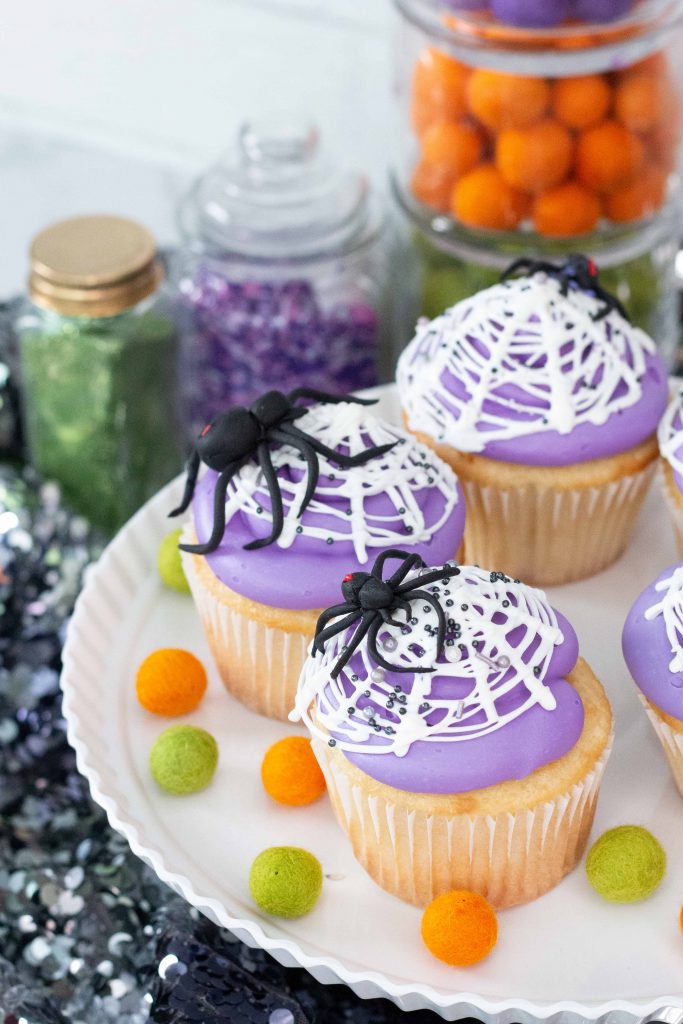
You are sure to be the hit of every Halloween party with these creepy black widow spiders!
Oh, and if you plan on storing these in your fridge, don't forget to warn
One thing I'd really like to reply to is that fat reduction plan fast may be possible by the suitable diet and exercise. Your size not just affects the look, but also the entire quality of life. Self-esteem, depressive disorders, health risks, in addition to physical ability are affected in weight gain. It is possible to do everything right and at the same time having a gain. In such a circumstance, a medical problem may be the reason. While a lot food and not enough physical exercise are usually the culprit, common health concerns and traditionally used prescriptions can greatly add to size. Thanks for your post right here.
You are super talented and creative. Yum yum yummy! Looks mouthwatering
Love your ideas and your videos! Thank you for another cool tutorial!
You are so creative! Thank you for all of your ideas!!