Learn how to create an adorable no-sew quiet book made completely out of felt with this step-by-step tutorial with video. Grab all of the free Cricut cut files to recreate this quiet book!
This is a sponsored conversation written by me on behalf of Cricut.
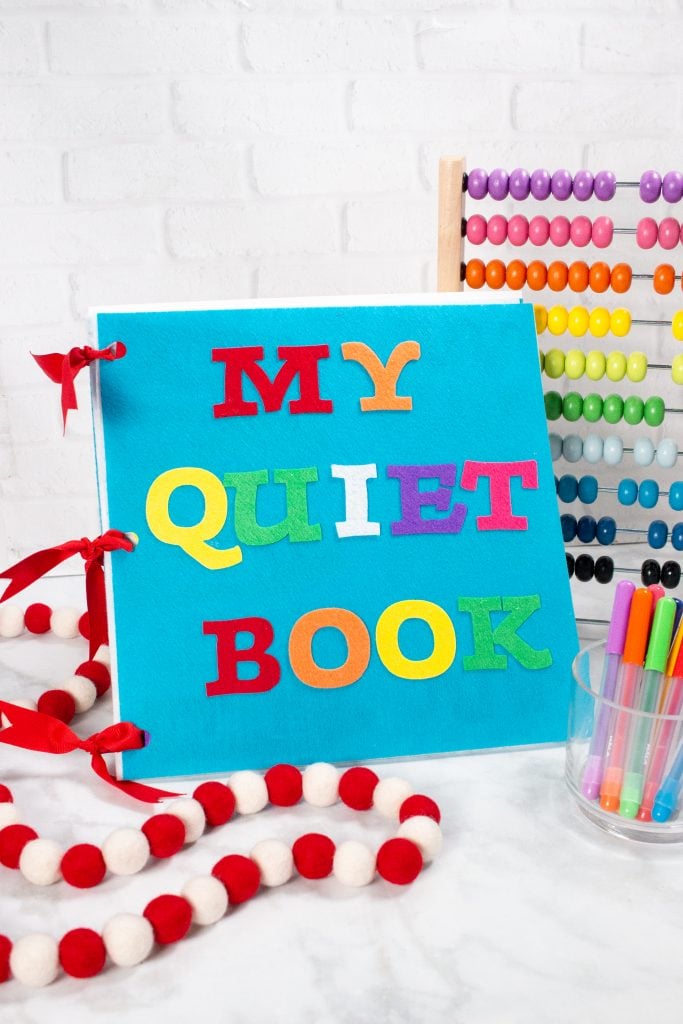
I am so excited to finally be sharing this No-Sew Quiet Book tutorial featuring the Cricut Maker with all of you today!
In this tutorial, I'll be sharing all of my favorite tips and tricks for working with felt and using the Cricut Maker Rotary Blade.
Felt Quiet Book Supplies
- Cricut Maker
- 3 Cricut Felt Carousel Samplers
- 1 Yard Stiff White Felt
- Fabric Mat & Standard Grip Mat
- Grosgrain Ribbon
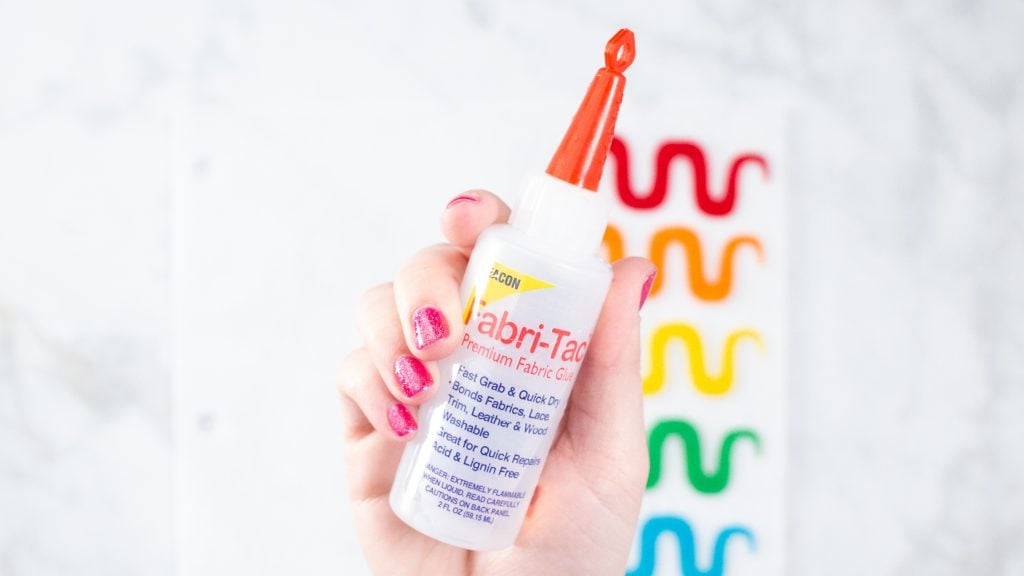
- Beacon Fabri-Tac
- Cricut White Glitter Iron-On
- EasyPress or Iron
- Iron-On in Red, Orange, Yellow, Green, Blue
and Purple - EasyPress Mat or Ironing Board
- Weeding Tool
Watch the video below!
Before we get started lets go over a few things!
First off, we will be using the Cricut Maker Rotary Blade. The reason for using a blade instead of a Fine-Point Blade is it creates cleaner and more precise cuts.
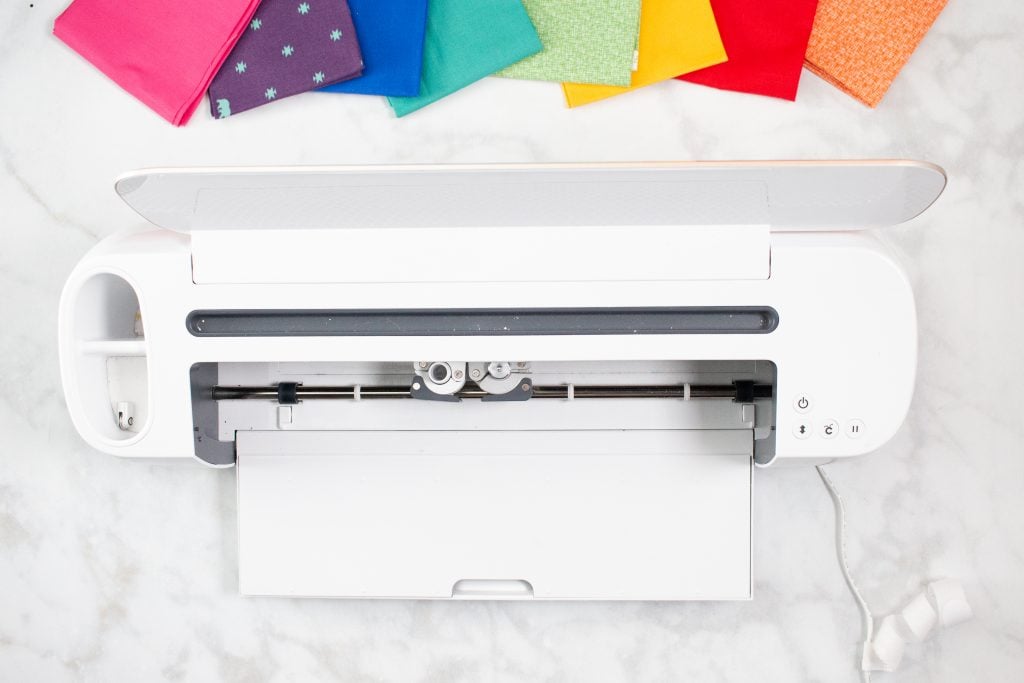
When you are prompted by Design Space to use the Fine Point Blade, edit the blade and replace it with the Rotary Blade.
Another tip for cutting felt with your Cricut is to have a mat that is specifically used for felt.
Felt tends to shed, leaving small fibers behind which can gunk up your mat. I like to have a few mats on hand that are just for felt projects.

Table of Contents
Quiet Book Tutorial
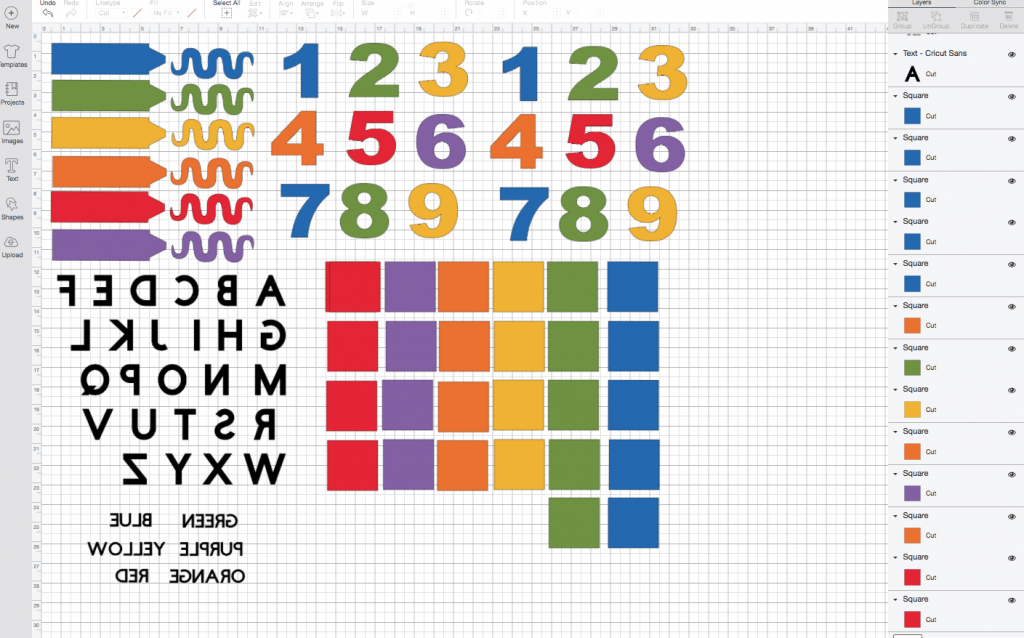
Open Design Space using the following links: Page 1 & Page 2
You’ll notice that all of the words that need to be cut out of Iron-On are all ready mirrored for you.
You’ll notice that the files are separated into two different Designs Space files to make it easier to manage. Also, all of the words that need to be cut out of Iron-On are all ready mirrored for you.
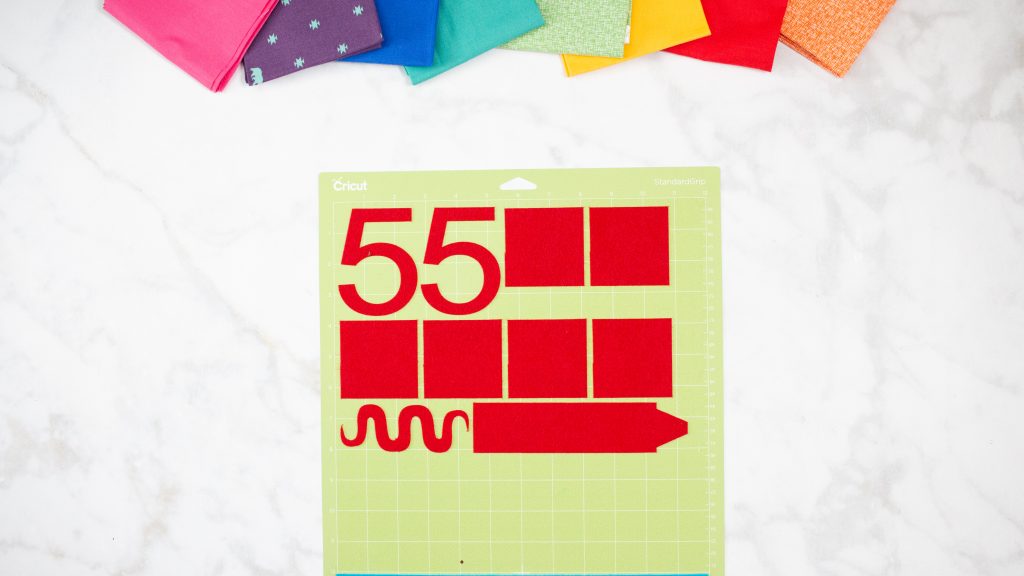
To begin, prepare you mat with the first color of felt. If you have multiple mats you can prepare multiple colors to speed up the process.
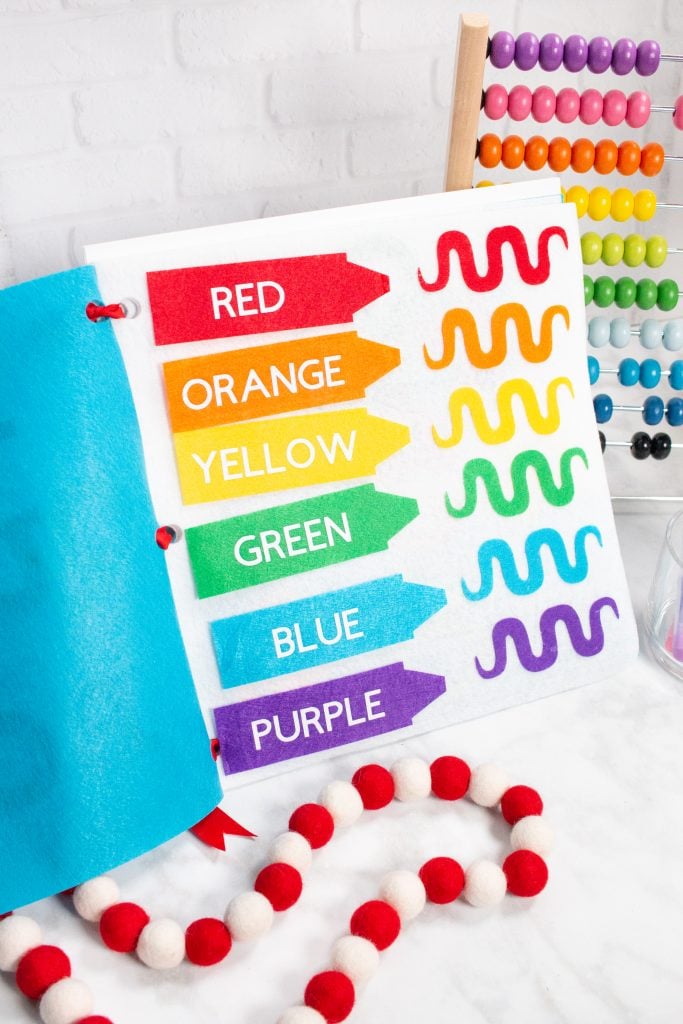
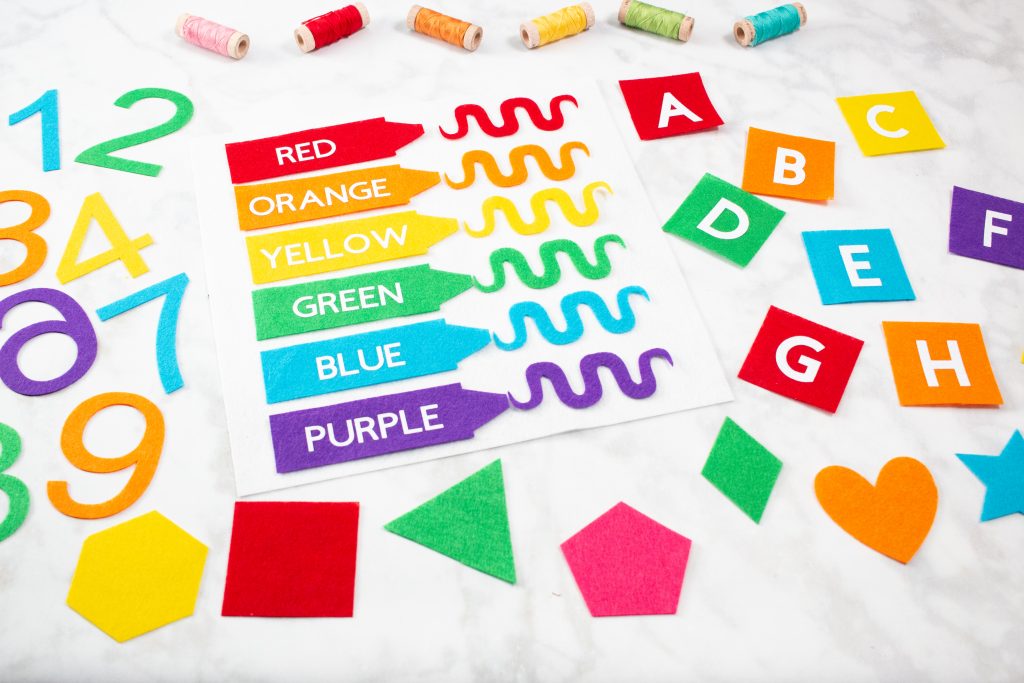
Begin by cutting out the felt from the colors and numbers page. Keep all of the excess felt because you will use it to cut out the shapes and letters from the second design space file.
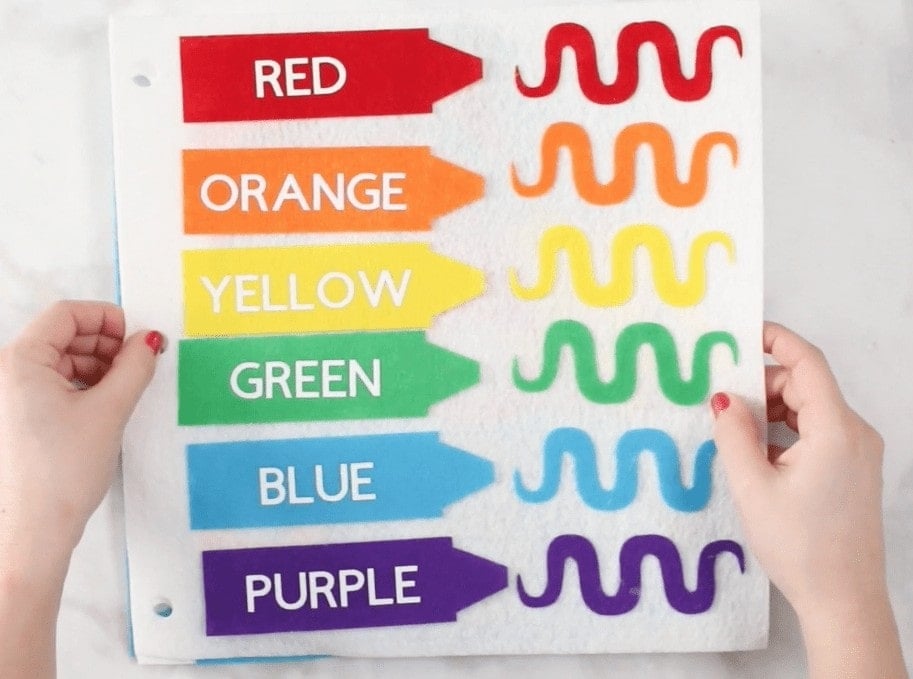
Weed all of the color names as well as the entire alphabet.
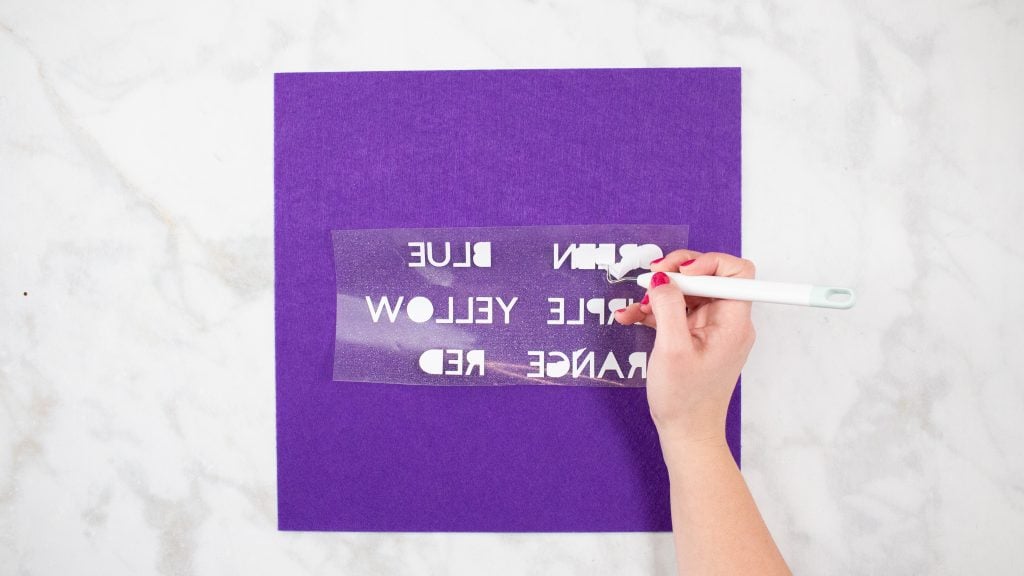
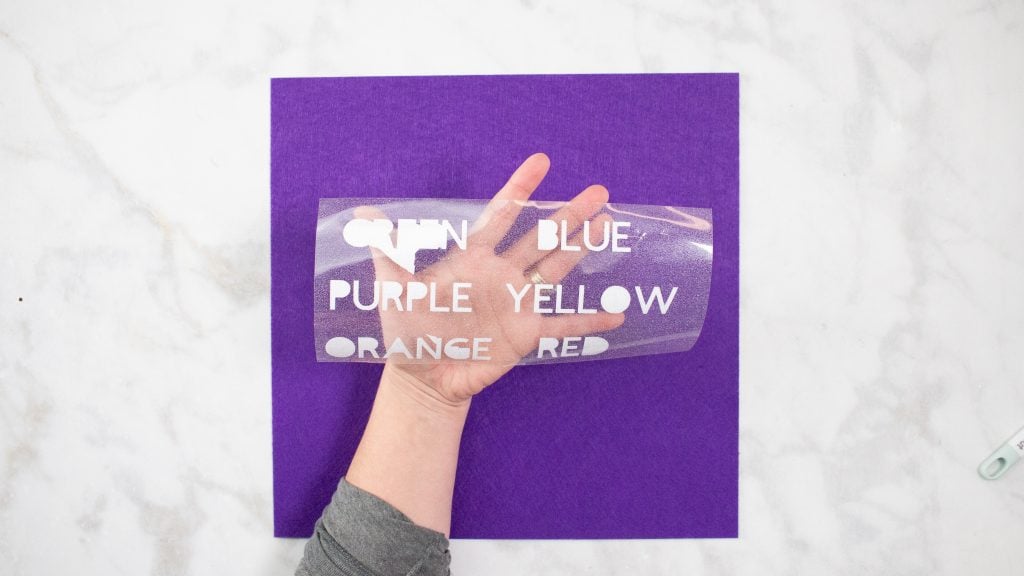
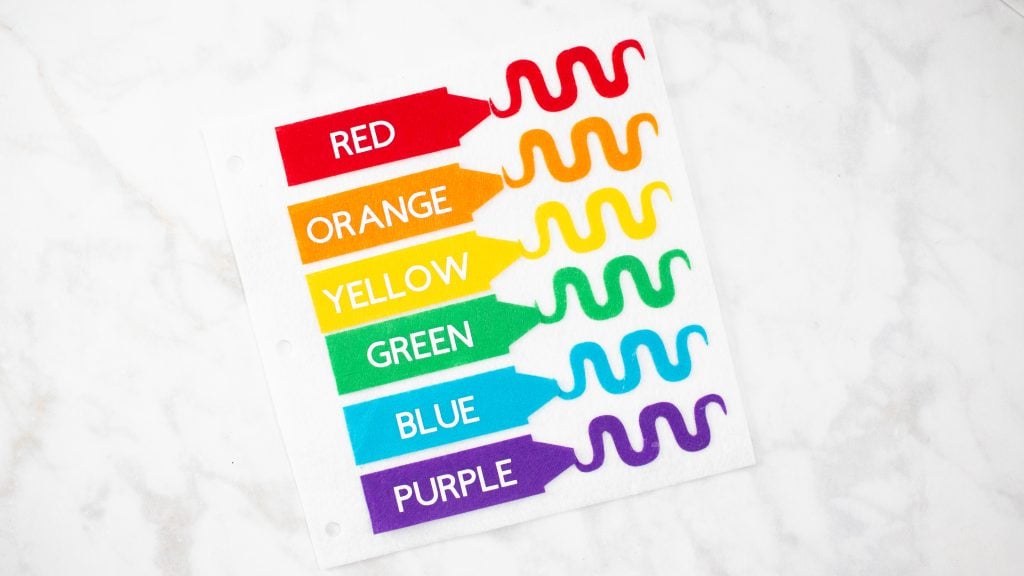
Lay out the Crayon felt
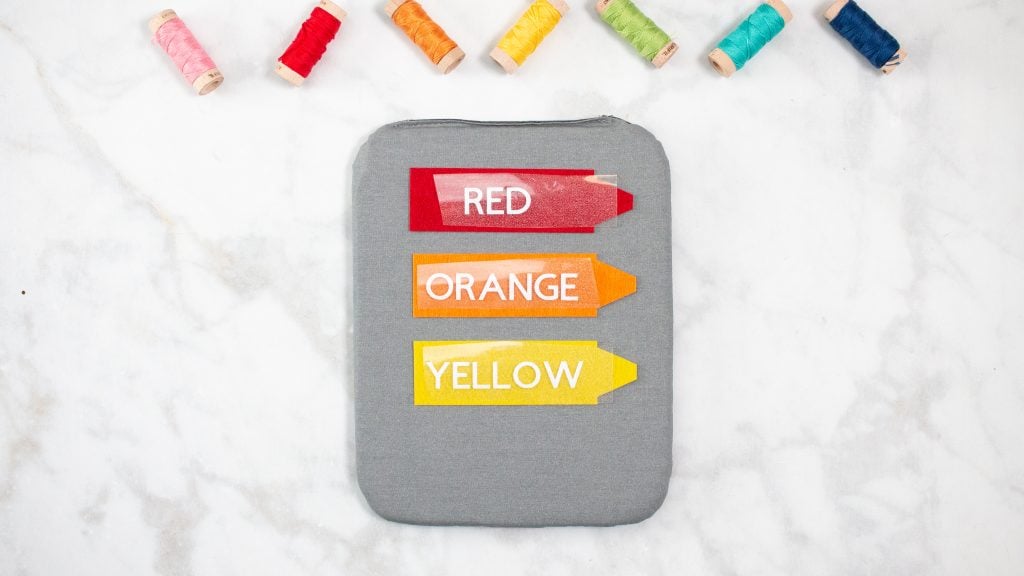
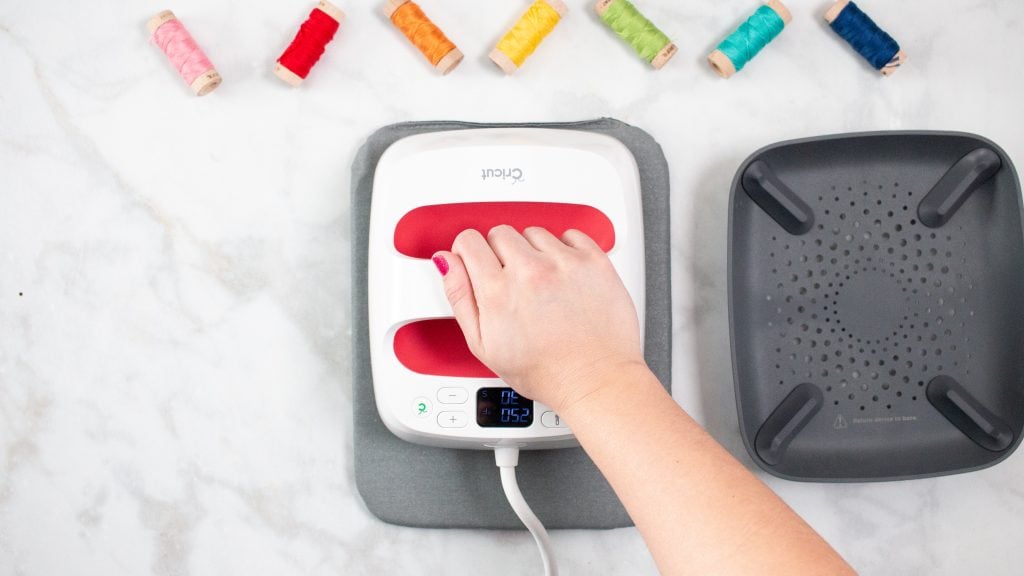
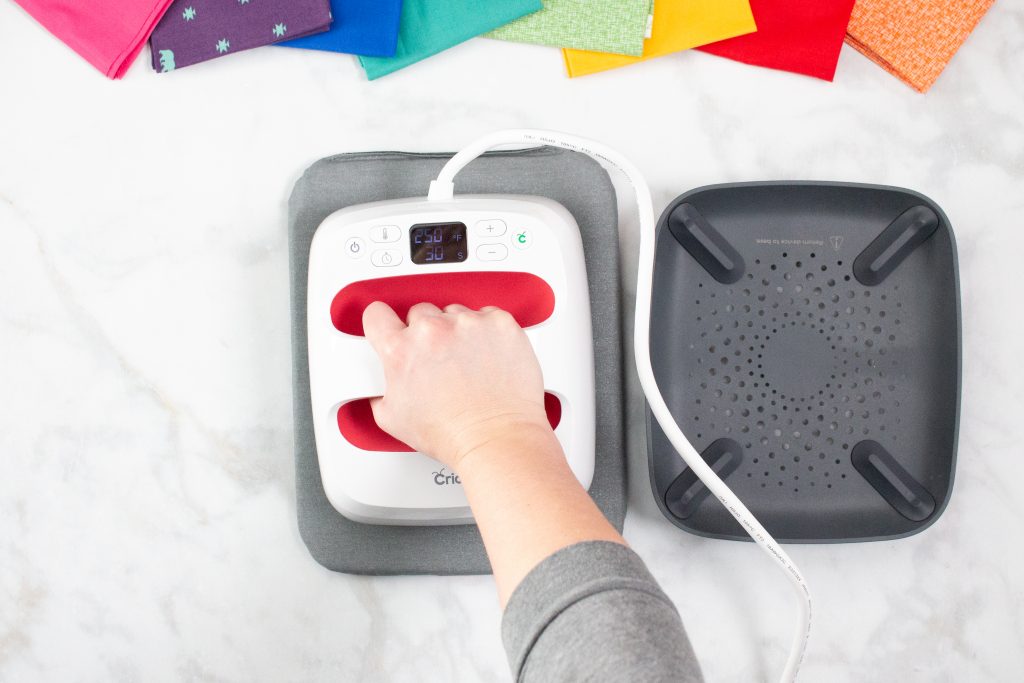
Preheat the EasyPress or Iron and heat the Iron-On until it has adhered completely.
If you are using the EasyPress with Cricut Felt set the
Allow the Iron-On to cool and then peel the liner away at an angle.
You should have a total of 5 12 x 12 pages.
Place one page on a Cricut Mat and cut three small holes along the edge. Repeat this process until all 5 pages have holes along the left hand edge.
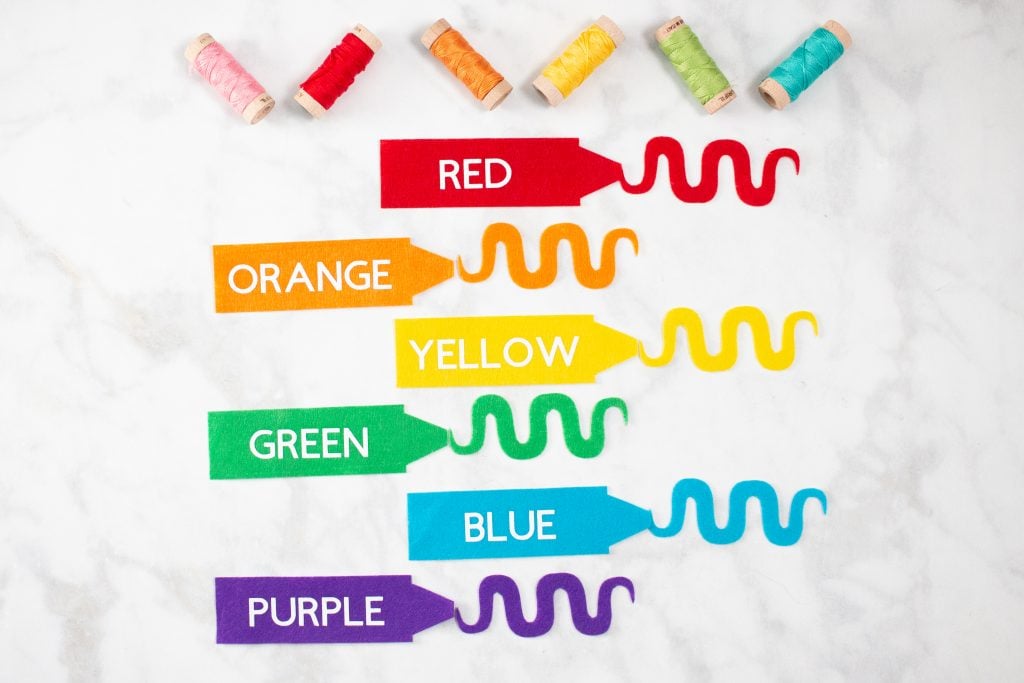
Adhere all of the squiggly lines to the felt page using Fabric-Tac.
The Crayons will not
I shouldn't have favorites...but this page is my very favorite! 🙂
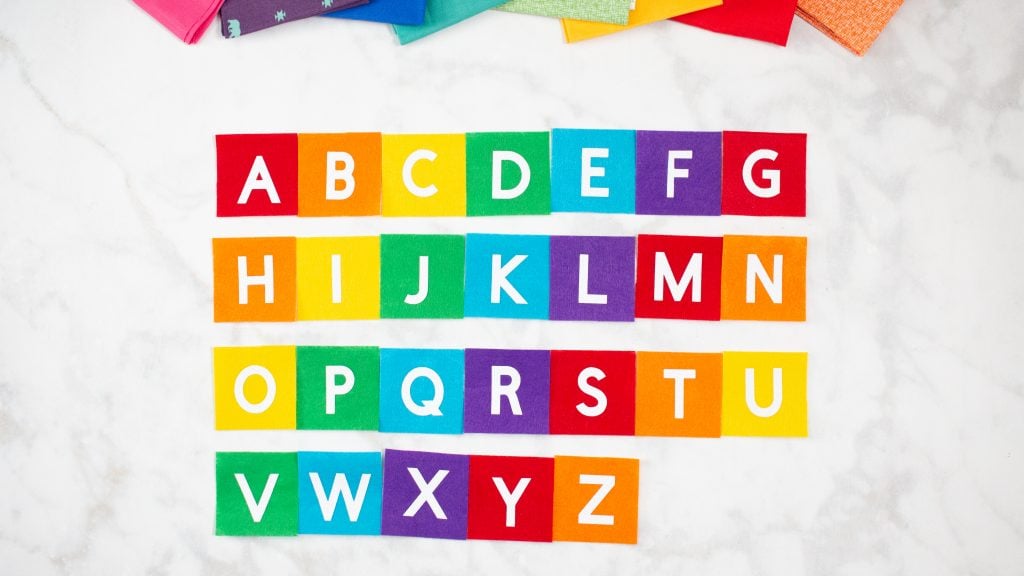
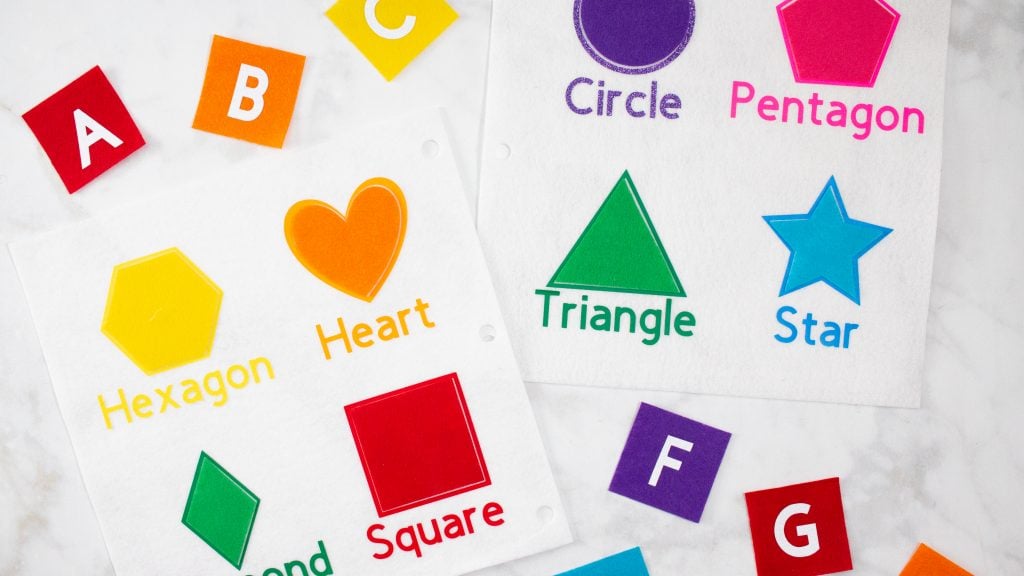
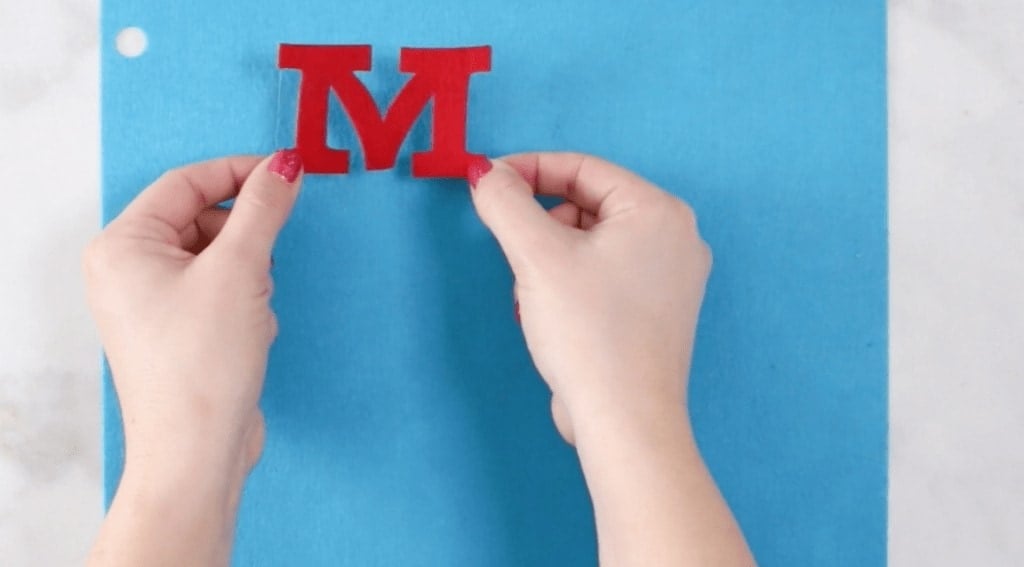
Alphabet Page Tutorial
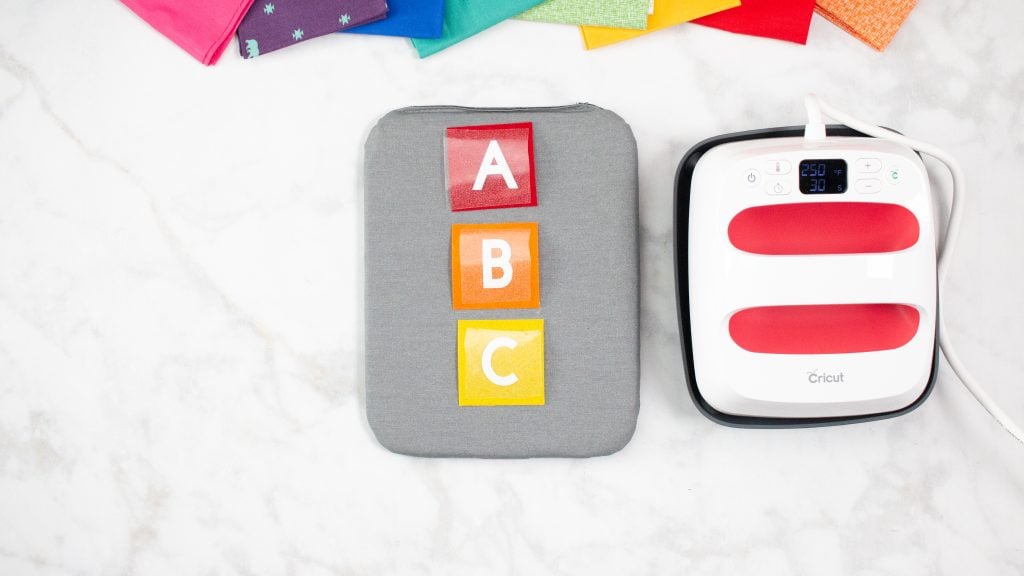
Once you have weeded the entire alphabet, begin placing them on the small squares of felt. Adhere the Iron-On to the felt using the instructions listed above for the Crayon page.
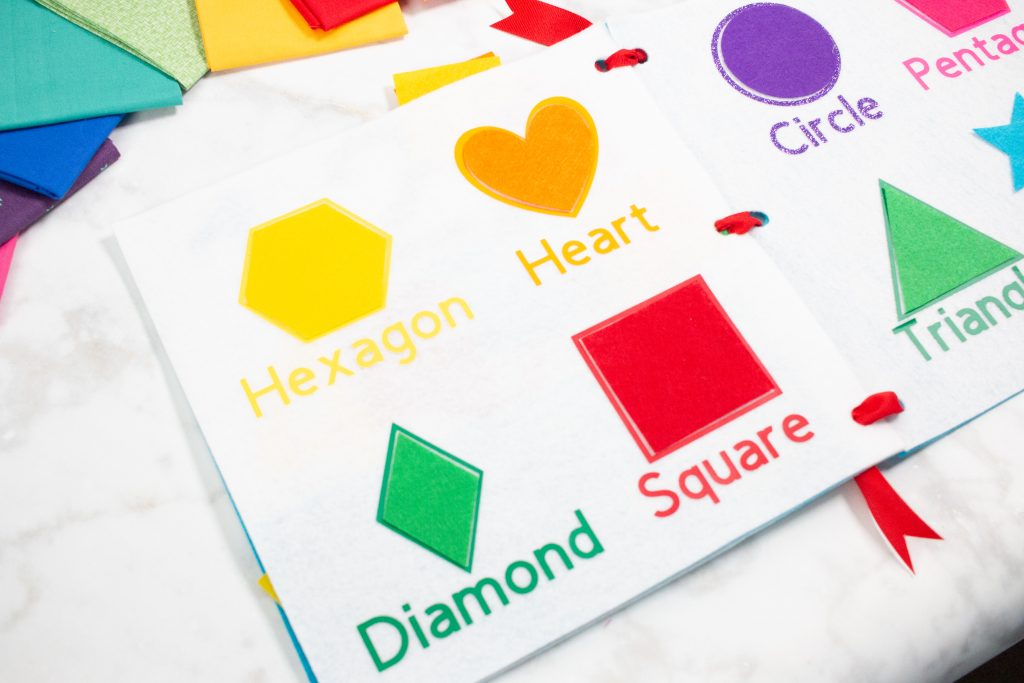
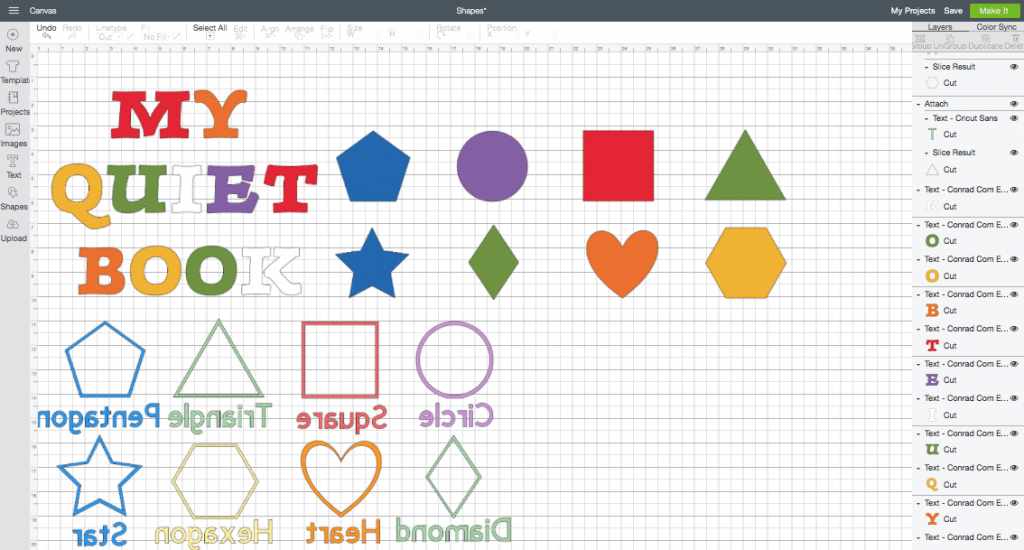
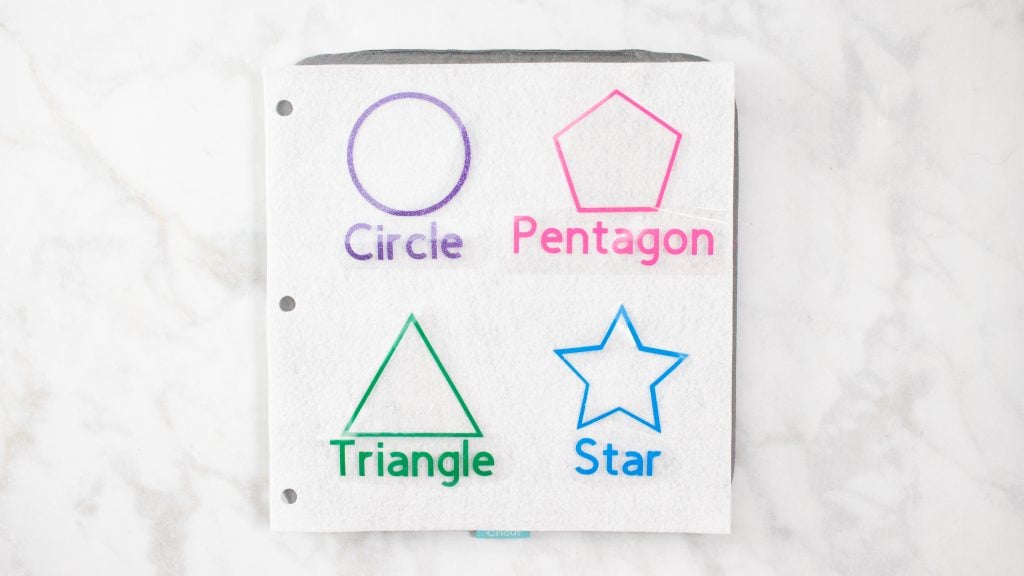
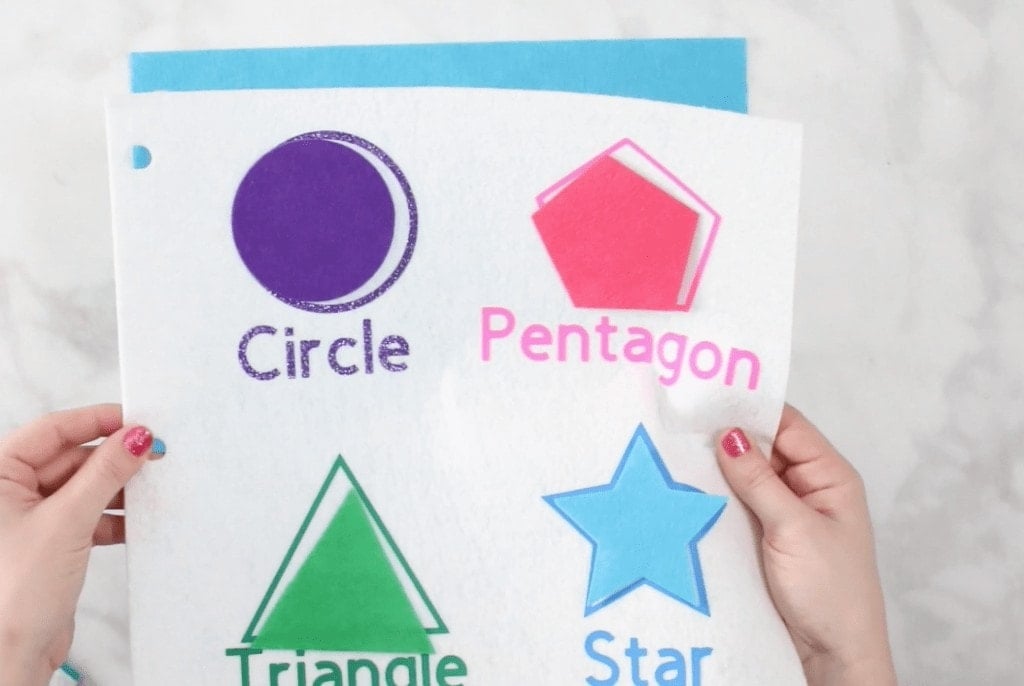
Shapes Page Tutorial

Now it's time to cut out all of the shapes for the shape matching page. You should be reusing the extra felt that was left over from the first page. Cut the pieces down to a square that is slightly larger than the pieces you need to cut out.
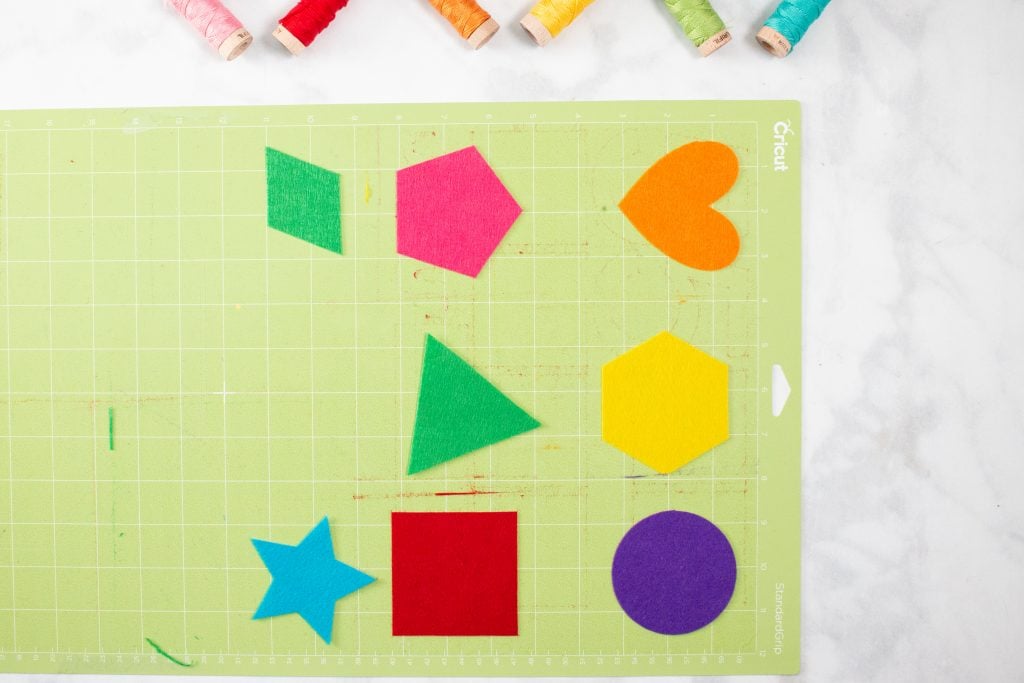
In Design Space, select "Make" and rearrange the pieces so that they all fit on one mat and are aligned with the felt squares. This is an easy way to reuse scraps!

You can repeat this process listed above using Iron-On to save time!
Adhere the Iron-On using an EasyPress heated to 285 degrees for 15 seconds.
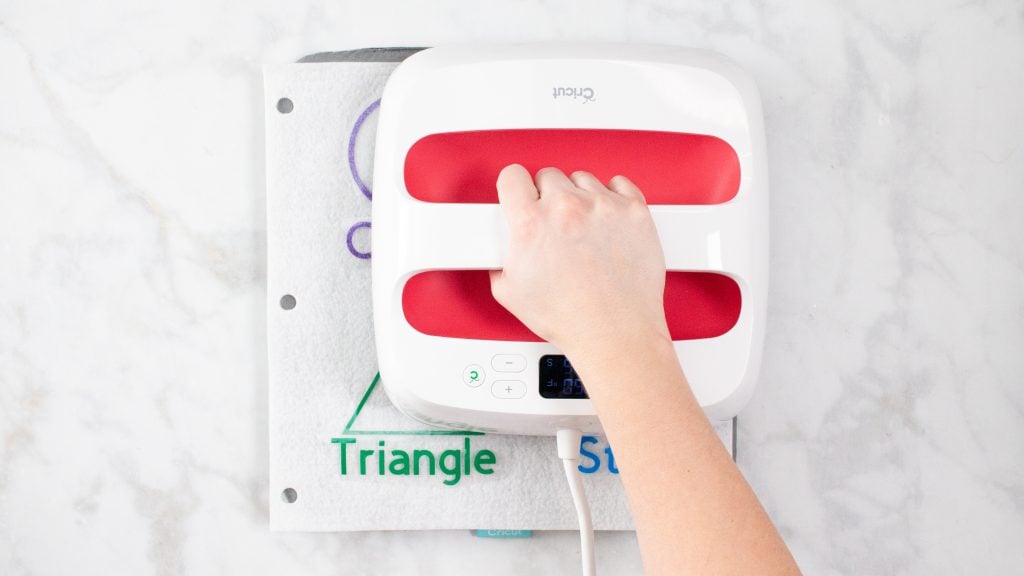
Remove the Iron-On liner.
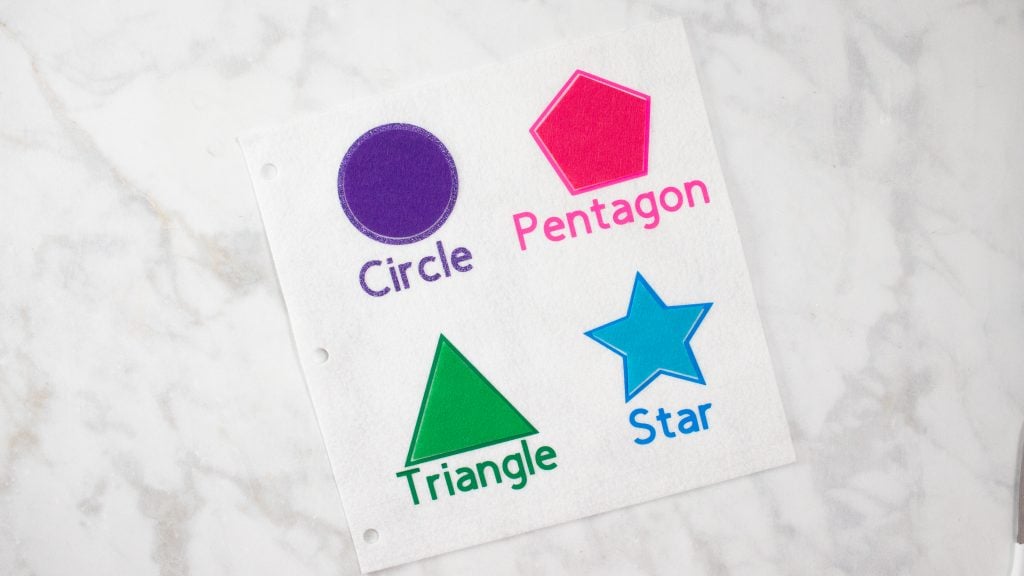
Repeat this process on the second page to create two pages of shape matching.
Numbers Page Tutorial
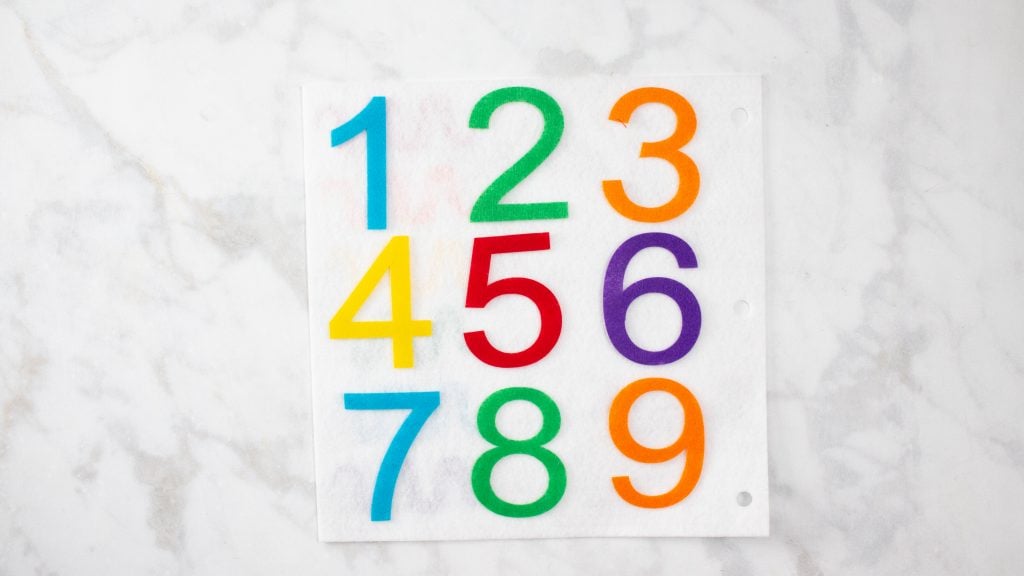
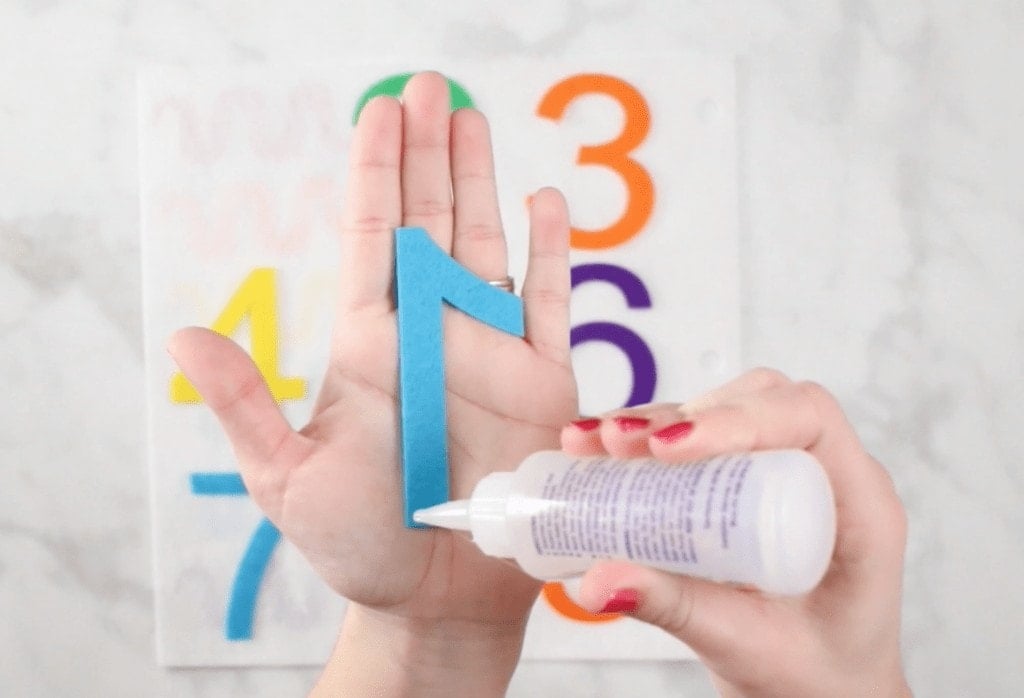
Place all of the numbers on the felt page to get an idea of how you would like to space them out. Starting with one, flip the number over and apply glue to the backside.
Place the number in its original spot and allow to dry. Repeat this process until all of the numbers have been glued onto the page.
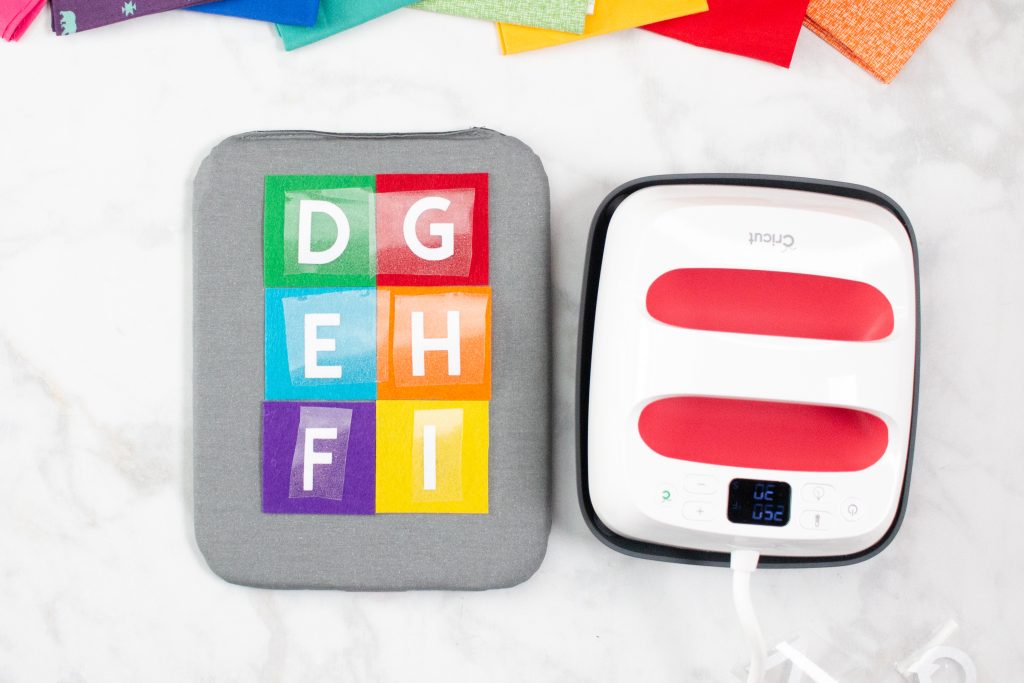
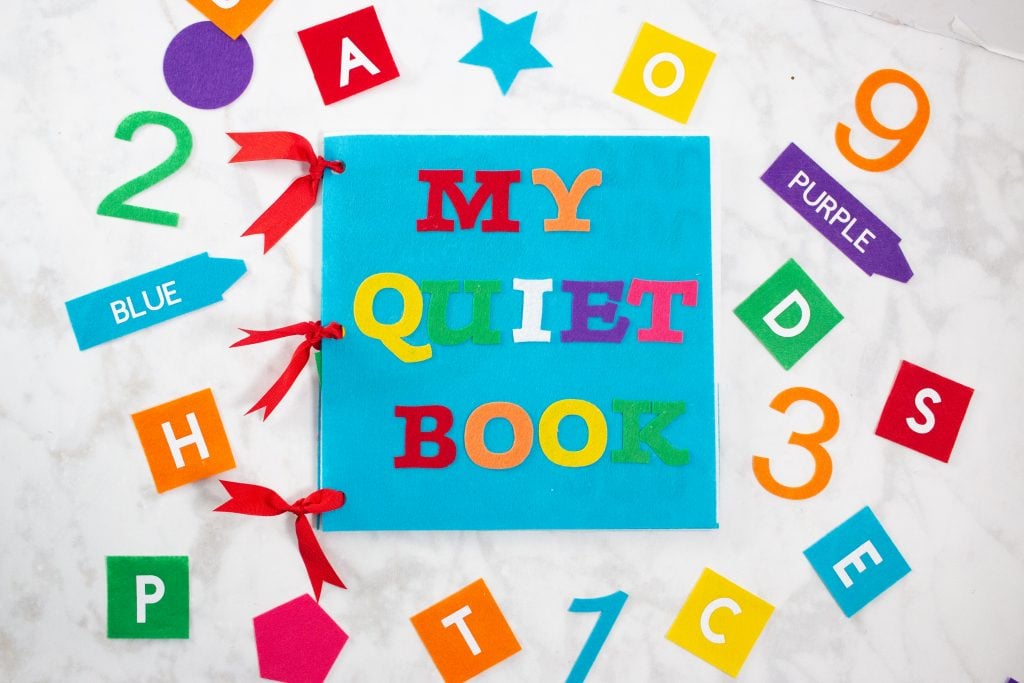
Front Page Tutorial
Lay out all of the letters fro the front page and adhere them with Fabric-Tac.
Layer all of the felt pages on top of each other. Place a blue felt page on the front and the back.
Cut three pieces of Grosgrain ribbon 12 inches long each. Thread the ribbon through the pre-cut holes and tie the pages together. Leave a bit of wiggle room so they pages can be opened and lay completely flat.
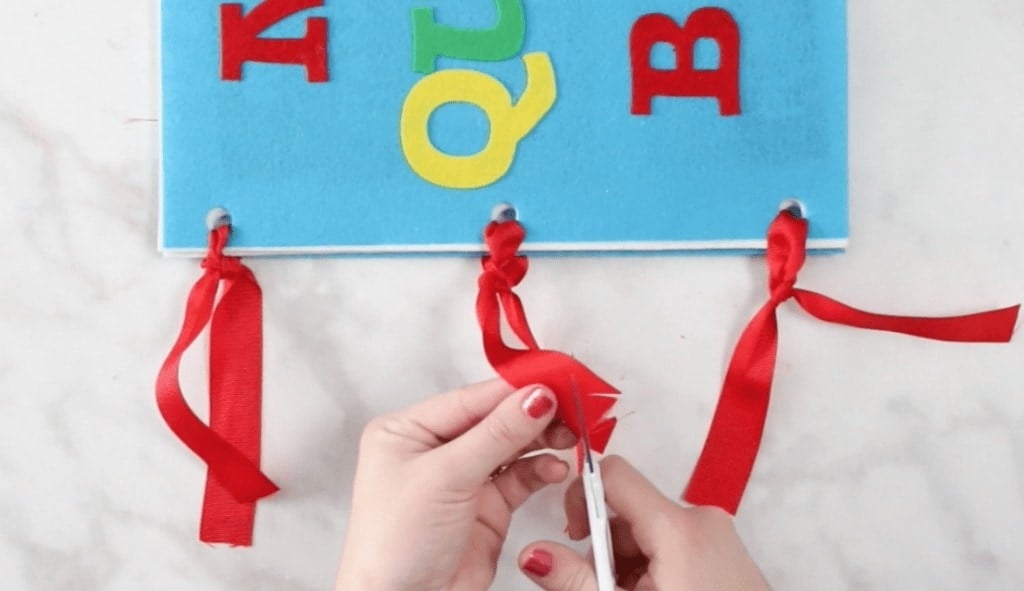
Cut the tails of the ribbon at an angle to prevent any fraying.
I can't wait to see what you make with this tutorial! Be sure to share it with me on Facebook and Instagram.
This is a sponsored conversation written by me on behalf of Cricut. The opinions and text are all mine.
This is such a cute project. I would love to make some for my nephews but when I clicked on the links it said the project was saved as private. Is there any way to get a copy?
When I click the link it says the project is private.
Christine Buchar
cm******@***il.com
link says private?
Hi,
I love your project I want to make it for my grandson. One quick questions, how did you make the make the three holes on each felt? I’m a beginner and trying to figure it out.
Hope to hear from you
Thank you
link says it is private
Link says it is private can you please help
Very adorable project and would love to make for my son, when I click on the link for the file it says it's private, is there a place to purchase the file?
Thank you!
Is there anyway I can get this ? I can not find it on design space
link is private is there anyway i can get a copy?
The files say private. I there way I can get the file.
The link for Page 1 works, but Page 2 says it is Private. I see other comments noting this issue. Can you let me know how to get Page 2? Thanks.
I would love to do this for my little one. Page 2 is private is there a way to access it? Thank you.
Like the comments above, page 1 works, page 2 says it is private. This is a great quiet book template. Thank you!
If there is a way to get page 2 I would love that!
I am in the same boat as the other comments page 2 is saying private and i can not access it
Like all the other comments above the link to page 2 says it is private, is there anyway to get page 2?
When I click on page one cricut design space opens but its blank. Page 2 works fine can u help
I am facing the same issue as posters above, link is private
I have the first page all cut out and now I can't access the second page -- help please!
have you gotten any response as to how to access the second page? thanks for any help in advance,,,
Lisa
Like the above, the link to page 2 is private, can you please help with access? thanks much, I love this project and so well organized. I would pay for it if that would be more accessible.
Can I get a link for page 2 as well please?
To those trying to open the templates...I opened them straight away. They open automatically in Design Space
Rx
Is there anyway you can share page 2 thanks. I can not open it
Is there a way to cut this with an explorer air 2?
Could you Preise send me Otter links. I cannot open These links. Thank you.
I cannot get Page 2 to open in DS. Can you please check on the link? Thank you so much!
I would also like to get page 2. It is a very cute project but with no page 2 one can't make it. Thanks
Hello:
Thanks for the project for the children. I would like to know if you can help me, there are two pages to download, the first (all good), but the second does not let me ........ WHAT CAN I DO?
This is wonderful! Unfortunately, I'm only able to open the Numbers and Colors page. The other pages open in Design Space as blank. Is anyone else able to open the file?
I also am unable to open page 2. Its such a lovely book I am looking forward to be able to create the entire project.
Hey Patti! The links seem to be working when I checked them, but I see a lot of people are having trouble with it. When you click on page two, what comes up for you?
When I open page 1, the project opens in Design Space. When I try to open page 2, Design Space opens, however, it opens to a blank canvas. Thank you for your assistance.
Sorry about that. Try this link and let me know if it works. Thank you!
https://design.cricut.com/landing/project-detail/615480f370c4580001e436ba
I tried the link, but still don't see the project. This time only Design Space launch window opens. Thanks.
Actually, I tried it again and opened Design Space. The file does show up, however it is no longer free. It is $4.99 or free with Cricut Access.
This book is stinking adorable. However, when I open page 1 in the links above it says that I don't have the font that goes with the book. I was just wondering what fonts were on page 1 so that I may download the font. I don't want to mix up the fonts because I like the fonts that are in the project as is.
Still no page 2! Very frustrating!
Can anyone help?
She linked page 2 above! You need to pay for it though!
Hello,
I can seem to download page 2 of this project, can anyone please help me out
Love your project I would love to make it for grandson.
Question for you , how did you make the 3 holes on each felt?
Hope you can help me because I’m a beginner.
Thank you
I am unable to get page 2 to pull up in design space. Can you help me out? Page came up and I have been able to use it and love it!
Was the issue with Page 2 ever resolved because i cannot access it.
I'm in the process of making the book and the numbers are WAY too big. I ran out of two colors and had to go get another pack of felt (the single pieces were the wrong shade and weight). Now I have to figure out the correct size for the numbers and redo them.
For Page 2, click on this link that she provided in a previous comment. Instead of clicking “Make It - $4.99” I was able to hit “Customize” and it loaded into my canvas without a fee!
https://design.cricut.com/landing/project-detail/615480f370c4580001e436ba