Christmas Pajamas & Photobooth Props DIY Tutorial with Cricut
This is a sponsored conversation written by me on behalf of Cricut. The opinions and text are all mine.
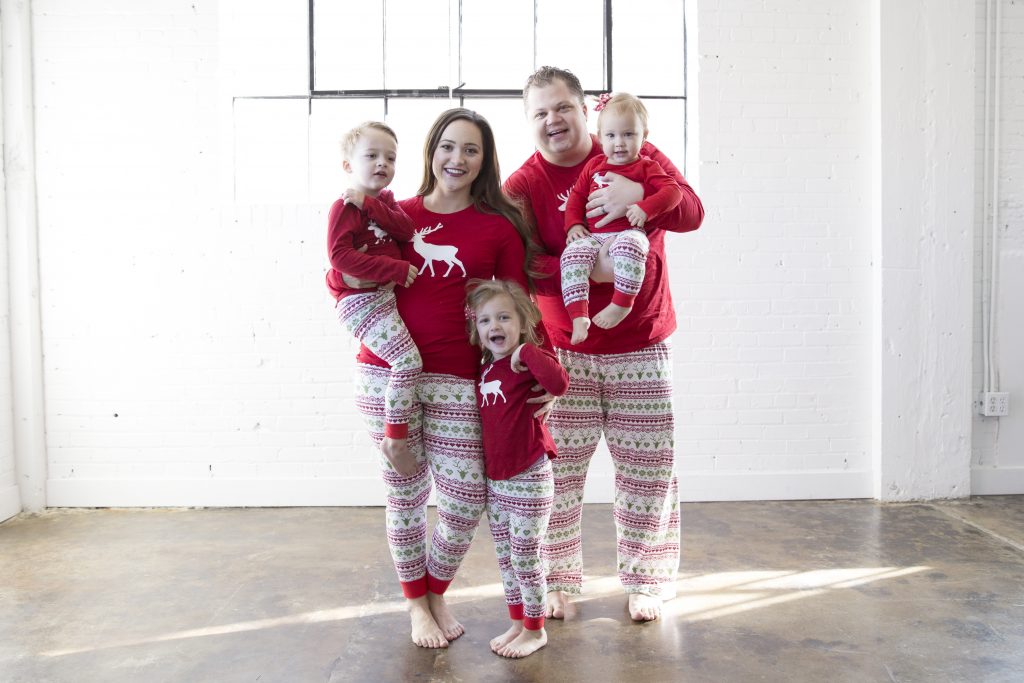
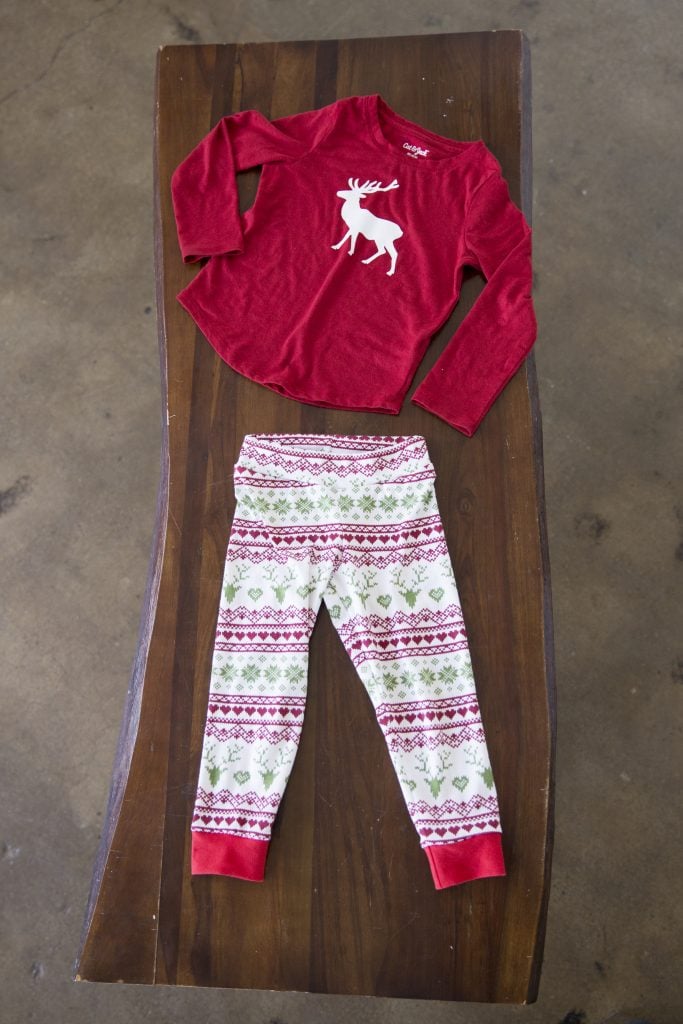
Christmas Pajamas are one of my very favorite annual traditions. In the past, I've always purchased them from the store, but this year I wanted them to be extra special! I've been using my Cricut Maker for all of my holiday decorations this year and as I was searching Design Space I found the cutest little deer silhouette. I instantly knew we needed some matching shirts to go with our handmade pants! You can find my post with all the details on the free patterns I used to make the pants here.
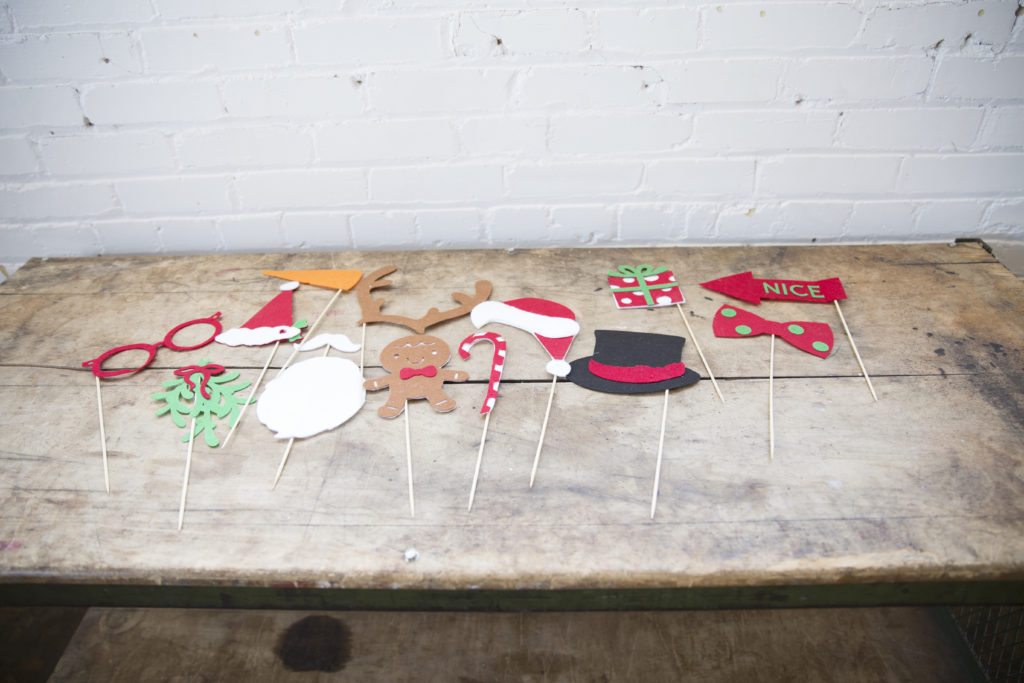
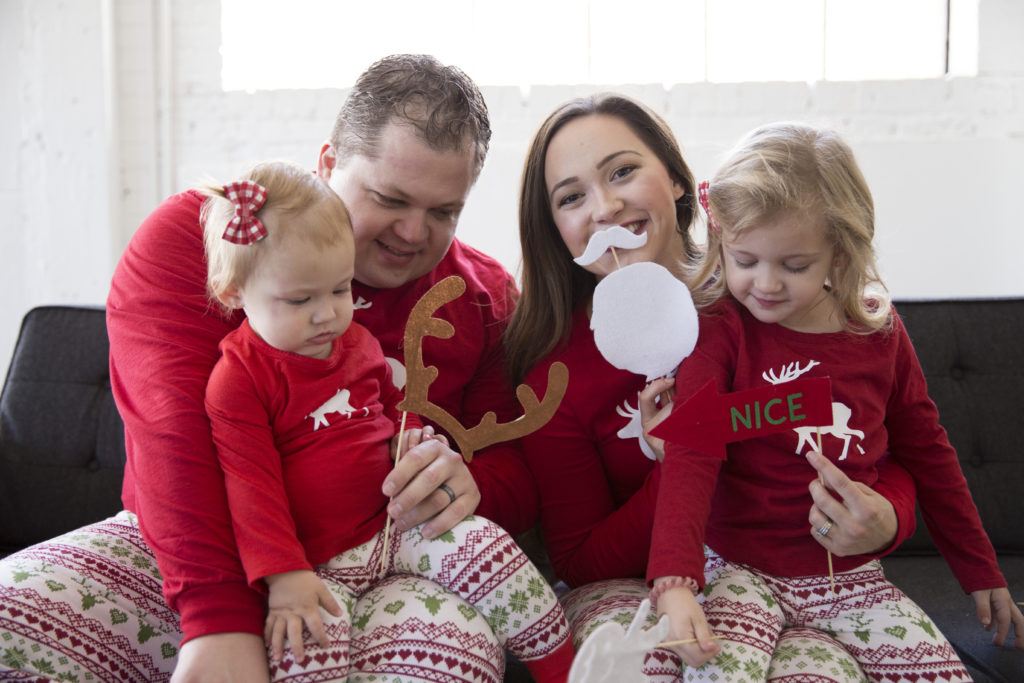
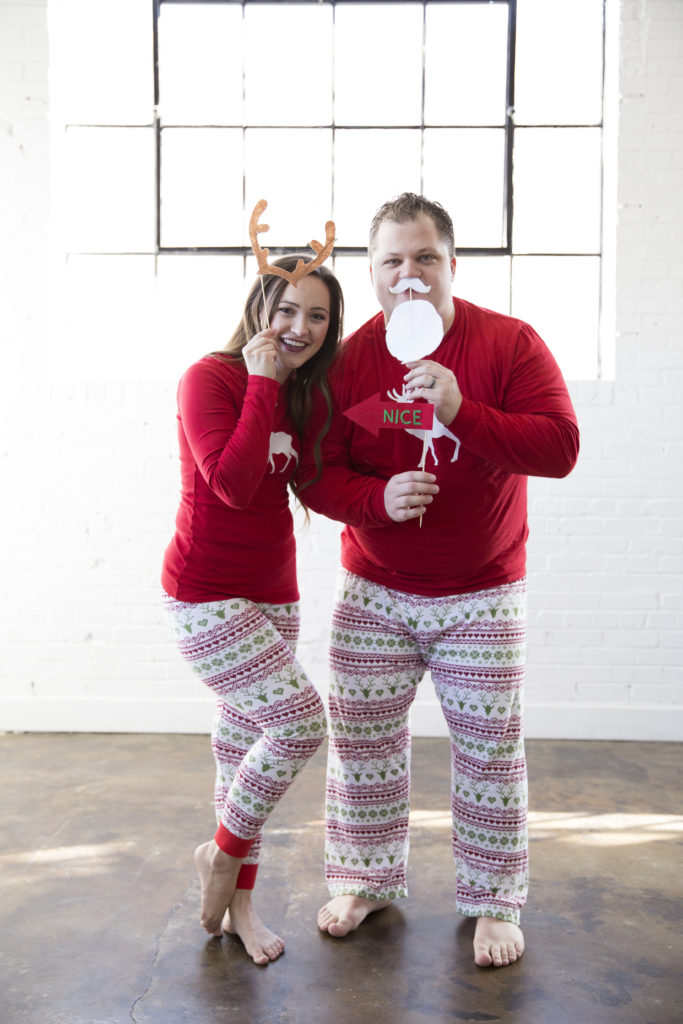
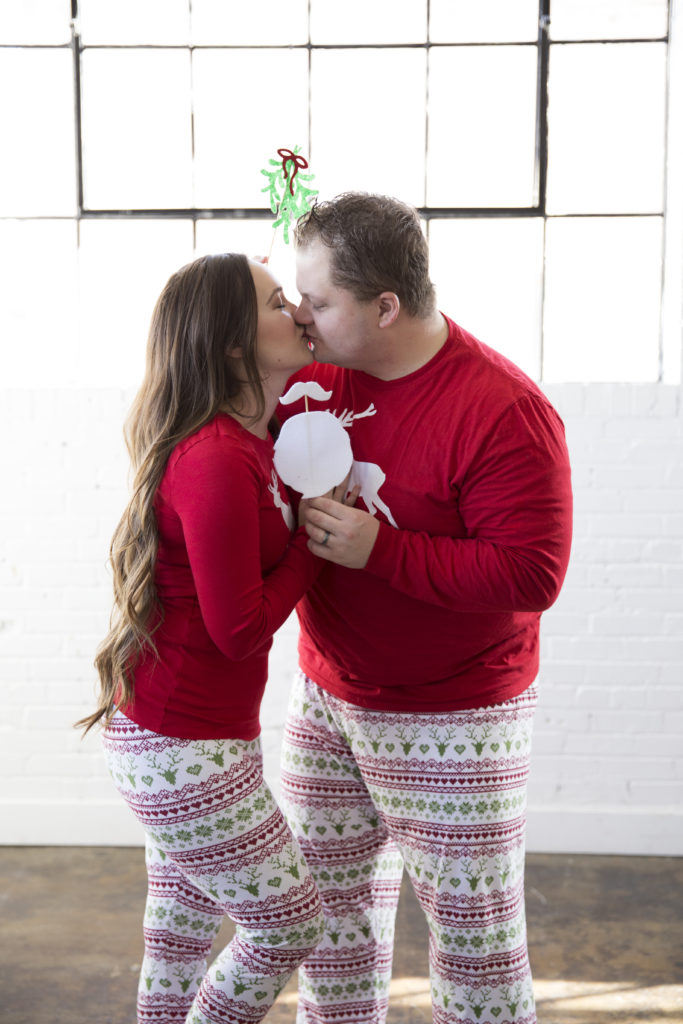
My kids love to dress up so I thought it would be so much fun to plan a photo shoot with Christmas props. During the holiday season, spare time is hard to come by so I knew there was no way I was going to cut all of those props by hand.
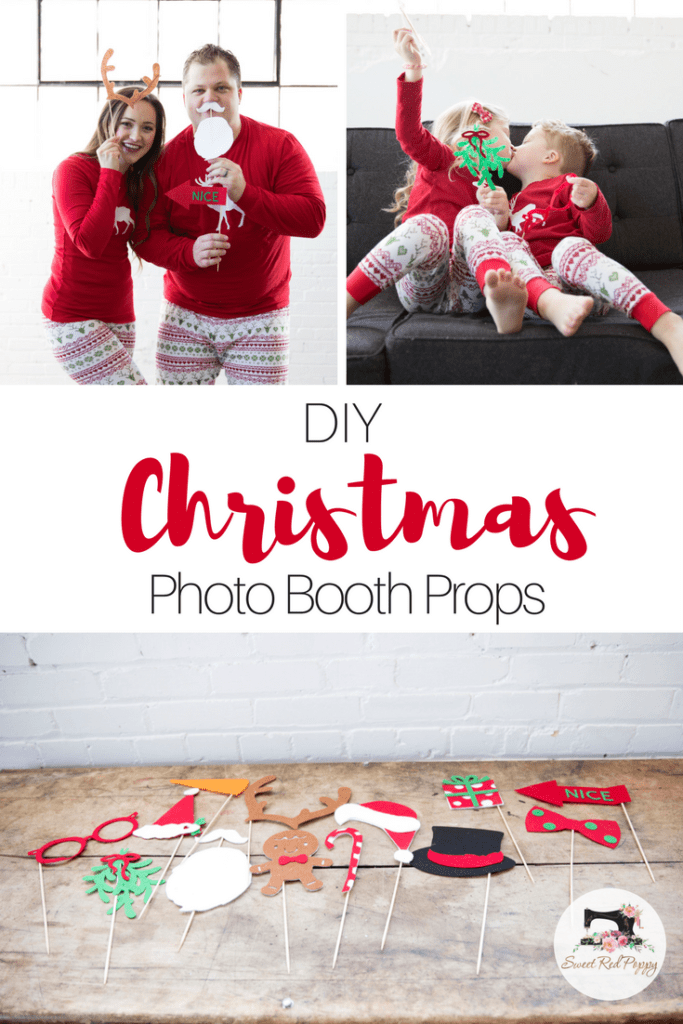
I used my Cricut Maker to cut out all of the adorable photobooth props and my kids had a blast playing with them during our photoshoot! How fun would these props be to use at a family Christmas party? The photo booth props are incredibly easy to make and they take hardly any time at all!
Christmas Photobooth Props Tutorial
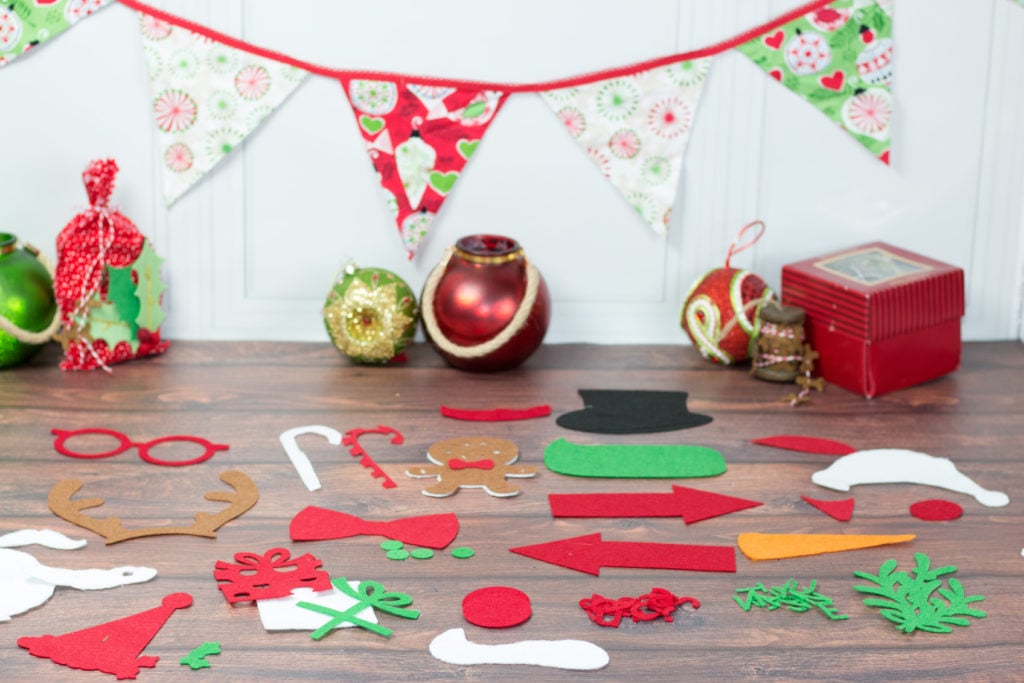
All of the props are made from Cricut felt. I've found the Cricut felt is a bit stiffer than most which makes it perfect for this project. You need something with a bit of structure so they will stand up straight without flopping over.
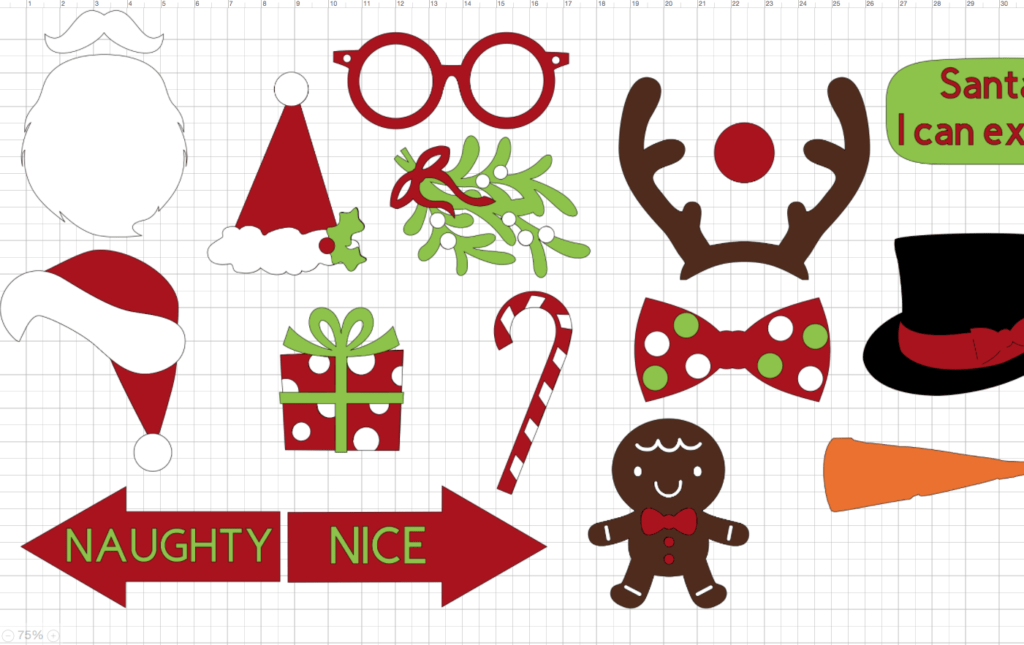
DESIGN SPACE
Step 1. Log into Cricut Design Space using this link to pull up the Design Space files.
Step 2. Resize SVG to the desired size for the specific project.
Step 3. Click “Make It.”
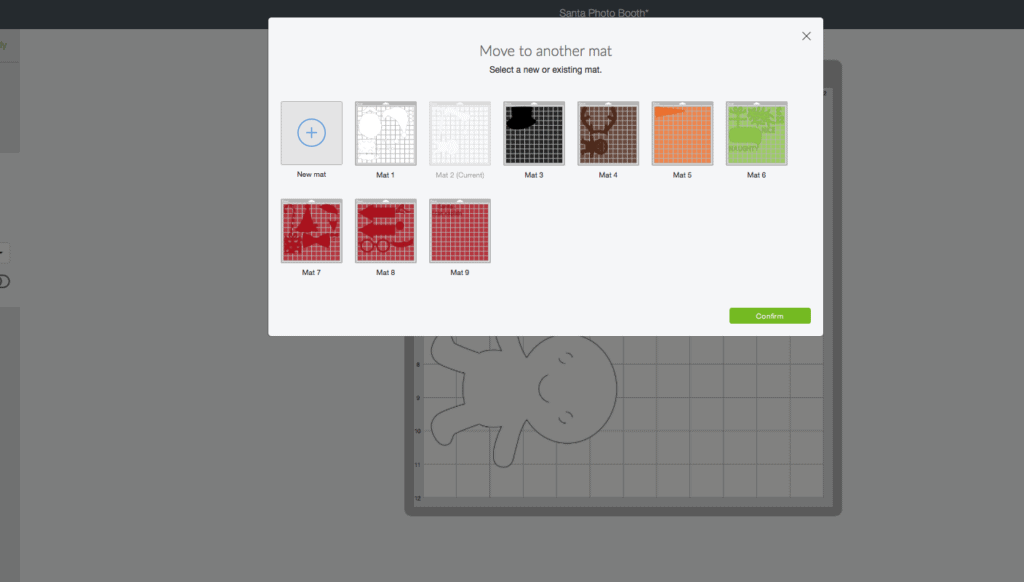
CUT PROJECT
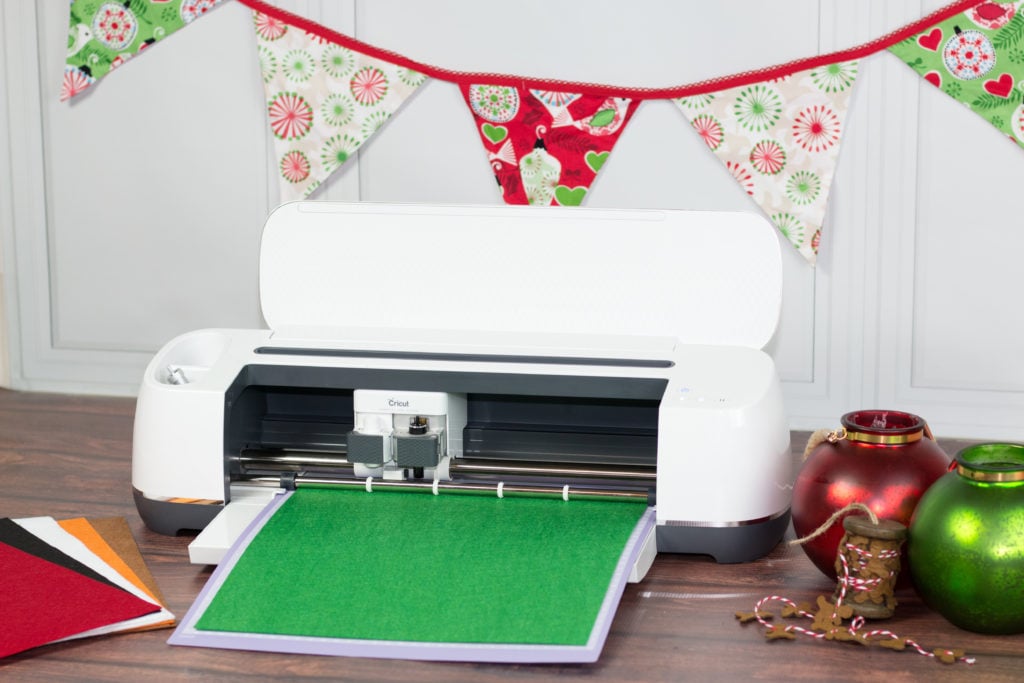
Step 1. Prepare felt by securing it on the cutting mat.
Step 2. Click "Make It" If you would like to save felt, rearrange the boards by moving like colors together.
Step 3. Set felt as the cutting material.
Step 4. Load the mat and Click the flashing Cricut button.
Step 5. Remove the mat from the cutting machine once it finishes cutting the design and gently peel back the felt.
ASSEMBLE
Step 1. Once all of the pieces have been cut out, use Heat N Bond Fabric Fuse to glue the pieces together.
Step 2. Refer to Design Space to see which pieces go together.
Step 3. Once all of the props have been put together, line the top two inches of a wooden dowel with hot glue and place it on the back of the prop. Allow to cool.
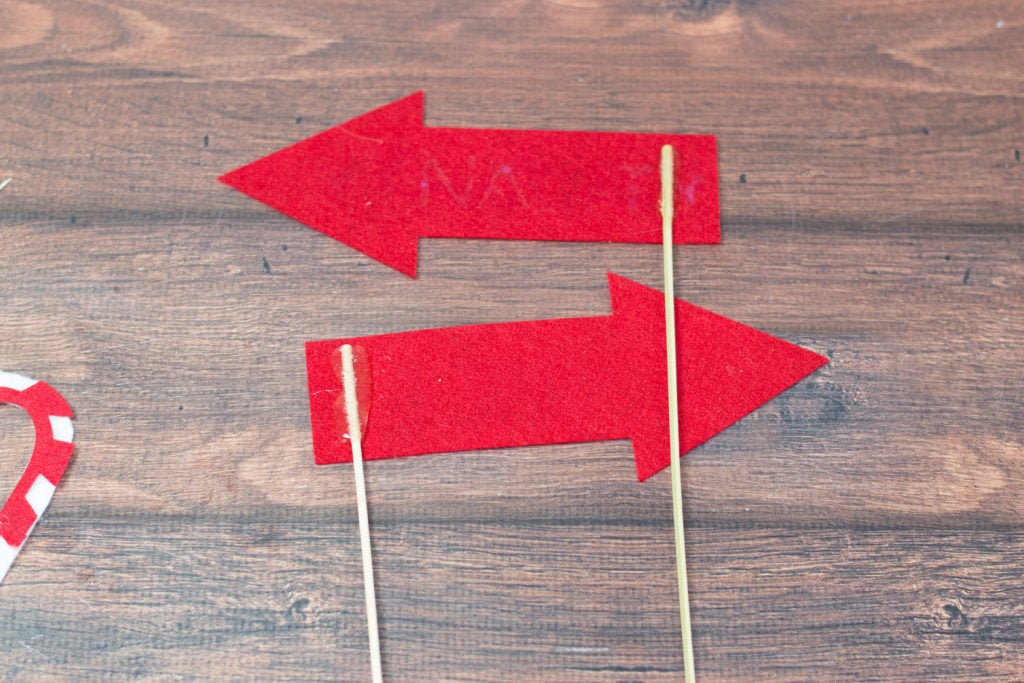
Aren't these props just the cutest?!?
Deer Christmas PJ Shirt
DESIGN SPACE
Step 1. Log into Cricut Design Space using this link.
Step 2. Resize SVG to the desired size for the specific project. The images are sized for an infant, toddler, a small female and large male. Feel free to resize them as needed.
Step 3. Click “Make It.”
CUT PROJECT
Step 1. Prepare vinyl. Unroll and cut a piece larger than the design you will be cutting.
Step 2. Place the iron-onl with the pretty side down, facing the mat.
Step 3. Set iron-on as the cutting material.
Step 4. It’s very important to click “Mirror Image” for all iron-on projects!
Step 5. Load the mat and Click the flashing Cricut button.
Step 6. Remove the mat from the cutting machine once it finishes cutting the design.
Step 1. Carefully weed the design and remove the extra vinyl.
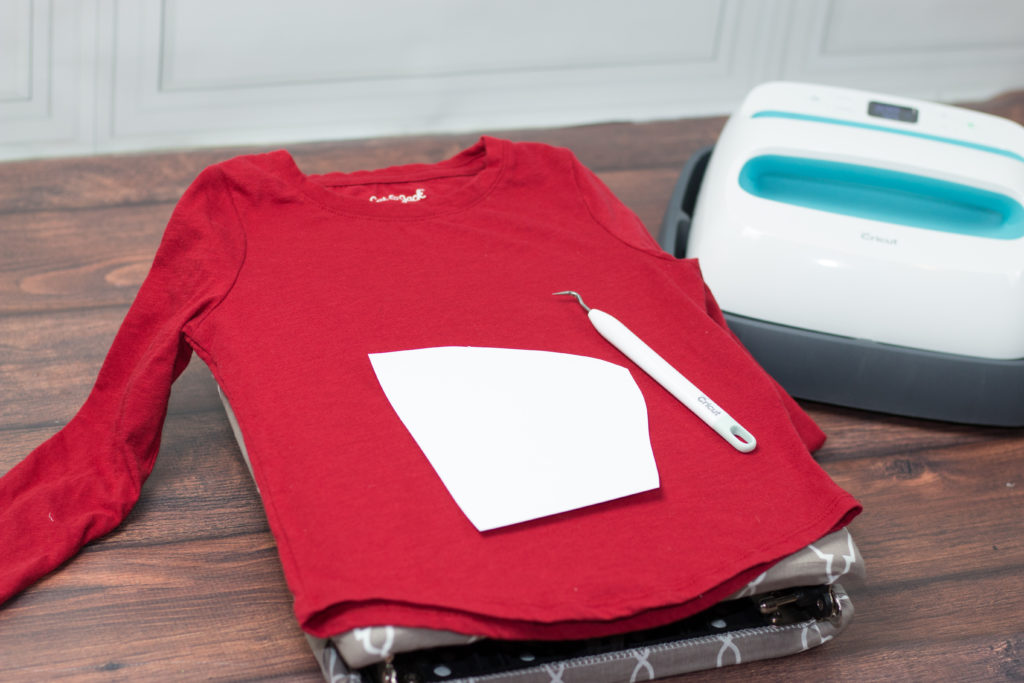
Step 2. Prepare the fabric. Each type of Iron-On has specific ironing instructions.
Step 3. Position weeded image on the fabric with the iron-on against the fabric.
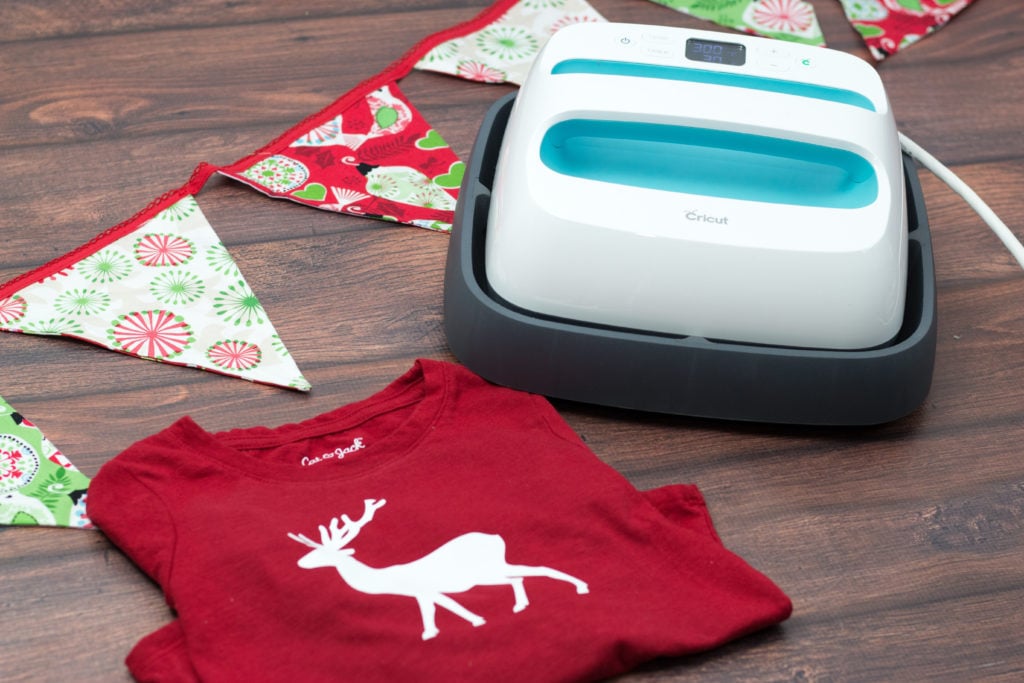
Step 4. Preheat the shirt with the EasyPress, place the iron-on on top of the shirt and press for 30 seconds with the EasyPress.
Step 5. Allow fabric and iron-on to cool and carefully peel away the clear lining.
Step 6. Repeat this process until you've made enough shirts for your entire family. I found all of my shirts at Target.
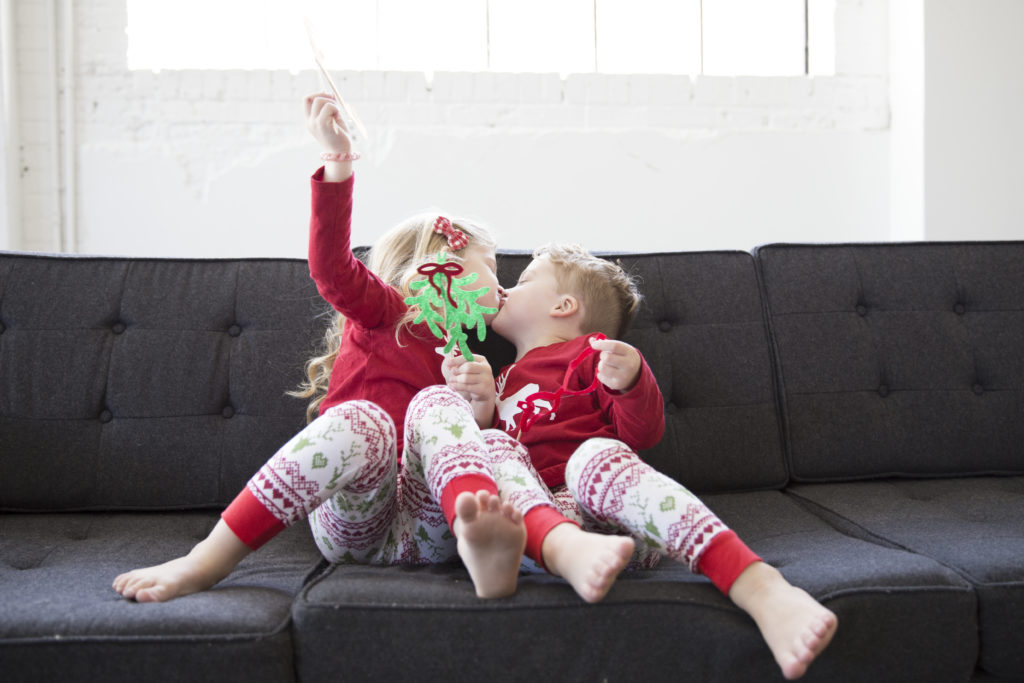
I'm still dying over the cuteness of this picture! I'm sure one day they will hate me for this!!! Ha!
Save
Don't forget to enter the giveaway!!
This is a sponsored conversation written by me on behalf of Cricut. The opinions and text are all mine.


Leave a Reply