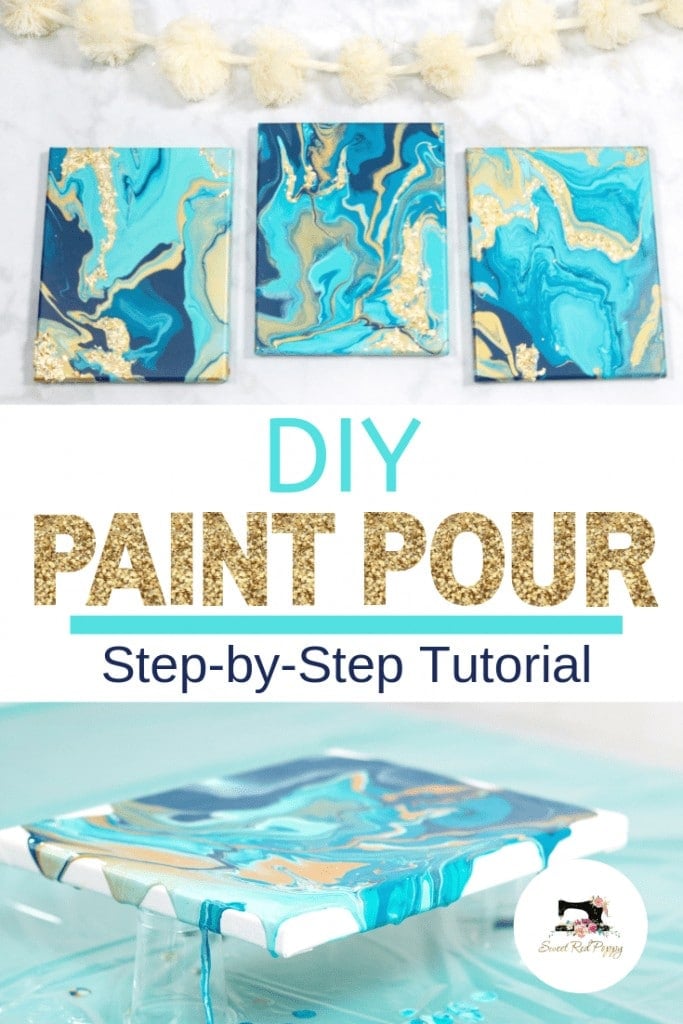
Learn How to Create a Stunning Paint Pour Canvas the Easy Way in This Step-By-Step Photo and Video Tutorial Using Supplies from Joann
This post is sponsored JOANN. All thoughts and opinions are my own.
Paint pouring art is so trendy right now, and I've been dying to try my hand at it for the last few months.
JOANN carries an entire paint pour line called Color Pour which is created by American Crafts. It makes Paint Pouring art easy to use and perfect for beginners!
Watch the Video Below!
What makes this project so fun is there is no right or wrong way to do it; mix the colors, pour them onto the canvas and then let the paint flow!
Pour Painting Supplies
- Color Pour Paint Kit
- Plastic Drop Cloth
- Metallic Paint
- Foil Gold Flakes
- Non-Latex Gloves
- Mixing Cups
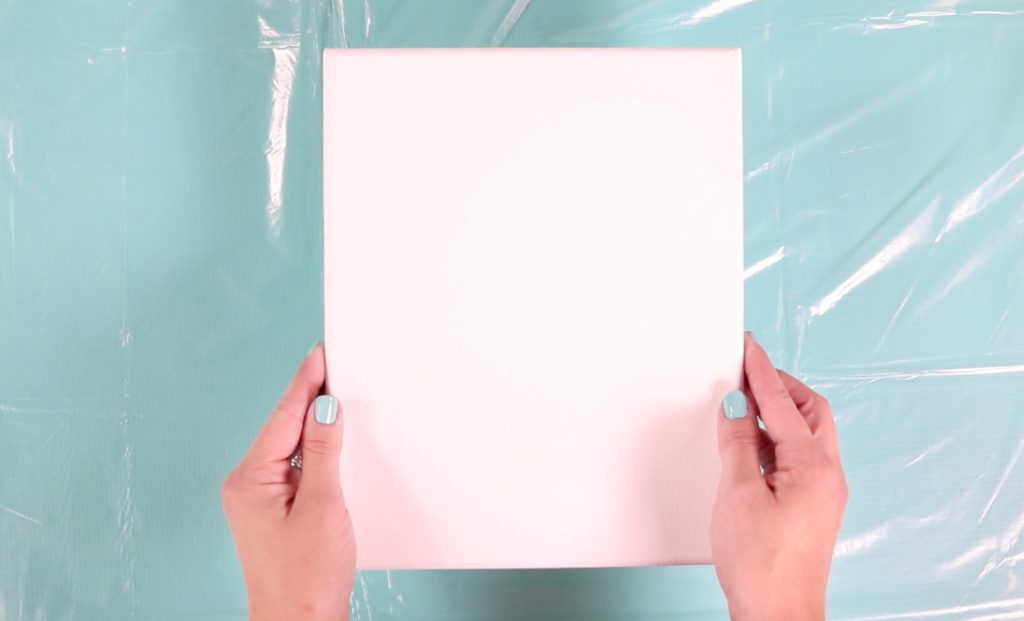
- Stretched Canvas

Each bottle of paint comes perfectly proportioned with a pouring medium which saves you from having to premix the colors before pouring them. Each paint is highly pigmented, and a little bit goes a long way.
The best part about this project is it perfect for all ages and skill levels! It's easy enough that my kids even got to help!
What Is Acrylic DIY Pour Painting?
Acrylic Paint Pouring is a technique in which a variety of different colored paints that are thinned with a medium are poured onto a canvas or other object.
The canvas is tilted back and forth to intensify the layered effect of the paints. This process creates one of a kind artwork.
You can achieve this through a variety of different methods. There isn't one right way to do it so experiment and enjoy the process!

What is a Pour Painting Medium?
Color Pour premixes all of their paints with a pouring medium to give you the best results possible.
Adding a pouring medium to each paint keeps the paints from mixes completely with each other and allows them to flow easily across the canvas.
Adding a pouring medium to each paint keeps the paints from mixes completely with each other and allows them to flow easily across the canvas.
Prepare your Work Area
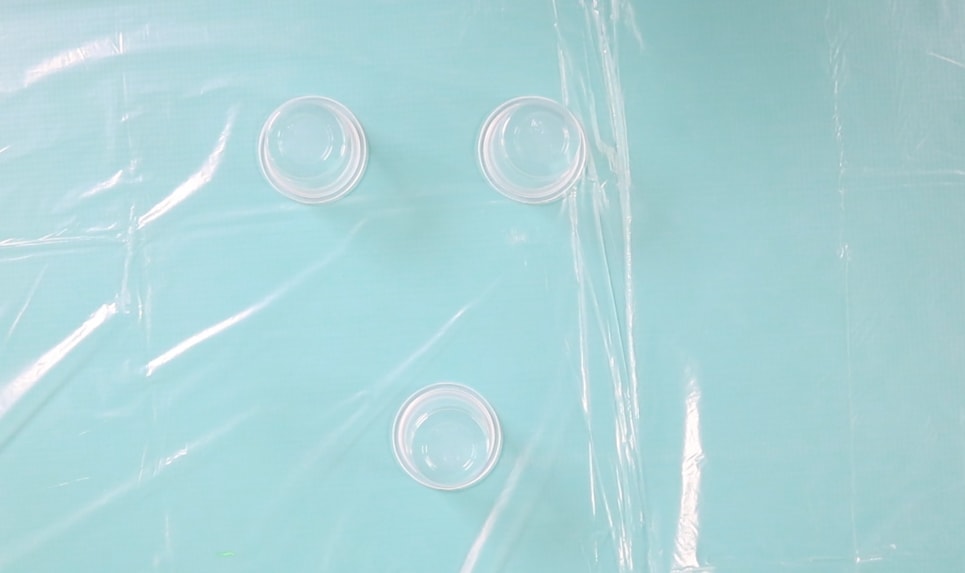
This project is so much fun to do, but it's also very messy. To keep the mess contained cover your working area with a large plastic drop cloth.
Once you have finished you can bundle up the drop cloth and throw the entire mess away for quick and easy
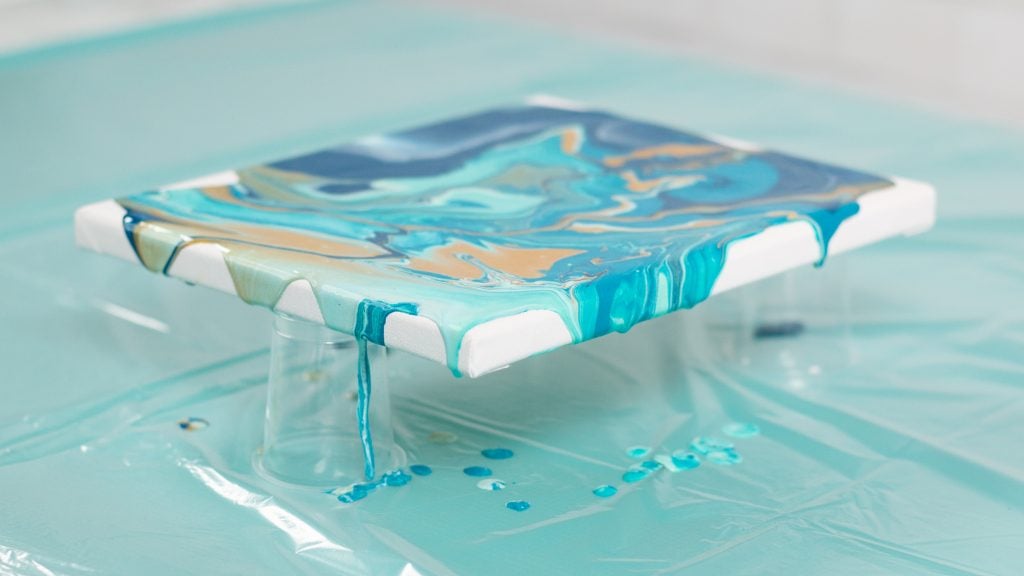
Place 3 - 4 cups upside down on the table and set a stretched canvas on top of them. This set up allows the paint to drip off of the edges as it dries.
Lay out your cups, paints, canvases and palette knife on the table within easy reach.
Prepare your Paint
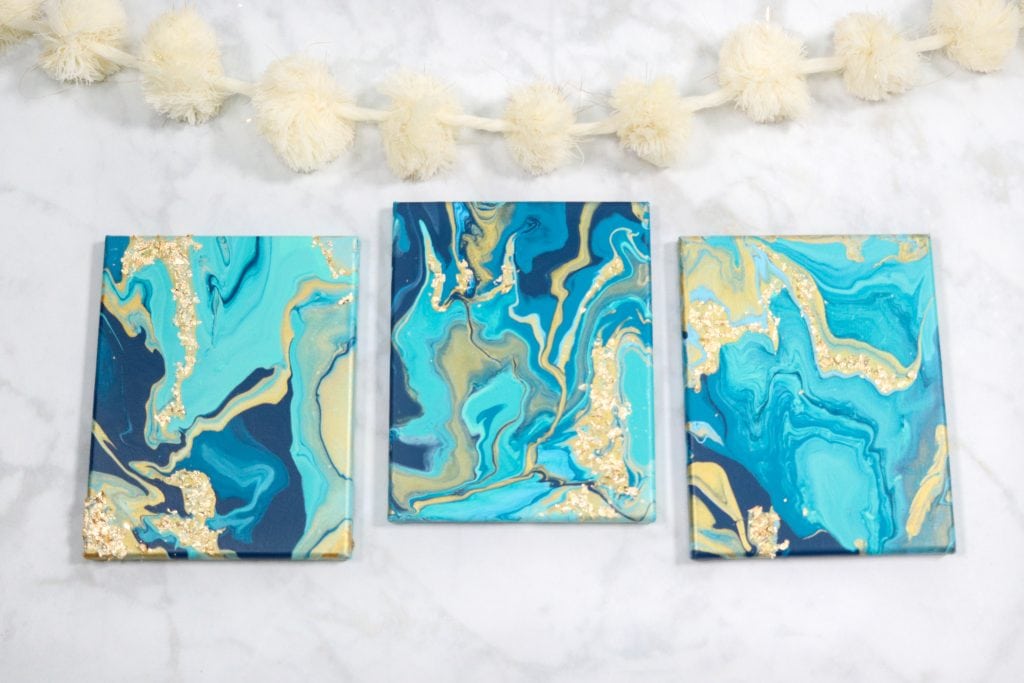
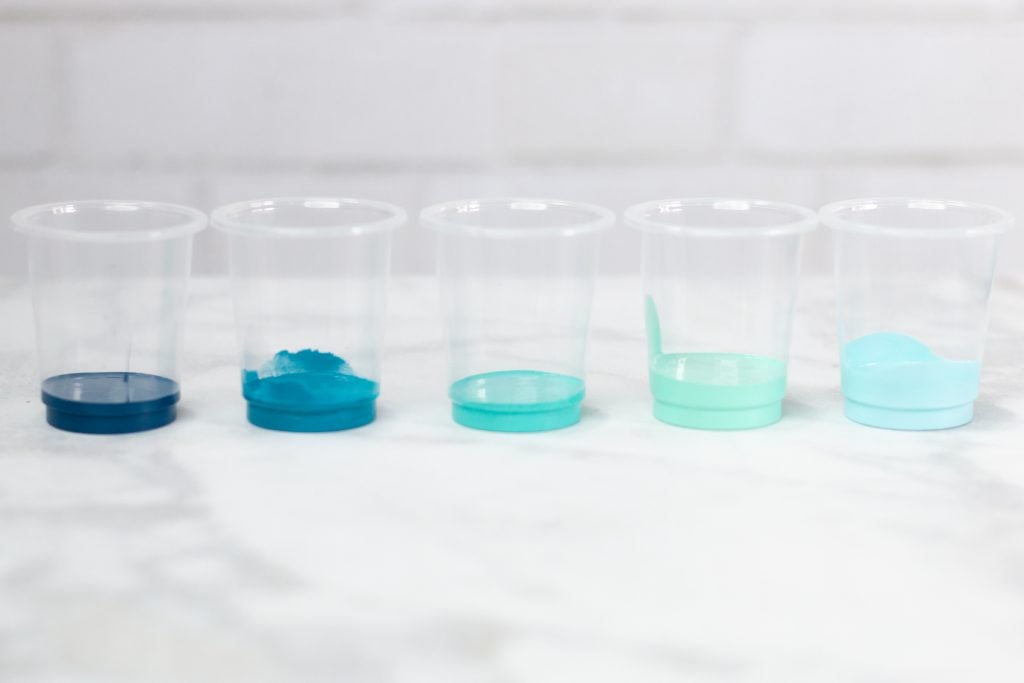
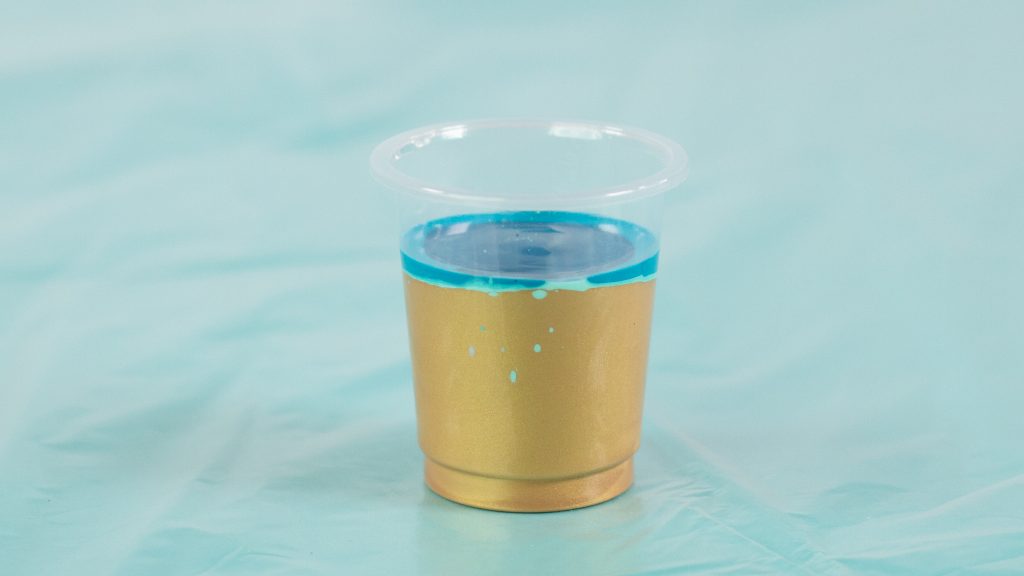
To begin, choose a color scheme. I decided on five shades of blue to create a wave-inspired painting; I also incorporated a gold paint and flakes to give the painting a bit of added glam!
The amount of paint you need for each painting will depend on the size of your canvas. I used a 9" x 12" canvas and each painting took one full cup of paint.
Begin by pouring a small amount of paint into each individual cup. *Make sure to shake each bottle thoroughly before pouring it.
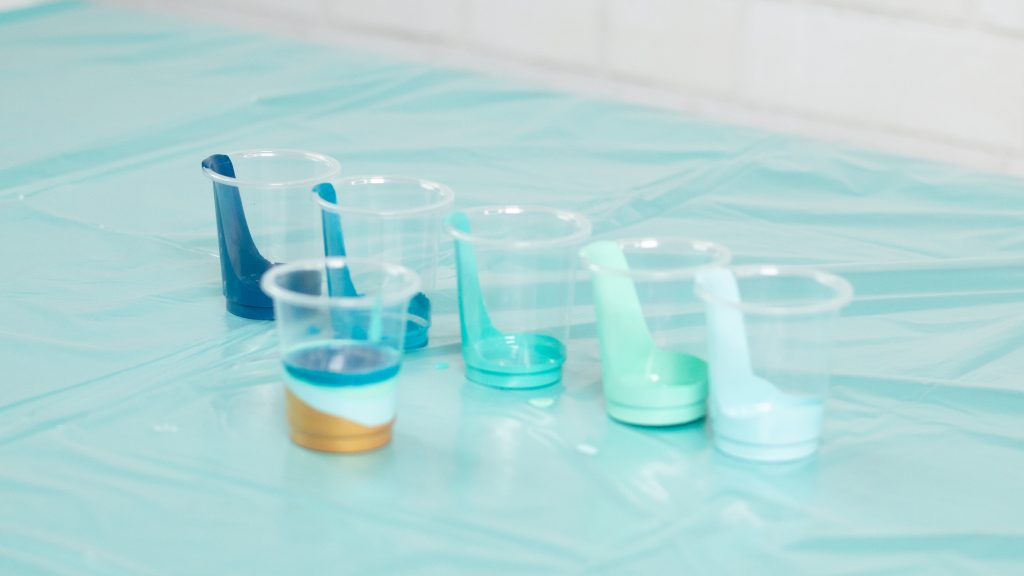
In a new cup, pour the gold paint and then layer the paints from lightest to darkest. Do not stir the
Prepare The Canvas for Pour Painting
Now it's time for the fun part!
Pour the paint onto the canvas, I like to use a figure 8 as a rough pattern to follow as I pour the paint.
Once the entire cup is poured onto the canvas, it's time to start tilting the canvas back and
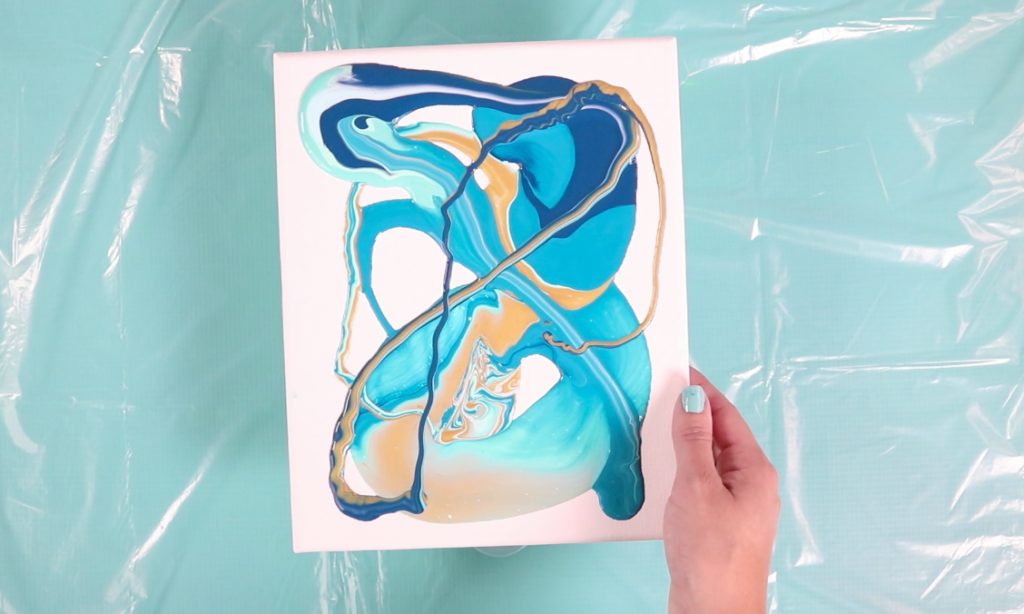
Tilt the canvas in one direction at a time allowing the paint to flow towards one side of the canvas. Try to keep the majority of the paint on the canvas.
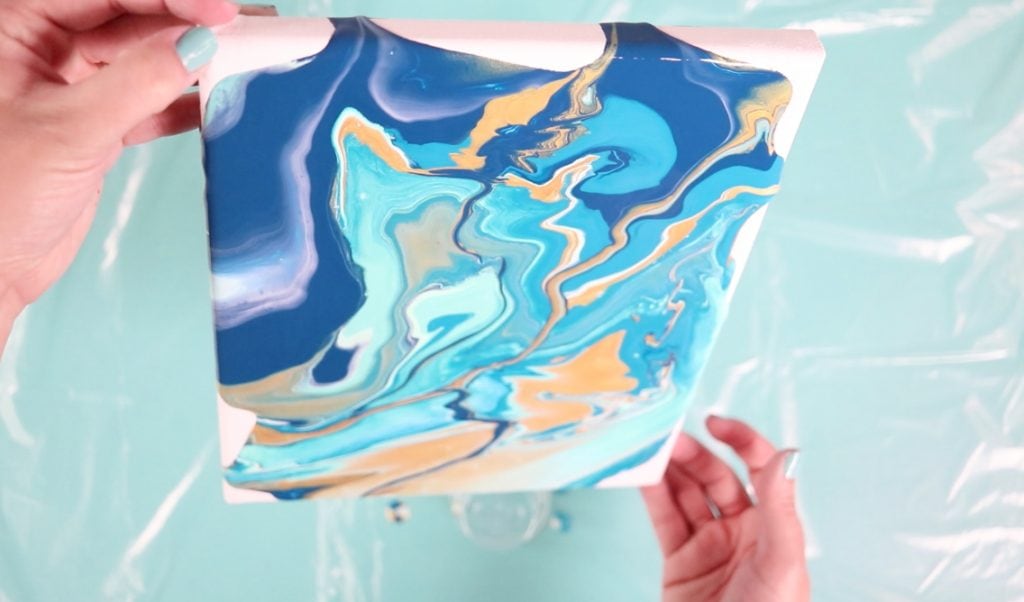
The further you allow the paint to tilt the more variations in colors will appear.
If you are struggling to cover the entire canvas you can always add more paint to the center or to the corners.
Once the entire surface is covered (including the sides of the canvas) set the canvas on the upside down cups.
If you have an edge that isn't covered by paint, dip the palette
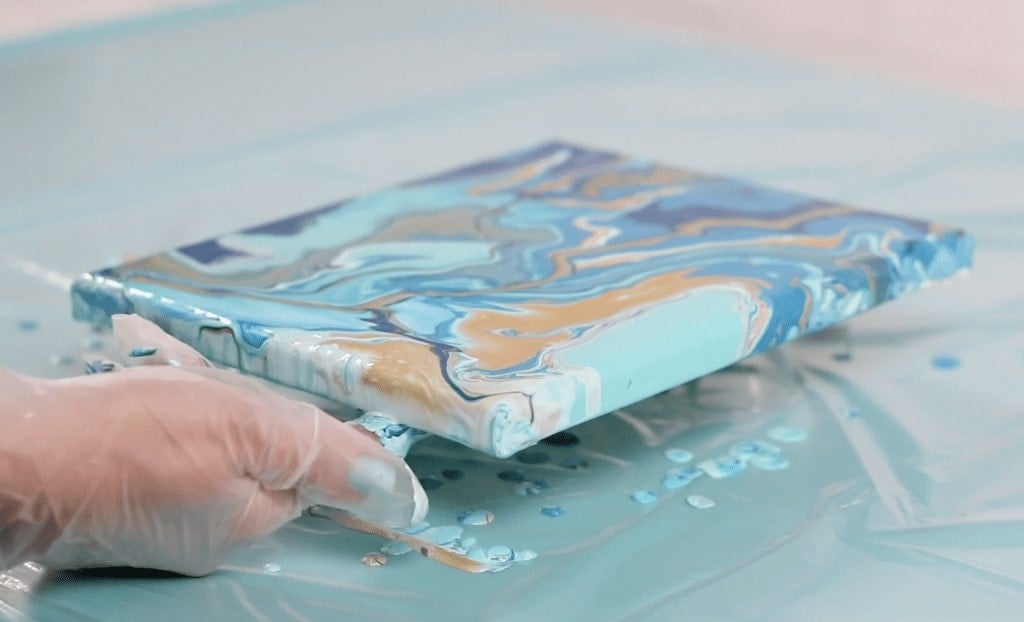
Use a palette knife to clean up any paint drips on the backside of the canvas.
Add the Finishing Touches to your DIY Pour Painting
Add a bit of sparkle while the painting is still wet. I used a jar of gold foil to add extra dimension and sparkle to my paint pour art.
Follow the lines of gold paint in the painting and sprinkle the gold foil a few inches above to add dimension.
For more precise placement of the gold foil, use a pair of tweezers.
Allow the artwork to dry for at the very least 1 day.
DIY Pour Painting Clean Up
Remove the canvases, palette knife and the paint. Grab all four edges of the plastic tarp, bringing them together and set the entire tarp in the trash can. who doesn't love easy
I can't wait to see what you make with this tutorial! You can find all of the supplies for this tutorial online at JOANN.
Hi! Can you tell me what specific colors you used in this artwork? They are the same color scheme as my living room and I want to recreate your project! Thanks!
Nice - I want to do this! I have been working from home and I need a creative outlet - just to feel like I have something to show for all these months! Did you prepare the canvas before pouring the color paints? I have seen others and it seems like they pour a white paint/glue mixture over the canvas first. I just wondered if that was necessary? I like what you did and the gold flakes really make it pop!
thank you for sharing!
The technique she used is called a dirty pour, which doesn’t require you to pour any paint on the canvas prior to your actual paint pour. What you were seeing was called, The Dutch Pour, which requires you to apply a thick layer of white or whichever color you choose to your canvas, a blow dryer is also used in this technique.
It’s pretty cool. (:
i have many paints that i want to use up.
what medium can i purchase at Joannes to use instead of already mixed paints.
I use flotrol You can get it at Ace Lowe’s ect.
How much paint do I use if I'm using an 8x 6 canvas
MEDIUM TO USE WITH MY PAINTS TO DO THE POUR PAINTING??
Thank you for the step by step DIY. I have tried the tempra paint pour.
So I am planning on doing a pretty large project on my new wooden Cornhole boards. They are 4feet x 2 feet boards. So I know I'm going to need a lot more paint, I was just wondering if you have any suggestions on the amount more I will need.
How much medium floral do you add to each paint color?