DIY WOODEN ADVENT CALENDAR CRICUT MAKER
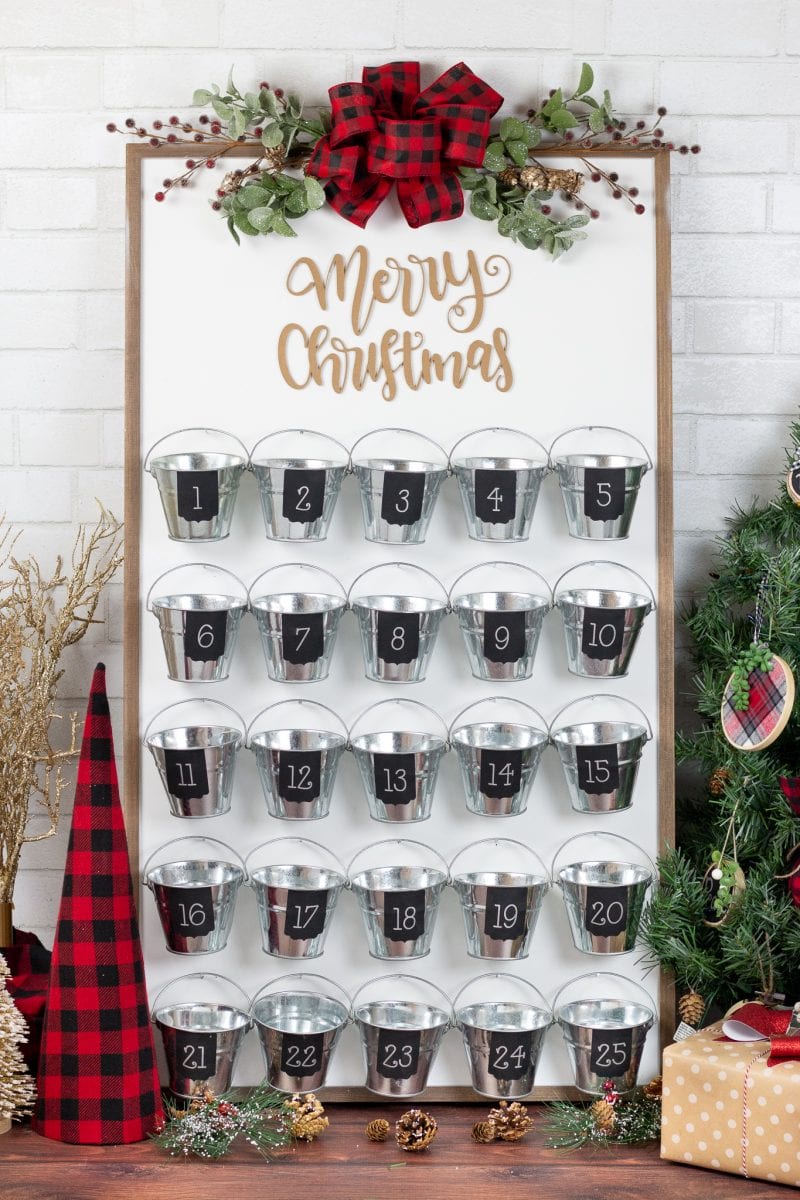
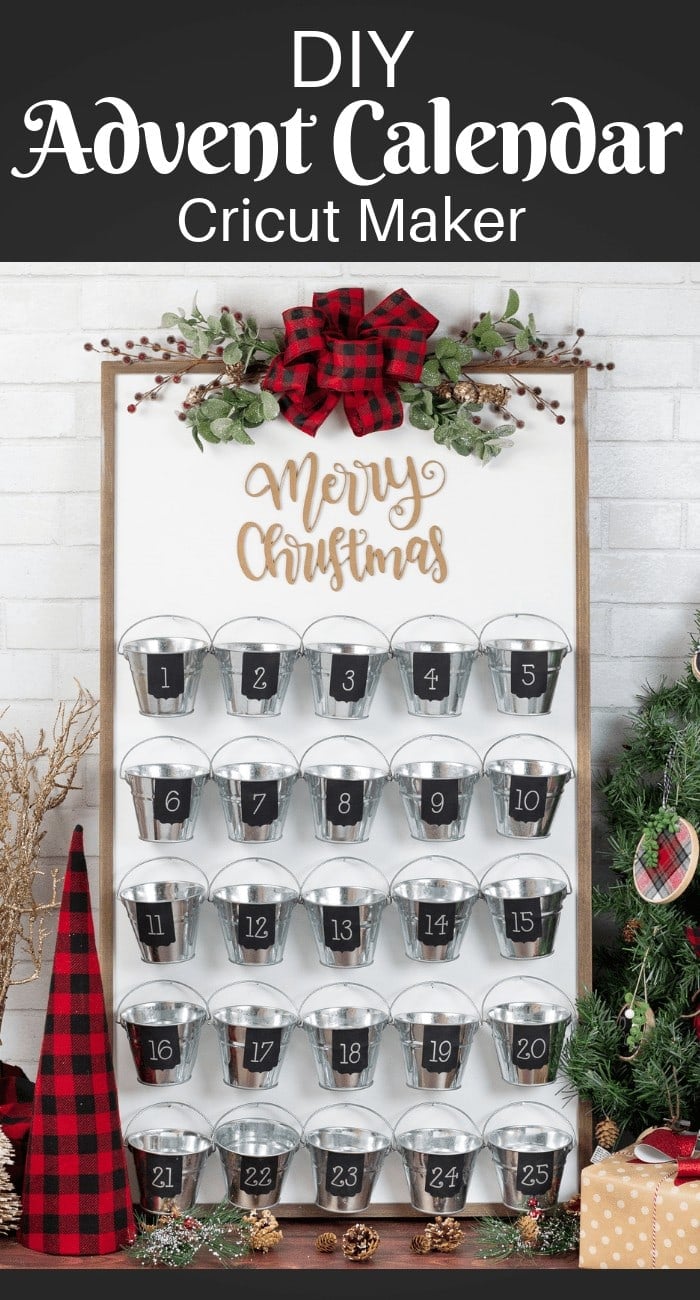
Countdown to Christmas with this beautiful handmade wooden advent calendar!
This is a sponsored conversation written by me on behalf of Cricut. The opinions and text are all mine.
One of my favorite parts of each holiday season is creating a unique advent calendar. Some of my favorite childhood memories are of counting down the days until Christmas with an advent calendar. I still remember tip-toeing out of my room at the break of dawn each morning to be the first one to move the advent calendar forward!
While advent calendars are beautiful to look at, I really love the visual representation that it gives for my children so they have a better understanding of when Christmas is!
I teamed up with Cricut to bring my wooden Christmas advent calendar to life. I've been not so patiently waiting to try out the new knife blade on my Cricut Maker and I was SO excited when I dreamed up this idea.
You can see the advent calendar I created with my Maker last year here.
Learn all of my Cricut hacks here.
Are you ready to learn all about the Cricut Maker Knife Blade?
Here's what you will need for this project!
Supplies
Cricut Maker
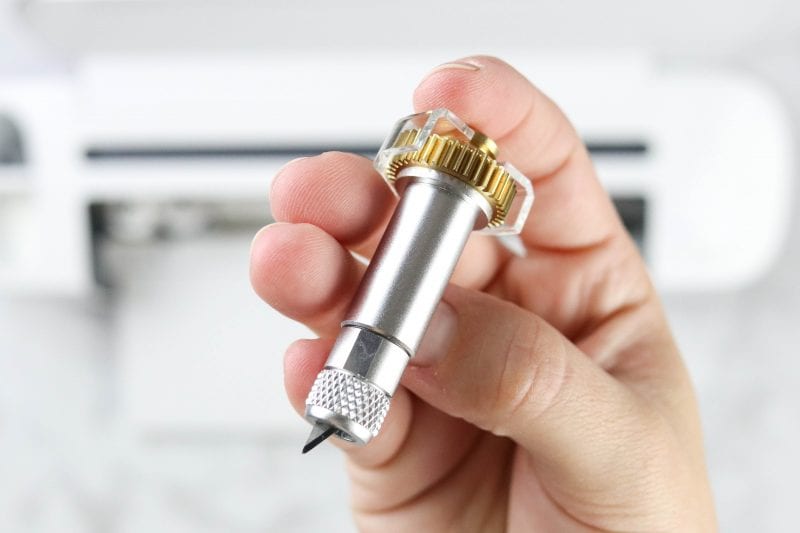
Knife Blade
Cricut Black Paper
Cricut Metallic Pen
Cricut Chipboard
Cricut Strong & Light Grip Mat
Large Wooden Plank Frame
25 Mini Metal Pails
Small Nails
Hammer
Measuring Tape
Stems & Sprays
Ribbon
Hot Glue Gun & Glue Sticks
Get the Cricut Design Space File here.
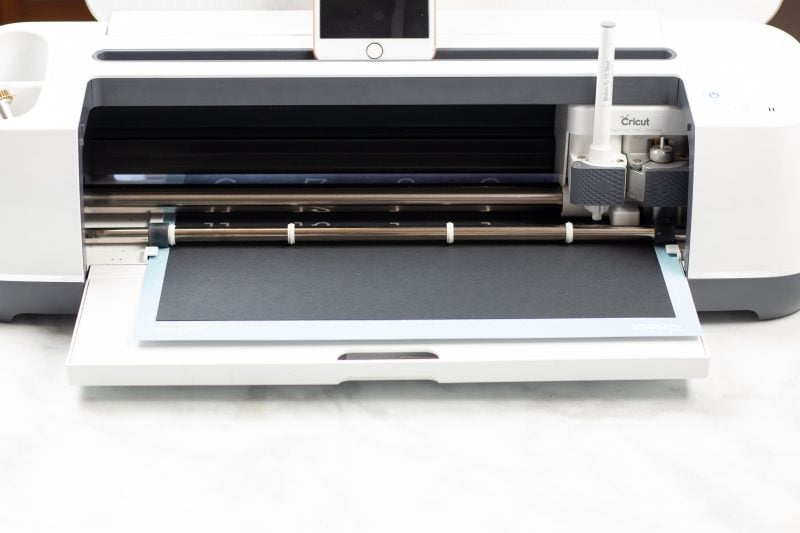
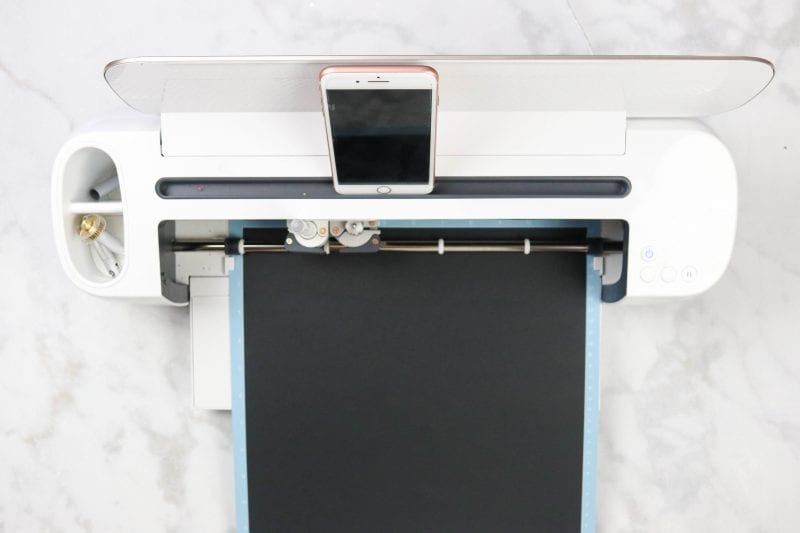
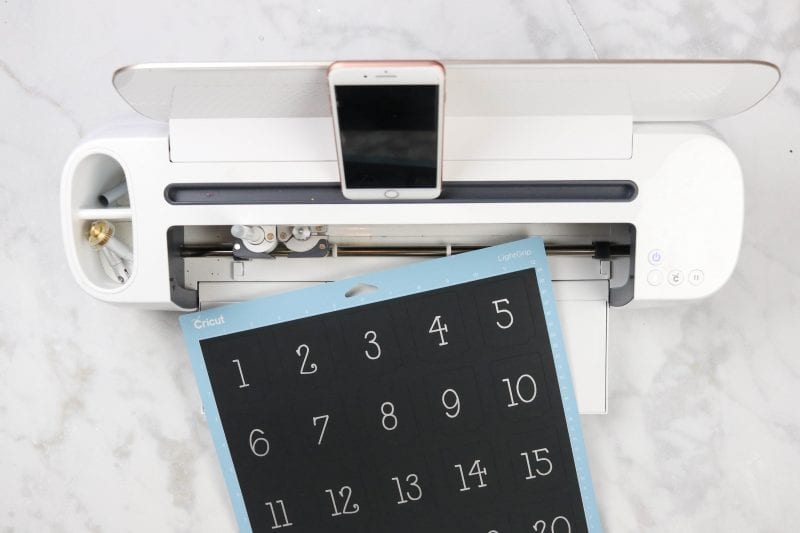
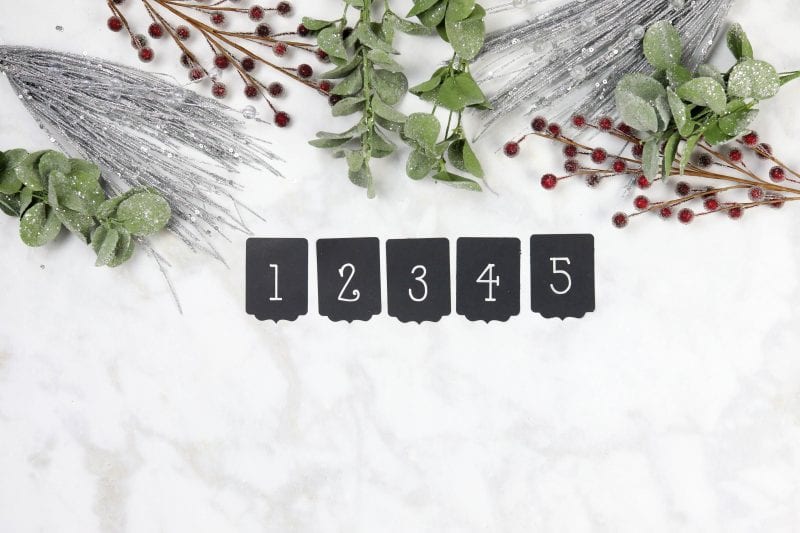
Load a Light Grip mat with black cardstock and a silver metallic marker.
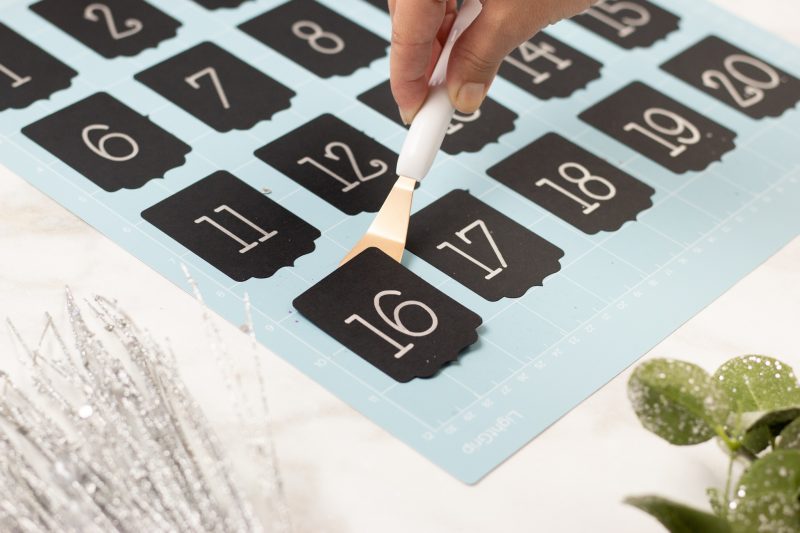
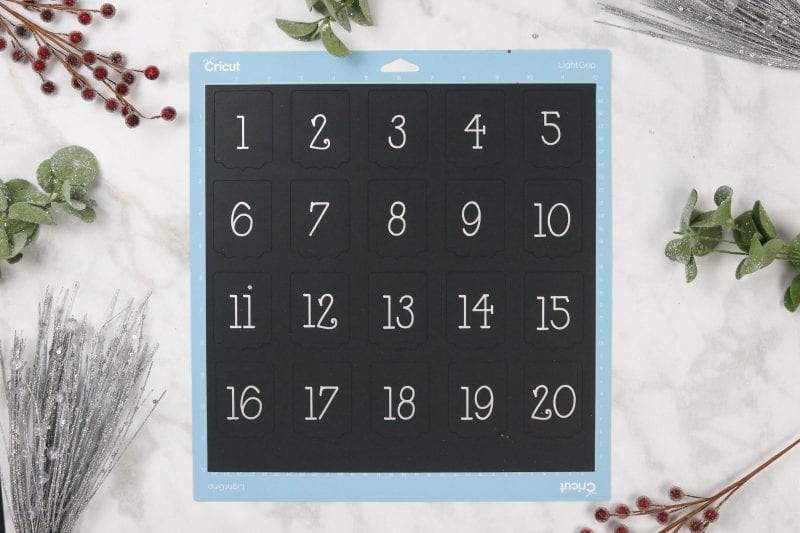
Unload the mat once the design has been cut and drawn. Use the spatula to carefully lift the paper from the mat without bending it.
Draw a line of hot glue on the backside of the tag and center it on a metal pail. Repeat this process for all 25 pails.
How to Use the Cricut Maker Knife Blade
When using the knife blade there are a few things to keep in mind!
The max size of any cut with the knife blade is 10.5" x 10.5" with a minimum of .75" x .75"
Try to keep cuts larger than the diameter of a pencil for best results.
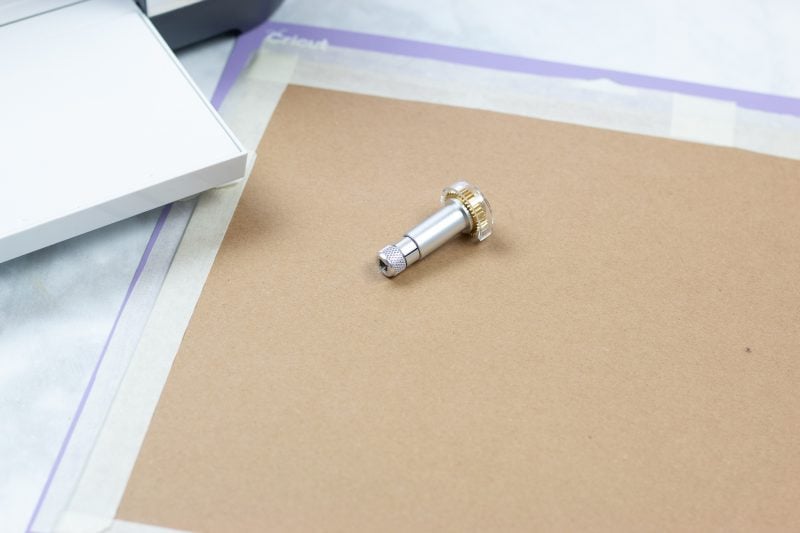
Before using the Knife blade you will need to install the blade and do a test cut. You can find the FAQ's for the Knife Blade here.
Prepare the Mat and Machine
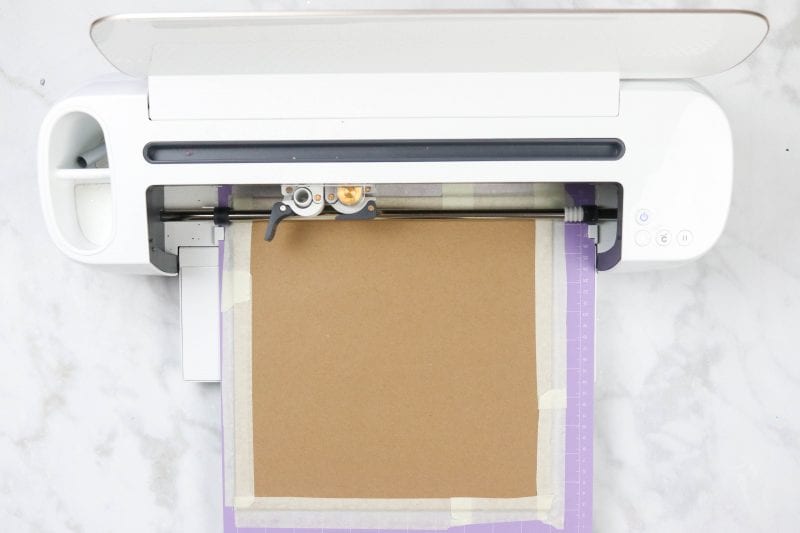
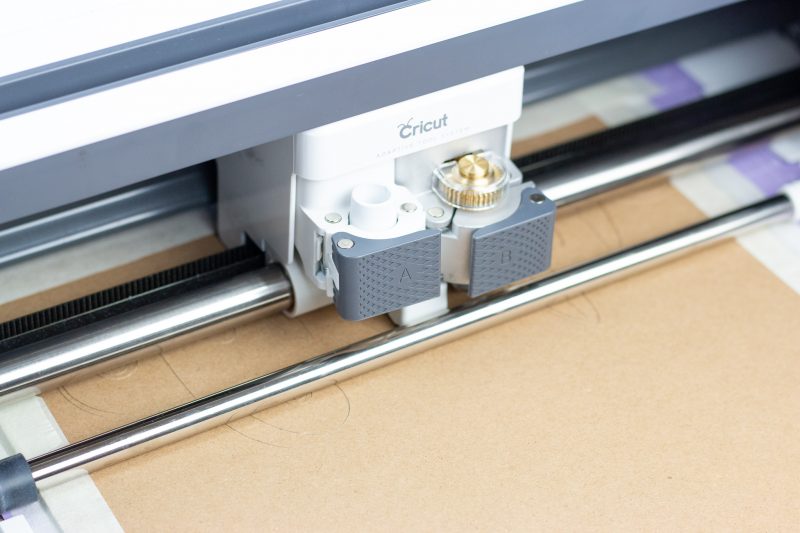
Place a 11" x 11" piece of Cricut Chipboard on a purple Strong Grip Mat alining the top left corners together. Use a brayer to completely adhere the Chipboard to the mat. With masking tape, secure all four edges of the chipboard to the mat. This will prevent the chipboard from shifting during the cutting process.
Slide the white star wheels all the way to the right-hand side to allow adequate clearance for the Chipboard.
Open Design Space on a computer (The Knife Blade is not compatible with the Cricut app yet) with this link.
Load the mat as normal.
*In this tutorial I chose a file that is slightly smaller than what's recommended. To make this work you'll want to mirror the image. By mirroring the image, the back side of the chipboard will have a clean cut. The front of the chipboard might get eaten up slightly. Monitor the cut to ensure best results! You can remove the mat early if the blade has cut all the way through the material. I removed mine at 70%.
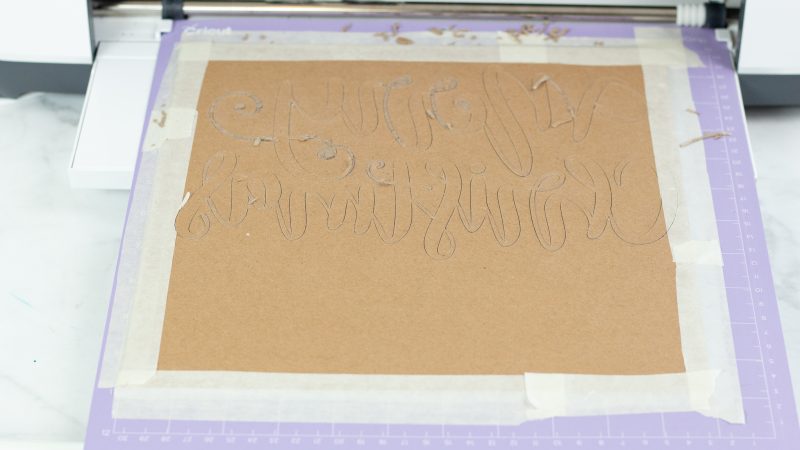
Carefully peel the large portion of the Chipboard from the mat. Use a Cricut Spatula to gently remove the design from the mat. Remove any excess pieces of chipboard from the design.

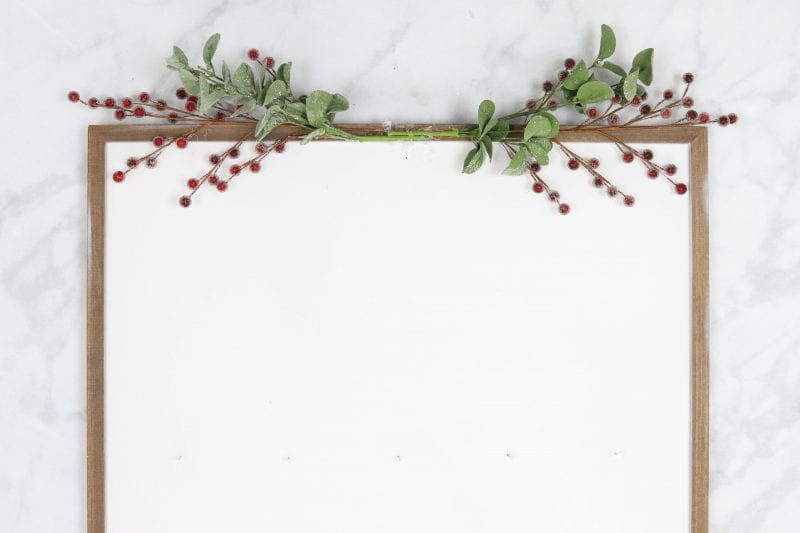
Turn the Merry Christmas cut out over and apply glue to the backside. Center it on the frame and allow to dry. Glue a variety of stems and sprays to the top of the frame and add a large bow.
Now it's time to mark your frame for the nails. Section off the top third of the frame for your Merry Christmas sign and ribbon. The divide the remaining portion into five sections. Mark all of the spots for nail placement. Hammer nails into all of the marks and hang the tin pails on the nails.
I can't wait to see what you make with this tutorial!
Interested in learning more about the Cricut Maker? Click HERE.

This is a sponsored conversation written by me on behalf of Cricut. The opinions and text are all mine.





I love this idea and want to make it but your cricut file doesn't work. Is there a way you are able to share it with me?
i tried the link to file but it just opened Design Space but no file. Am I missing the link to file?. thank you. Rena Jacobsen
Rena, I'm so sorry about that. Try this link - https://design.cricut.com/landing/project-detail/615b1920db2acc0001659106
What is the size of the wood frame you are using?